Wildcard Week
Hero Shots
FabLab.Blue Logo
File Downloads From This Week
Butterfly Embroidery
Wertarbeit W6 N 5000 in Action
Initial Reaction
Strangely, this is the most frustrated I have felt after any lecture so far in this course. Apparently, this week we have to make something using a digital fabrication process that has not been covered so far in FabAcademy, which is essentially all the low-hanging fruit in the digital fabrication world. We are to design the assignment and then complete and submit it as well. Neil showed us a dozen quarter-of-a-million dollar machines we could use if we had them; and he showed us at least a dozen composite materials that would be an option if only we were allowed to use them in our local lab, which we are not because we have no ventilation and our PPE is inadequate. We have a CNC embroidery machine, which should be an option since we have not covered that so far, but apparently the software that came with the machine is lost, and apparently nobody knows the workflow...so I have no idea yet about what I will do for an assignment this week.
After Local Workshop
After thinking it over for a couple hours last night, I think practically I have three different options: sand-cast something in aluminum or bronze; make something using the CNC embroidery machine (if I can find the software and figure out the workflow); or 3D print something out of food. I could potentially do the first two in my local lab, or I could make a trip to Kamp Lintfort to do the food printing. In the local workshop, Ahmed gave us a few examples of past assignments and we briefly discussed our ideas. He said all three of my options should work so I think I will just go with whatever becomes available first and pretend that was my plan all along.
Design Phase
Making a Chimera
The Plan
After brainstorming for a little while, I decided to design a coaster. I figured, it's something that would be cool to cast out of aluminum or bronze; it could also easily be made into a patch using the CNC embroidery machine; and if I make it to KaLi this week, then I can print it out of marzipan and call it a cookie. I am relatively new to sand-casting, but from what I can tell, 5 mm is about the minimum channel diameter through which material will flow during a gravity cast, especially since I don't have a kiln or oven to heat the mold and will be relying on torches for the whole process.Therefore, this is a simple model with no fancy sketches or features so I have left out all the details of its creation from this documentation for the sake of brevity. More images and explication are available if necessary.
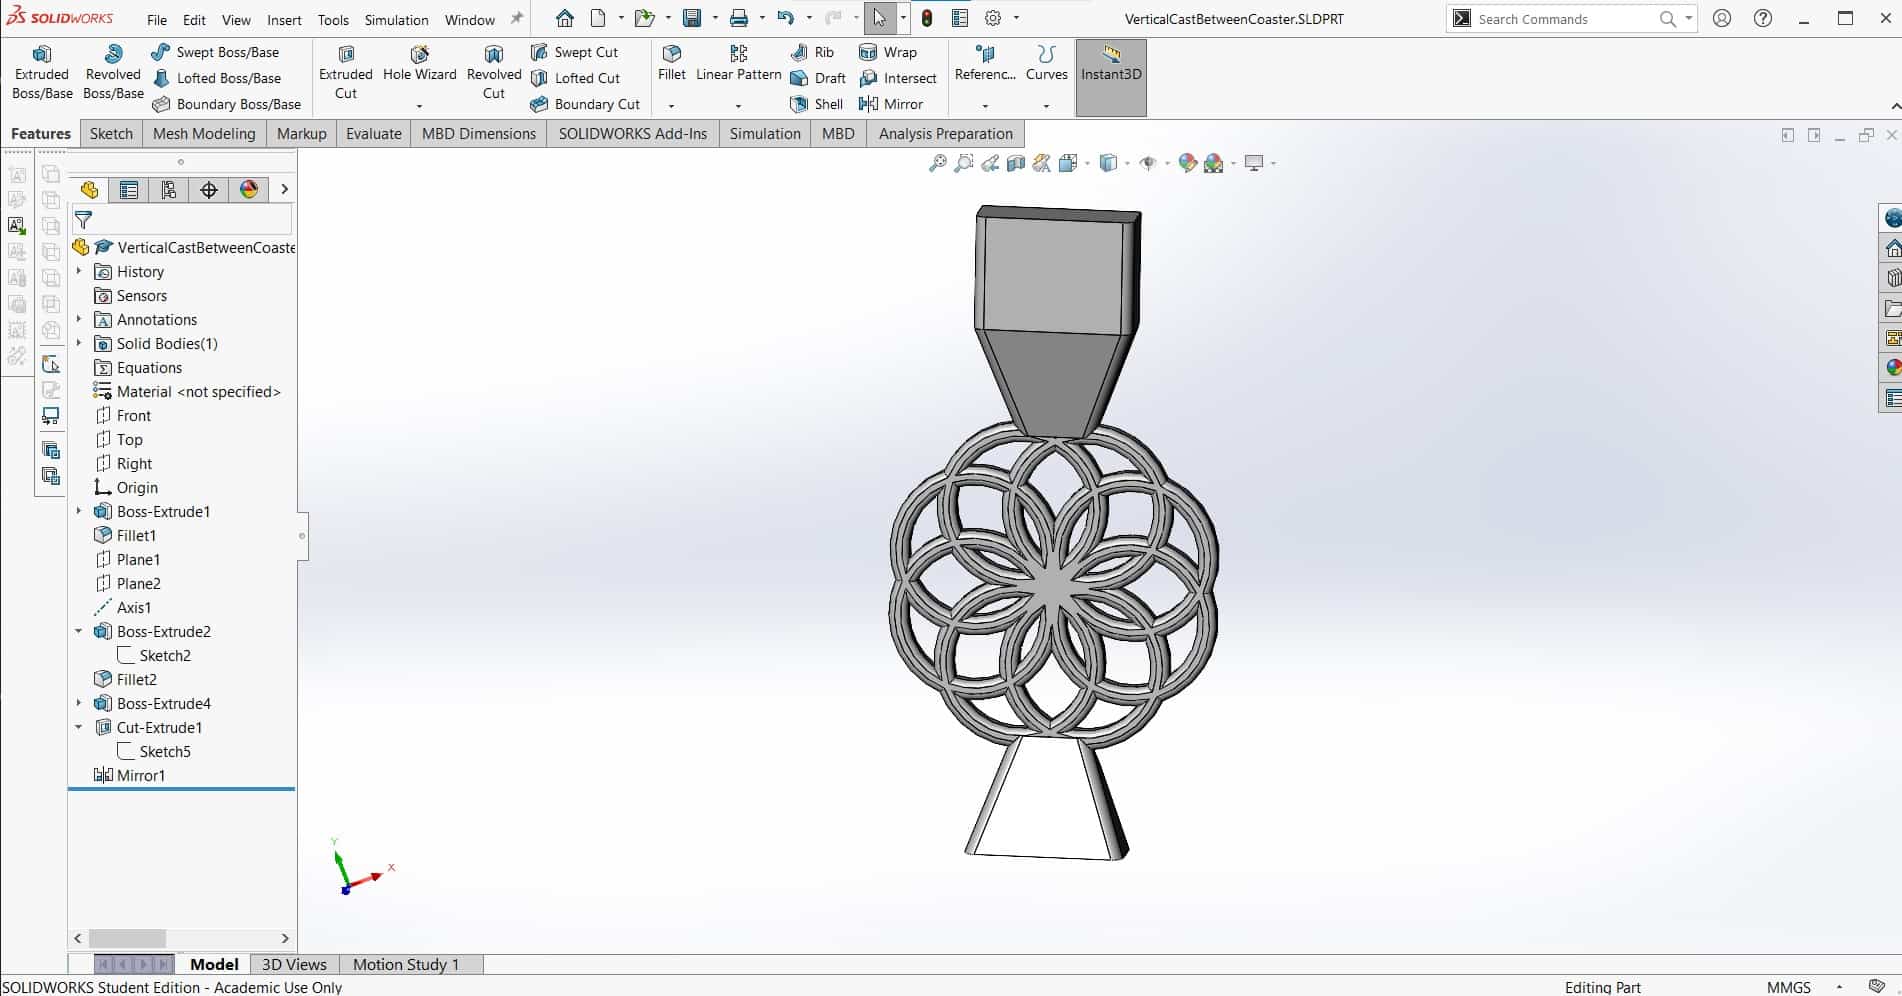
The Coaster
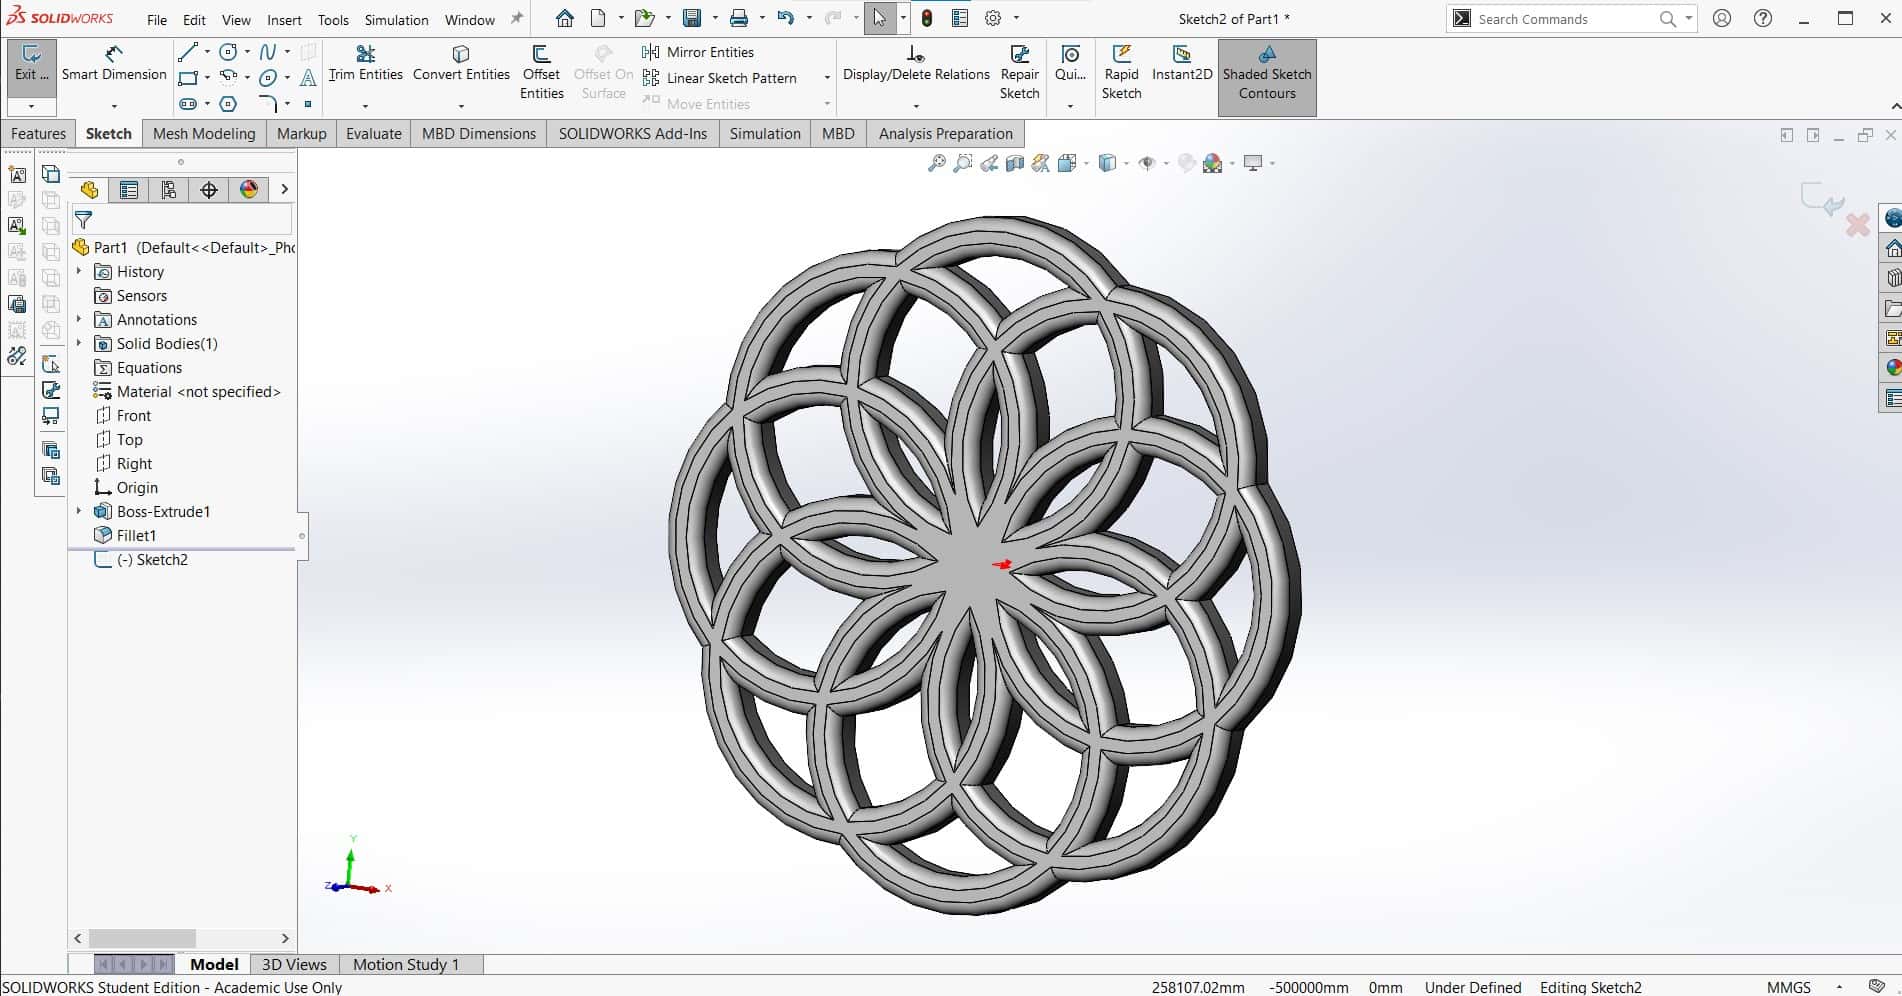
The basic shape of the coaster consists of eight intersecting rings that are each half the 90 mm diameter of the overall part. There is a filet on one side. I decided to keep the back side flat in case I end up 3D printing this part instead.
Sprue and Well
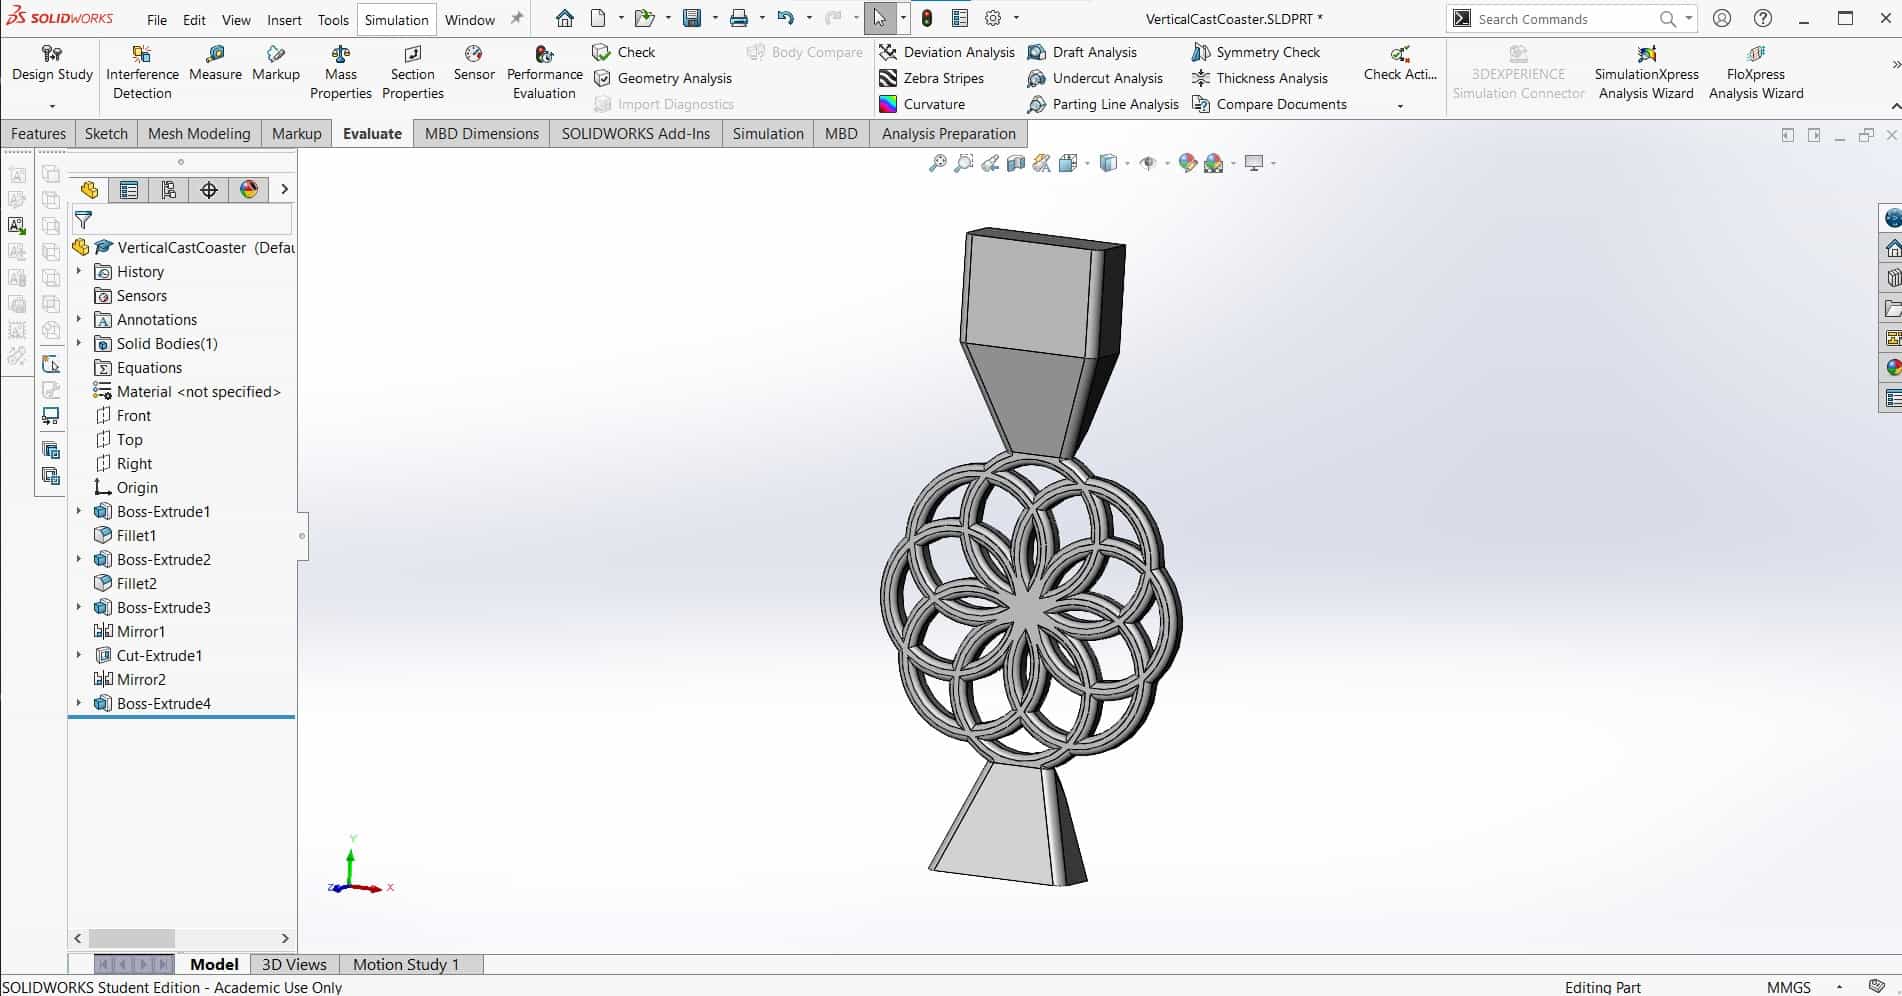
Next, in a new variant, I added the sprue for pouring the molten material into the mold. I also added a well at the bottom of the mold because it was recommended in several guides and tutorial videos.
Rethinking the Sprues and Well
As soon as I made the additions in the last pic, I realized it would not work so well to force the molten material to make such a hard bend into the cold mold. It's better to be able to pour directly into the mold so I rotated the sprue and well a little relative to the mold, now the molten material can flow more easily.
Working in Inkscape
New Plan
We found the software for the sewing machine, so now the plan is to get familiar with CNC embroidering. There is an Inkscape extension called Inkstich, which allows users to create embroidery ideas including all of the stitching patterns and parameters, from scratch or from any image that can be opened in Inkscape. I watched several tutorial videos about our sewing machine and the CNC embroidery attachment for it. There are also some really great tutorials about Inkstitch on their website, so I watched those as well. Once I understood the basic workflow, I installed the Inkstitch extension according to the instructions in the videos and then got started with a new design. I was originally planning to sew the design that I made for the coaster, but it seemed a little too simple, so I decided to try something a bit more dynamic so I could try out multiple stitching options.
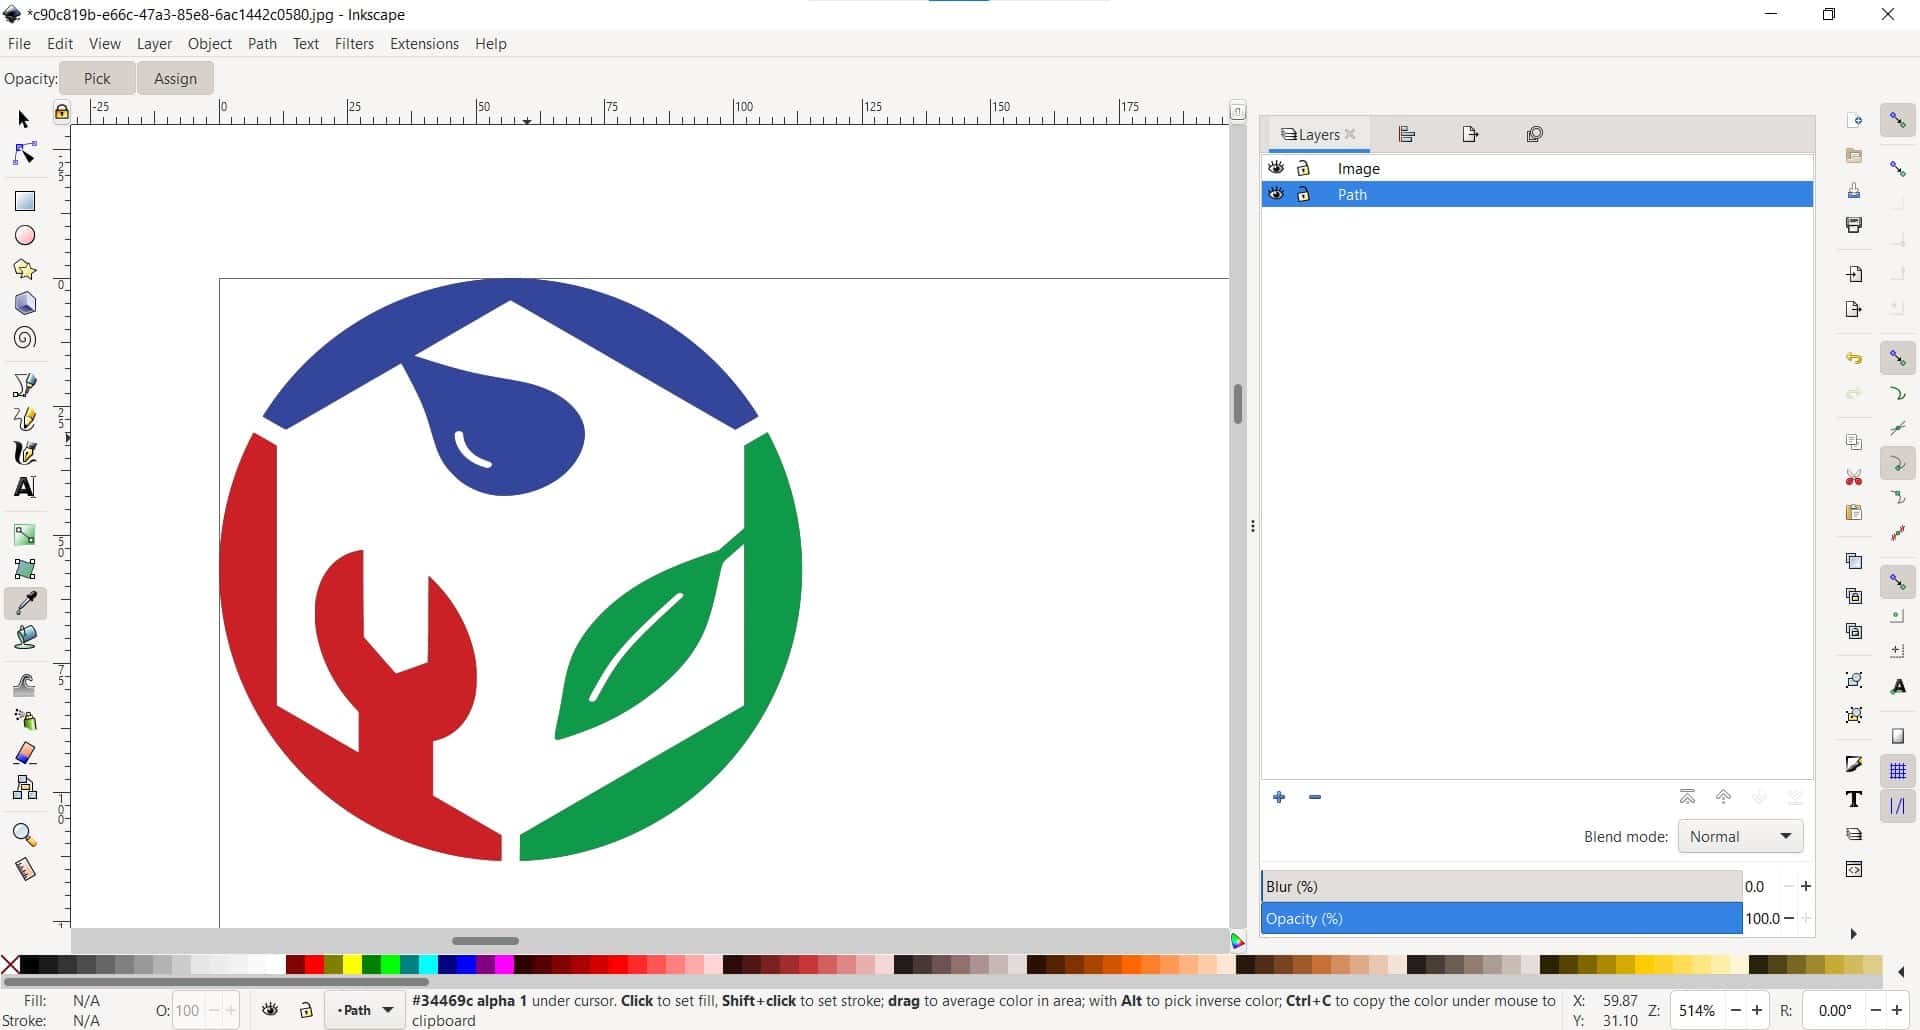
FabLab.Blue Logo
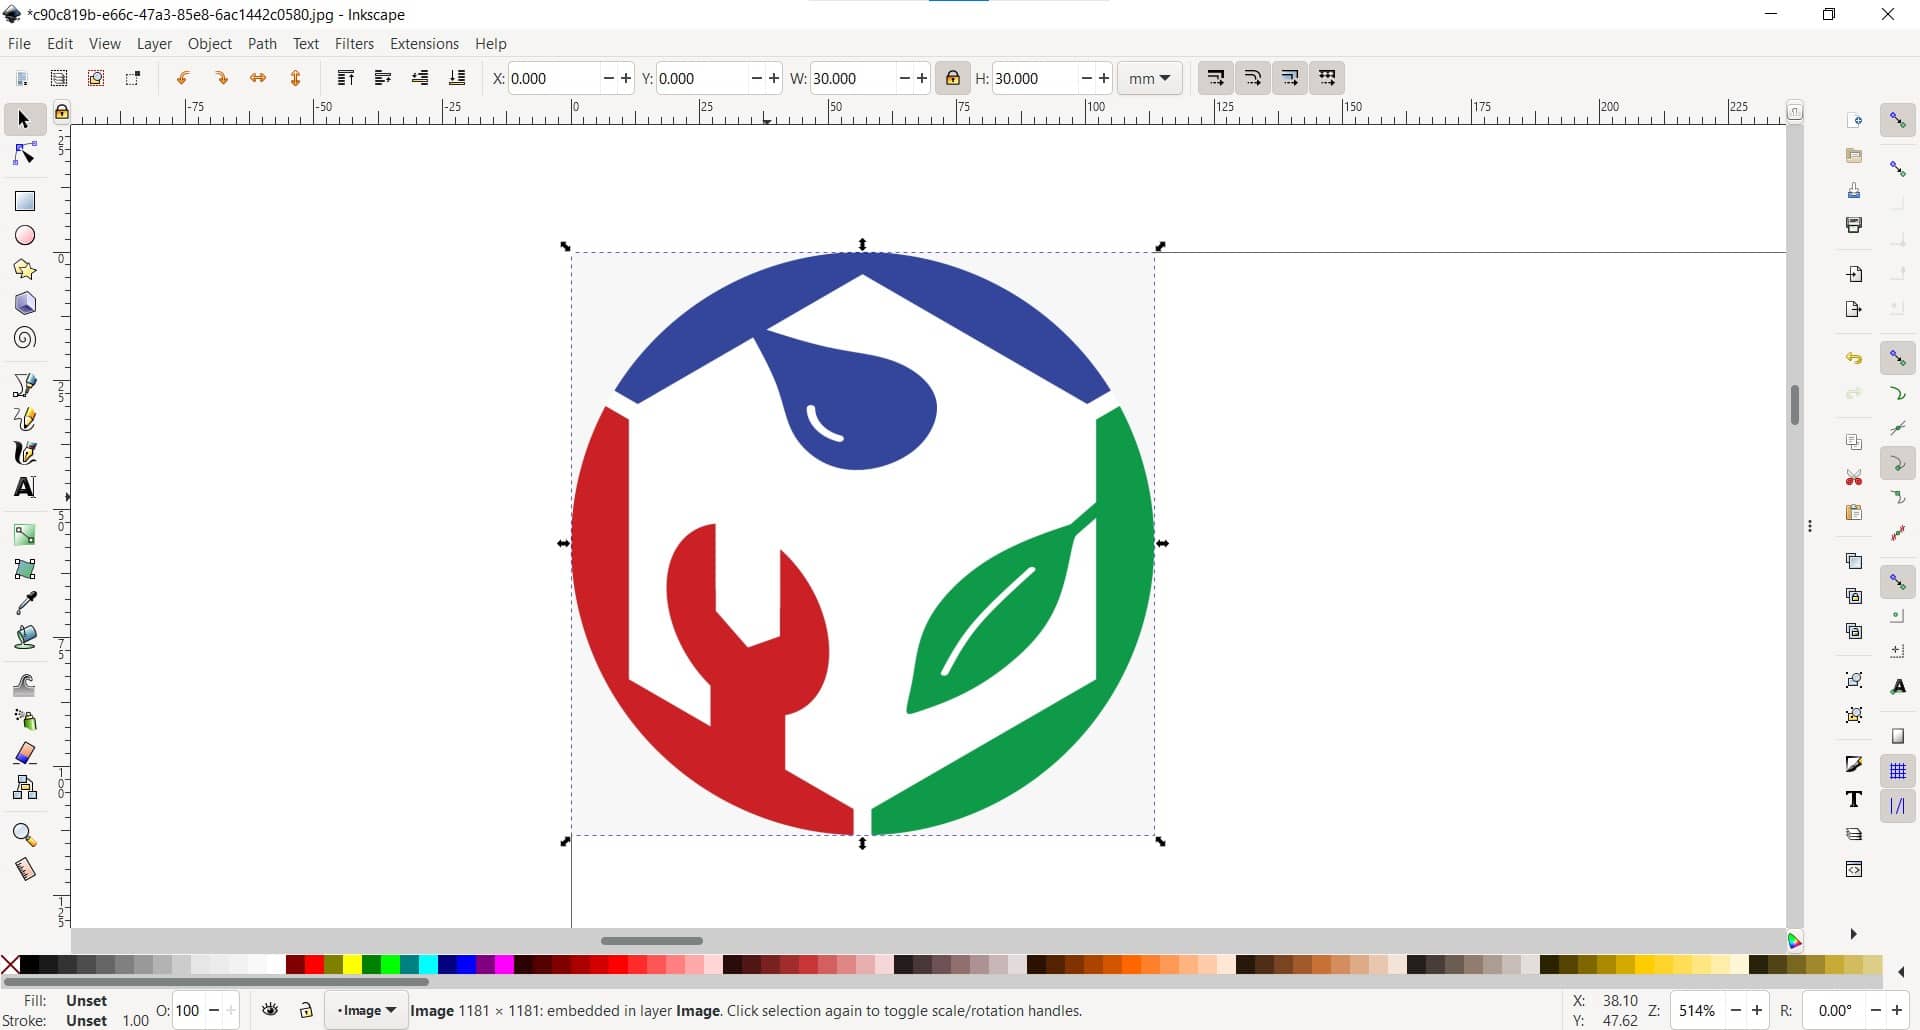
I got into Inkscape and opened up a png of the logo from our local lab.
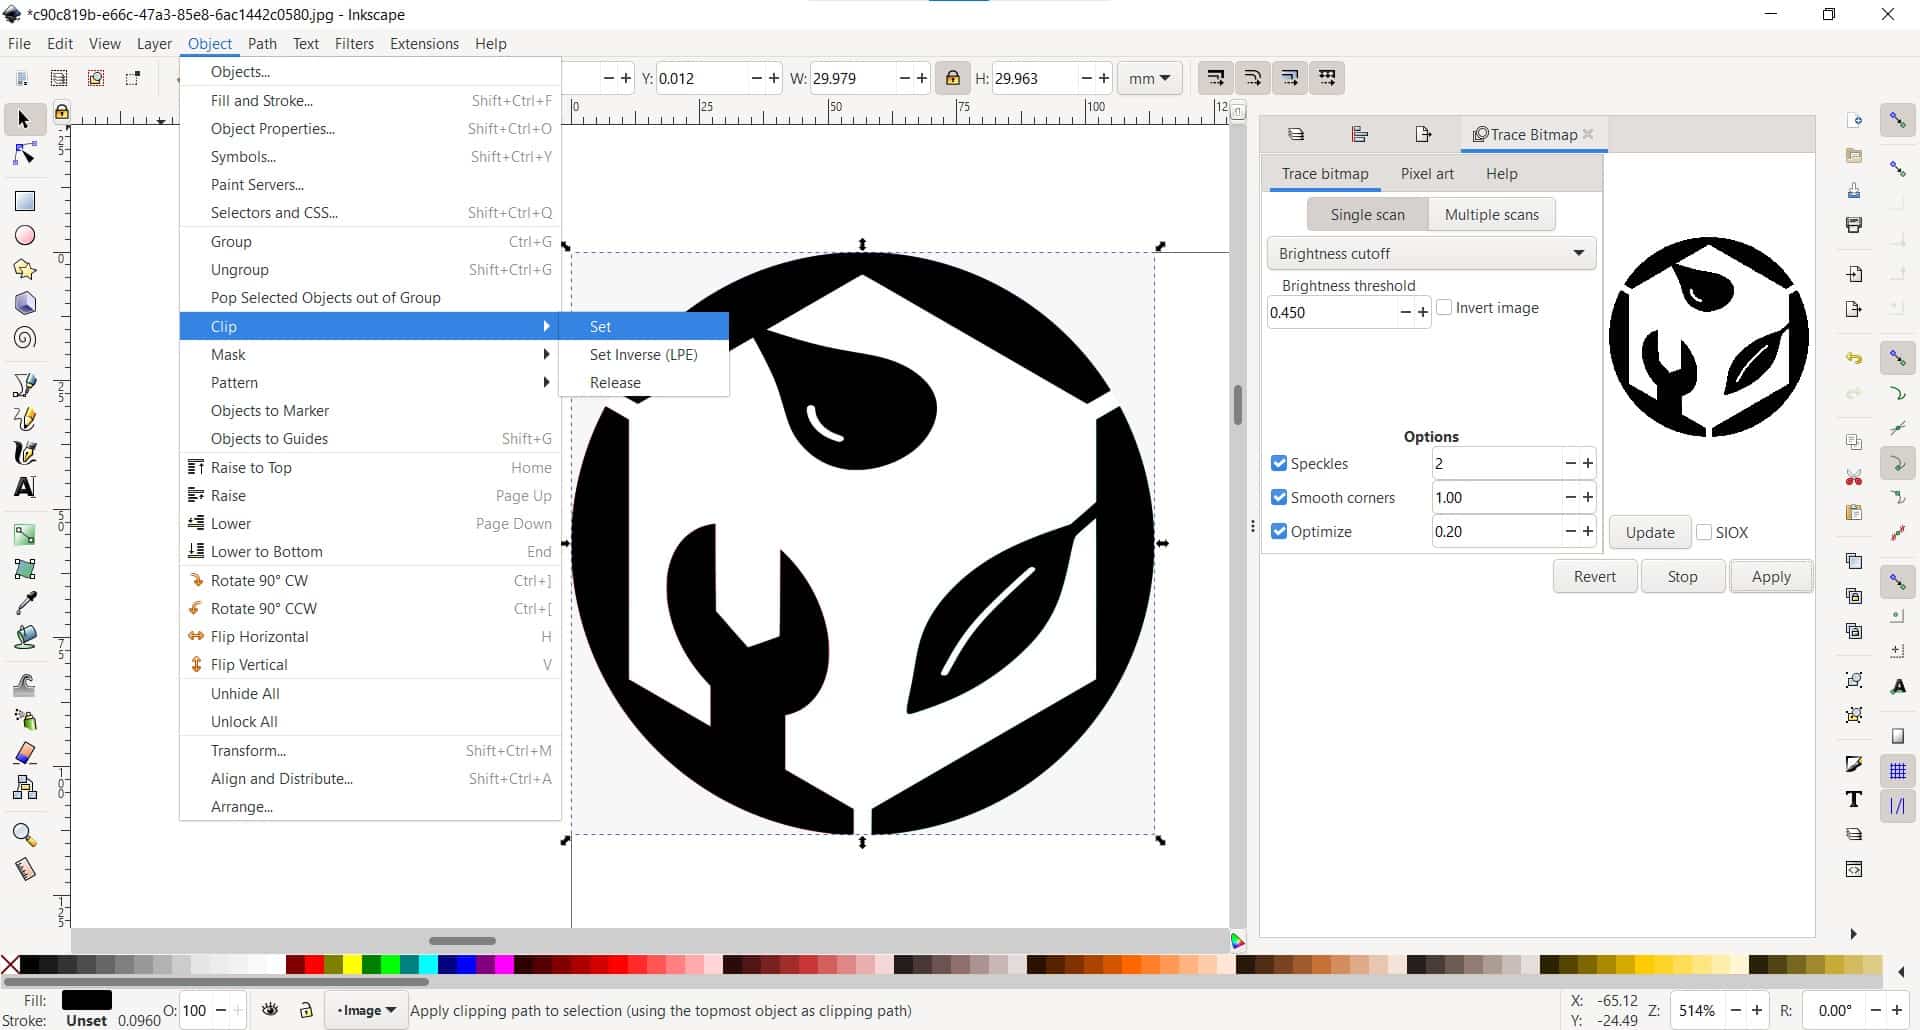
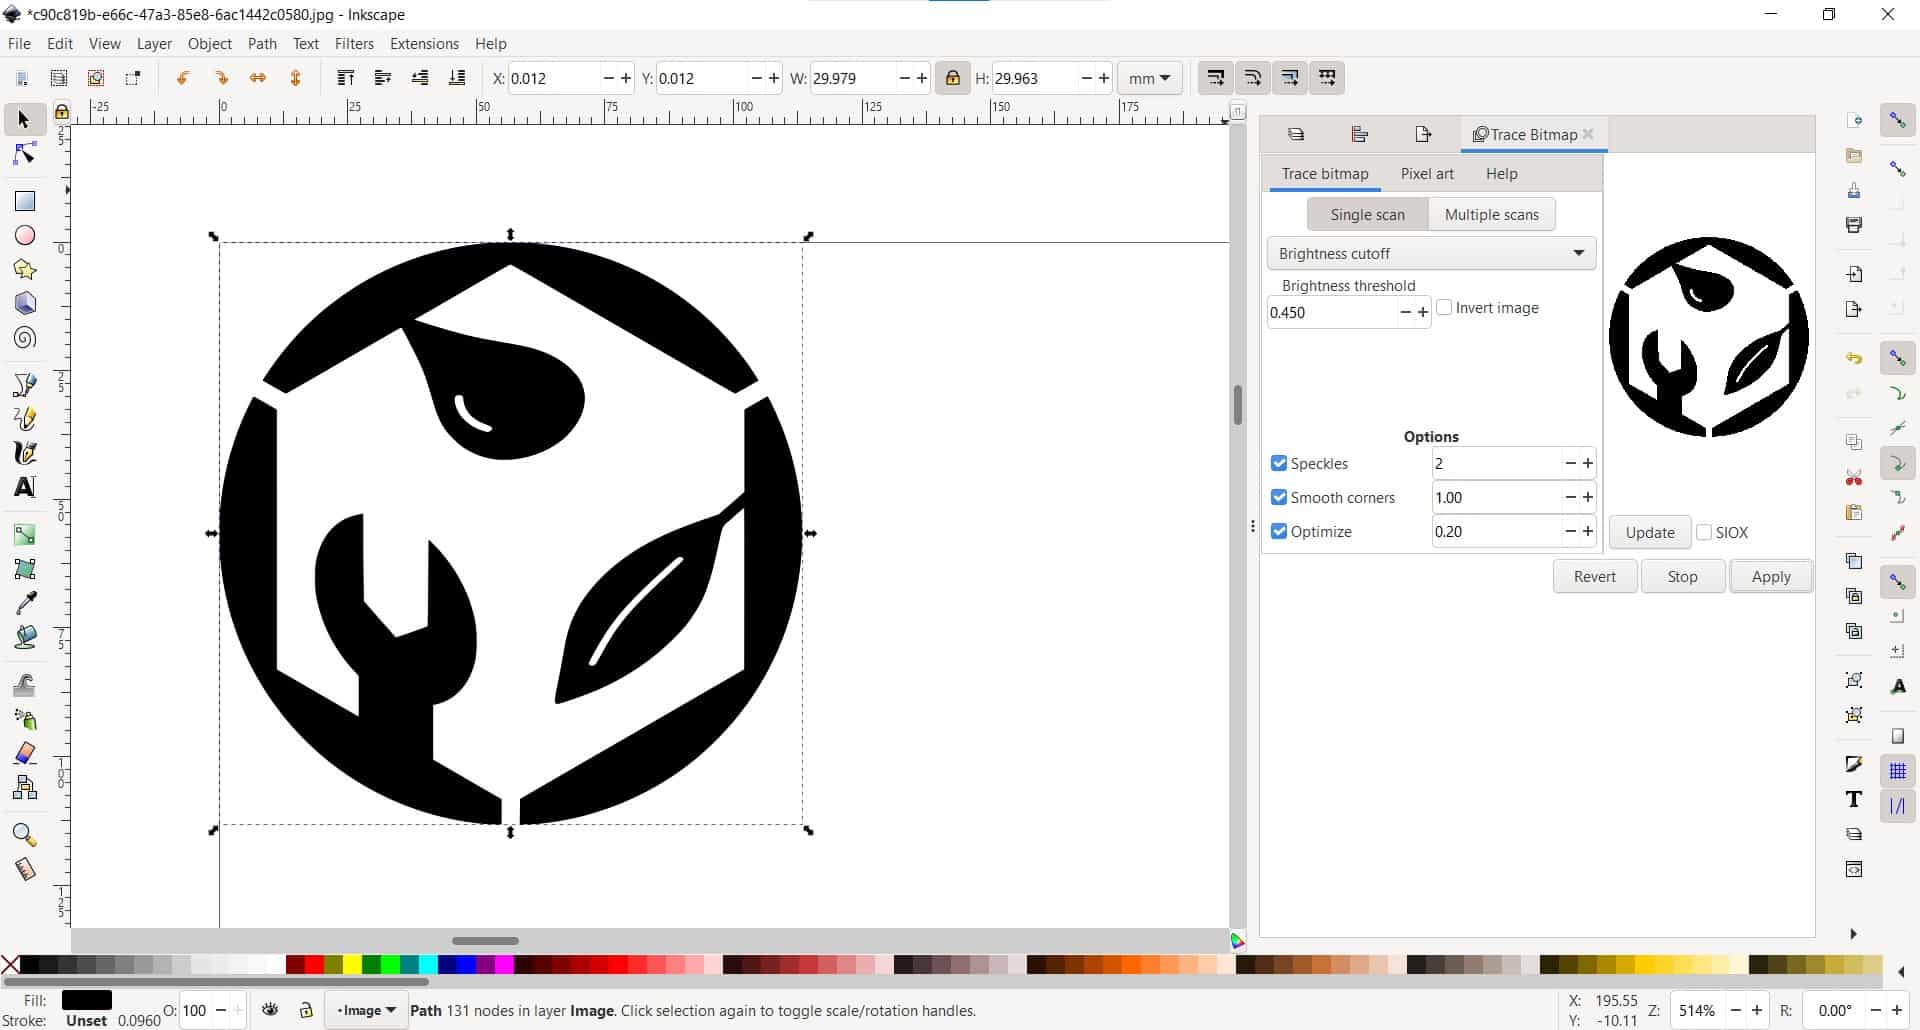
Trace Bitmap

Then I used the Trace Bitmap tool to make a vector path, over the raster,
New Layer
and then I added it to a new layer.
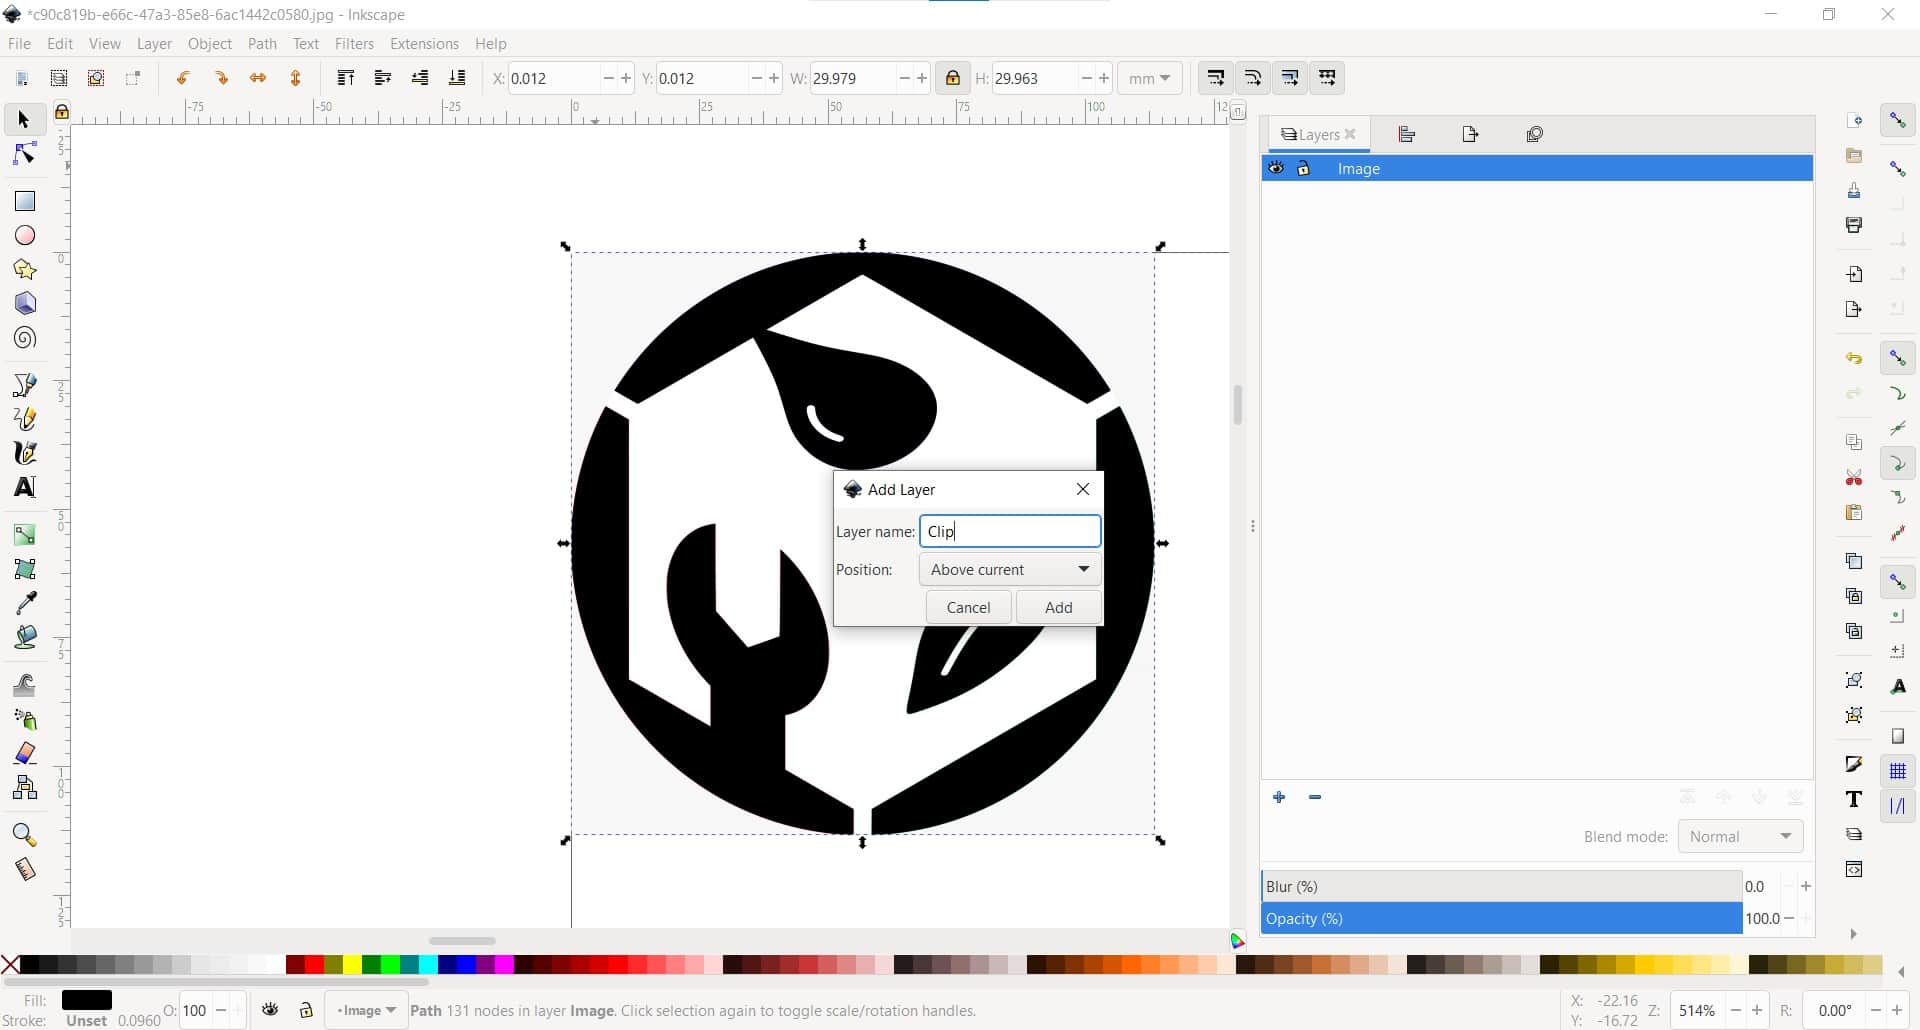
Remove Background
I wanted to get rid of the background, so I selected both objects and used the Clip Set tool from the Objects menu. This deleted everything in the image except what was under the new vector path.
Inkstitch
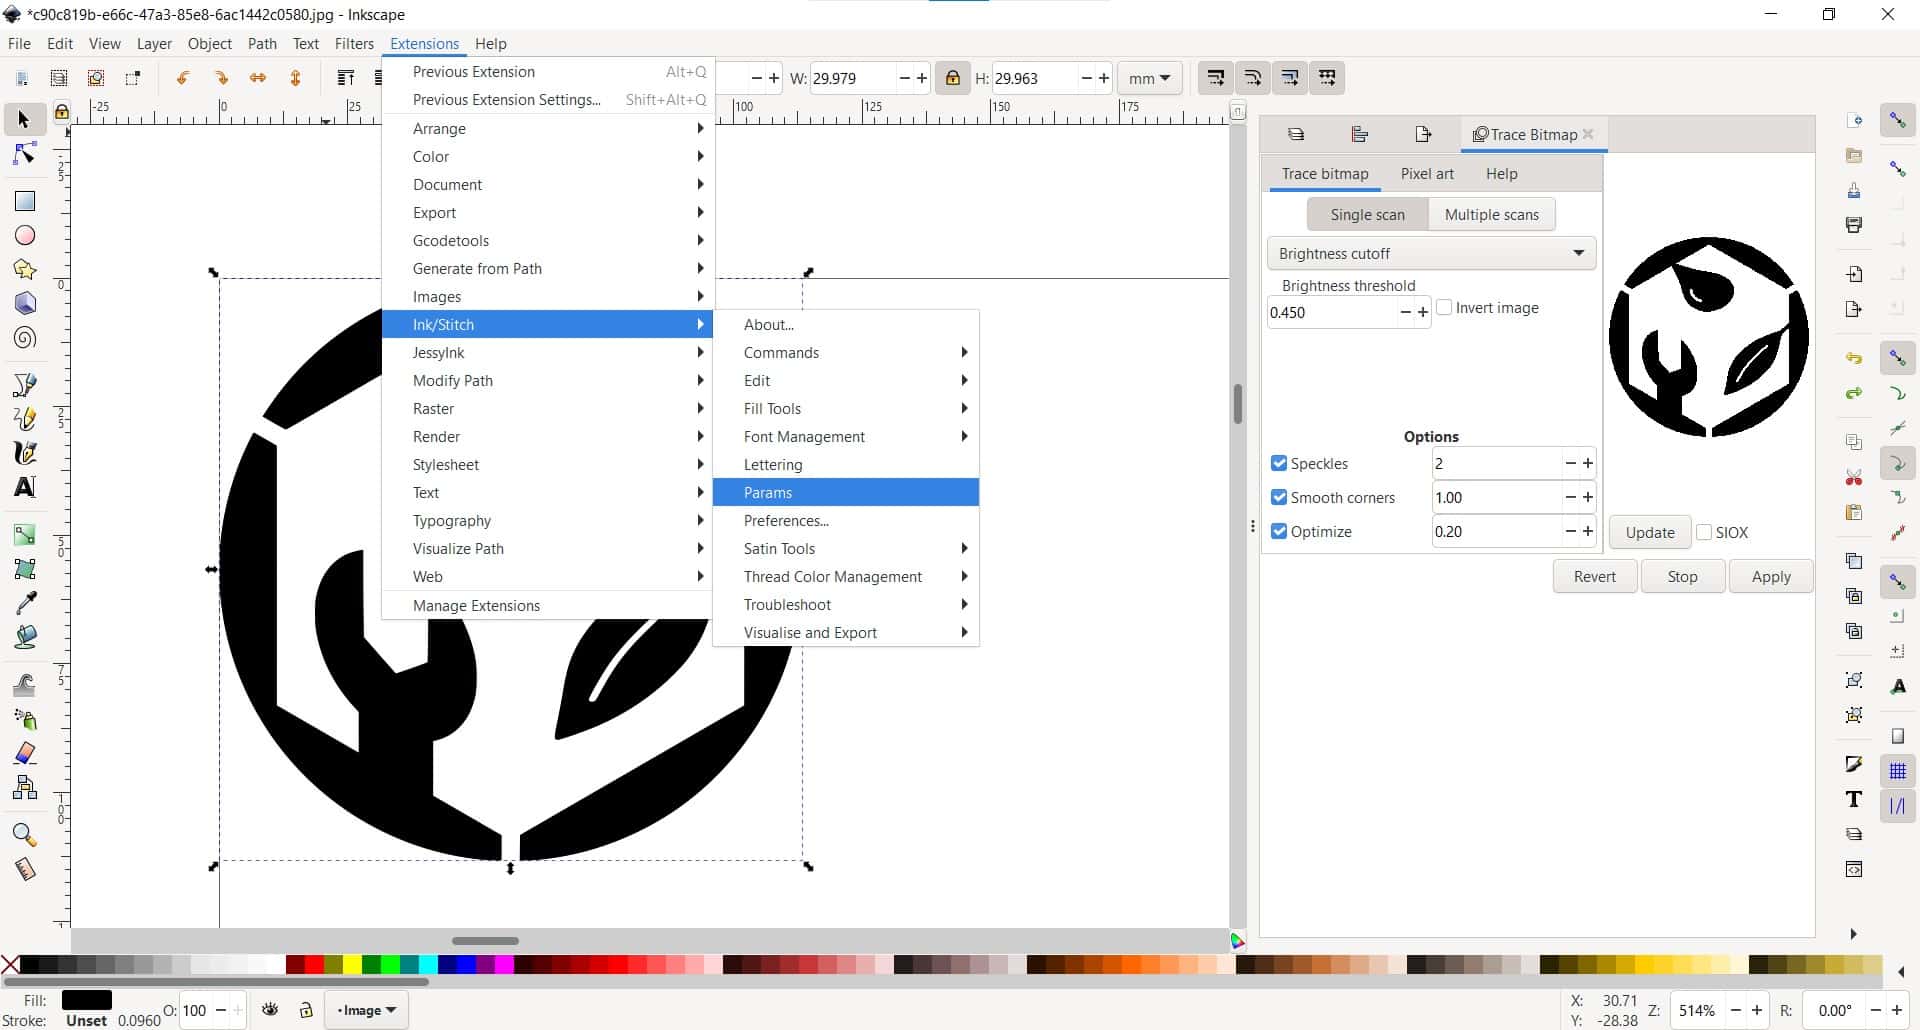
I was curious if a path was all I needed for Inkstitch to simulate a stitch pattern so I selected the path and then clicked on Extensions/ Inkstitch/ Params.
Error Message Coming Soon
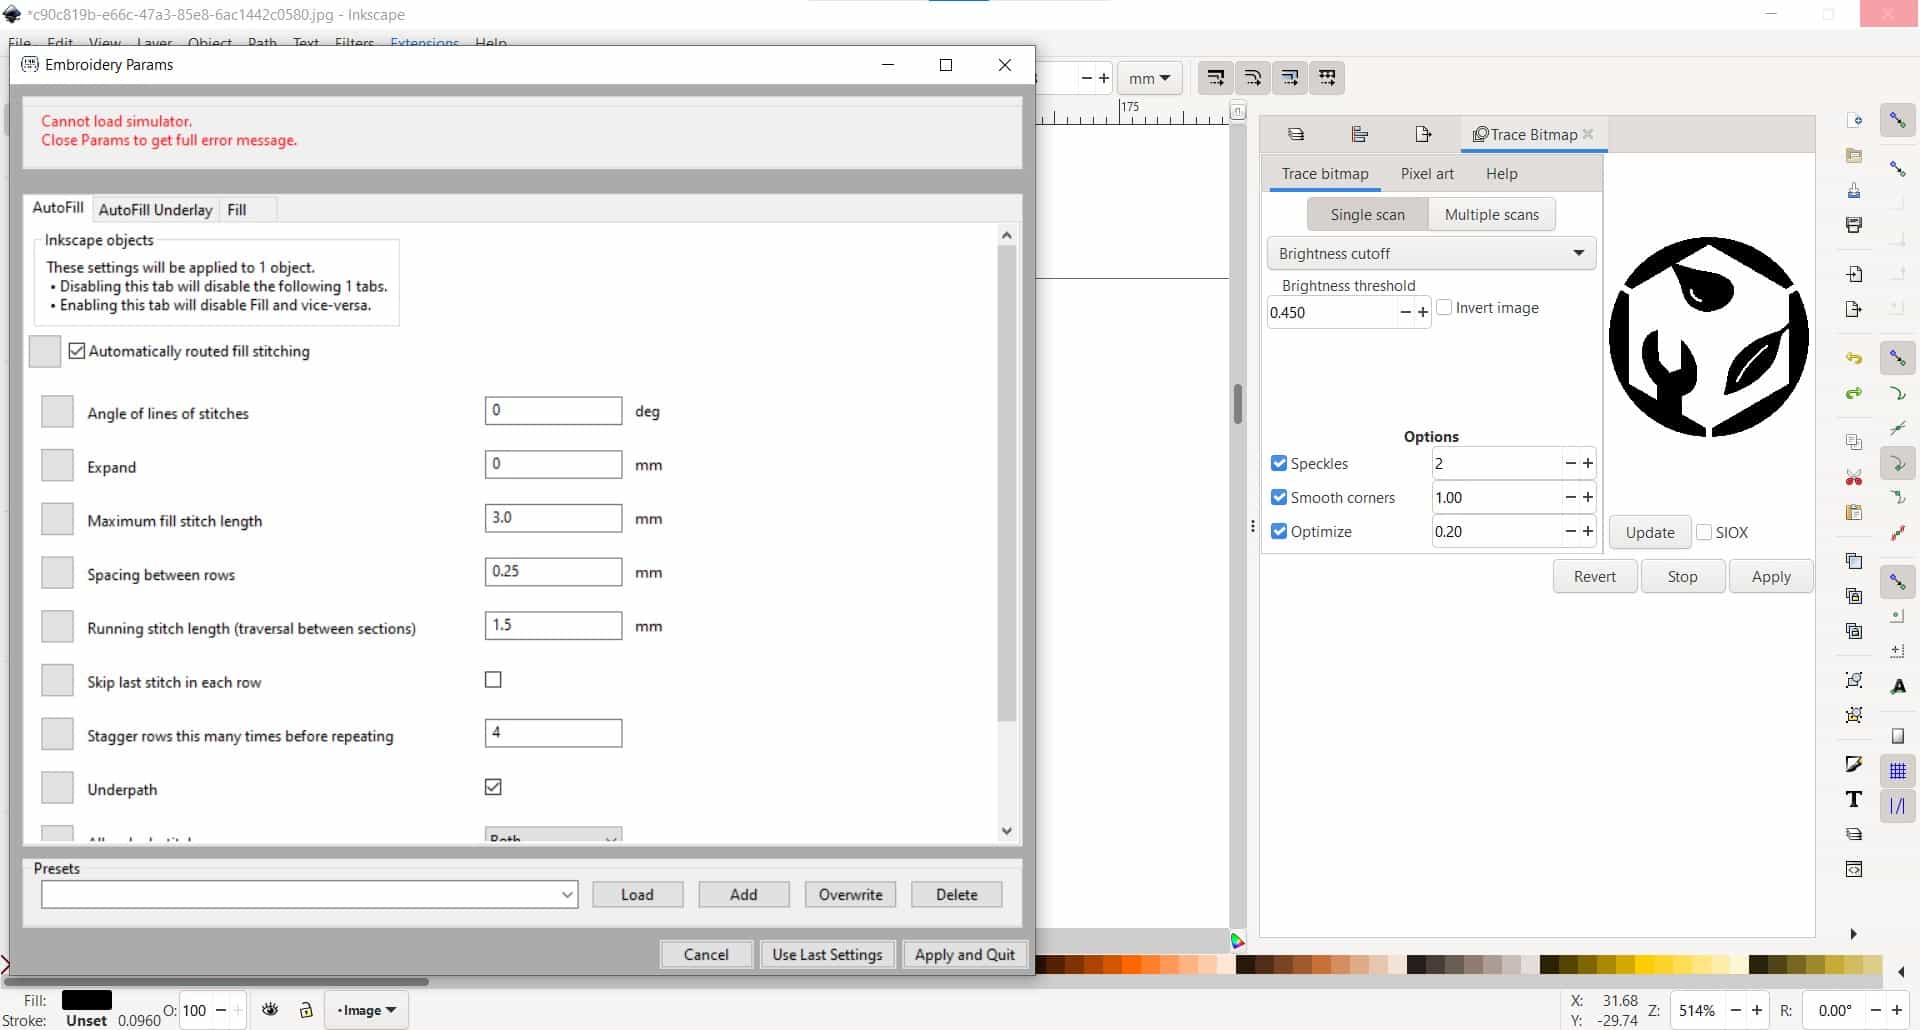
But it opened up with an error all ready to go. Strangely, I needed to close this window to learn about the error.
Error
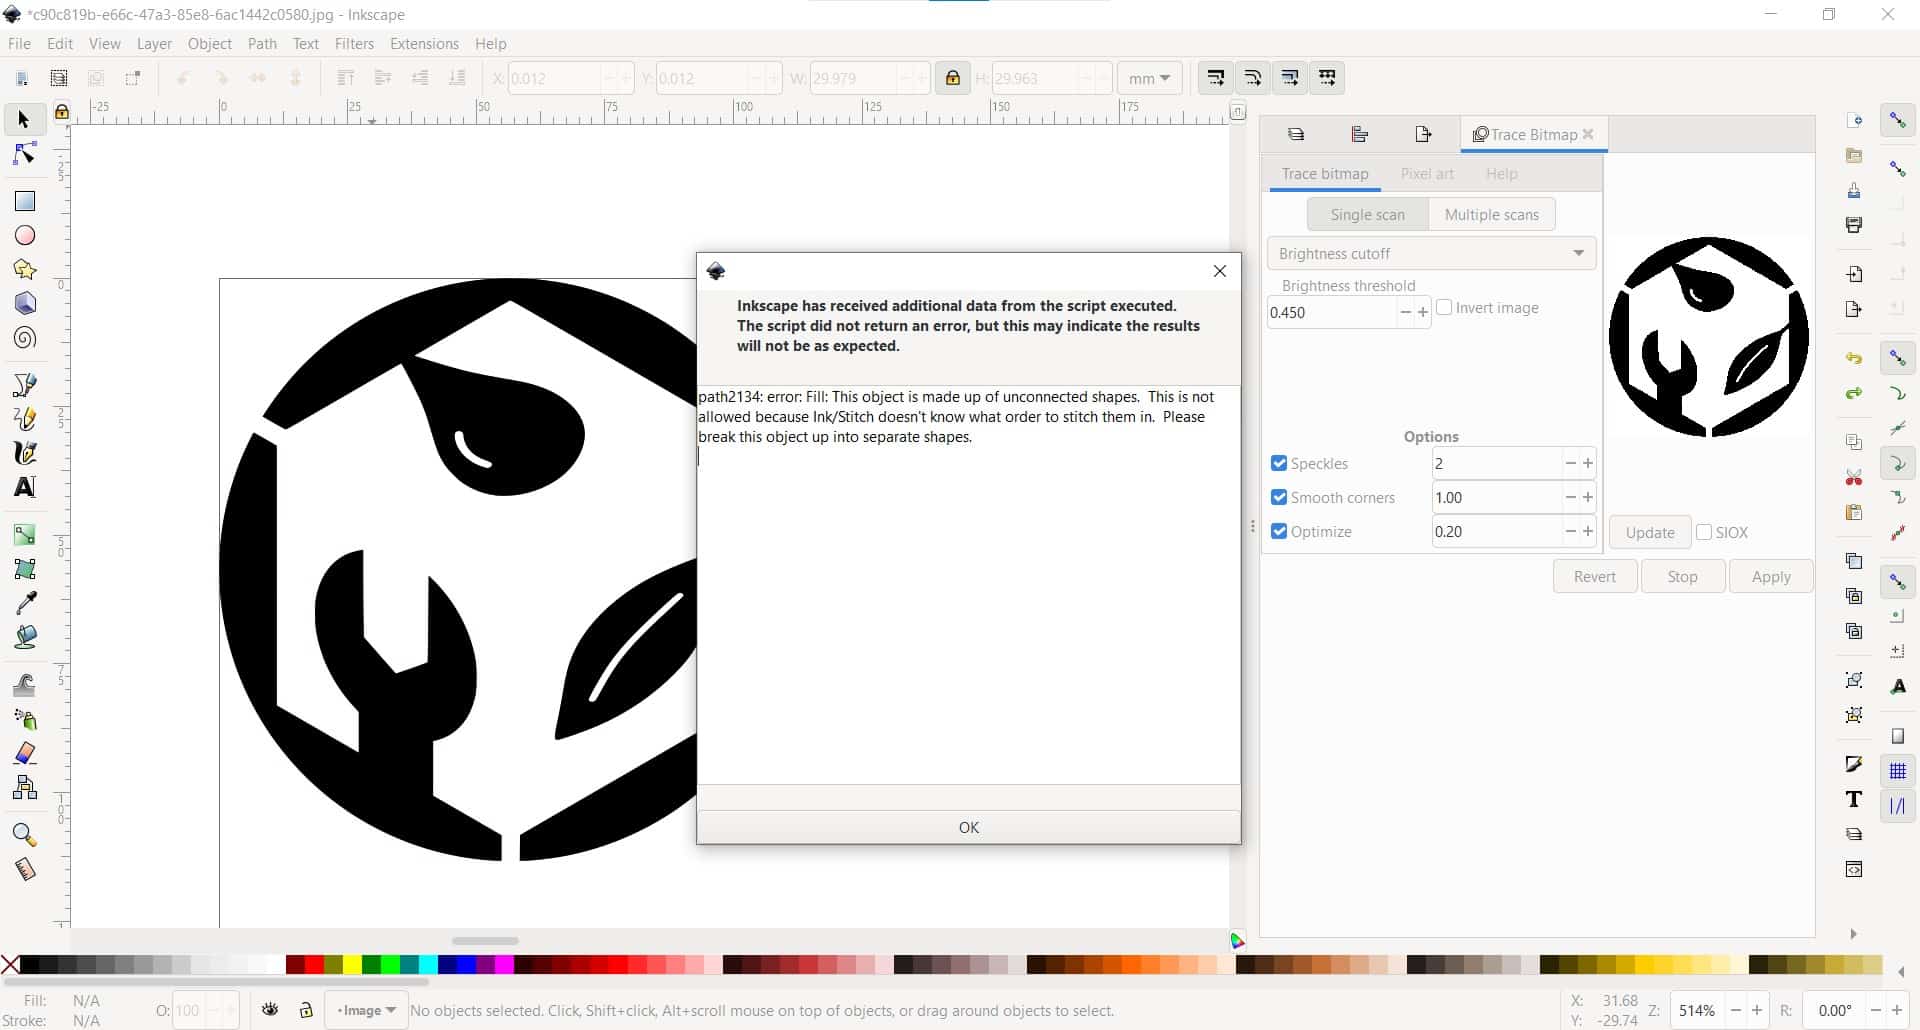
Turns out, Inkstitch doesn't know how to handle disconnected paths. I wasn't really expecting the process to work so easily the first time, but I was a little surprised that it doesn't have some built in default for such jobs.
Break Apart
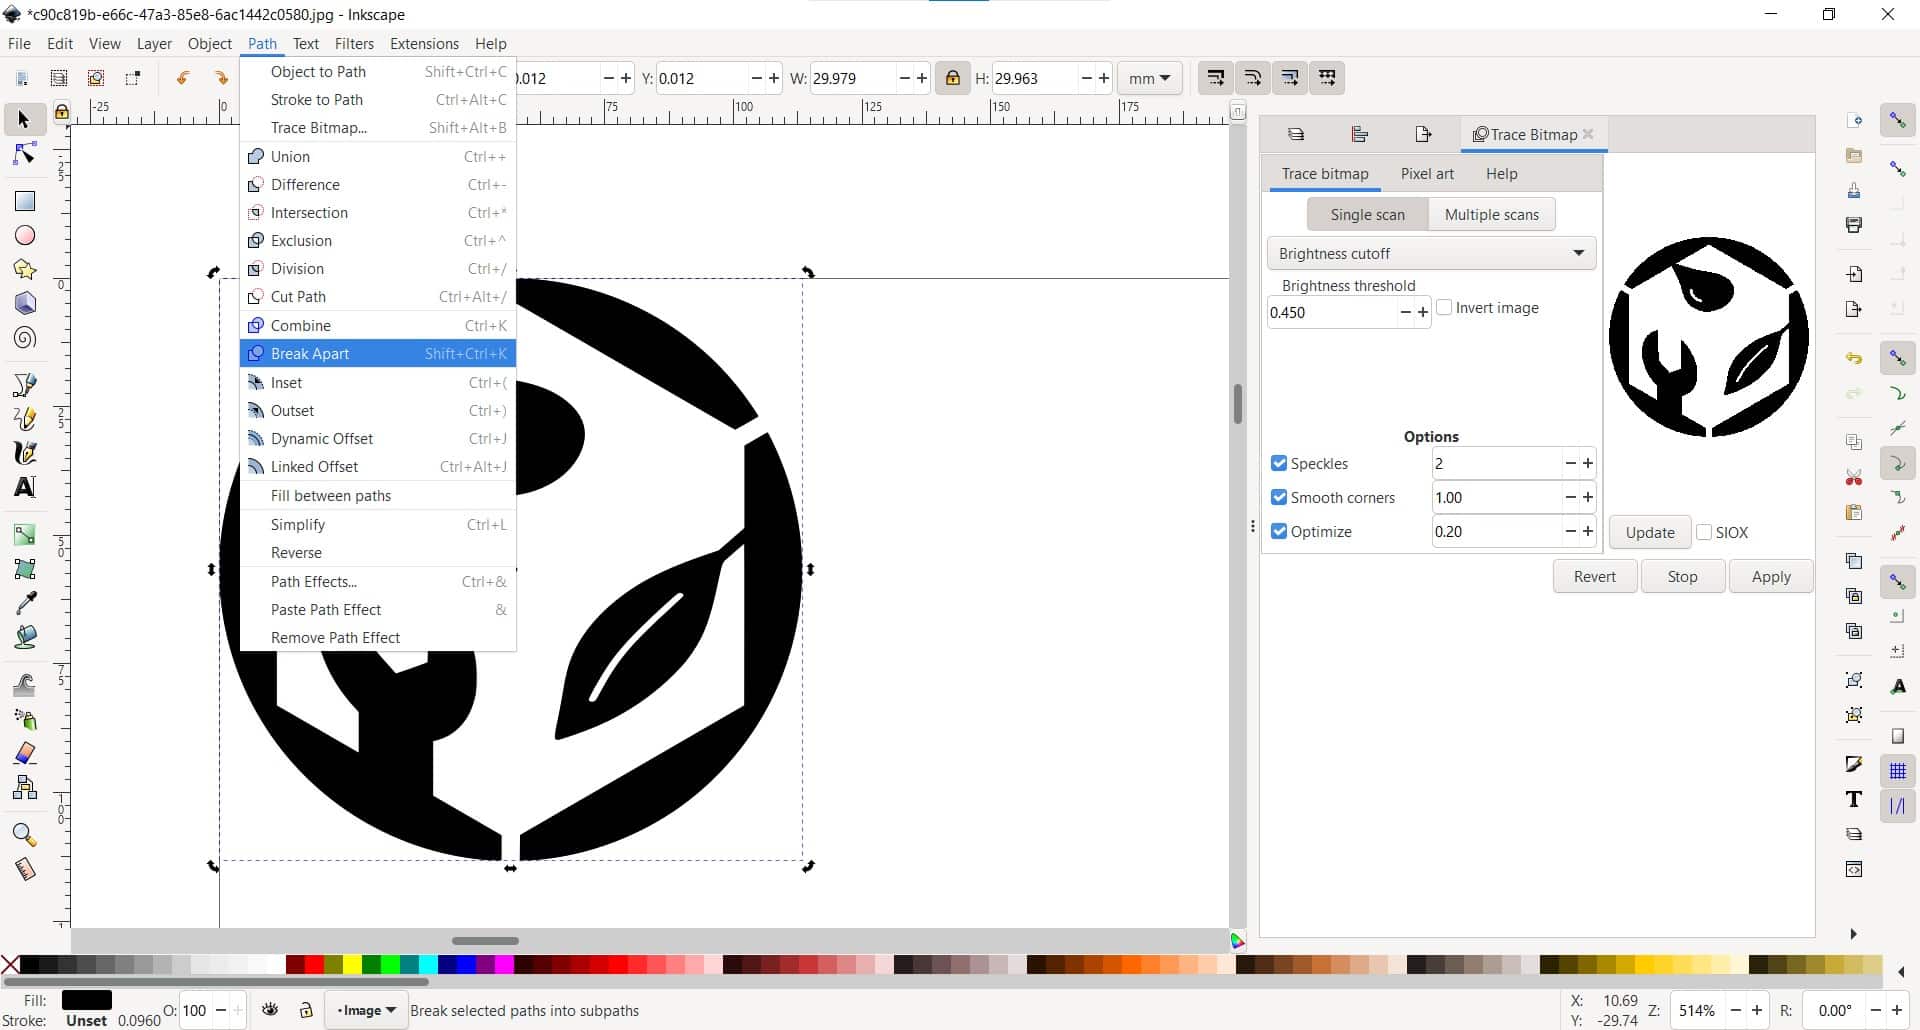
Following the instructions from the error, I broke apart the paths using the Break Apart tool in the Paths menu.
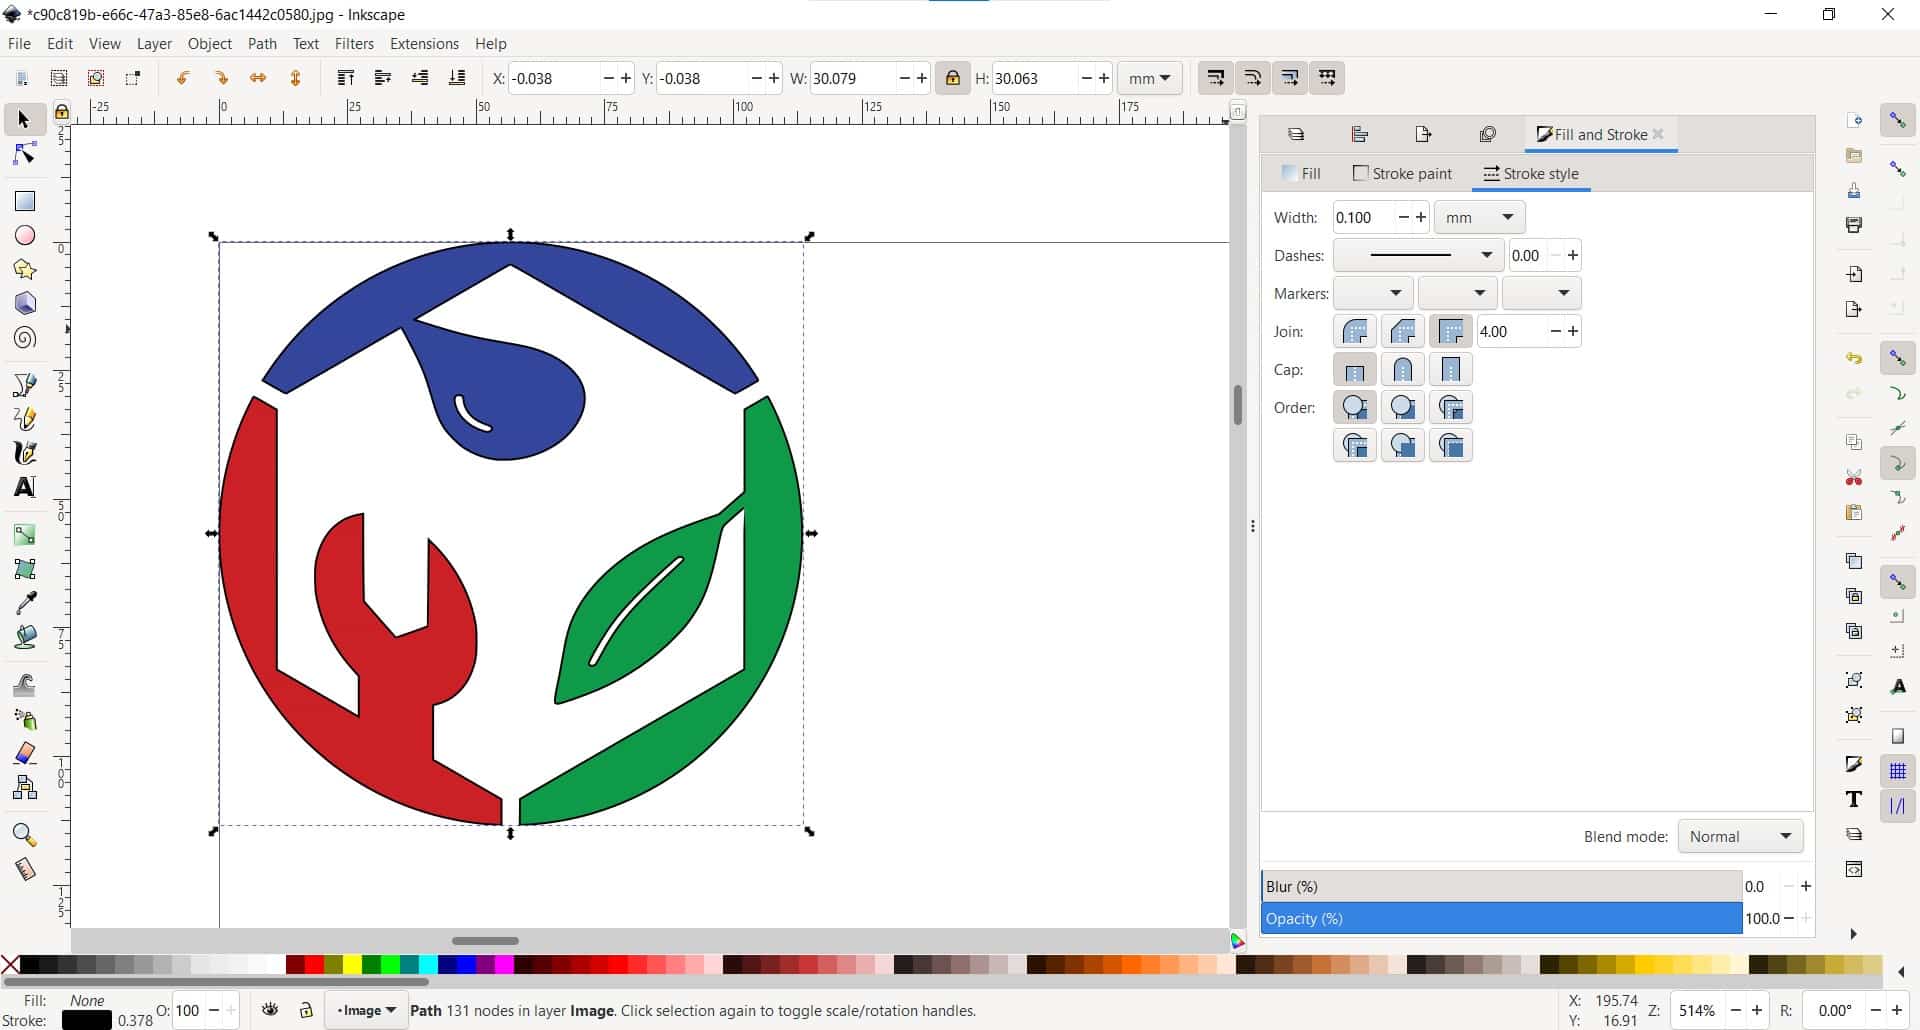
New (old) Colors
Now that I had three different paths, I changed the colors to the colors from the logo.
Inkstitch Params

This time when selected the paths and opened them in Params, everything worked and I was able to start playing with some details for the fill stitches.
New Parameters
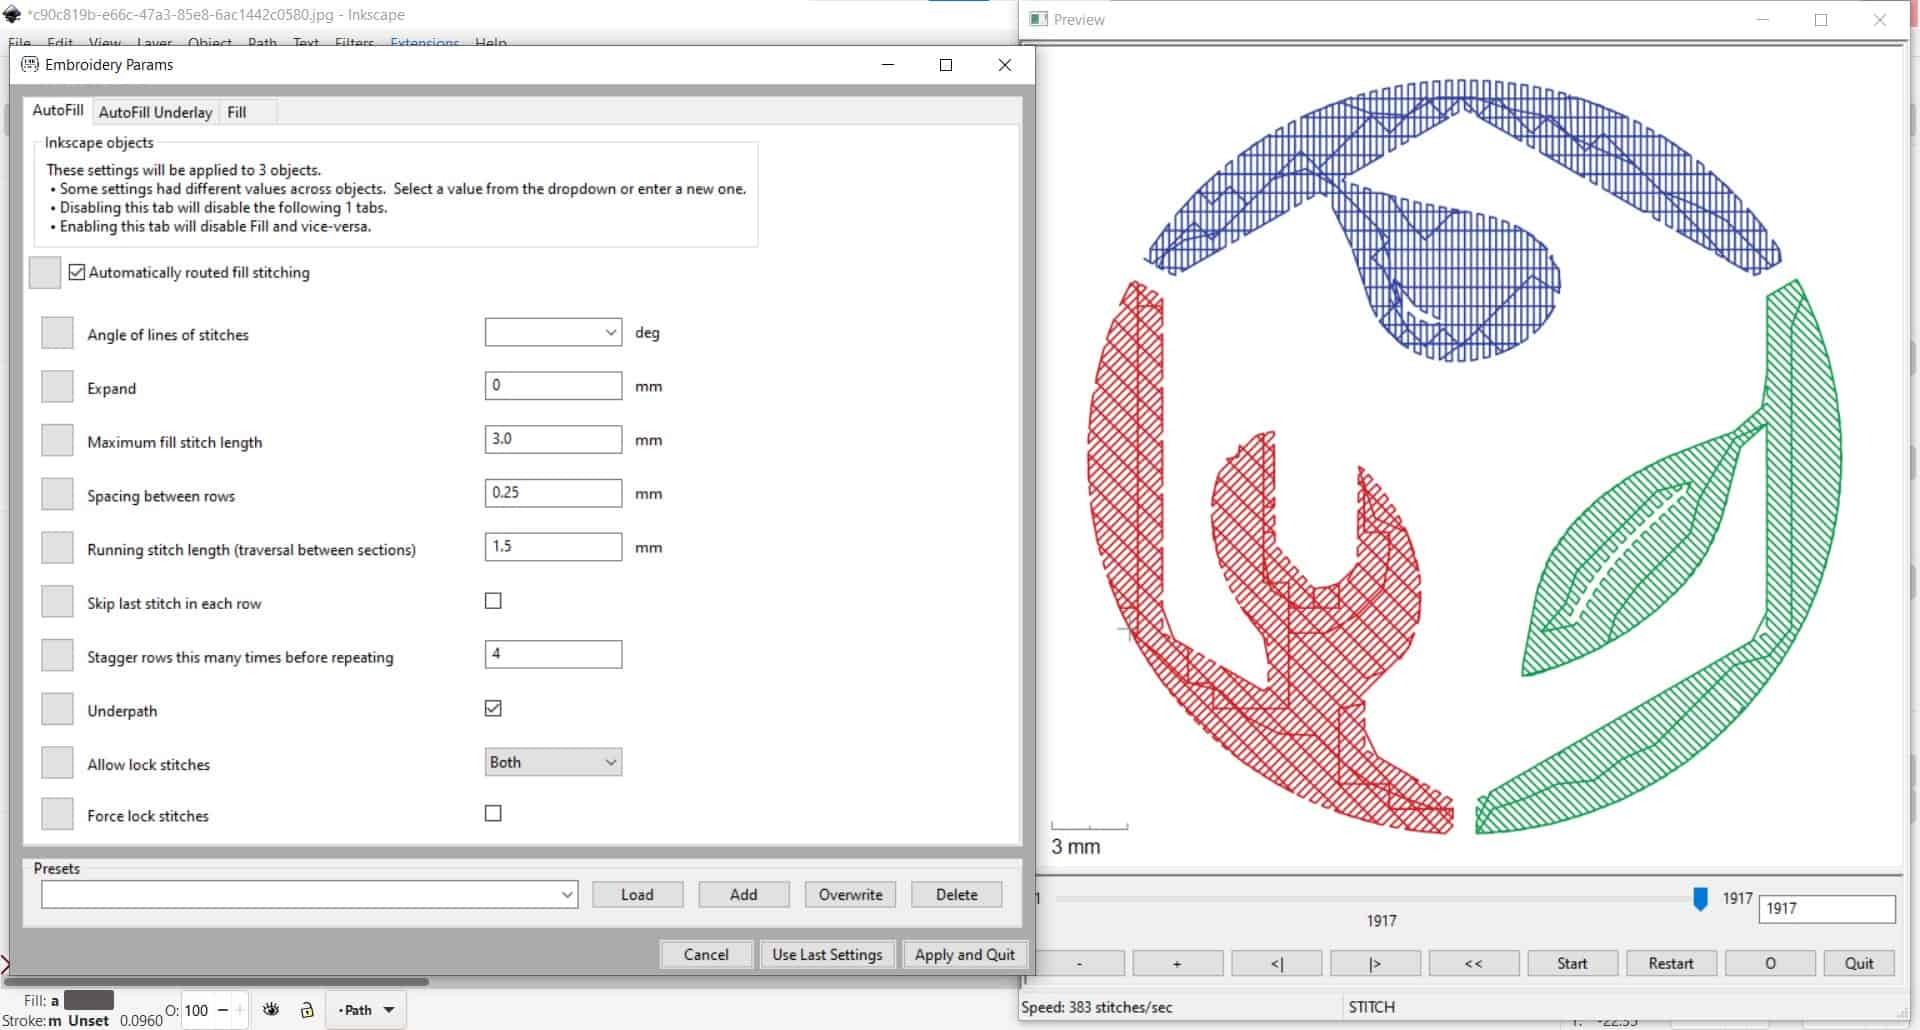
I played around with stitch sizes and other parameters such as the angle of the stitches. I preferred the look of having all three stitch patterns pointing to the center.
Underlay
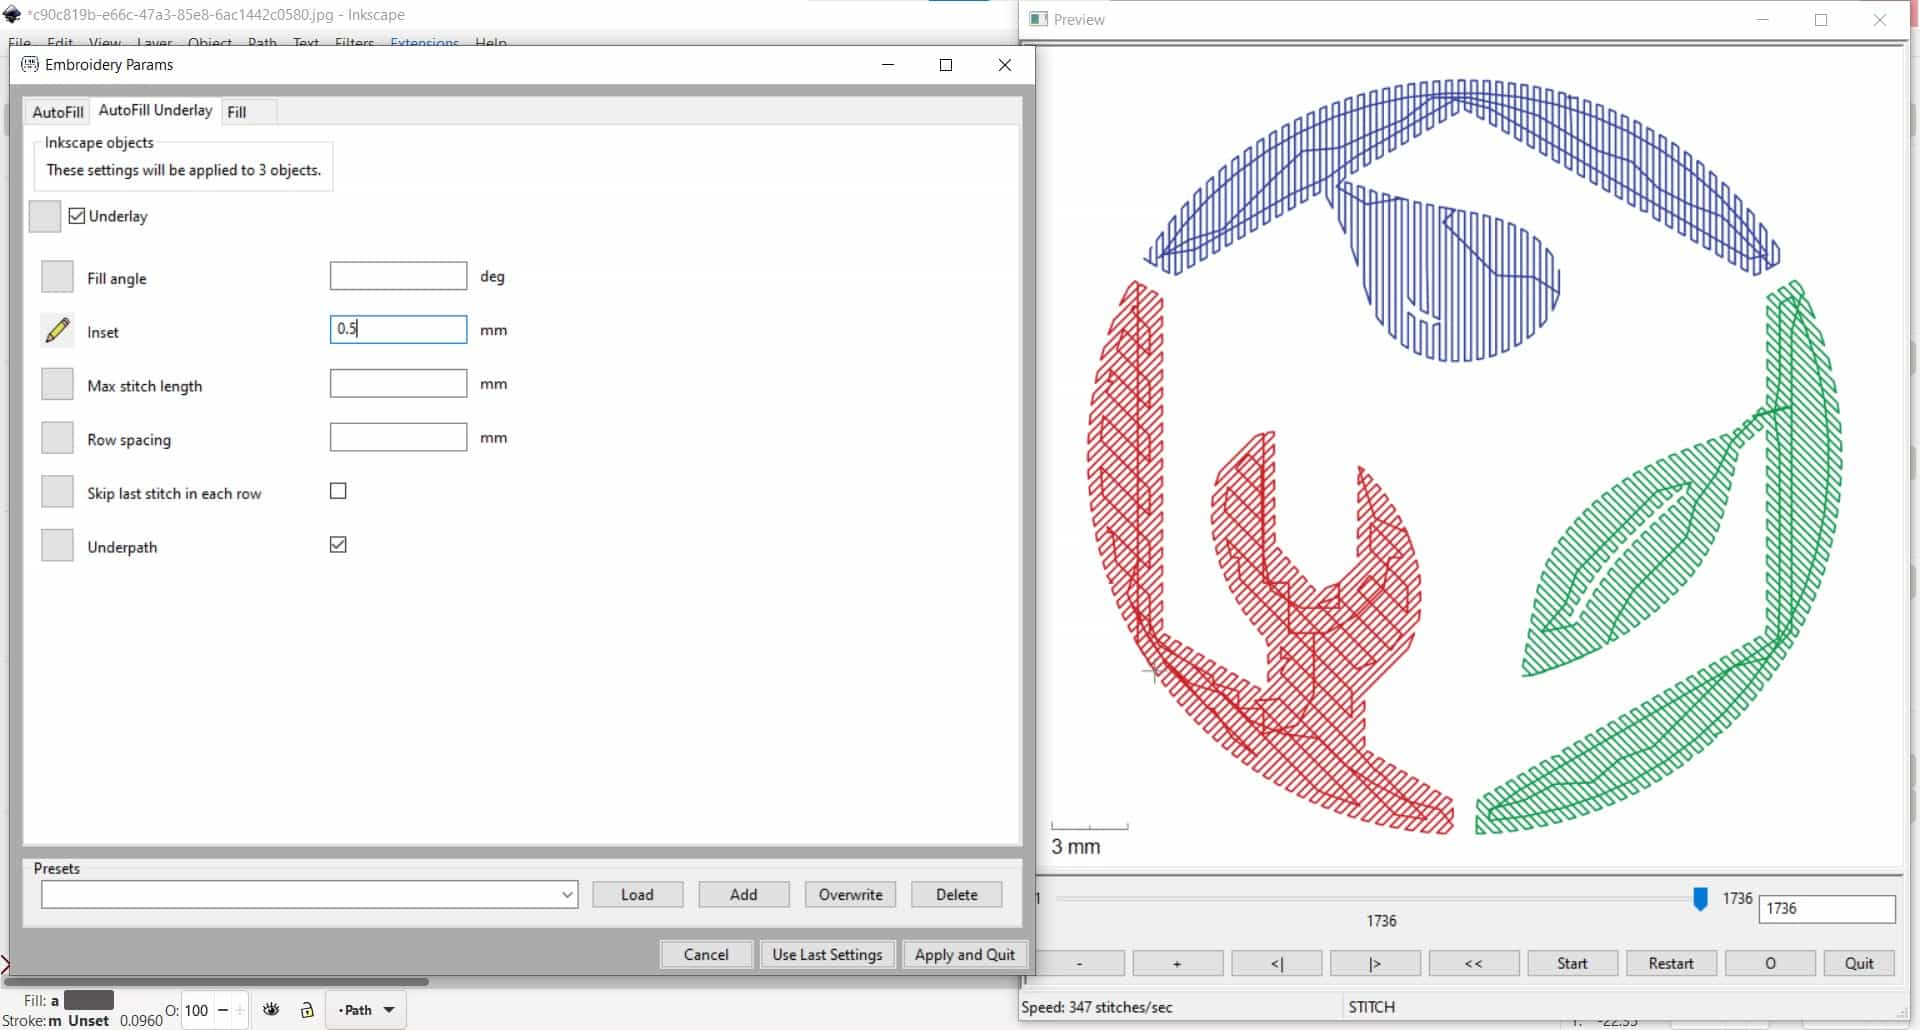
I also changed the parameters for the underlay stitches a little.
Trace Bitmap Again
So far so good, but I wanted to add a border around the fill to clean up the edges a little bit, so I used the Trace Bitmap tool once again to create a path.
No Fill, Only Outline
But this time, I removed the fill and kept only the outline.
White
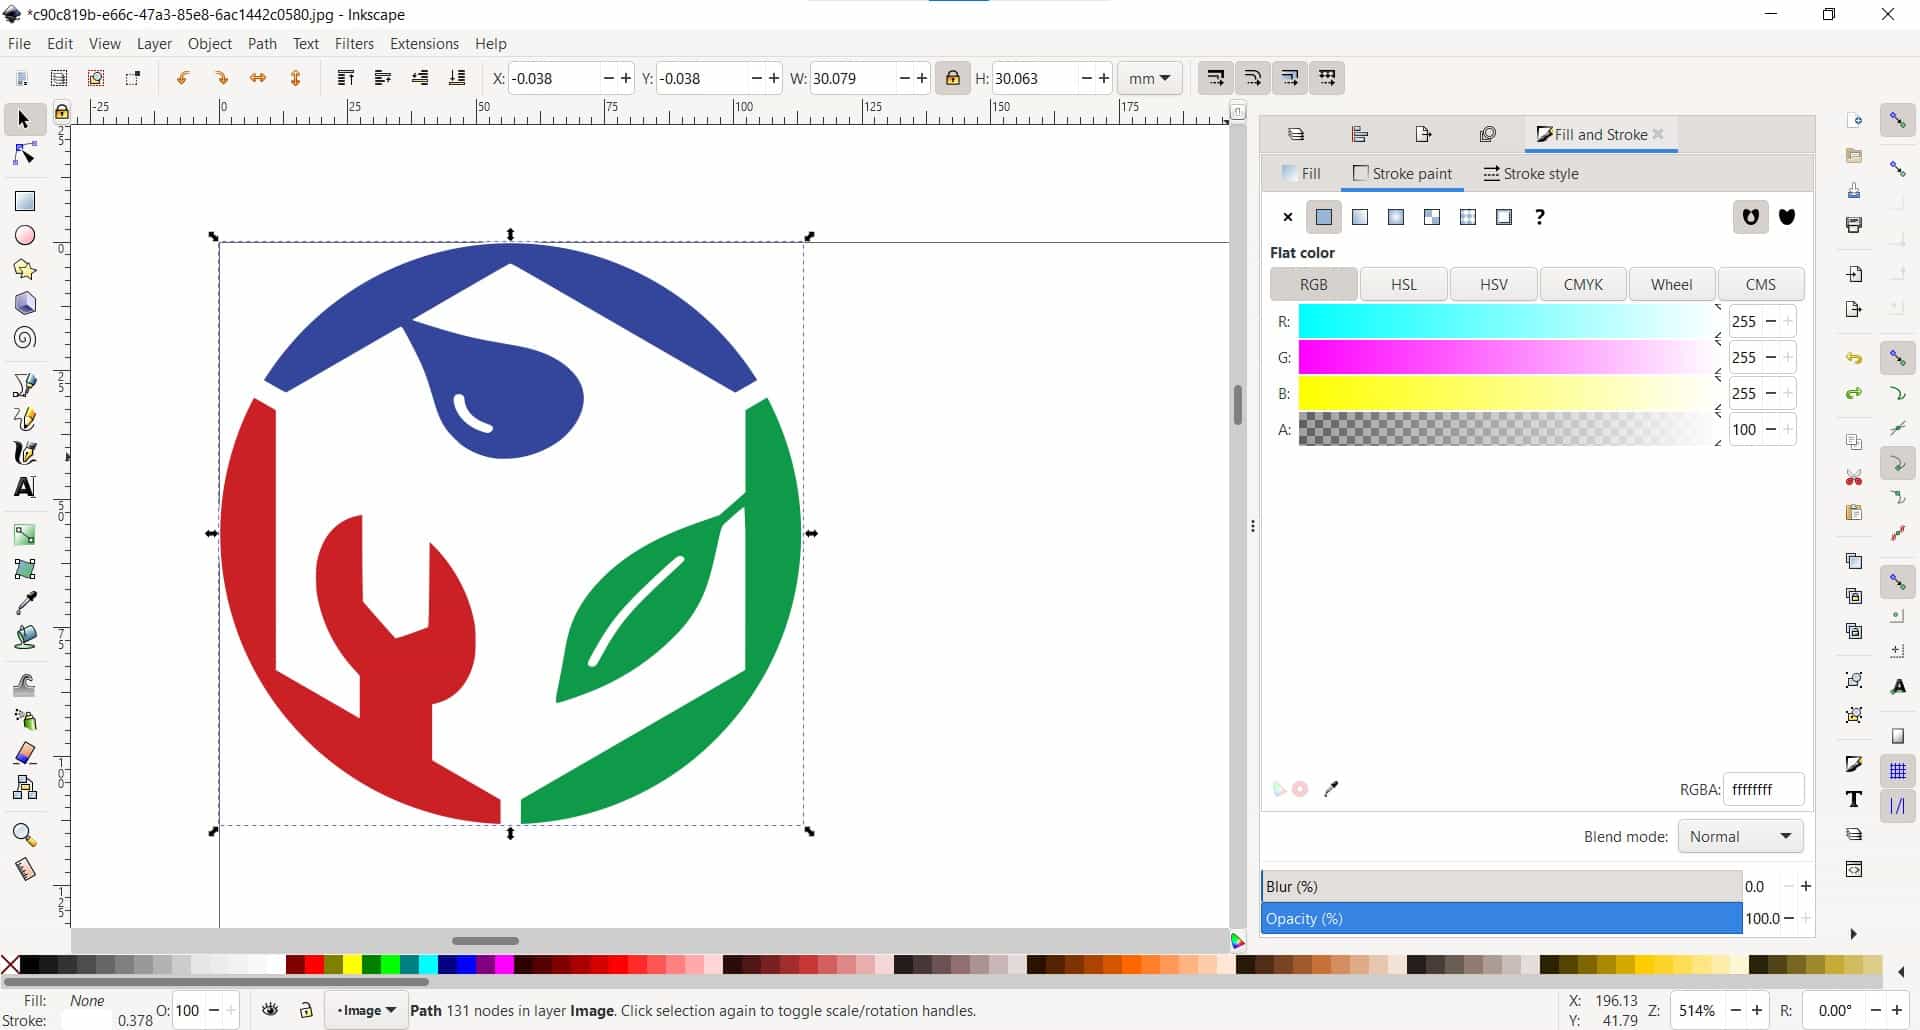
I wanted some contrast with the gray fabric we have in the lab, so I decided to make the border white.
Line Stitch
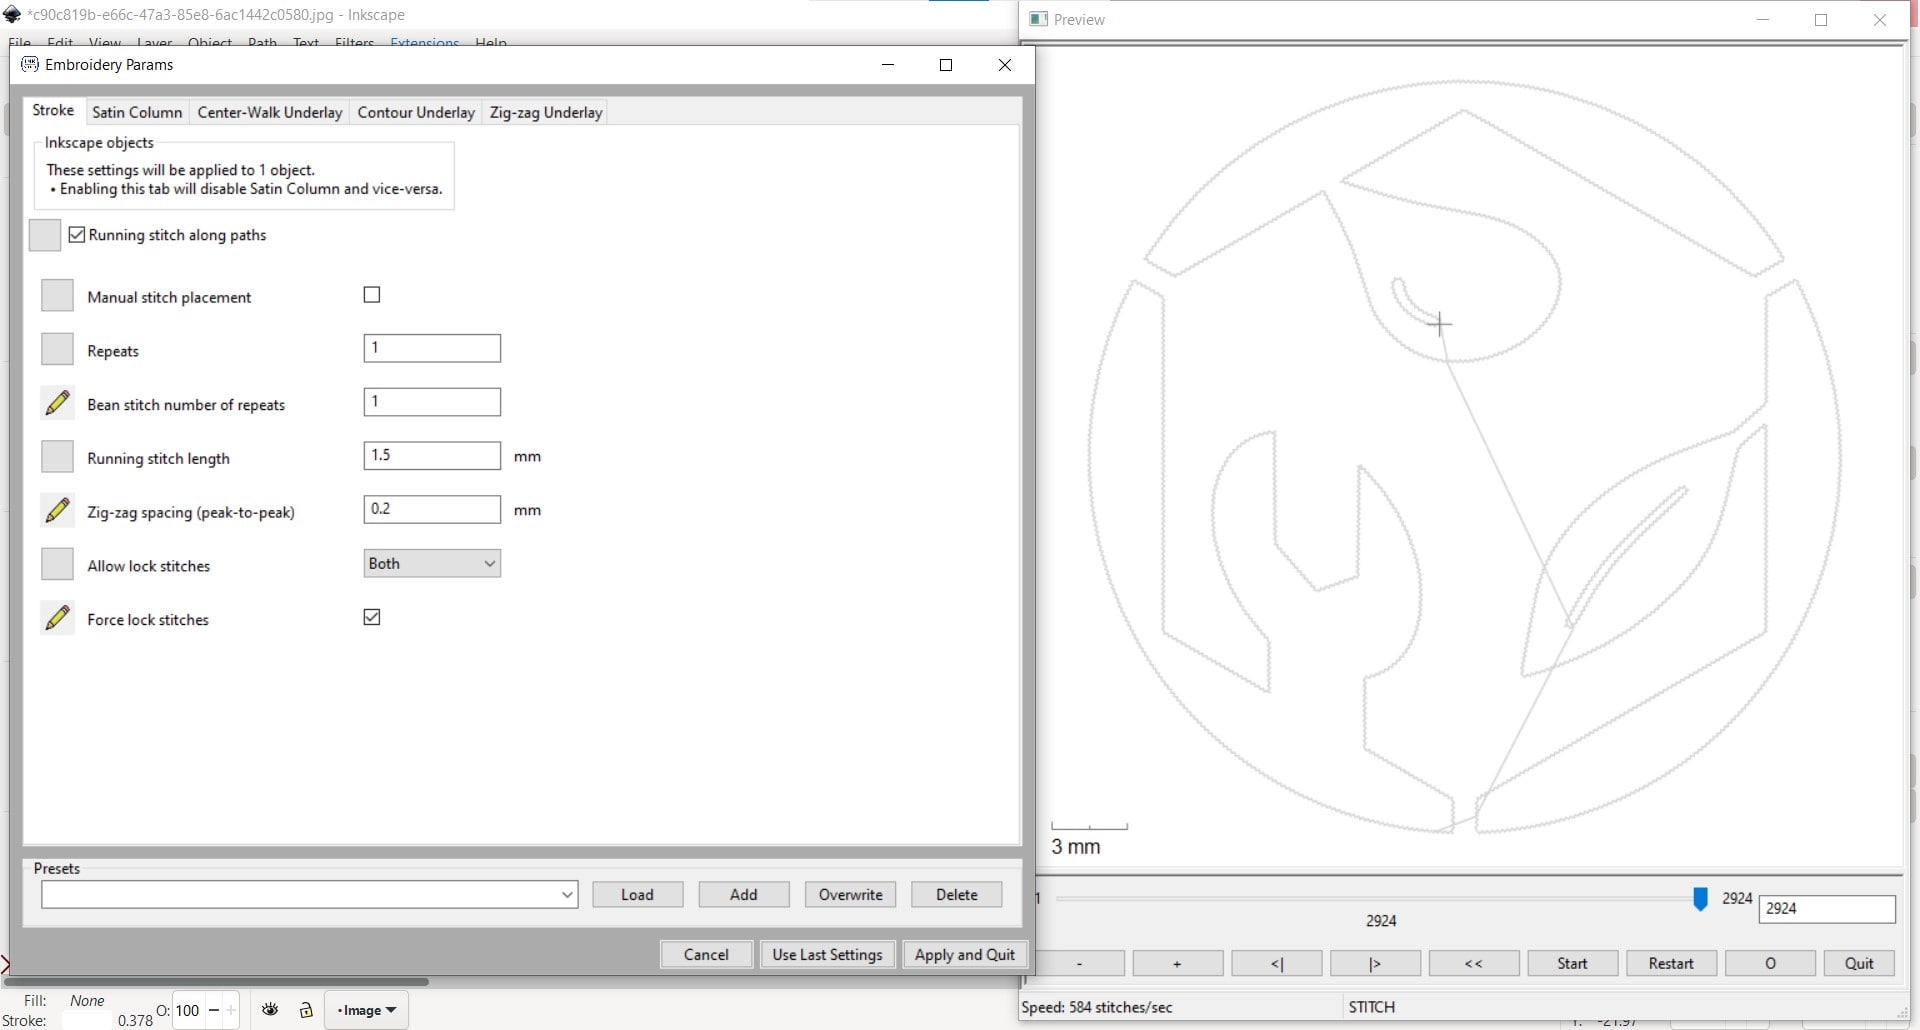
Then I opened it up in Inkstitch using a line stitch.
Full Logo Patch
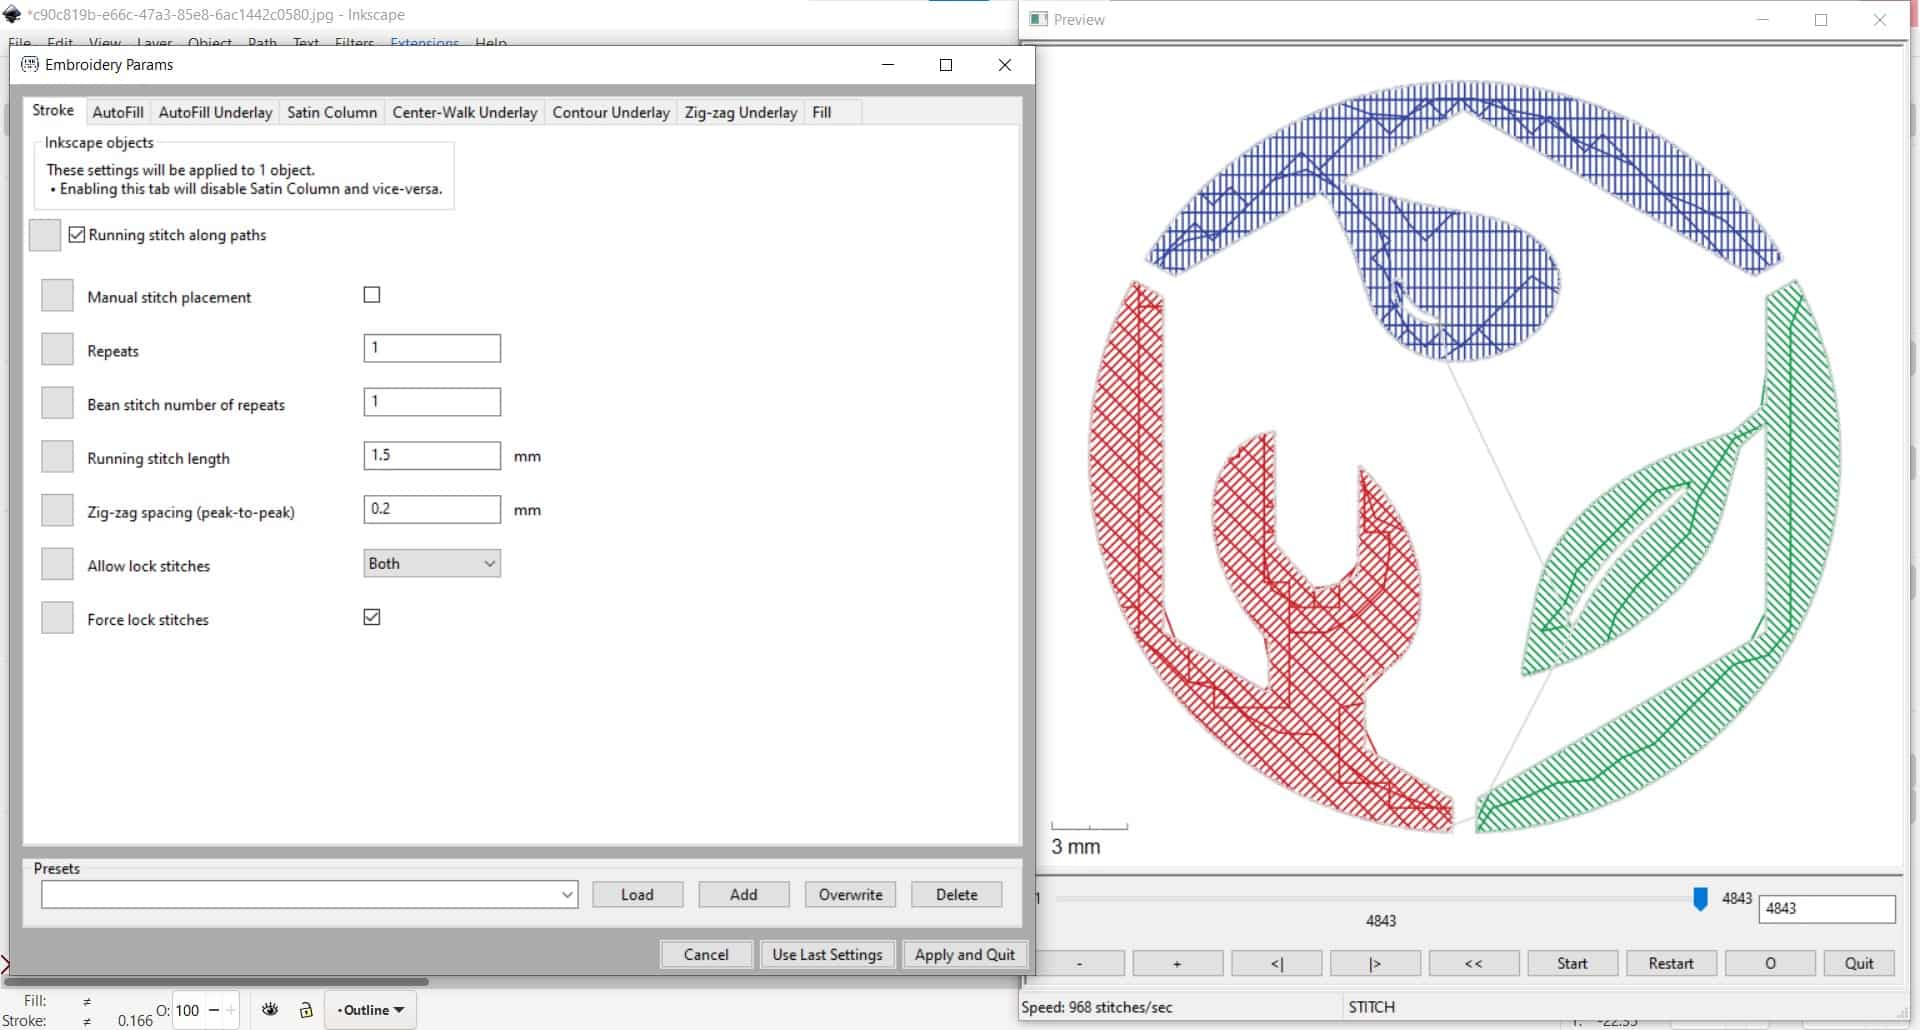
Everything was looking good for the border, so I opened up the whole image in Inkstitch to watch the simulation of the full project.
Lettering
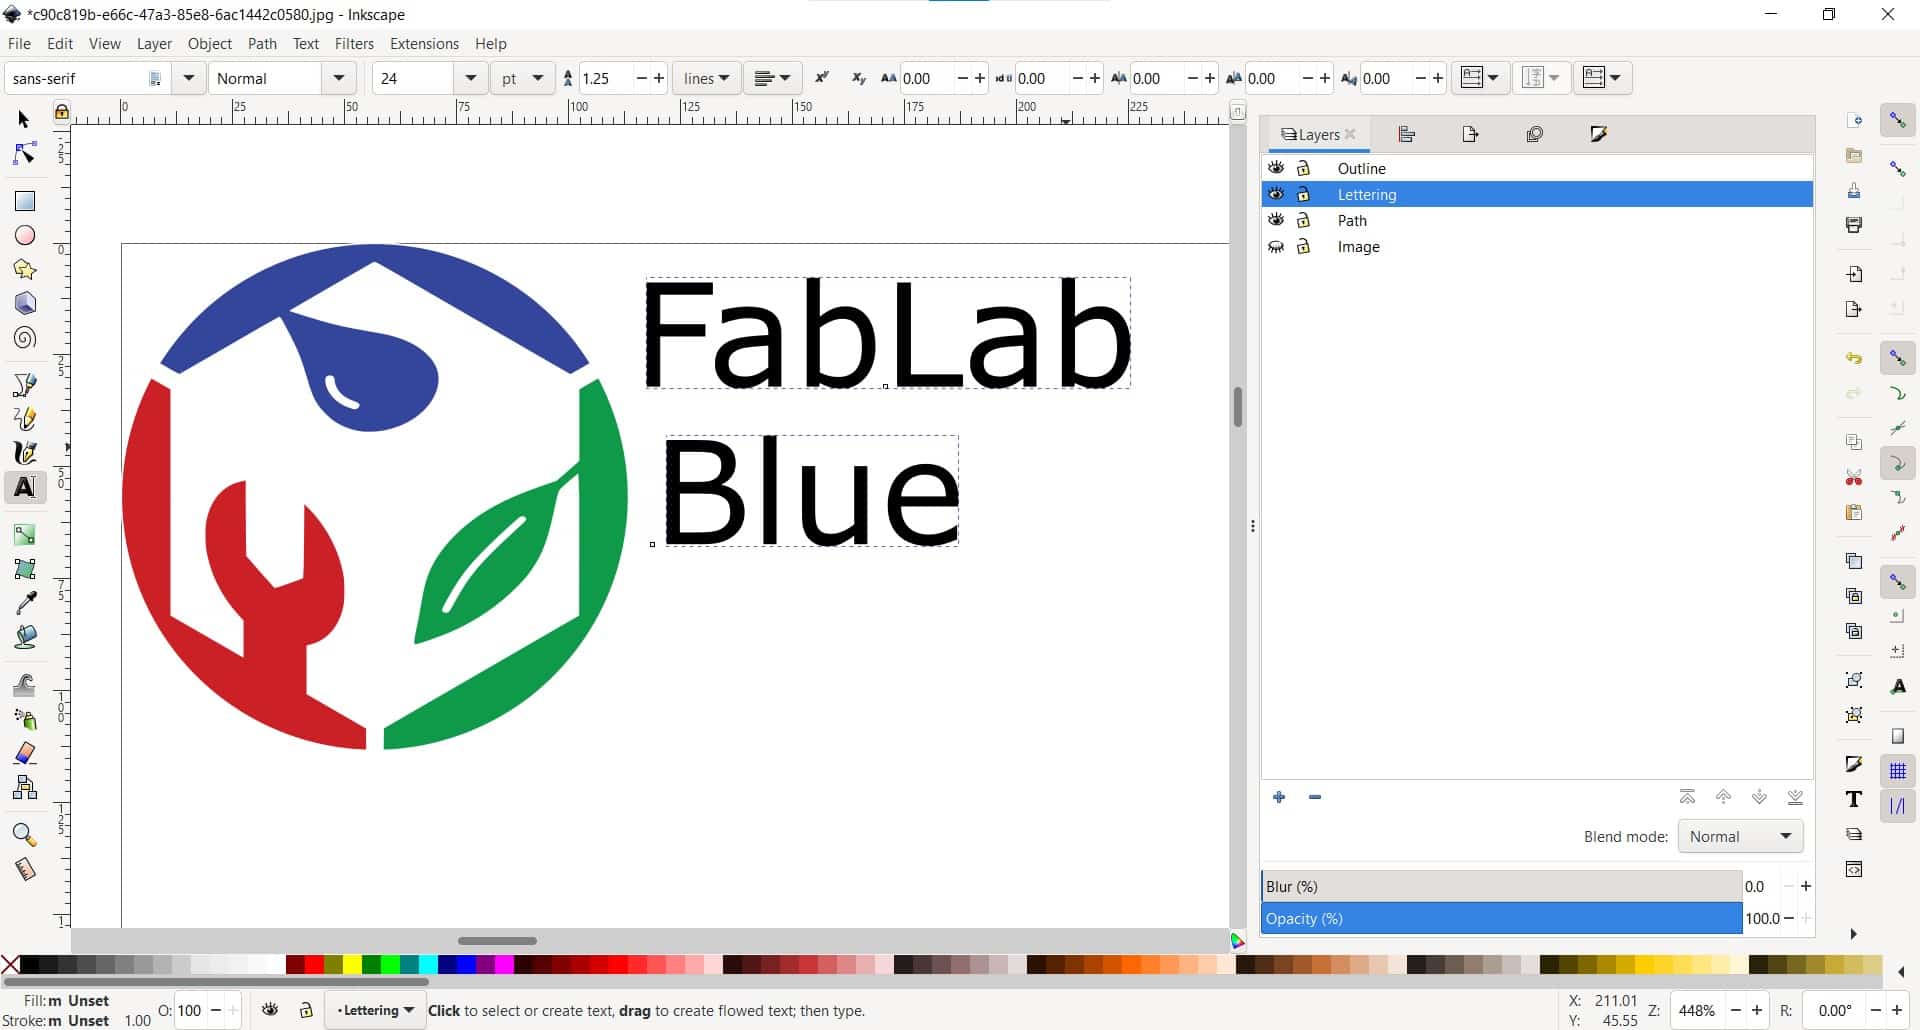
I also decided to add the lettering so the logo makes a bit more sense.
Error
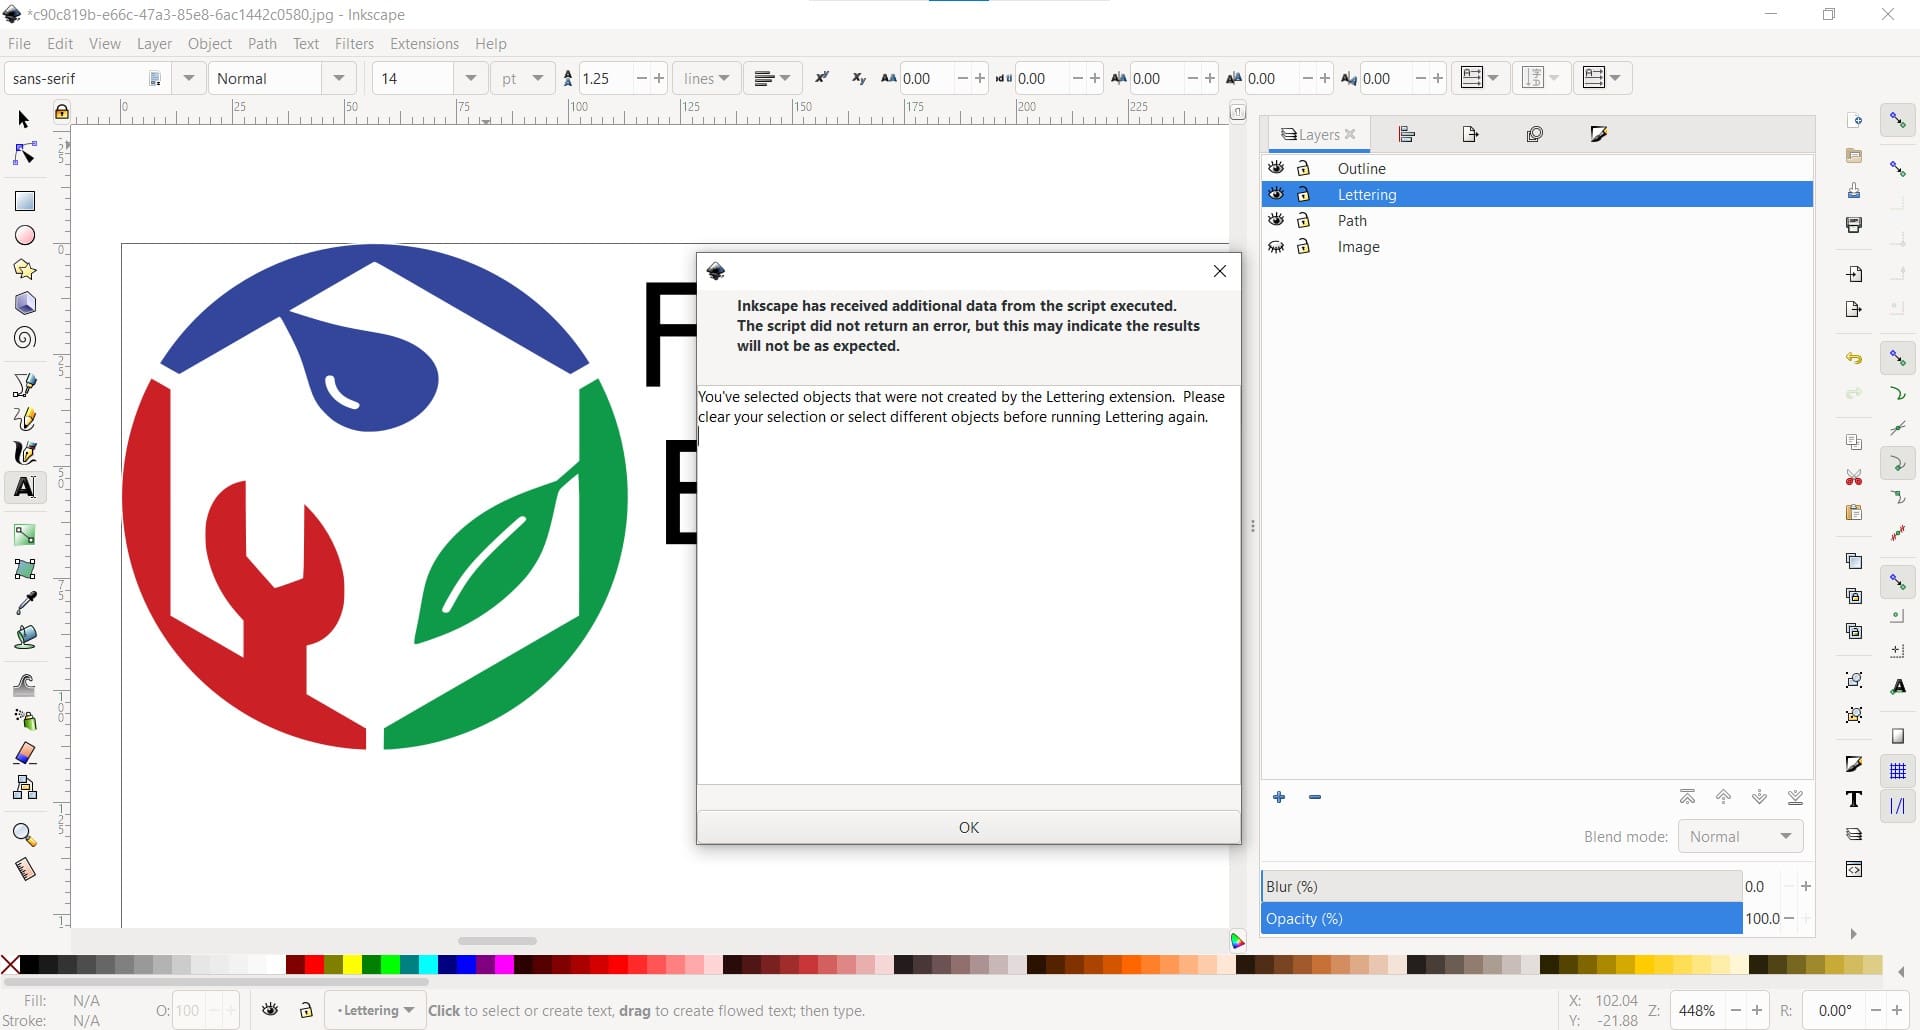
Inkstitch didn't appreciate me using unapproved lettering. Apparently, to use the lettering settings, you must use the lettering options that are built in to Inkstitch specifically, not just Inkscape.
Inkstitch Lettering
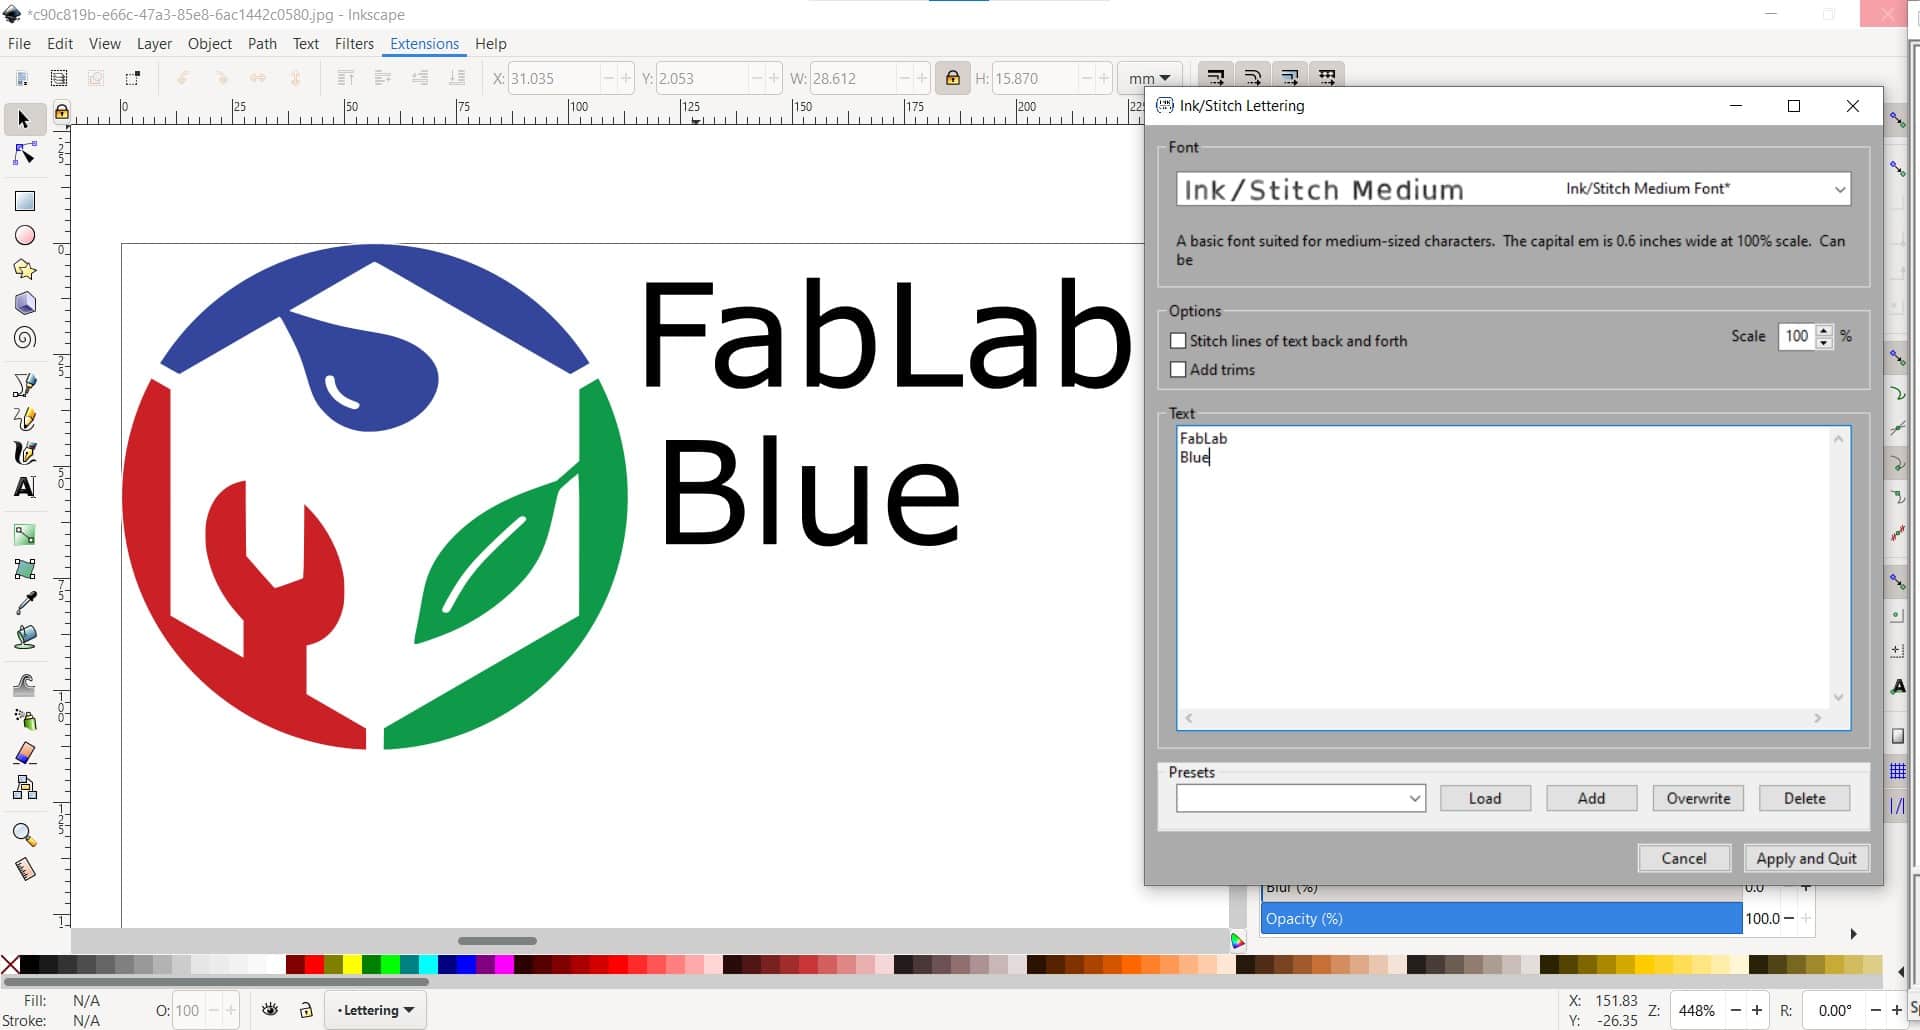
So I deleted the text I had made previously, and used the Lettering tool to recreate it as closely as necessary. I saved the project as a dst file and was ready to go the next day.
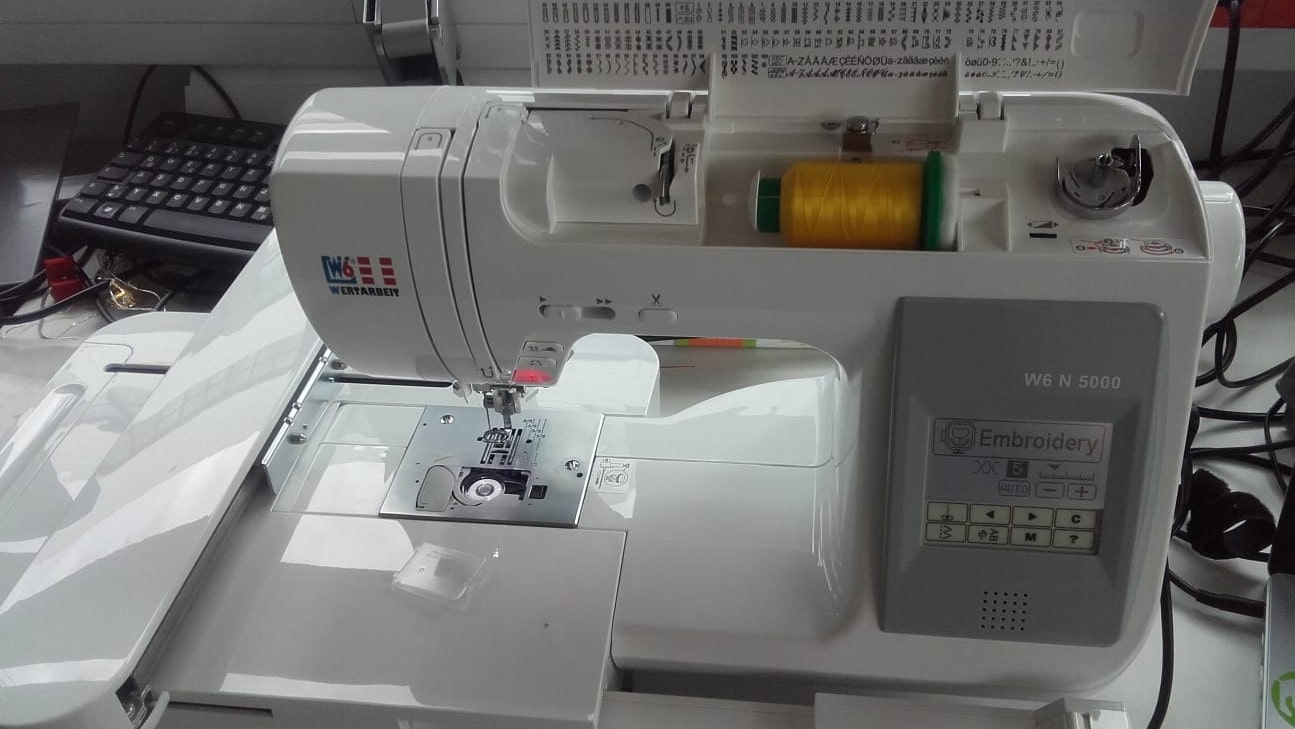
Experimenting with the Wertarbeit W6 N 5000
Adding the Embroidery Platform
I started by attaching the CNC embroidery platform to the sewing machine.
Loading the Fabric
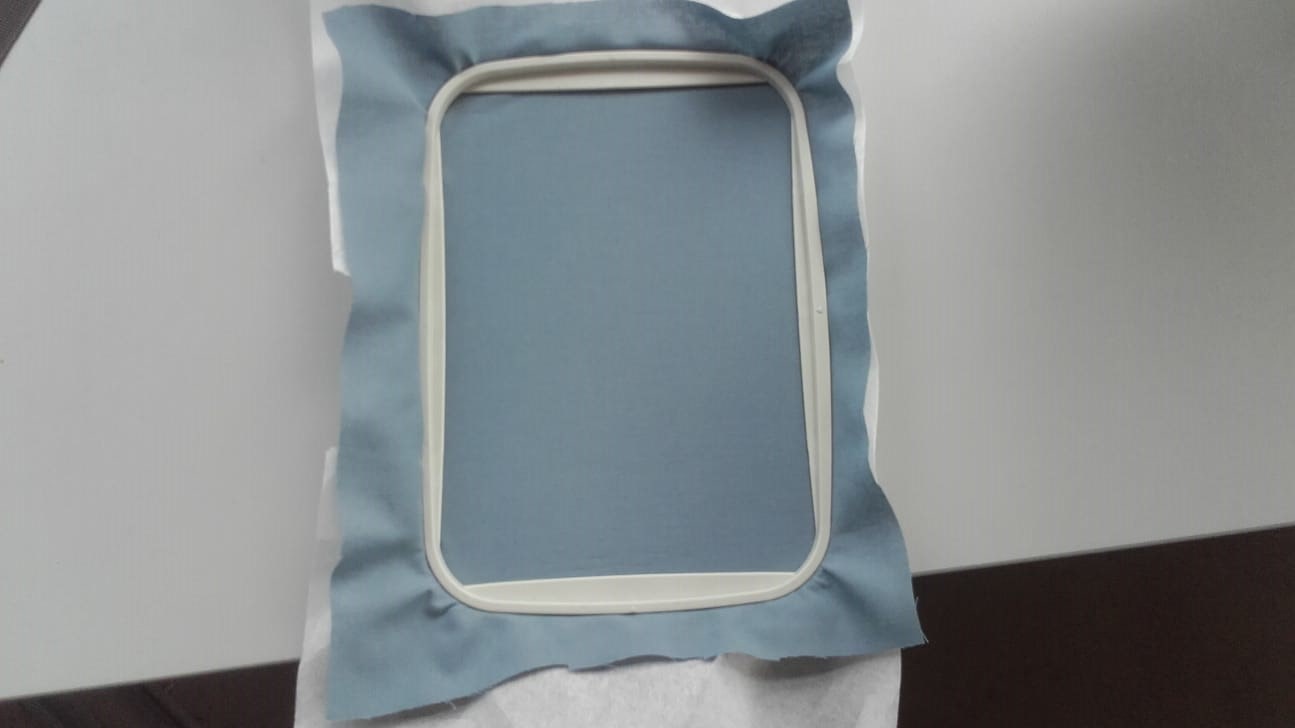
And then added some fabric and some backing material to the embroidery hoop. The hoop is not the best quality, and the plastic it is made out of it slippery so it doesn't hold the fabric very tightly, but I did my best to stretch it evenly in all directions.
Familiarizing Myself with the Machine
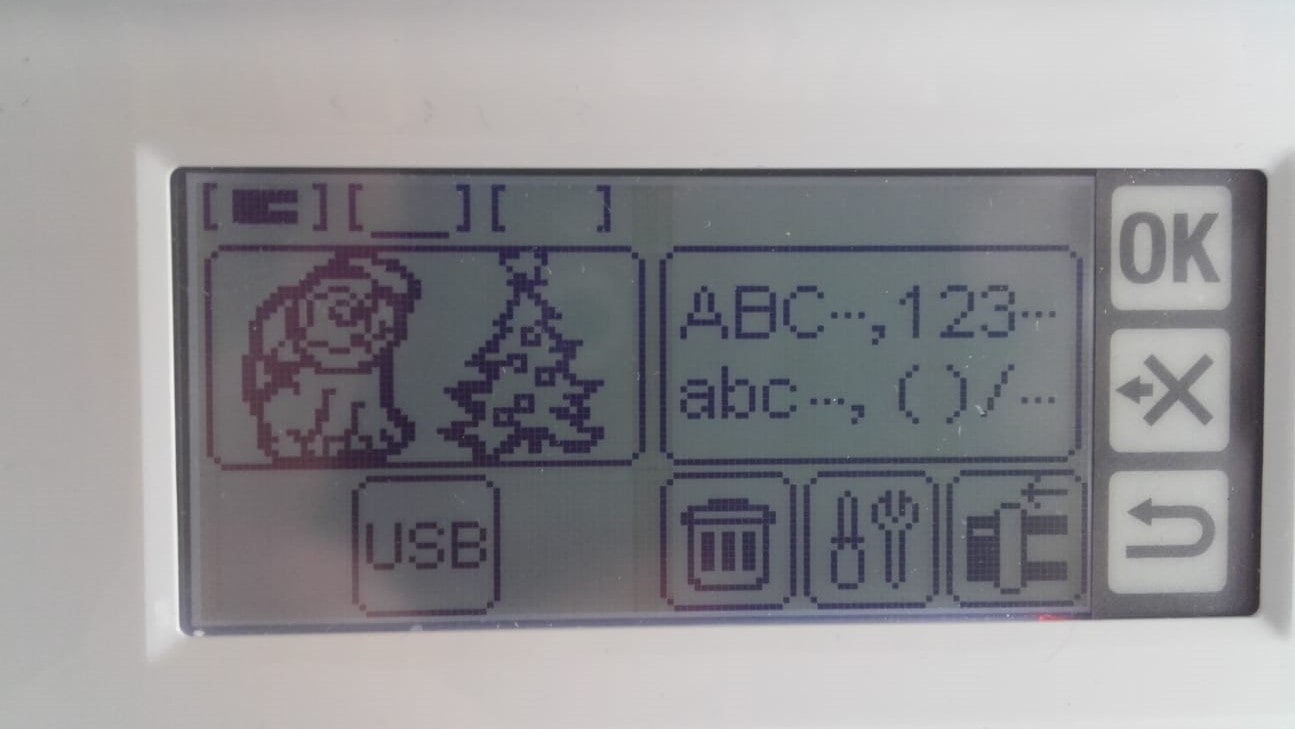
Once the fabric was properly loaded into the machine, I started playing around in the menus to learn the machine in person instead of just from all the videos I had seen in preparation.
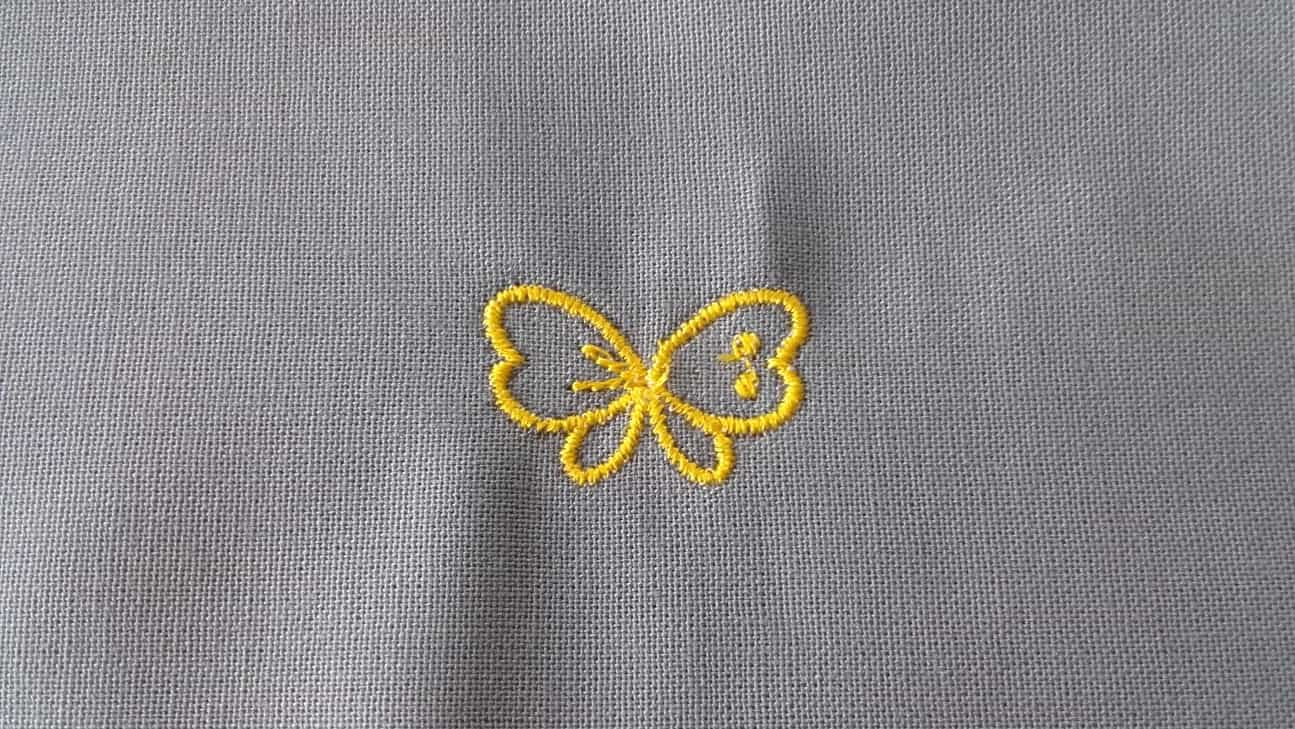
Butterfly Pattern
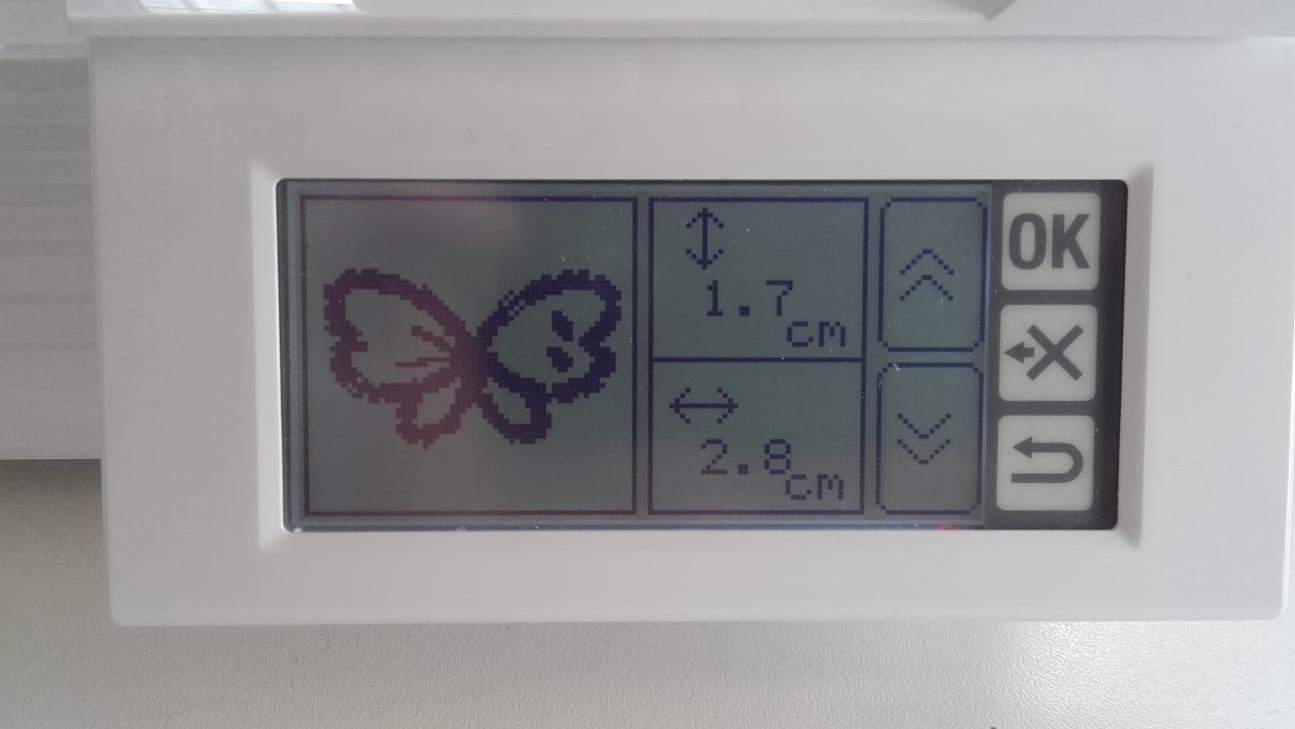
Before sewing my own project, I decided to do a test with one of the preloaded options. For this test, I chose to make a simple little butterfly
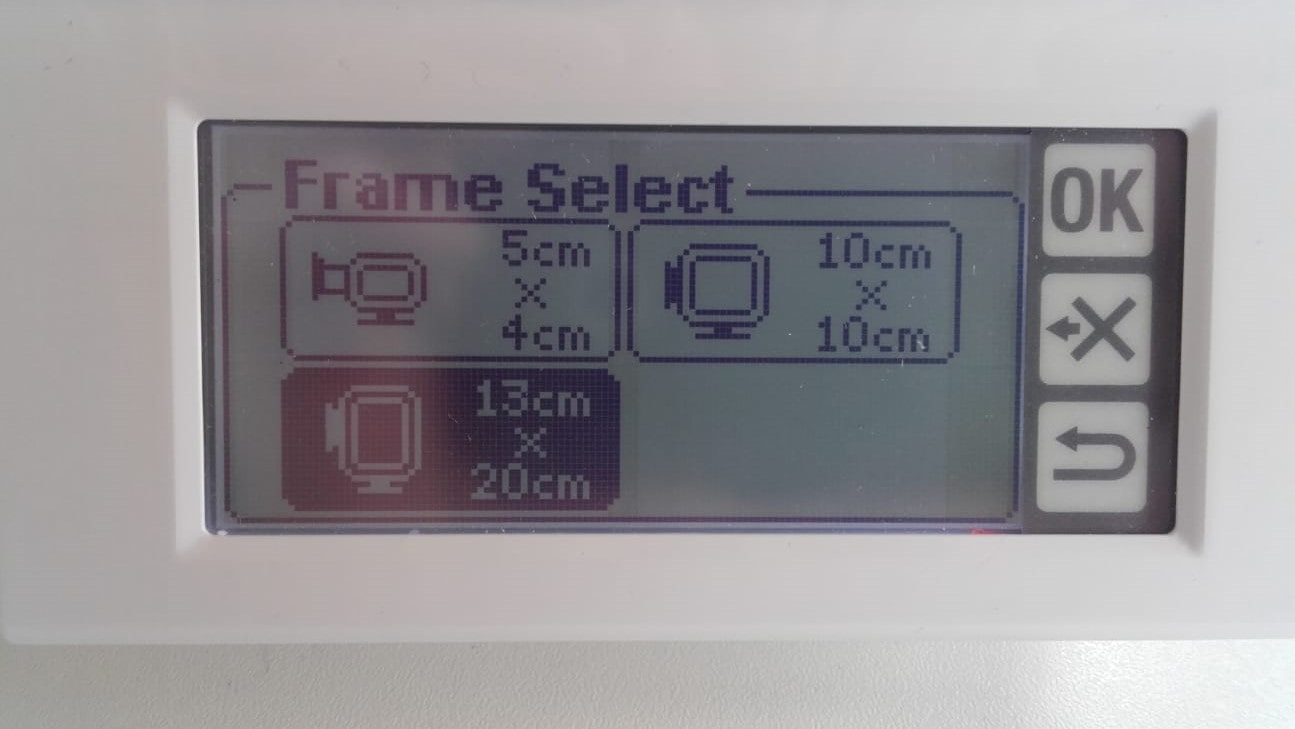
Frame Selection
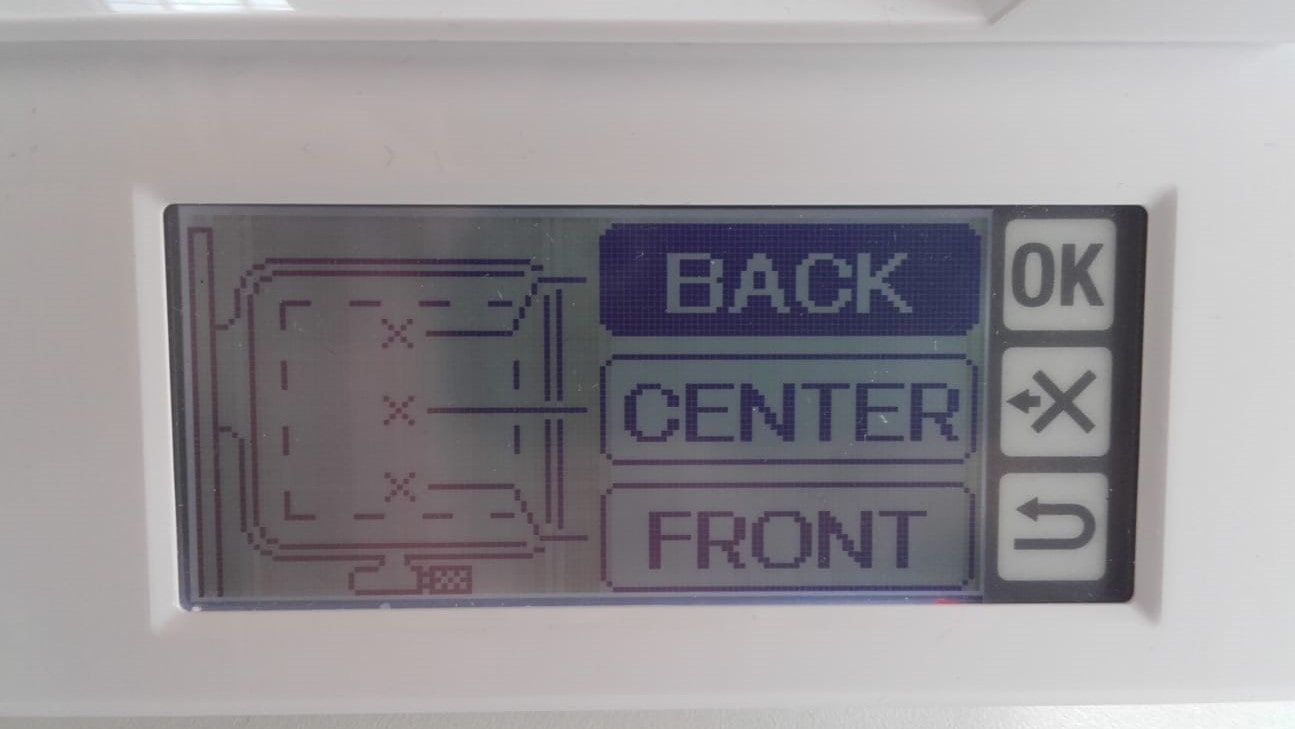
After selecting the image, I chose the frame that we have.
Starting Orientation
And then I told the machine to start sewing at the back of the pattern.
Pattern Placement
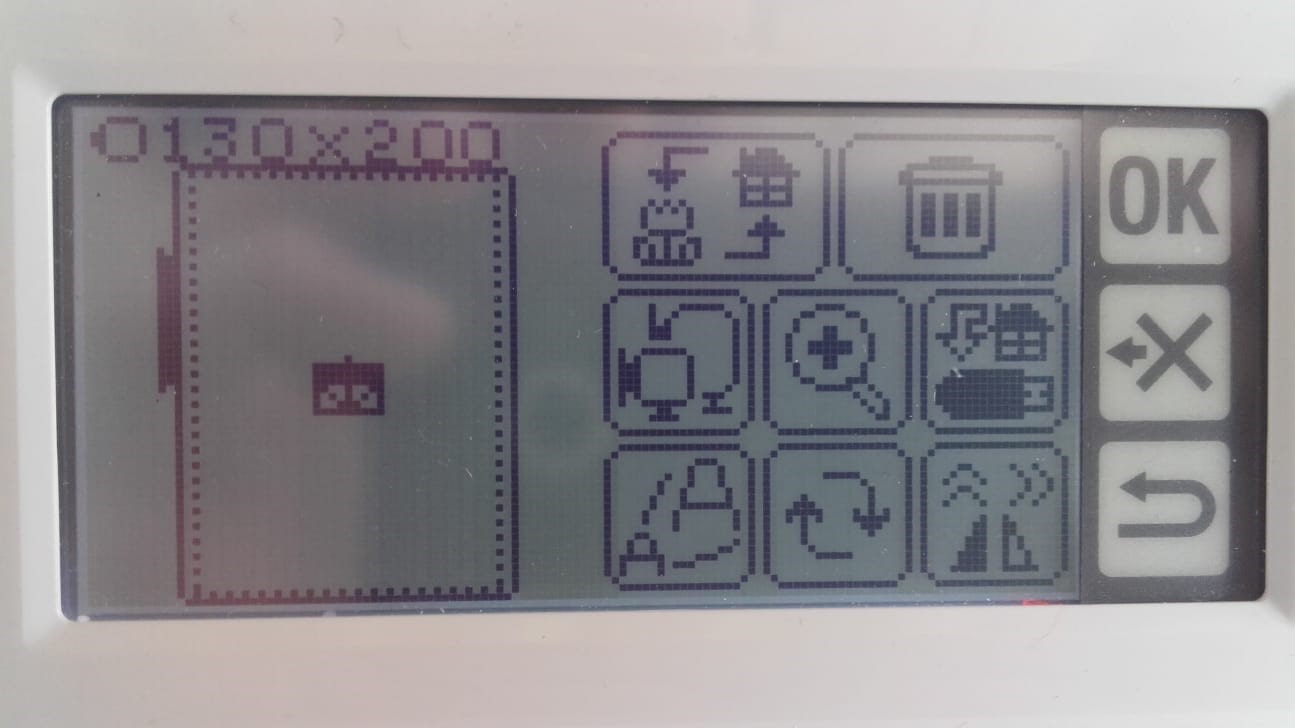
The screen gave me a little view of where it would sew the pattern relative to the frame in case I wanted to jog around before starting.
Error
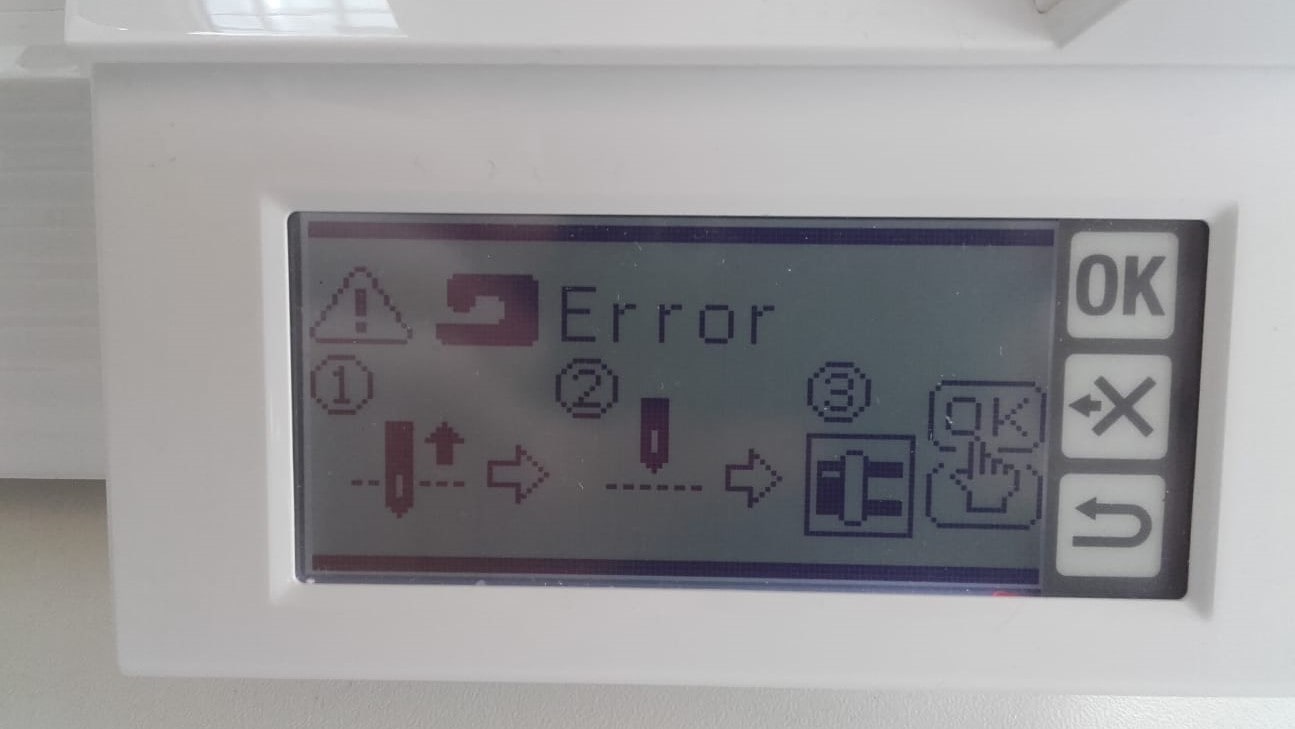
I pushed start and got an error because I forgot to put the foot down. These little pictographic messages are not very intuitive lol.
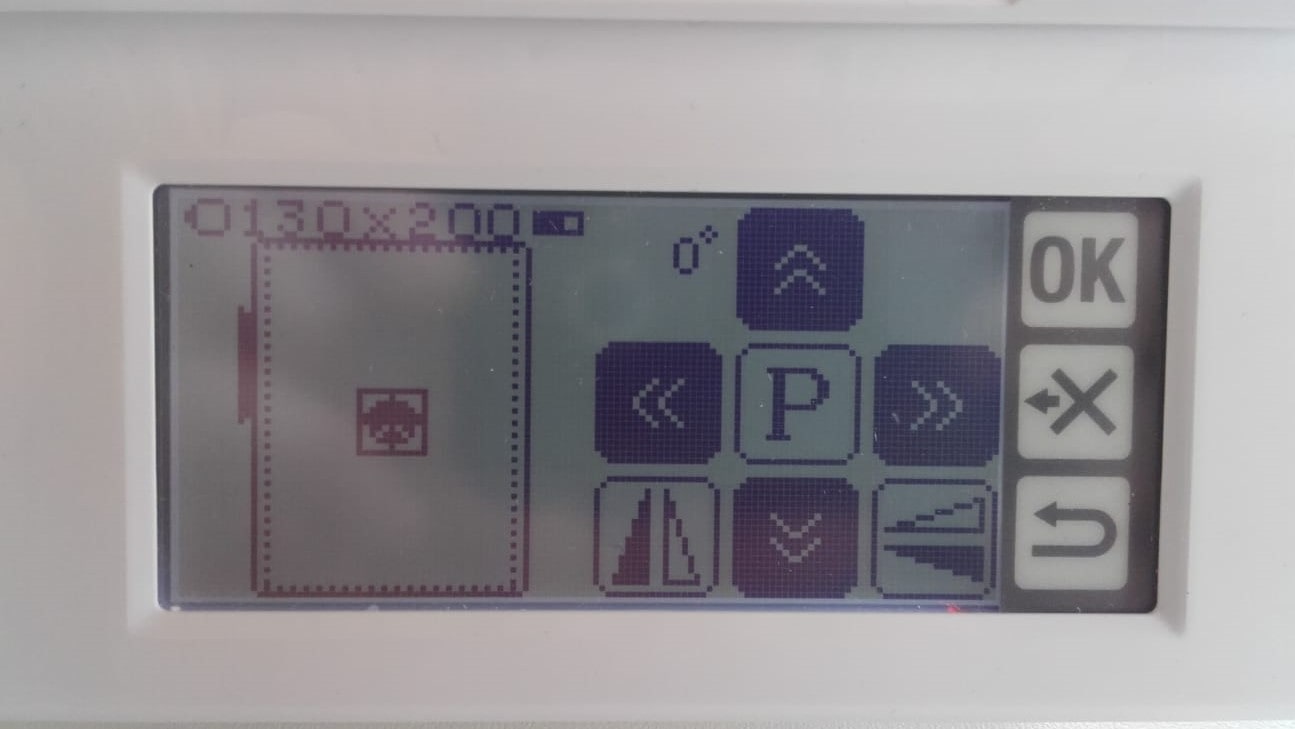
Here We Go!
So I put the foot down and tried again. Success this time.
Fun to Watch
As with all CNC processes, it was mesmorizing and satisfying to watch the progress and to see the design emerge onto the fabric.
My Butterfly
It came out pretty great and I felt good about trying my own project.
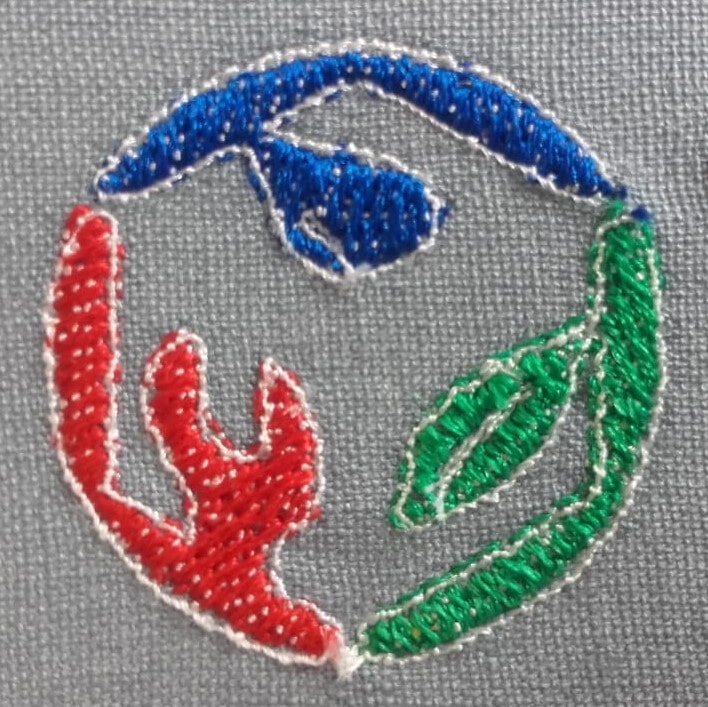
Embroidering the Logo
Load from USB

This time, I opened my project from the USB drive.
Jog
And then used the jog tool to move the origin forward on the fabric.
Turtle Button
I double tapped the little turtle button to engage the thread from the bobbin underneath.
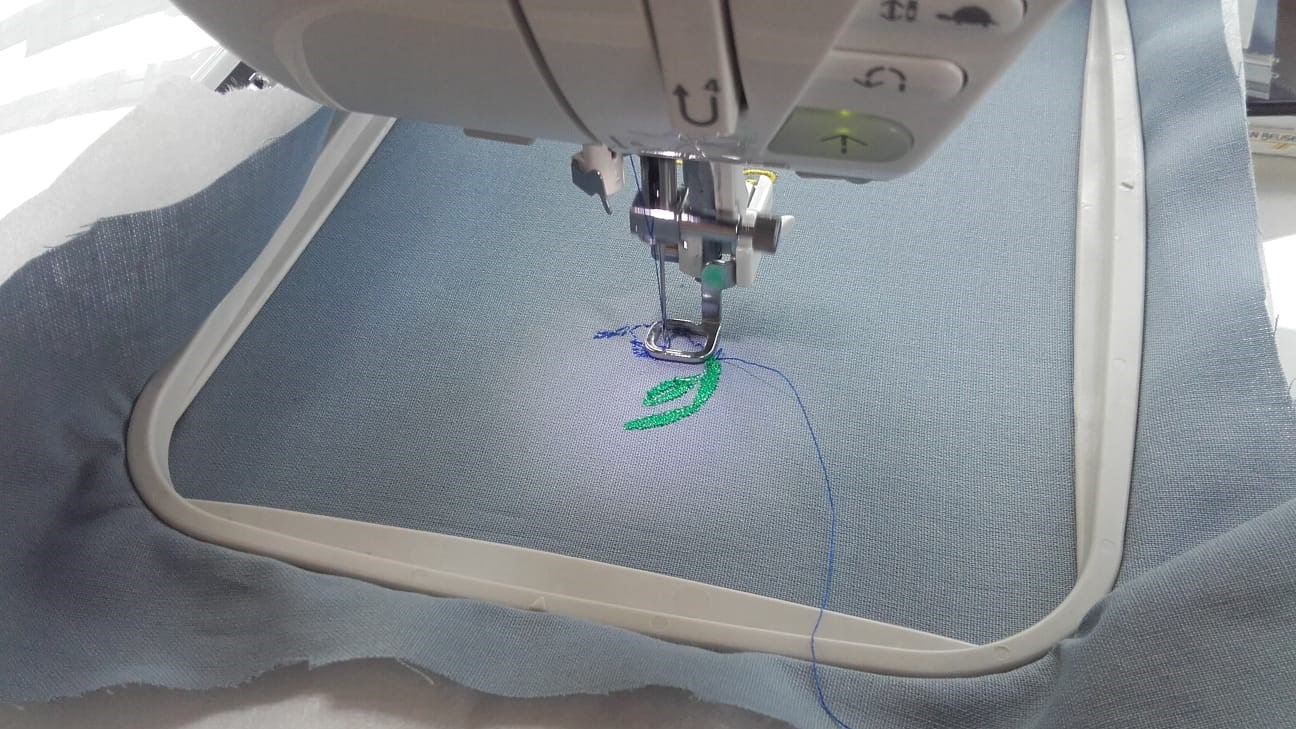
First Color
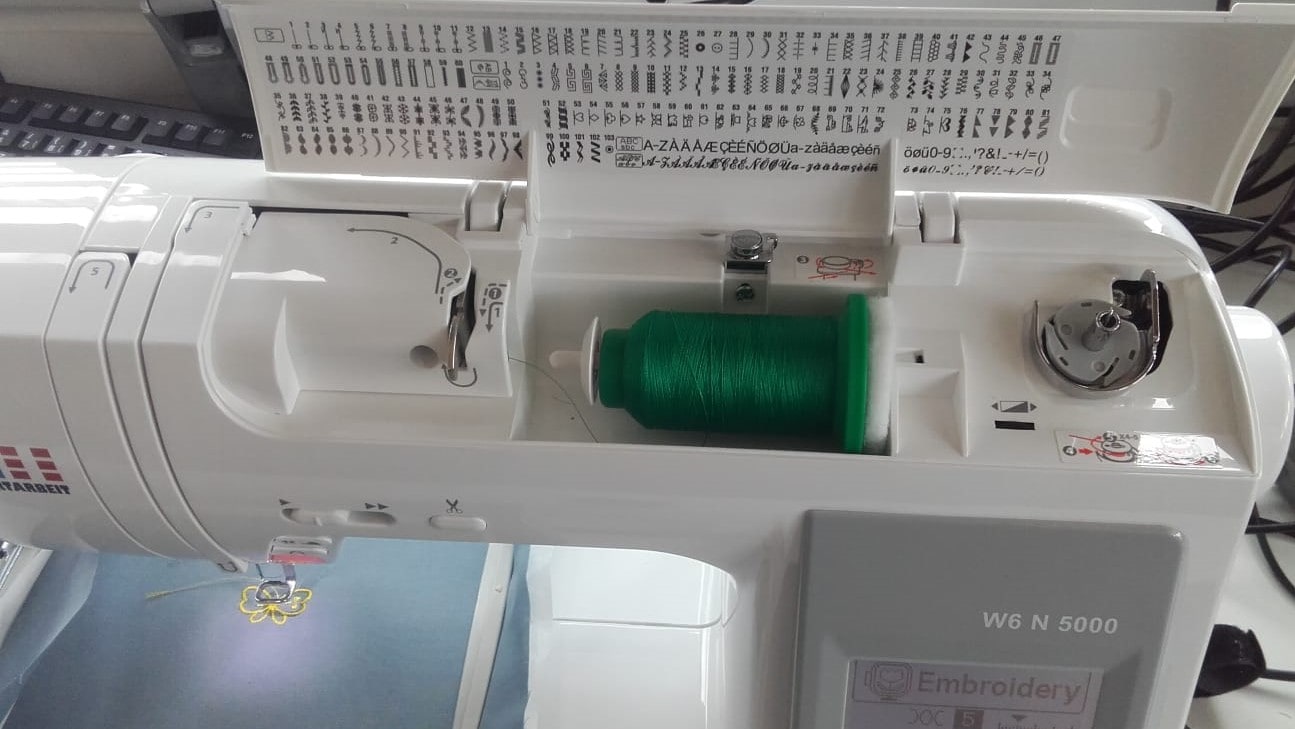
And I changed the color from yellow to green. I was impressed at how simple of a process it is to change out the thread, reroute it through the machine and then thread the needle. It's a nice design.
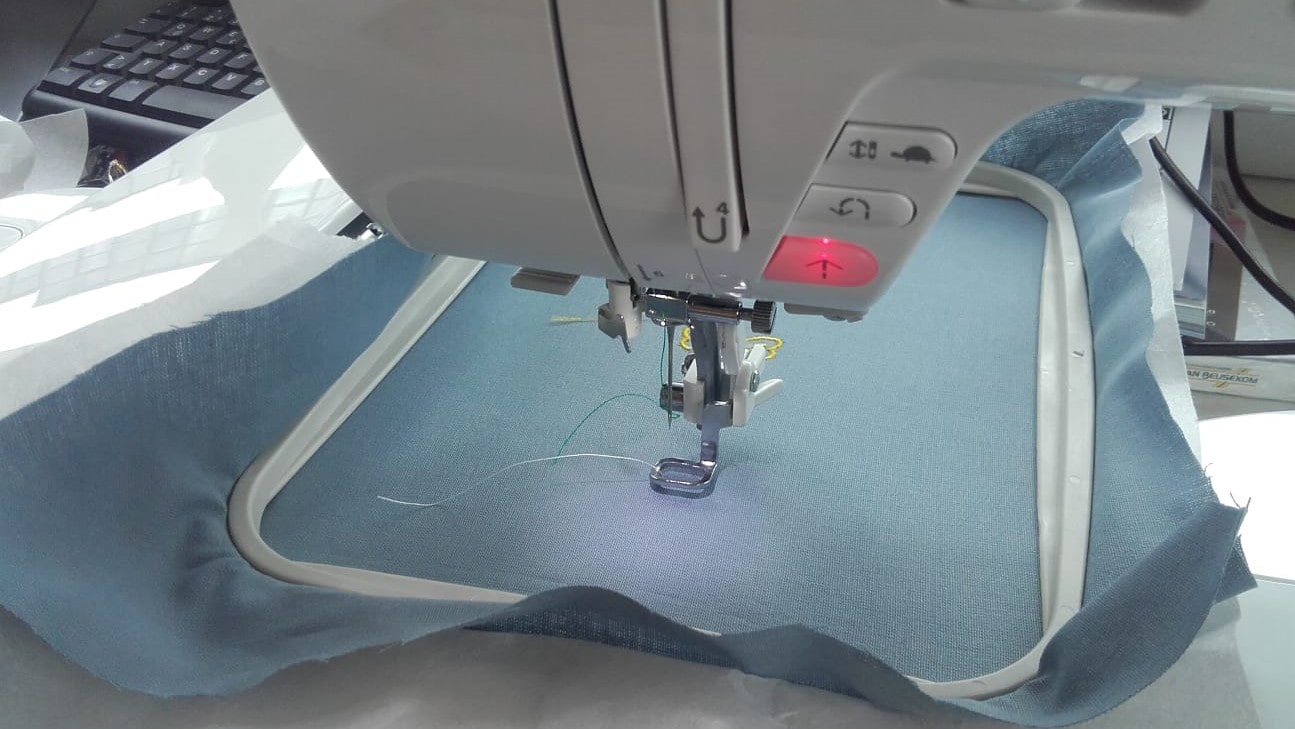
Let's Do It!
Everything was ready so I pressed the start button once again...
Progress
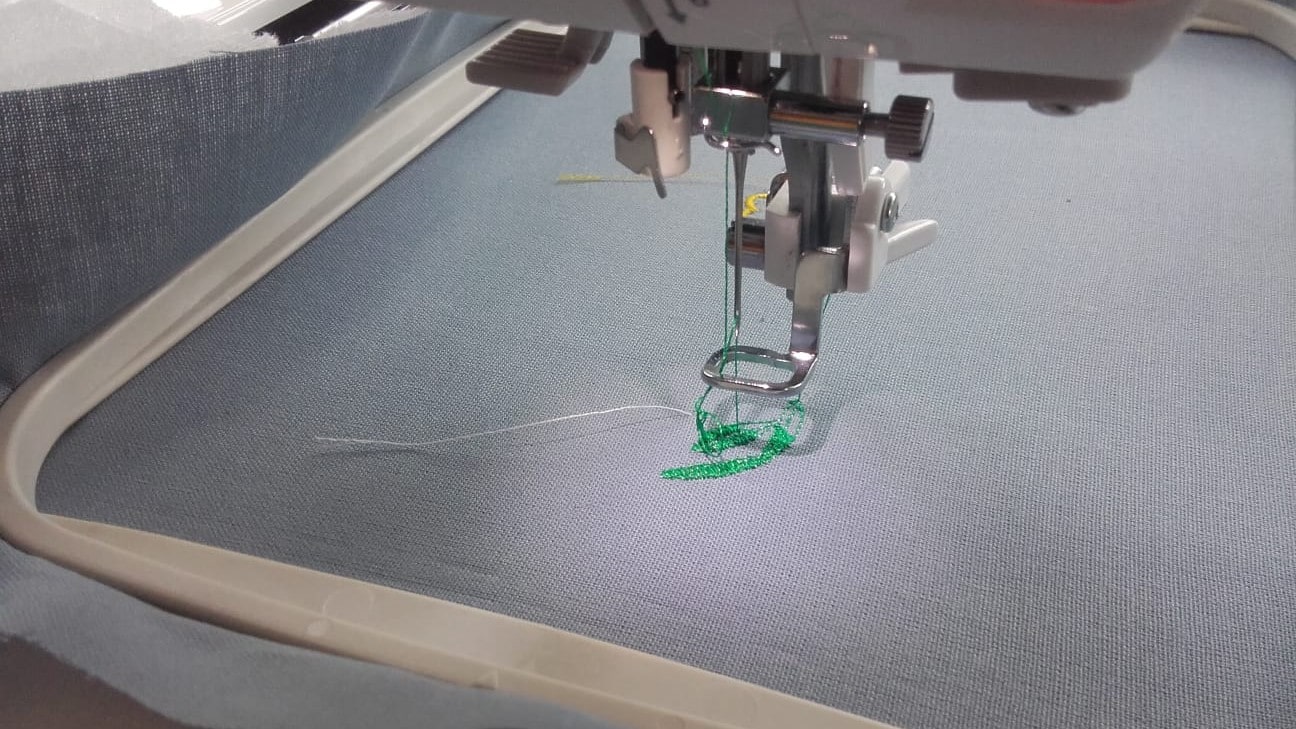
...and then sat back and watched as the magic happened.
Color Change
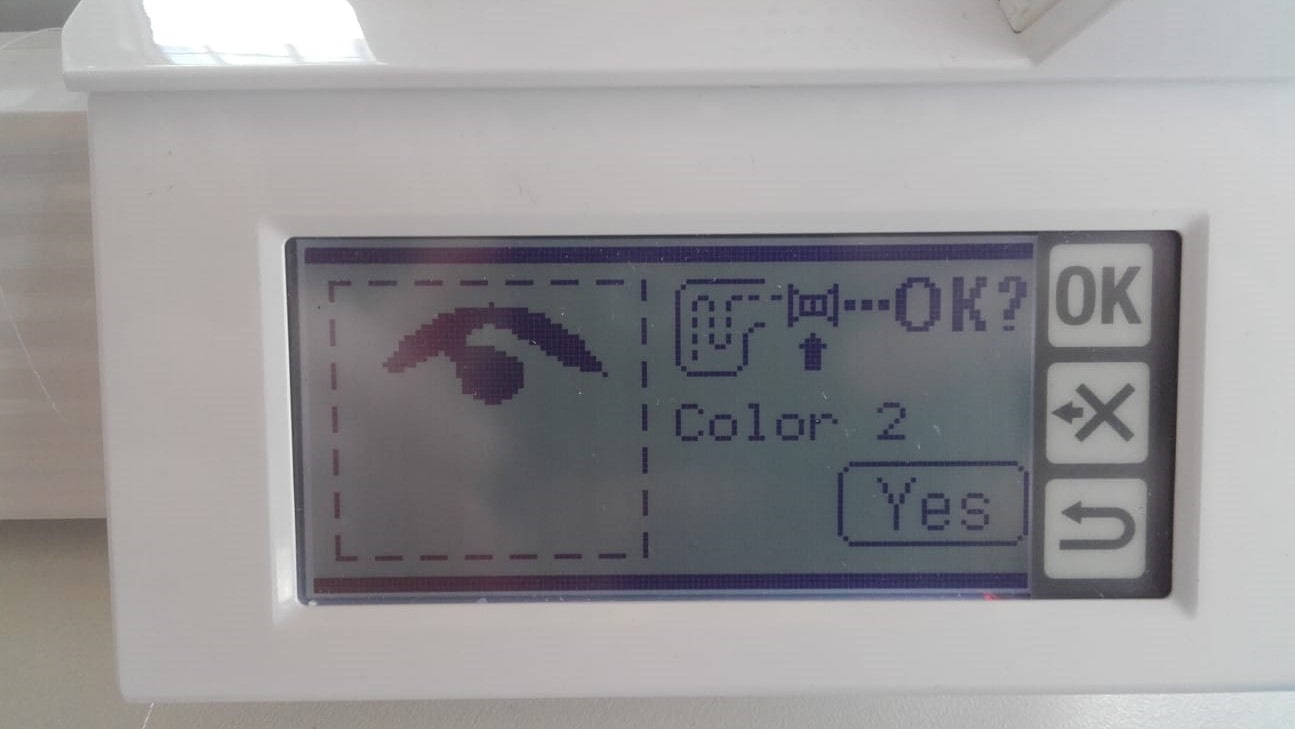
When it finished with the first color, the program paused itself and prompted me for the color change. The process was very simple.
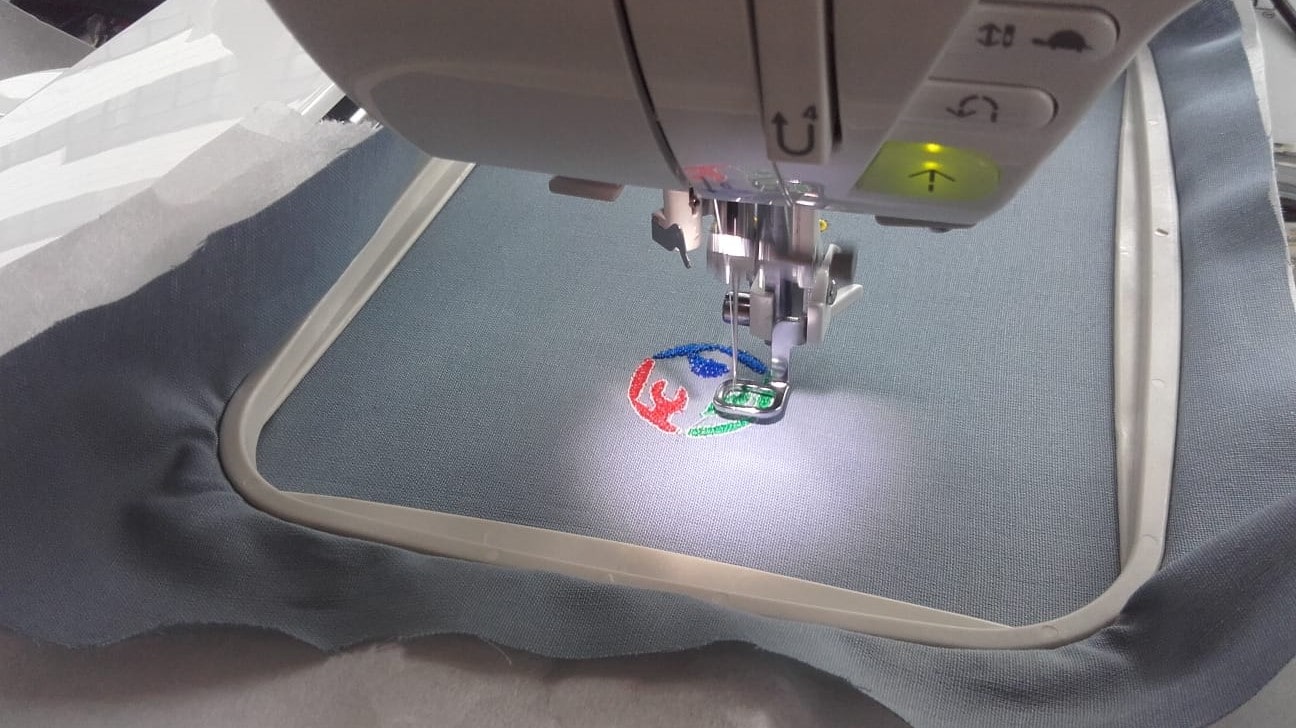
More Progress
I finished the next two colors...
Outline
...and then switched to white for the outline.
Lettering
Then I switched to black and started the Lettering...
Ruh Roh!
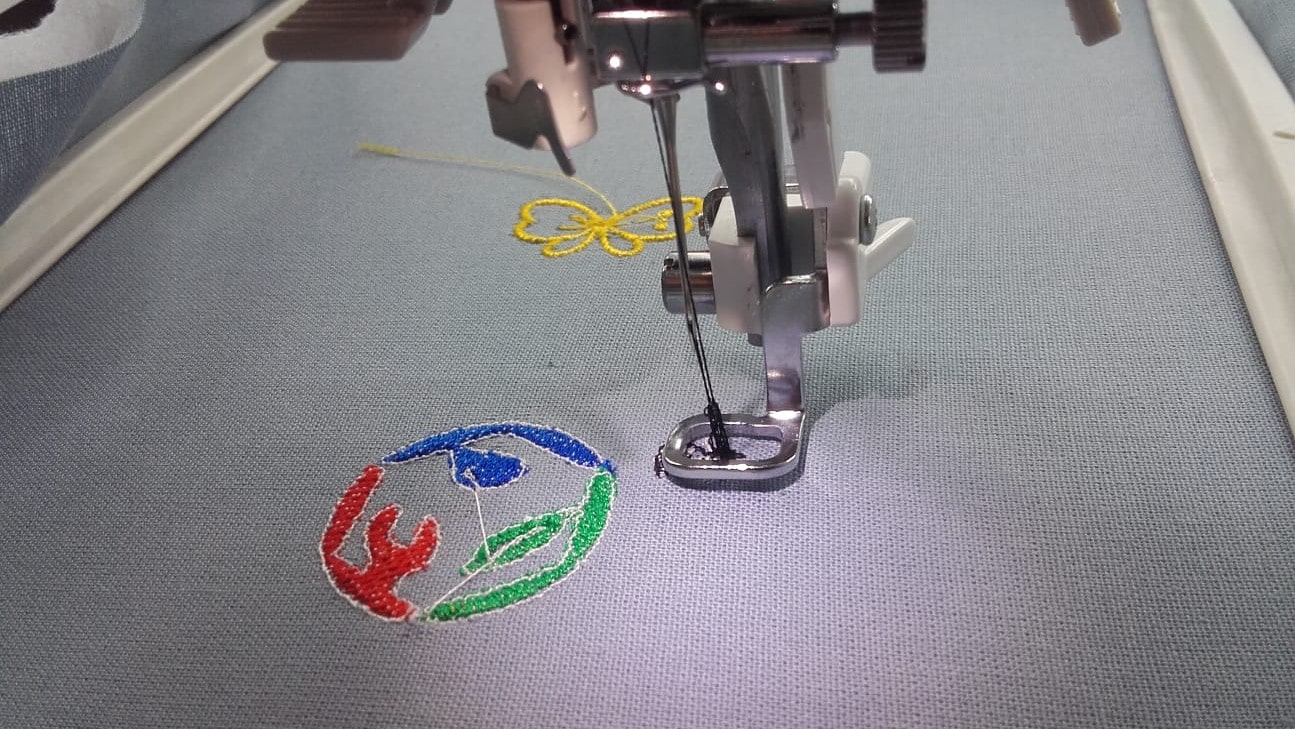
...but it messed up very shortly after starting. I think the text I was trying to use was just too small for the settings I used.
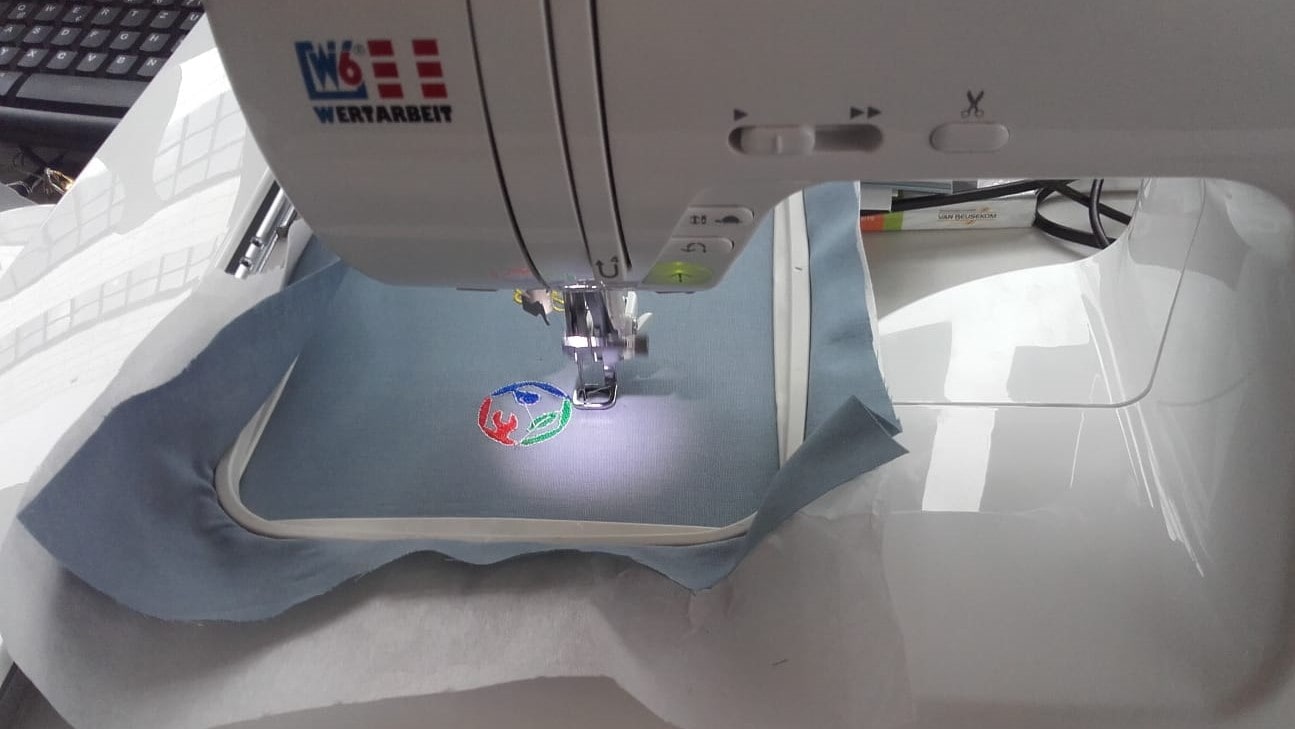
Good Enough
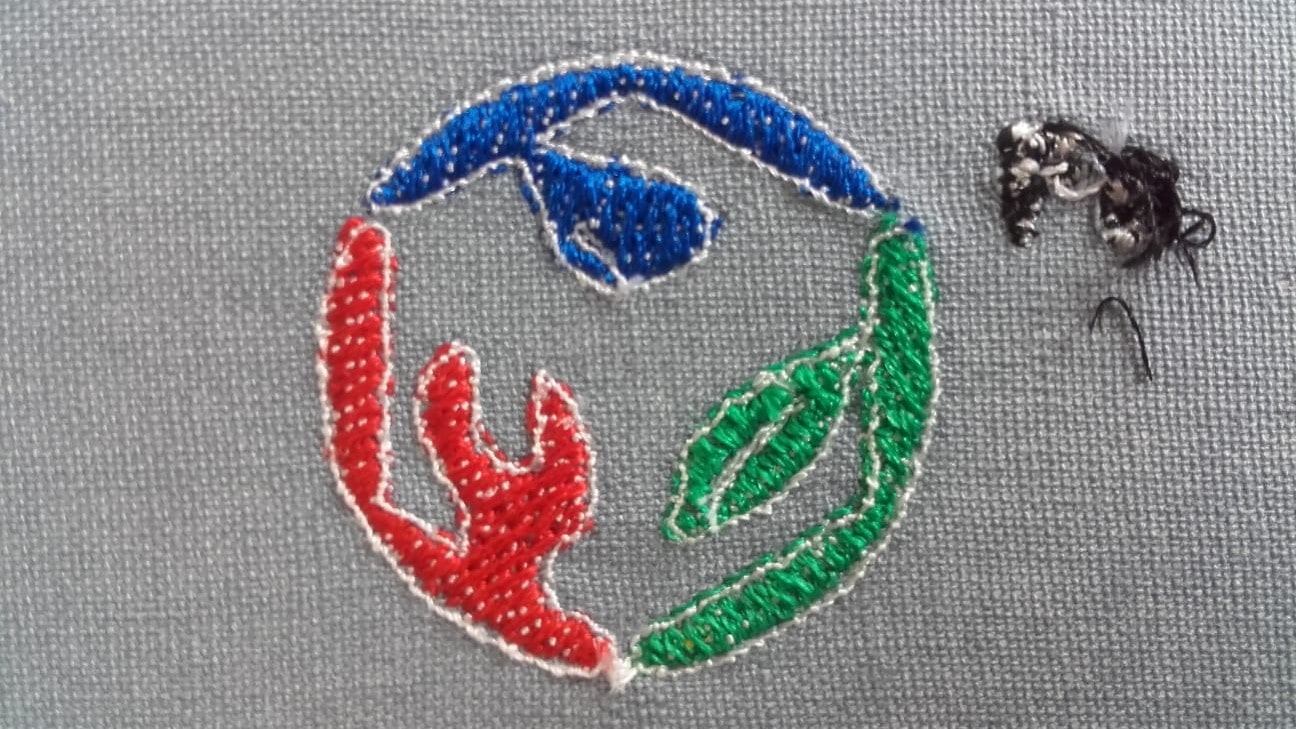
I wasn't perfect in the end, but I did think the patch part came out pretty nice.