12. Moulding and Casting
This week task as below:
- Individual project
Design a 3D mould around the stock and tooling that you’ll be using, mill it (rough cut + (at least) three-axis finish cut), and use it to cast parts.
In this week, Since the material used to do the 3D mould which is arrived to our labatory on Monday (One day before Asia regional meeting). Therefore we do not have enough time for testing.
Therefore I have only finished part of the assignment this week.
Fusion 360 to create a 3D object.
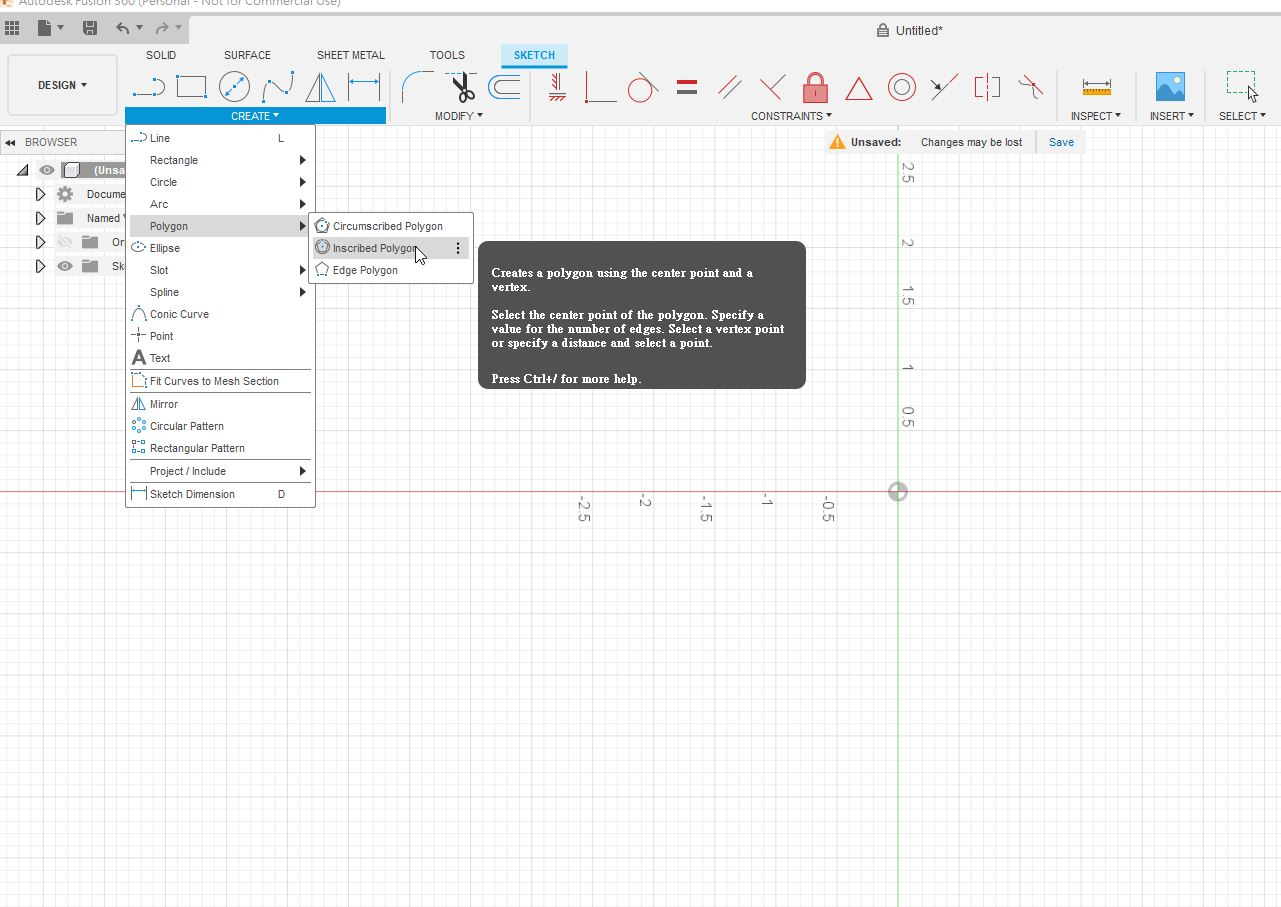
Step 1:
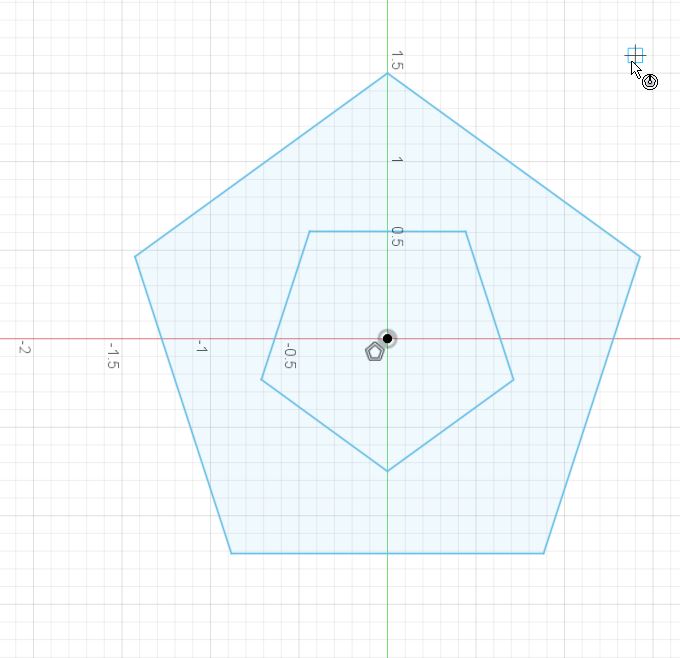
In the Autodesk Fusion 360, I need to use a inscibed polygon to create a polygon first.
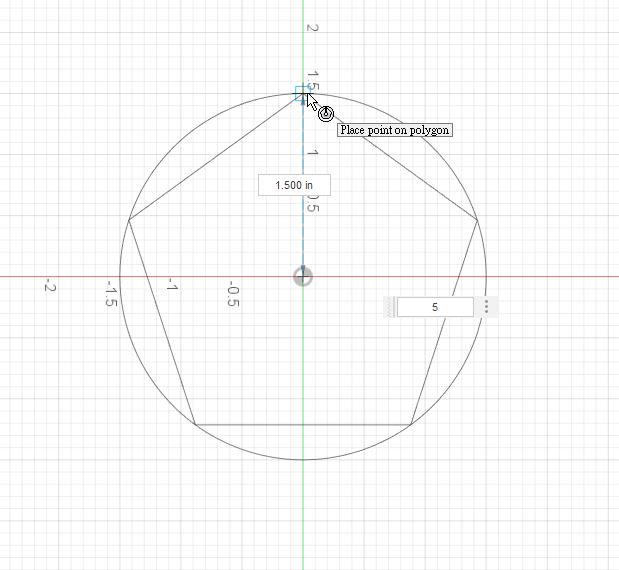
Step 2:
I need to create a pentagon with 1.5 inches for the center to each corners.
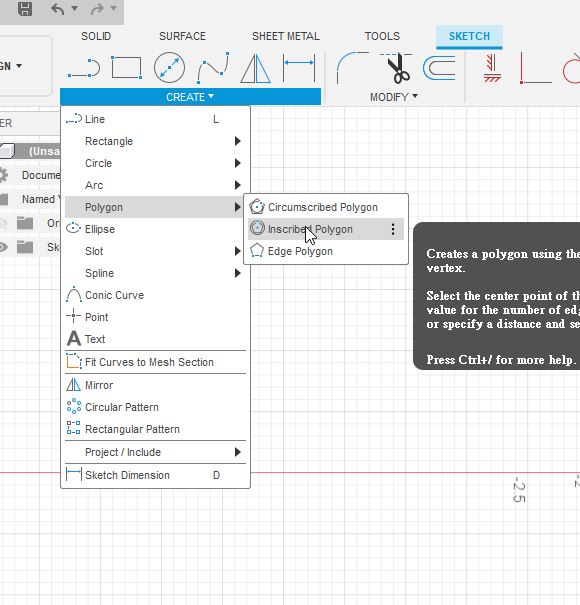
Step 3:
I need to use inscibed polygon one more time.
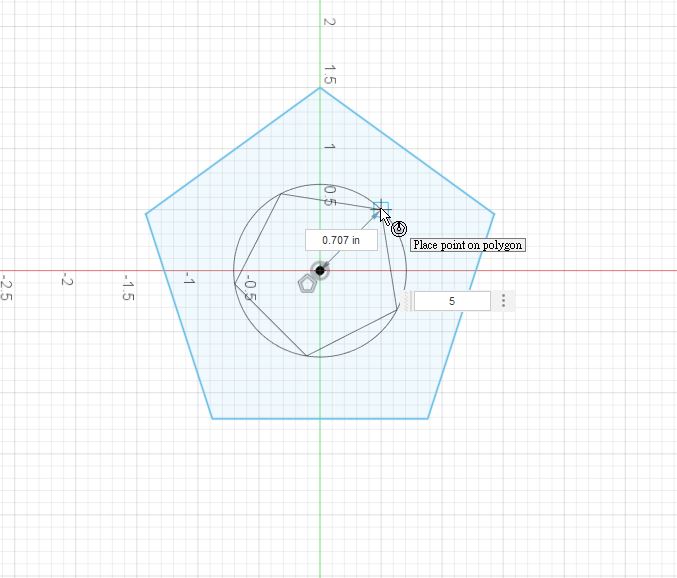
Step 4:
I create a smaller pentagon inside of the first pentagon.
The smaller pentagon with 0.707 inches for the center to each corners.
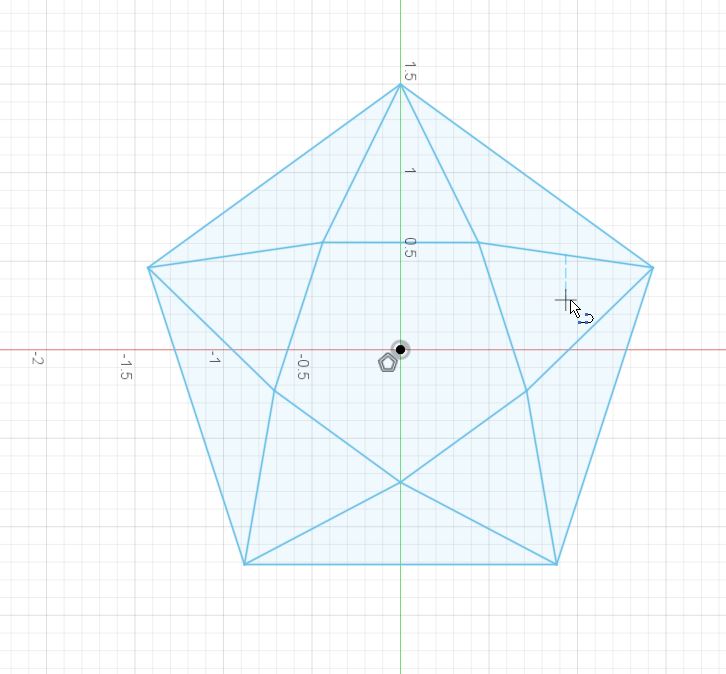
Step 5:
You will find that the sharp look like this.
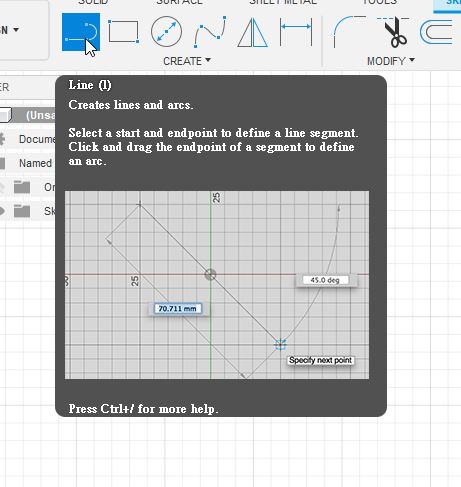
Step 6:
Then, I will use line tool to draw lines on the diagram.
Step 7:
I draw a star look like this.
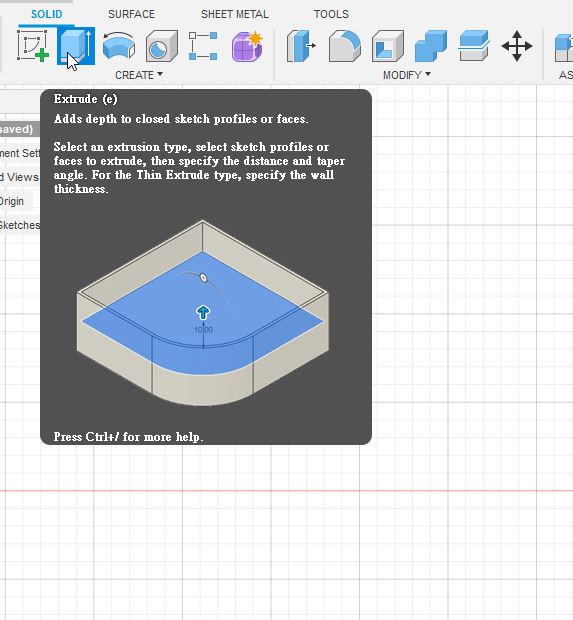
Step 8:
I have to use extrude to create a 3D solid.
Step 9:
I could modify the 3D object with -15 degree like this.
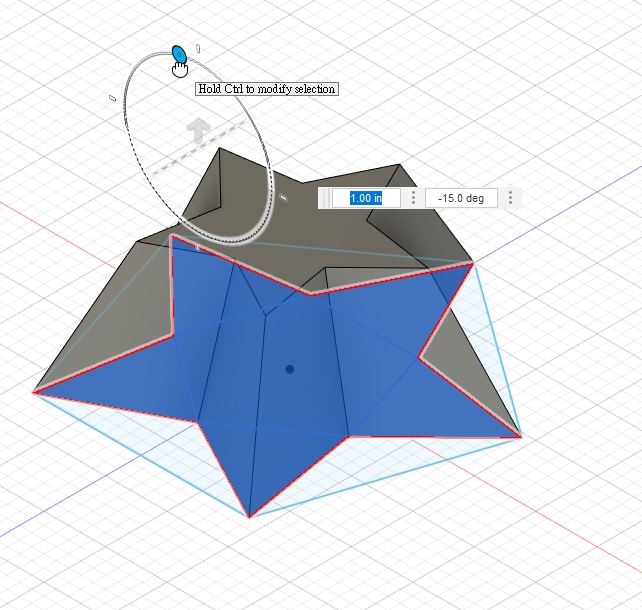
Step 10:
A 3D star is formed.
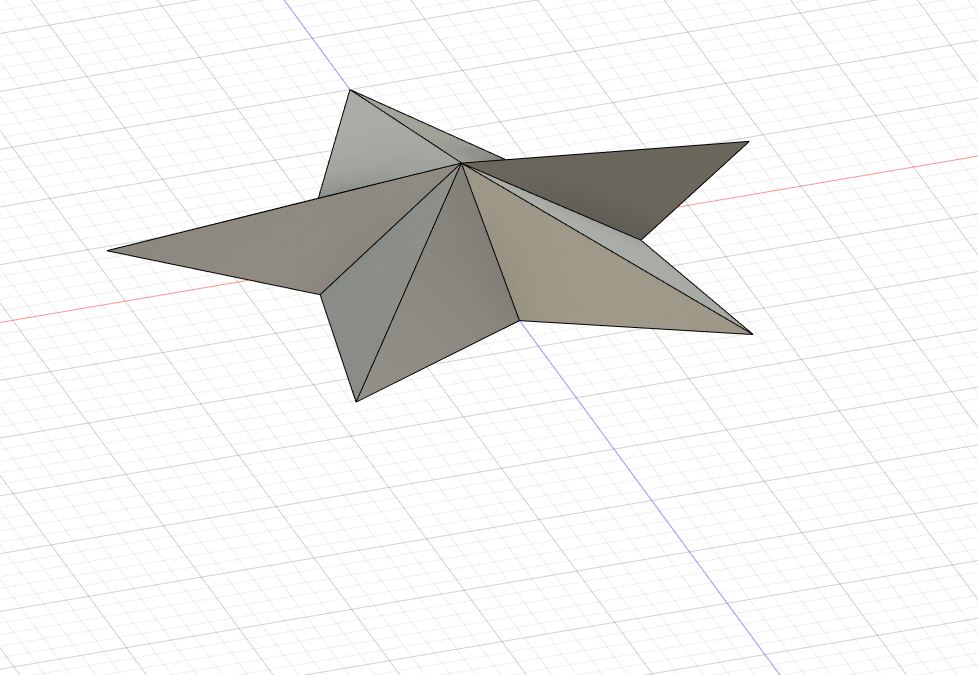
Step 11:
I need to invert the star like this.

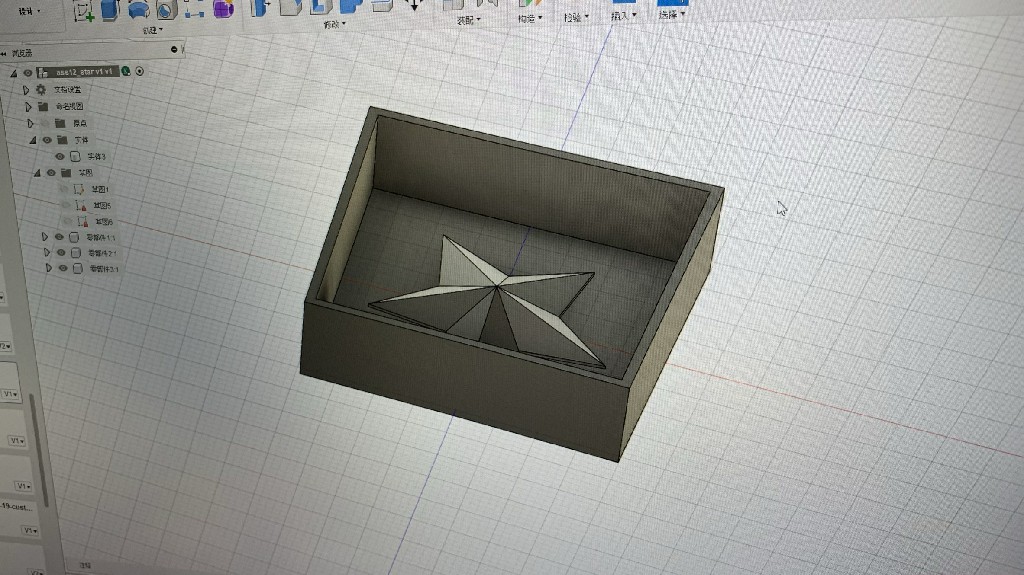
Step 12:
Also, I have created a box to contain the inverted star.
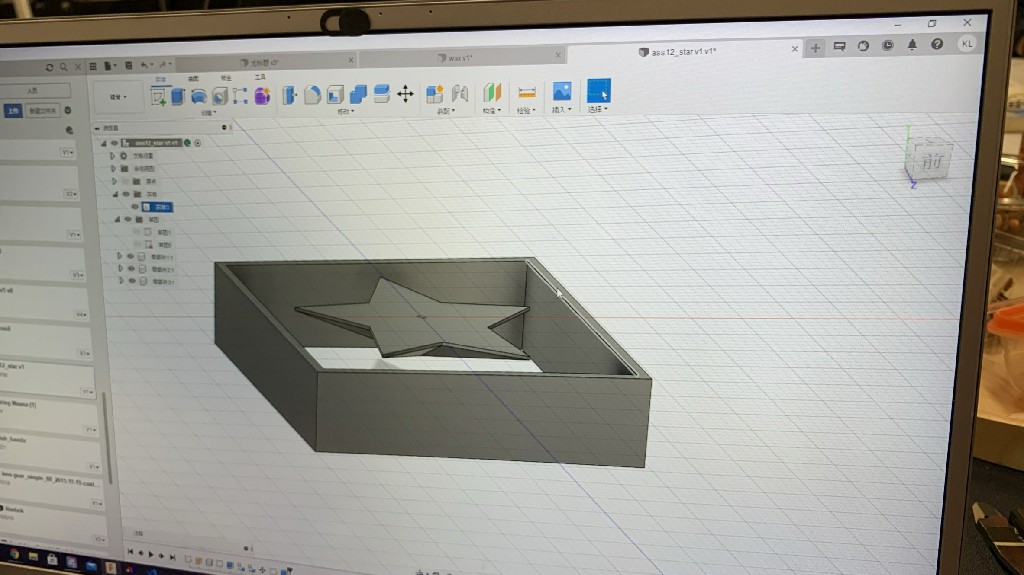
Step 13:
I would like to adjust the thickness of the box.
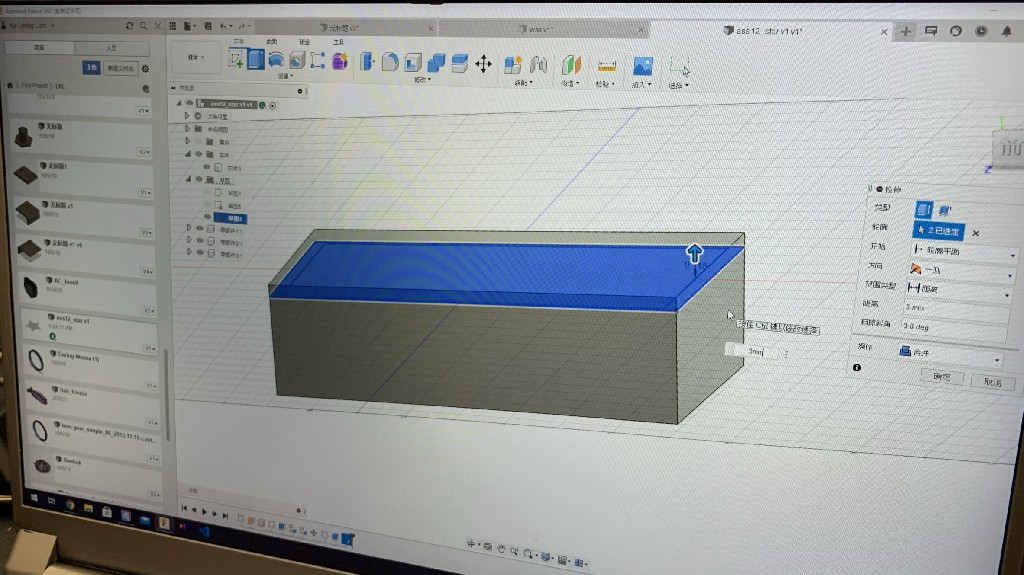
Step 14:
Finally, the 3D mold in fusion is created.
You may also download the source file here.
Please click here to download the f3d fusion 360 file
You may also download the source file here.
Please click here to download the stl fusion 360 file
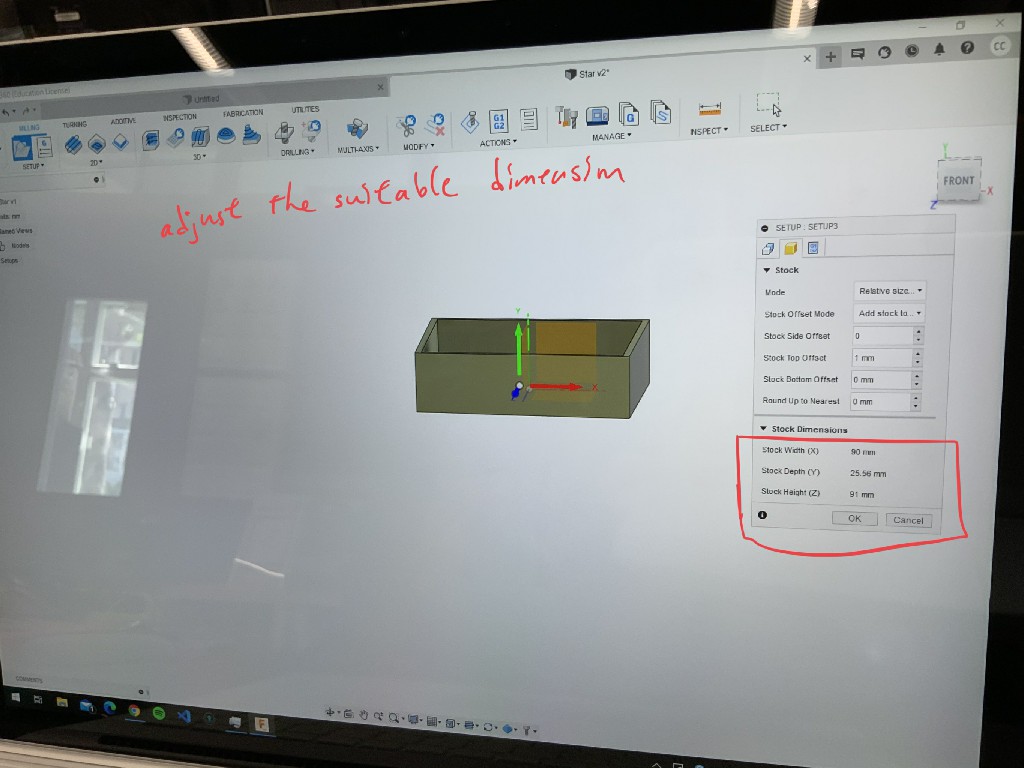
Step 15:
Adjust the stock dimension to match my blue solid.
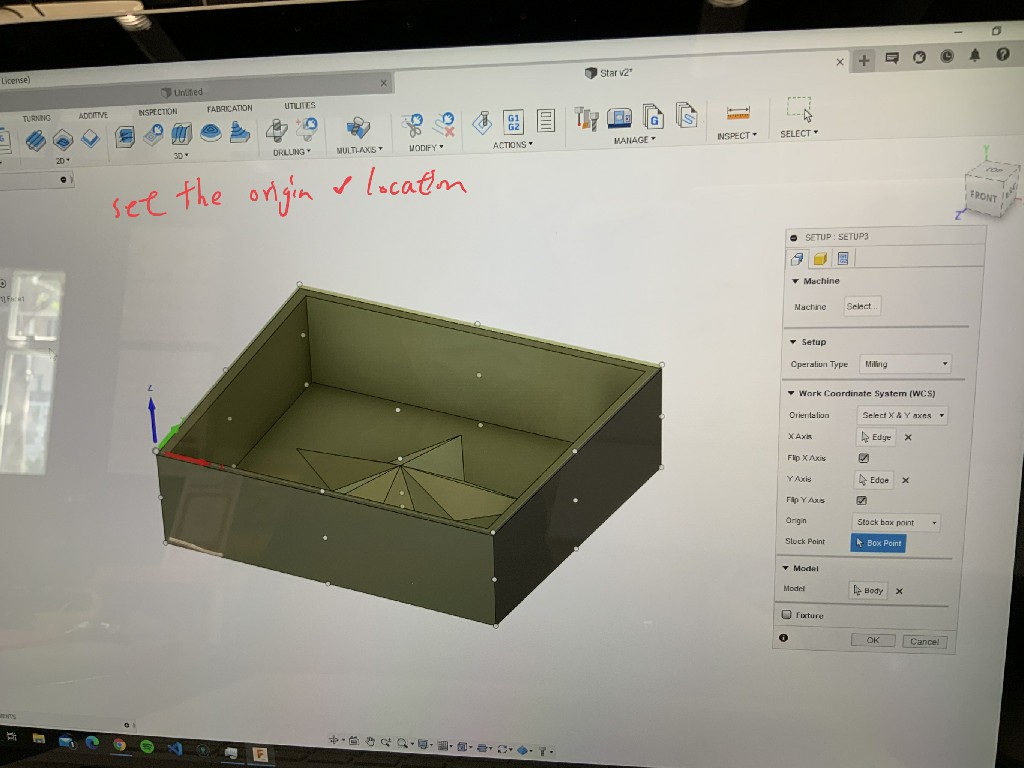
Step 16:
Set the origina and location to the corner of the mold.
You may click on the video to watch the simulation for the CNC process in Fusion 360.
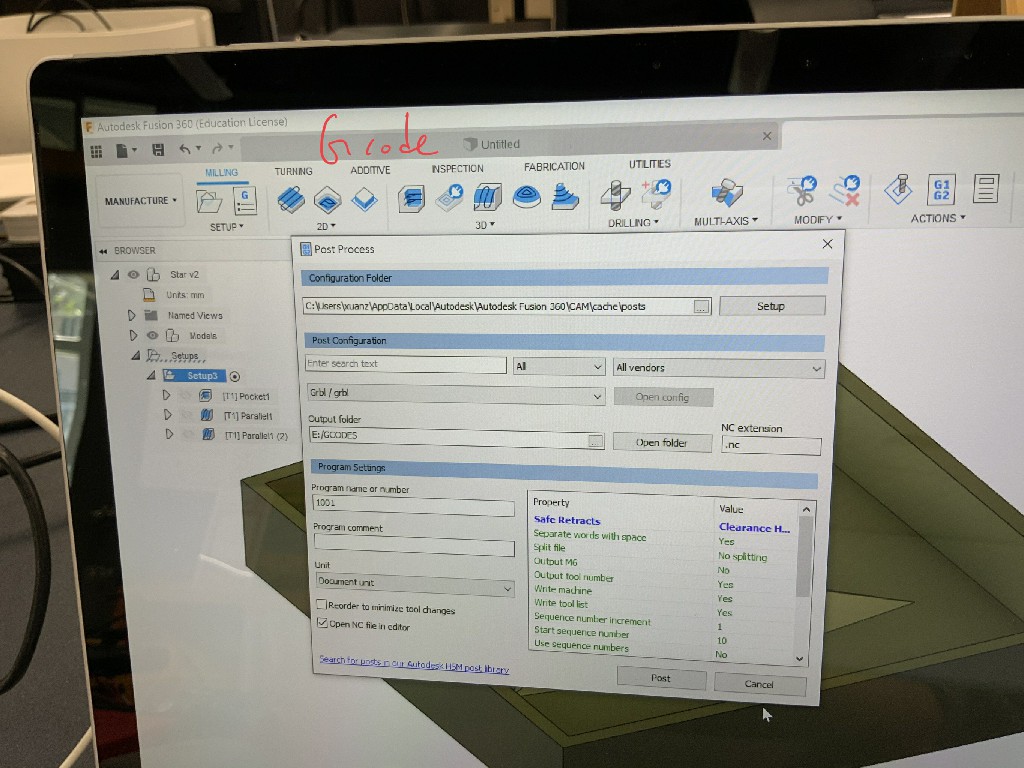
Step 17:
Here is the post processing for the mold in Fusion 360.
Using CNC machine for milling the CNC mold.
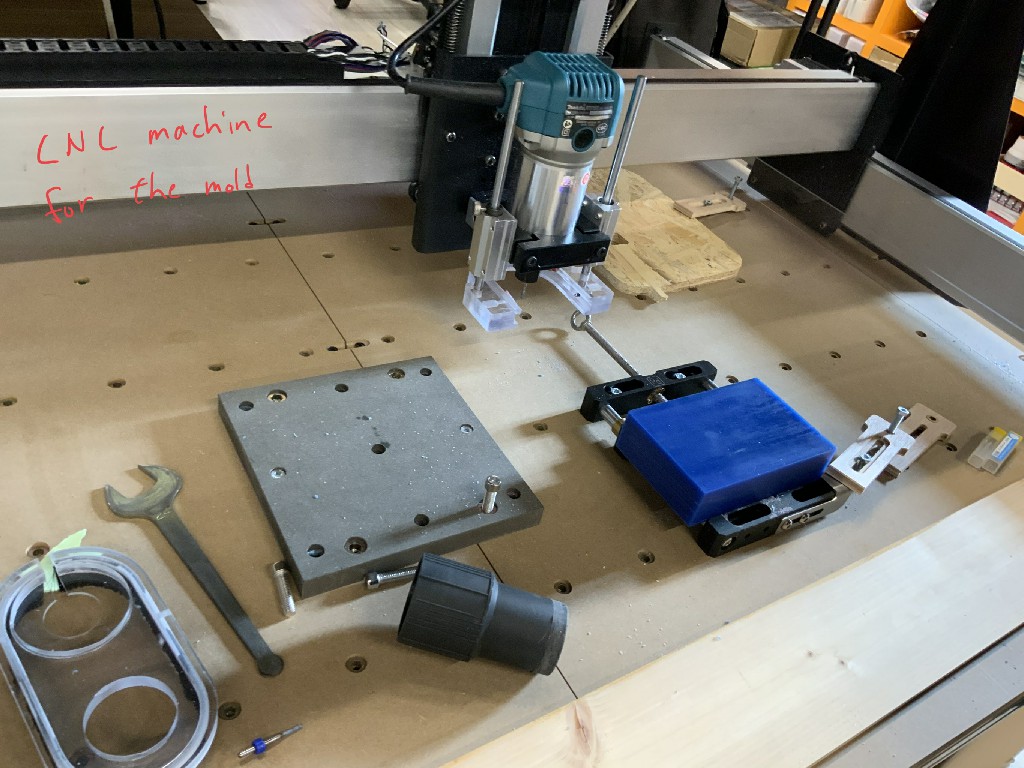
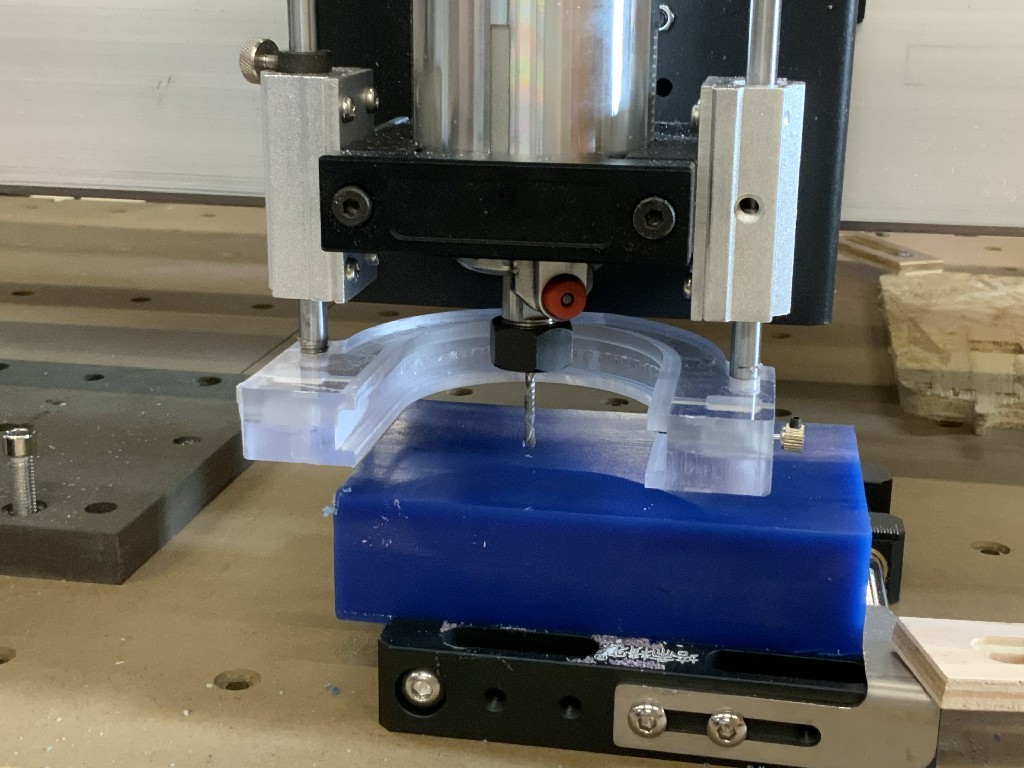
Step 1:
This is the CNC machine I use for the mold.
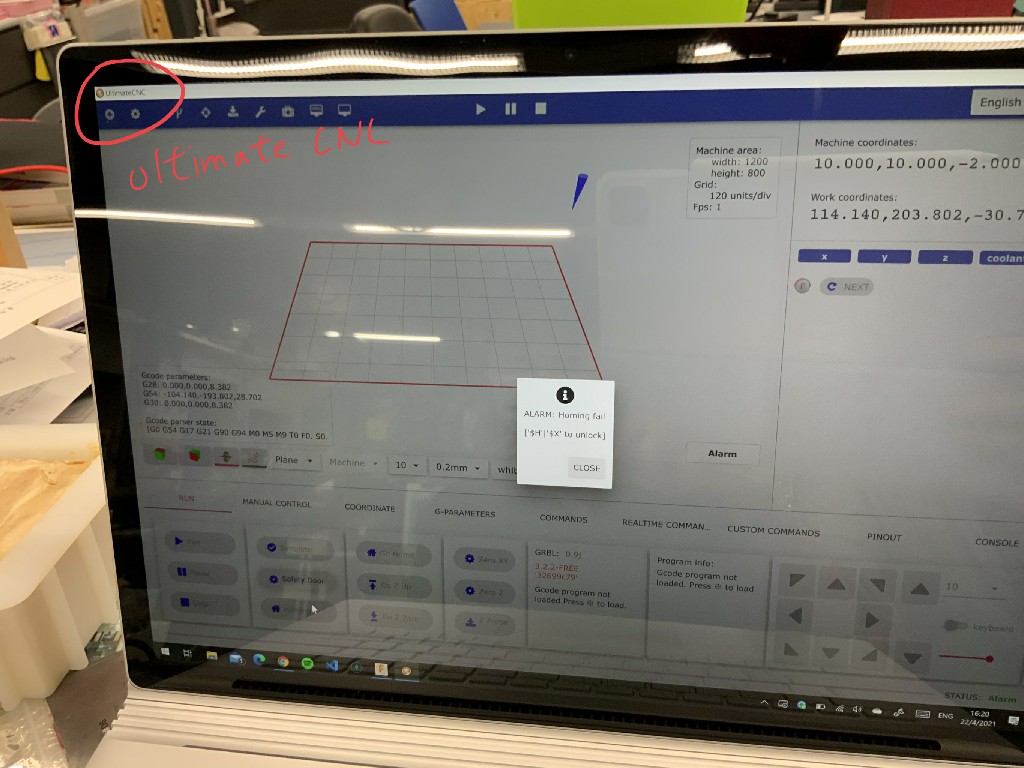
Step 2:
The software I used is called Ultimate CNC to control the CNC machine.
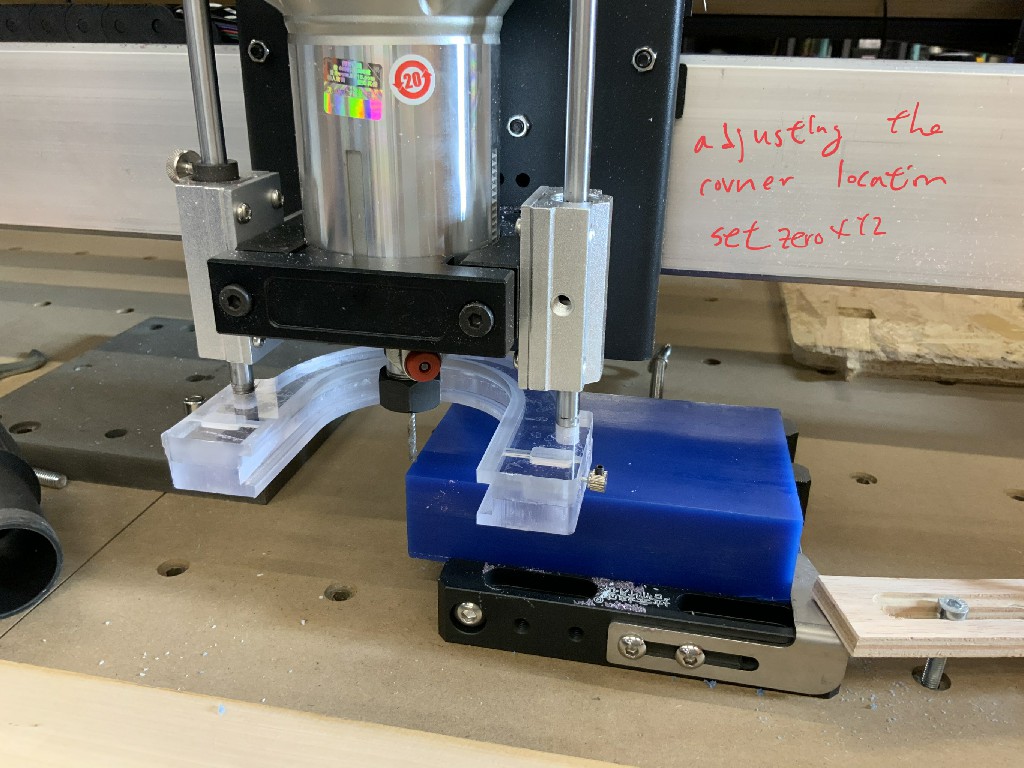
Step 3:
Adjusting the corner location and also setting zero for X,Y,Z coordination.
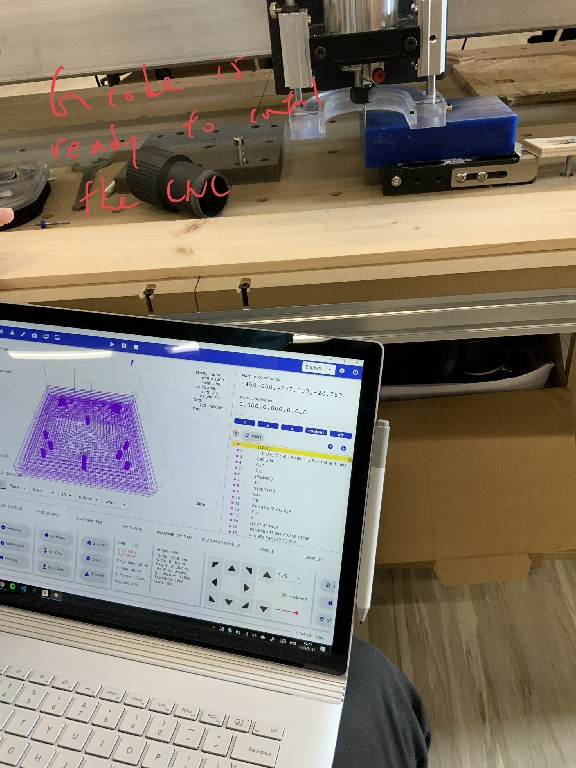
Step 4:
G code is ready to control the CNC machine right now.
Step 5:
The milling is started.
Step 6:
You may click on the video to watch process for the CNC milling the mold.
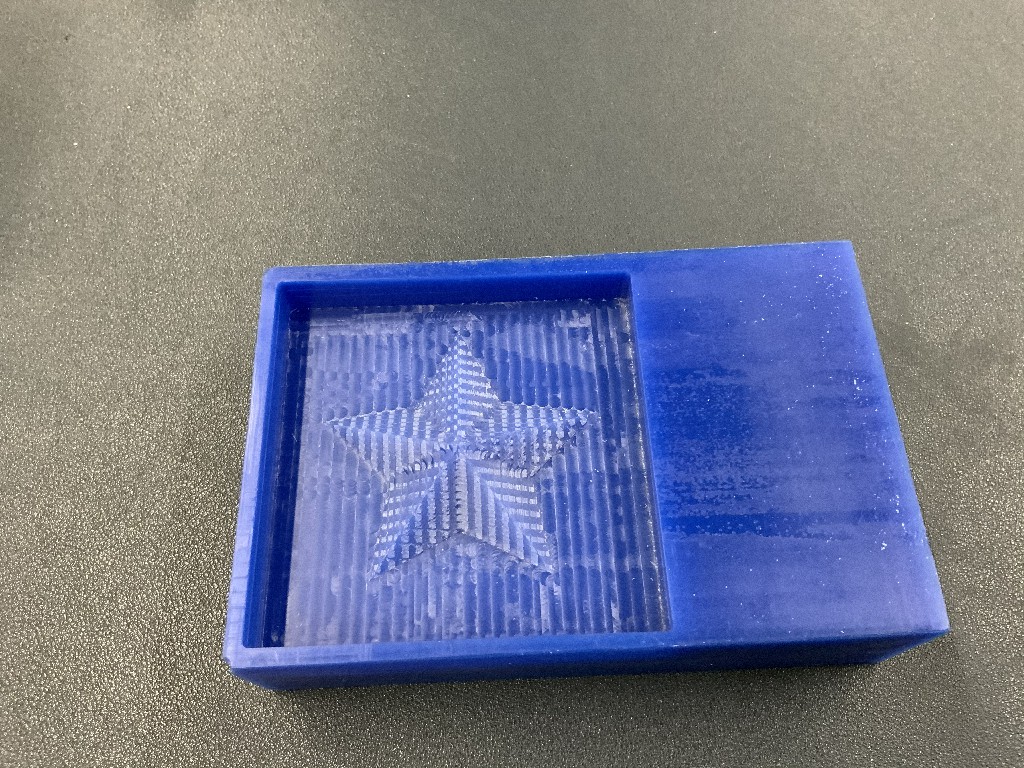
Step 7:
The mold is sucessfully created.
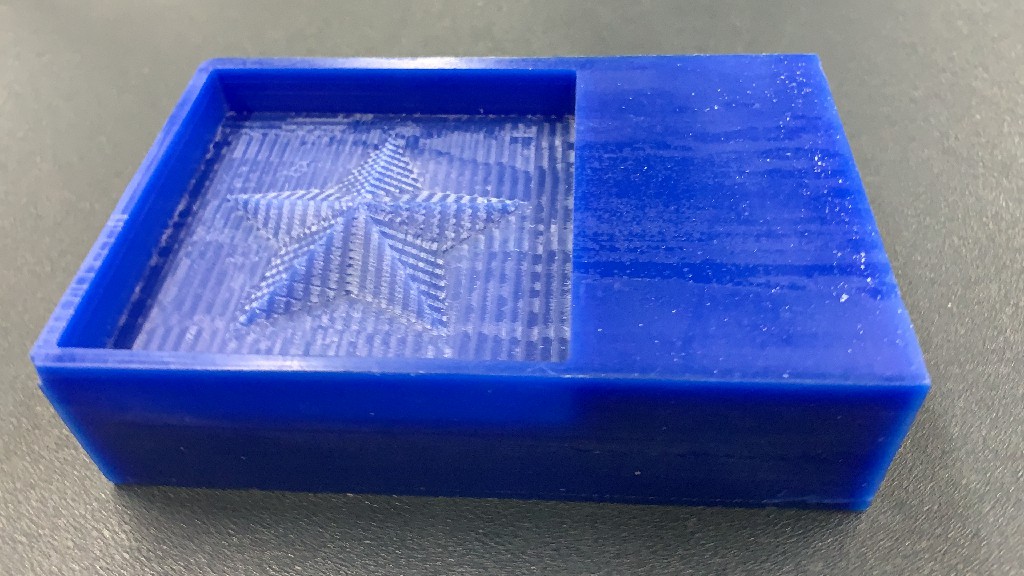
You may click on the video to watch the 3D view of the mold.
Cast a soft silicon mold - Mixing Silicon A and B liquid
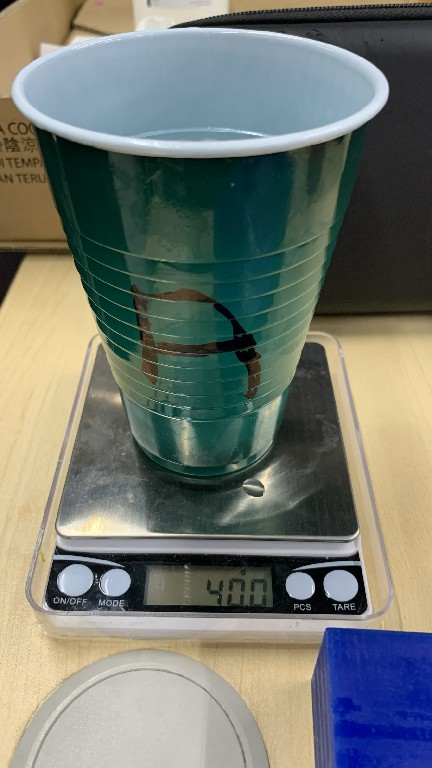
Step 1:
Putting the Silison A 40 gram into the cup A.
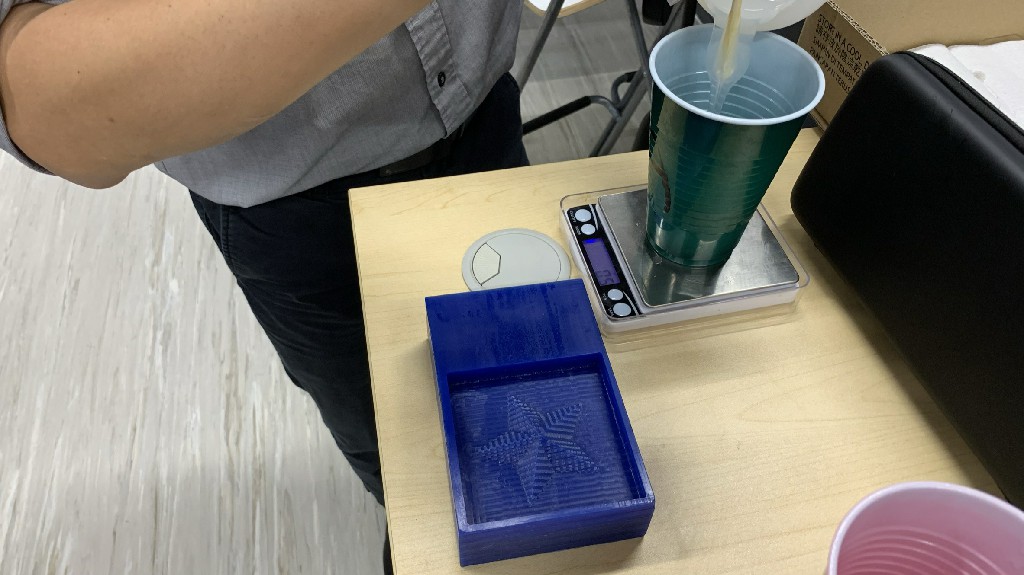
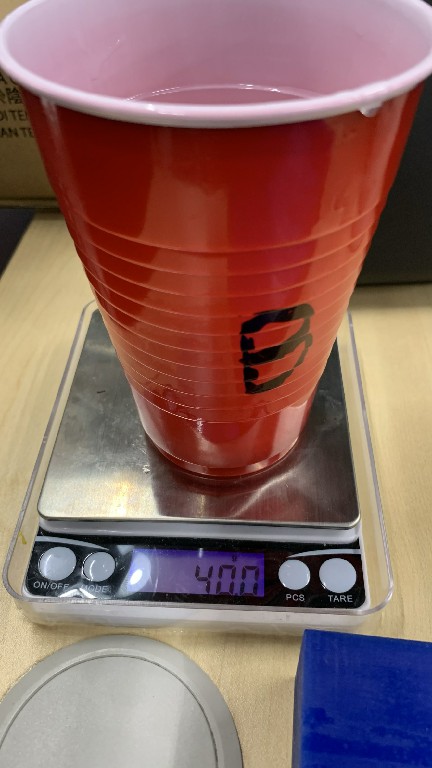
Step 2:
Putting the Silison B 40 gram into the cup B.
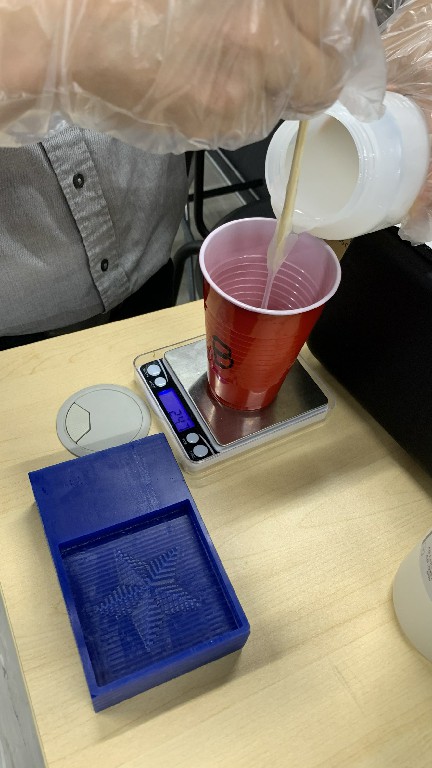
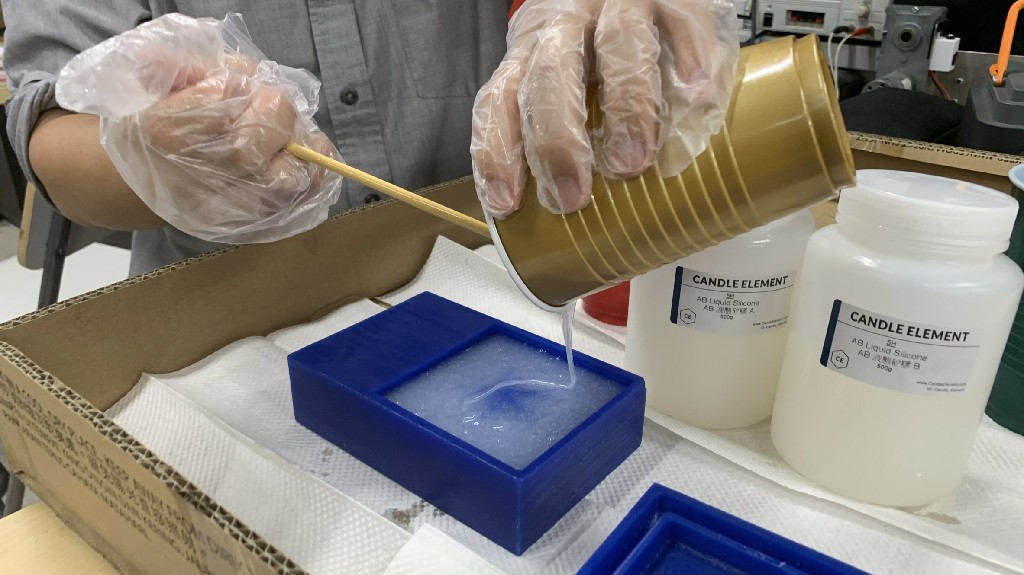
Step 3:
Mix two cups (Silison A and B) together. It need 15 minutes for mixing them together.
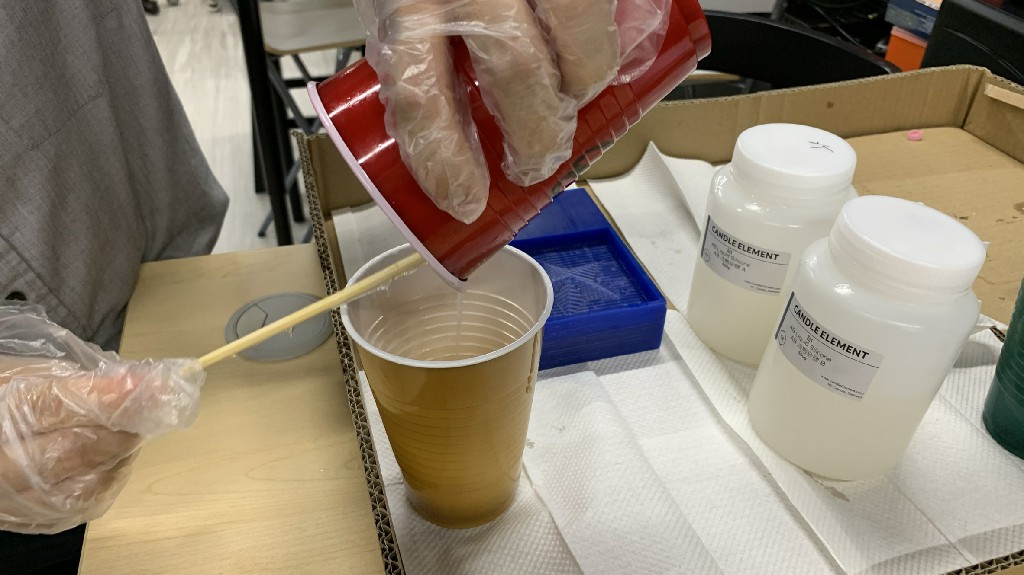
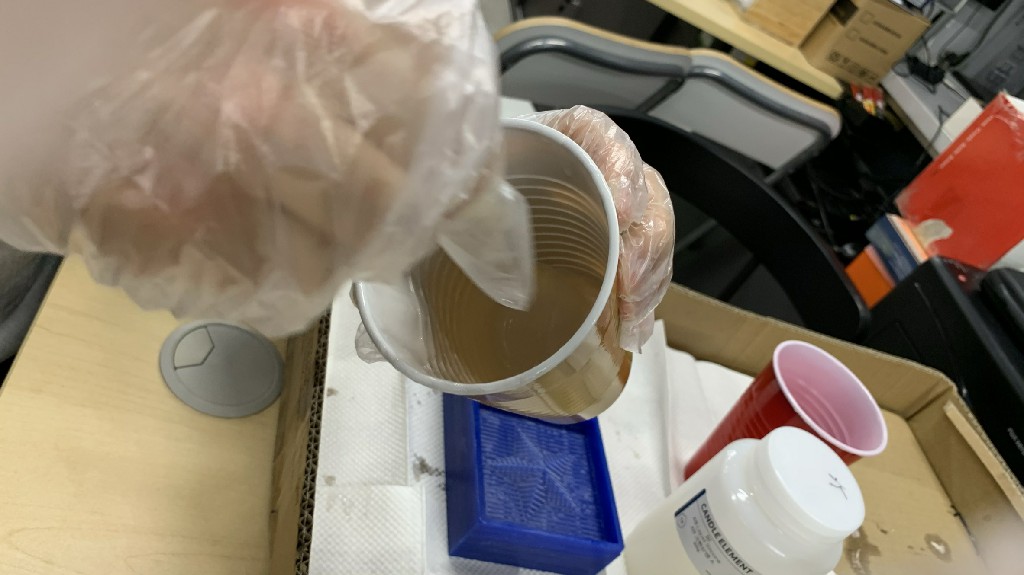
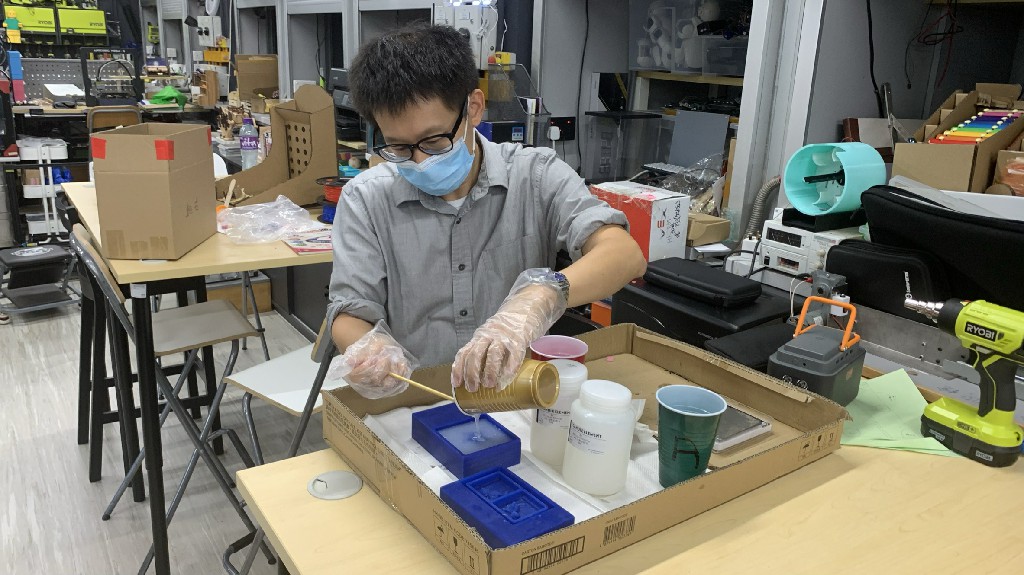
Step 4:
I put the mixed liquid ((Silison A and B) ) into the blue mold.
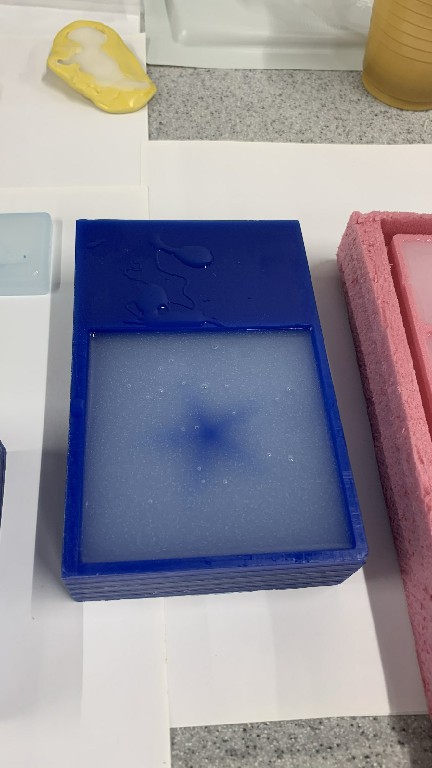
Step 5:
The liquid need to cover the star.
Step 6:
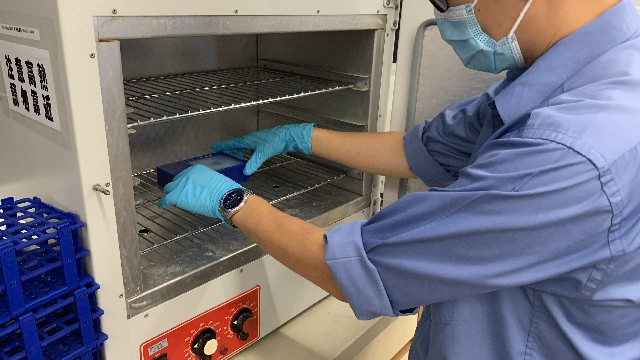
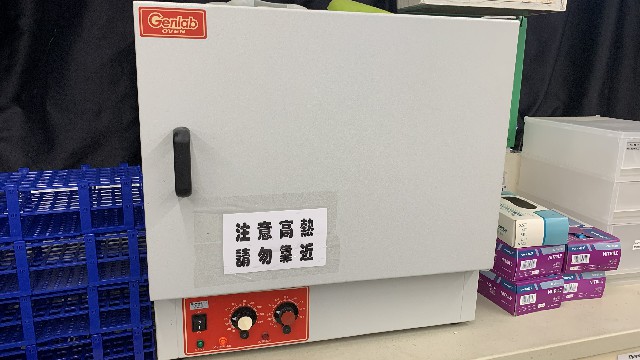
I put it into a oven to warm it up in order to make it faster to be solid.
Step 7:
After two days, I try to take out the soft silicon mold from the CNC mold.
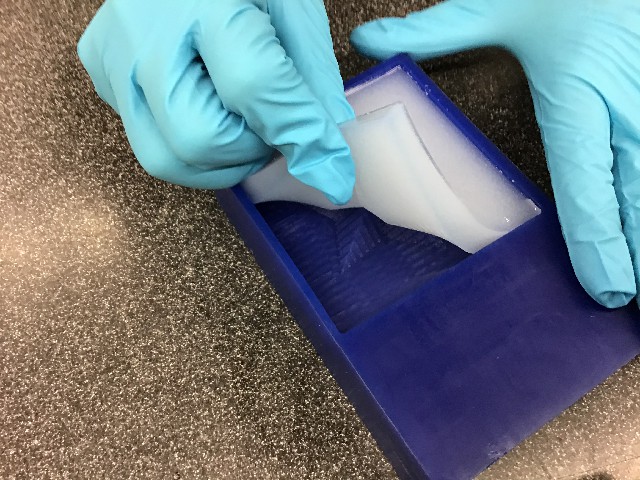
Step 8:
I take it out slowly.
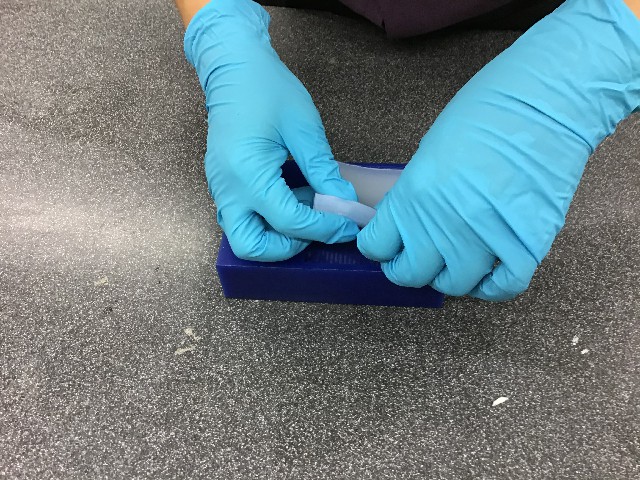
Step 9:
The soft silicon mold have already been taken out.
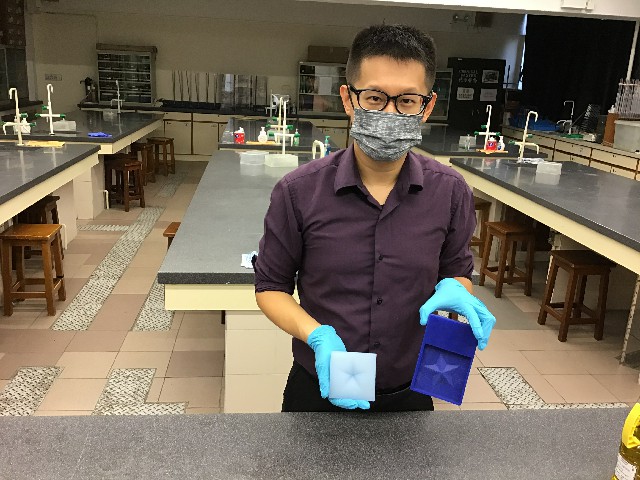
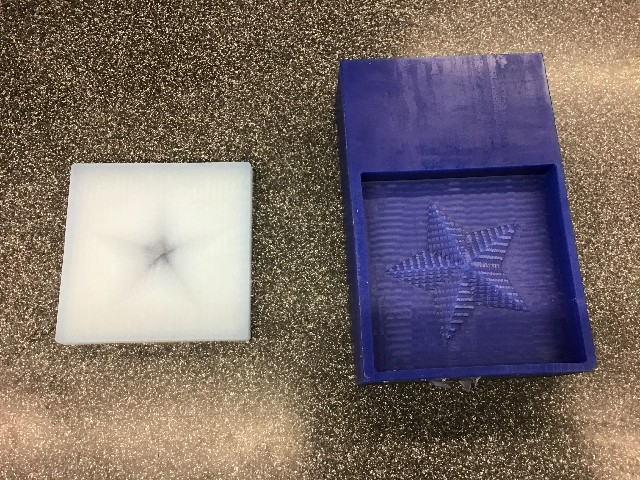
Step 10:
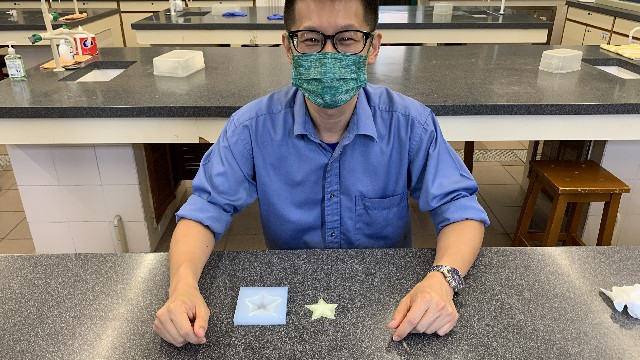
CNC mold and soft silicon mold
Using a soft silicon mold to cast another material.
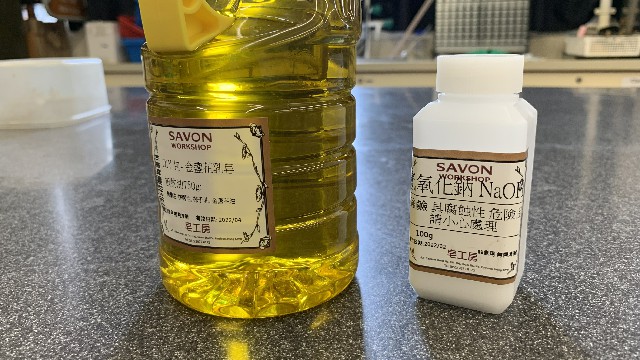
Step 1:
I am going to use the mixture of oil and NaOH.
Step 2:
I am going to mix them up together
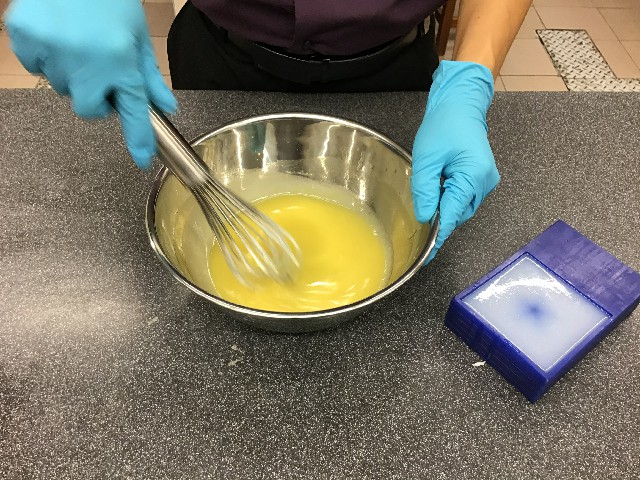
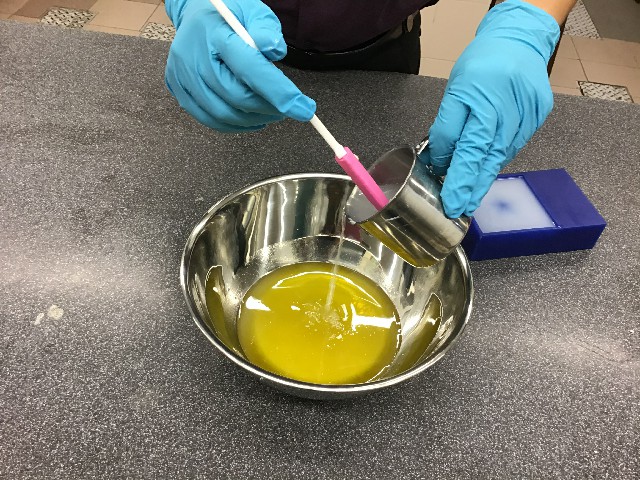
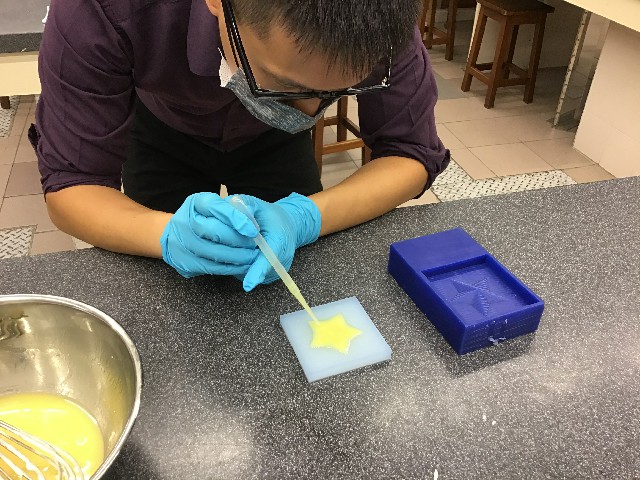
Step 3:
I am putting the mixture of oil and NaOH into the soft silicon mold
Step 6:
Those material have been in the soft silion mold. I put it in room temperature for 2 days.
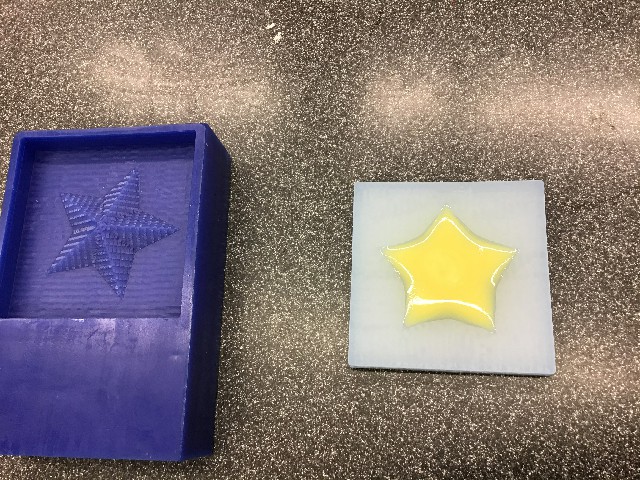
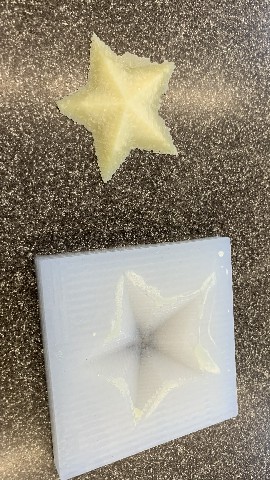
Step 6:
After 2 days, it is done. It looks like this.
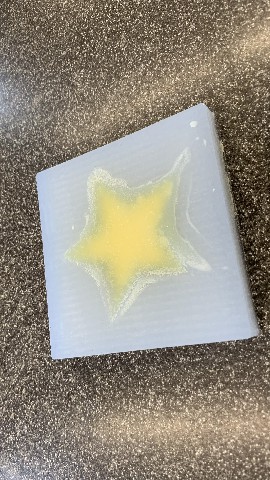
Step 6:
I try to take it out from soft silicon mold slowly like this.
Step 6:
It is done. the star sharp mold is completed.
Group assignments
Review the safety data sheets for each of your molding and casting materials
Make and compare test casts with each of them
Here is the link of the group assignment .