3. Computer Aided design
This week tasks (Finish):
-
Modelled experimental objects/part of a possible project in 2D and 3D software
-
Shown how you did it with words/images/screenshots
-
Included your original design files
3D model
This week I start to work on the 3D model. I learn how to use Autodesk Fusion 360. As I know this software is a well-known software for creating 3D model.
Step 1:
 thanks
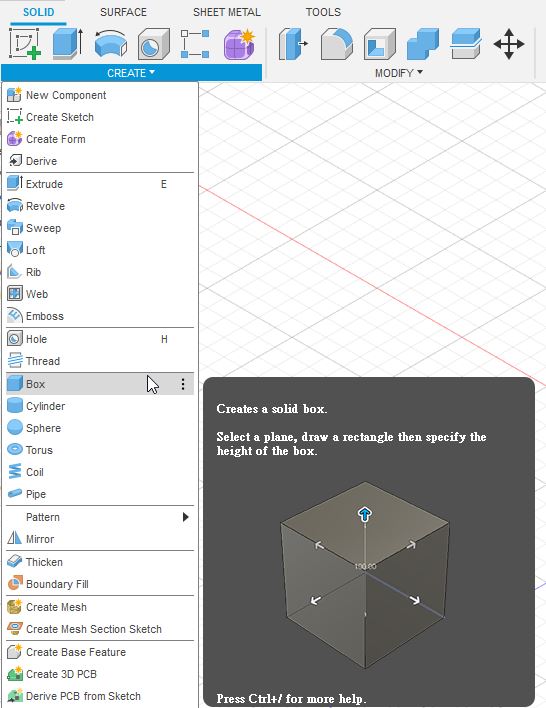
After starting Autodesk Fusion 360, the layout with rich of features are displayed. I will create a cover for my project. Therefore, I choose to create Box. A solid box is the function I choose. In the 3 dimensions coordination, I need to decide which plane my box will be placed.
Step 2:
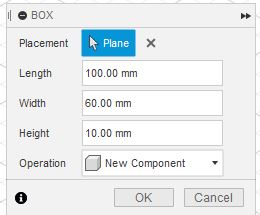
I wish to create the cover for containing my electronic components. Therefore I choose to enter lenght, width and height. For the operation field, I need to use “new component” to define it is a new component.
Step 3:
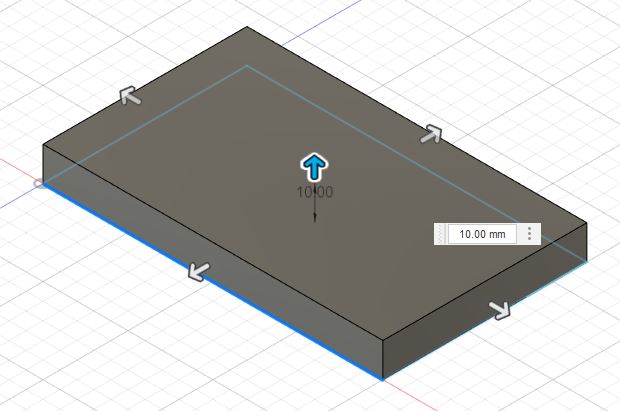
After that, the solid box is sucessfully created.
Step 4:
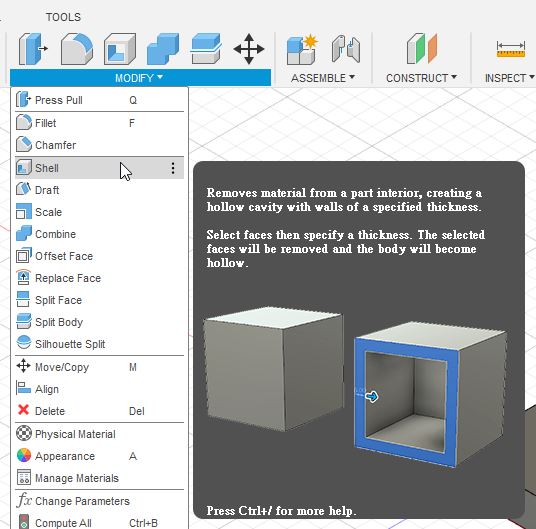
Also, I will use Modify \ Shell feature. This feature is used to remove material from a part interior. Therefore I can create a hollow cavity.
Step 5:
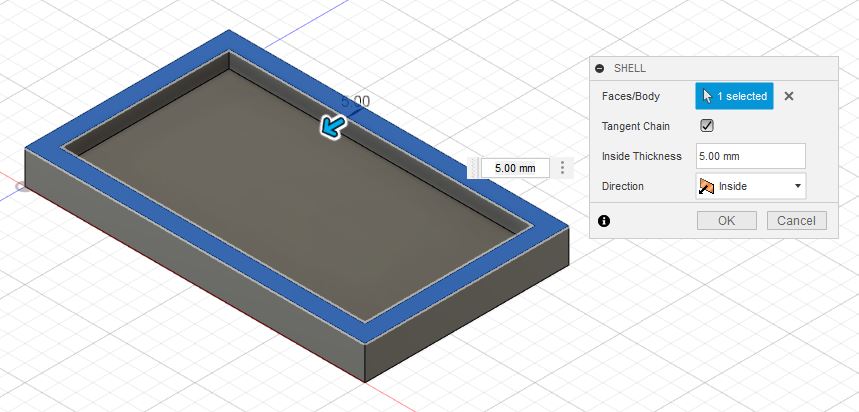
After the hole is created, I need to define the thickness of the model. I define it as 5mm inside thickness in Shell.
Step 6:
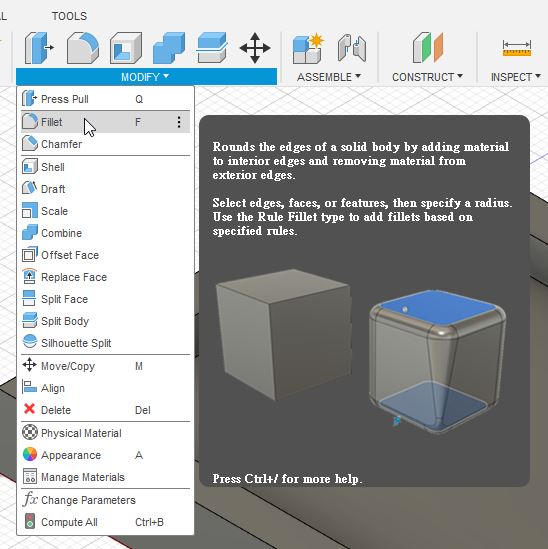
The border of the model is sharp at the edges. I will try it make it round sharp. I have to use modify \ Fillet feature. This feature allow me to round the edge by removing material from exterior edges.
Step 7:
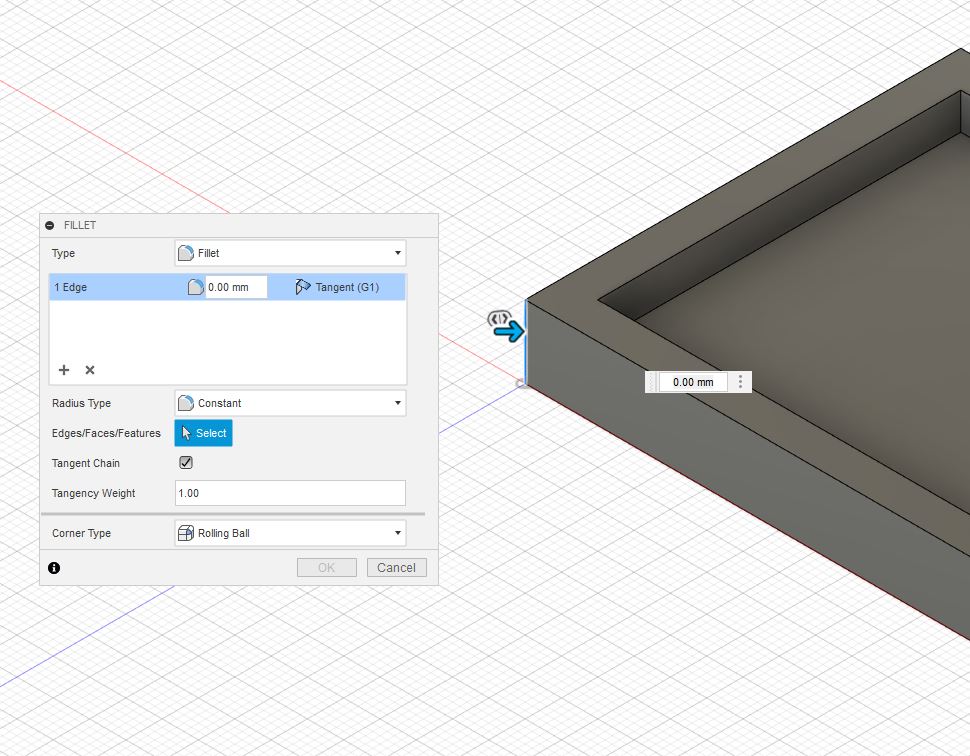
The next step is to choose each edges. Click one of the edge.
Step 8:
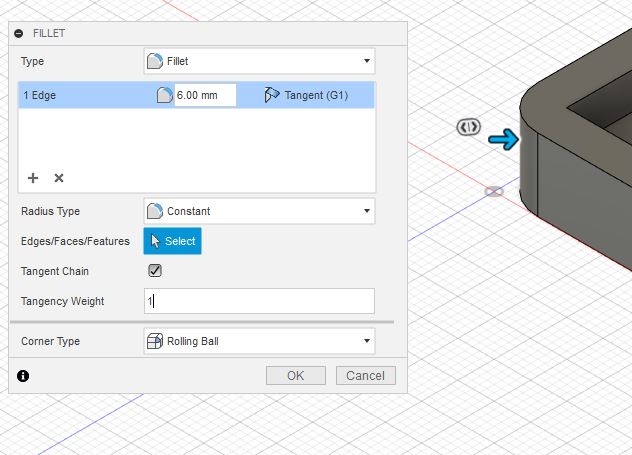
I adjust the tangency (G1) to 6mm. Then the edge is changed to round sharp.
Step 9:
And then I choose the to usesame techique for the remaining edges. So the module is create sucessfully.
Step 10:
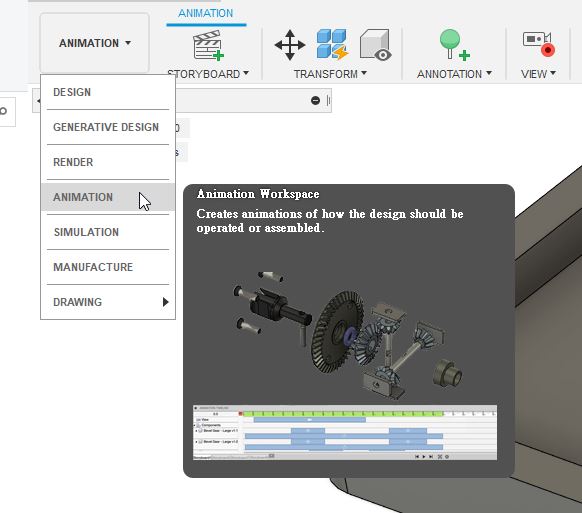
In Autodesk Fusion 360, animation can be made by using animation workspace. It is used to create a animation of how my model look like.
Step 11:

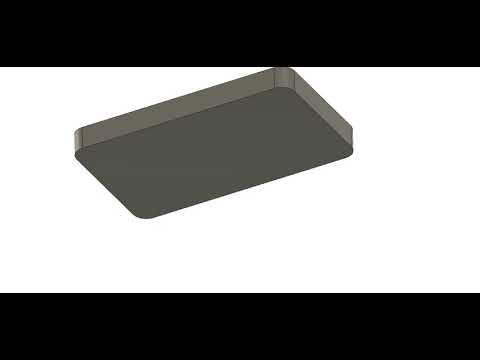
Ainimation timeline can be used to create different parts of animation. By setting different time location, I changed different view angle. After that, the animation is created.
Step 12:
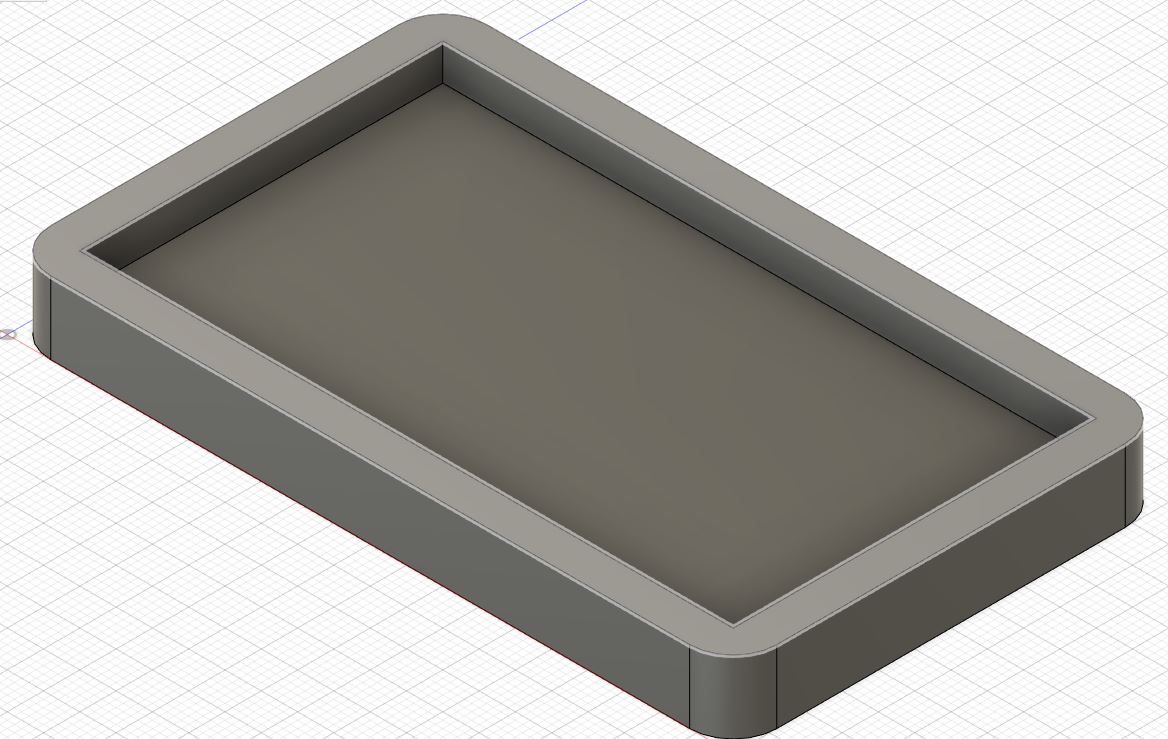
The following is the 3D model design of my case cover
Please click on it to watch video
Please click here to download Fusion 360 file
2D model
This week I start to work on the 2D model. I learn how to use GIMP. As I know this software is a well-known software for creating 2D model. GIMP is a freeware with full of features.
Step 1:
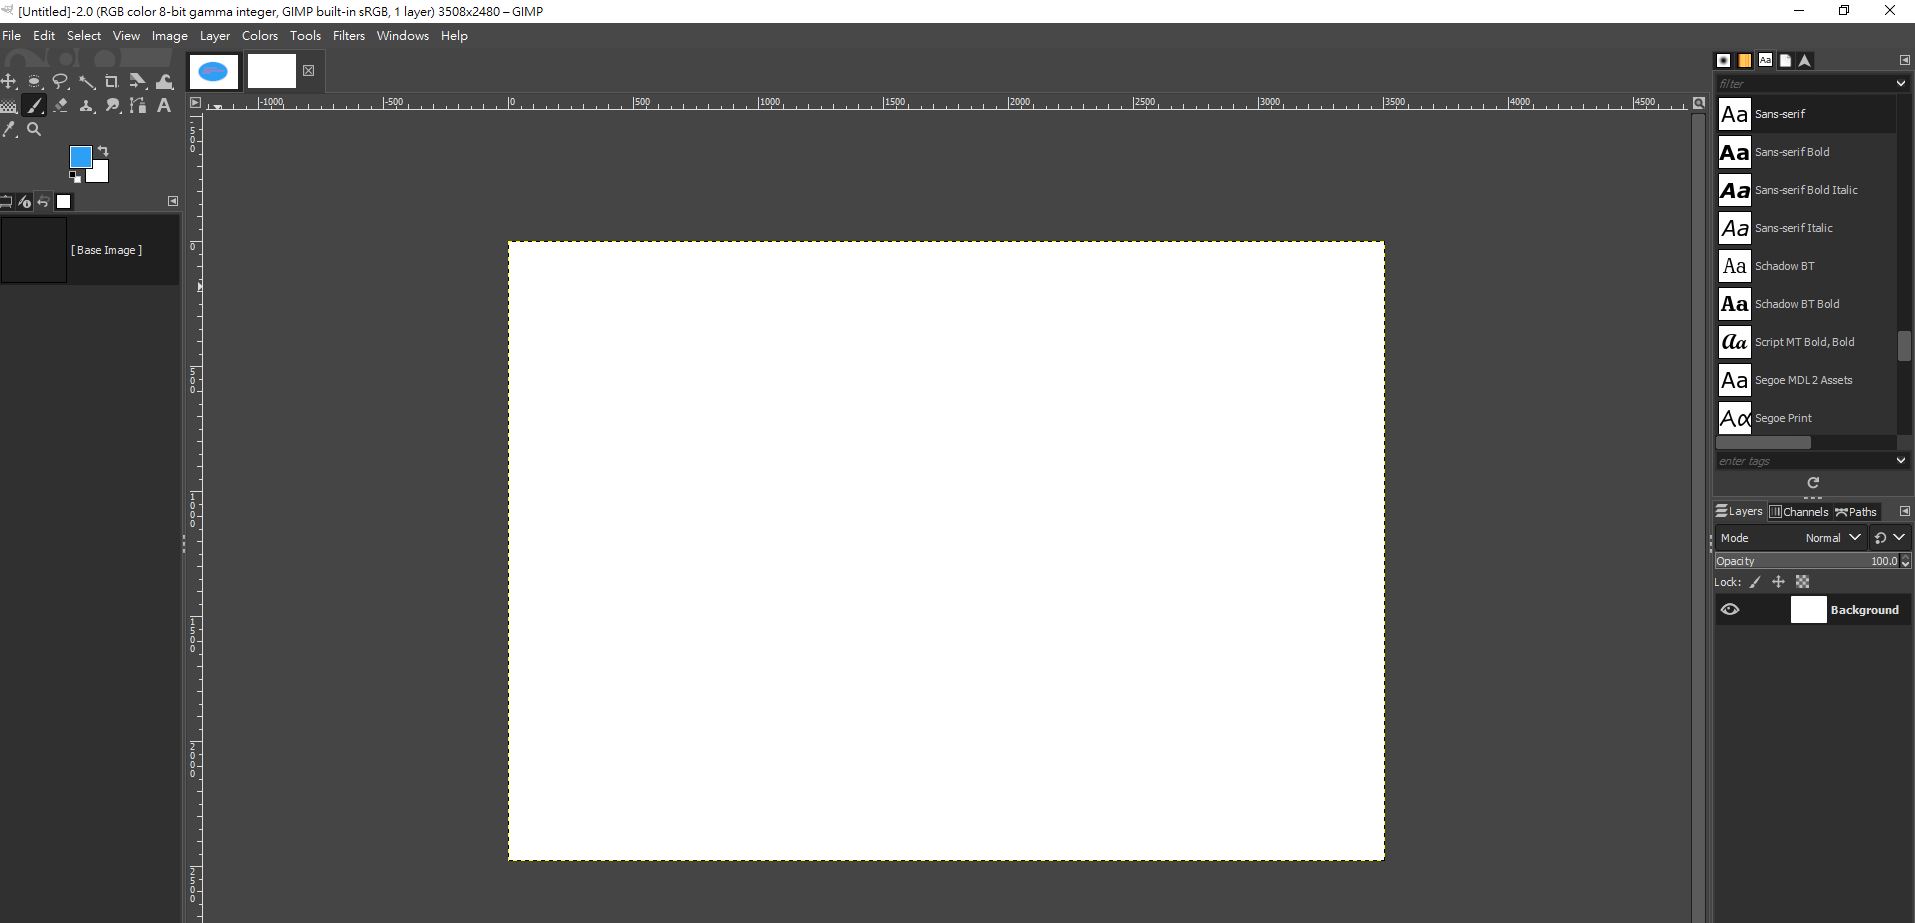
I was a basic idea of GIMP. So in this week, I start to learn much more about GIMP. This is the screen of GIMP.
Step 2:
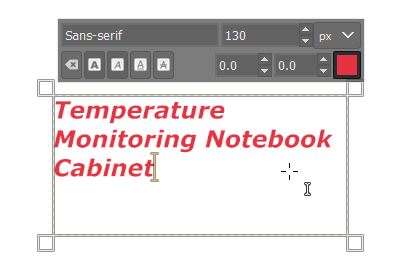
Now, I wish to create a very basic logo with my final project name. By using Text function, I add my final project name “Temperature monitoring notebook cabinet” in the GIMP.
Step 3:
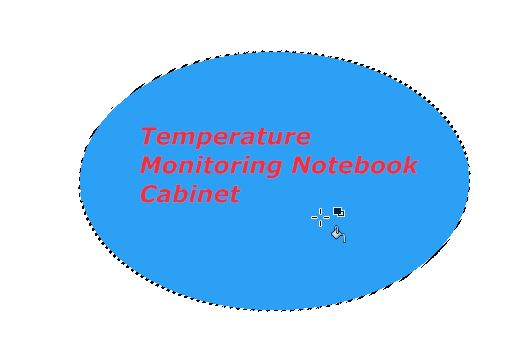
I create a ellipse behind the text. It look like highlight the importance of the project name.
Step 4:

I used a shear function to shear the logo.
Please click here to download my GIMP 2D graphic file