8. Computer controlled machining
Assignment
Make something big :
- Design
- Milling
- Assembly
Group assignment is documented on it’s dedicated page.
Something big…
I spent a lot of time trying to make wood panels from palettes. It was very time consuming so I paused this works to start designing something simpler (and useful for the fablab), a vacuum table that could be used in our CNC mill to hold materials in place without using screws or clamps.
2D drawing
I draw the plans in Corel Draw and exported it into .svg files.
There is one plan for the top side (with holes) and a second one for the bottom side (with air channels). Both sides must be aligned so the holes end up in front of the channels.
There is a third plan that can be used for the top and bottom sides, it’s the outline sealing groove.
Here is the link to SVG and g-code files
Gcode generation
To generate the gcode files, I used Easel for 3 reasons :
- This is what the ReLab recommend for the same milling machine.
- I know it well because I have been using the Carvey milling machine for a year.
- It is definitely very handy.
This is the preview of the two milling jobs, with toolpath simulation :
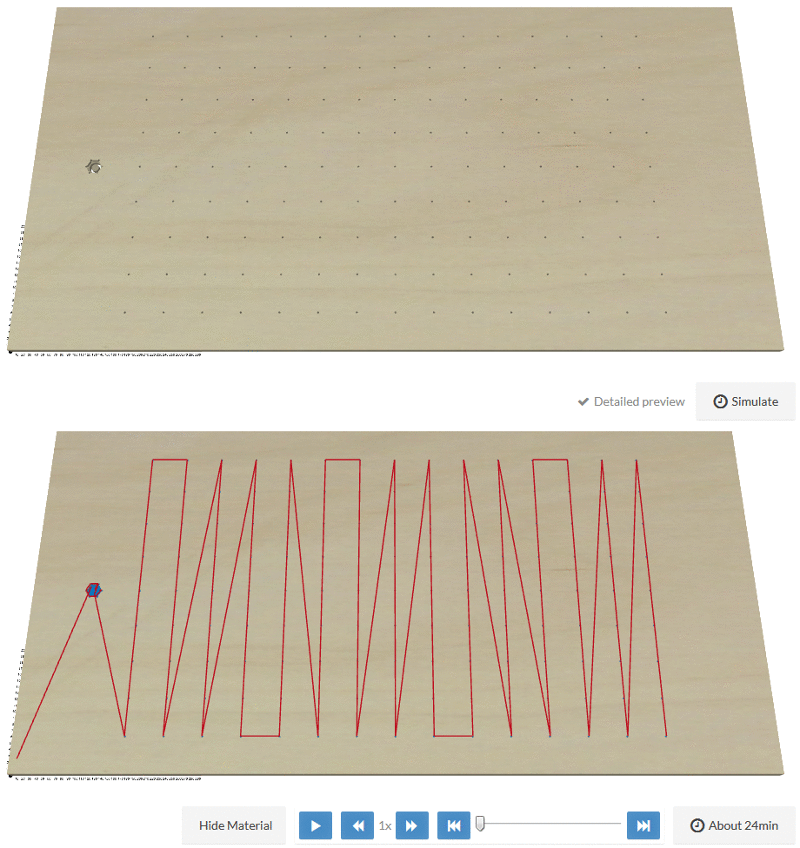
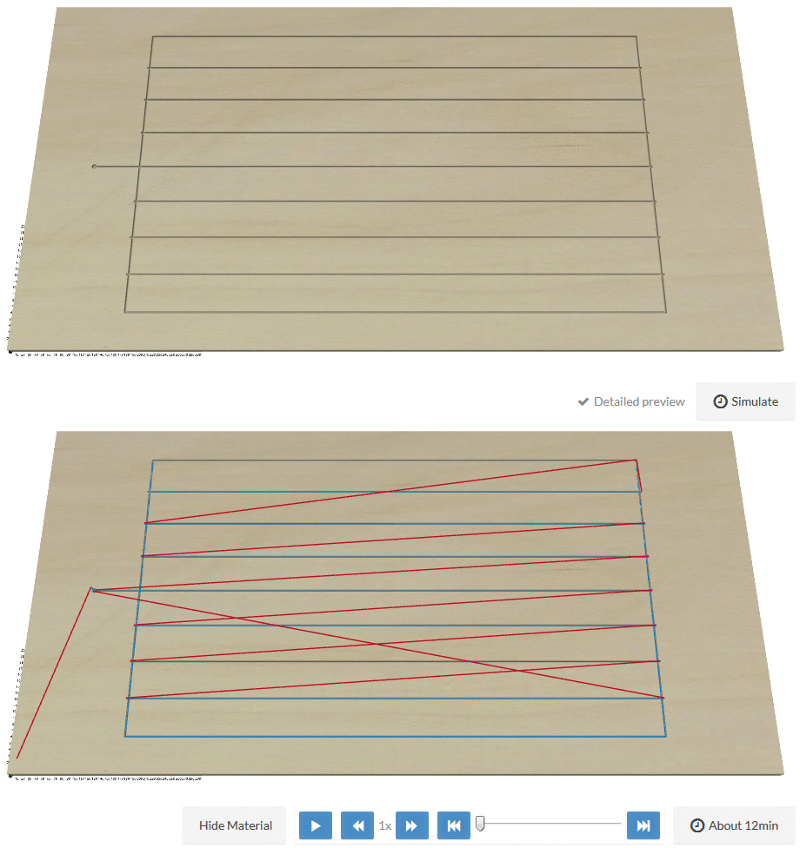
As you can see, the toolpath is not optimal. I think I should find a toolpath optimization software to make a more efficient gcode.
To export gcode from Easel, click on Machine → Advanced >> and the Advanced Settings window should pop-up :

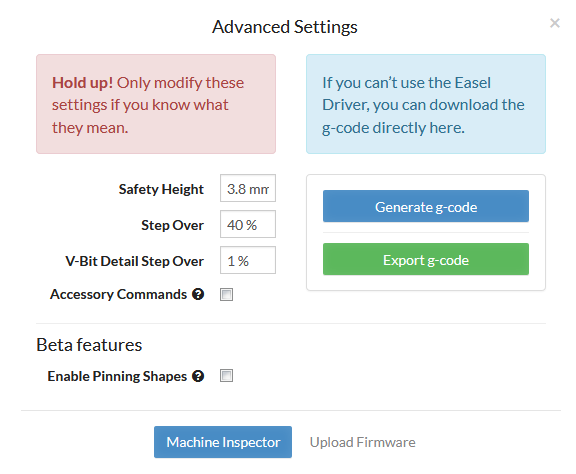
Click on Generate g-code, then Export g-code.
You will get an .nc file to download. Before opening it into KinetiC-NC, use a text editor to :
- Add a % symbol before the first line
- Remove the lines starting with G21 and G10
- Remove the G30 line (at the end of file)
CNC milling
As material, I used scrap panels from old tables. It’s made of agglomerated wood with plastic laminate. Probably not the best choice for a vacuum table but it fitted well in the CNC machine. Let’s say it’s just a proof of concept.
I used two end mills :
- ⅛” 2 flute straight end mill, for holes an pocket
- 90° V-bit, for air channels and glue grooves


Despite the time I spent to give the machine a perfect zero reference, the channels were misaligned with the holes. There was a 5mm gap and I still do not understand where it comes from :
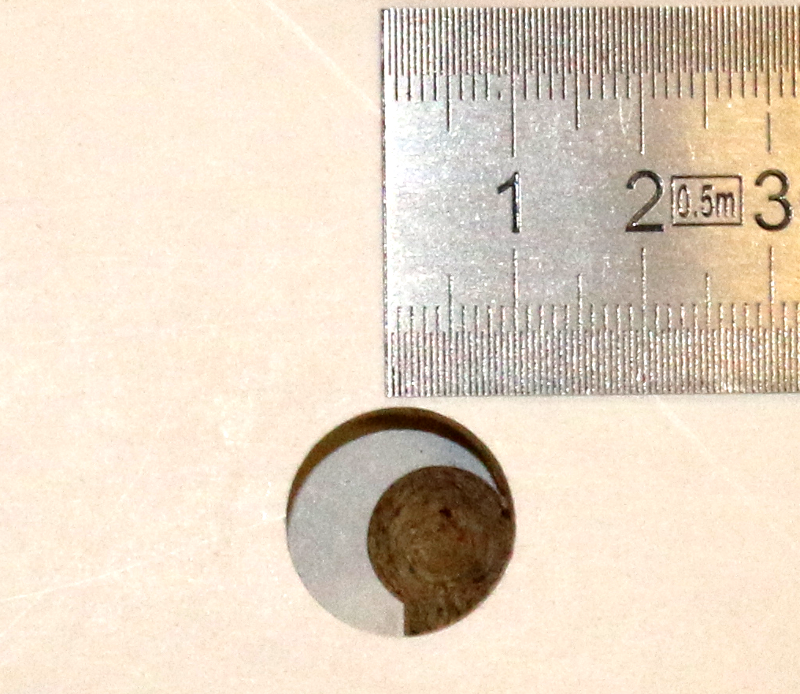
I had to do a second milling of the bottom side to enlarge the channels.
Assembly
Prior to sealing, I had to screw the air outlet connector. I used a standard pneumatic bulkhead tube-to-tube connector :
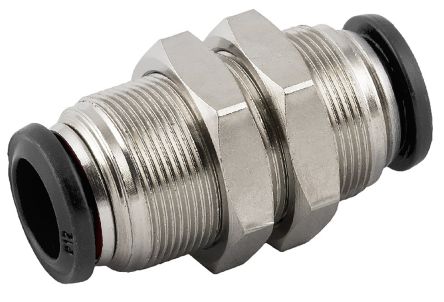
Then I just put wood glue in the outside groove. Then I assembled the panels with clamps to keep them aligned and I put heavy stuffs on top to keep them flat.
Testing
With MDF
I blocked unused holes with nylon rivet pins. It worked very well with the vacuum pump from our lab :
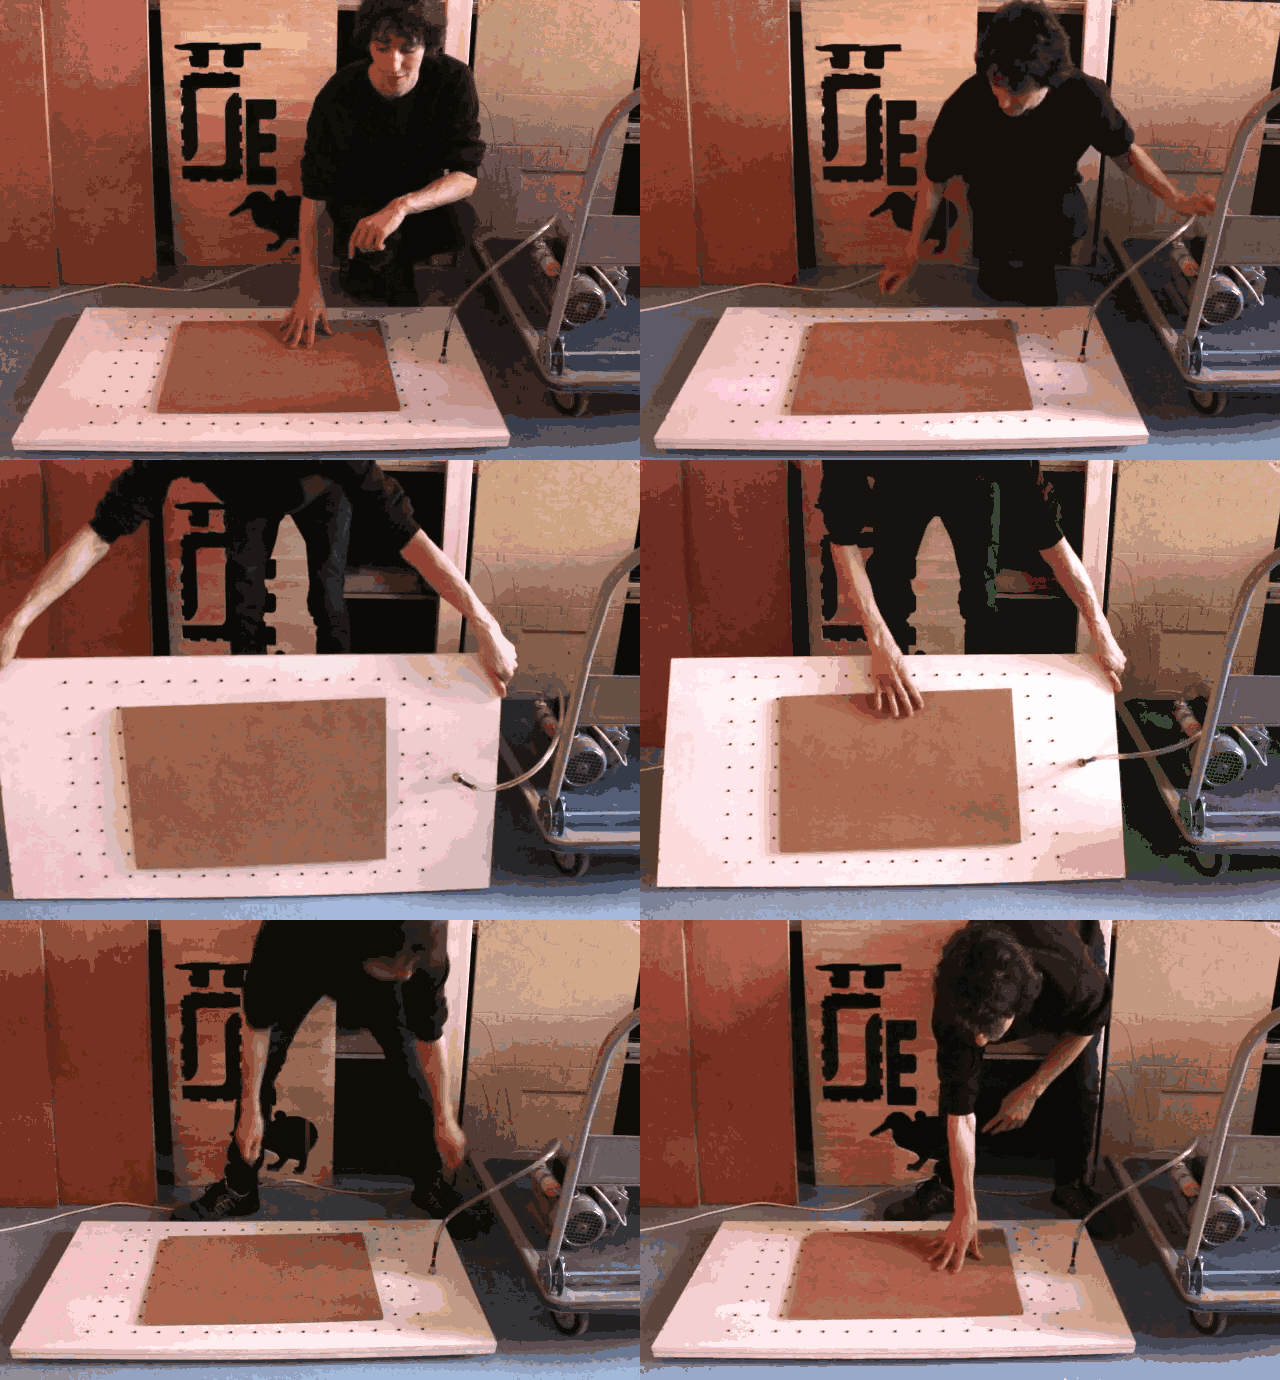
Sorry for the bad quality of the gif…
PVC crash test
I tried to use the vacuum table to hold a thin (0.8mm) sheet of PCV in place. It did not worked as well as expected because I used an upcut end mill that lifted the sheet and left some holes uncovered.
Even if I paused milling, the sheet could not stick back to the vacuum table because PVC dust went in the way.
So I tried again with a downcut end mill and it worked good.