4. Computer controlled cutting
Assignment
- Cut something on the vinylcutter
- Design, lasercut, and document a parametric press-fit construction kit
Group assignment is documented on it’s dedicated page.
Cutting with the Silhouette Cameo
When I received our vinyl cutter, I first installed the official software : Silhouette Studio. The only material I had was some (ugly) green adhesive vinyl that I got for free from Iles de Paix. It was quite easy to cut it, the preset in Silhouette Studio worked at the first attempt.
Vinyl stickers
I started cutting a humming-bird that was included in the Silhouette Studio samples. It was an interesting shape because of it’s long beak. This is the cutting setup :
- Depth : 1 (=0.1mm)
- Speed : 5
- Force : 10
- Passes :1
And here is the result :
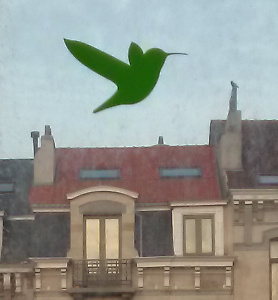
Then I tried to cut my name, in the same material but with a lower force (down to 8).

A student saw the humming-bird sticker and wanted me to cut a second one, so I did it again but with a deeper cut around the vinyl :
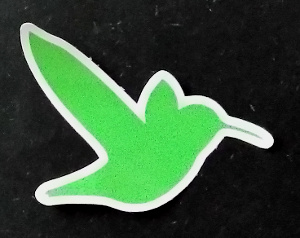
To have a proper contour, I clicked on the star shaped icon to open the Contour panel.

Then I could change the width of the contour and click on Apply.

Before sending it to the cutter, I had to change the color of the contour because this is how differents cutting parameters are defined.


Here, red line will be cut at low depth and force. Black line will be deeper. To do so, go in the “Send” tab and choose Line (instead of Simple) :

This is the cutting setup for the back paper (black line contour) :
- Depth : 2 (=0.2mm)
- Speed : 8
- Force : 14
- Passes :1
Cardstock Geoball
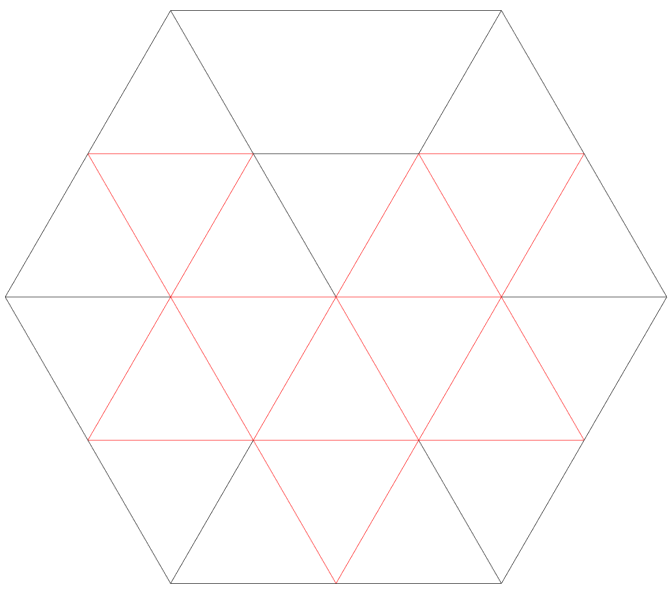
I also wanted to try cutting cardstock to make a Geoball. The vector (.dxf) file was ready to use because I made it before, in order to cut it with a laser-cutter. This is a 2-color drawing, black for cuts and red for folds :
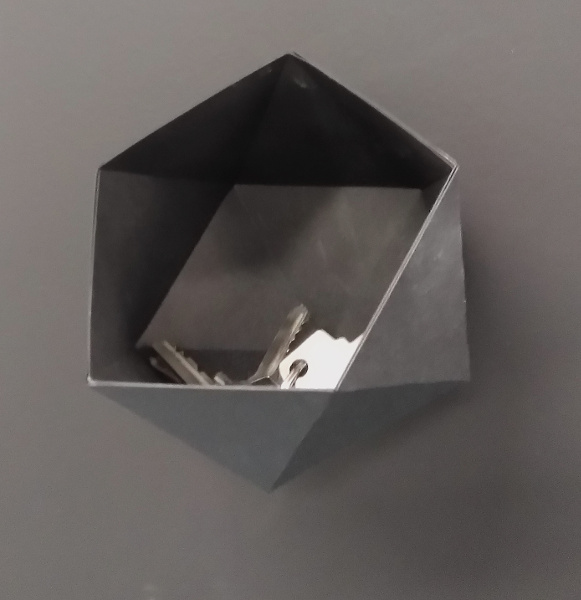
It worked at the first attempt. I glued it to the lab door to use it as a key-box :
Then I tried with a slightly thinner cardstock and it failed because cutting depth was too strong.

Conclusion : Always test cutting force before sending a big job to the vinyl cutter.
Lasercutting a press-fit kit
I wanted to design a molecular model kit. Inspiration come from a design on Thingiverse that I 3D printed years ago. Atoms were printed in ABS and connections were made of PVC tubing :
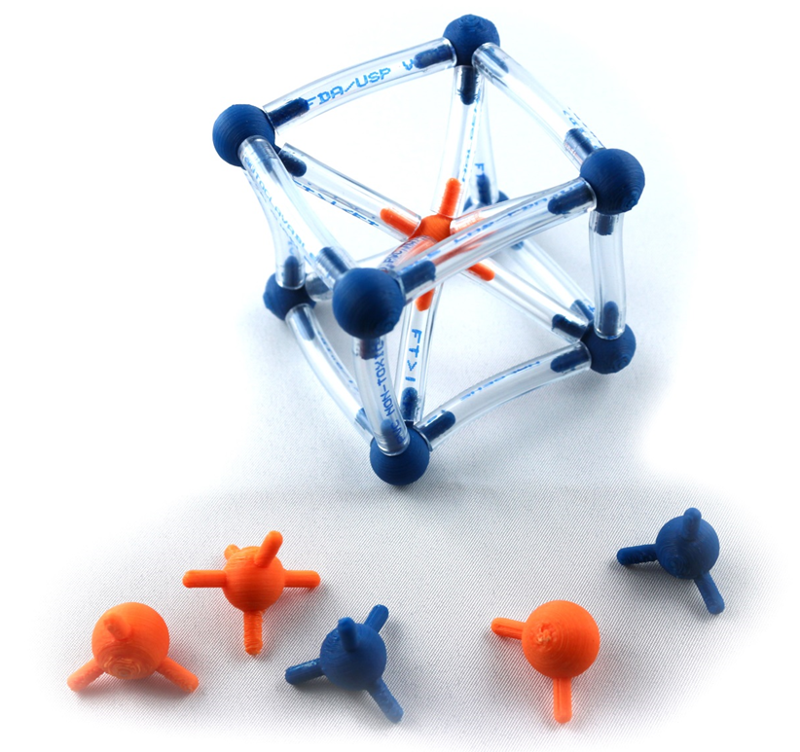
It was quite complicated to have a strong print, due to the orientation of the bonds. Some atoms broke after a while :

So let’s try to make it cheaper using cardboard !
Design with Openscad
This is the code I wrote in Openscad, you can change :
- the radius of the atoms
- the angle and lenght of bonds
- the material thickness
- the laser kerf
- the quantity of atoms and bonds
radius=15;
angle=30;
thick=2.8;
kerf=0.2;
lenght=60;
width=(thick*3)+kerf;

module nucleus(qn){
    for(i=[0:1]){
        translate([0,-(radius+kerf)*2*i,0]) {
            for(i=[0:qn-1]){
                translate([(radius+kerf)*2*i,0,0]) {
                    difference() {
                        circle(r=(radius+kerf));
                        translate([radius,0,0]) {
                            square([radius*2,(thick-kerf)], true);
                        }
                        for(i=[angle:angle:160]){
                            rotate([0,0,i]){
                                translate([radius,0,0]) {
                                    square([thick*2,(thick-kerf)], true);
                                    }
                            }
                        }
                        for(i=[(180+angle):angle:330]){
                            rotate([0,0,i]){
                                translate([radius,0,0]) {
                                    square([thick*2,(thick-kerf)], true);
                                    }
                            }
                        }
                    }
                }
            }
        }
    }
}

module bond(qb){
translate([-radius,radius+(kerf*2),0]){
    for(i=[0:qb-1]){
        translate([(width*i)+i,0,0]) {
            difference() {
                square([width,(lenght+kerf)], false);
                translate([thick*1.5,(lenght),0]){
                    square([thick,(thick*2)-kerf], true);
                }
                translate([thick*1.5,0,0]){
                    square([thick,(thick*2)-kerf], true);
                }
            }
        }
    }
}
}

nucleus(16);
bond(20);
This is the output for 2 atoms and 6 bonds :
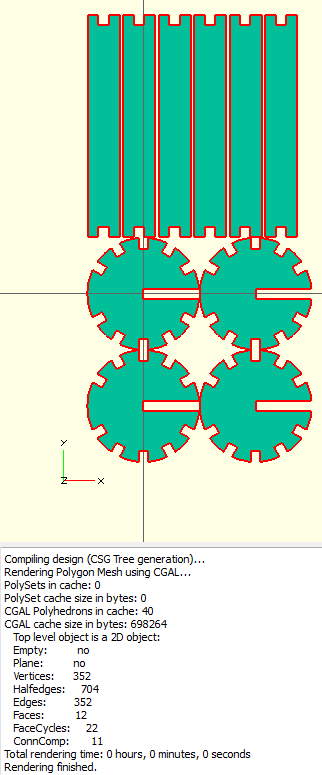
It now can be exported to a vector file with File -> Export -> Export as DXF…
Cut with the Epilog Mini 60W
For a 2.8mm thick cardboard, I used these parameters :
- Speed : 60%
- Power : 25%
Focus
Note that if the focus is perfect, power can be reduced down to 20%. My cardboard was not very flat so I had to increase power to make sure that the laser beam goes through.
Result
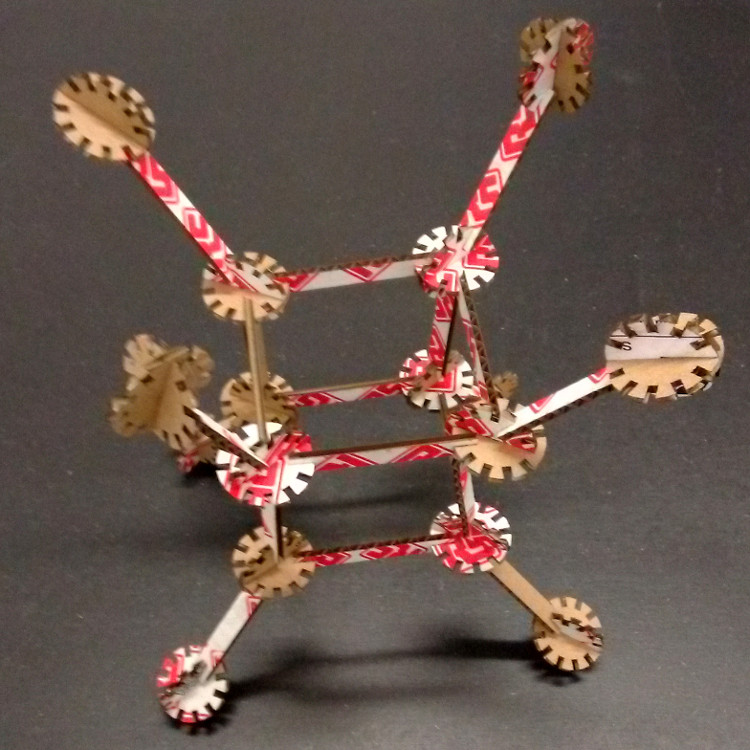
This is how it looks, once cut in cardboard and assembled :
CAD files
- Silhouette Studio file and DXF for vinyl-cutting a geoball are archived in Geoball.zip
- Openscad file and DXF for laser-cutting a molecular kit are archived in Molecular.zip