Vinyl Cutting
Assignments
We had no specific project for this tool but we had to try, if we can, some different support like :
- Stickers
- Flexible circuit boards
- A textured surface/relief pattern
- Screenprint resists/stencils
And we will have to identify and explain processes involved in using the machine and design and create the final object. So for this week, our assignments are the following :
- Explained how you drew your files
- Shown how you made your vinyl project
- Included your design files and photos of your finished project
Making Stickers
- Explained how you drew your files
- Shown how you made your vinyl project
- Included your design files
- Included photos of your finished project
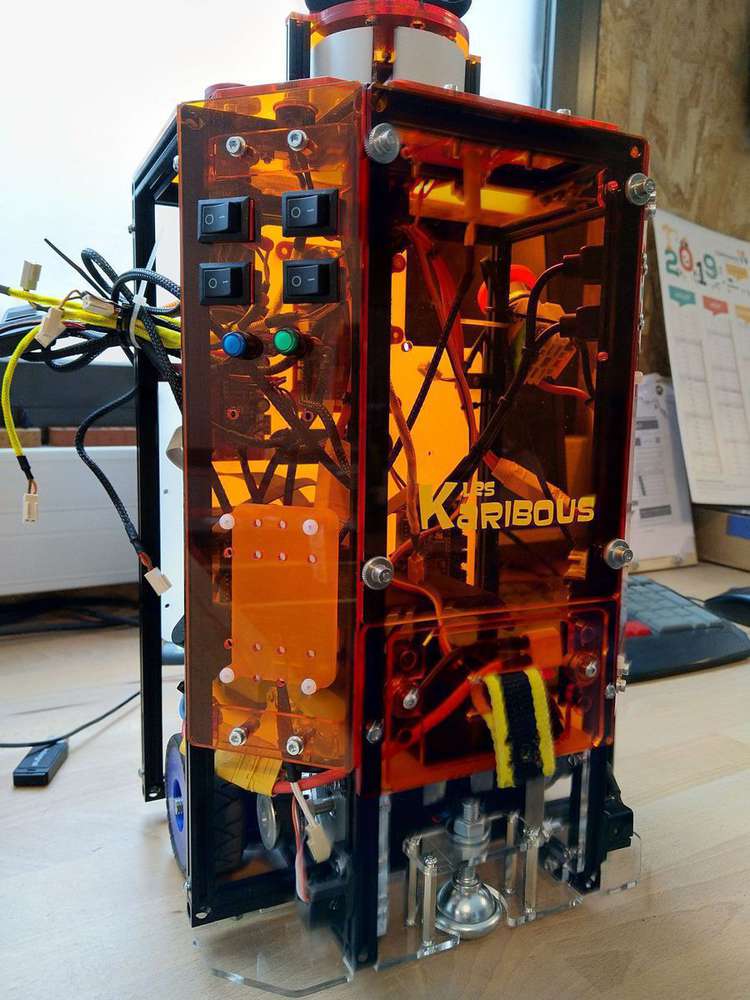
For my competition of robotic ( Makerfight and Eurobot ), we are making three different kind of robots. So I have decided to maker sticker of our logo on the Vinyl cutter.
To do that, I used two softwares :
- Inkscape
- Silhouette Studio
Warning
To use DXF and SVG files on Silhouette Studio, don’t use the new version of the software because this option is now inside the paying version  . You can use an older version that you will find on this link.
Design the file
I film myself doing the files. As for almost all my videos, the speed is x4, so you can, directly on youtube, increase the speed if you want, or slow down to the realtime speed ( x0.25 ). And of course, you can watch it at the normal speed and enjoy the music “Canals” by Joakim Karud 
You can find my files on the following link :
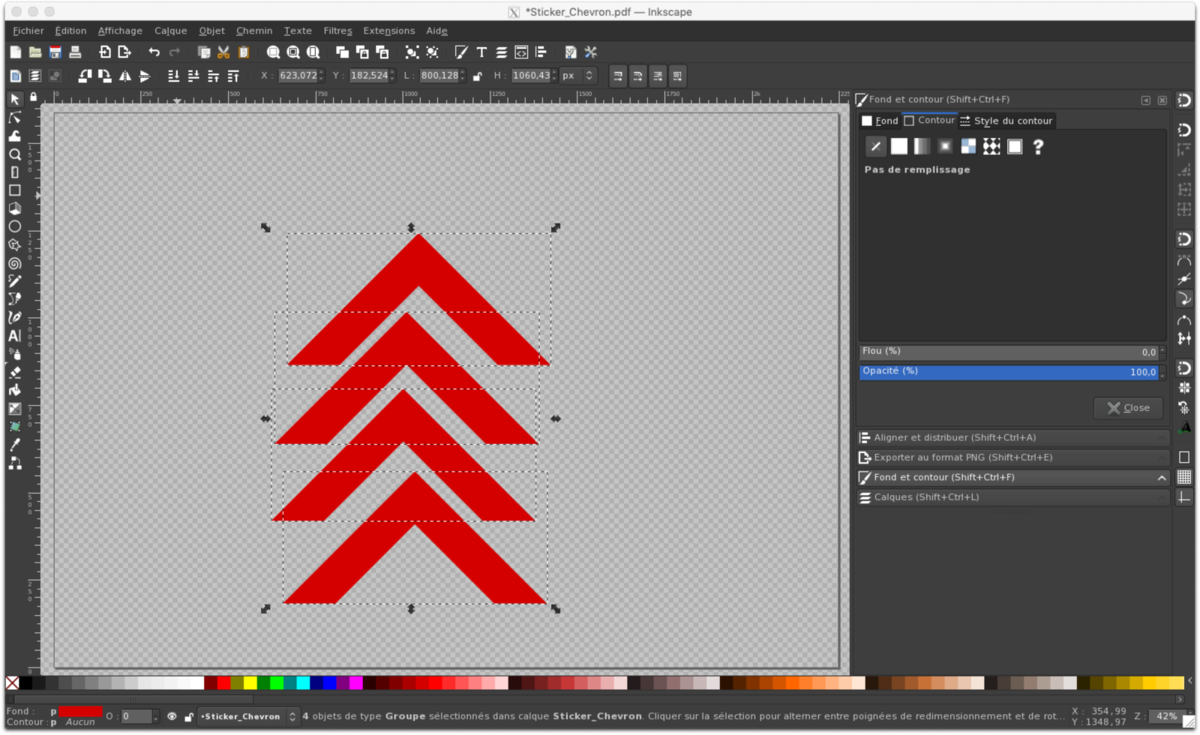
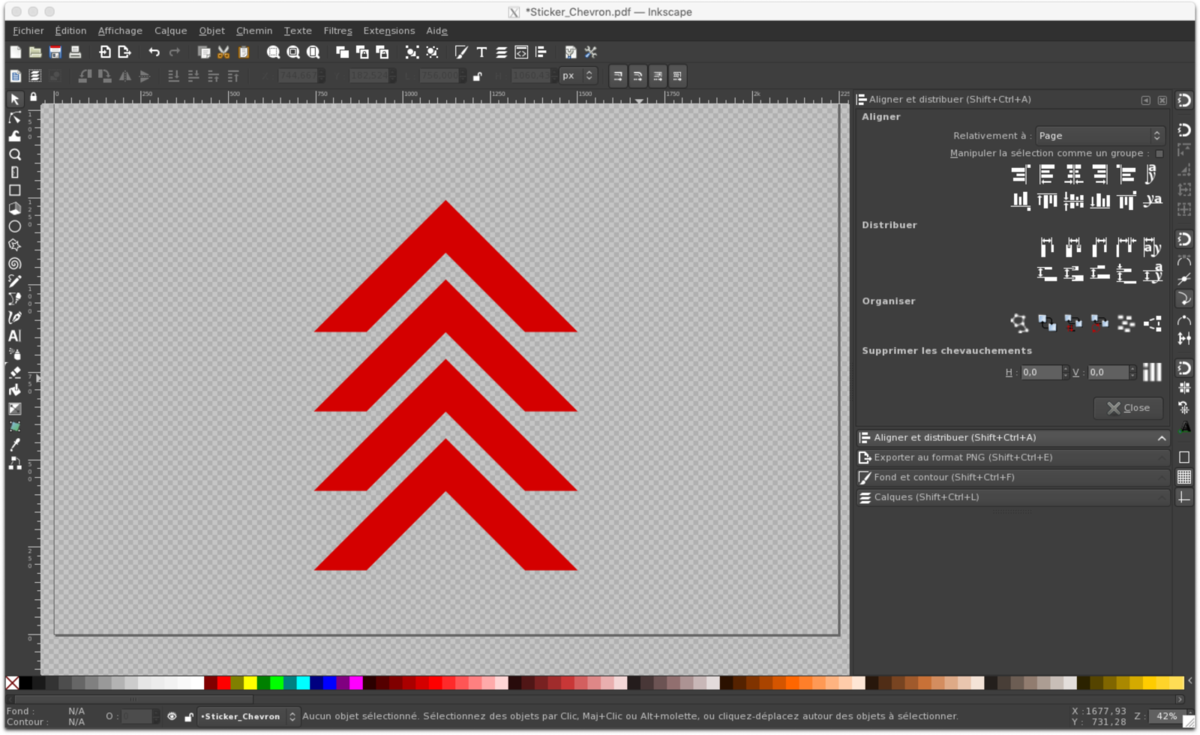
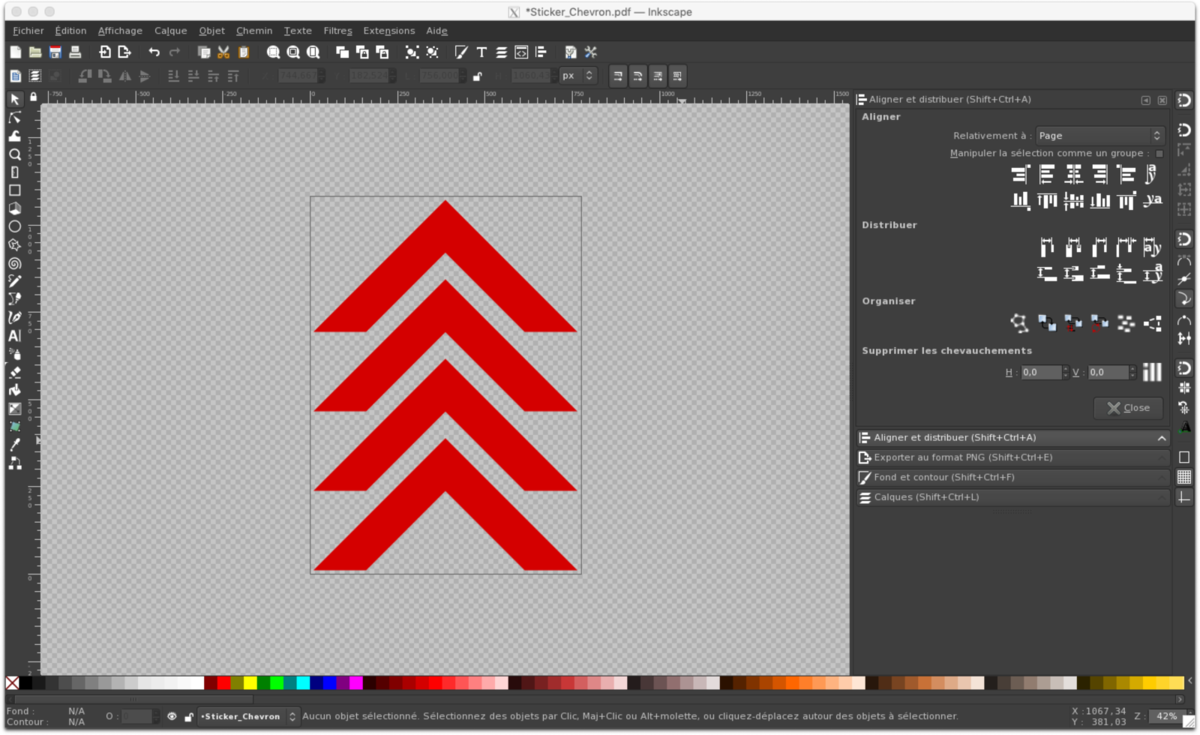
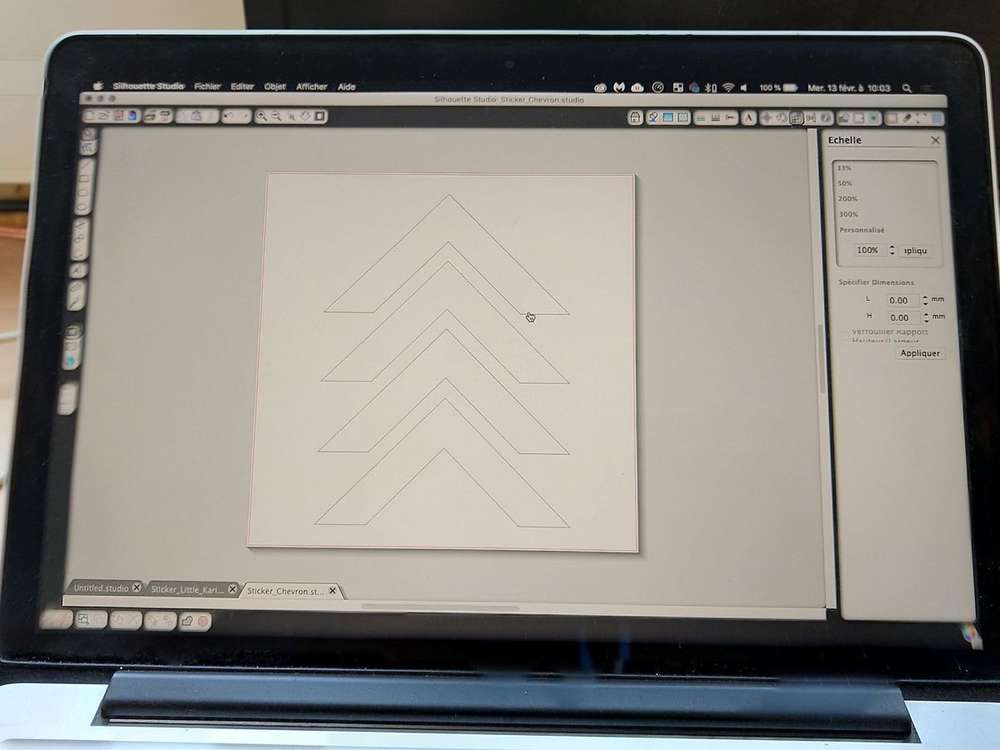
Chevron :
Karibous :
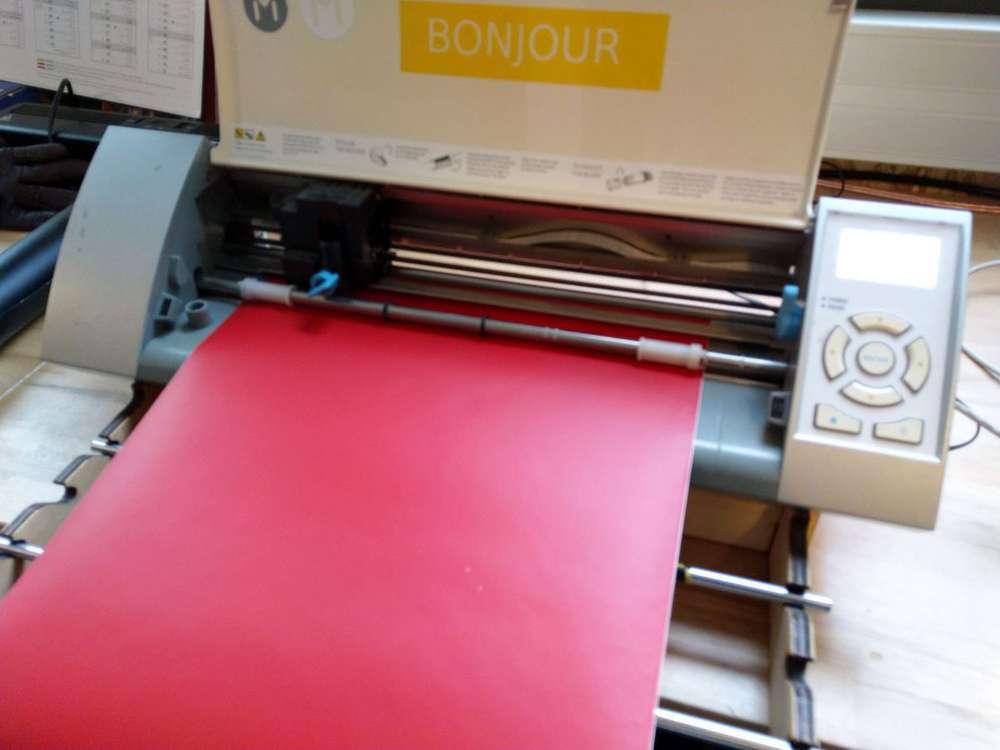
Cut the file
Below you can see all the pictures I made during the cut of my project.


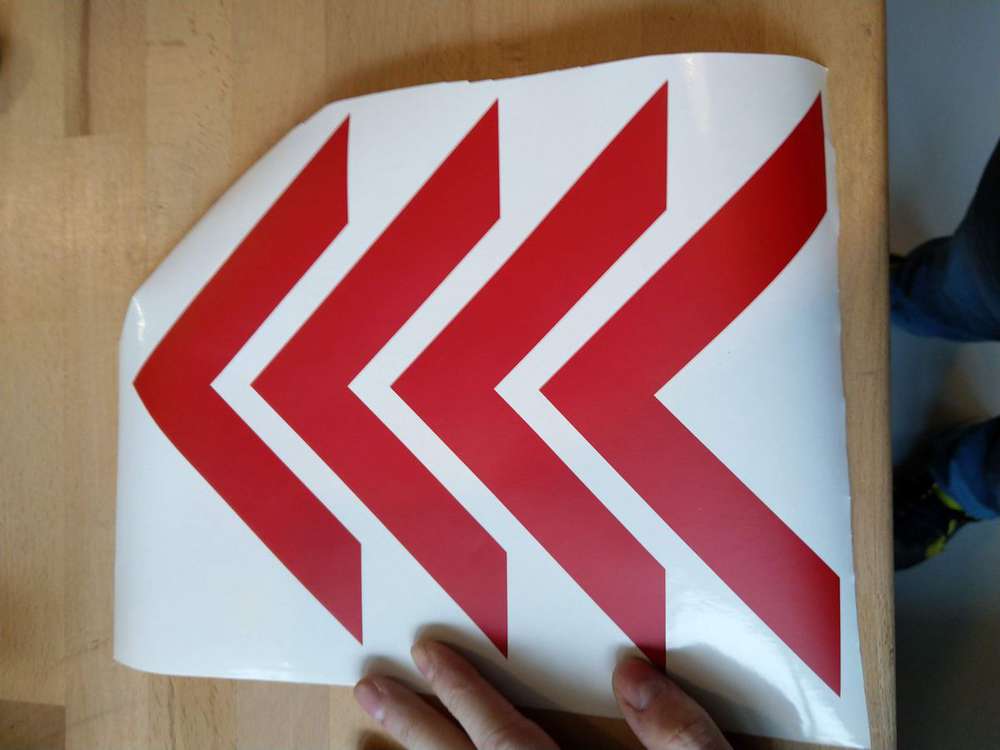
Result
Design geometric stickers
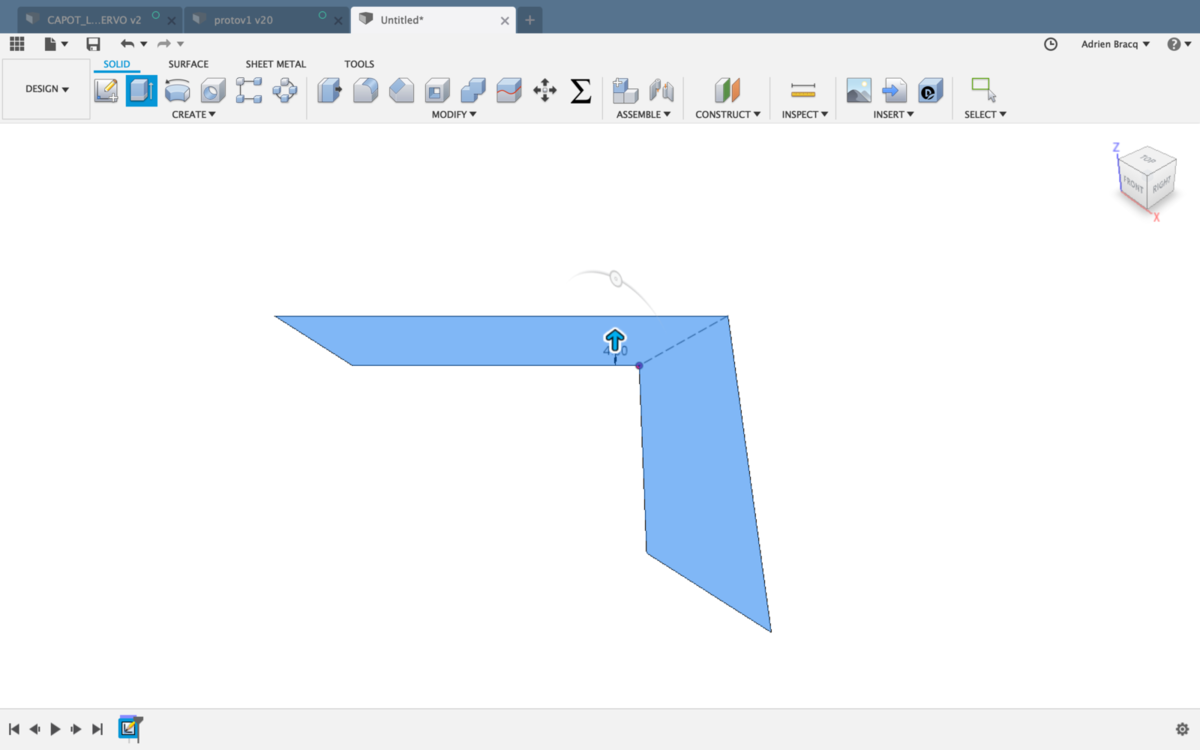
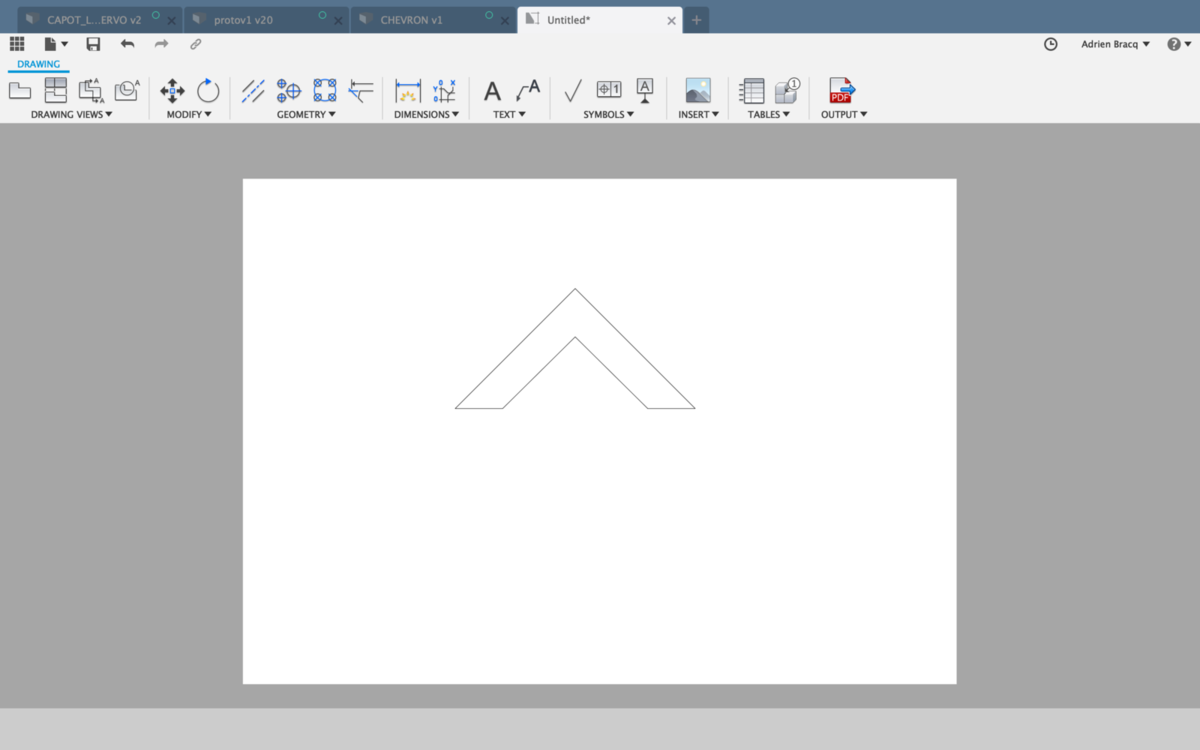
To generate geometric stickers, I use Fusion 360 and the sketch module. I wanted to design a rafter ( I’m not quite sure of the english for this. This shape is called in french “chevron”) so I can put it on my robot for the Makerfight. I also would like to incorporate the shape of the sticker on my fusion design.
So to do that, I designed my shape into Fusion 360 and make a solid part with a random thickness. After that I put it on a new drawing so I can generate a PDF of the shape and import it on Inkscape.
| Make a solid design | Create a drawing | Import in Inkscape |
|---|---|---|
 |
 |
 |
After that, I duplicated my shape and colorized it in red. In aligned the shapes correctly and generate a png file so in can import it inside Fusion 360.
| Duplicate shapes | Align shapes | Export in png |
|---|---|---|
 |
 |
 |
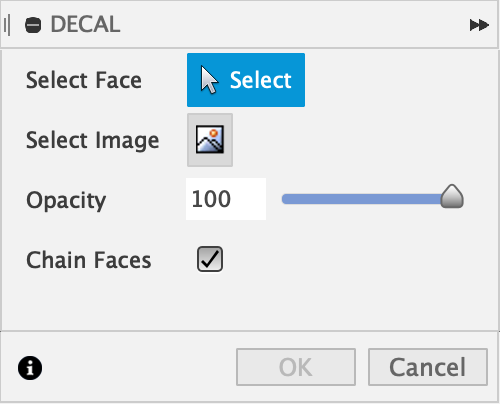
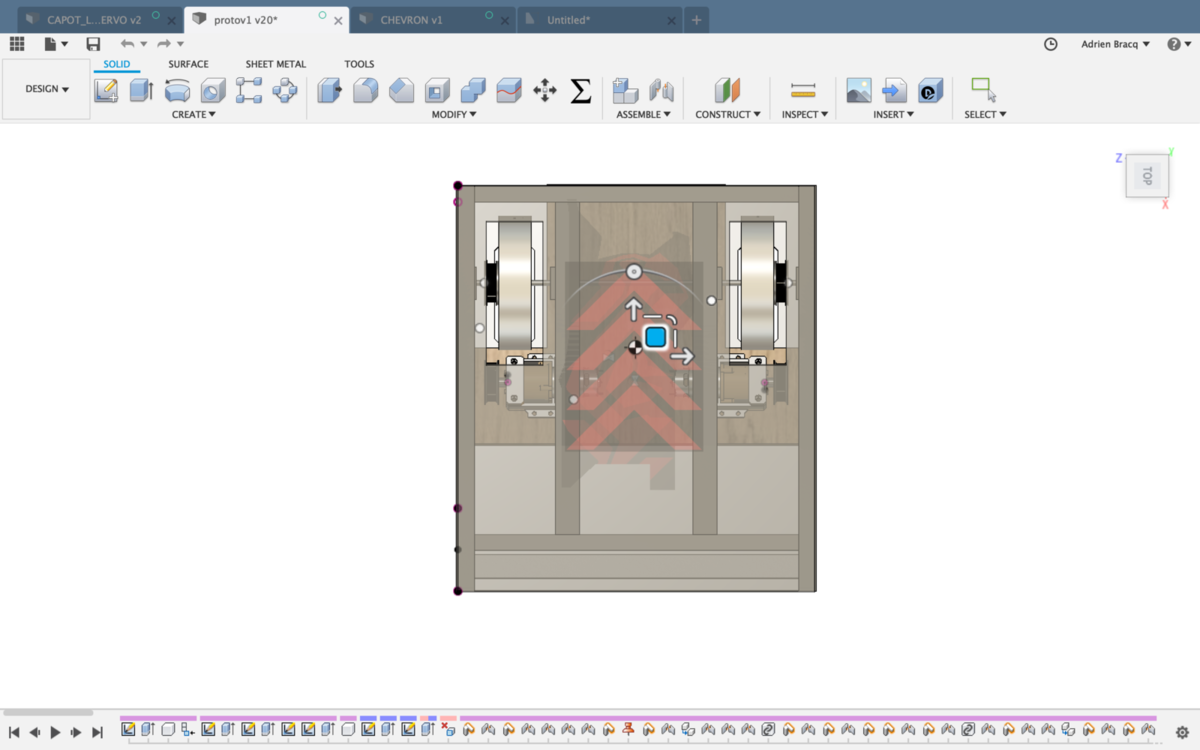
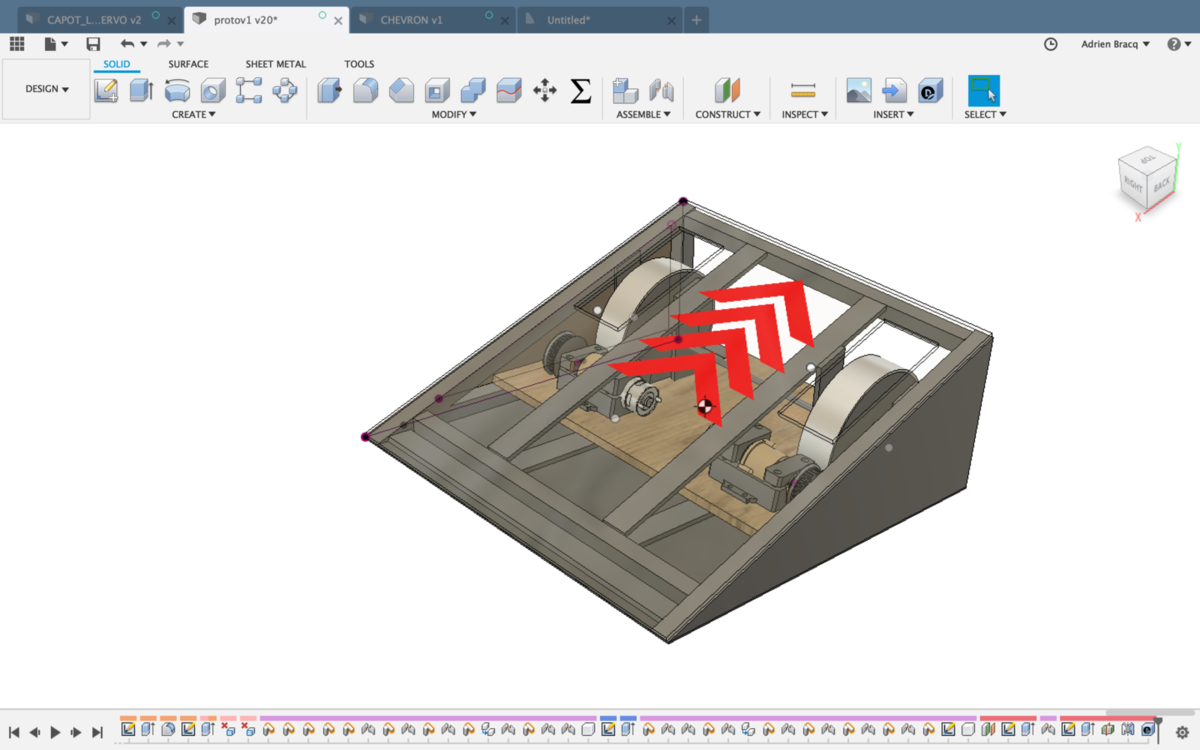
Now you can return to fusion 360, open your design and clic on the tool “decal”. You will have to select the face where you want to apply your sticker, and select the png file exported previously.
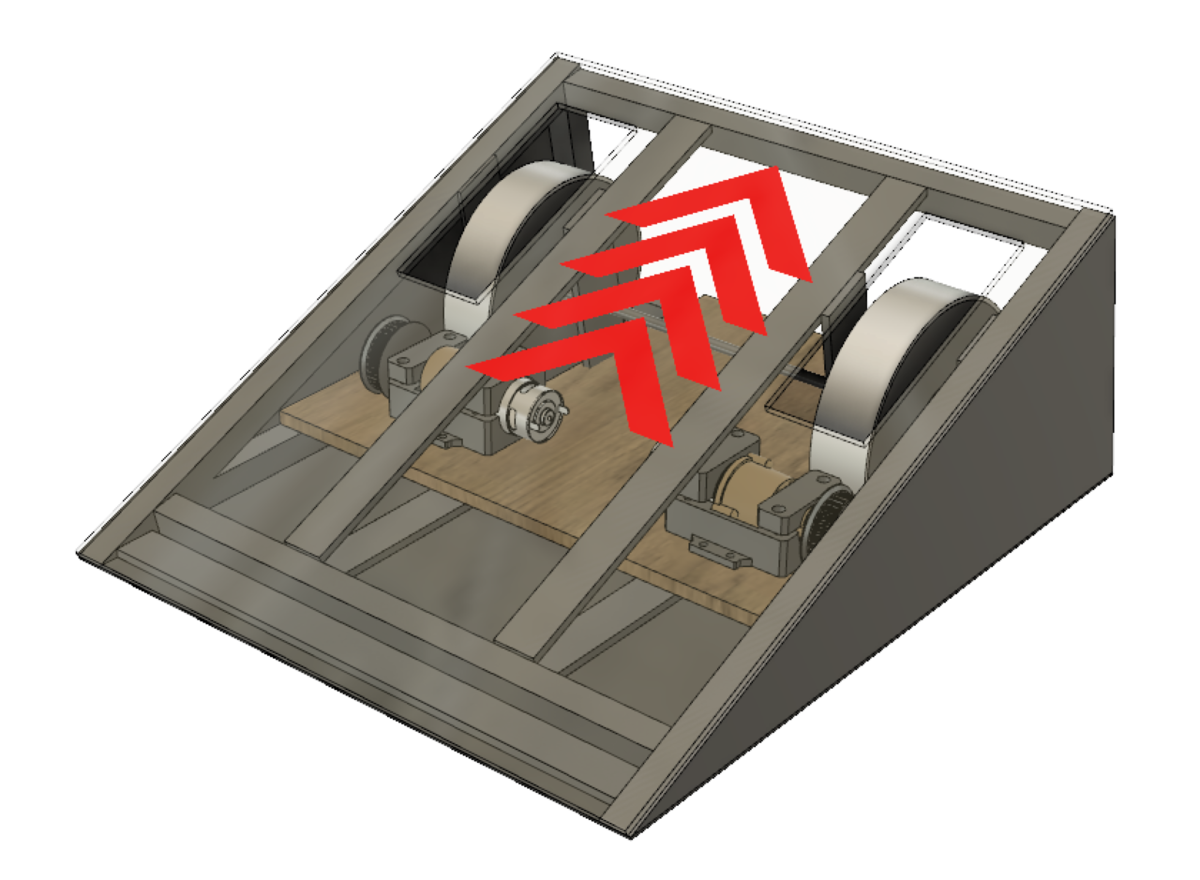
| The decal toolbox | Position your shape | Tada !! |
|---|---|---|
 |
 |
 |
Warning
If you let the option “chain faces” checked, you will have a copy of your design on the other faces of your body. If you don’t want that, unchecked the option like I did.
And now you have a great design with your sticker on it !
Cut the files
| Prepare the file | Cut it | Tada !! |
|---|---|---|
 |
 |
 |
Flexible circuit boards
- Explained how you drew your files
- Shown how you made your vinyl project
- Included your design files
- Included photos of your finished project
To test this kind of cutting, I design a simple circuit with a LED and a resistor and I vectorized it so I can cut it like a stickers.
To do that, I used three softwares :
- Eagle
- Inkscape
- Silhouette Studio
Design the files
I film myself doing the files. As for almost all my videos, the speed is x4, so you can, directly on youtube, increase the speed if you want, or slow down to the realtime speed ( x0.25 ). And of course, you can watch it at the normal speed and enjoy the music “Canals” by Joakim Karud
You can find my files here.
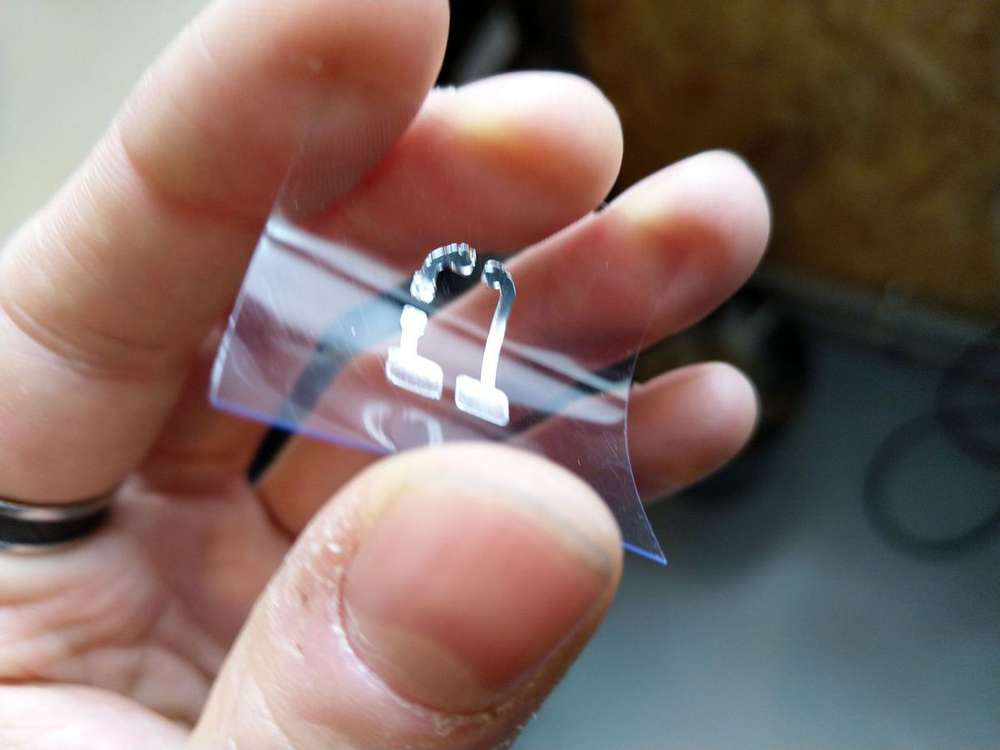
First test with aluminium tape


I first test the cutting with aluminum tap to test the cut and parameter before cutting coper tap. My first test show me that I cut it to much. So I adjusted the parameters so I can cut it and transfer it on a flexible plastic support. It look very nice and I have now to test it with copper because, unfortunately, I didn’t manage to solder tin on aluminium … But, that’s logical  .
.