Final Project
Embedding this video was a small adventure in itself. The 'embed' code didn't work right away. I tried new code, googled for HTML5 video tag, etc... Eventually I saw that the embedding code was missing the 'http:' part of the URL. Youtube bug?
I managed to get several modules chained with TRRS 2.5mm connectors and to talk to each other via the APA network protocol.
It is still a very rough early prototype of the project I'd like it to become, however I must admit I did learn a lot in the past 5 months and I'm pretty happy with the outcome, considering that half a year ago I could only have imagined stuff like this, but could never dare to build it. Now, designing, fabricating, stuffing PCB's, programming microcontrollers, designing mechanical components with integrated electronics, designing and milling molds, making series of plastic modules, debugging network communications, using oscilloscopes and logic analyzers, writing scripts in python - all of this seems like a normal and natural thing to do.
Modela is now my best friend. Can't say that I got super-professional with any of these tools, but I certainly got a rather clear hands-on understading of the possibilities and limitations of each of them. Sketchup VS Solidworks VS Rhino VS Blender anyone? Did I mention HTML5 website building with templates? Version control with Mercurial? Now my biggest next challenge will be to keep up with the project to make these skills stick and develop into something more solid.
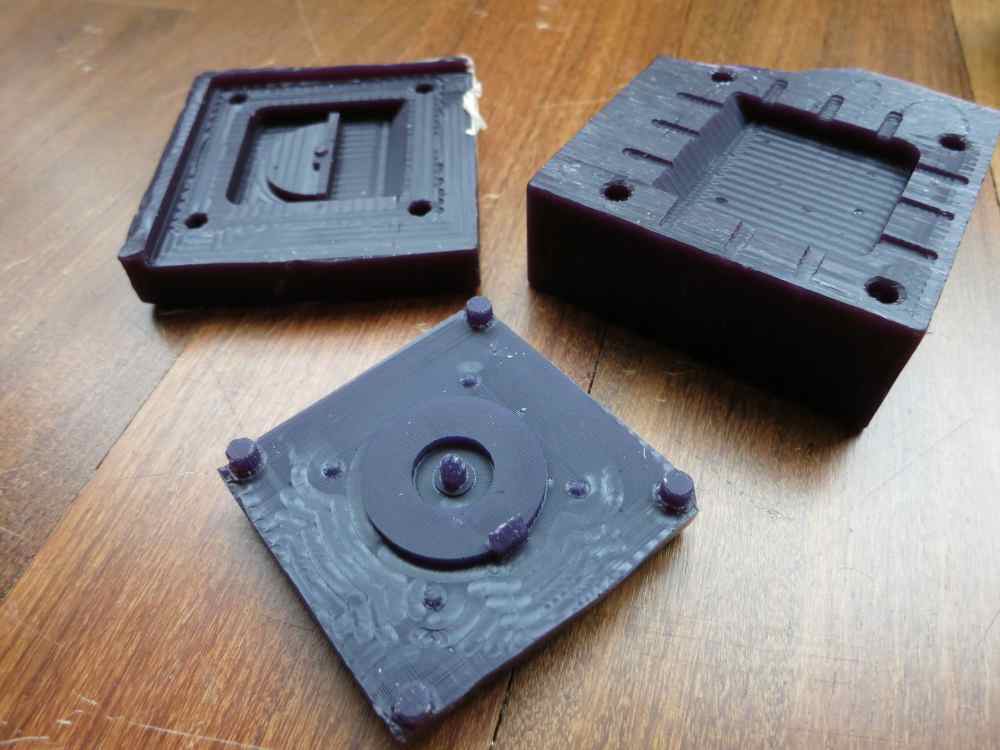
These are the wax molds that took me about 12 hours on modela to get most of the details right. Not all, but most. These are two faces of the Zmeika's module.
Lesson 1 - never trust the 3D models of the components from Digikey. My female jack housing was modelled half the size than the actual unit was. Discovered after couple of iterations of mold milling.

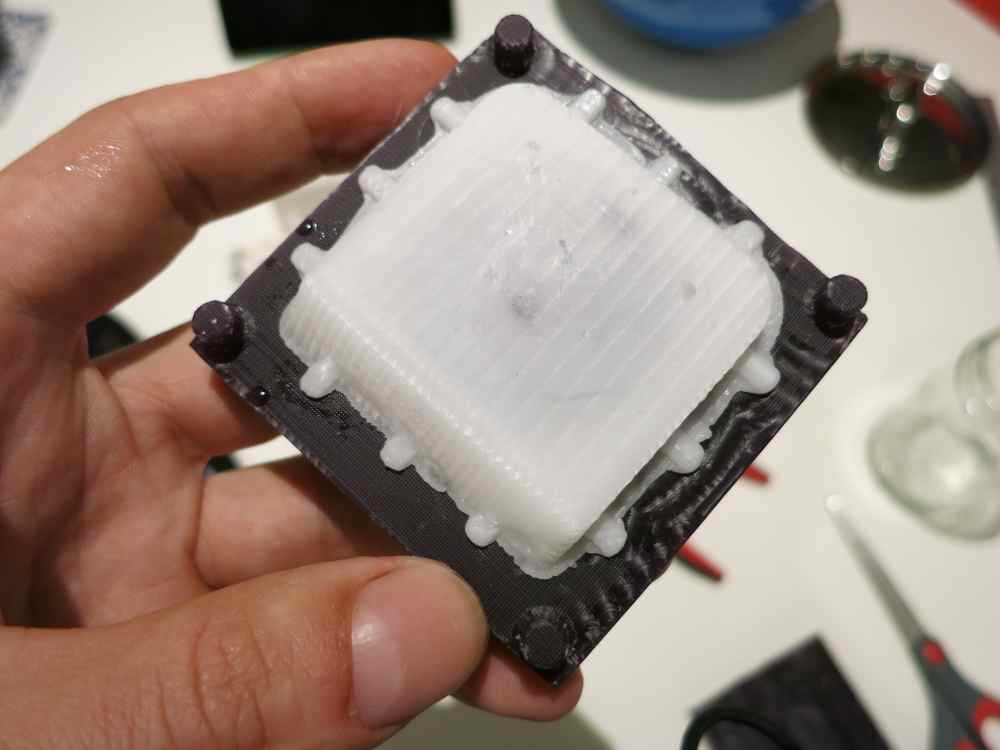
To make multiple identical modules molding and casting seemed like the most appropriate technique. With one exception - normal casting resins take waaaaay too long to cure. Which is not fun when you need to make a dozen (or so I planned) of units. Solution? Polymorph! Constructing a small bain marie setup allowed me to melt precise doses of plastic necessary to improve the casting quality.
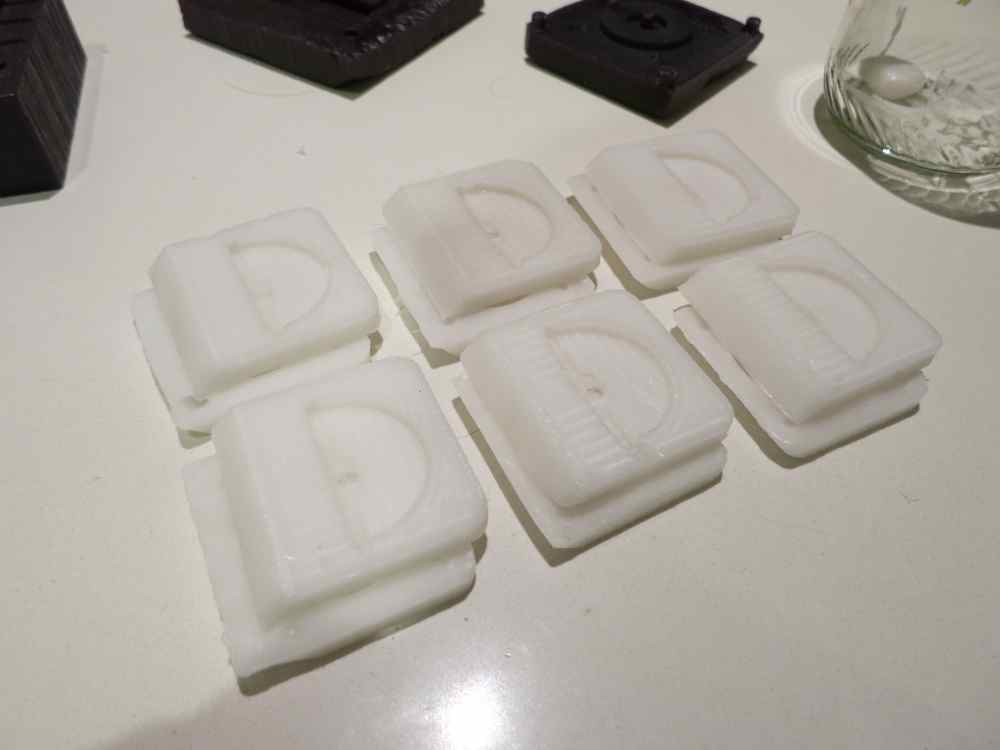
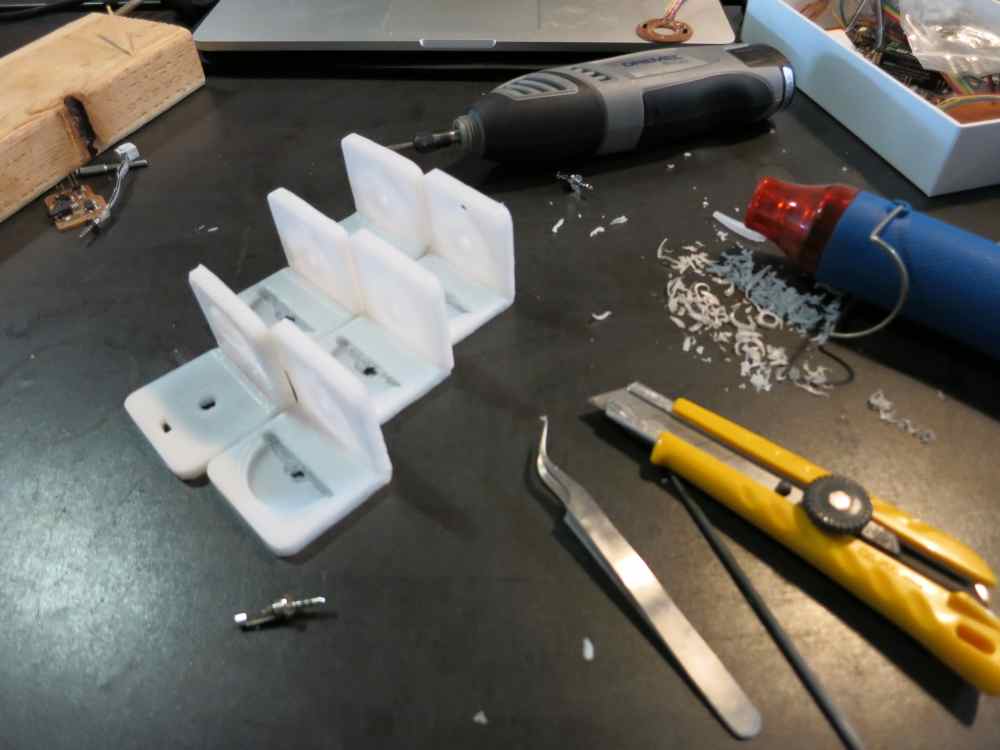
Having produced six sets of double pieces, I decided it should be enough for this stage of the prototype. Errors in CAD had to be corrected with a dremel, knife and a heat gun. Parts of the modules were also welded with a heat gun.
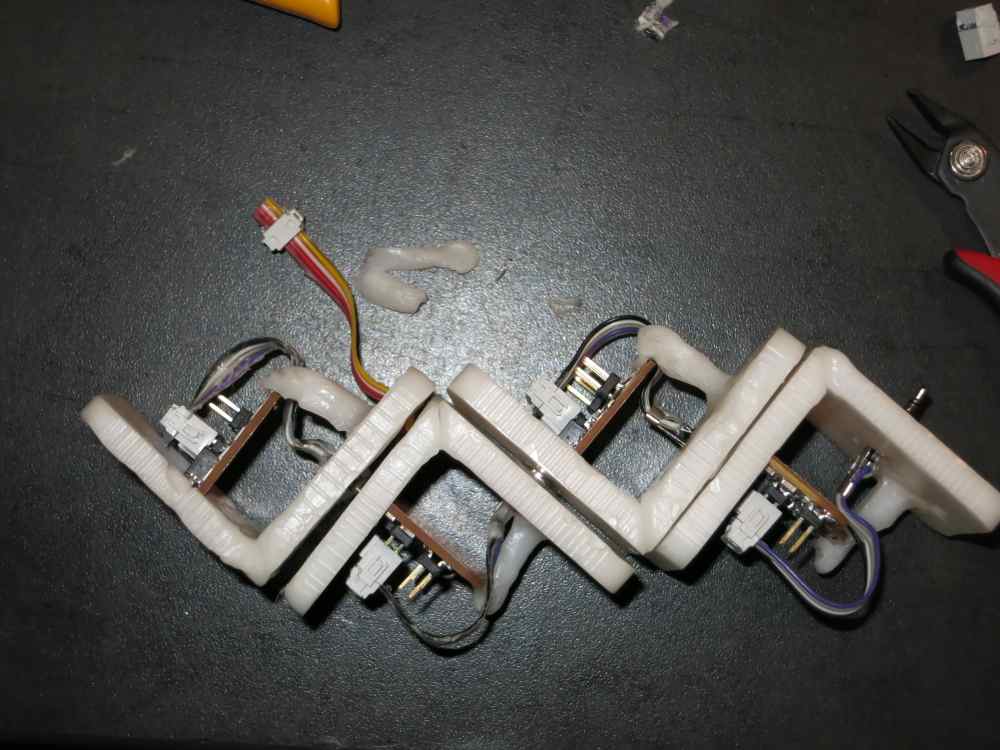
This is how the eventual prototype looked like. And it worked as you might have seen in the video above. Regarding further life and dissimination of this project - I will try to work on it this summer and hopefully get it to a stage where it's more appropriate to make it public. Right now it's just way too raw. Once there's something worth sharing - it will be released under the CreativeCommons Attribution-noncommercial-sharealike license. I can see that this gadget could be used as an experimental audio/video live performance controller as well as a video game puzzle interface.
After receiving feedback from the fabAcademy board that the previous prototype won't just cut it for graduation - I took my time to work on a more functional and solid prototype which you can see in the video above. It was waaaay more work than I thought it would be. Details below.
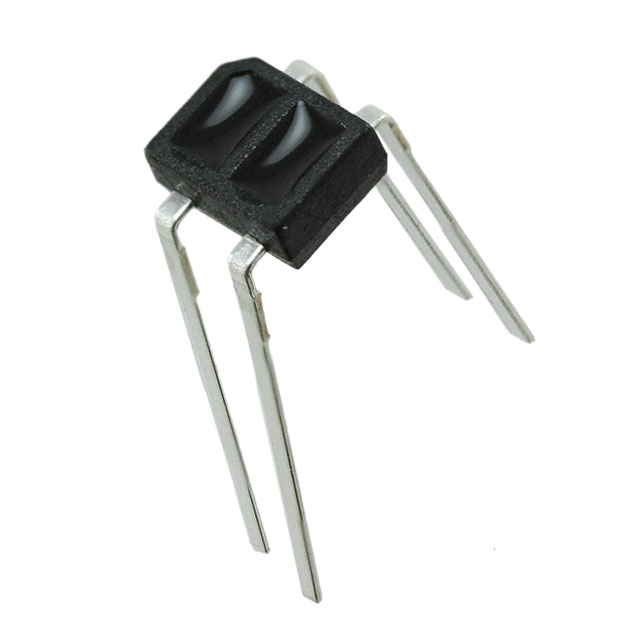

To simplify the design and make it more cost-effective I've switched to the mechanical encoders in place of IR-optical solution. 2x QRE111 sensors - out, 1x P12335 encoder - in. 2.1$ vs 0.7$. And that x24 - the amount of modules in a complete puzzle. To debounce the signal from the encoder I used the schematic proposed at the end of the datasheet, consisting of two RC-filters.
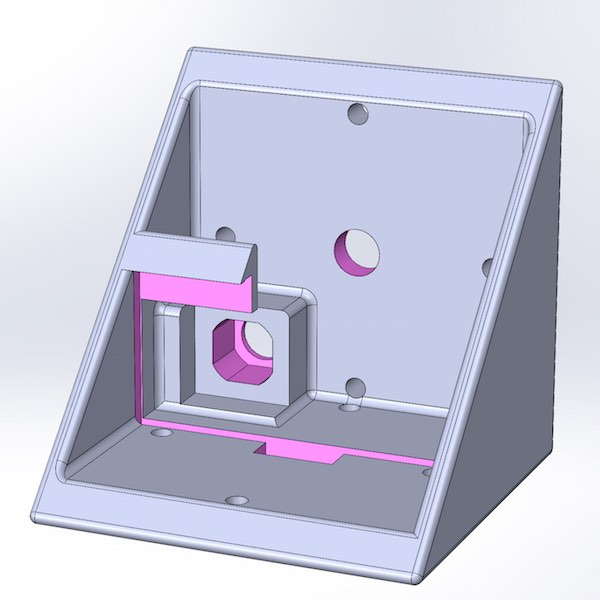
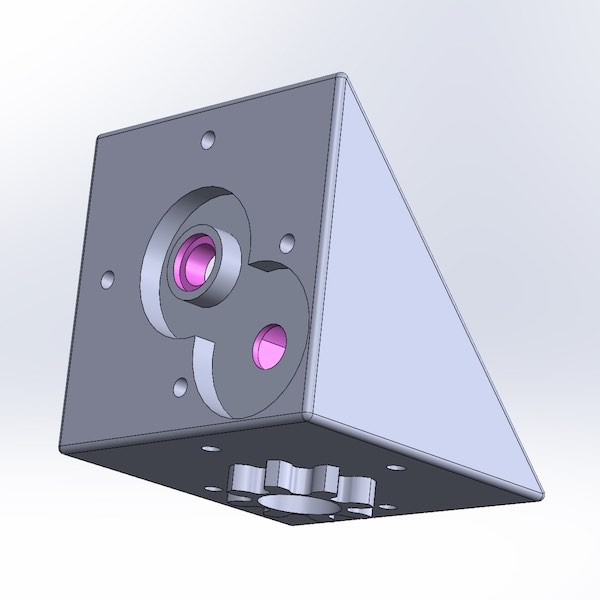
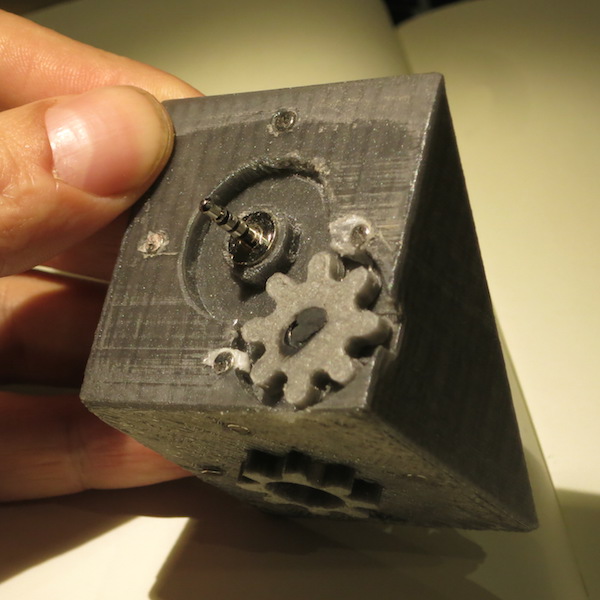
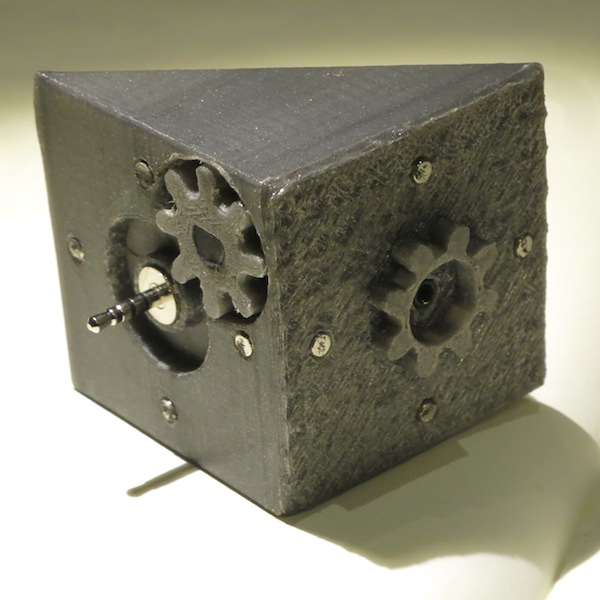
The new module was designed in Solidworks (instead of Rhino). If only I started using SW from the start - it'd saved me tonns of time as it's much more appropriate workflow for this job. The encoder is actuated via a 1:1 gear mechanisms.
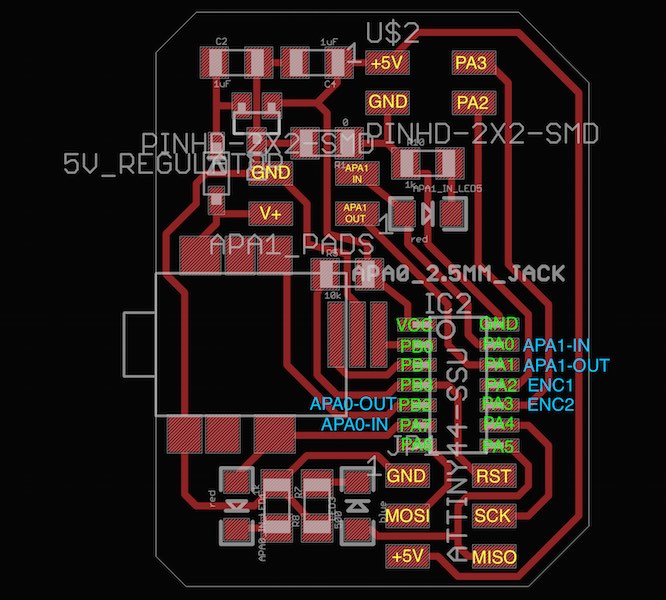
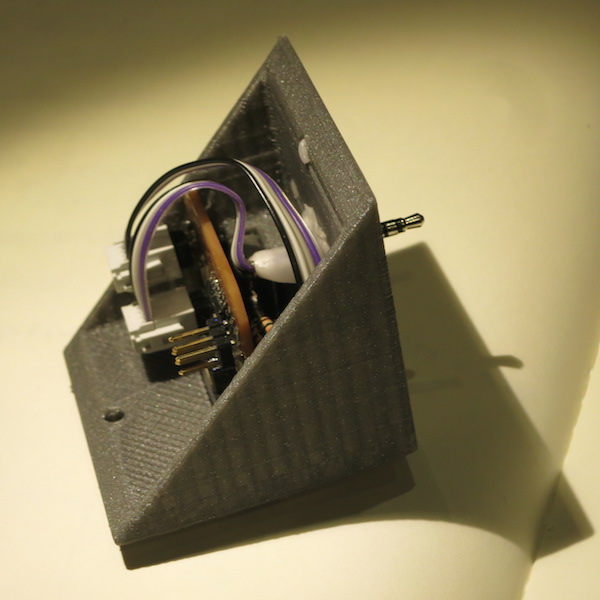
Inside - modified APA IO boards. Original design files are available here. The firmware had to be modified as well to allow for encoder changes trigger external interrupts and send out APA packets back to the host machine. One hack had to be implemented to allow the boards to store their address in the network to be able to send packets on their own instead of just replying to requests. This is implemented during the GUI initialization - the application sends "poke" packets to modules and modules take the address from the packets and store it for future use.
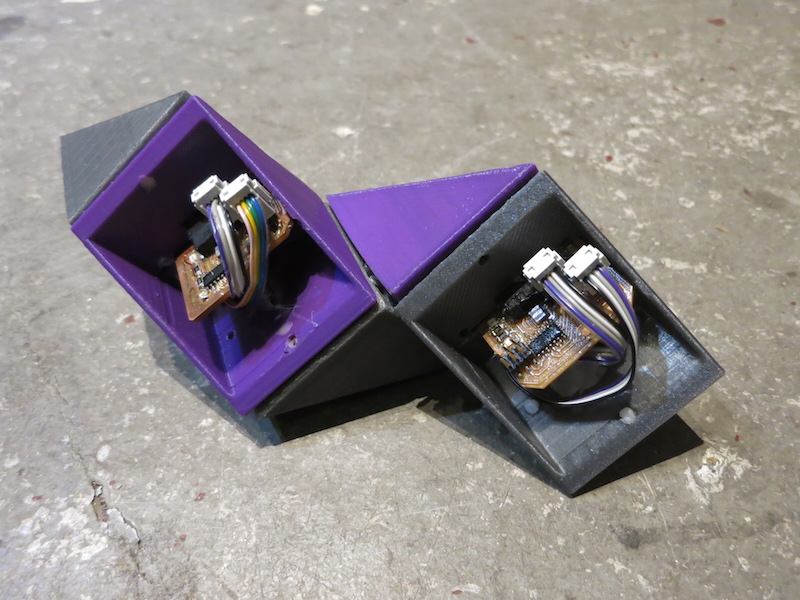
The current prototype is fully-functional, however it is not as mechanically stable as it should be for normal use. Using 2.5mm TRRS connectors as sliprings requires mechanical parts to be manufactured to similar tolerances. Which is difficult to achieve with the consumer-grade FDM desktop 3D printers.
For the next prototype the slipring, the encoder and pcb parts will all be merged into a single part.

These are the design files for the project:
