Molding and Casting
Week 09
26th March - 1st April 2014
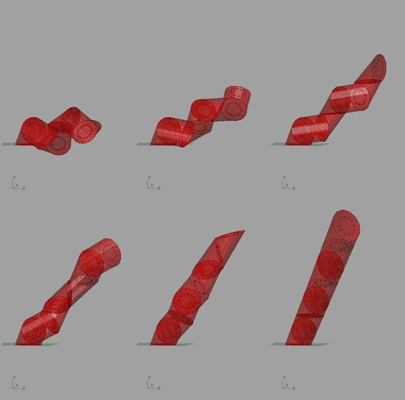
This week's assignment was to cast something out of rubber or plastic. Having some minor logistical issues at the lab I spent most of the time developing a fully parametric model of my final project in Grasshopper. It's going to be a Rubik's snake-like puzzle which acts as a controller interface for audio/video synthesis software. You can download the Grasshopper definition by clicking the gif image on the left.
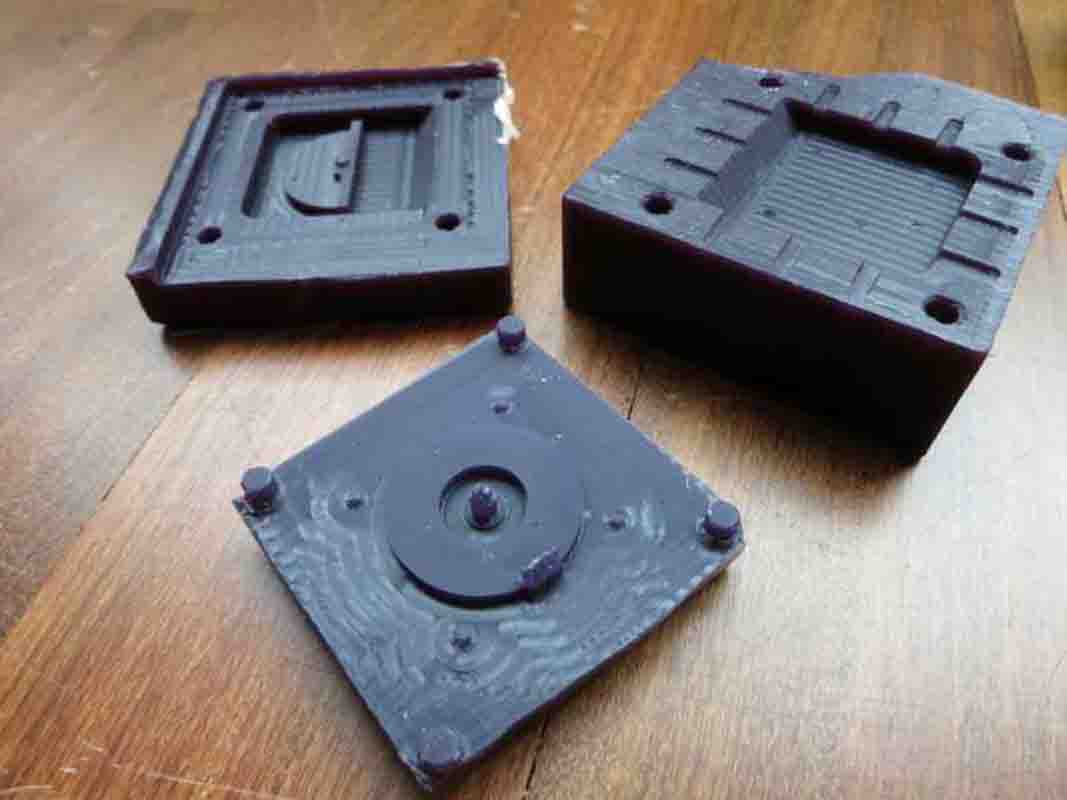
As the piece could not be made from a single mold - it was split in two separate two-piece closed molds. They were milled from modeling wax on the Roland MSDX-20 Modela machine. This pieces of wax had to be recycled from older attempts of the lab's visitors. Re-surfacing the blocks is very time-consuming. Actually it can take much longer than milling the parts themselves. Something to remember when planning a milling job next time.
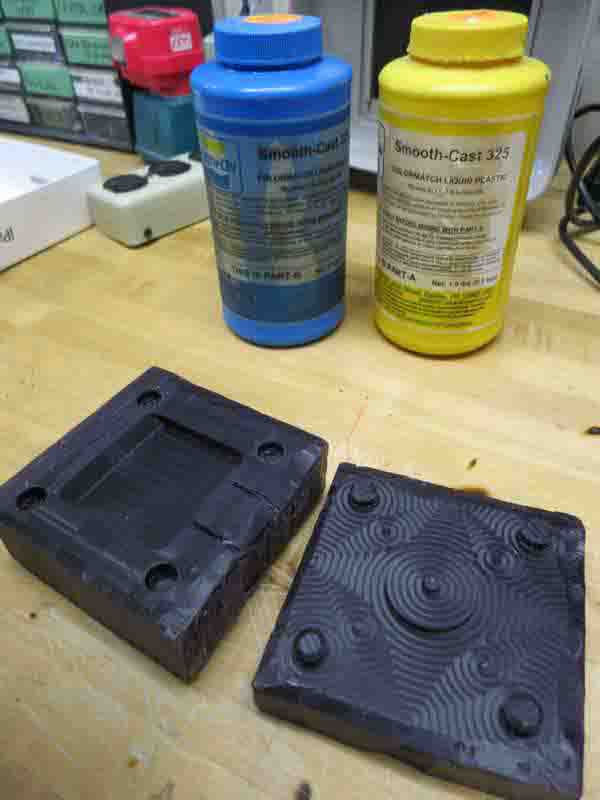
After a proper search some open bottles with smoothcast 325 fast-setting two-component urethane plastic was discovered. As no one knew when and by whom were the bottles opened, I had no option, but to try and see what happens. Mxing the stuff with the handy 1:1 ratio was pretty straightforward. It's just that while mixing I put so much air into the stuff that it looked more like cappucino foam.
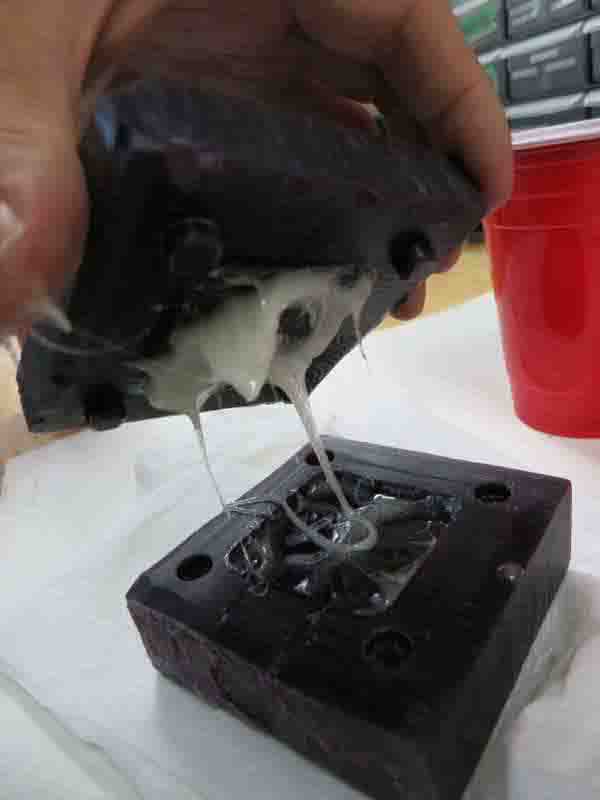
I had lots of doubts - whether the thing will set at all, whether the foamy consistency will produce a usable result, whether the urethane will separate from mold, whether the exothermic setting reaction of urethane will not melt the wax, etc... Again - trying it was pretty much the only way to get these questions straight. I cast the urethane, closed the mold, waited couple minutes and my curiosity made me open the mold, just to check... It didn't look good. But well... Not having many options - I closed the mold and left it to cure. Meanwhile,the leftover mixture in the plastic cup was getting pretty hot, feeding my fears as to the molten mold.
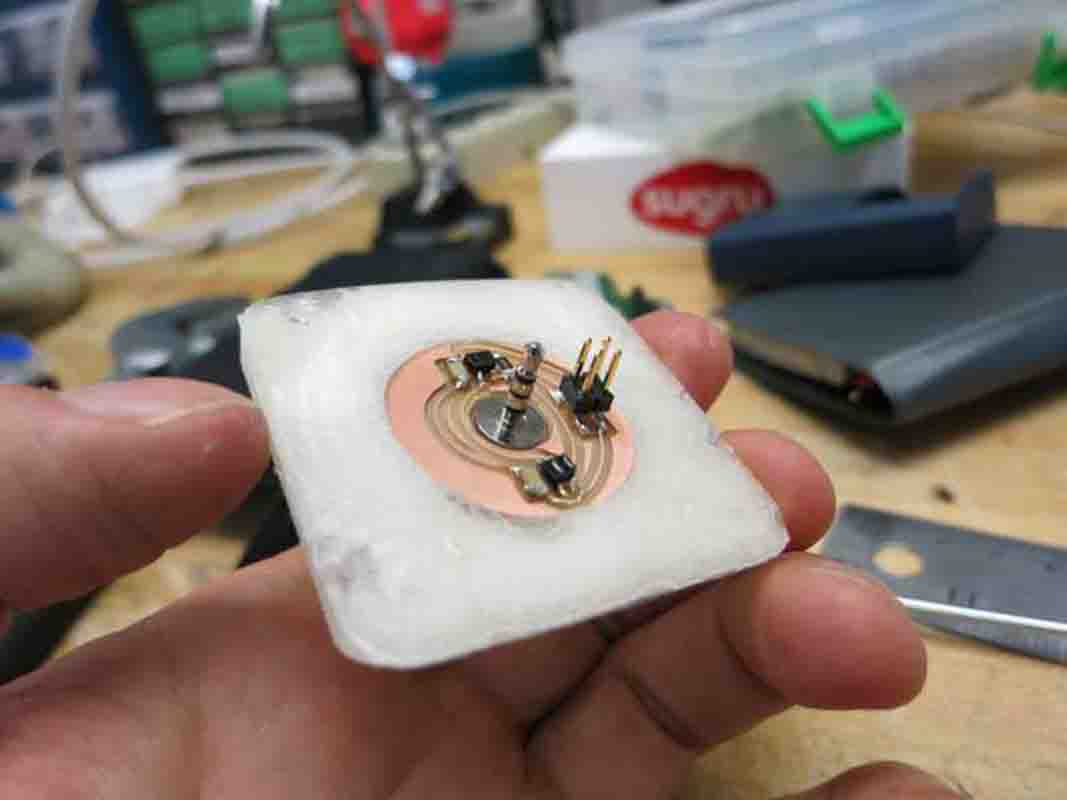
In the smoothcast manual it says that the urethane sets in 15 mins or so. Just to be sure I left it to cure for couple hours. To my great surprise, when I opened the mold - I found a pretty solid plastic piece that easily came out of the wax mold, and while it was still slightly malleable, it accepted the sensor pcb and the minijack in it pretty easily. All in all - this could've been called a success, but I had some other stuff I wanted to try.
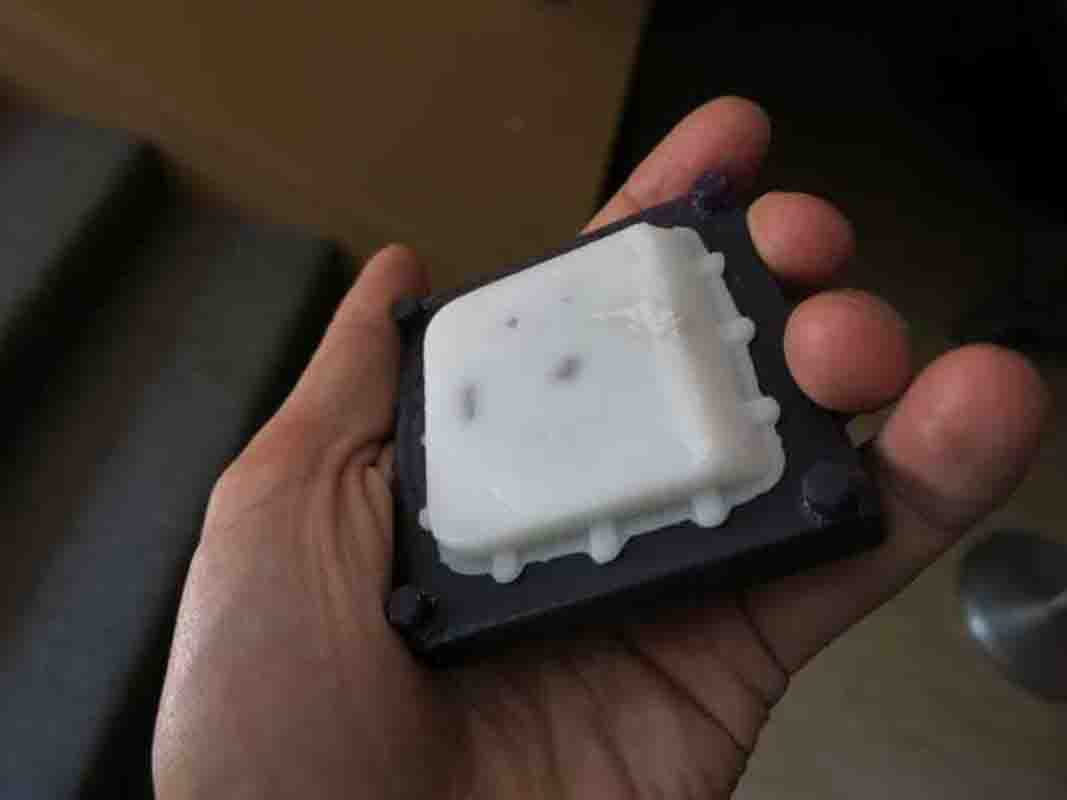
This was the material that I've been craving to lay my hands on since the moment I first heard about it. The possibility of making strong plastic parts in the kitchen, without the hassle of handling sticky and toxic liquids sounded just too good to be true.
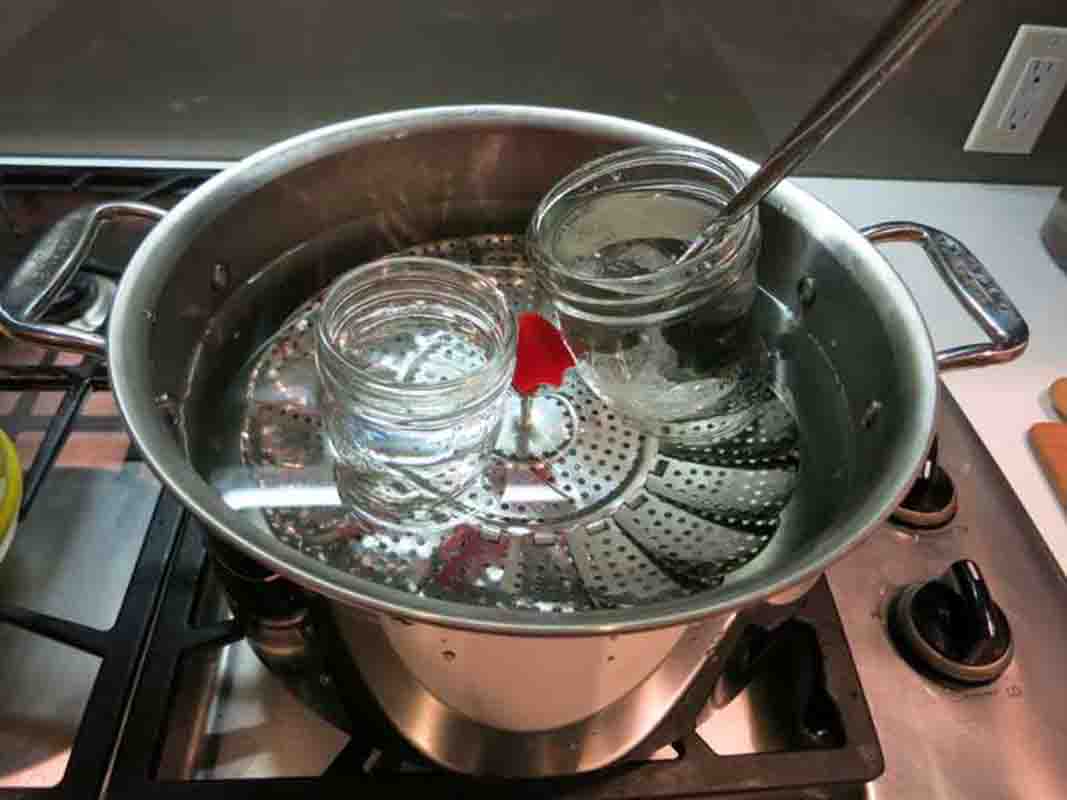
But it was actually true. Setting up a small bain marie configuration on the stove allowed me to cut the casting/recasting cycle time down to about 10 minutes. Polymorph still stays pretty solid when it's in it's malleable state, thus it doesn't really flow. Therefore it has to be distributed pretty evenly in the mold before closing it, and the amount can't be too far off the available volume. This is where the 10-minute casting and re-casting period was indispensable. Casting a draft part, removing all the sprue, re-melting this piece again and then re-casting it with minimal sprue - this is how I managed to get to a decent result.
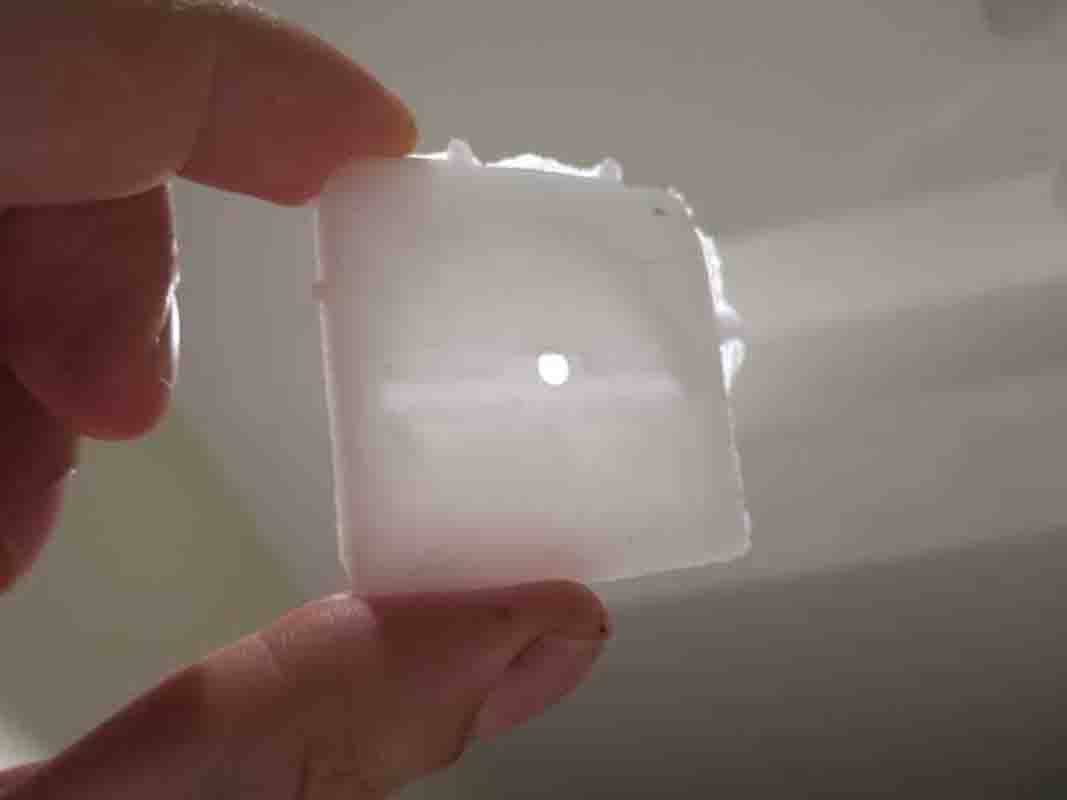
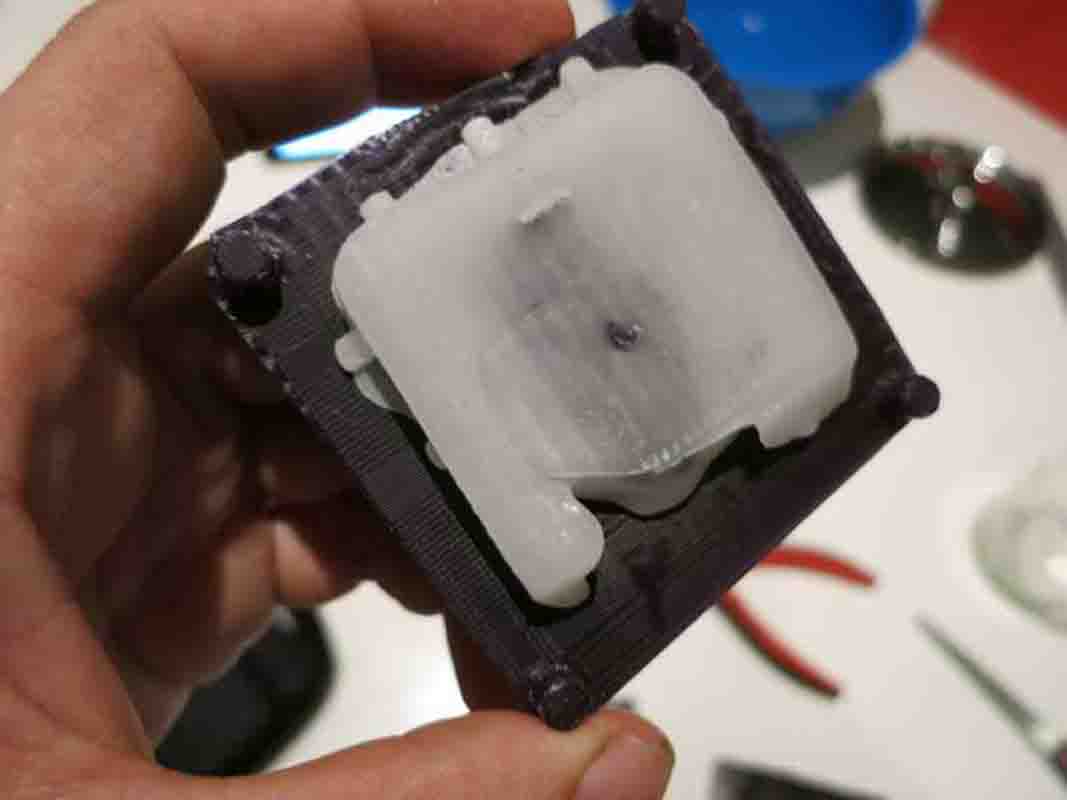
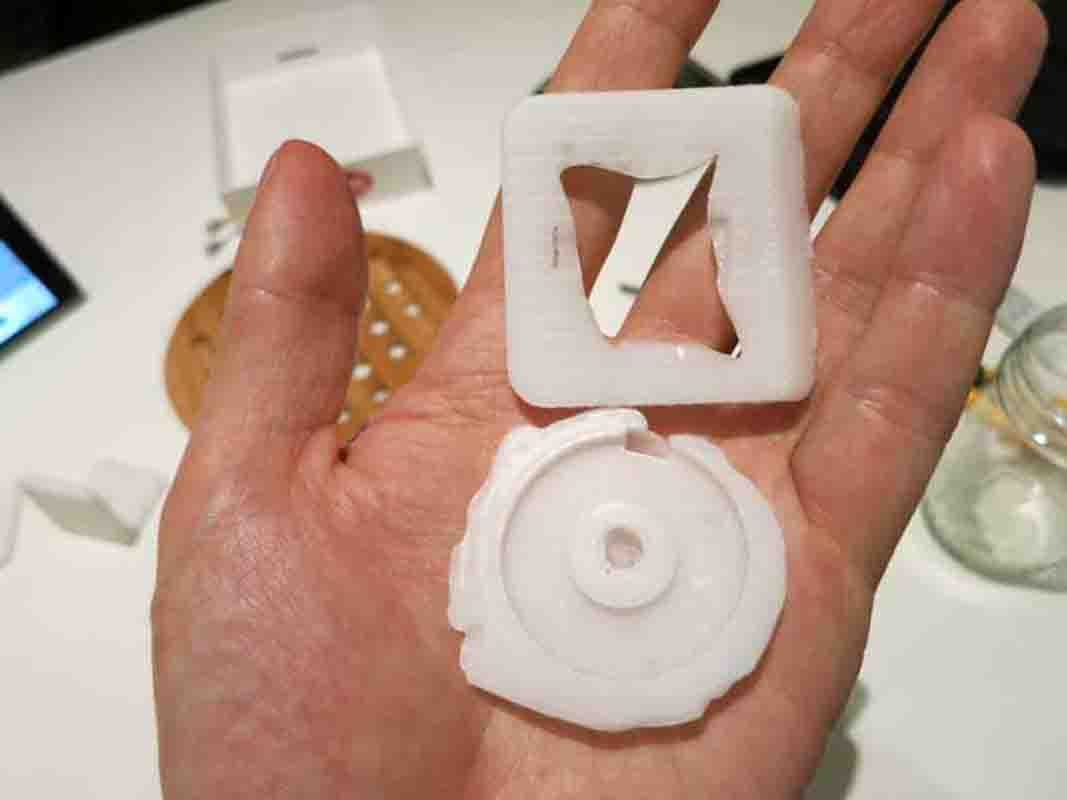
In fact the result got pretty close to the way the part was modelled. Do you see the central dot shining through? This is where a hole for the minijack is supposed to be, and it came out nearly perfect, only with a thin film of plastic to be removed. Not every time the piece would come out this neat. Couple times I didn't put enough material into the mold. Couple times the material didn't fill all the right corners. Couple times I tried to spread the material around two parts of the mold, but they didn't fuse properly. Good thing is that these failures could be recycled right away on the stove and mistakes could be learned from and corrected instantly. I'm sure I'll be working more with polymorph.
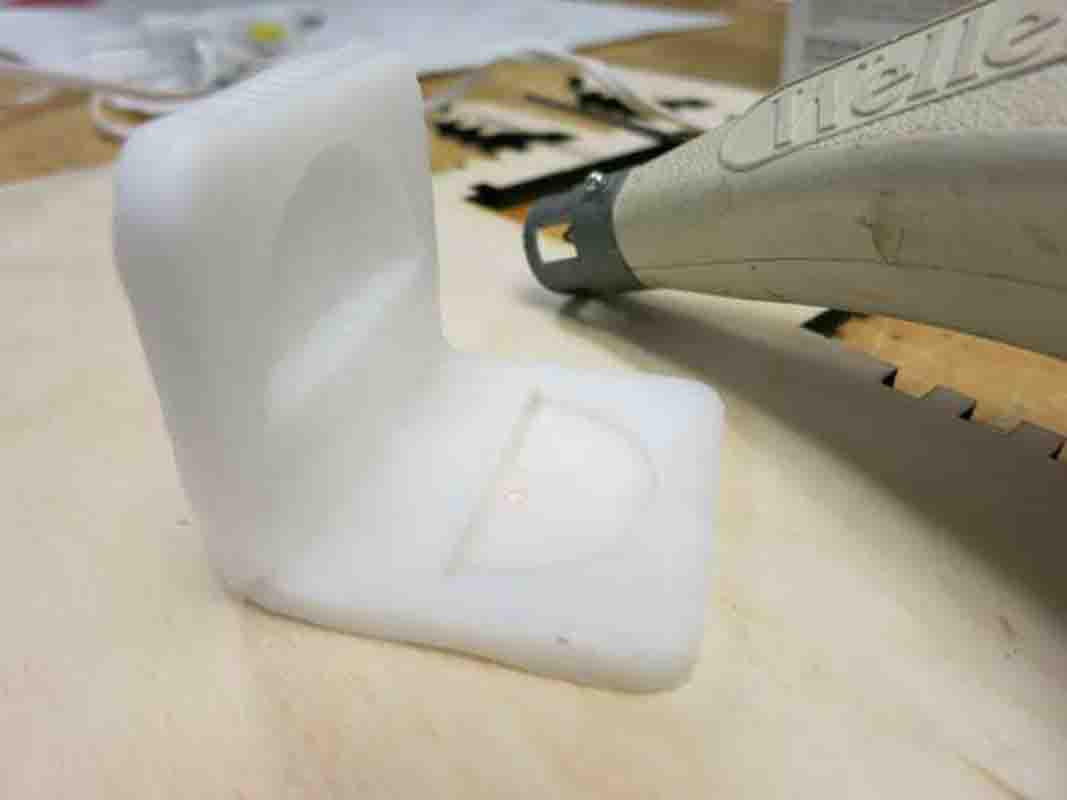
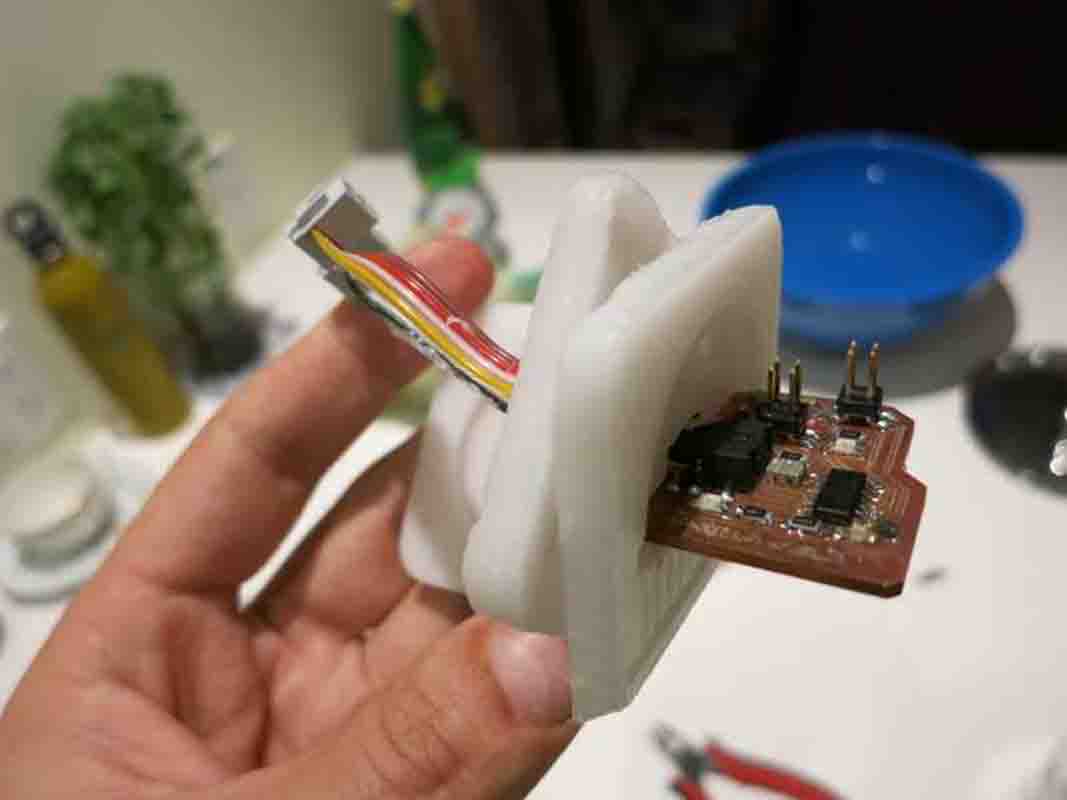
After I got two more or less decent pieces - it was time to connect them together in one solid module. Wonders of polymorph again - some heatgun action, and two separate parts, without any glue, become one solid part. After two such parts were finished - it was time to try to fit electronics in place and connect the modules. And it worked. Now on to the next assignment.
