Composites
Week 11
9th - 15th April 2014
This was one of the weeks I've been most looking forward to. Composites have always intrigued me, and the opportunity to make one myself kept my head busy for a couple of weeks beforehand. I had all kinds of wild ideas to build. Starting from a coffee table or a chair to a ceiling fan to a round speaker enclosure. However, weighing in my tooling options and my experience, the voice of reason made me choose something simpler. I decided to go for a coffee tray.
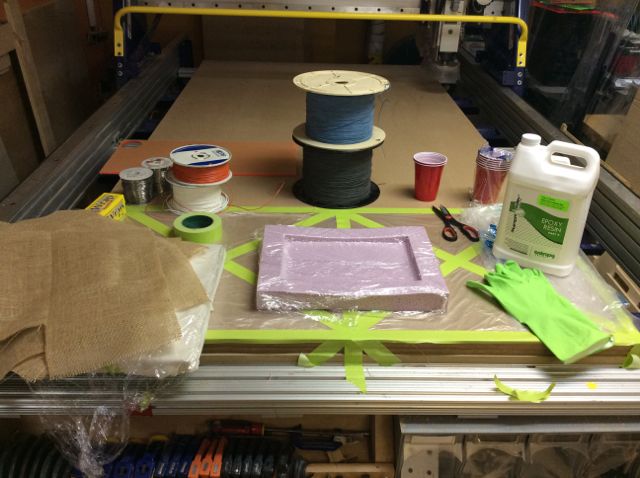
As we didn't have vacuum bag supplies at the lab, my only chance for a decent result was a two-piece closed mould. In the process of designing which, I realised that some horizontal edges around the tray will be a pretty neat idea. They will make the tray easier to carry, more rigid and easier to manufacture. So the mould was designed around this idea. I left a 3mm empty space between the parts of the mould to fit several layers of burlap in.
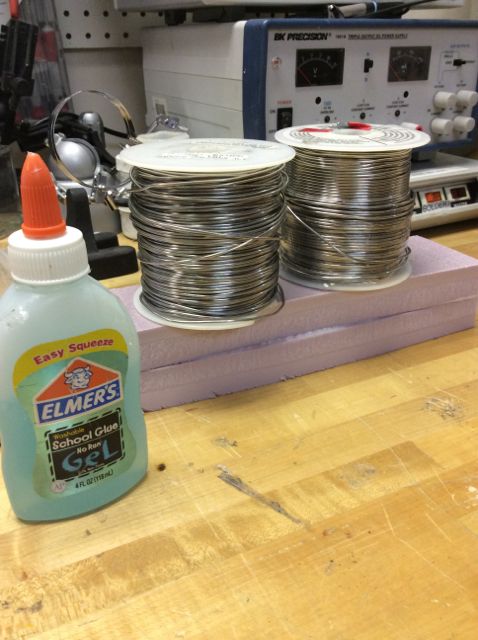
By mistake we purchased 1/2 inch pink rigid foam insulation which was way too thin to mill what I needed. I tried to glue it with the school glue, but that didn't really work. Even overnight the glue didn't set. I guss it cures on the surface with the access of oxygen, and sandwiched between two synthetic surfaces it just stays wet. Elmer's website wasn't very informative on the technical details of their school glue.
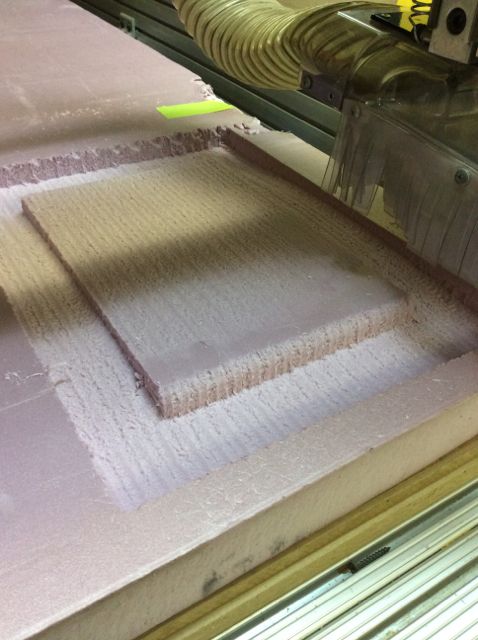
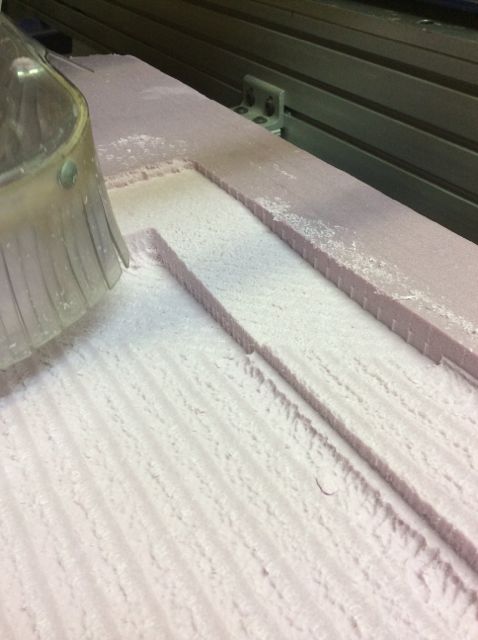
Eventually I managed to source some 2" thick insulation foam and started milling the mould. The foam was fixed to the table with two screws, but in the process I noticed how it gets bouncy in the middle - a piece of masking tape solved it. Slicing the mould for the CNC mill was also a bit of an adventure. Apparently a roughing pass with 1/2" endmill takes 9 minutes, whereas a 1/4" endmill could take up to two hours, with the same settings identical. I used spindle speed of 15.000 rpm, feed rate - 4"/s and plunge rate 2"/s. Got the numbers from AS220 tutorials, very helpful as usual.
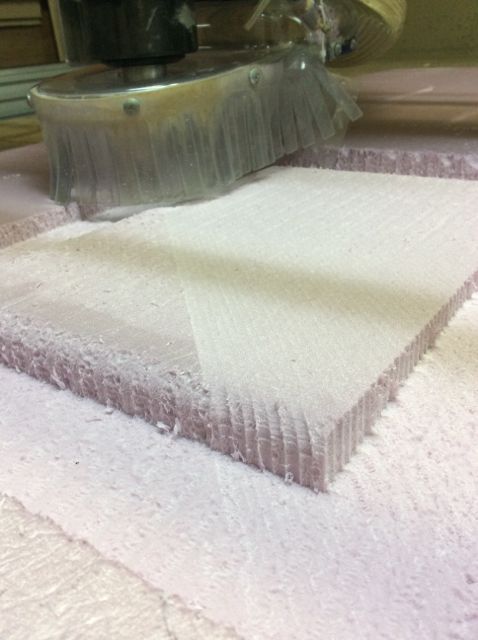
Finishing pass wasn't super clean, but was definitely cleaner than the rough pass. It took about the same time as the rough pass - 10 minutes each.
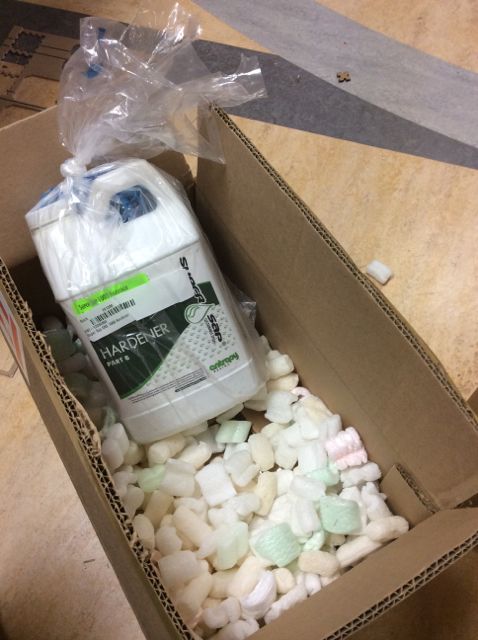
I forgot to mention that while I was milling the tooling - I still wasn't expecting to finish the project same night as the epoxy wasn't there yet. But ta-dam!!! Postman arrived! It felt like Christmas. Entropy Systems SuperSap 100/1000 is the FabNetwork's new epoxy of choice and I get to play with it. Nice.
When the finishing pass on the second part of the mold was done it left a strange kind of step. I couldn't fix it in software - there was no option for offsetting a path over Z axis. So the solution was to just extend the bit extra 1/2" from the spindle and run the job once again. Nice and clean.
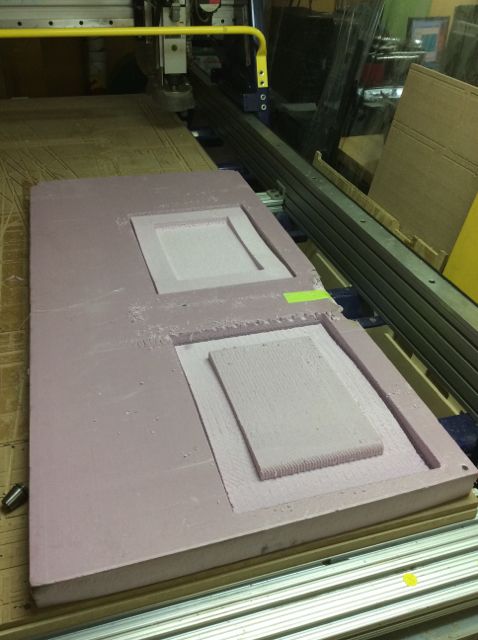
Milling job done. Two pieces of a closed mold milled out of pink rigid insulation foam. Ready to be taken out. Overall - around 1.5 hours of milling and set up time combined. Even the messed up side (which gave me 50% discount on this piece) of the foamboard was used properly. Makes me feel extra resource-efficient. I could only do better by aligning the pieces horizontally, but hey - no fuss, alright?
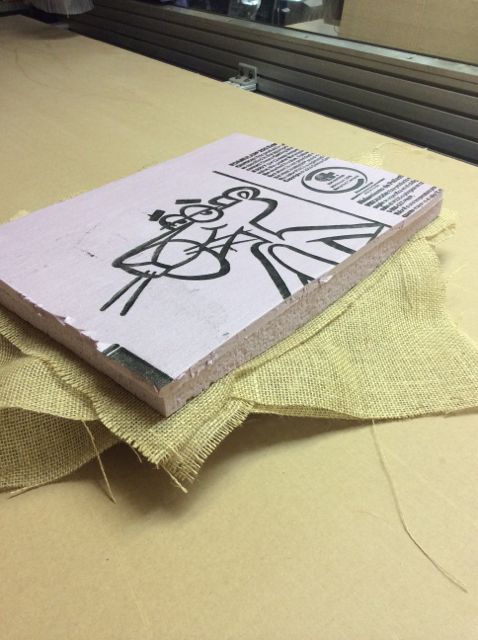
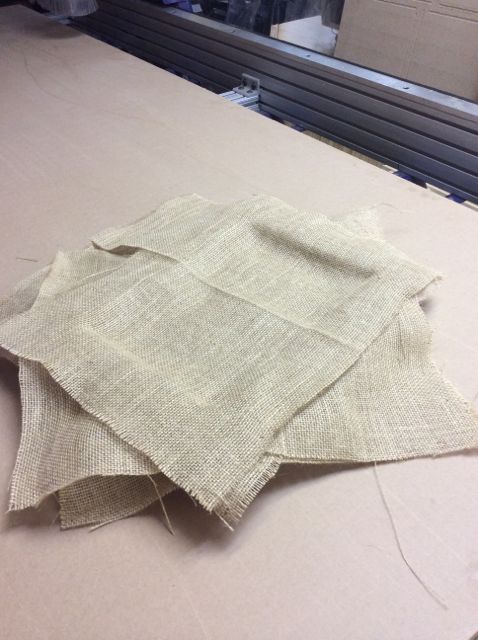
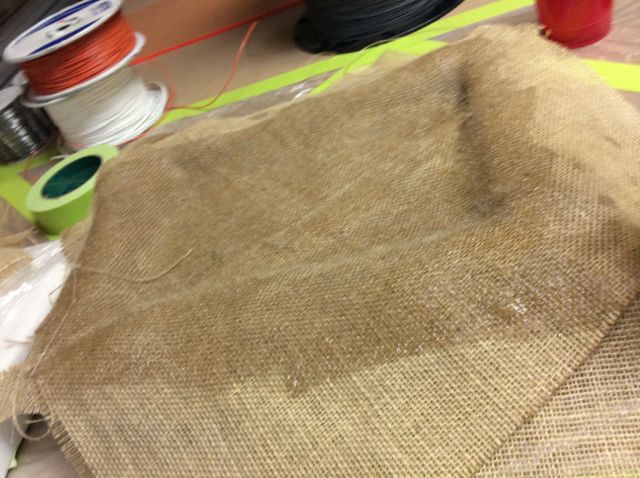
Nice surprise - my favourite cartoon character was waiting for me on the back side. Gotta love that grin. Doing the first test whether four layers of burlap will fit in the gap. They do. Here I put the layers at 45 degree angles, but eventually I moved to 60 degrees.
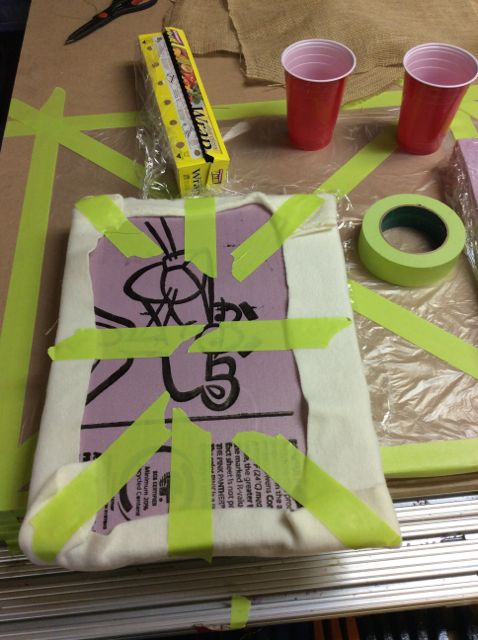
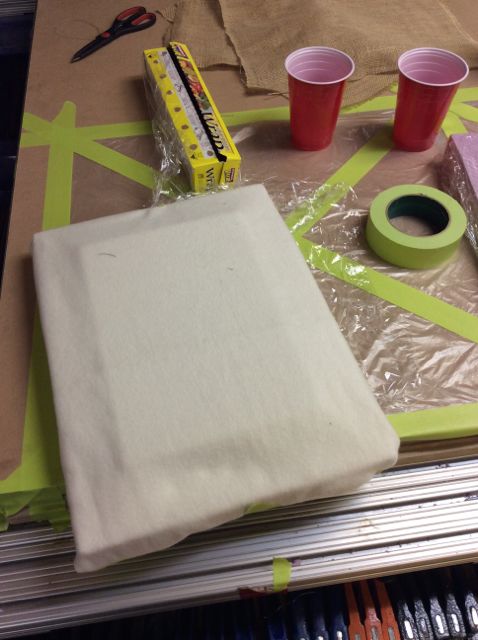
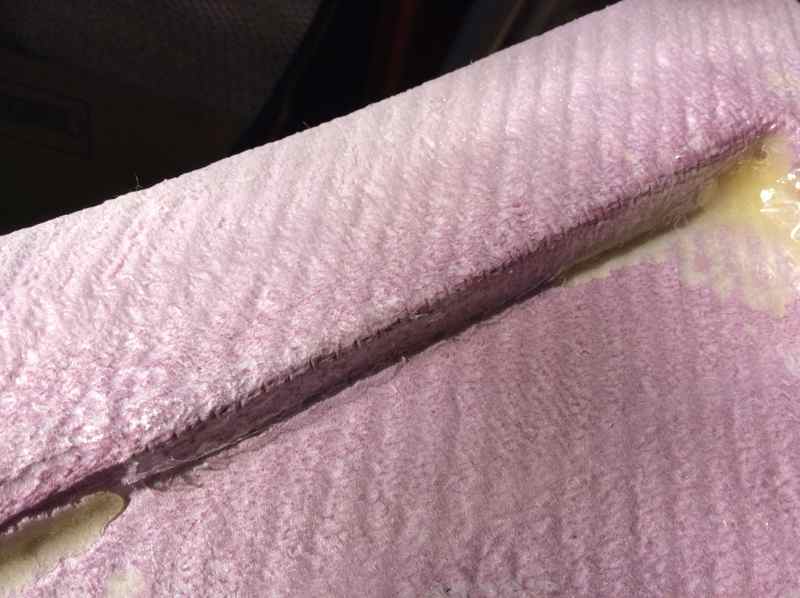
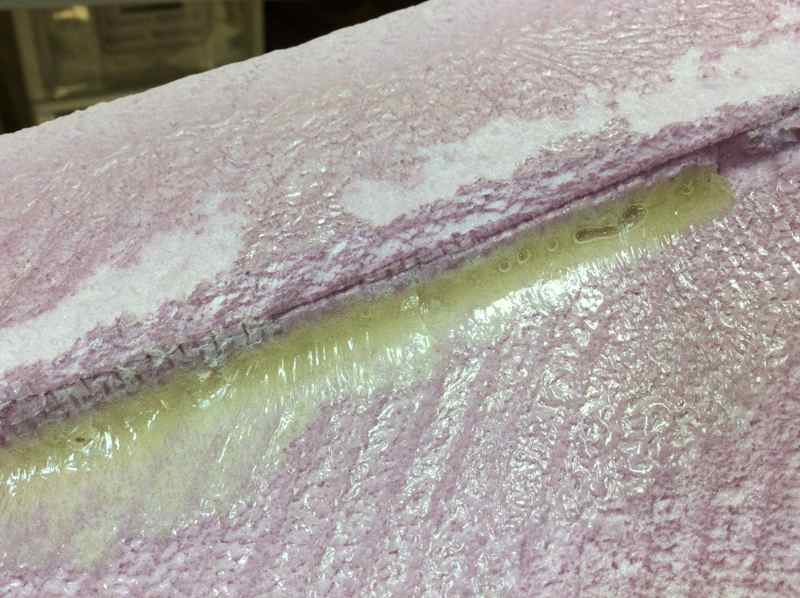
Wow. Nice discovery. I can actually put more than one picture in this block and it works nicely! So, the preparations for the most interesting part begin. Wrapping moulds in plastic wrap, top mold gets a layer of syntheic felt-like fabric to make a smoother top surface and Pink Panther's grin gets a bit messed up.
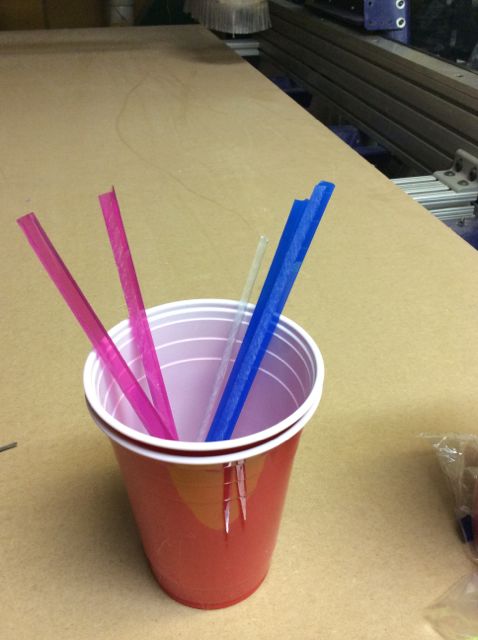
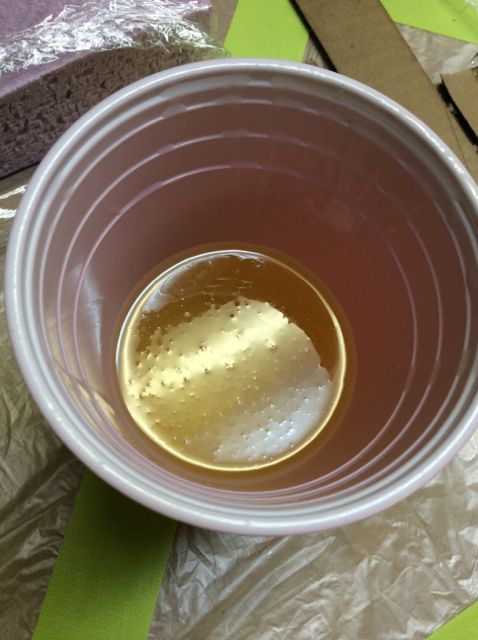
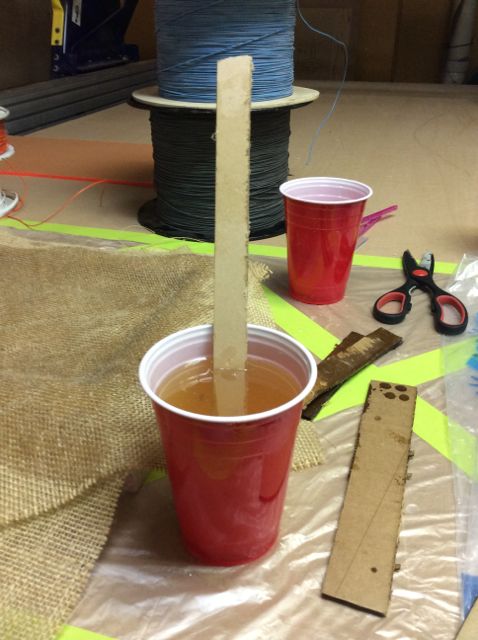
Thanks to K who's been doing laser cutter inventory cleanup I've got some fancy stirring sticks at my disposal. Stirred the epoxy for about five minutes, and even though I tried to do it gently - there came quite some air in it anyway. Waited for another five minutes watching the bubbles pop, but decided it's not worth the wait.
My first estimate for the amount of epoxy was severely underestimated. It was barely enough to slightly soak the second layer, so I mixed another pot twice the initial amount. Overall I used about 300 ml of epoxy for this object.
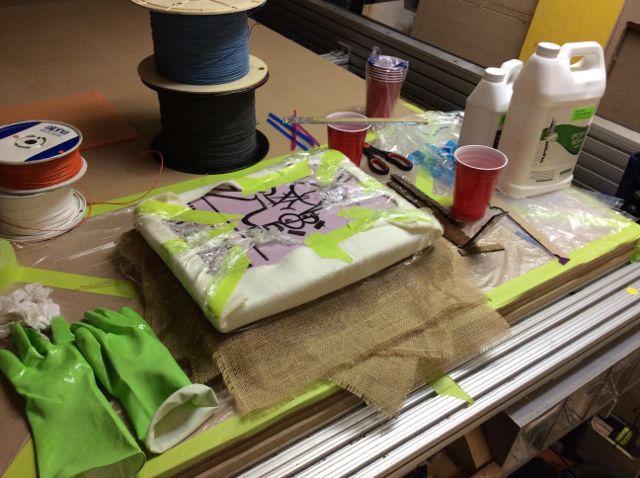
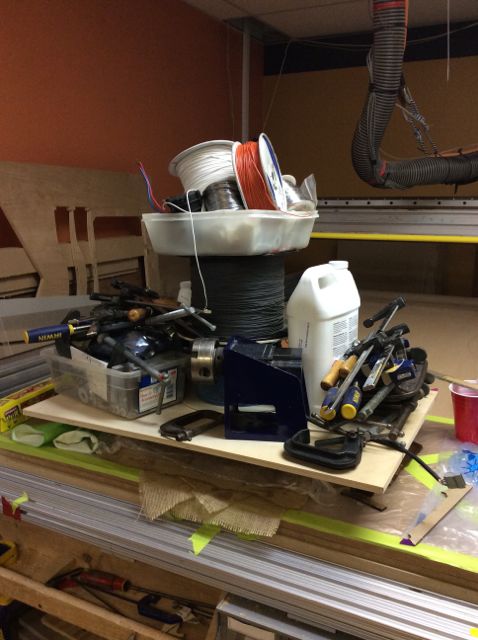
Soaking the burlap in epoxy took me about 30 minutes. After that the second part of the mould came on top, and whichever heavy stuff I could find around the lab did so too. In the manual it says that tack-free cure time is arounf 3-4 hours, and full cure time is 7 days. This evening I didn't have neither, as this report had to be written before the class. So, fingers crossed - I get my cofee tray tomorrow in the morning.
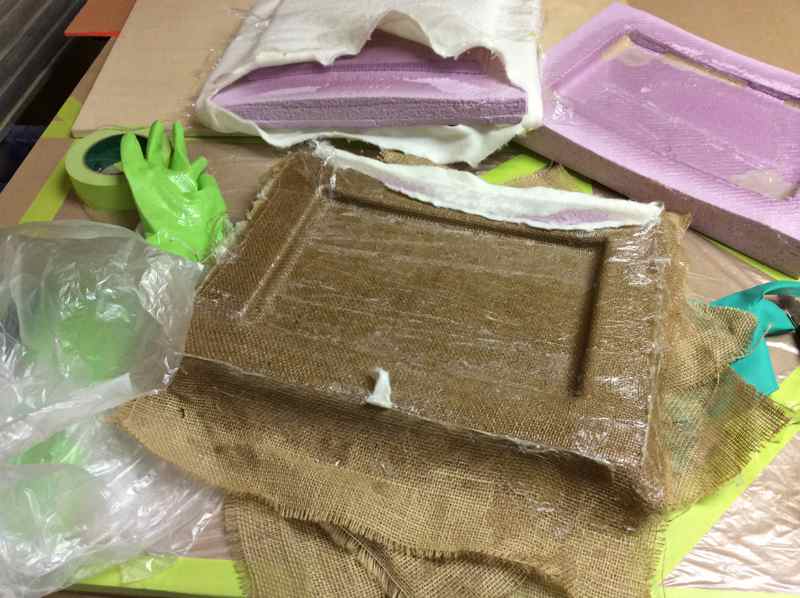
Yep, the morning came, and epoxy did it's job overnight. The tray came out pretty solid.
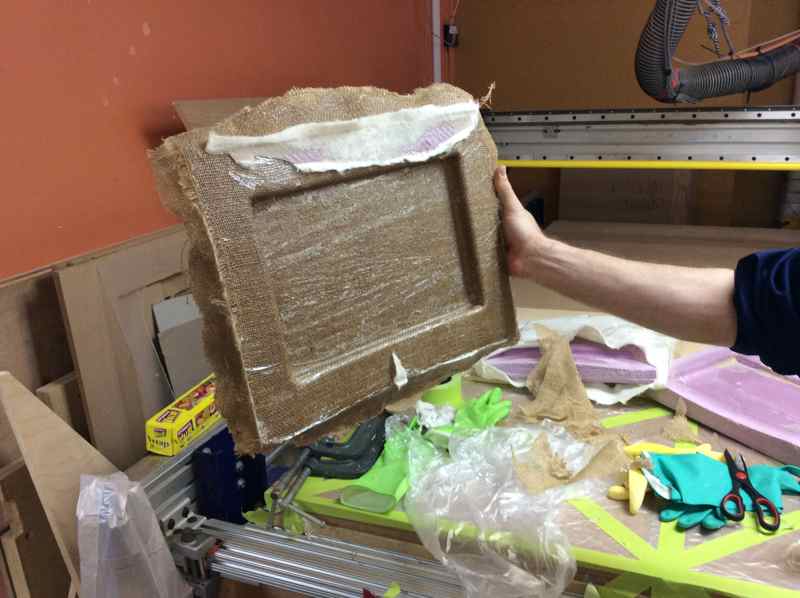
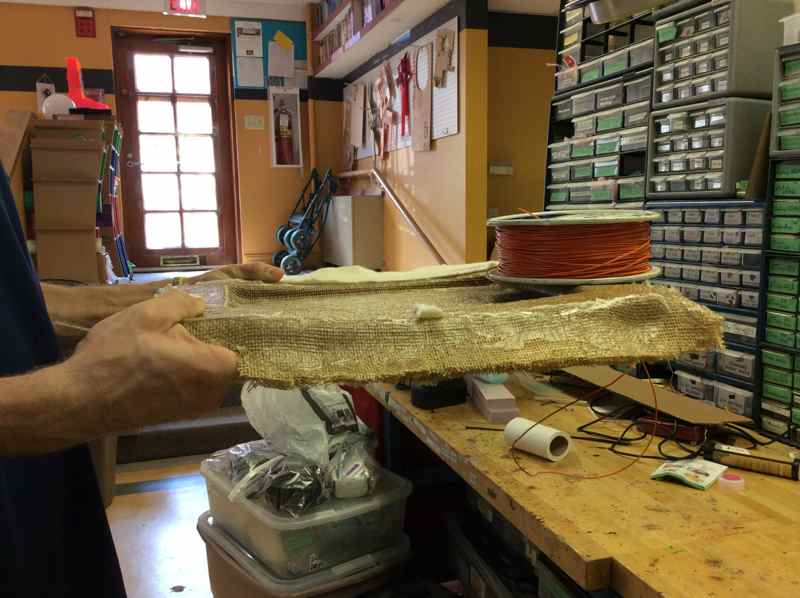
It's definitely a functional coffee tray.
...
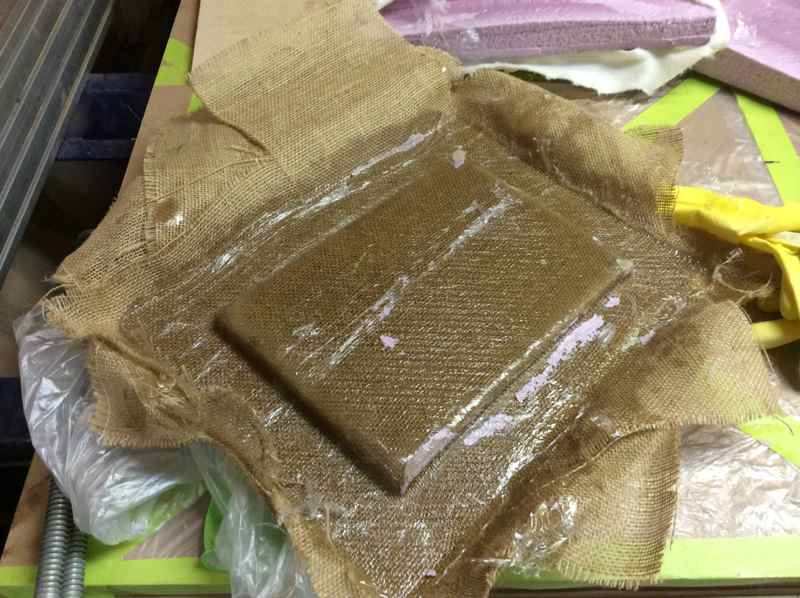
Some epoxy stayed in the corners of the mold, rendering the corners not as sharp as they were modelled. Another detail worth paying attention to is the melted foam. Apparently setting epoxy generated so much heat that it had slightly scoarched corners of the mold.
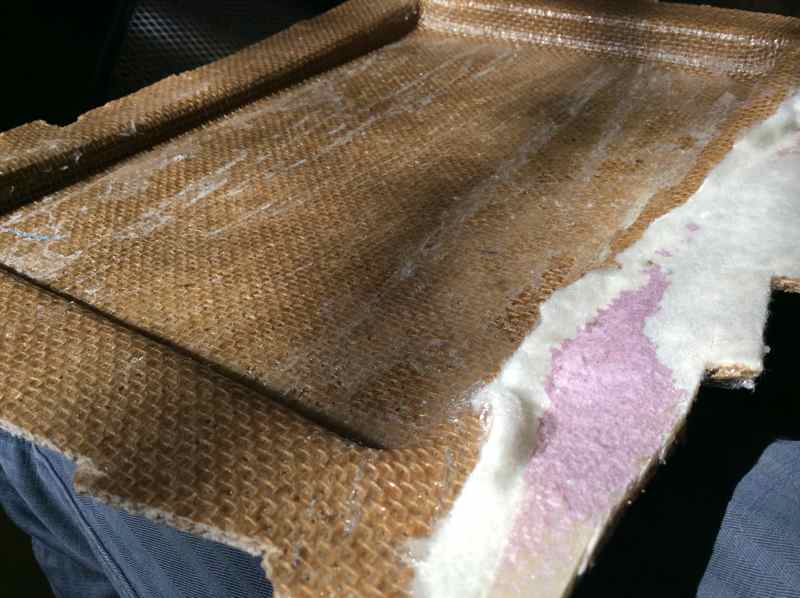
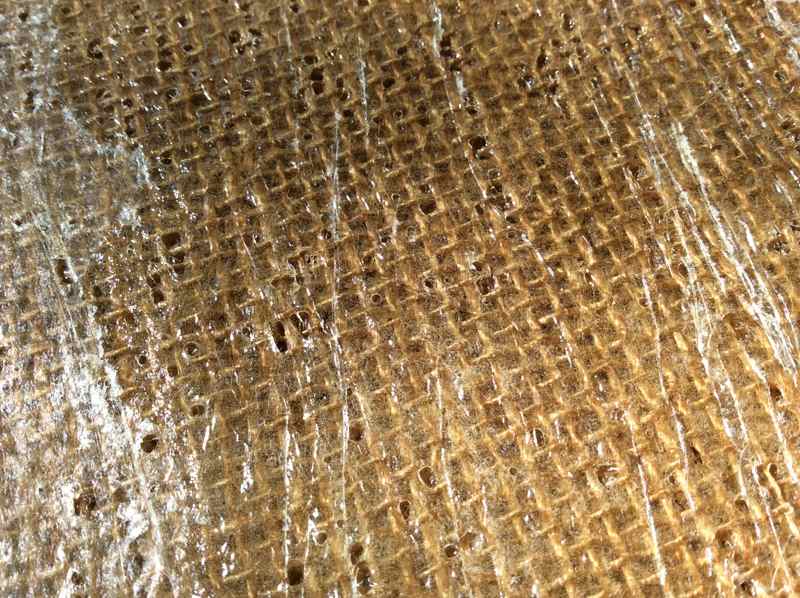
Quite some air bubbles got trapped in the burlap - thus the surface got some cavities in it. Probably can be fixed by applying couple more layers of epoxy on top of the ready tray. Some excess burlap was trimmed with metal shears and the rest - with the band saw.
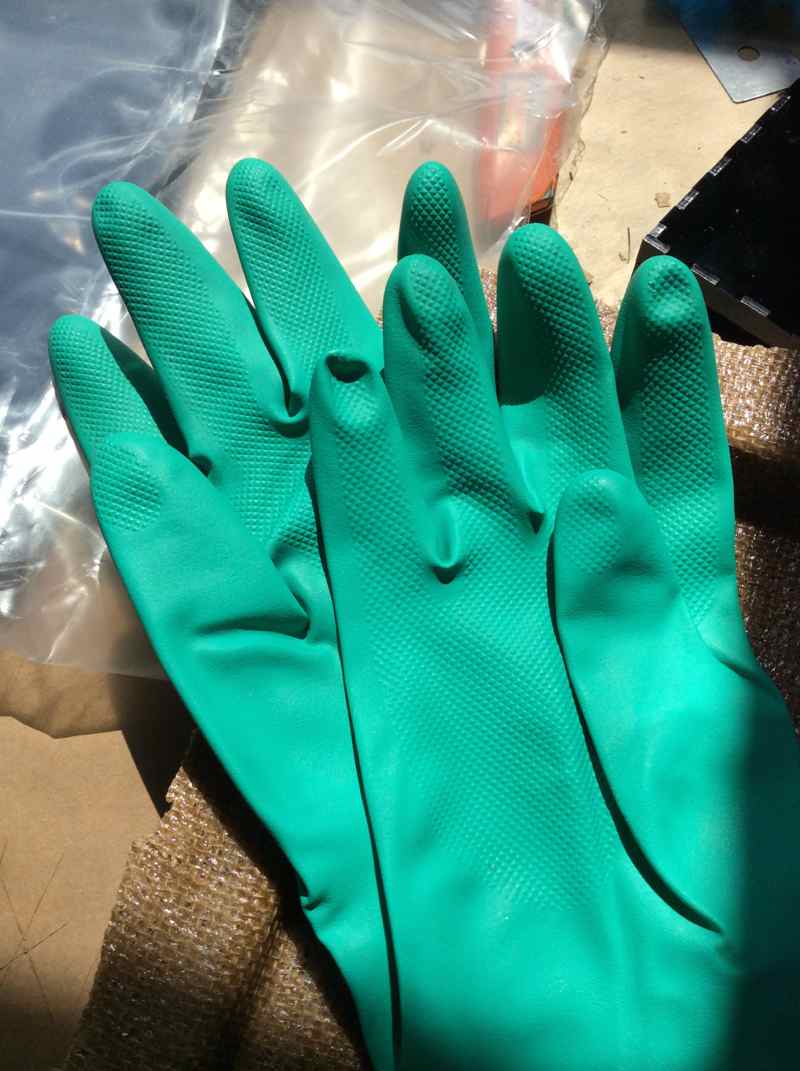
The weirdest thing of all was the fact that rubber gloves that were soaked in epoxy the night before - seemed completely clean and devoid of any epoxy traces the morning after. Some magic epoxy elves to blame?
Rhino files for this week:
