Make Something BIG
Week 07
12th-19th March 2014
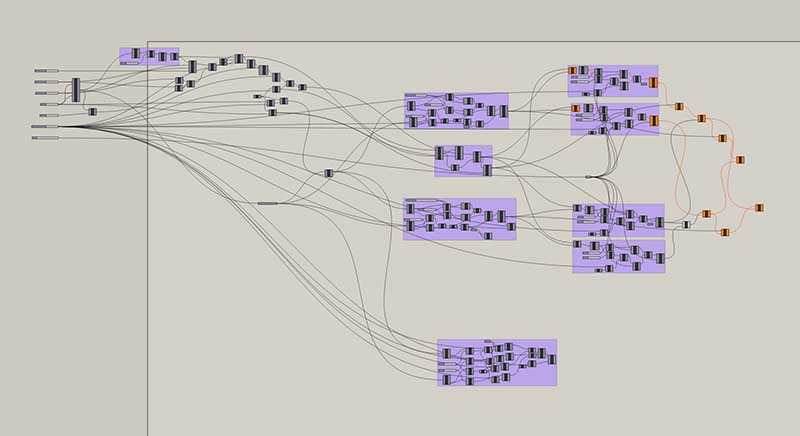
This week I wanted to build a box for my records. It had to be moveable, stackable and easy to browse. The picture of it was already rather clear in my head I wanted to practice parametric design in Grasshopper. However due to trouble with the solid intersect module (SInt), I didn't manage to get proper slotted connections. So after couple days of trying to find a workaround I finally gave up and decided to draw it using Rhino only, and in 2D.
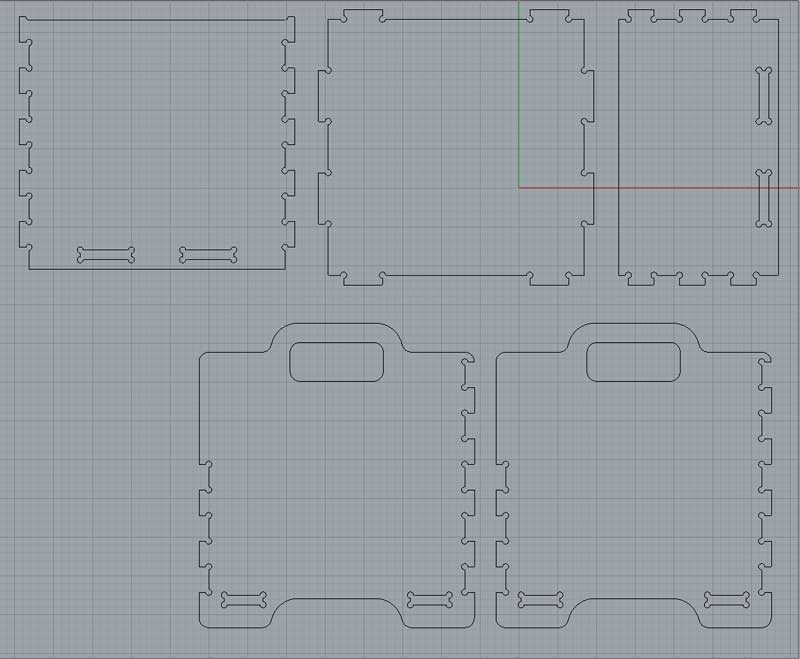
This is the final layout. Dogbones placed, all dimesions hard-wired to 12.5 mm plywood. Hoping that kerf won't introduce too much of an error. Otherwise it'd have to be re-drawn from scratch. Some strange snapping behaviour observed in Rhino where objects won't snap no matter the settings. Reboot helped.
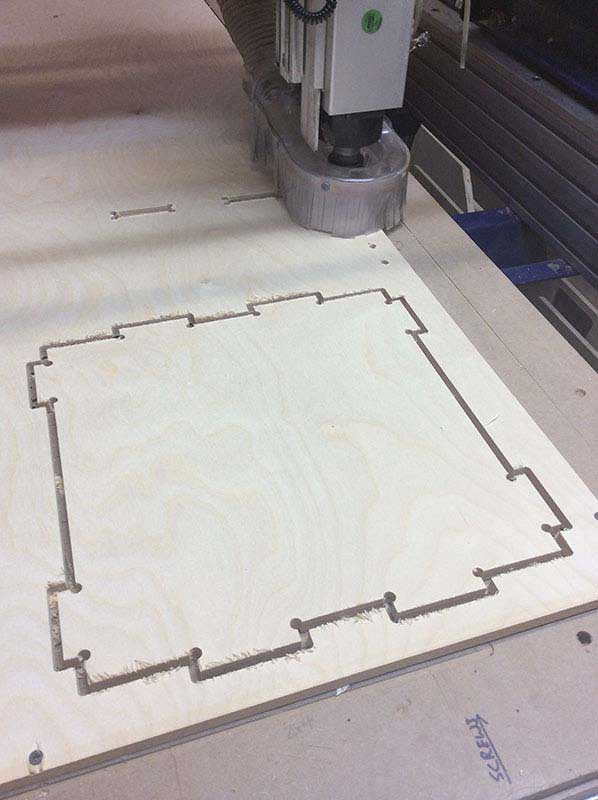
Plywood panel screwed into tht MDF sacrificial base, air cut completed - time for the first proper cut. And it worked just fine. After couple more cuts in "manual mode" panel-per-panel and hole-per-hole, I loaded a batch of several sides simultaneously and let the shopBot complete the job. With the assistance from Brad the fixing screws were positioned perfectly - to save the material and stay out of the way for the machine.
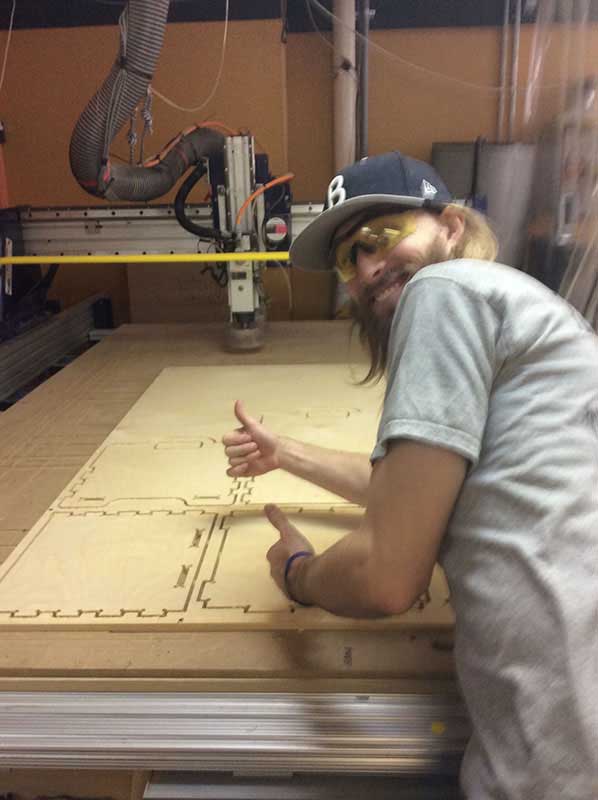
Here's Brad with the completed cut. Everything went smooth and took about 20 minutes in total. Only in couple places the bit left a fraction of a milimeter undercut - looks like the table needs some leveling. It was also rather surprising how quiet the machine was. It was not much louder than a laser cutter with the exhaust and compressor working.
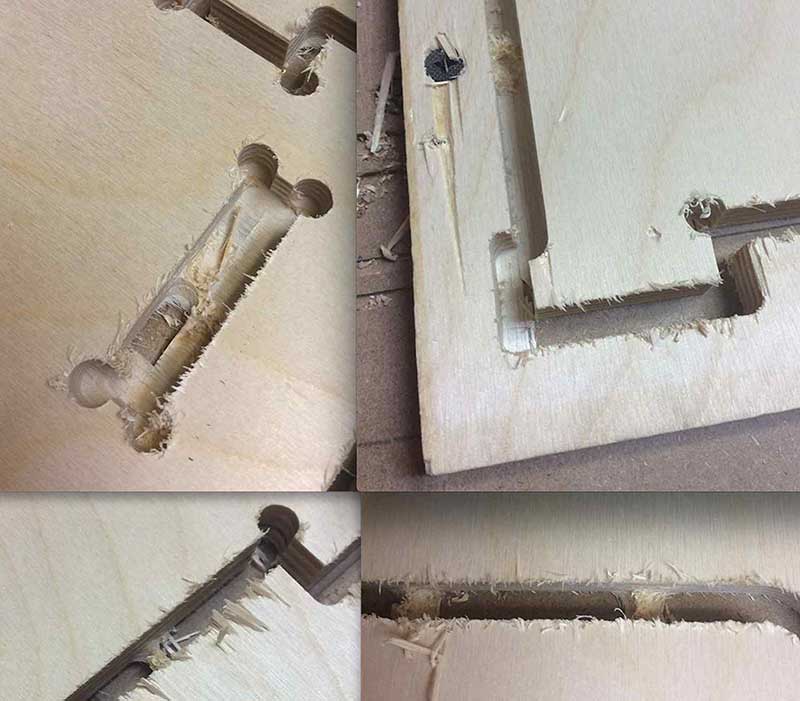
Some edges came out rough probably because of a dull milling bit. And it looked like the bit got duller in the course of the job. Some chips here and there and as already said above - some minor undercuts.
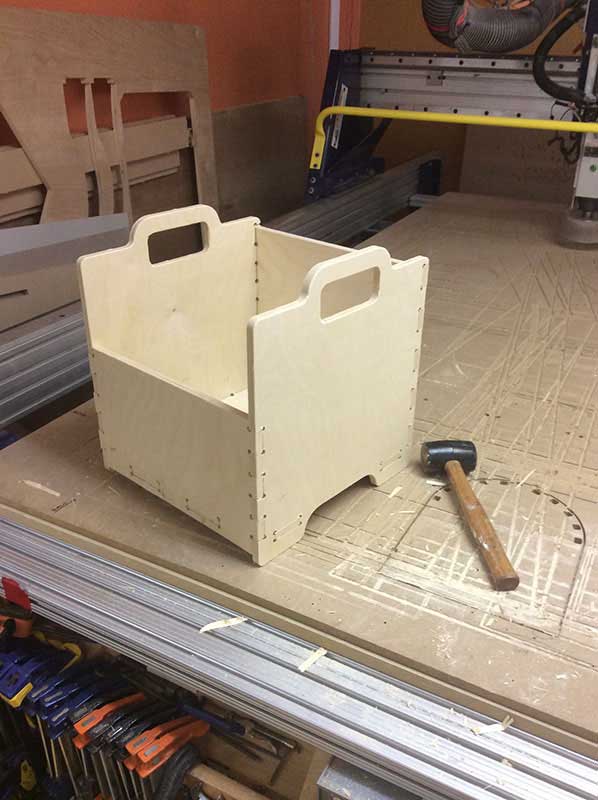
After some work with the knife, file and a mallet - the box came together perfectly. Notches fit smoothly and everything is aligned correctly. Glueing, sanding, varnishing - some work still to come until this gets the finished feel.
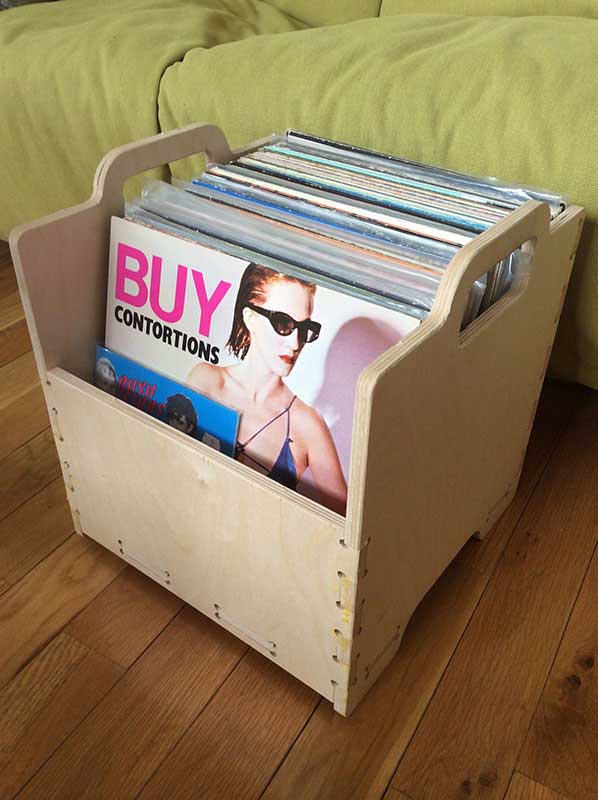
Here it is glued and lightly sanded. One very happy record collector is holding the camera.
