|
|
The assignment for this week is to 3D scan an object and to desgin and 3D print a small object, that cannot be made with a substractive process.
Modeling & 3D Printing
For this part of the assignment I used 123D Creature and a Felix 2.0 3D printer. 123D Creature is an app from Auotdesk, it can be downloaded from the App Store for free. This app is quite helpful for modeling, you start the a project with a sample skeleton body with a couple of legs and arms that can be modified by adding or rearranging the joints. There are other options like changing the body shape, posing the creature and scale it, in the end is like playing with clay.
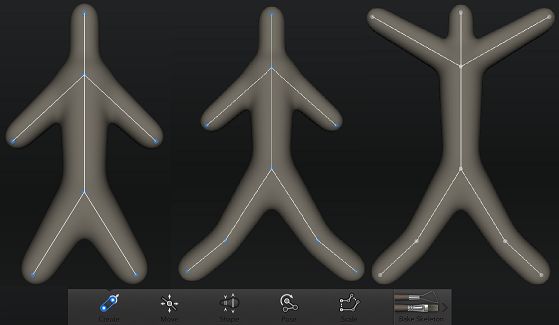
123D Creature Options
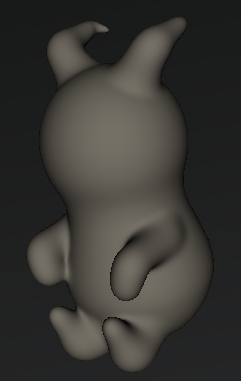
My Design
When the model is ready, just bake the skeleton. After the baking process is finished you can sculpt, paint and even render the model. Within the sculpt options you can choose between sculpt out, sculpt in smooth, sharpen, flatten and grab tools. It can be tricky to sculpt the object, mainly because the undo option can't holds just 6 or 7 modifications so be careful when sculting in because you can end up with deformed 3D shape.
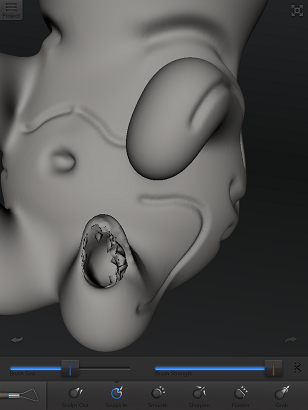
Model damaged when sculpt in
When you're done sculpting the mesh of the object can be exported and send via e-mail and the zipped folder will contain an .mtl, png and obj file.

Finished model
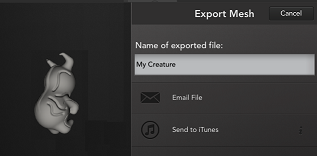
Sending via e-mail for downloading
I printed my object with a Felix 2.0 printer, so for this printer the recommended software is Repetier Host. This program is available for Windows, Linux and MAC OSX users, you can get the program from here. After downloading and installing import the model into the software, it must be an STL file, so i used another software to export the OBJ to STL binary. Then I oppened the model in Repetier and set the Slicer settings for Normal quality with exterior supports, 15% honeycomb infill and 0.3 mm layer height which is similar to low quality in makerware. For the printer settings the values were 210 degrees for extruder and 60 degrees for heated bed. Send to print and wait for it to finish, mine took 40 mins.
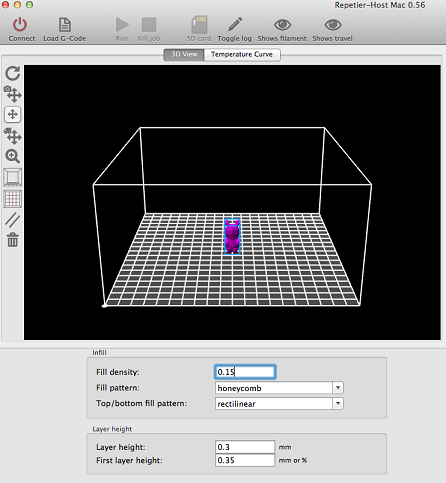
Repetier Settings for Felix 2.0
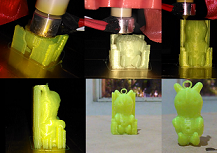
First Attempt
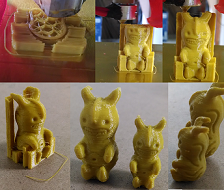
Second & third attempt
You can download the 123D creature files here
3D Scanning
For this part I used 123D Catch for iPad. I prefer using the app store version over taking pictures and uploading through a computer, mainly because the app checks if the picture is underexposed, this helps a lot with lighting issues or blurry photos. The catch process is really simple, you need a non reflective surface for the object to scan, i chose a piece of MDF i had and started to take the pictures. It's important trying to keep the same distance from the camera to the object for each picture you take.The app also lets you know how many pictures you have to take and the angle for the next one, this thanks to the gyroscope built in with the device. When you're done with the catch process you have to upload the pictures and wait for the servers to finish processing the images. After two attempts i just got my object fully scanned.
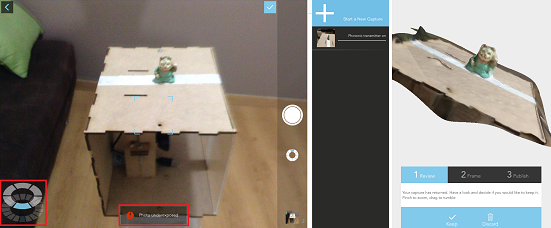
123D Catch process
The next step is to fix the mesh, for this I used Meshmixer from 123D Apps. First, download the folder with the result from 123D catch, then import the STL. When the import is done remove the extra features from the scan with the Select tool. Finally I added a mesh box to the base and exported the model to STL and is ready to print.
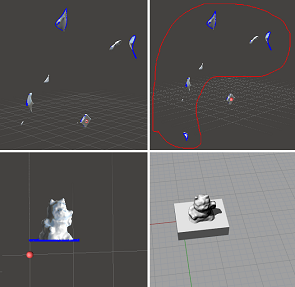
Cleaning the mesh
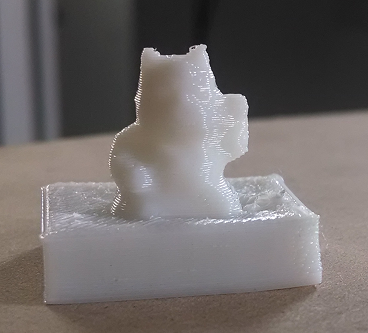
Lucky Cat
You can download the 123D catch files here along with the STL file.
|