This week goal is to design and make a press-fit construction kit, so I decided to make something I can use to organize my electronic stuff. During class we got some recommendations for the use of the laser cutter, such as not leaving it unattended while cutting beacuse sometimes it can produce flames, avoid cutting PVC and vinyl because of the chlorine gas released while cutting. I would like to add that it is important to check the state of the lens and the nozzle before start cutting, the reason is when the lens is not clean it's probably that the beam won't go through the material or in the worst case the lens may crack. In the case of the nozzle the areas around the cut material will appear as darkened or maybe burned or it even can be set to fire when using materials like MDF.
Laser Cutter Rayjet Speedy 300
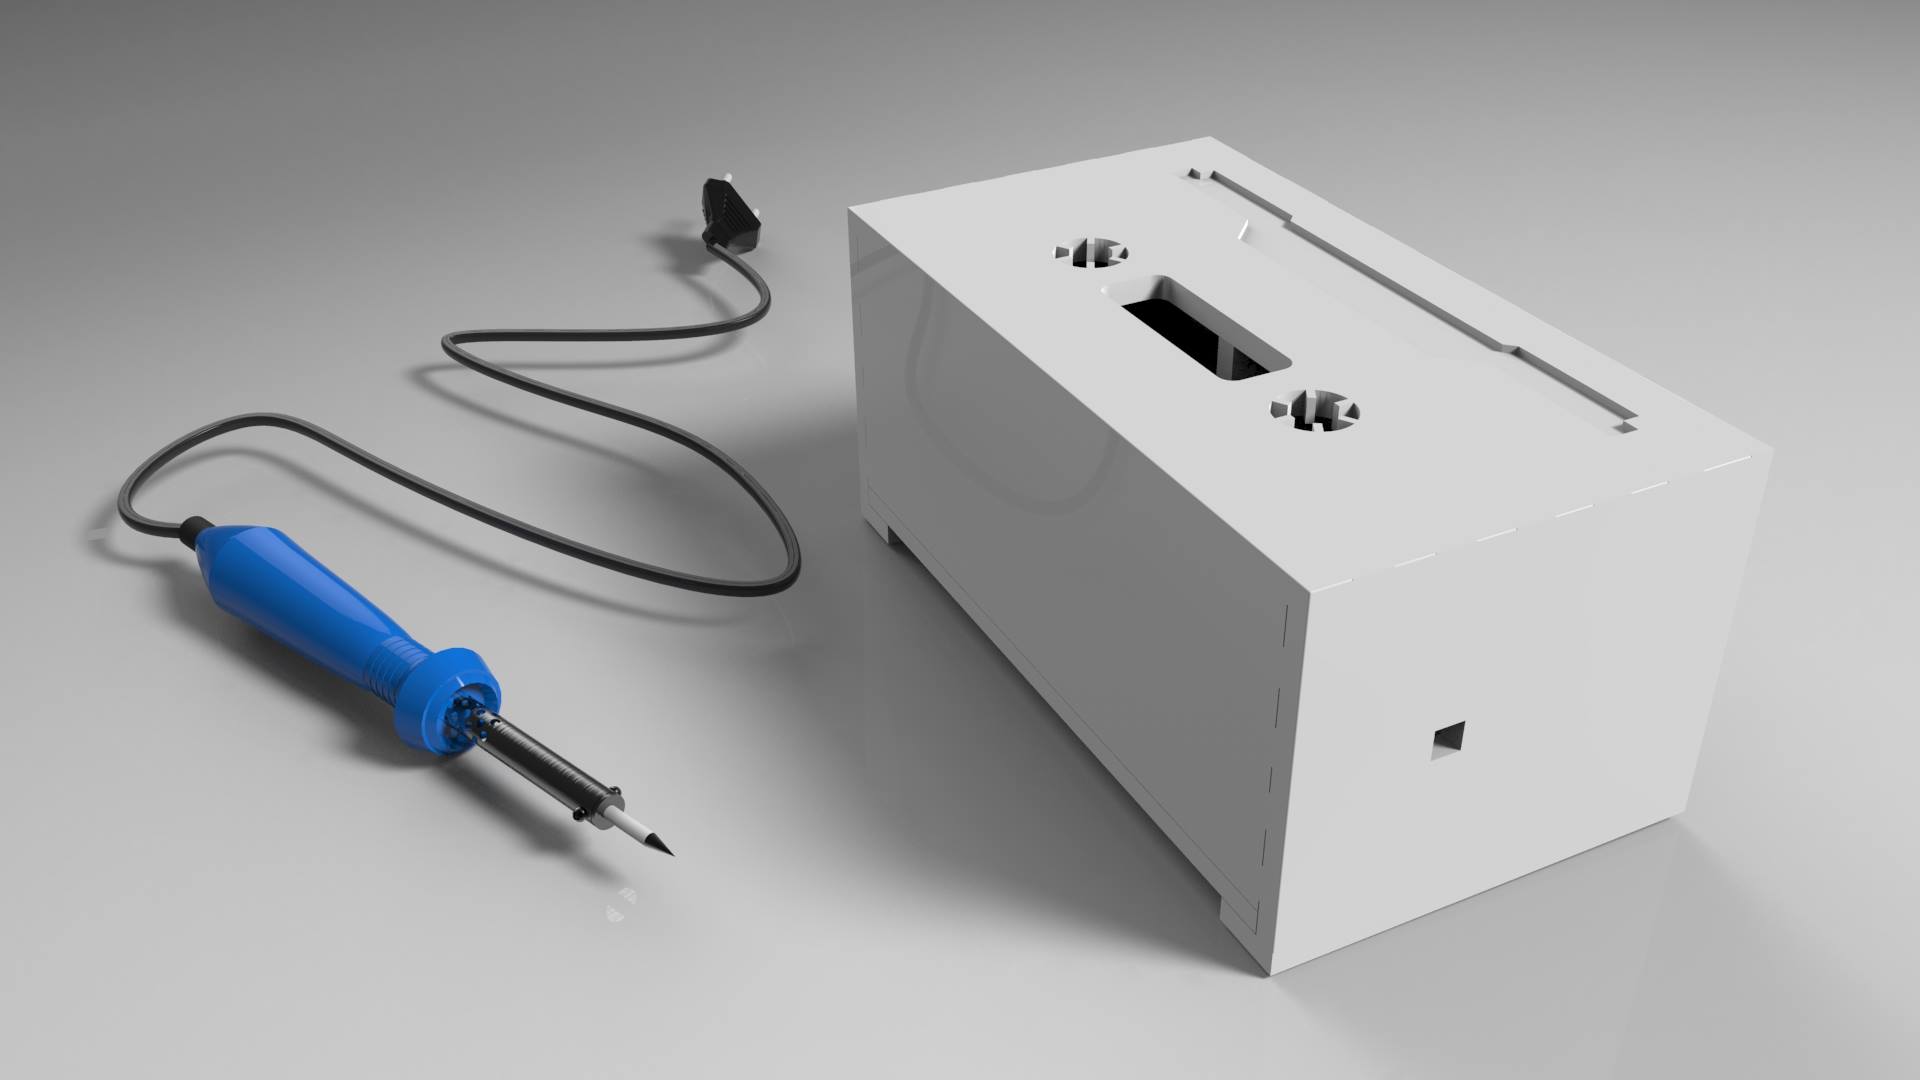
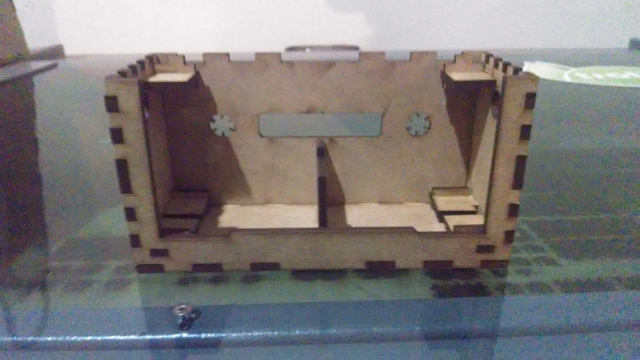
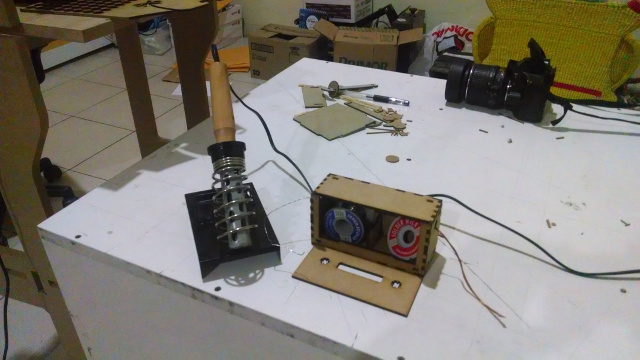
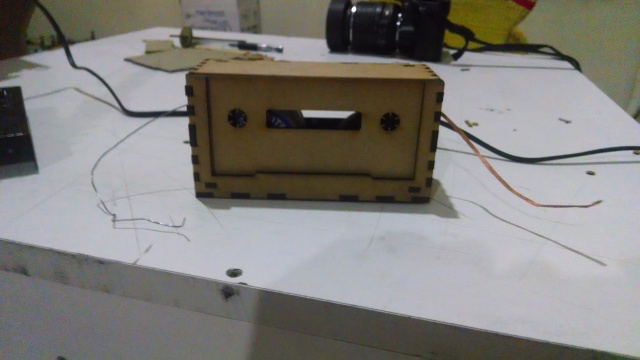
It's really important to take measurements of the thickness of the material you're using before designing, it save a lot of tiem when making the press-fit joints. To that it's important to check or test the laser cutter tolerances or the joints will be loose, wich is the common case. The press-fit kit I designed is a lead dispenser for soldering, but a plain box was boring so i applied some skeuomorphic design to the front and rear sides and made an old school cassette.
Render
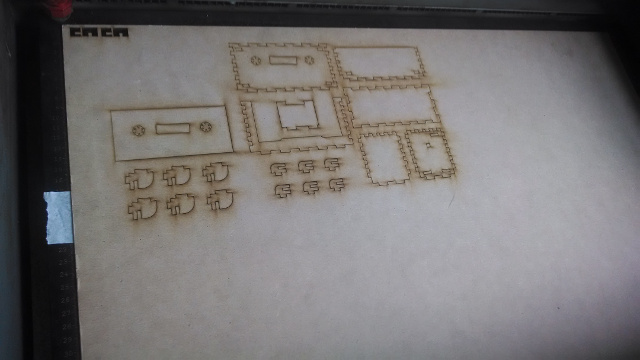
For my press-fit kit design I considered joints similar to dovetails and configured the matching side with a tolerance value of 0.18 mm, also considered some internal junctions for the side walls and the top and bottom walls. The values for the laser cutter I used were 85% power and 1.9% speed, then before sending the whole model to the laser cutter, I sent the test files two smalls joints, one with 0.18 mm of tolerance and the other with twice the value. After cutting this small test pieces, both fitted in their counterparts. The one with 0.36 mm tolerance fitted with little more effort but in the end it looked like the joint was about to break so I tried with 0.18 mm first. Because i didn't check the state of the nozzle before cutting the resulting pieces i got where a little irregular in the sides and the press-fit was really loose.
Test piece: 0.18 mm tolerance
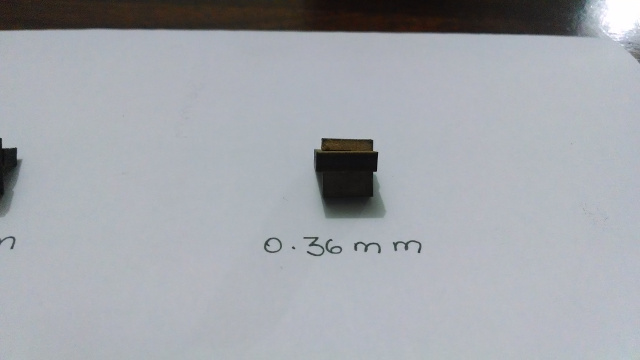
Test piece: 0.36 mm tolerance Note: the top part of the press-fit it's curved
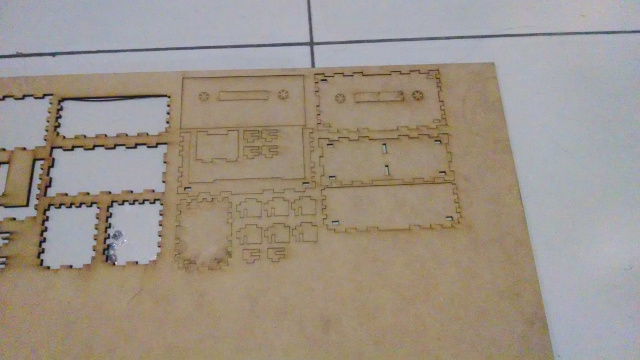
Darkened areas around pieces
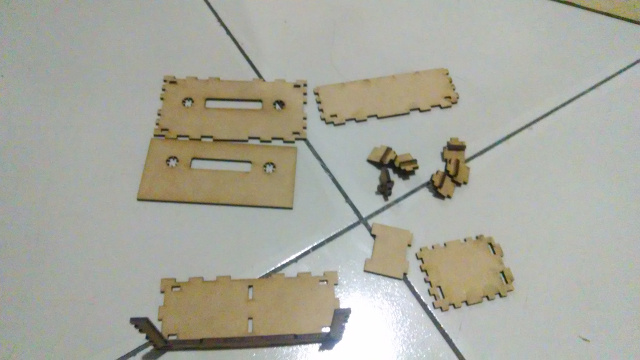
After cleaning the nozzle and the lens, I tried cutting againg with almost the same result the press-fit was still loose, so i chose to work with twice the tolerance. The result were pieces that fitted with some effort but the press-fit joints were really strong. The hardest part of the assembly was the inner junctions because the had to fit in three walls. Something i realized one day after assembling the kit is that the walls dovetails press-fit got a little loose but still in place becuase of the inner junctions.
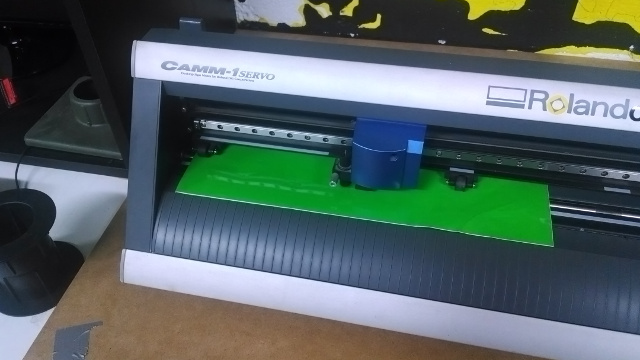
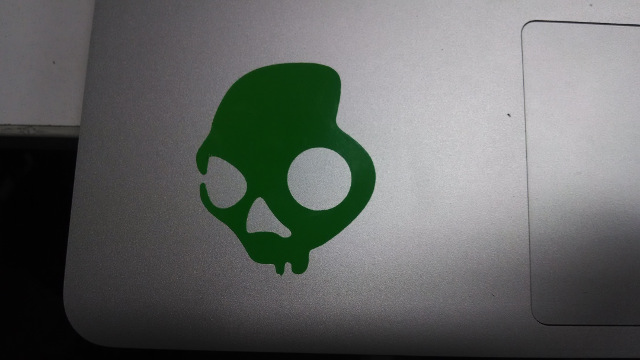
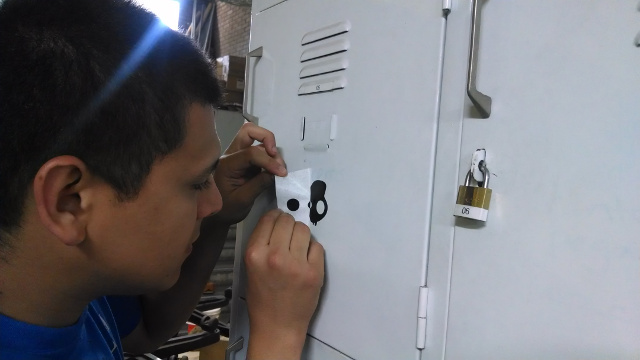
With this machine i have to prepare a png or jpeg file and then vectorize it for the GX-24. Before sending to cut it's important to check if the vinyl is in place and check for any error messages on the display. When the GX-24 is done cutting retrieve the sticker applying some masking tape on top of it and proceed to remove carefully, then apply to any surface and remove the extra pieces of vinyl.