12. Molding and casting
assignment:
Group assignment:
Review the safety data sheets for each of your molding and casting materials Make and compare test casts with each of them
In the Group Page you can find more details.
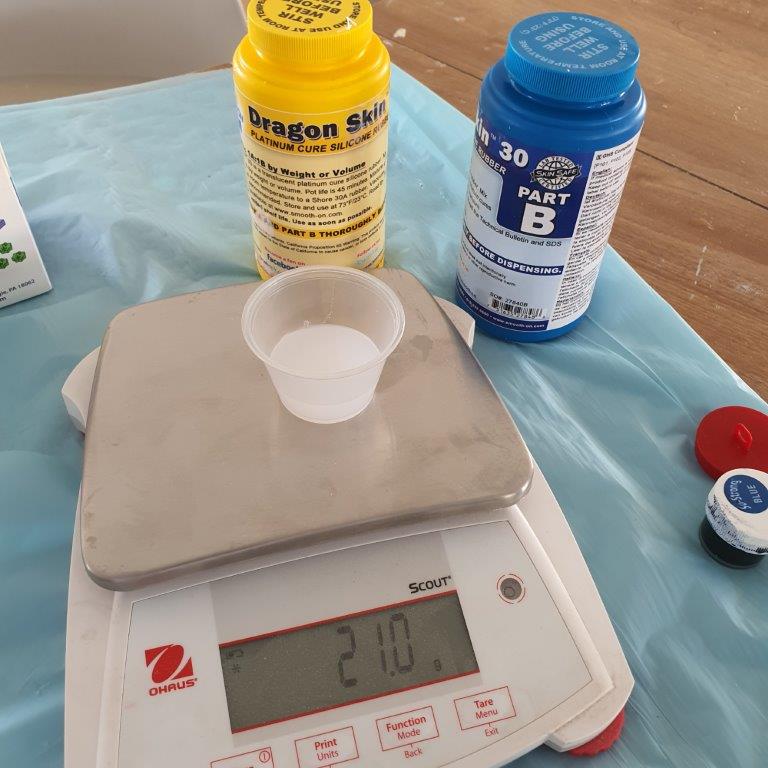
For the Casting I’ll use Dragon Skin 30
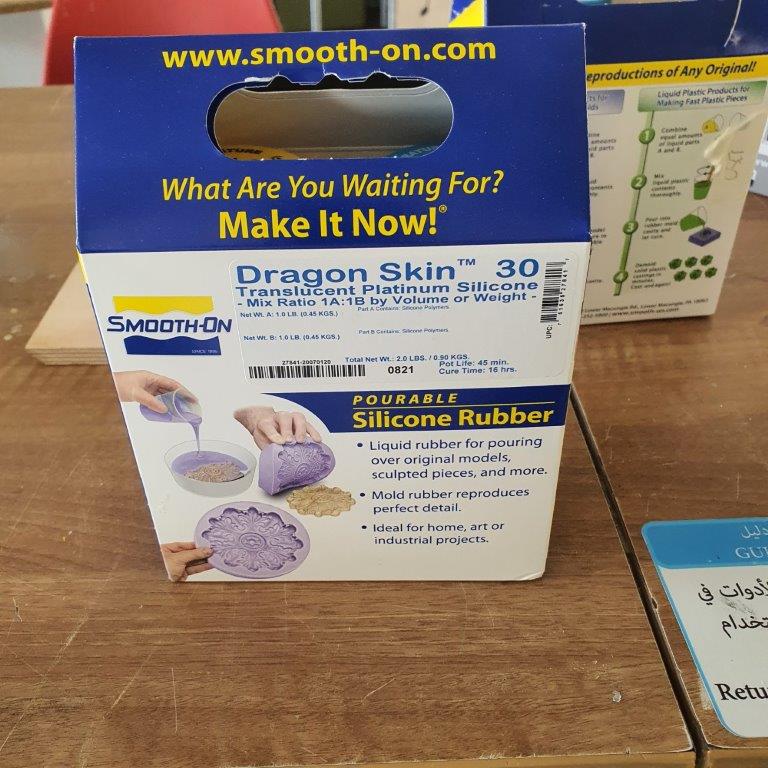
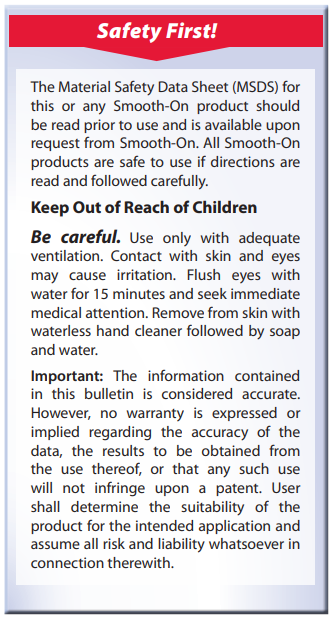
Warning: You must read the safety Datasheet before using this material
Safety First: Use in a properly ventilated area (“room size” ventilation). Wear safety glasses, long sleeves and rubber gloves to minimize contamination risk. Wear vinyl gloves only. Latex gloves will inhibit the cure of the rubber. www.smooth-on.com
Follow the instruction in the back of the box

For more Technical Data check the Technical DataSheet
The most important data are shown in table below. ||| |------|-----| |Pot Life |45 minutes| |Cure Time |16 hours| |Mix Ratio By Volume| 1A:1B| |Mix Ratio By Weight| 1A:1B| |Color |Translucent|
Individual assignment:
Design a 3D mould around the stock and tooling that you’ll be using, mill it (rough cut + (at least) three-axis finish cut), and use it to cast parts.
Research
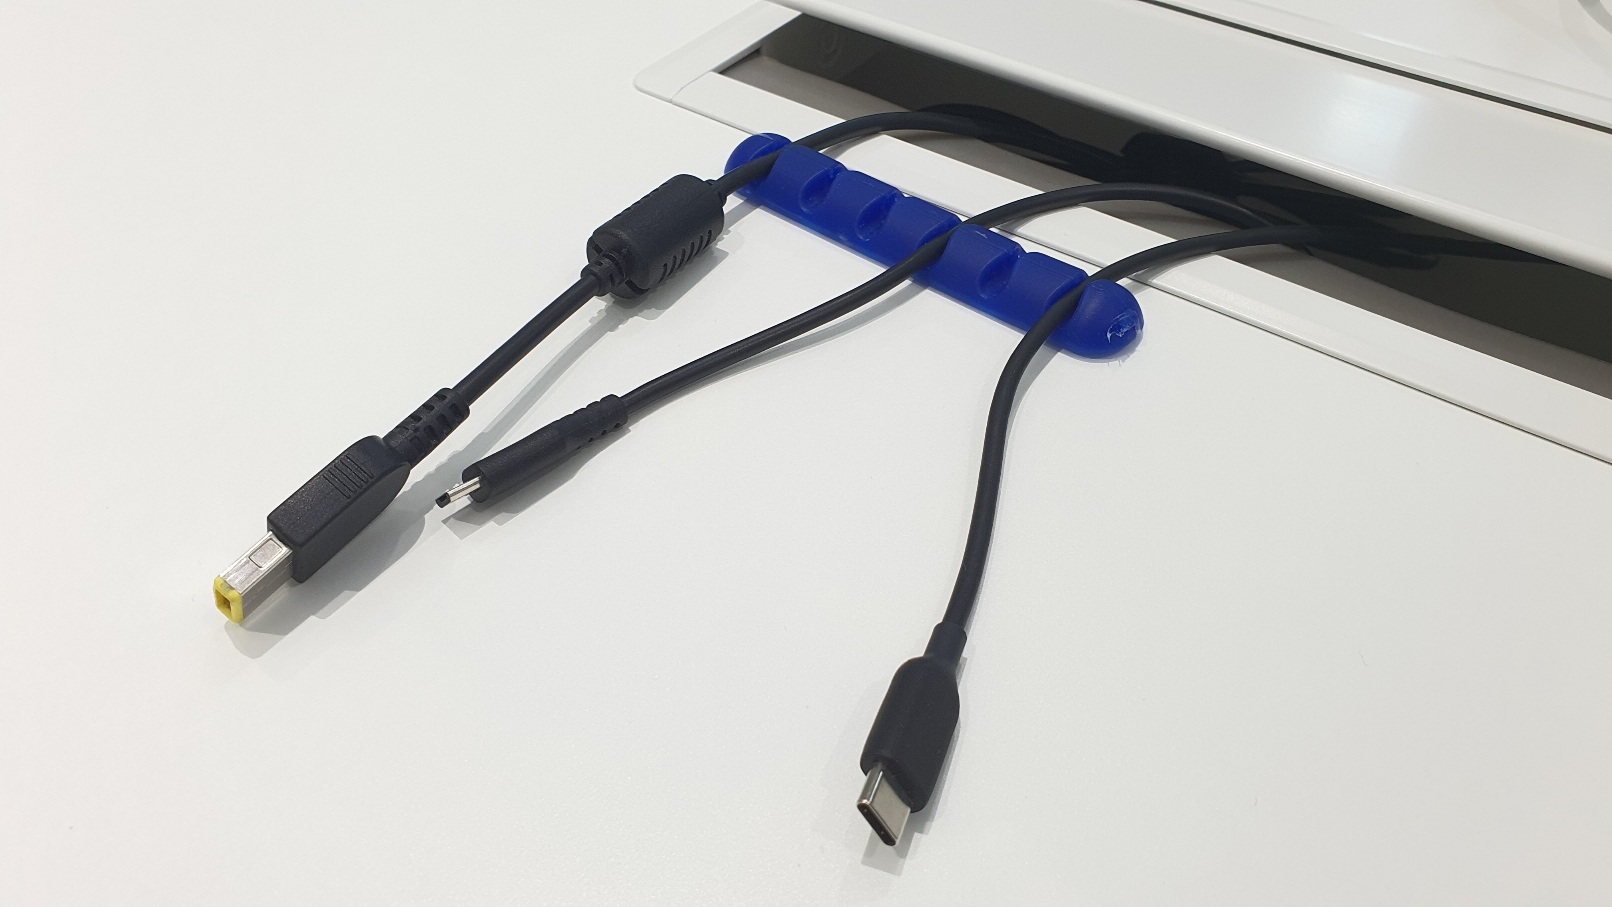
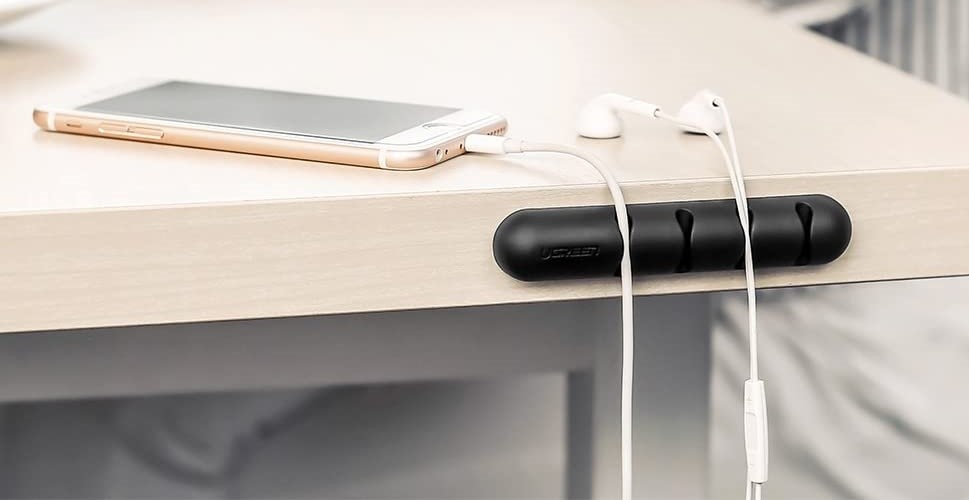
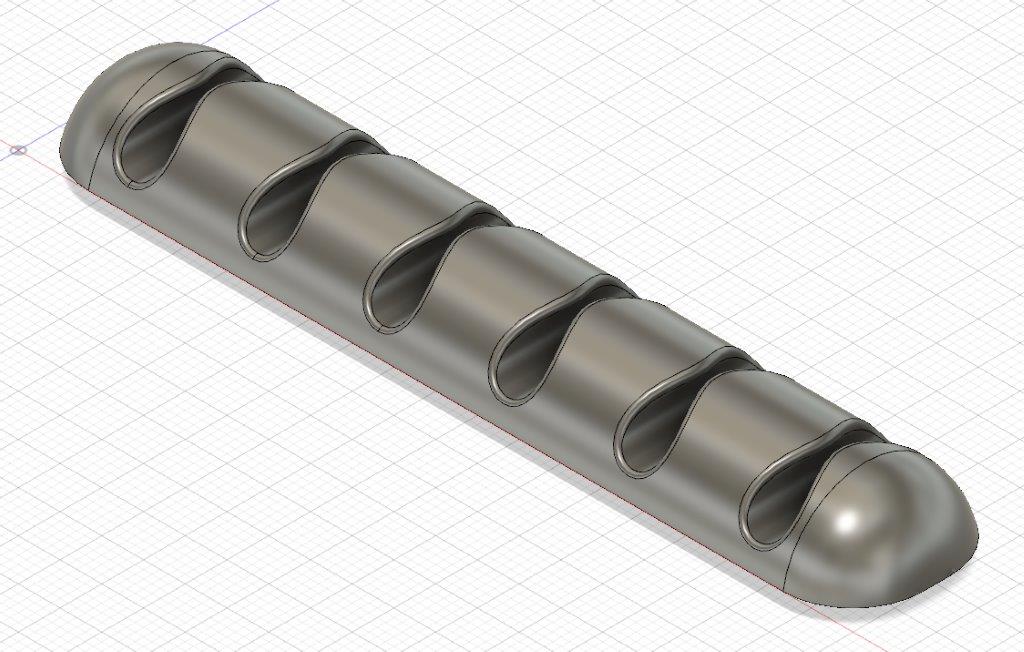
I have stared with some research on molding and casting. Also I have decided to make Desktop Cable Management which I was planning to by from Amazon
3D Design
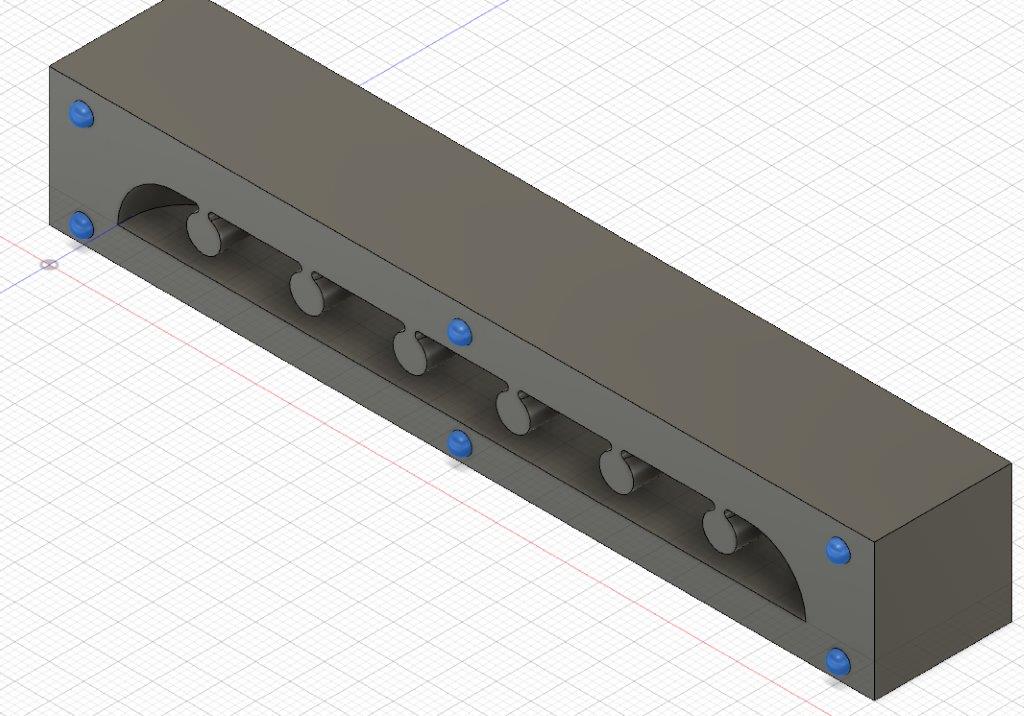
- I have started with designing the module
Mold Design
For the mold design I follow this tutorial How to Create a Two-Part Mold in Fusion 360 - Learn Autodesk Fusion 360 in 30 Days
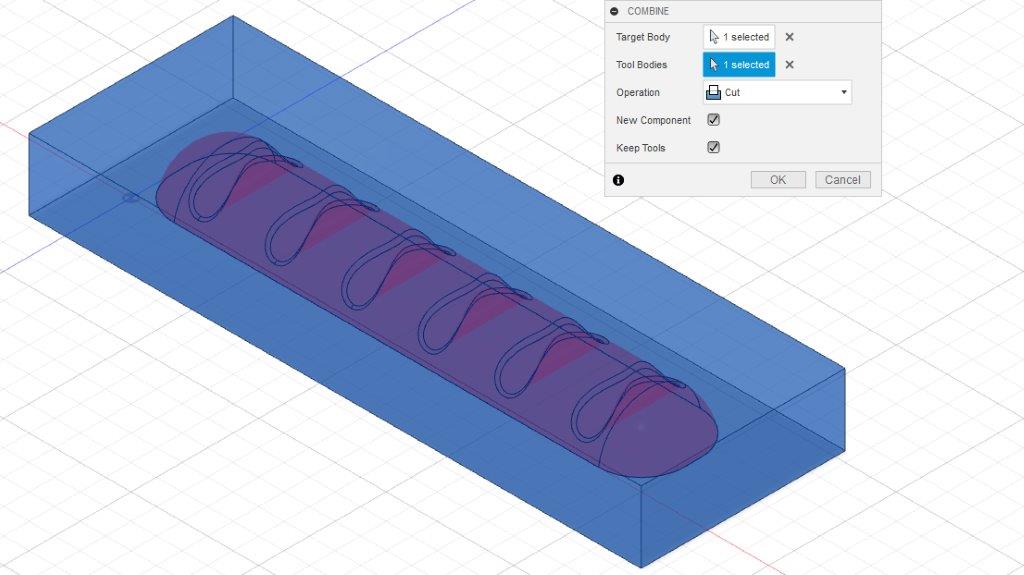
- Create Mold box around the object and change the Opacity to 50%

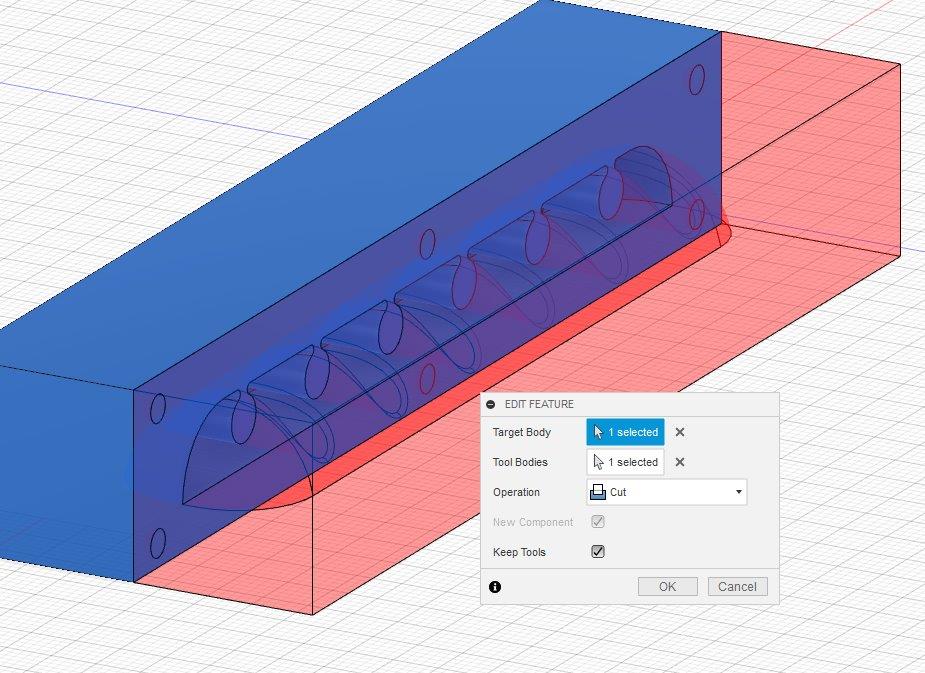
- Cut the box by using Combine tool
-
Create Midplane
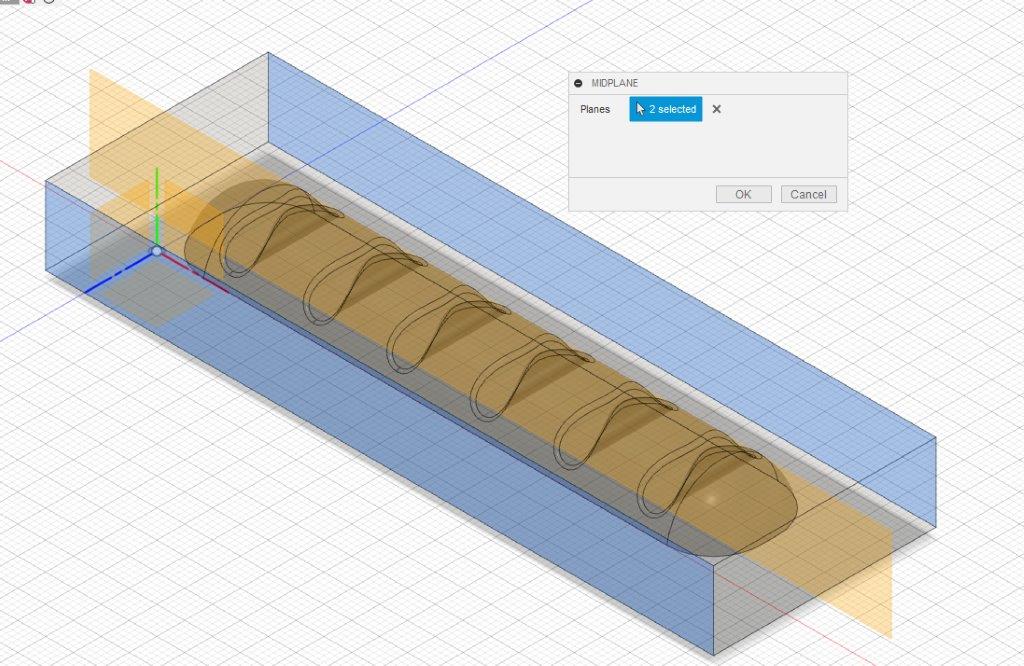
-
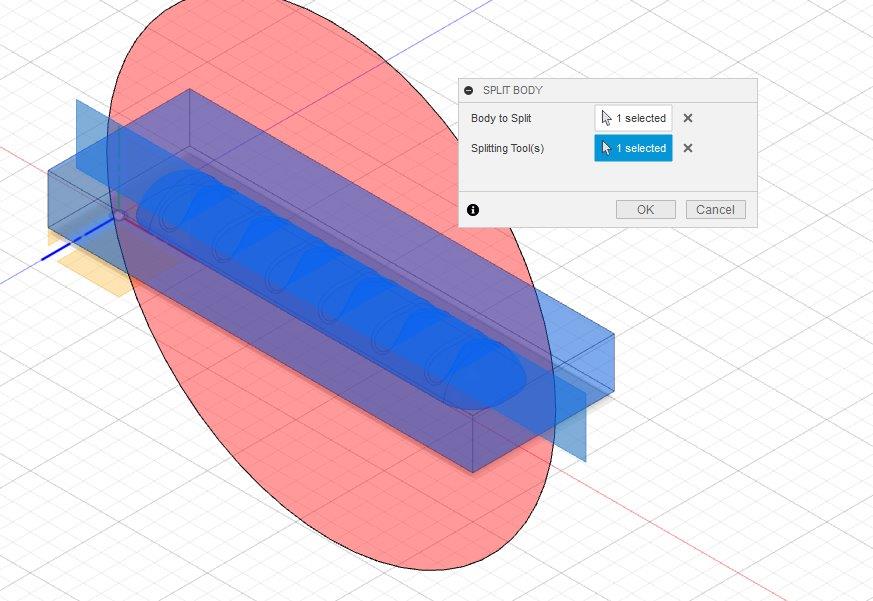
Split box in two bodies
- Create Sphere in one side of the box
- Cut sphere from the other side of the box
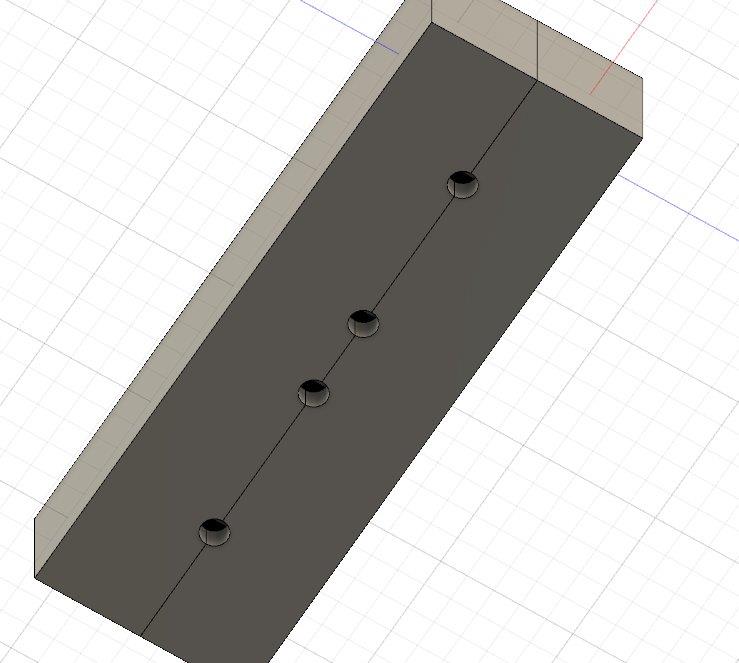
- Create holes for casting material
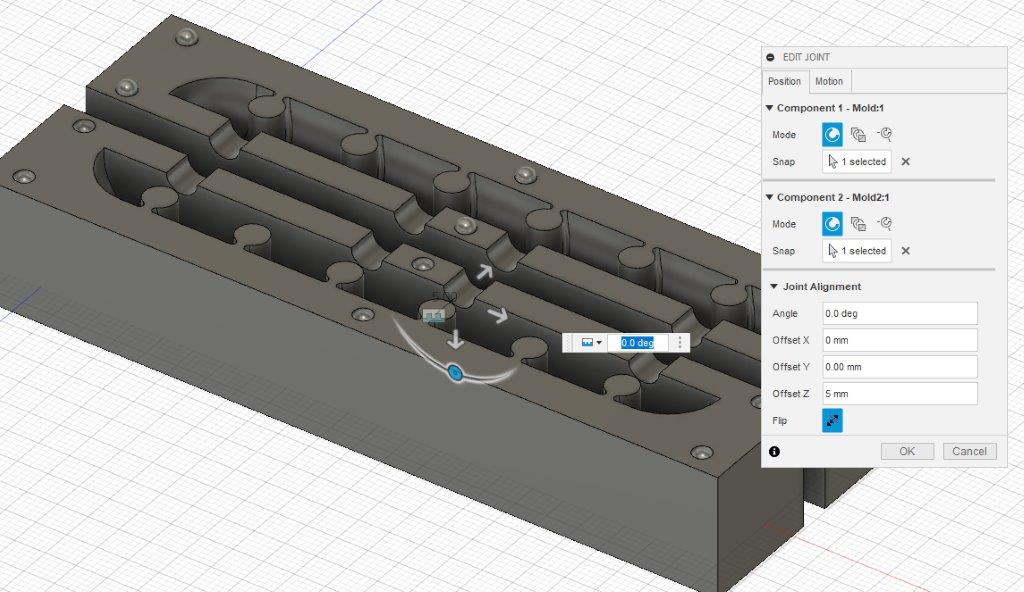
- Join two mold together with 5mm offset to separate them from each other.
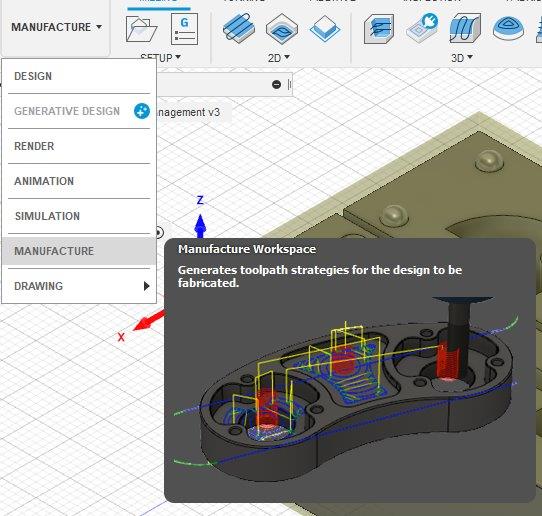
Toolpath
In fusion 360 use Manufacture Tool to create the toolpath
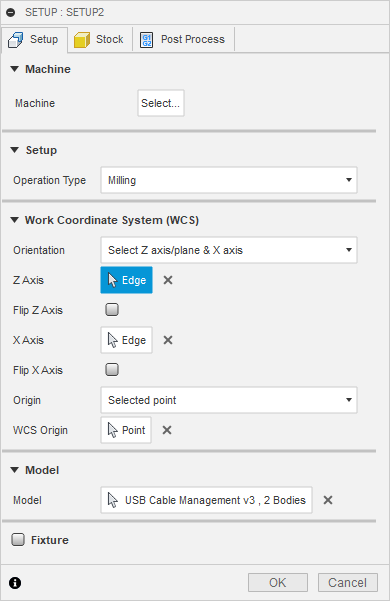
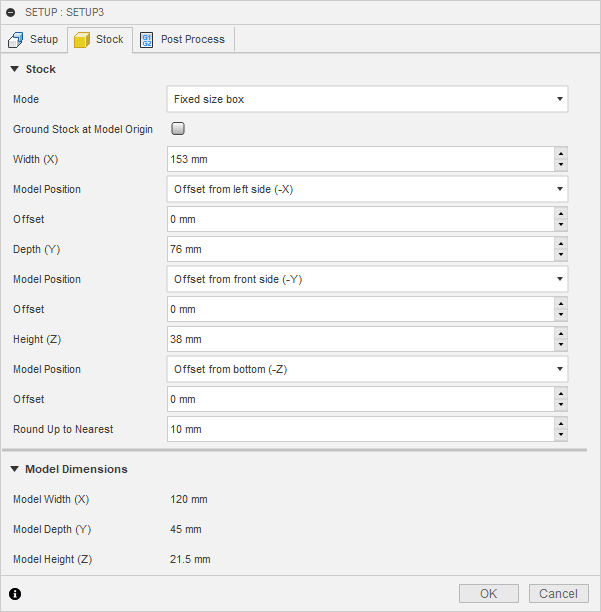
- Check the size of the machinable wax
- Create the setup for the part
- Create new cutting tool
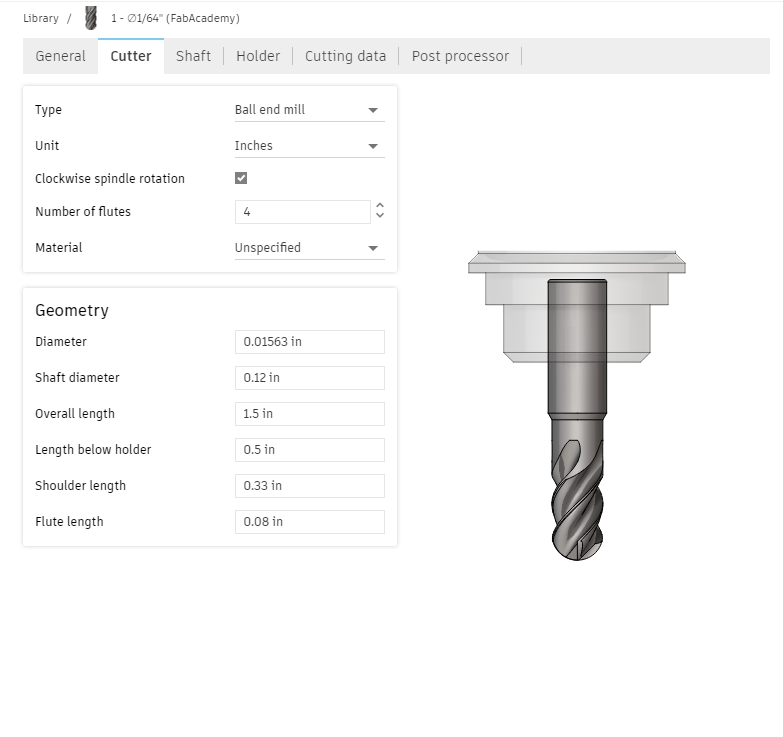
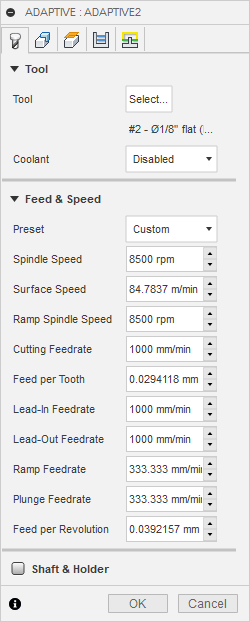
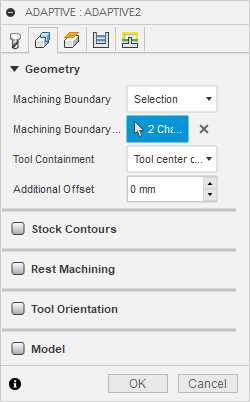
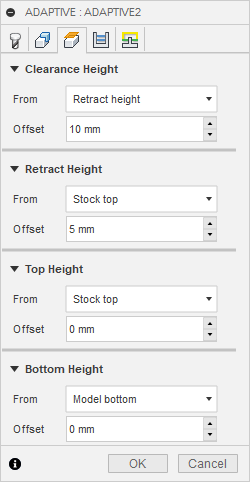
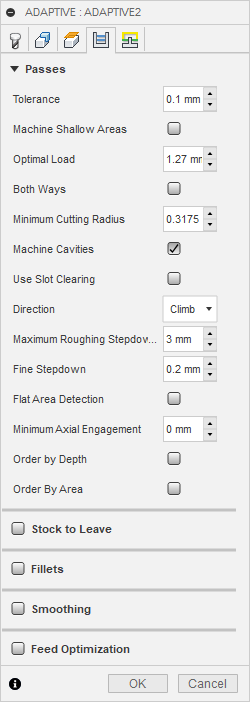
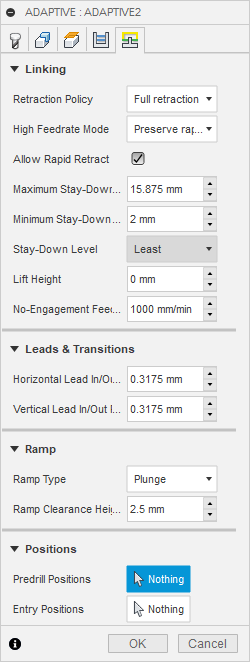
- Use 3D Adaptive Clearing for clearing large quantities of material
![]()
- Here are the setup for the Adaptive Clearing
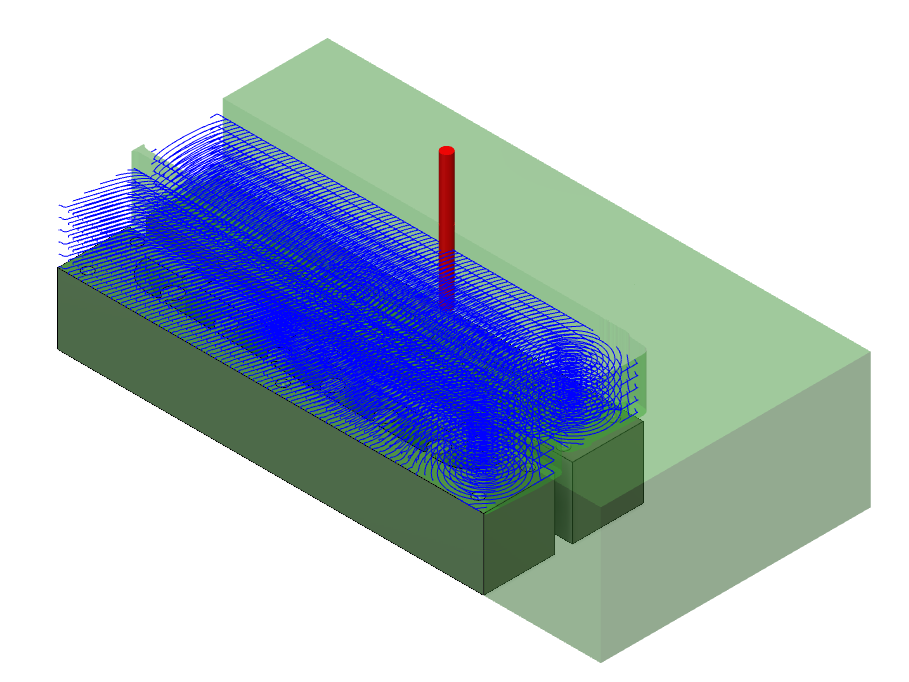
- You can check the toolpath by using simulation feature
-
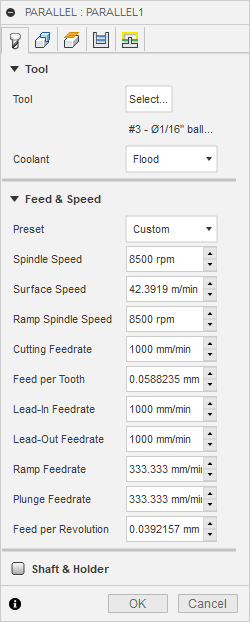
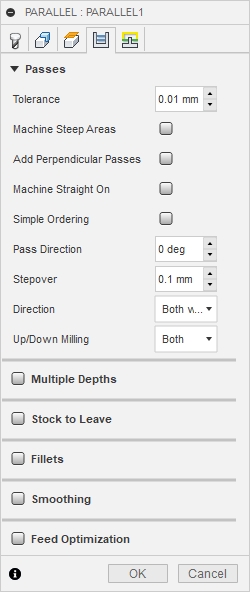
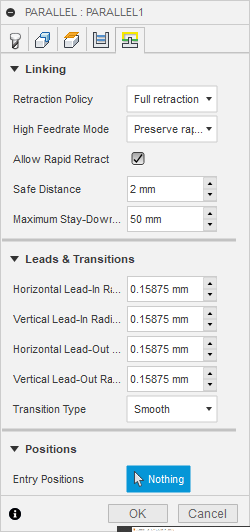
Use 3D Parallel toolpath for the finishing to have smooth service
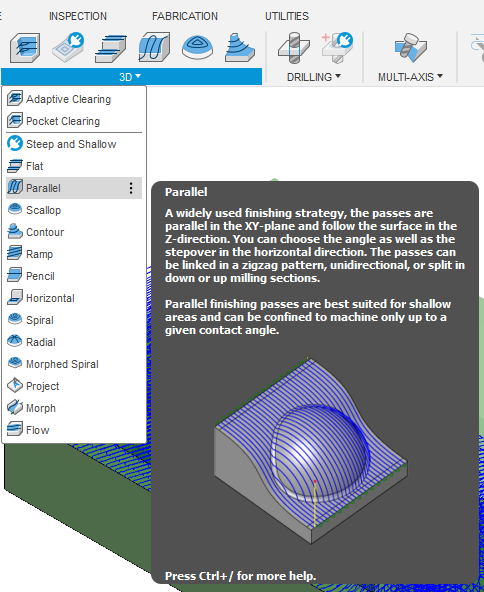
-
Here are the setup for the Parallel toolpath


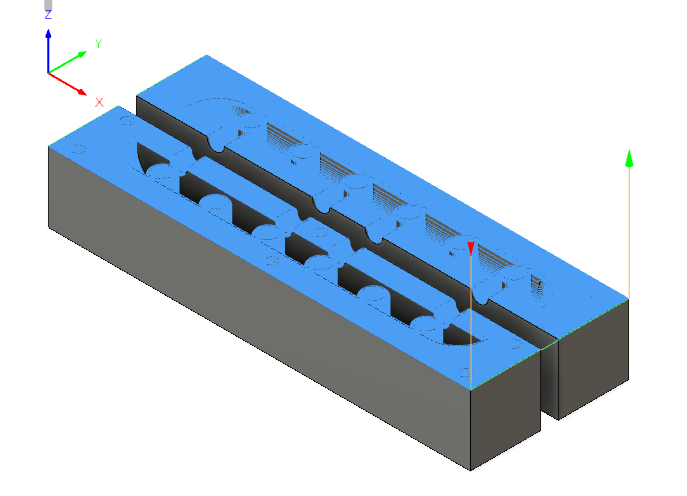
- Check the toolpath
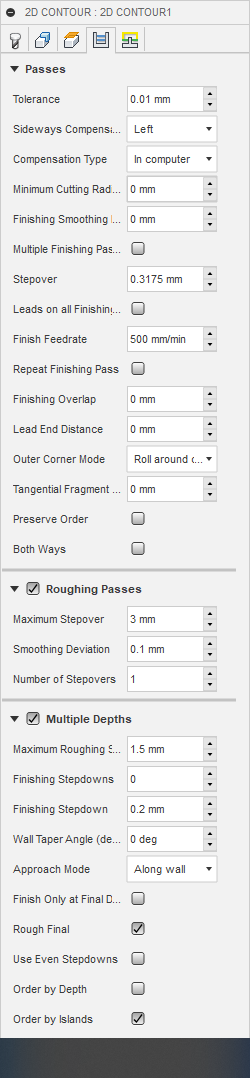
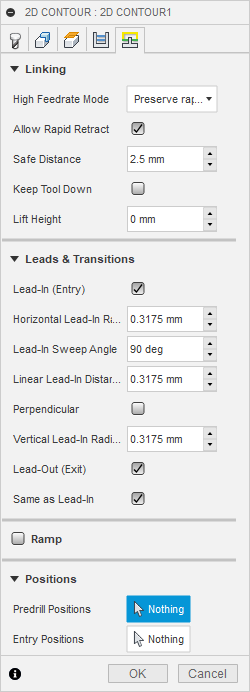
- For cutting the mold will use 2D Contour toolpath
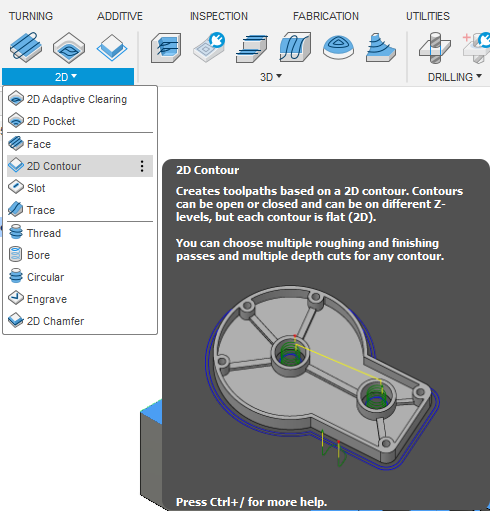
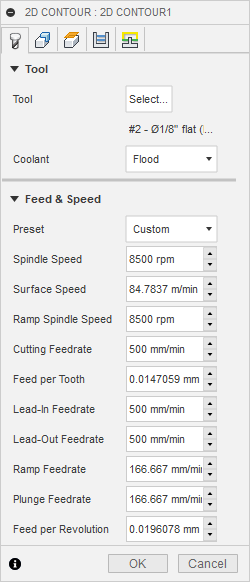
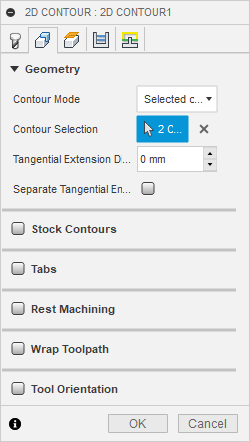
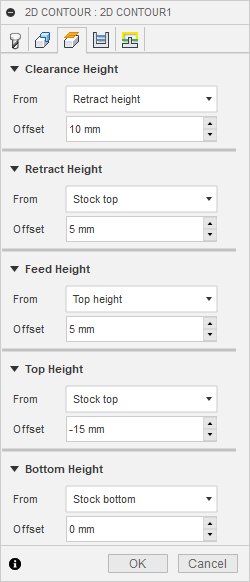
- Here are the setup for contour toolpath
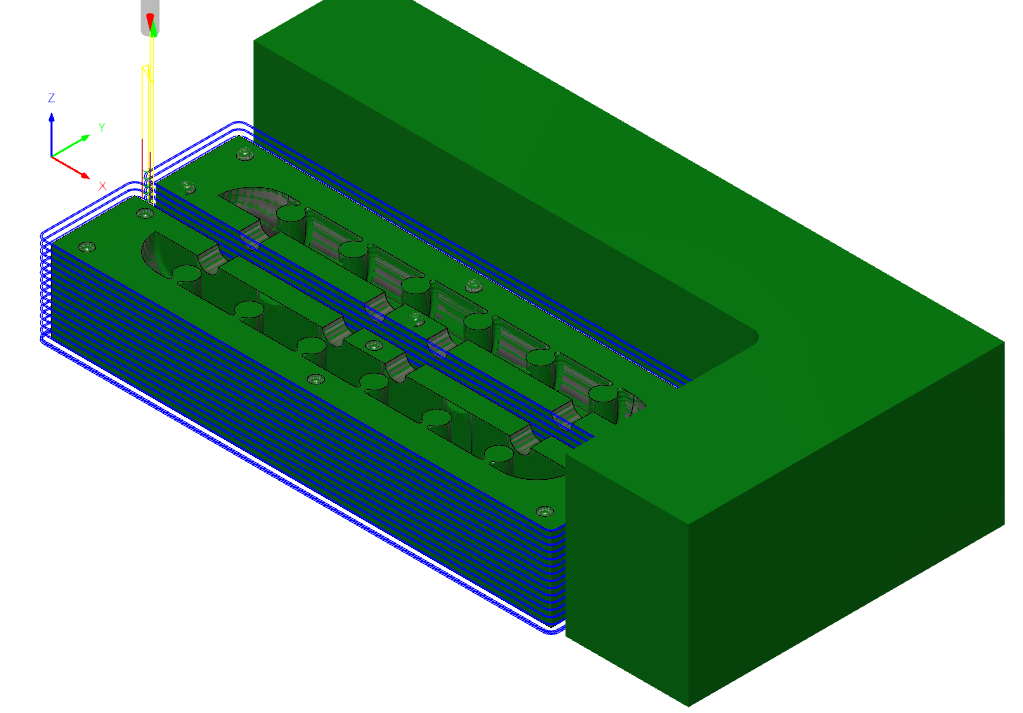
- Check the contour toolpath
- If there is no issue with simulation then Export the toolpath by using Post Process option for each toolpath.
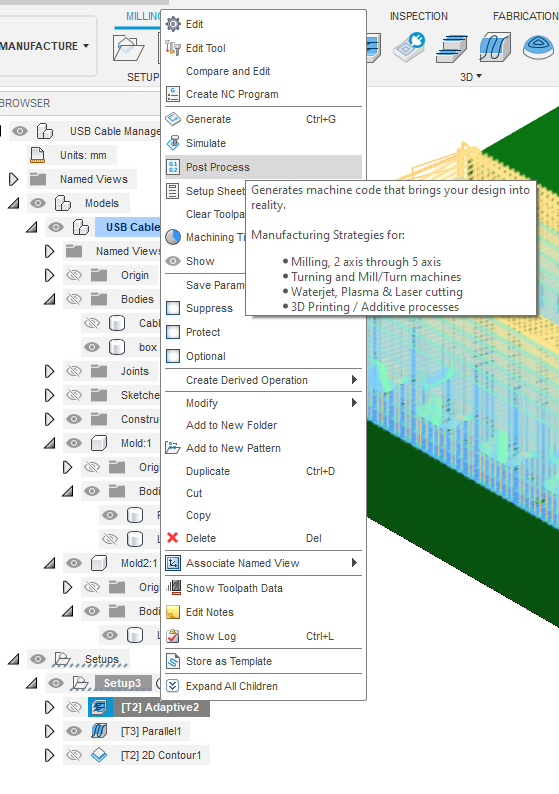
- Select Machine type “Roland RML” >> “MDX-40” then Click Post

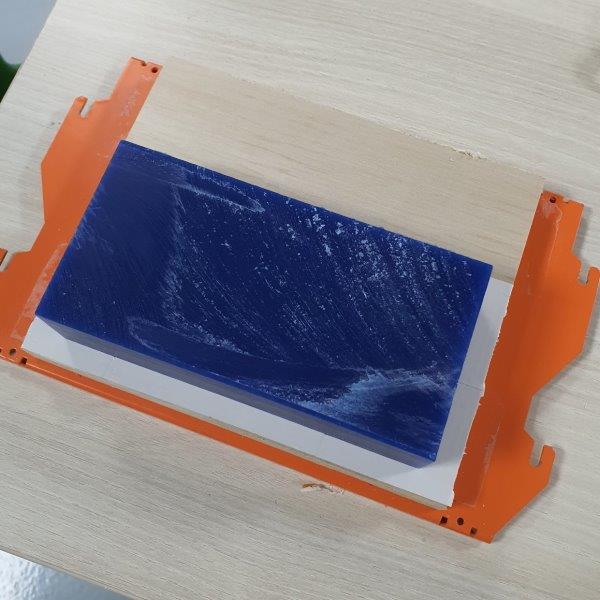
Machining
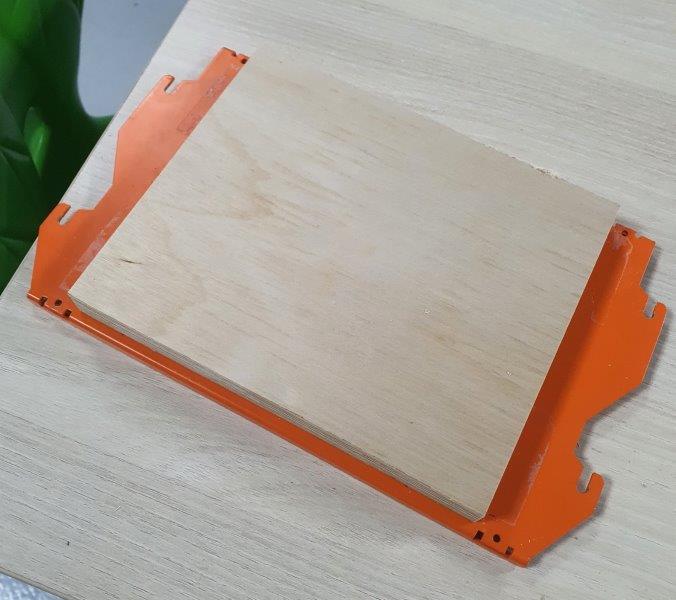
For machining the part I used Roland SRM-20
-
I have added a wood sheet at top of bed for safety
-
Use double sided tape to stick the wax on the wood
-
Insert it to the Roland SRM-20 Machine and Start milling. For more details how to use the machine just follow the instruction in Electronics production. First Start with Adaptive toolpath, Then parallel toolpath and finally contour toolpath.

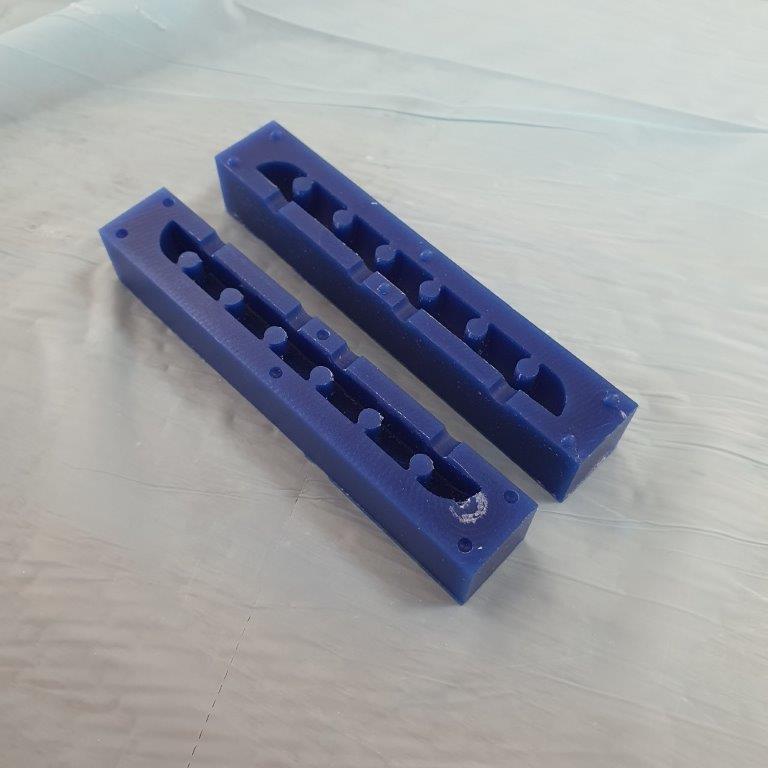
- Remove the part for the machine and you should get nice and clean molds.
Casting
For the Casting I’ll use Dragon Skin 30
Warning: You must read the safety Datasheet before using this material
Safety: Use in a properly ventilated area (“room size” ventilation). Wear safety glasses, long sleeves and rubber gloves to minimize contamination risk. Wear vinyl gloves only. Latex gloves will inhibit the cure of the rubber. www.smooth-on.com
Follow the instruction in the back of the box
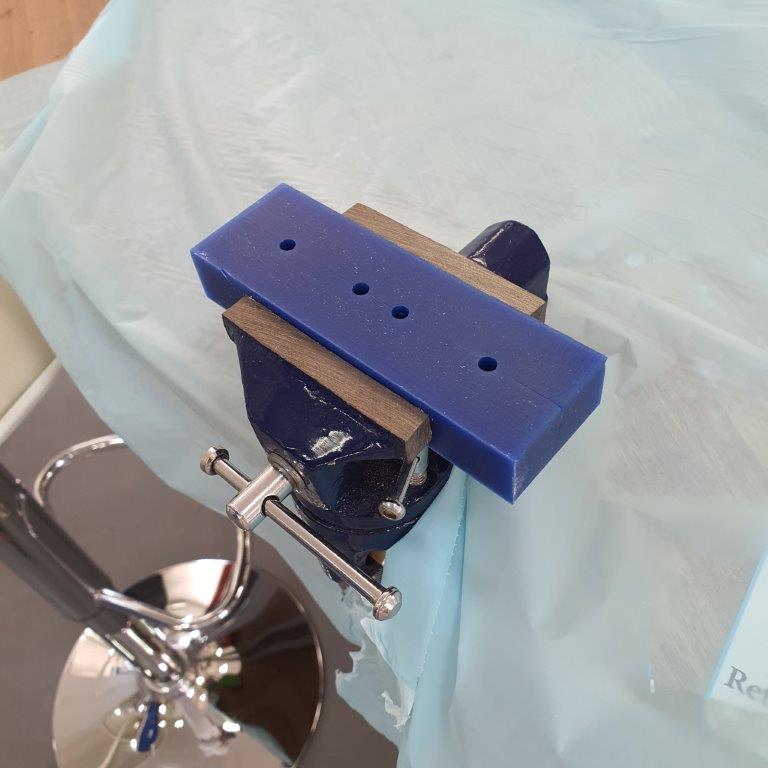
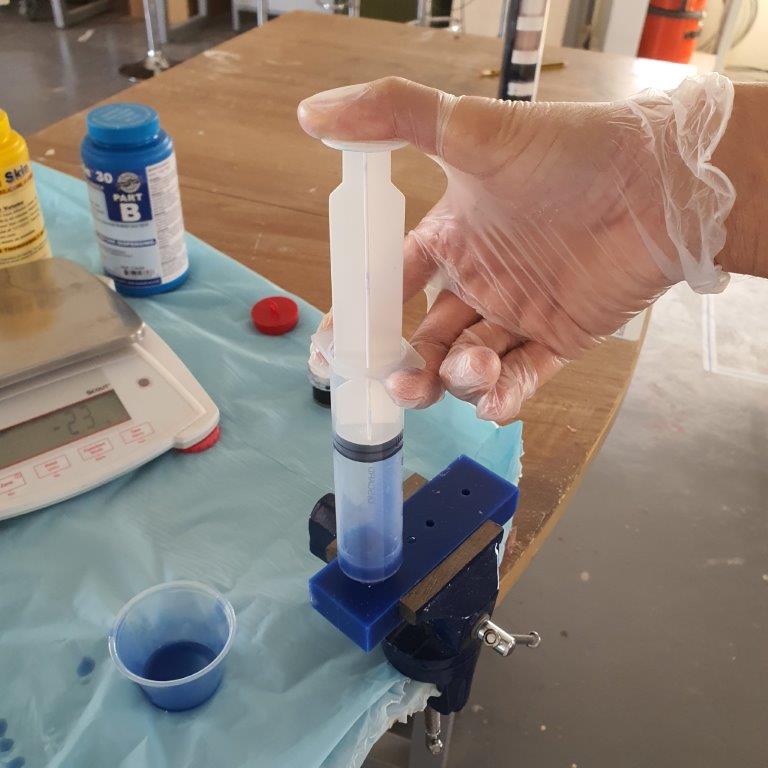
- Use vise to hold the molds together
- Mix equal amounts of liquid A and B
- Also we can add some color
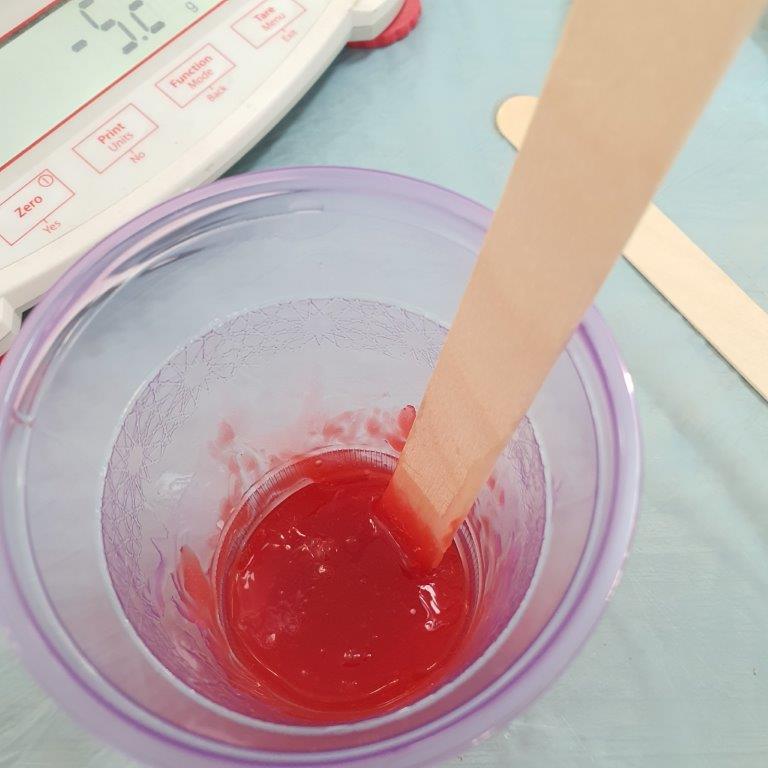
- Pour the mix in to the mold
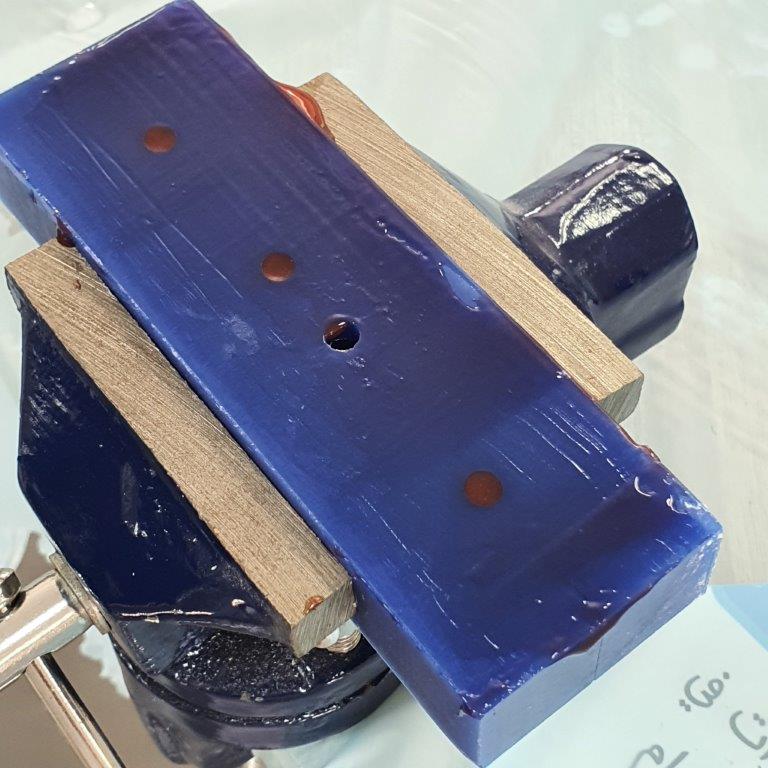
- Let it Dry for 24 hours and open the mold
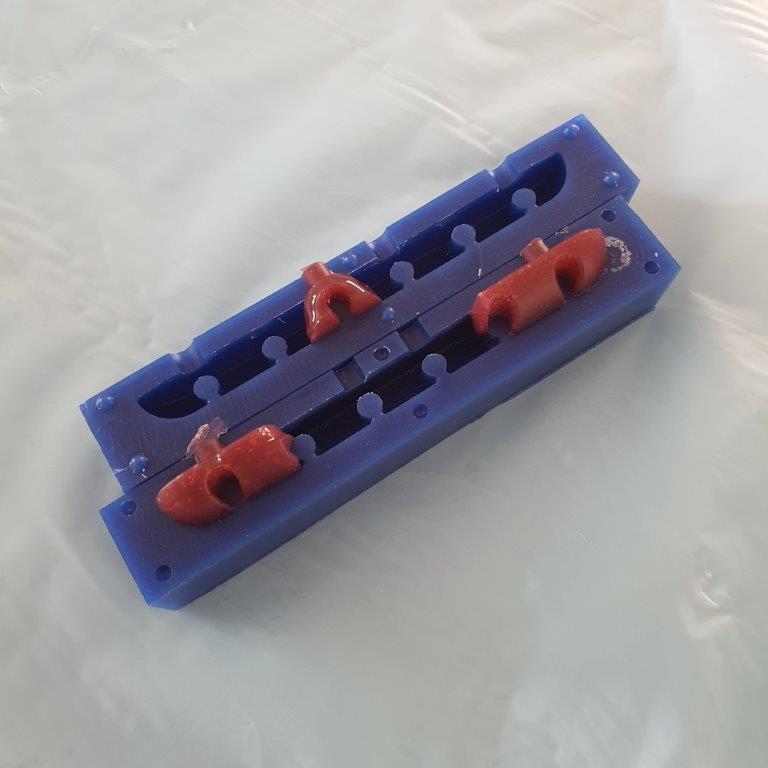
- From the result we can see that pouring from the cup doesn’t fill all the gaps in the mold. So for that will try to use syringe to force the mix to fill the gaps
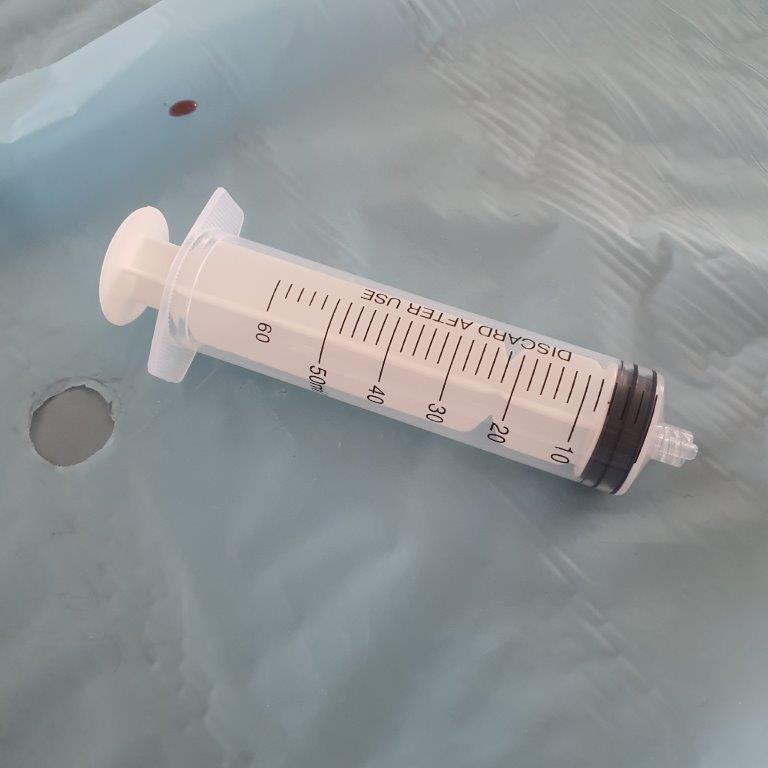
- Will repeat the mixing and coloring steps and will use the syringe to fill the mold
- After 24 hours will open the mold and check the part

- Final part
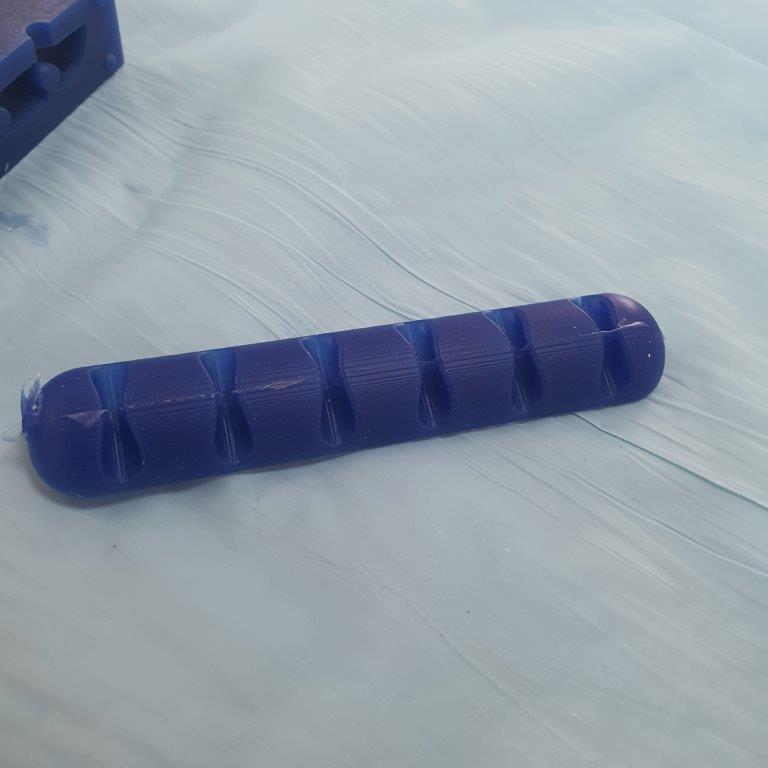
I’m so happy for final result, because I learned so many thinks in this project