8. Computer Controlled Machining
This week I worked on designing, cutting and assembling a bookshelves.
Group assignment:
Test runout, alignment, speeds, feeds, and toolpaths for your machine Document your work (in a group or individually)
For the Group Work please check the Group Page for more details.
Individual project
Make (design+mill+assemble) something big
For this project I have used the following tools:
- ShopBot PRSalpha
- Fusion 360
Research
Before Starting this project, I did a research how to make bookshelf and I found very nice tutorials.
- Fusion 360: Bookshelf Tutorial - Part 1
- Fusion 360: Bookshelf Tutorial - Part 2
Design
-
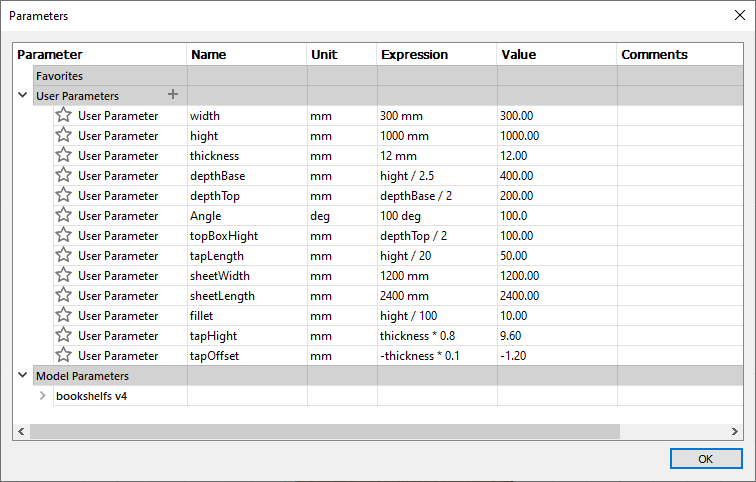
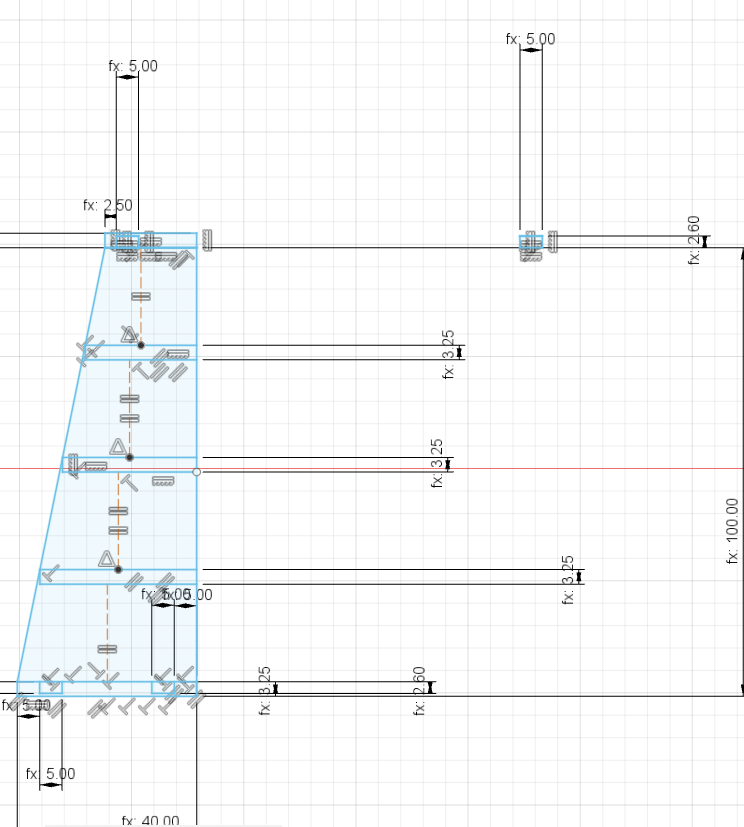
Start with defining the parameters
-
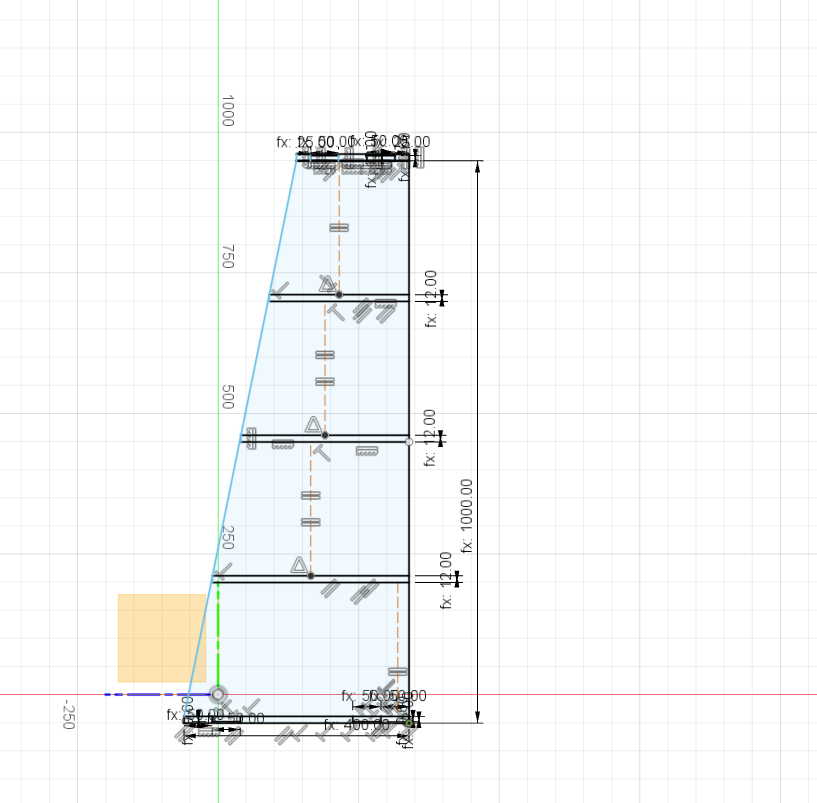
Create side sketch
-
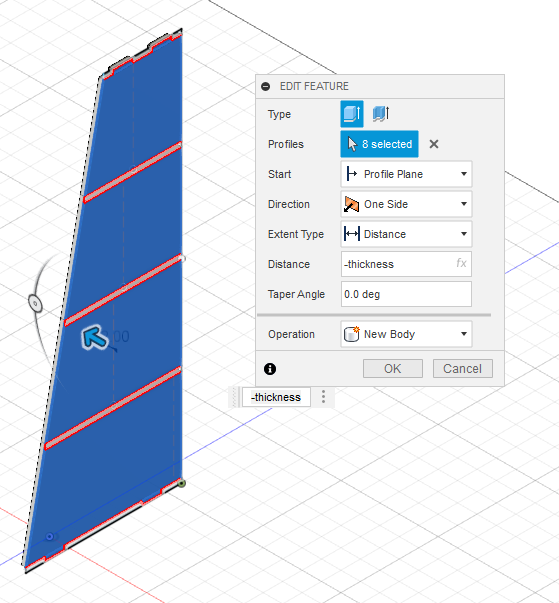
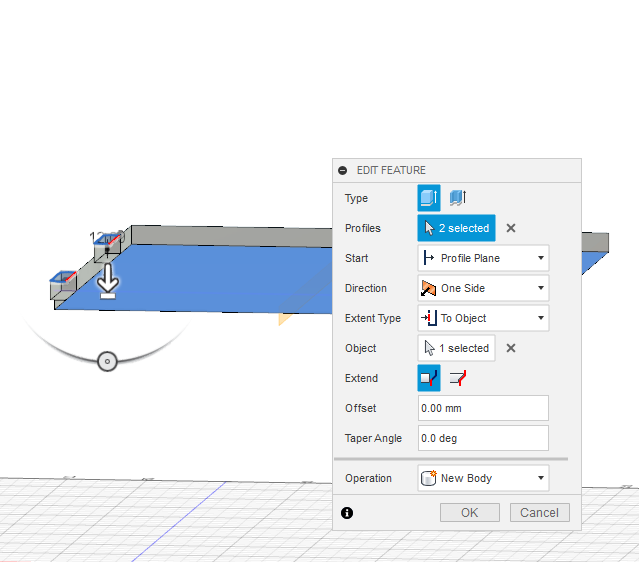
Extrude Side Sketch
-
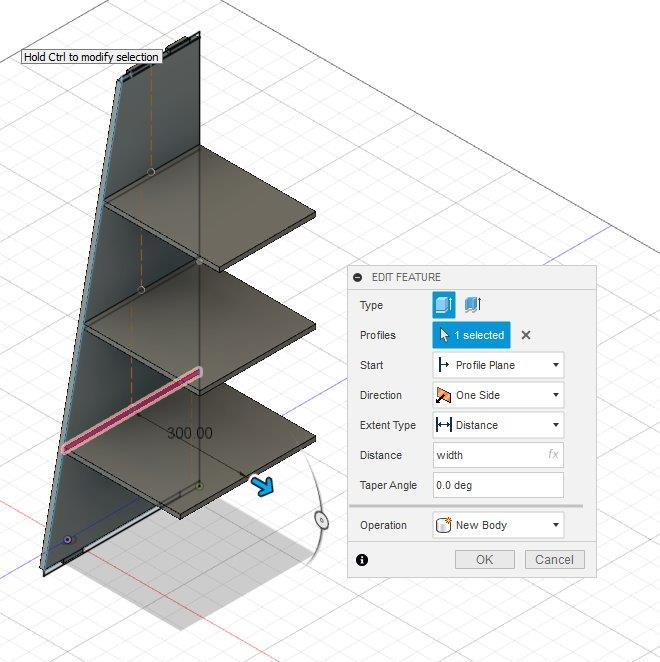
Extrude Shelves
-
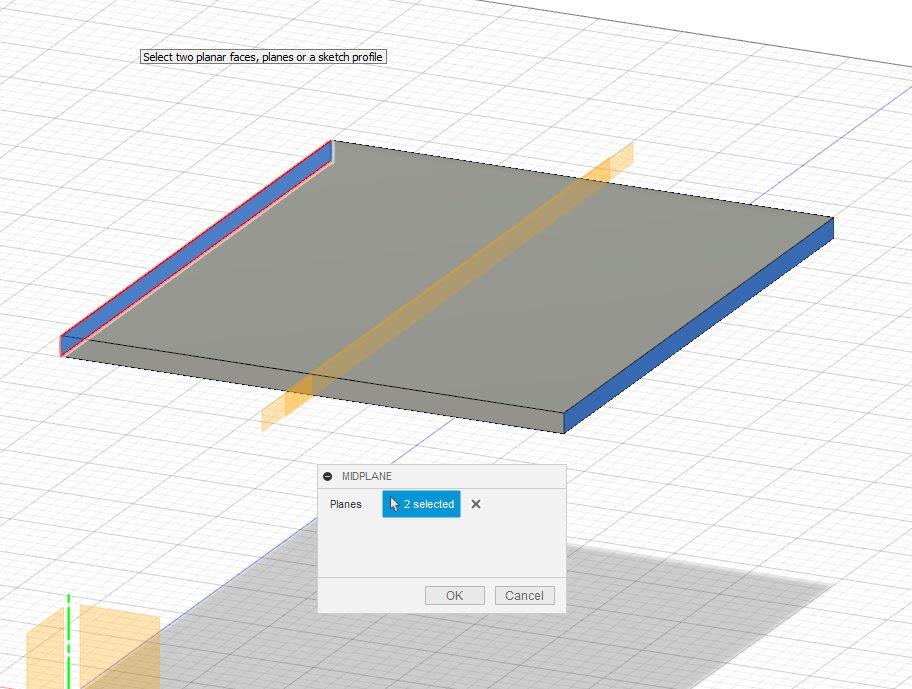
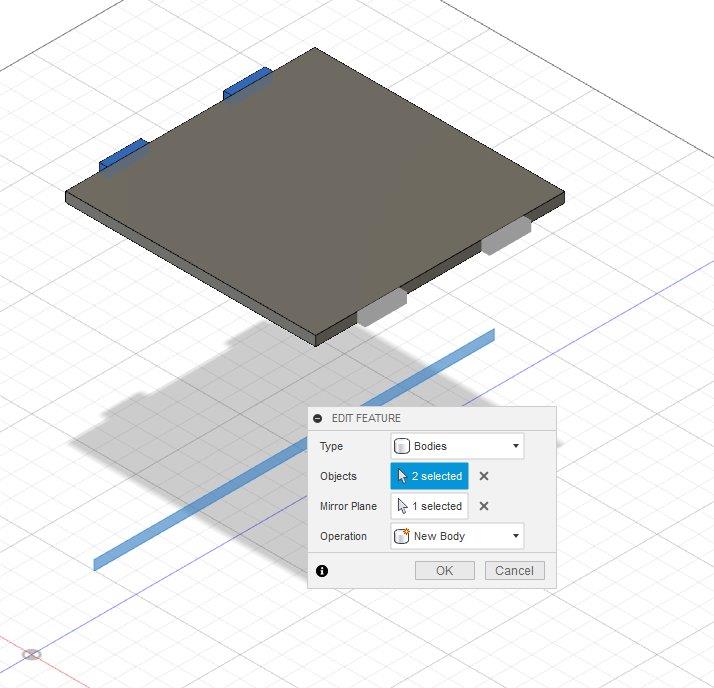
Select one of the shelves and create Midplane
-
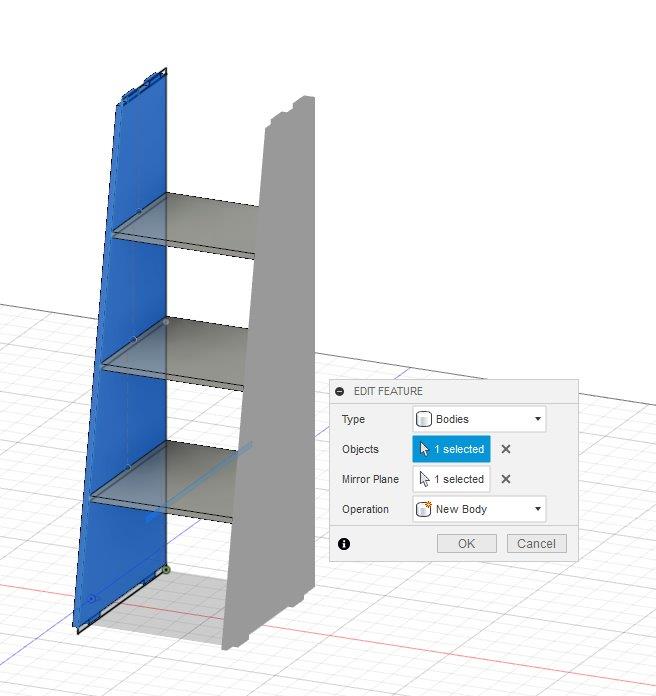
Select side panel and create mirror around the midplane
-
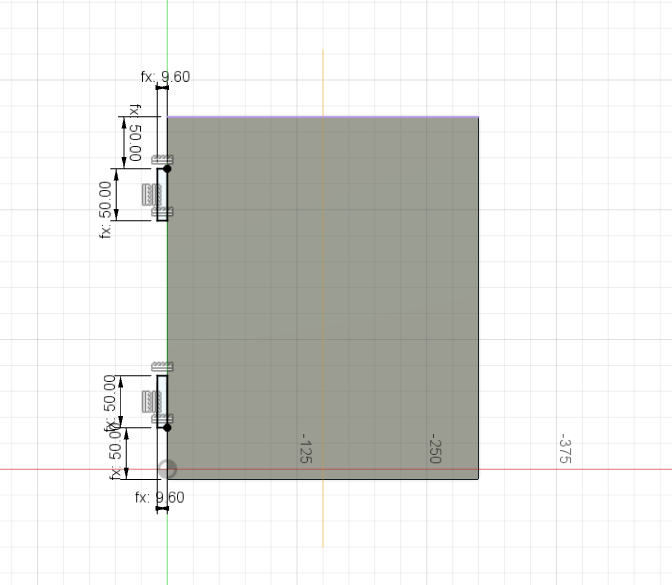
Select one of the shelves and create new sketch for the tap
-
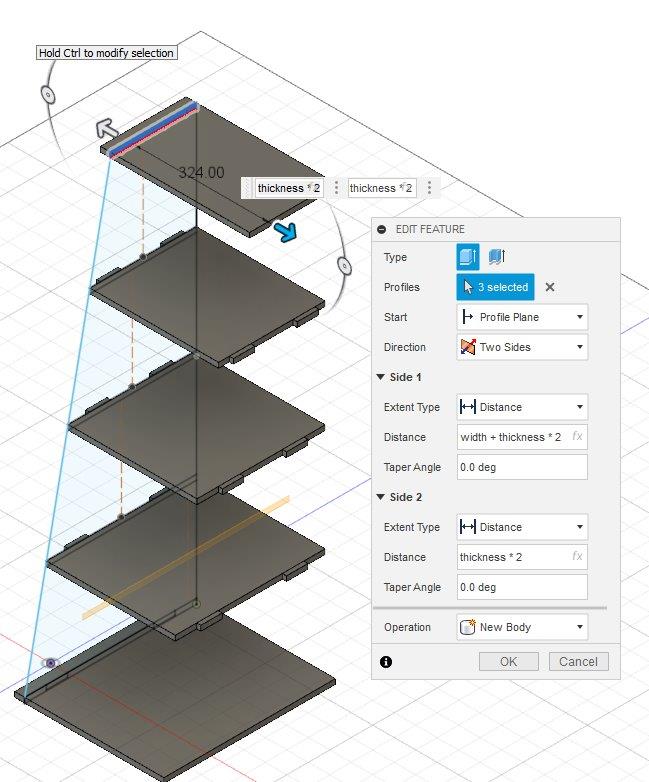
Extrude the tap sketch to the other side of the shelf
-
Mirror the taps to the other side of the shelves
-
Repeat the taps steps for each shelf

-
Extrude Top and Bottom panels
-
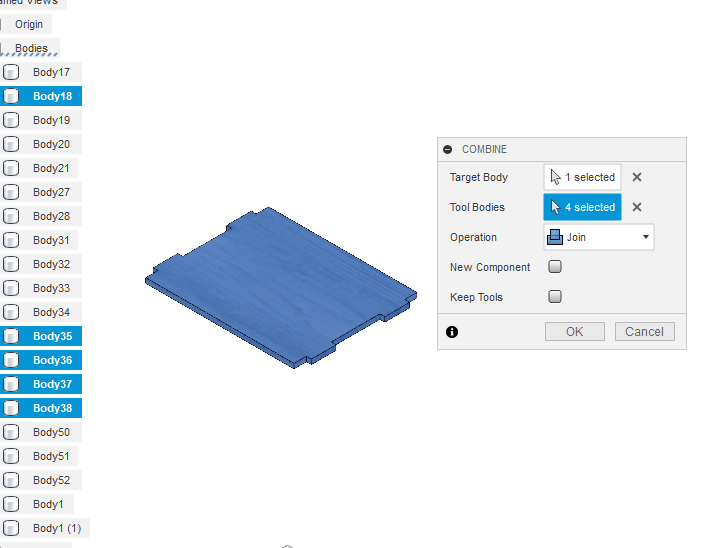
Combine taps and with each shelf
-
Use the Combine tool to create pockets
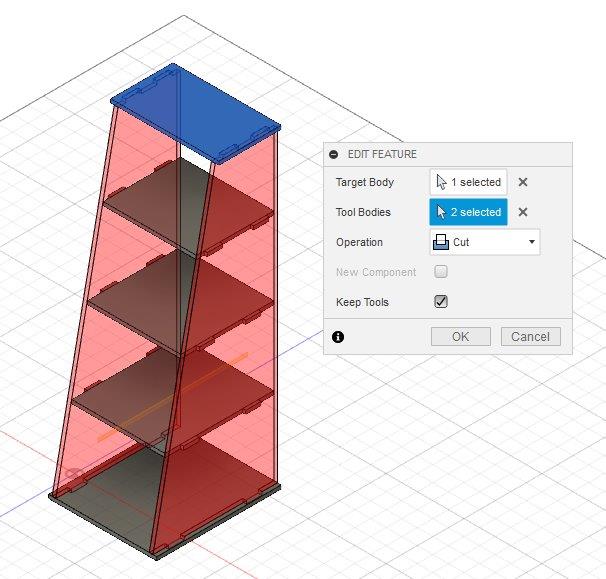
-
Change Appearance
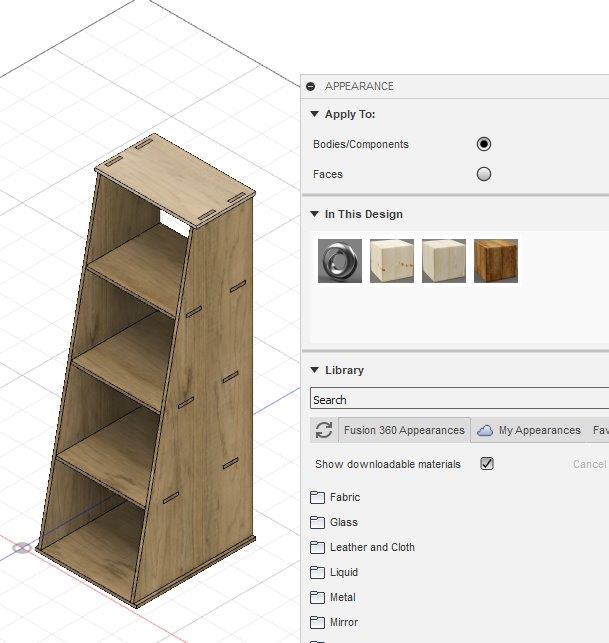
-
Create new box for the plywood sheet

-
Select all bodies, right click and create components
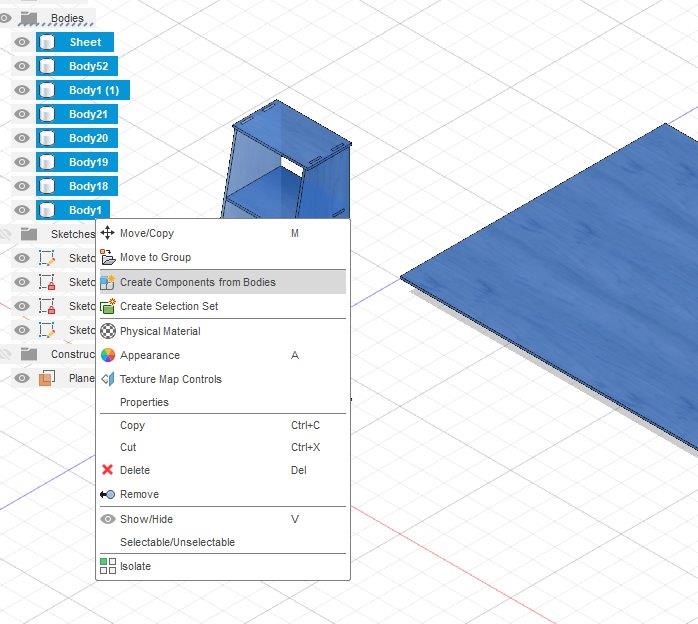
-
Laydown the components in the plywood sheet
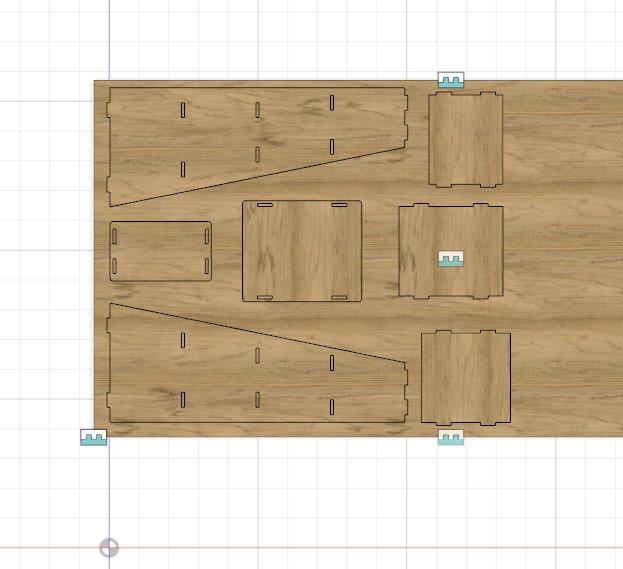
-
Click Press Pull and select all pockets to offset
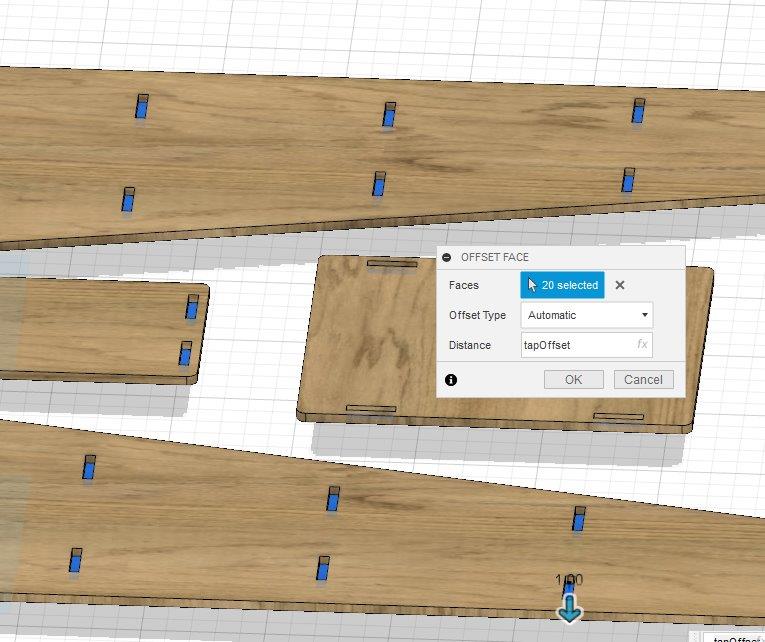
-
Create new sketch and select all components faces
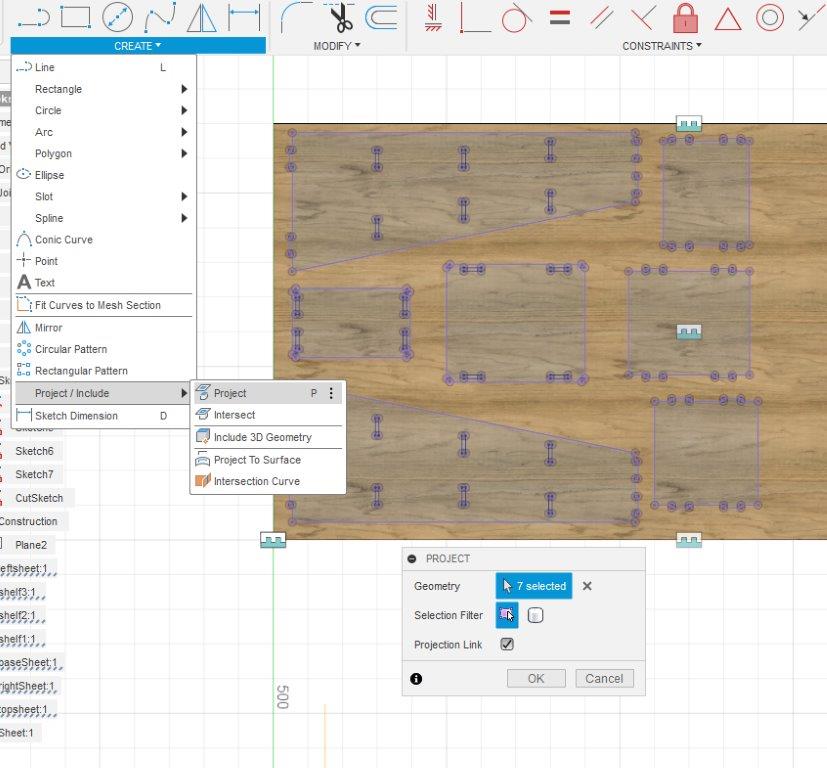
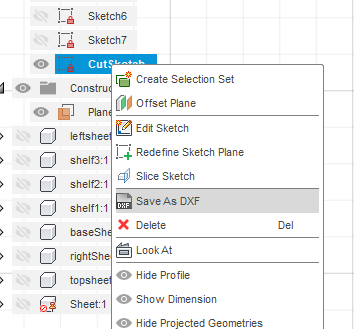
-
Export the new sketch as DXF
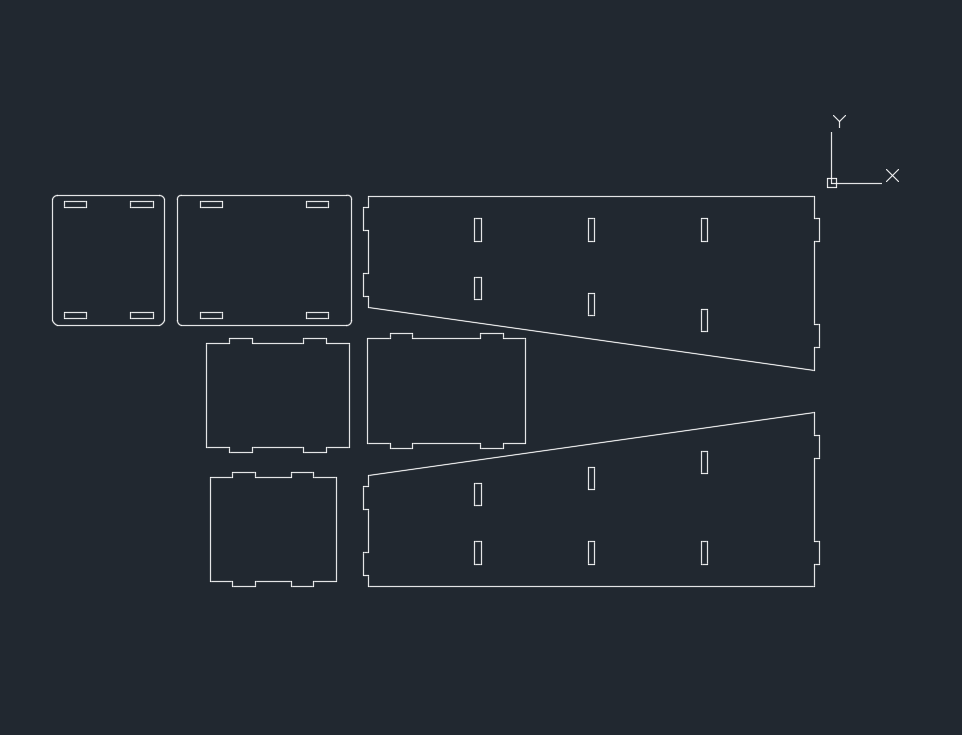
-
Check the DXF file and make sure there no design issue
Laser Cutter
- Before start using Shopbot machine check your design with the laser cutting in the smaller scale
-
check the size and thickness of the material
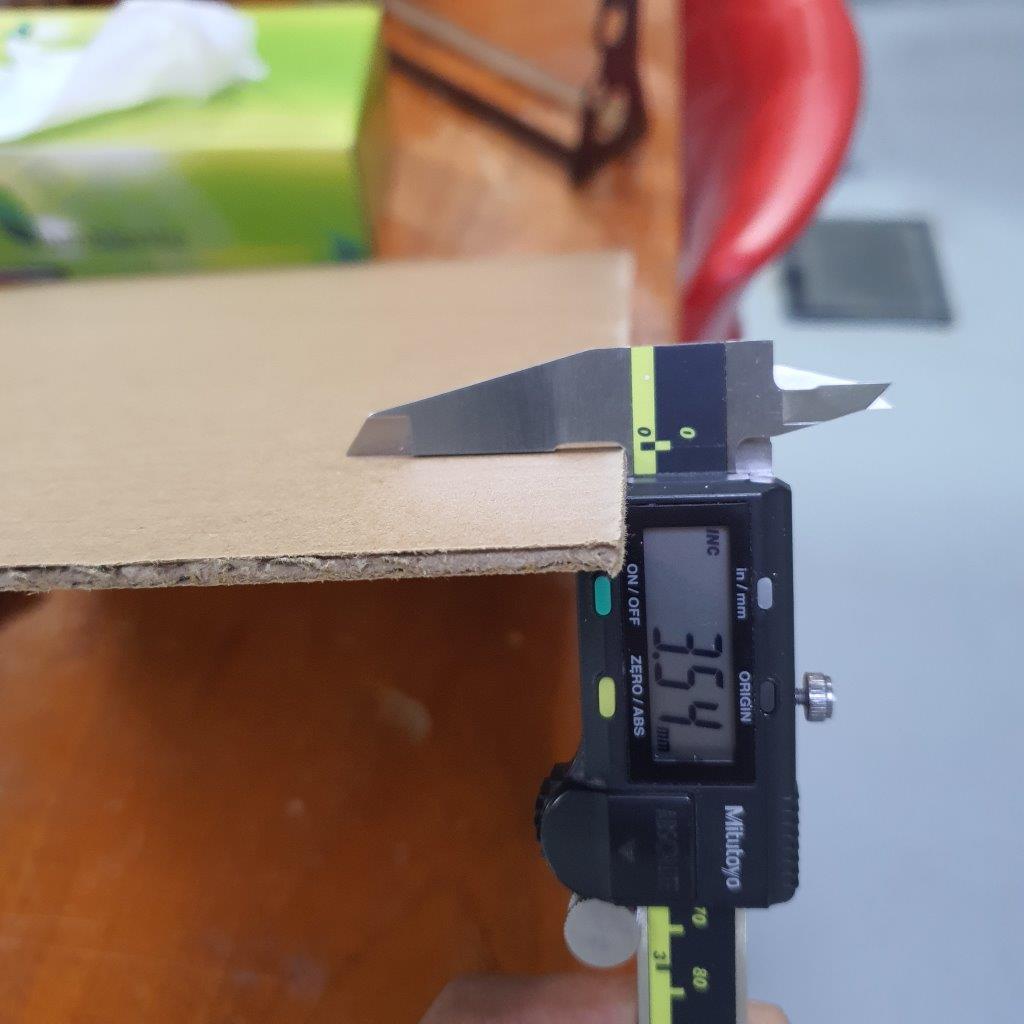
-
Apply the changes in your design and create a new DXF file, but when I change the size of the design, the parts moved in deferent places.
To fix this issue use constraints in the sketch

-
Cut the parts by laser cutting machine
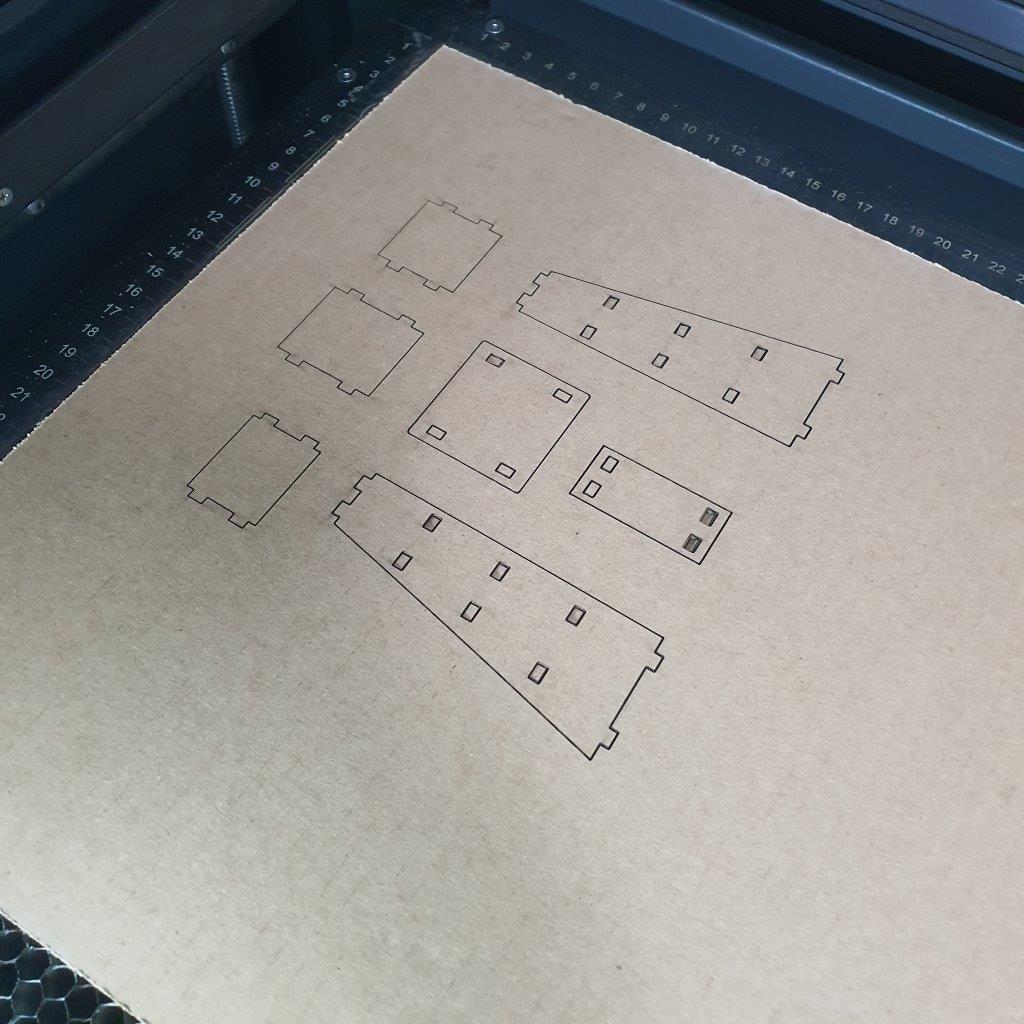
-
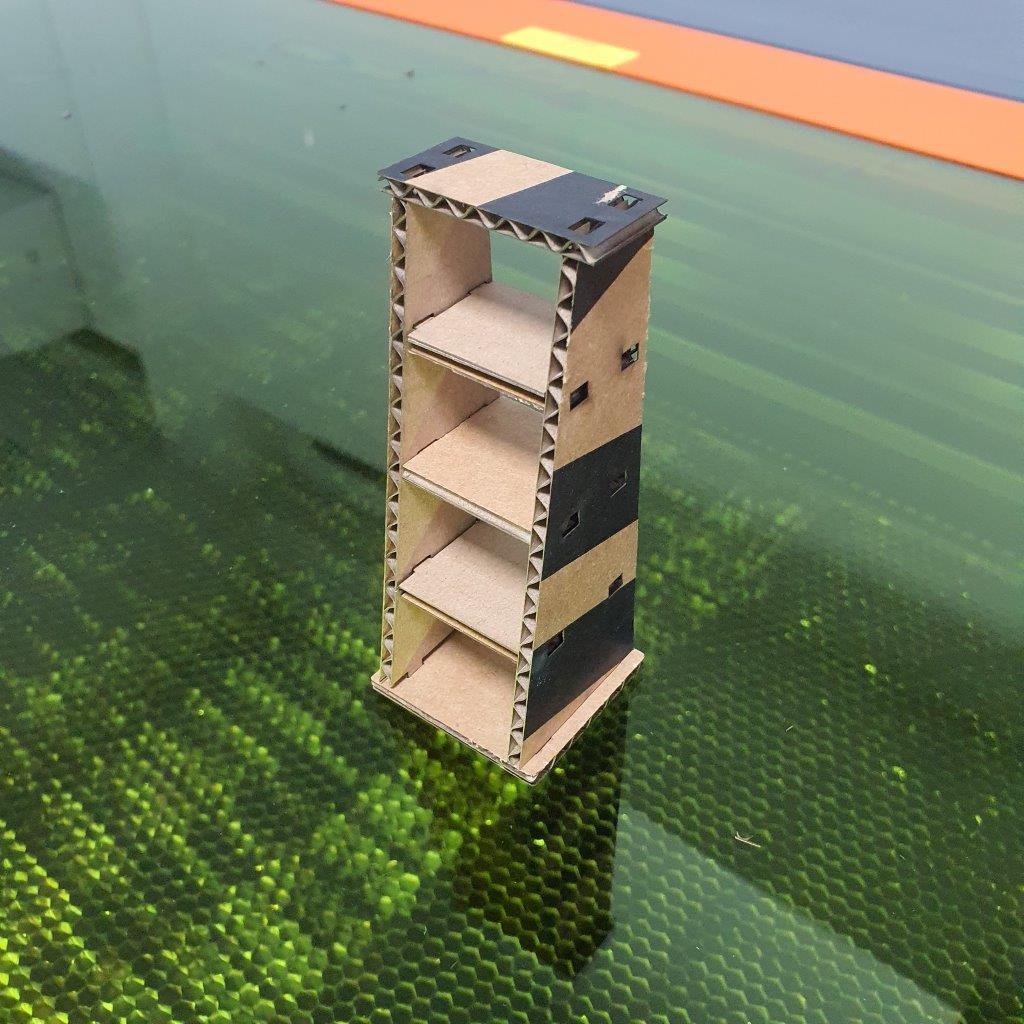
Assemble the parts together
Toolpath
In order to use the ShopBot PRSalpha we need to generate the toolpath
For the toolpath I’ll use V-Carve Software
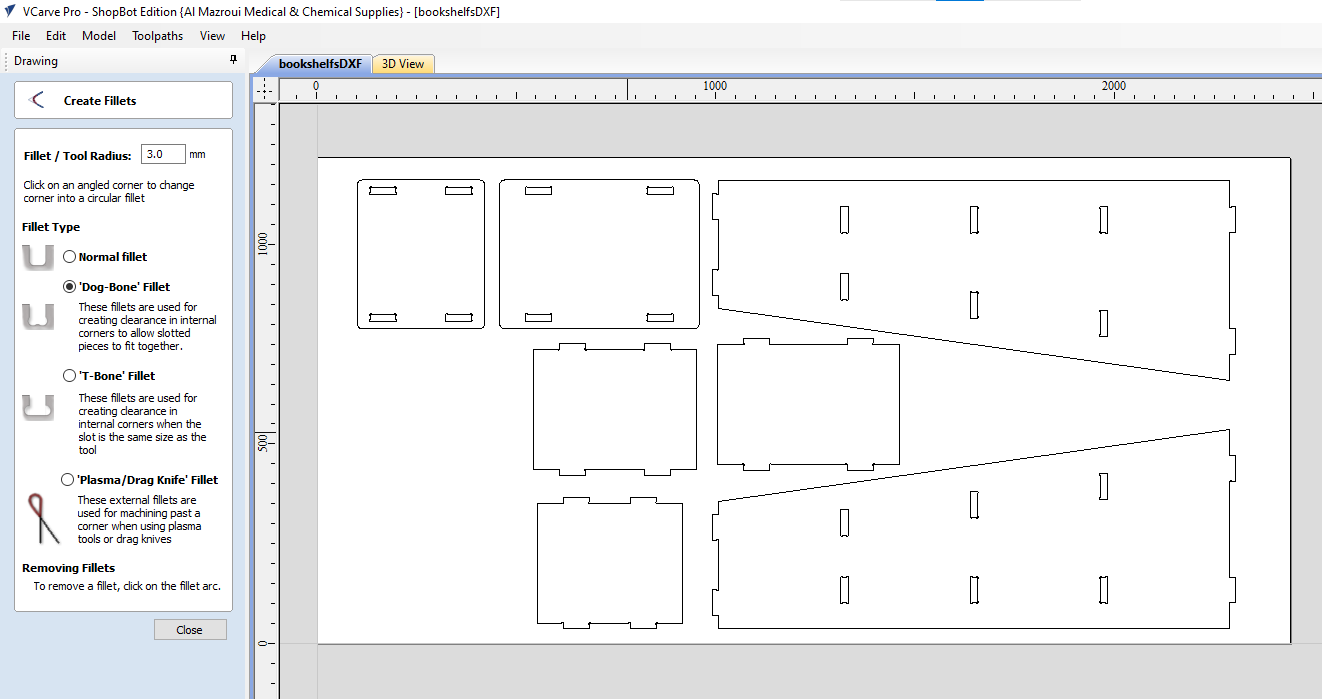
Open the DXF file with V-Carve Software and use Dog-Bone Filet tools for inside corner
highlight the pockets and select the pockets toolpath
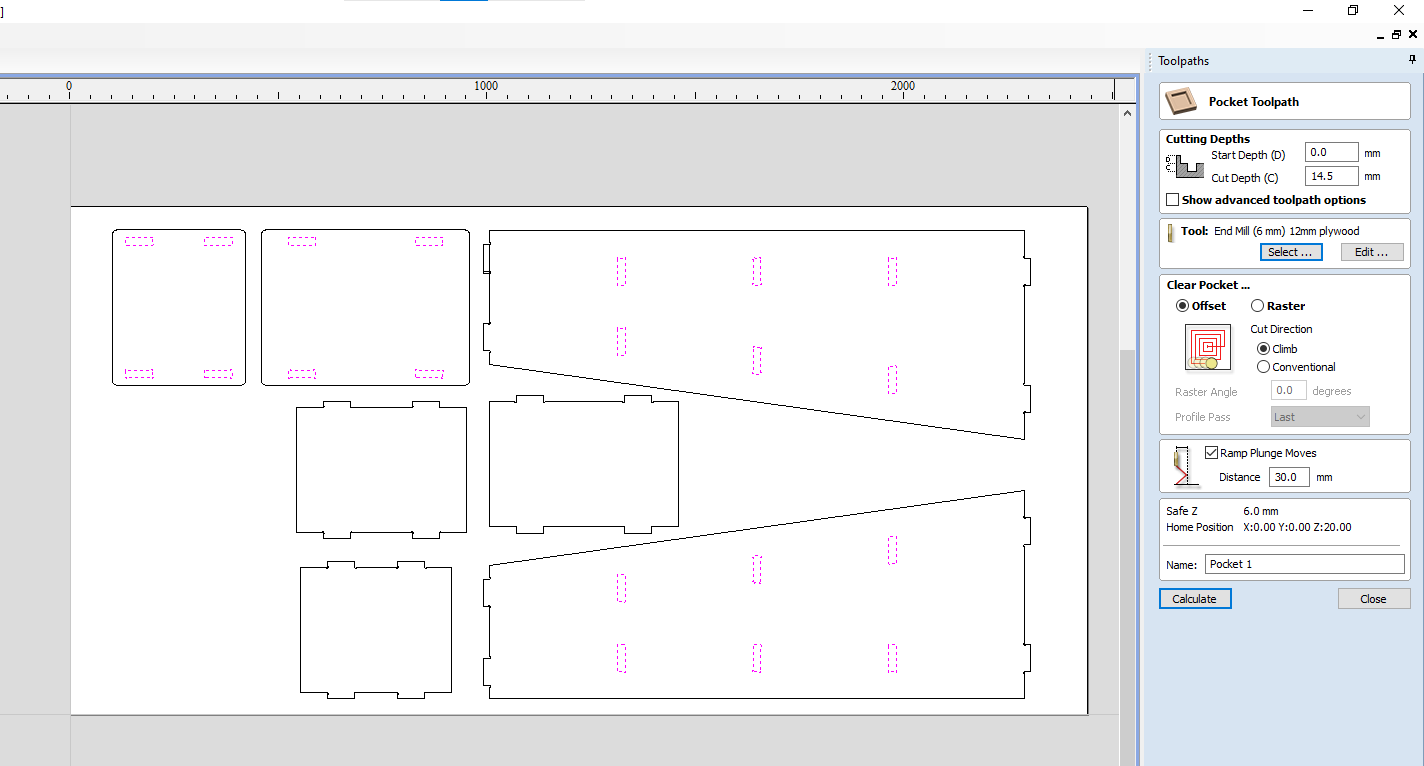
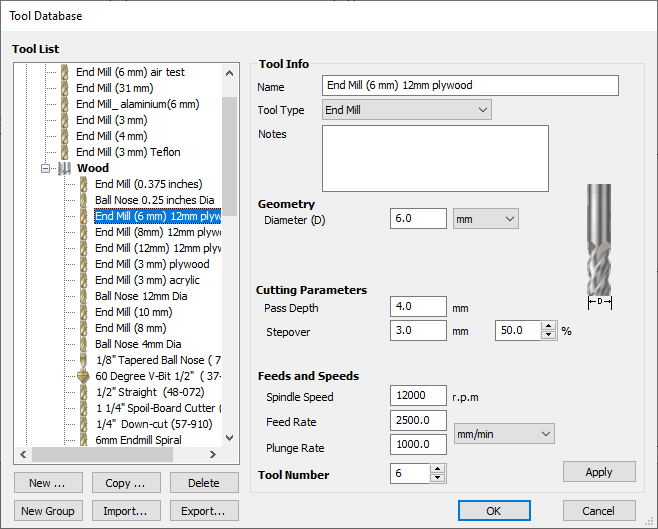
Select End Mill 6mm tool
Click calculate and then close
Now highlight the out line and select 2D toolpath profile. make sure to add tabs also.
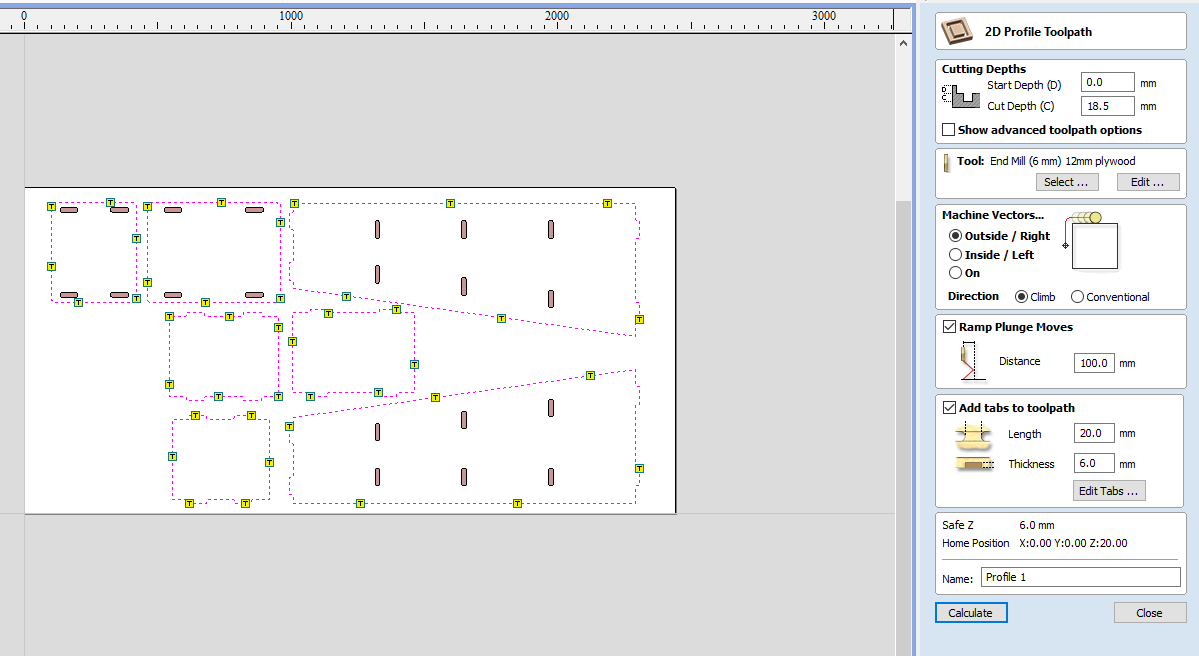
Click calculate and now toolpath is ready for milling.
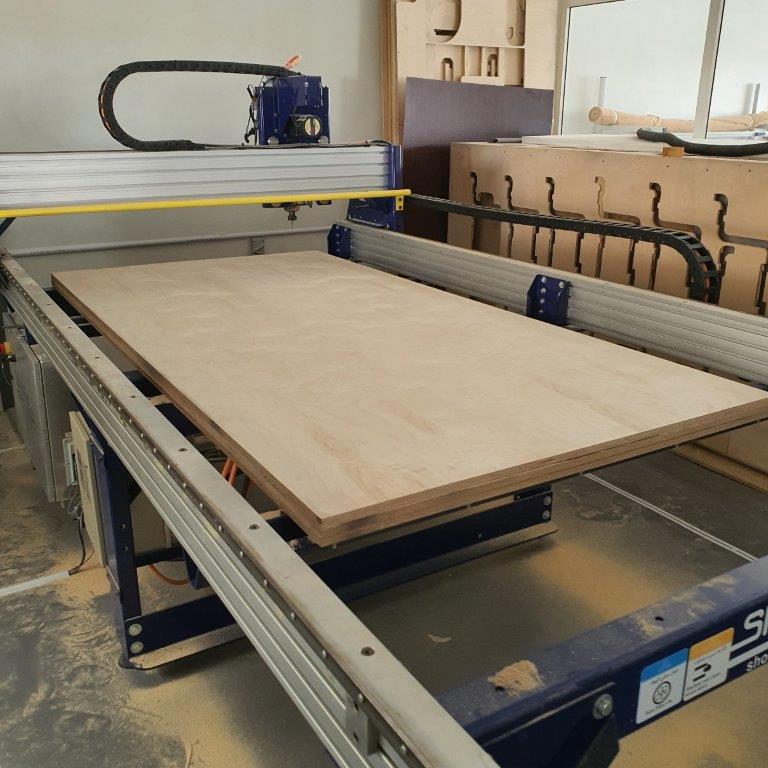
Milling
For the milling I have started with loading 18mm plywood in to ShopBot PRSalpha and screws to hold it in place
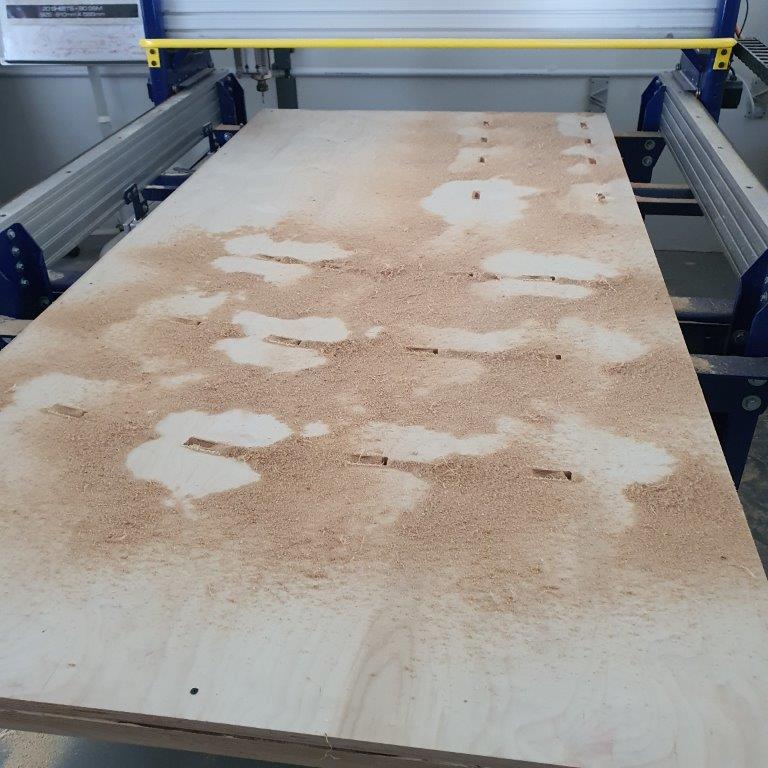
I cut the pockets first
Then I cut the outer line
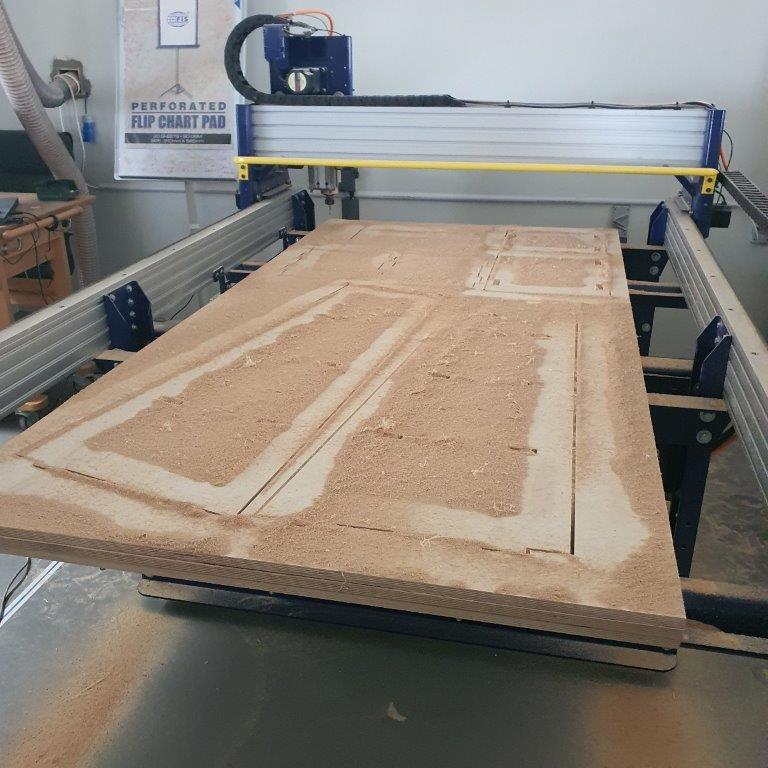
Then cleaning by vacuum machine
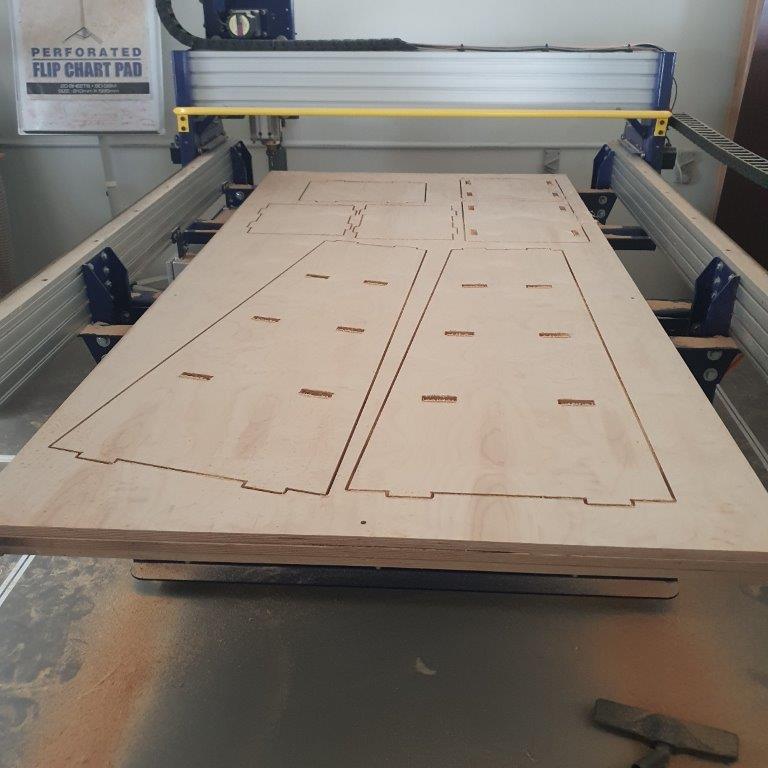
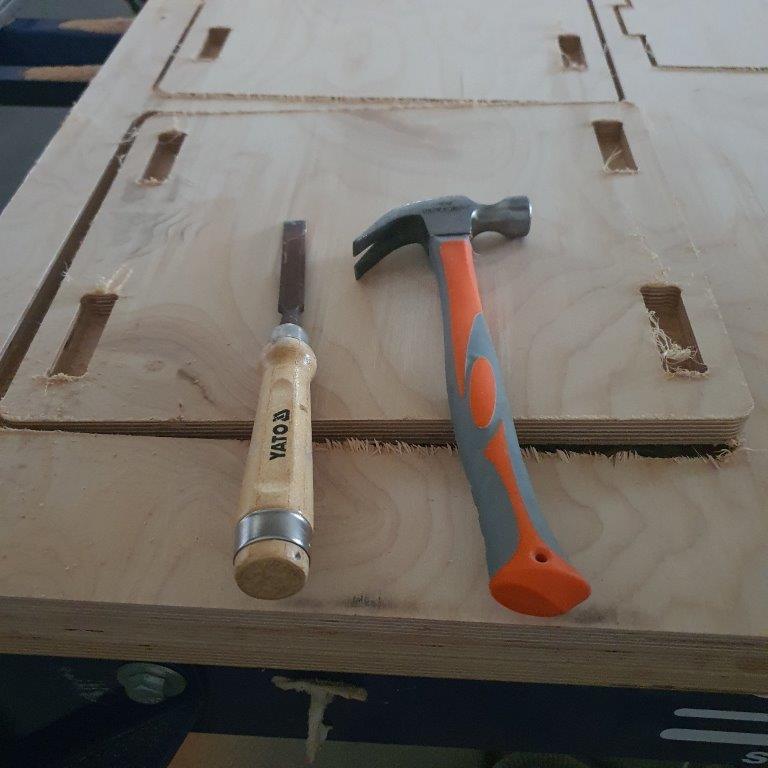
Use Hummer and chisel to remove the parts
Assembling
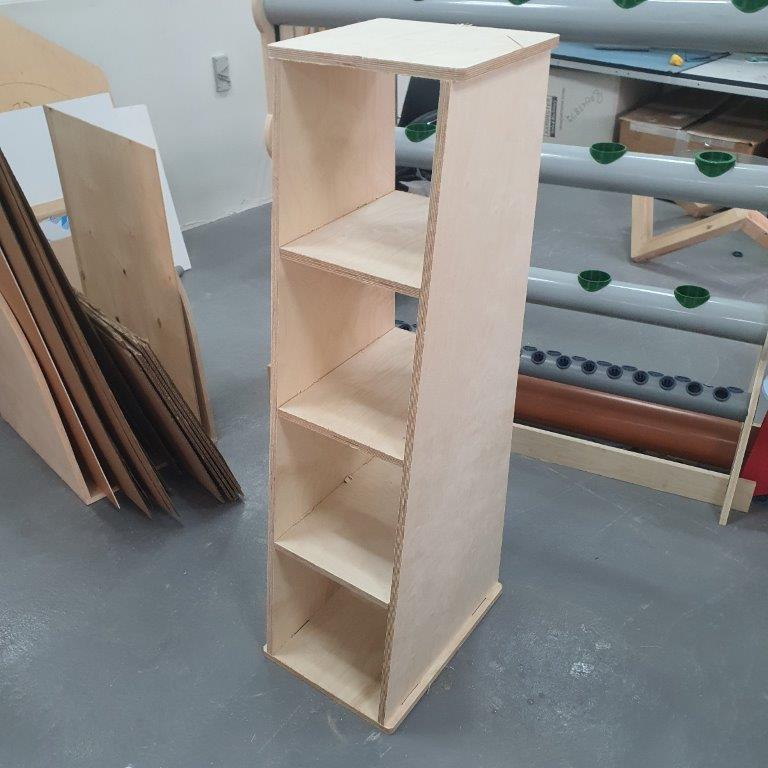
After removing all the parts from the CNC machine. Now it ready for assembly
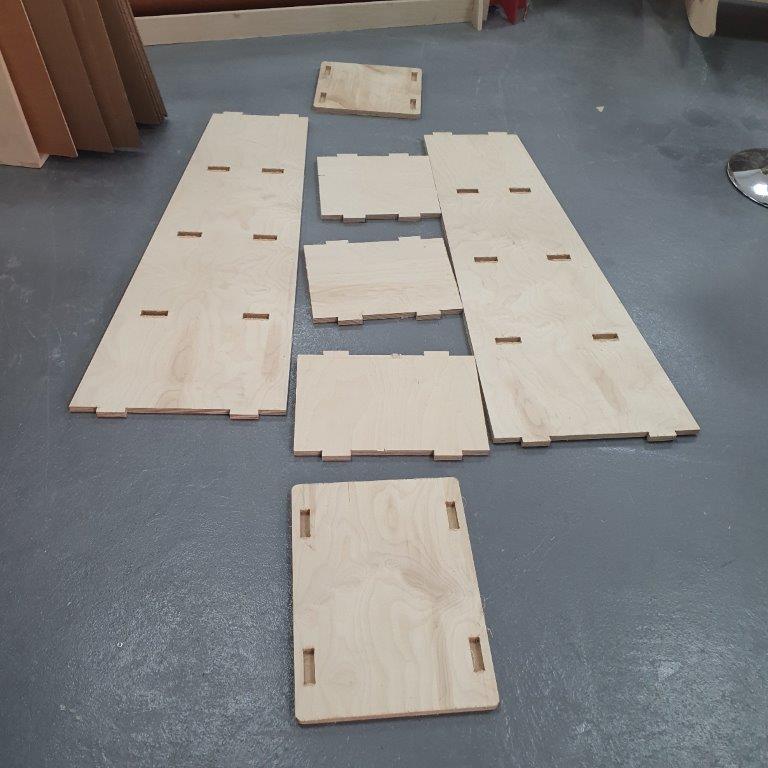
Here is the bookshelf after assembly