11. Molding and casting
This week I designed and created magnet tiles by molding and casting.
individual assignment: design a mold around the stock and tooling that you’ll be using, mill it (rough cut + (at least) three-axis finish cut), and use it to cast parts
In group work, I did demonstration of group assignment tasks and documented them in the Group assignment page.
1. Dogs
Design
This time, I used Adobe Illustrator to make finished cast design, sourcing original illustration from Adobe stock.
The illustrations were exported in SVG format and uploaded to Fusion 360. First one was shown smaller than expected in Fusion 360. Then I rework on Illustrator to make it larger and exported it in SVG ,and upload it to Fusion.
Illustrator sketch

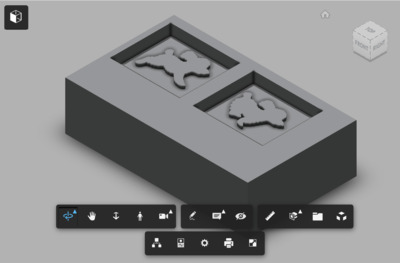
Fusion
This is a finished design which was exported in STL format.
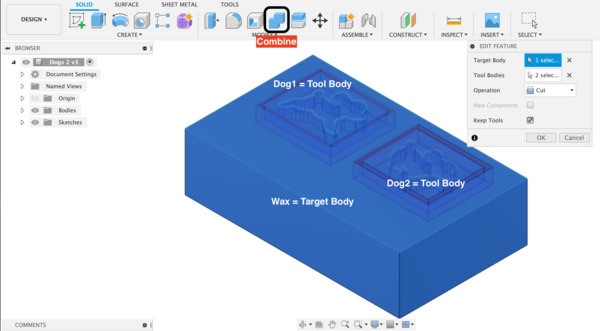
Fusion operation learned this week : Combine - Perform boolean operations between bodies
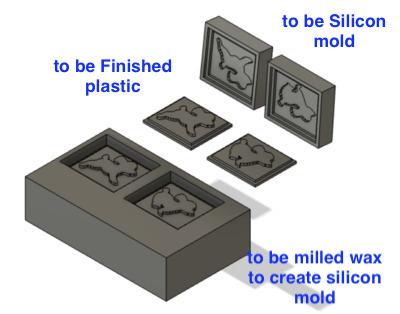
I did my work in Fusion by following steps, 1. Design finished cast (positive) 2. Design Silicone block 3. Cut finished cast from Silicone block by using Combine to design Silicone mold (negative) 4. Design Wax block 5. Cut Silicone mold from Wax block to design wax mold.
I learned how to cut bodies by using “Combine” in Fusion.
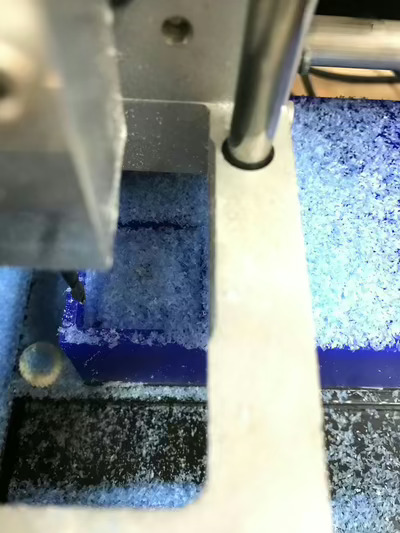
Milling
I used MDX-15 which we used for milling a board. Something new is that we used Modela Player4 for generating g-code and larger end mills.
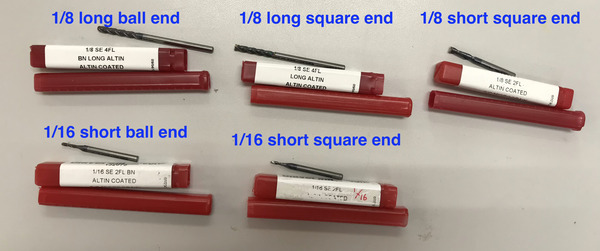
End mill
I chose 1/16 short square end mill and 1/32 end mill( used to mill PCB interior) since my design had narrow and fine expressions.
Modela Player4
Modela Player4 runs on Windows. The PC connected to MDX-15 is using Linux as default. So we need restart the PC and swhich OSs to Windows in start menu when using Modela Player4.
Modela Player 4 step by step screen shots
As a preparation, I put double sided adhesive tapes on bottom of was to fix it on table.

I had some troubles during this milling process.
-
Before starting milling wax, I did milling PCB. PC restarted and looked everything refreshed. However MDX-15 remembered level of Z-axis of PCB. MDX-15 tried to mill that Z level. In order to erase the memory, plug off MDX-15 and also took off USB connector from the PC.
-
First I used default setting of 1/16 end mill for rough cut. Default setting has no overlapping in tool path.
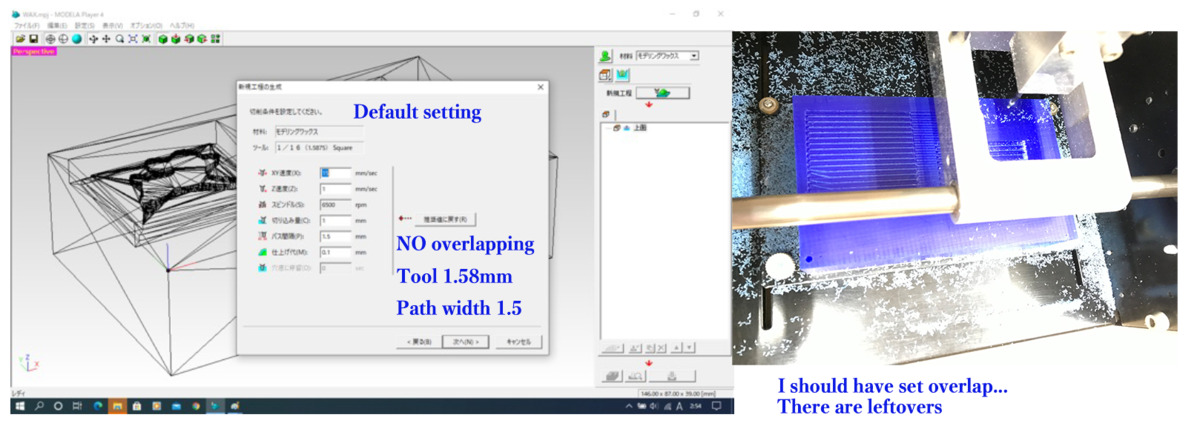
I stopped the MDX-15 and changed setting for overlap. Change tool path width from 1.5 to 0.75. Then did fresh start.

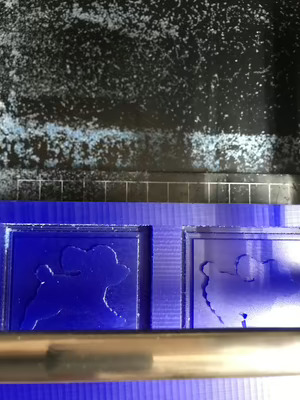
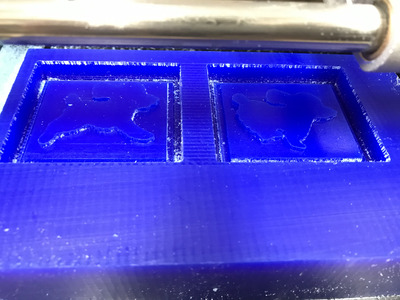
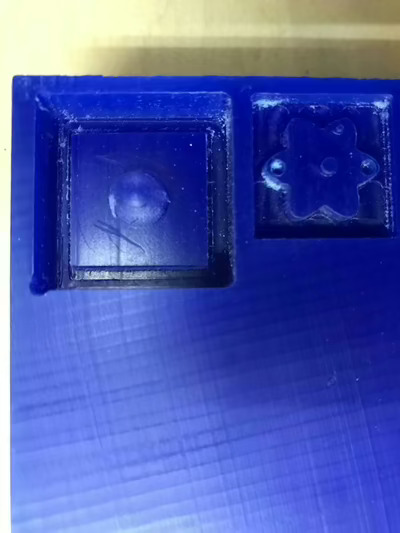
Milling finished
It took about 1 hr and 10 min for rough cut and 30 min for each dog respectively for finish cuts.
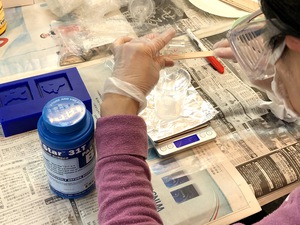
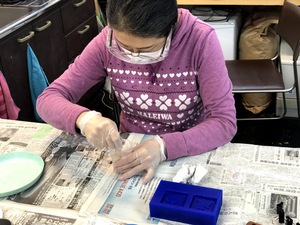
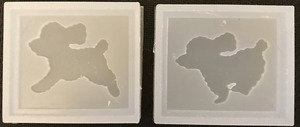
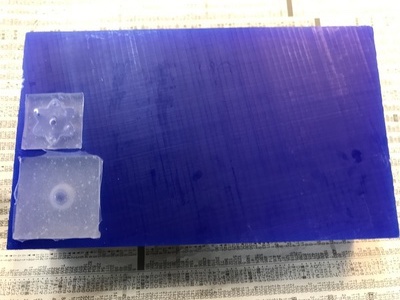
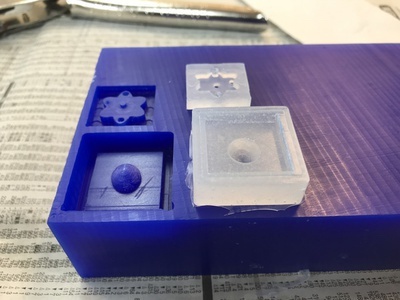
Molding
Silicone rubber : Mold Star 31T - Mix ratio Part A:B = 1:1 in Volume or Weight - Pot life: 5 min & cure time: 23 min - Mix and stir thoroughly
The cure time is estimated in temperature 23 degree. since it was a bit cooler than that, I waited 10 min additionally to set.
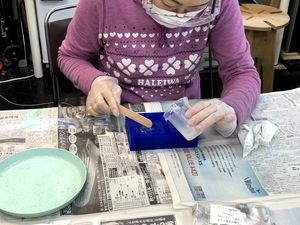
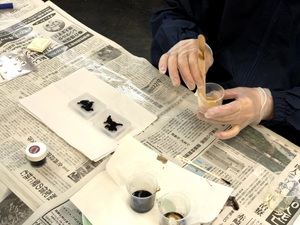
Casting
Urethanes resin : Smooth-cast 320 - Mix ratio by Volume: 1A:1B - Mix ratio by Weight: 100A:90B - pot life: 3 min & cure time: 10 min - color: Off-white
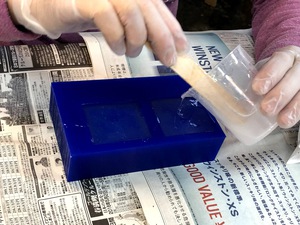
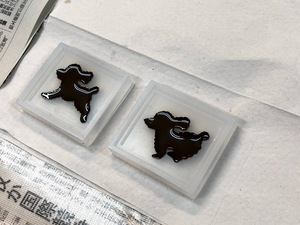
I put a drop of brown colorant to casting materials for dog shape and waited until casting material became hard.
I put a small magnet on each brown poodle.
Then poured off-white(original color) to mold.
It took longer cure time than that on the instruction. I waited additional 15 min.

Finished
8 chocolate-like small magnet plates. Color was not the same, Milk chocolate dark chocolate. It was difficult to adjust a drop of colorant.

Files of Dogs:
2. Charms
Design
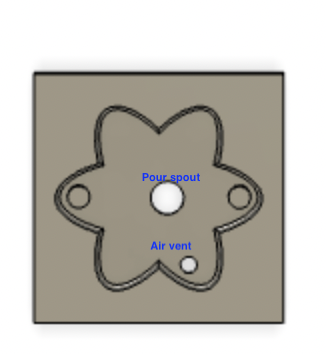
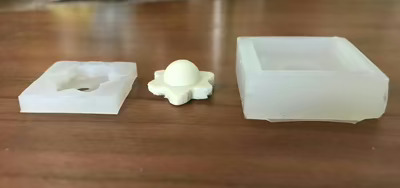
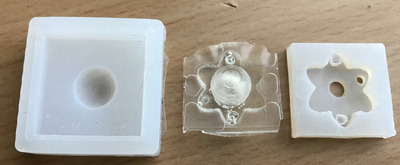
I created a simple design of small charm by Fusion360. I drew a sphere and ellipses.
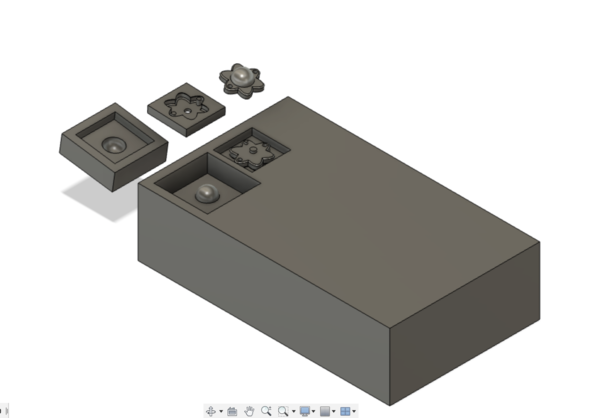
It has an air vent and a pour spout.
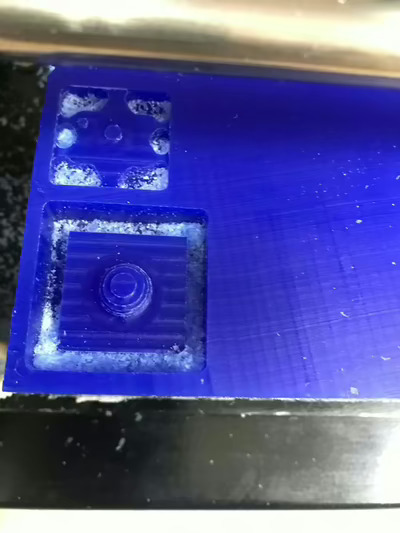
Milling
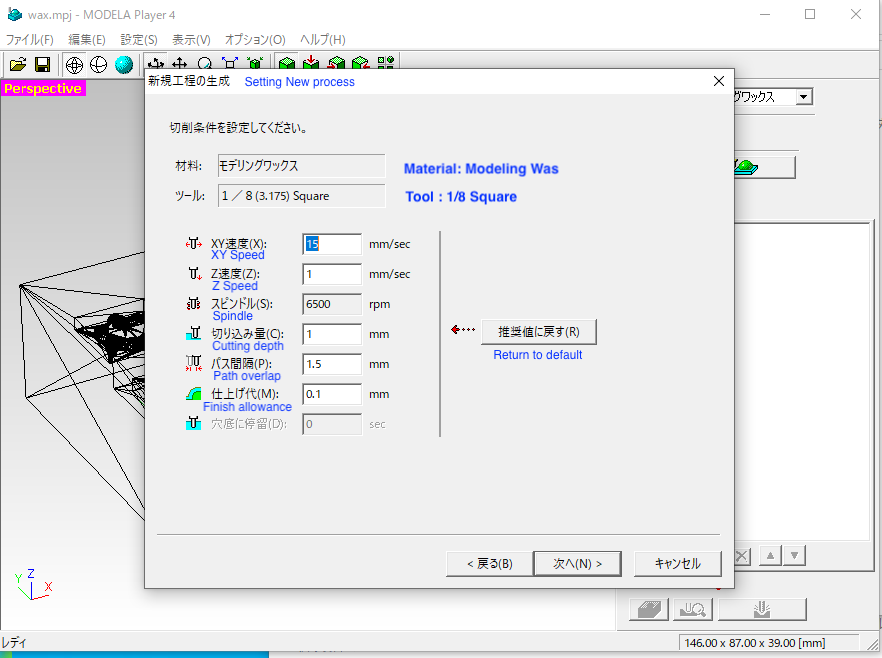
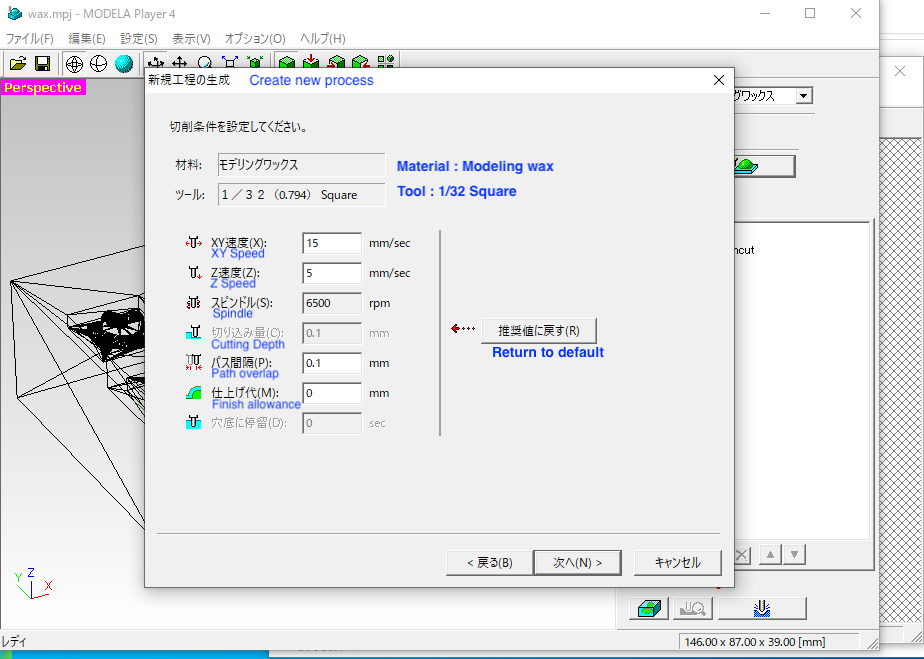
Same as Dogs design, I used Modela Player 4 and MDX-15. I selected 1/8 end mill for rough cut because Charm design had 10mm depth to mill and 1/32 end mill for finish cut since the small design needed fine milling.
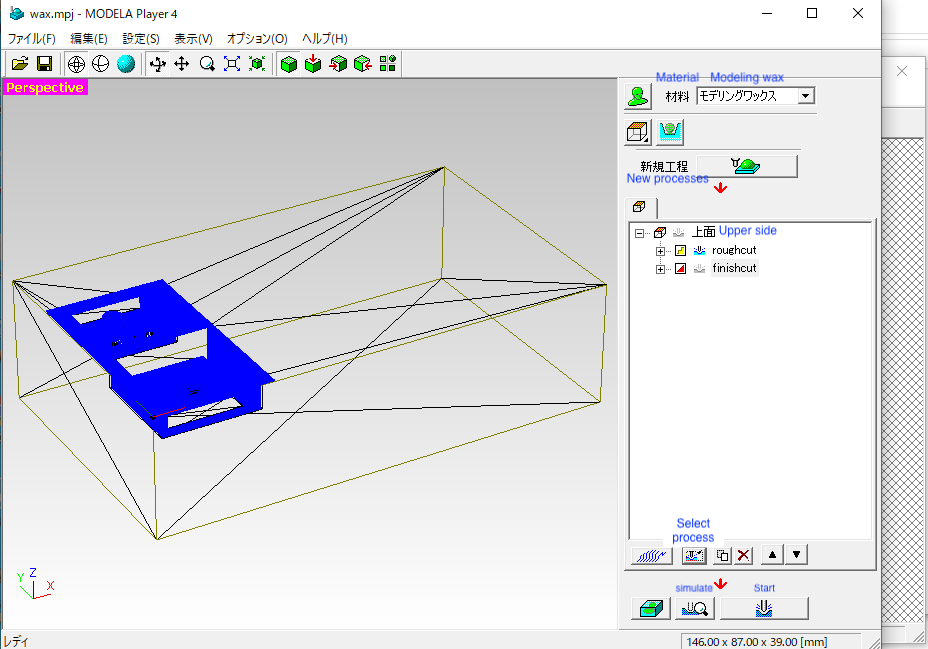
Modela Player 4 setting
For Rough Cut process
For Finish Cut process
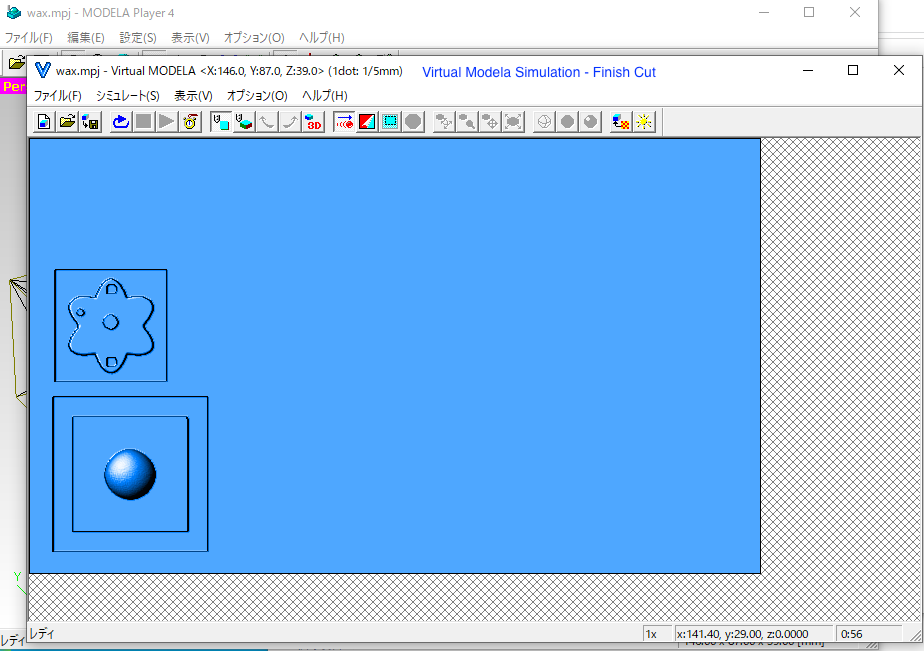
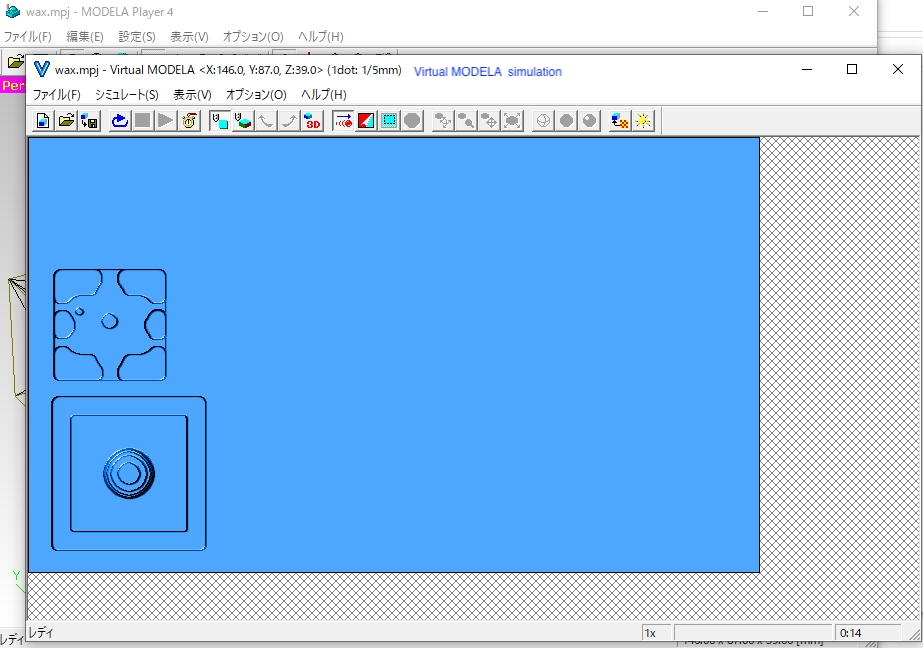
Select Process and Start milling
MDX-15
1/8 square end mill for Rough cut
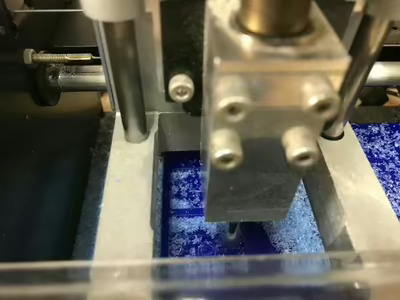
1/32 square end mill for Finish cut
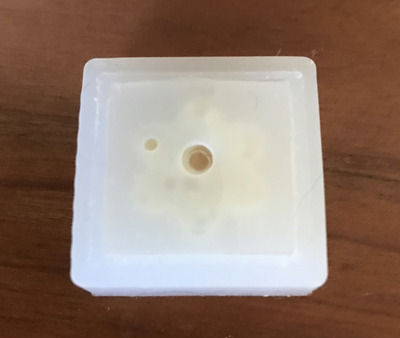
Molding
I used Silicone rubber : Mold Star 31T as I did for Dogs design. - Mix ratio Part A:B = 1:1 in Volume or Weight - Pot life: 5 min & cure time: 23 min
Actually it took approx. 30 min to harden.
Casting
Urethanes resin : Smooth-cast 320
- Mix ratio by Volume: 1A:1B
- Mix ratio by Weight: 100A:90B
- pot life: 3 min & cure time: 10 min
- color: Off-white

Since the smooth cast has certain viscosity and the silicone mold was small, I broadened the pour spout and used cylinder to fill resin liquid.

I designed pin holes for this charm to create mobile phone strap but they weren't built. I think the smooth cast is a bit high viscosity for this design.
Other casting materials
UV resin
I used these three colors. Directly fill the resin requid to the mold.
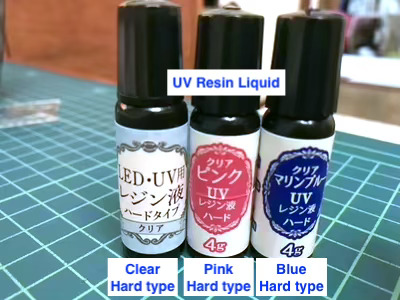
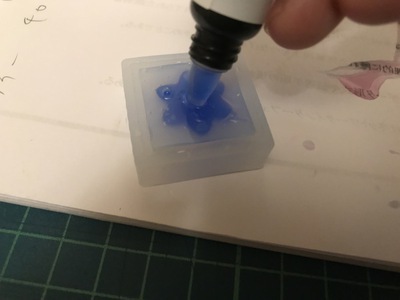
Exposing it UV light in 3 min. I used UV light for gel nail.
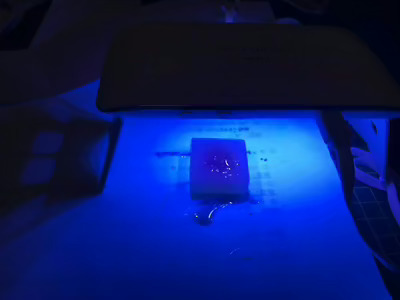
I forgot to take a picture of Blue one. Instead, put a picure of pink's.
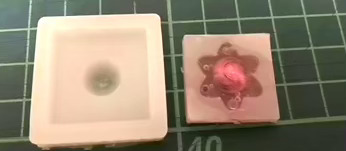
Slightly the liquid got into the part line, which was easily taken off.
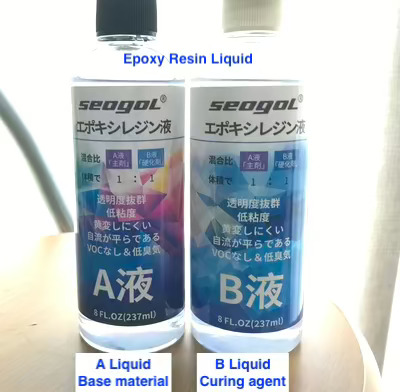
Epoxy resin
- Mix ratio Part A:B = 1:1 in Volume
- pot life: 30 min & cure time: 24 hrs
- color: Crystal clear

Viscosity of this material is not so much high.
The liquid material entered into the part line although I put a weight on the mold during cure time.
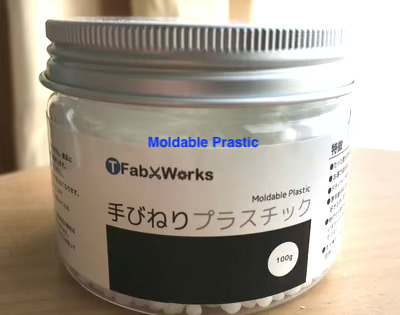
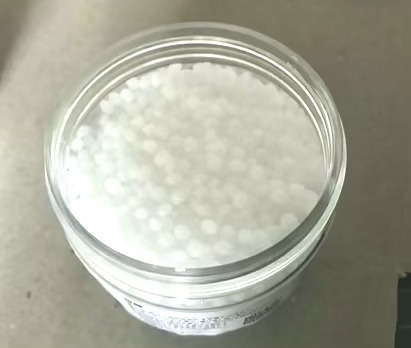
Moldable Plastic(Polyprolactone 100%)
Moldable Plastic is made of Polyprolactone, which is biodegradable plastic and reusable.
Put the plastic pearls into hot water (over 60 degrees centigrade) to melt them and wait for 3 min.
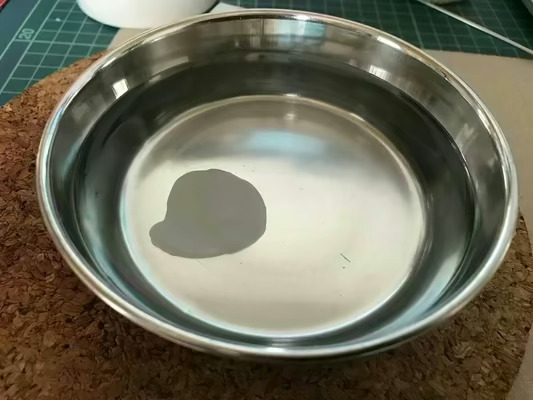
Got cold enough to handle, put it in the mold.
The material is like a clay. It cannot be pour from the pour spout. Instead, put the material each part of the mold and then combine the two parts.

Got cool down and took off the mold.

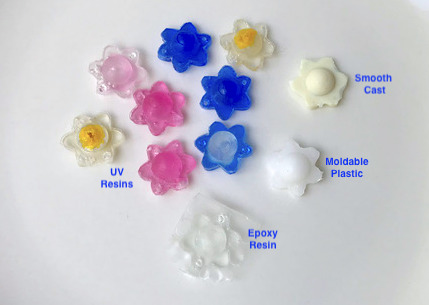
Altogether
Learning
Since I’d like to have pin holes in this small charm, I designed two part model. However I think 2mm diameter pin holes were too small. I will make a bit larger thing next time.
By using various casting materials, we can enjoy different expressions. Molding & Casting process is so interesting.