15. Wildcard week
This week’s assignment is to;
“Design and produce something with a digital fabrication process (incorporating computer-aided design and manufacturing) not covered in another assignment, documenting the requirements that your assignment meets, and including everything necessary to reproduce it. Possibilities include (but are not limited to)”
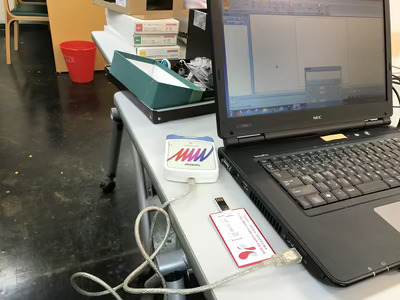
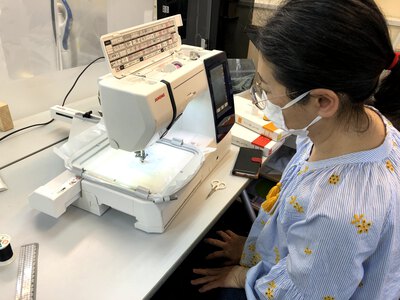
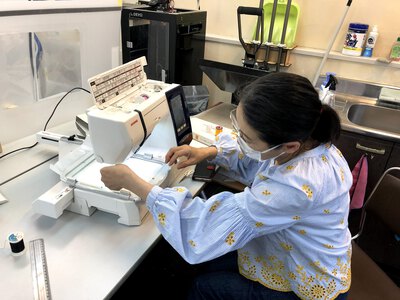
There is an embroidery sewing machine in Kannai Lab which was not used yet and I tried to use that this week.
Requirements of my assignment
- Describe what I want to create
- Understand how to use the embroidery sewing machine
- Write down tips learned during the work to have good results in future
- Present a hero shot
How to use the embroidery sewing machine
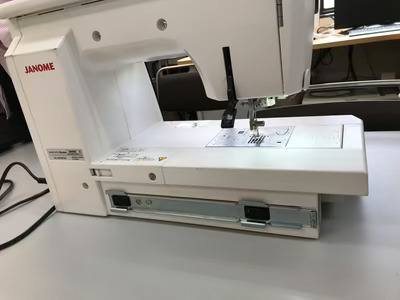
Used machine and software - Machine - Janome Hyper Craft 900 - Software - Brother Shishu Pro Next
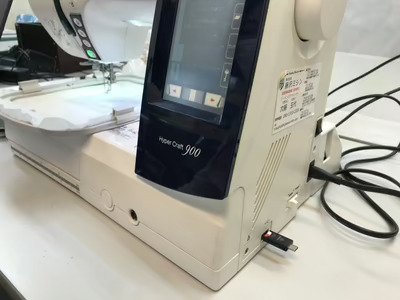
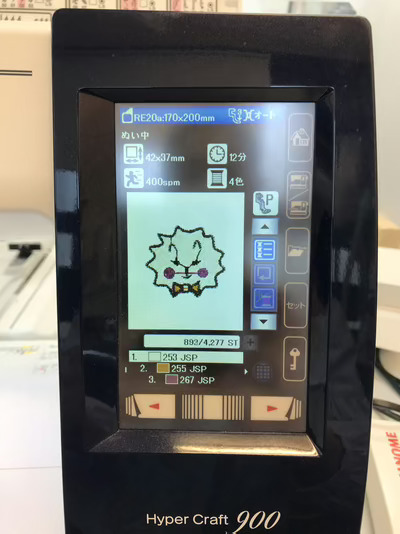
Janome Hyper Craft 900
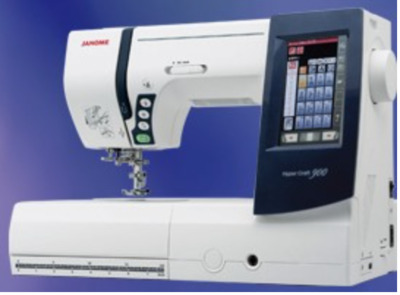
- a sewing machine for personal use
- computer control and touch panel
- added embroidery function to general sewing machine
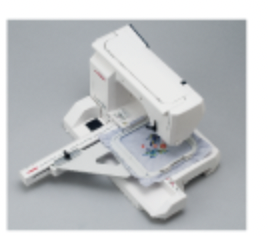
- attachment of embroidery unit, large size of embroidery (170mm x 200 mm) can be created
- automatic embroidery based on input data
- color threads need to be changed manually
Reference : Link to Janome site(Japanese)
Brother Shishu Pro Next
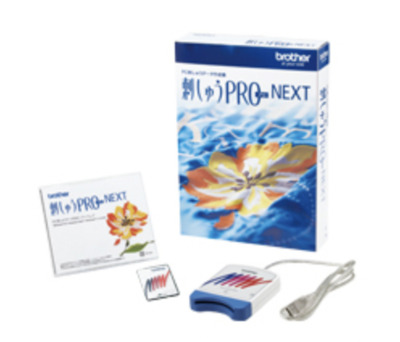
  - convert images captured by digital Camara, scanned drawing and downloaded from web sites to data for embroidery
  - connect the maker's dongle to a PC for using the software
  - include various ways, sample patterns, letters and methods for embroidery
I tried “Auto Punch” in this session. “Auto Punch” is to create an embroidery from an image automatically. Auto punch fits illustrations which have a few sort of colors.
My embroidery
I created an original Pin batch.
I wrote down steps how I created my embroidery in this section.
1. Draw illustrations in Adobe Illustrator and export it as .BMP format to a USB memory.
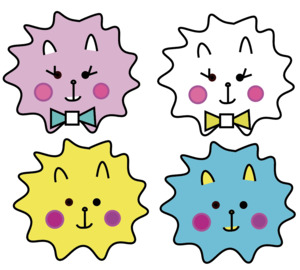
I draw confetti illustrations.

2. Open the BMP file in ShishuPro next
PC setup
Double click icon of shishuPro
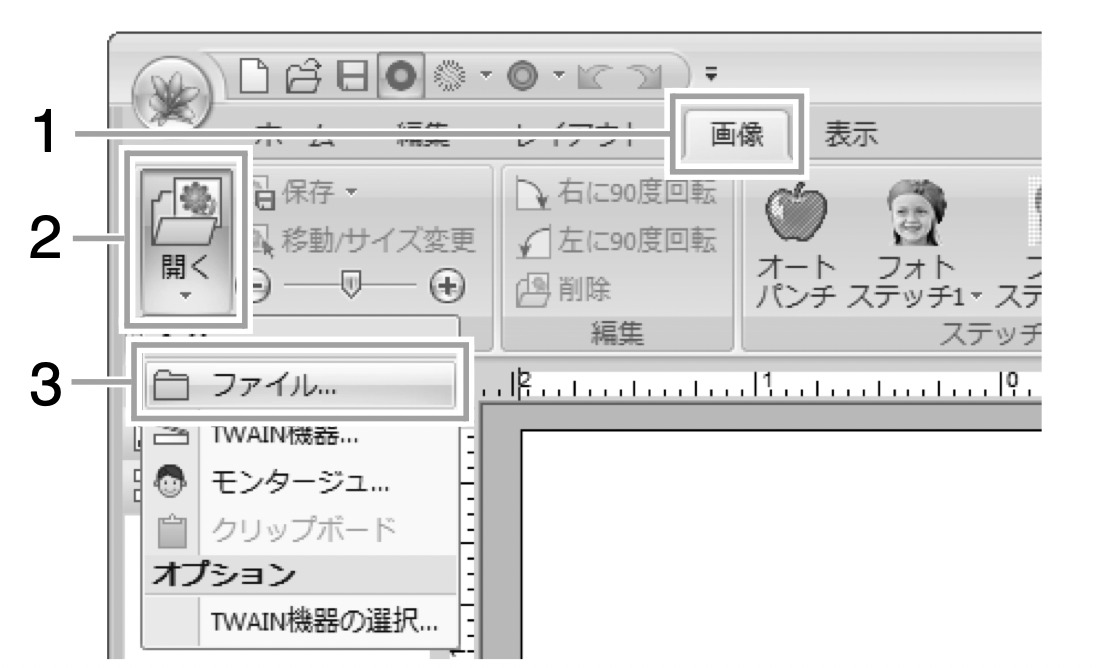
I. Open BMP file
- select Picture tab
- Select Open
- Select file
- Open the BMP file in USB
- adjust size of the image
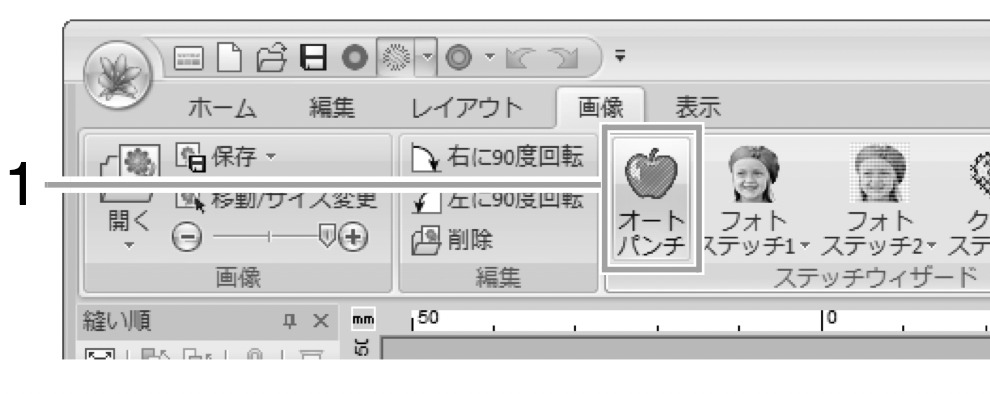
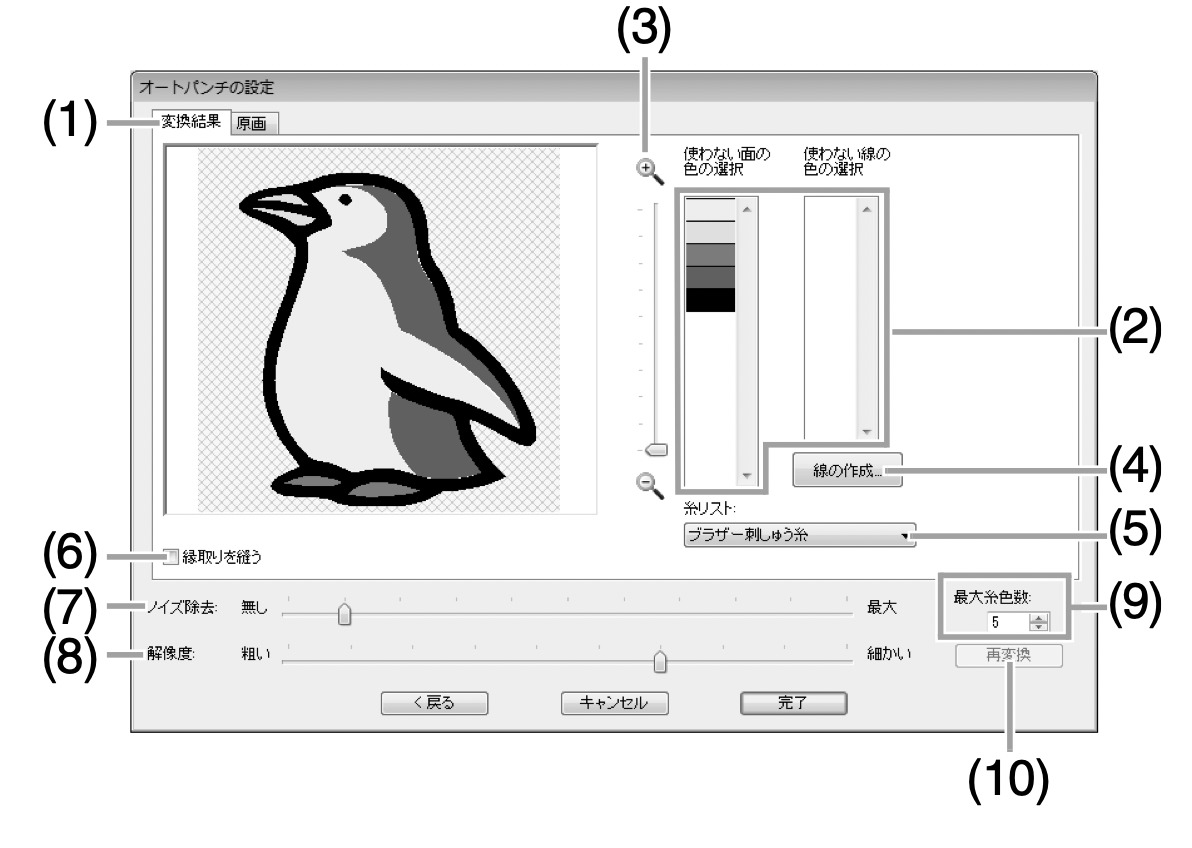
II. Auto punch dat conversion
- Select Auto punch
(1) select Conversion result Tab
(2) select unnecessary lines
(3) select unnecessary colors
(4) create lines
(5) select threads
(6) option to sew borders or not
(7) adjust removing noise
(8) adjust level of resolution
(9) numbers of colors to use
(10) re-conversion if changes options/selections
embroidery data created
Tips 1 : if details cannot be converted as expected, go back to I above and enlarge the image as much as possible then follow steps in II. If it’s ok, shrink the image after that.
Tips 2 : since shading part is excluded to sew embroidery, if a specific part is to be sewed, click the part to be included in conversion.
In my case, my illustration had thin lines and they were not converted well. So I got back to previous menu and enlarge it and re-converted. Also adjusted noise to max and resolution to high.
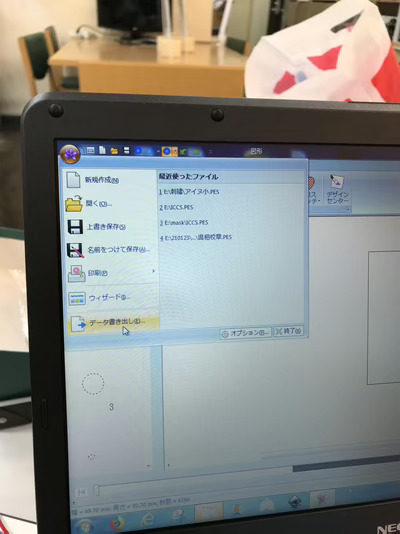
III. Export the data
Export the data to USB to bring to the sewing machine.
3. Sewing by Machine
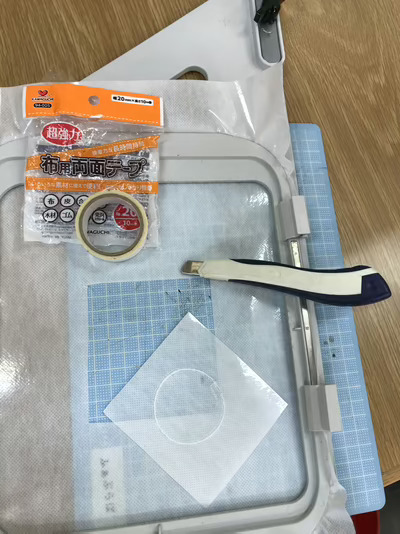
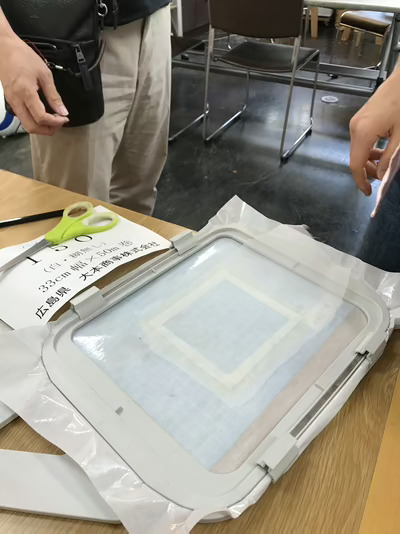
I. set up embroidery unit
- Put a good punch sheet to embroidery frame and set the embroidery unit to the machine
-
Sew the external form to know the size.
-
Once identified the size, take off the embroidery unit
-
cut out of the rectangle covered the embroidery size of the good punch sheet
-
Put double sided tapes at the edges
-
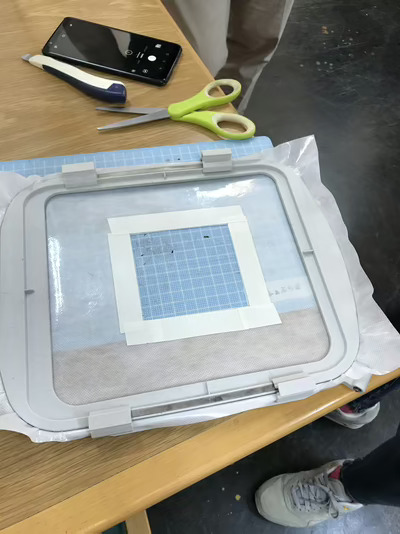
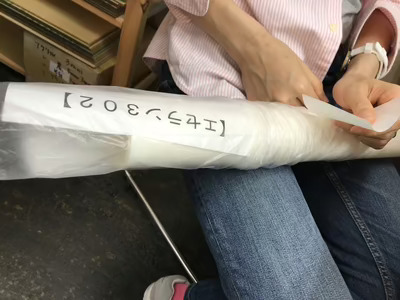
Cut Hybone sheet(backing sheet of embroidery) a bit larger size of the cut out and place it to good punch sheet
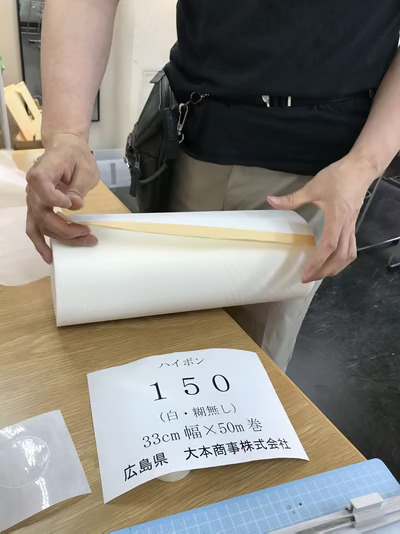

- Cut organgie sheet a bit larger than Hybone and put on the Hybone fixed on embroidery frame by the double sided tapes placed as above.
Tips : Hybone and Organgy should be placed as tighten as possible so as to sew as expected since in sewing process the machine pulls threads.
- remove cover of backside of the Machine
- attach the embroidery unit
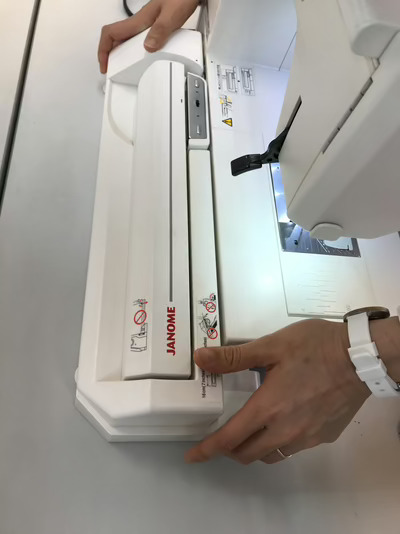
- set embroidery frame

-
import embroidery data, usb socket locates right side
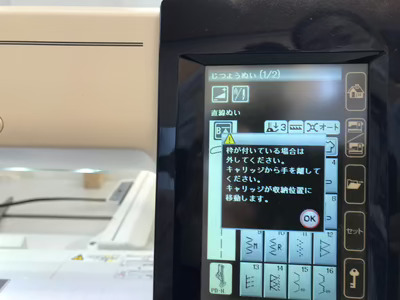
-
touch OK
-
select file icon and open the file
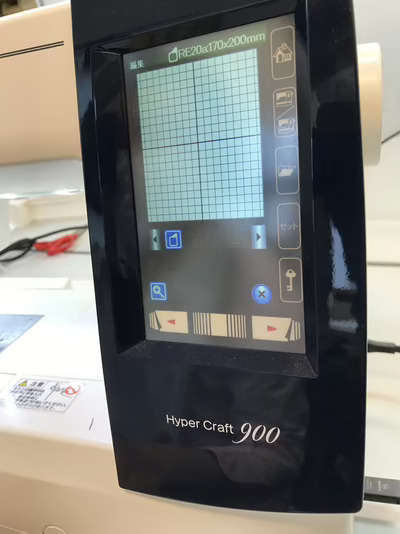
-
embroidery data opened
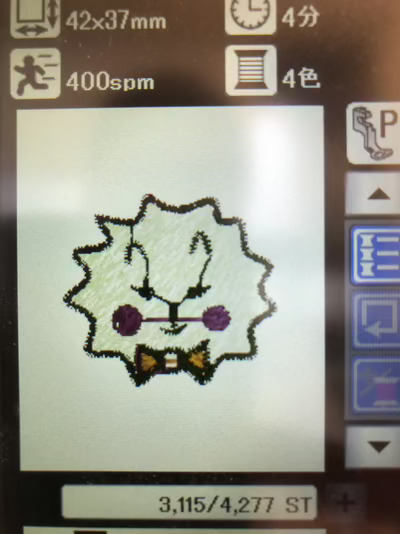
- the machine calculate operating minutes, sewing order by colors
- White
- Yellow
- Pink
- Black
- Sawing
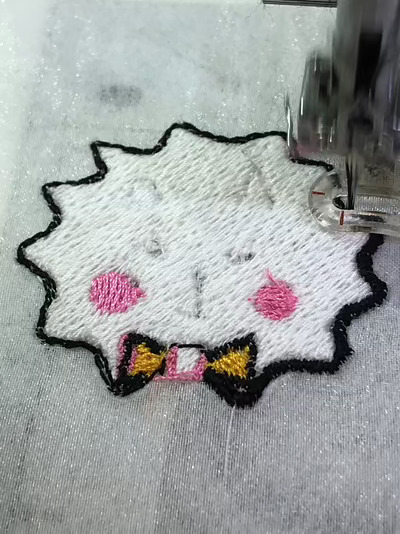
Tips : crossing threads such as treads between cheeks or threads between eyes and eye blows should be cut once the sewing of the part just done by halting the machine to have good finish.
It seems that embroidery threads are weak and easily broken. The machine sews embroidery automatically but we need sit aside of the machine until finished.
- Sawing completed
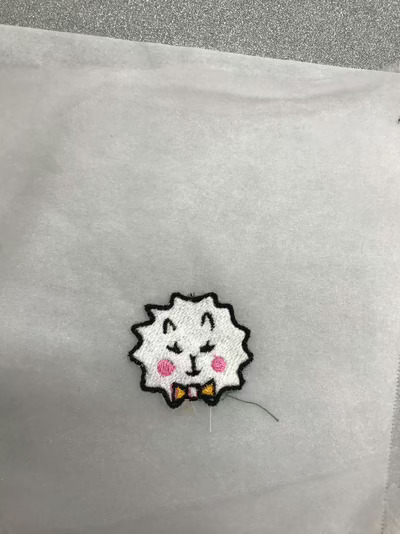
4. Finishing work
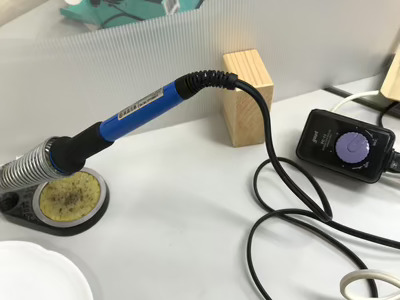
- Cut out a ecelane film( hot melt film) to mask the embroidery and put it on that by ironing.
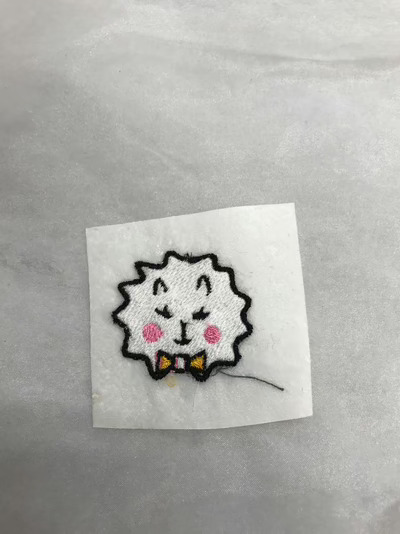
- Cut out the embroidery by using a heat cutter. Organdie is made of polyester and easily melted by the cutter.
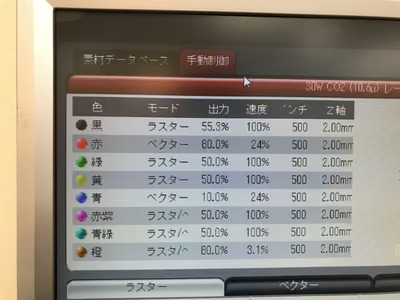
- Cut a felt sheet by laser cutter using image data of illustrator
Laser cutter setting

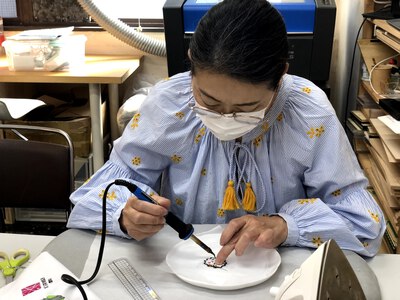
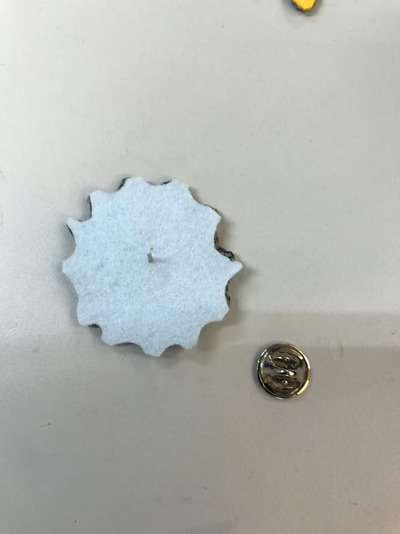
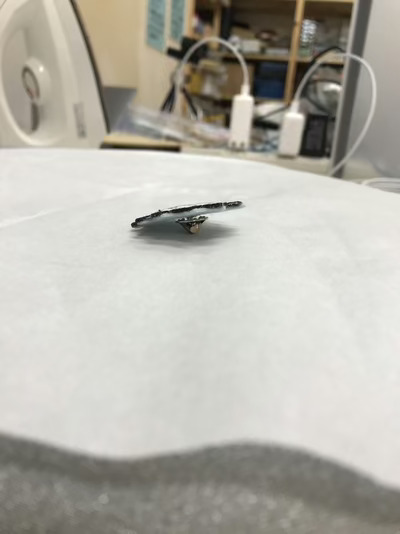
- Put glue on pin header to fix the pin on the embroidery.

- Ironing the embroidery, felt and pin to fix (do not put a catch in this picture)
Tips : use steam hole to hold the pin when ironing.
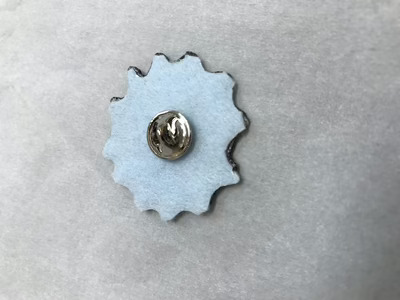
5.Finished
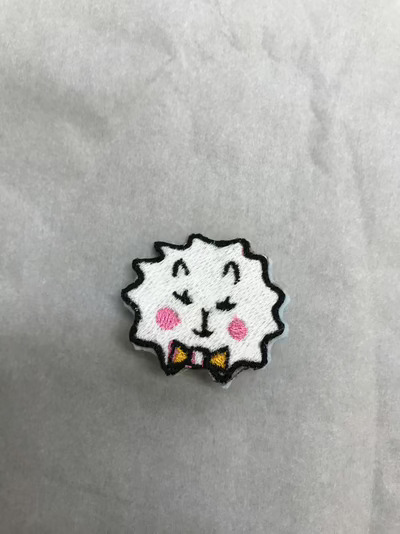
6.Learned from the work
- It was really fun to create original pin.
- It is very important to put backing sheet and organdies tightly as much as possible to have good finish.
- Secure certain space to work on this, such as embroidery unit with sewing machine, ironing and cutting sheets.
I created pin batch from one of four illustrations. If I have a chance, I’d like to create pins using other three illustrations.
7. Files
ai&BMP files
ShishuPro Next file, converted from BMP
Sawing machine path file