15. Interface and Application Programming
- Compare as many tool options as possible:
What is Python? A clear and powerful object-oriented programming language, comparable to Perl, Ruby, Scheme, or Java. Python is a general purpose programming language created by Guido Van Rossum. Python is most praised for its elegant syntax and readable code, if you are just beginning your programming career python suits you best.
What is Processing? A programming language for people who want to program images, animation, and interactions for the web. It is an open programming language for people who want to program images, animation, and interactions for the web without using Flash or Java applets.
What is C#? A general-purpose, multi-paradigm programming language encompassing static typing, strong typing, lexically scoped, imperative, declarative, functional, generic, object-oriented (class-based), and component-oriented programming disciplines.
Group assignment page: here, which contains a practical comparison between Python Tkinter, Processing and C#.
- Write an application that interfaces a user with an input and/or output device that you made:
Besides the Microcontroller board, I have designed a Remote control and a DC-Motor controller board; since for this assignment I had to interface one of them, I chose the motor controller board cause I think it would be the most useful, with chance to be improved in the future.
For my final project I would like to make an Remote control application, then I have to make a board with an microcontroller and use a radio module to connect wirelessly to the vehicle; then since my motor controller board can control only one motor, I made a simple Application with Tkinter in Python to rotate it on both directions and turn it off using buttons.
It was my first experience on making an application with python (before I have just made “Hello, world” and add numbers 😅).
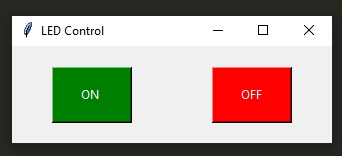
Honestly I didn’t search any similar application for controlling motors, only basic examples to learn how to code it, but… at the end it’s not like if I was making something more advanced than that when it comes to the Python programming. I did watch a YouTube tutorial for turning on and off a LED and had a visual inspiration with the FabAcademy documentation of Row’a Othman (2020):
Board used
As explained above, I have used my DC-Motor controller board that I have made during the Output devices assignment:
Connection
This is how I connected it using the USB and FTDI-UPDI adapter boards that I made during the Electronics production assignment:
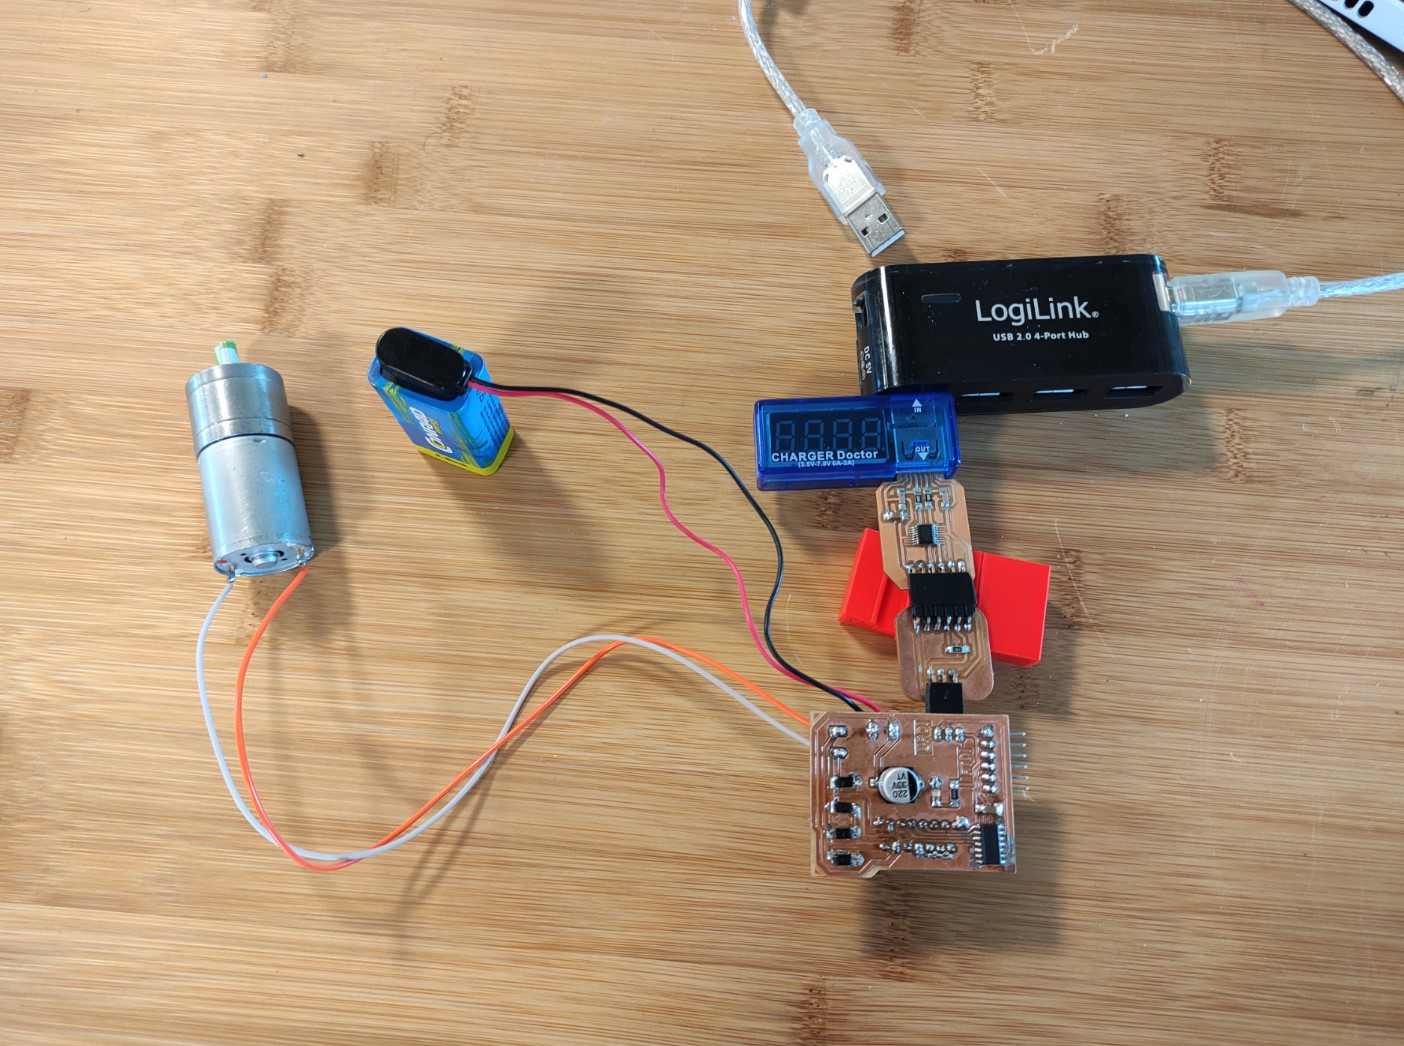
For programming I used the UPDI connection, but for serial communication I used the FTDI.
Codes
Arduino
Complete code
1 2 3 4 5 6 7 8 9 10 11 12 13 14 15 16 17 18 19 20 21 22 23 24 25 26 27 28 29 30 31 32 33 34 35 36 37 38 39 40 41 42 43 44 45 46 47 | |
Code explanation
-
First I started with a variable declaration for the motor pins:
1
2
3
const int motorPin1 = 0; //Pin 1 for motor const int motorPin2 = 1; //Pin 2 for motor const int Enable = 2; //Enable pin of motor -
I added a variable for the speed of the motor and set it at 100%:
1int speed=255; -
I added a variable type character to save the data read:
1char serialData;
In the setup section:
-
Start serial communication at 9600 bauds:
1
2
3
void setup() { Serial.begin(9600); } -
Set the motor pins as outputs:
1
2
3
pinMode(motorPin1, OUTPUT); pinMode(motorPin2, OUTPUT); pinMode(Enable, OUTPUT); -
Enabled the motor already:
1
2
digitalWrite(Enable, 1);
}
In the loop section:
-
I started detecting if there is any serial communication; if yes, it reads it:
1
2
3
void loop(){ if(Serial.available()>0){ serialData = Serial.read(); -
Eventually, depending on the incoming data value, it rotates the motor ClockWise, CounterCLockWise or just turns it off:
 1
 2
 3
 4
 5
 6
 7
 8
 9
10
11
12
13
14
15
16
    //if incoming data is "1", rotate motor on ClockWise direction
    if(serialData == '1'){
        analogWrite(motorPin1, speed);
        analogWrite(motorPin2, 0);}

    //if incoming data is "2", rotate motor on CounterClockWise direction
    if(serialData == '2'){
        analogWrite(motorPin1, 0);
        analogWrite(motorPin2, speed);}

    //if incoming data is "0", Turn off the motor
    if(serialData == '0'){
        analogWrite(motorPin1, 0);
        analogWrite(motorPin2, 0);}
    }
}
Python
Complete code
1 2 3 4 5 6 7 8 9 10 11 12 13 14 15 16 17 18 19 20 21 22 23 24 25 26 27 28 29 30 31 32 33 34 35 36 37 38 39 40 41 42 43 44 45 46 47 48 | |
Code explanation
-
First I imported Serial and Tkinter libraries:
1
2
import serial import tkinter -
Started serial communication with board, in my case it was the COM3:
1arduinoData = serial.Serial('COM3', 9600) -
I defined the functions for the three buttons I used, they just write a number to the board trough serial:
1
2
3
4
5
6
7
8
def cw_rotation(): arduinoData.write(b'1') def ccw_rotation(): arduinoData.write(b'2') def off(): arduinoData.write(b'0') -
Create the interface window and call it “DC motor controller App V1.0”:
1
2
led_control_window = tkinter.Tk() led_control_window.title("DC motor controller App V1.0") -
Create Button object called ‘button’:
1button = tkinter.Button -
Create and place buttons:
[Element name] = [Object type]([Window name], text=[Text shown on the element], font=[Font format], bg=[Background color], width=[Element width], height=[Element height], command=[Function to be performed])
btn1.pack(side=[Position to be placed on (left, Right, bottom, top)], padx=[Space in pixels outside the element in X], pady=[Space in pixels outside the element in Y)
1
2
3
4
5
6
7
8
btn1 = button(led_control_window, text="CW rotation", font='Roboto 11 bold', bg="SteelBlue1", width="11", height="3", command=cw_rotation)
btn1.pack(side='left', padx=15, pady=20)

btn2 = button(led_control_window, text="CCW rotation", font='Roboto 11 bold', bg="DarkOliveGreen1", width="11", height="3", command=ccw_rotation)
btn2.pack(side='left', padx=15, pady=20)

btn3 = button(led_control_window, text="Turn off", font='Roboto 11 bold', bg="tomato2", width="11", height="3", command=off)
btn3.pack(side='left', padx=15, pady=20)
Interface
I have used PyCharm:
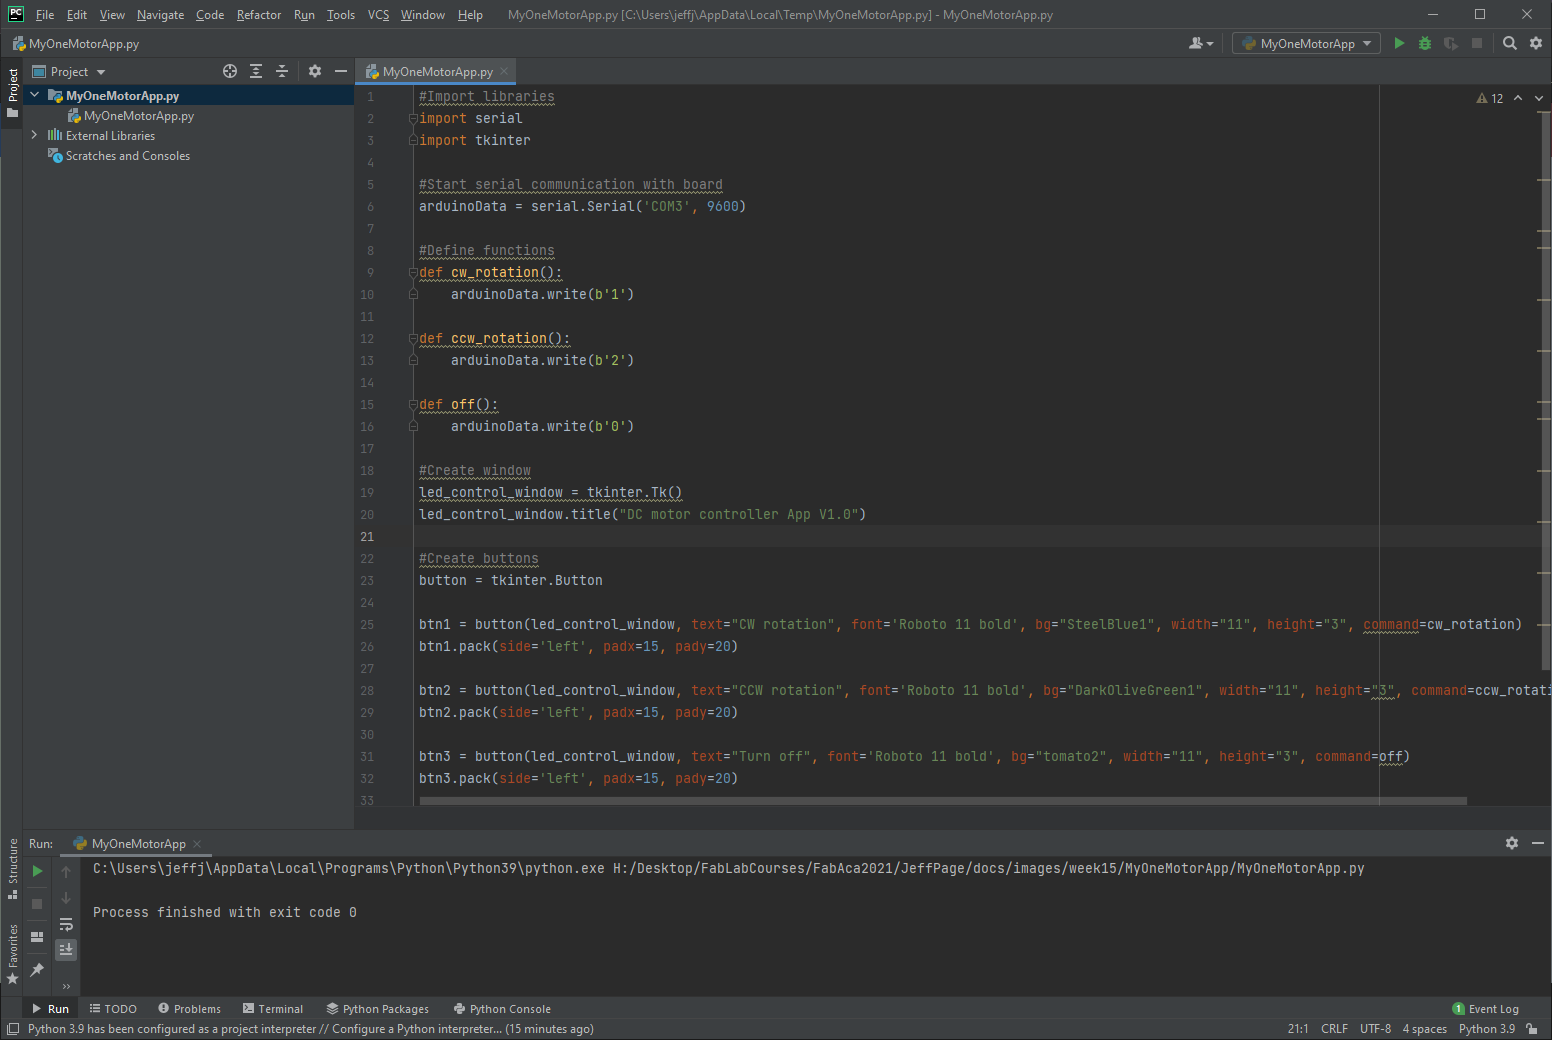
This how the interface looks like at the end:

Very simple… but it works 🤷🏽♀️
Performance
Video1: Testing application
Files and references
- MyOneMotorApp.ino
- MyOneMotorApp.py
Support documentation
- Color Charts for TKinter
- MonkHaus. 2017. Python to Arduino - Tkinter button to control LED
- Row’a Othman. 2020. Interface & application programming. FabLab New Cairo