Week 16:
Wildcard Week
We finally got to Wildcard week, it caught my attention from the beginning of the Academy. In principle, it is designed to work with techniques, materials, machines ... that we have not seen during the standard assignments of the course. Let's see what I can think of.
It's hard to focus on Wildcard week when we have so little time to finish our final project. It is very interesting to have an opportunity to explore outside of the assessments, but at the same time it is stressful to embark on another project while the final project awaits.
Anyway, I would like to find an interesting excuse for the free project to motivate me as much as possible and thus not think about the final project for a couple of days. Let's see how I am doing this week!
The assignments for this week are (there is no group assignment this week):
Individual assignment:
• Design and produce something with a digital fabrication process (incorporating computer-aided design and manufacturing) not covered in another assignment, documenting the requirements that your assignment meets, and including everything necessary to reproduce it.
Individual Assignment
Packaging has always interested me a lot, I have collaborated in some for brands but always from a conceptual rather than a technical perspective. This week I have to deliver a product in a box and I thought it would be interesting to make an interesting packaging using cardboard or paper.
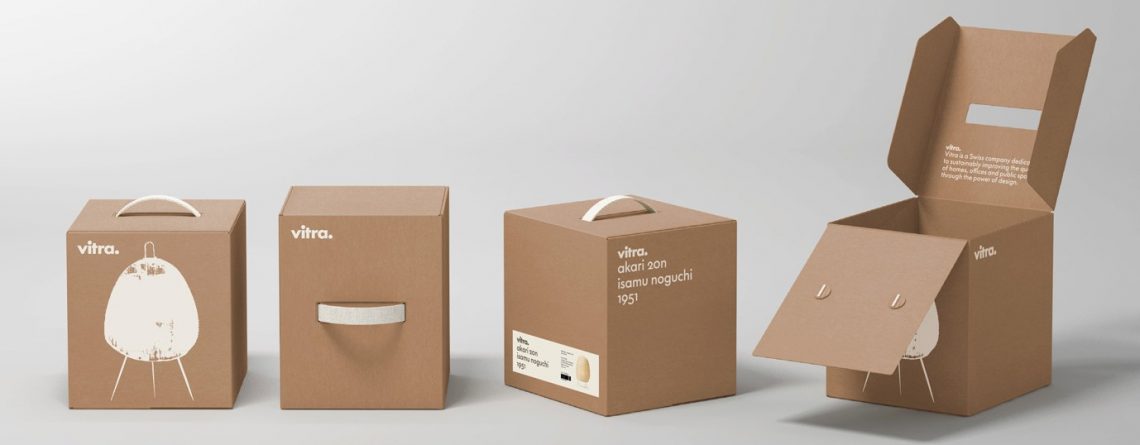
I think packaging is a piece of art in many cases. For example, Vitra's packaging for Isamu Noguchi's Akari. Good packaging for a good product is the perfect synergy of two industrial products.
I would like to replicate this synergy with one of my products, taking advantage of the fact that it will be exhibited.
The product
You can visit the product in my portfolio page, but anyway here I give you some details about it.
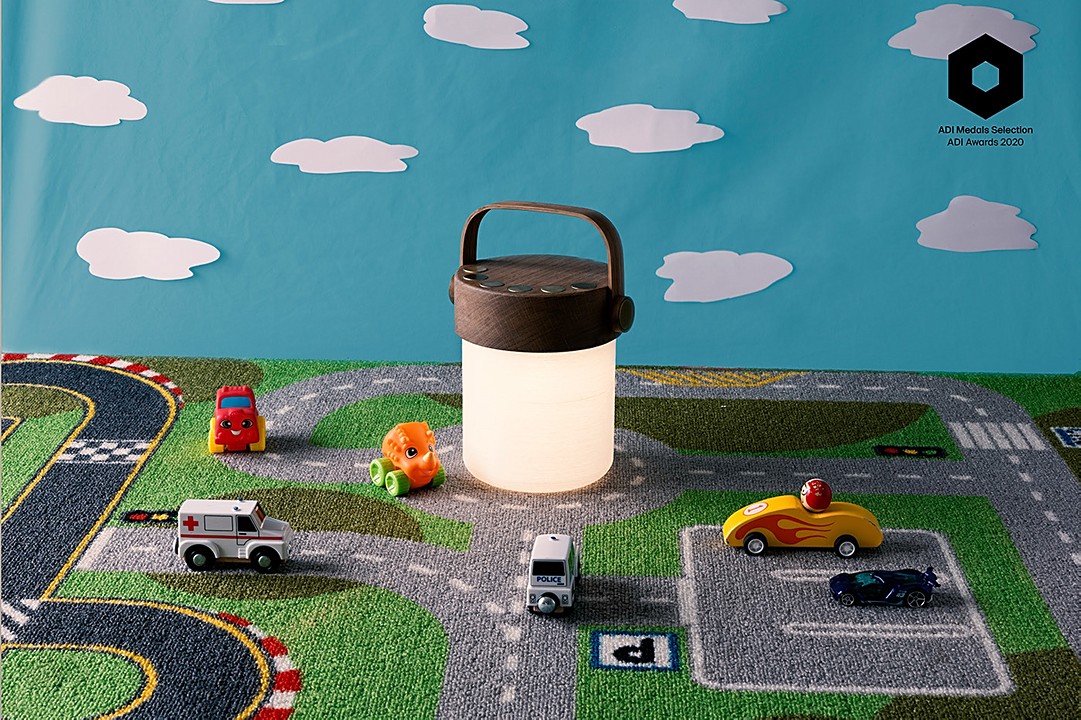
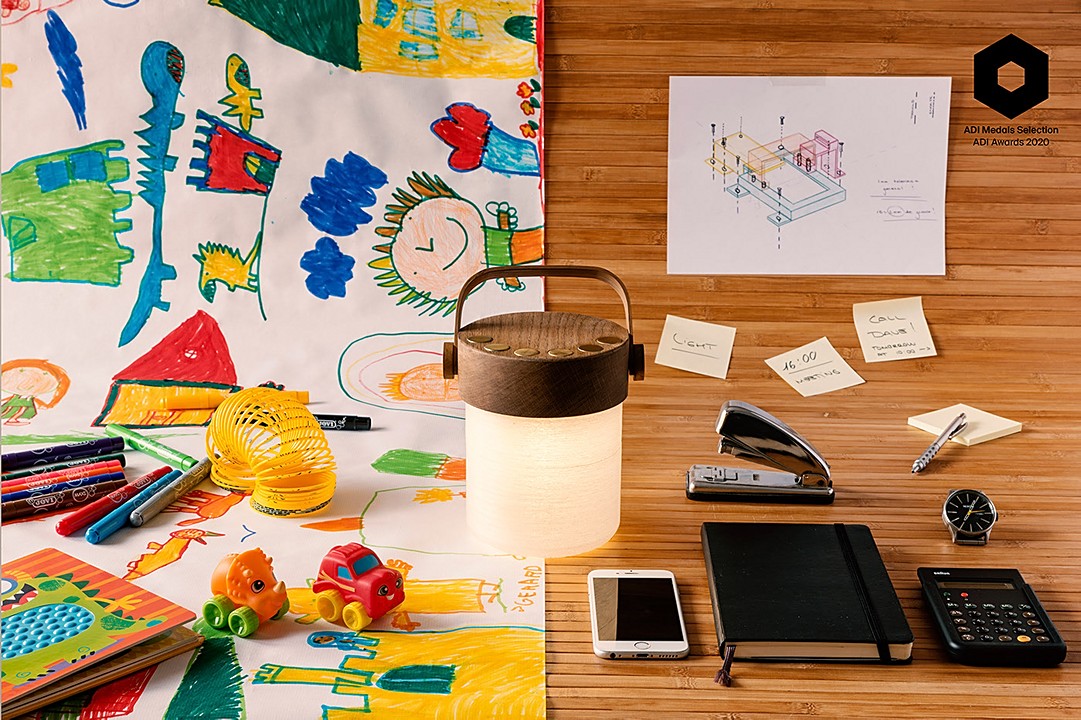
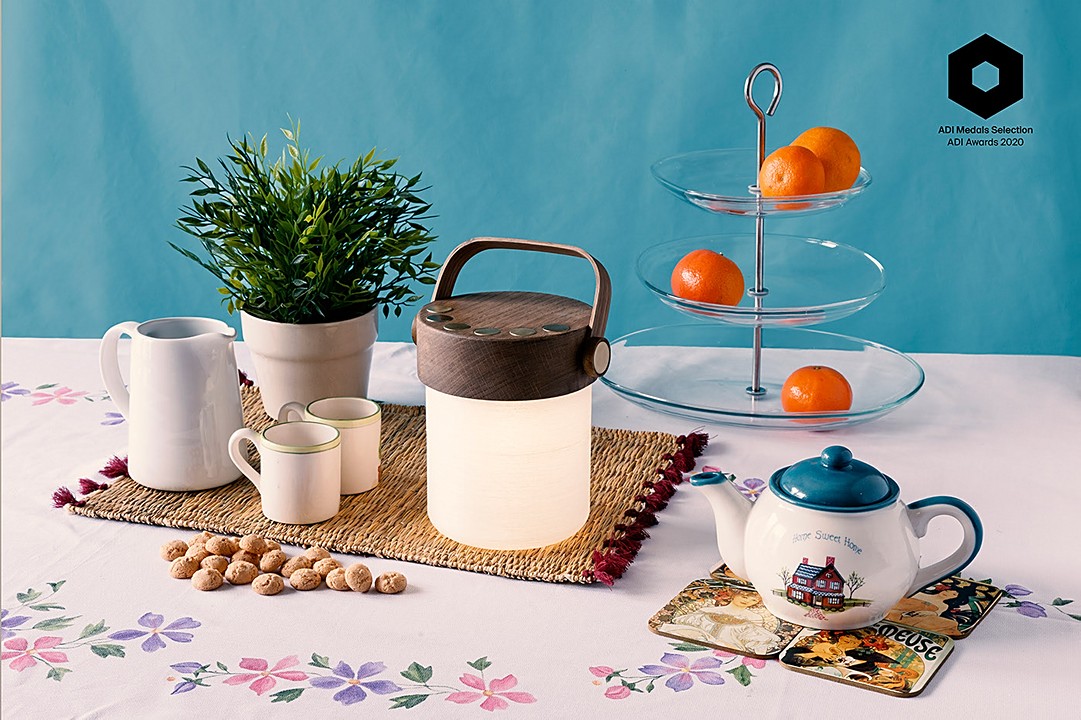
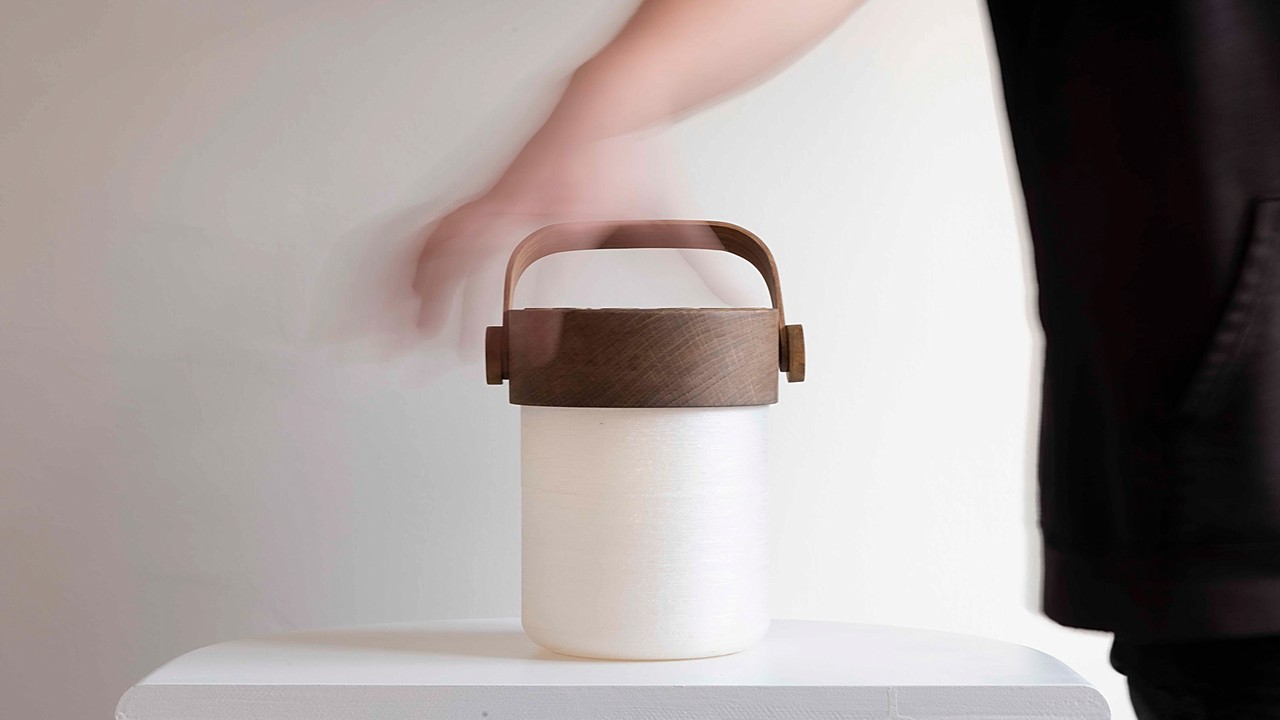
The Alba lamp is an interactive and portable light system for young children to overcome their fear of the dark by learning electronics. In order not to be alone in those moments, the aesthetics of the lamp seeks to conquer the parents. In this way, create a parent / child team that together fight against the fear of the dark.
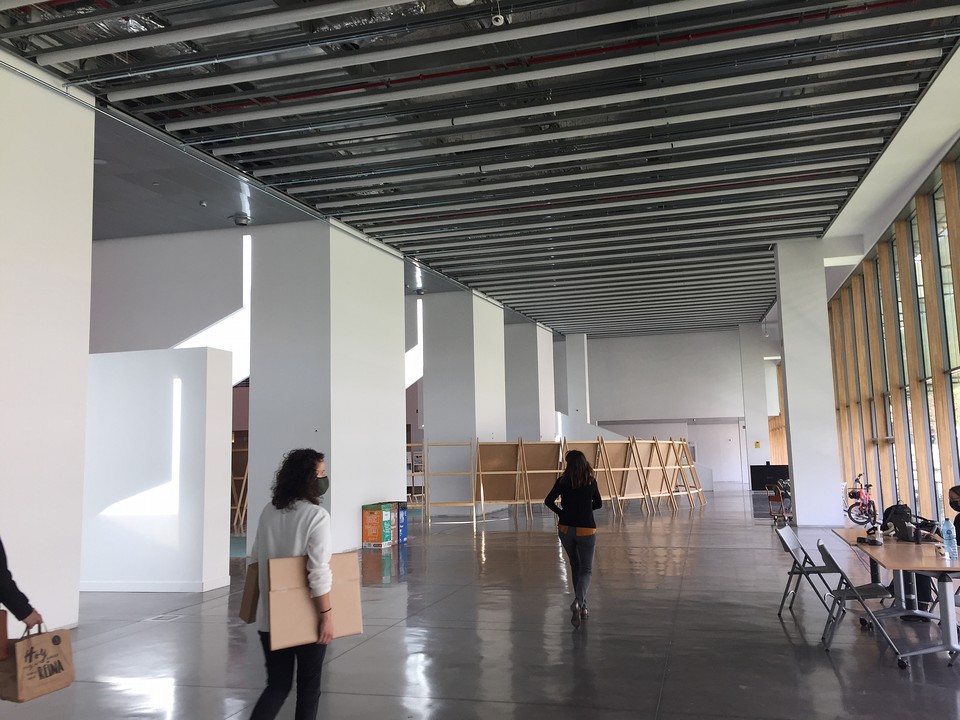
The product was awarded by ADI-FAD in 2020 and will now be part of the exhibition "The best design of the year 2020". I have to deliver it to the museum soon and I think creating packaging is a great way to get it through those doors. In addition to being protected and safe during the journey.
Packaging Idea
To focus on wildcard week I would like to apply cardboard folding to my packaging. I know that it is a common technique in the product sector, to wrap industrial products, but I would like to try it myself.
I have also seen that in the possible assignments for wildcard week, folding is considered one of the recommendations. It makes me laugh to see how to work a volume always working in 2D. For my background, I always work in 3D to end up getting a 3D product. So I think it may be interesting.
What I would like to achieve with the packaging I want to design is:
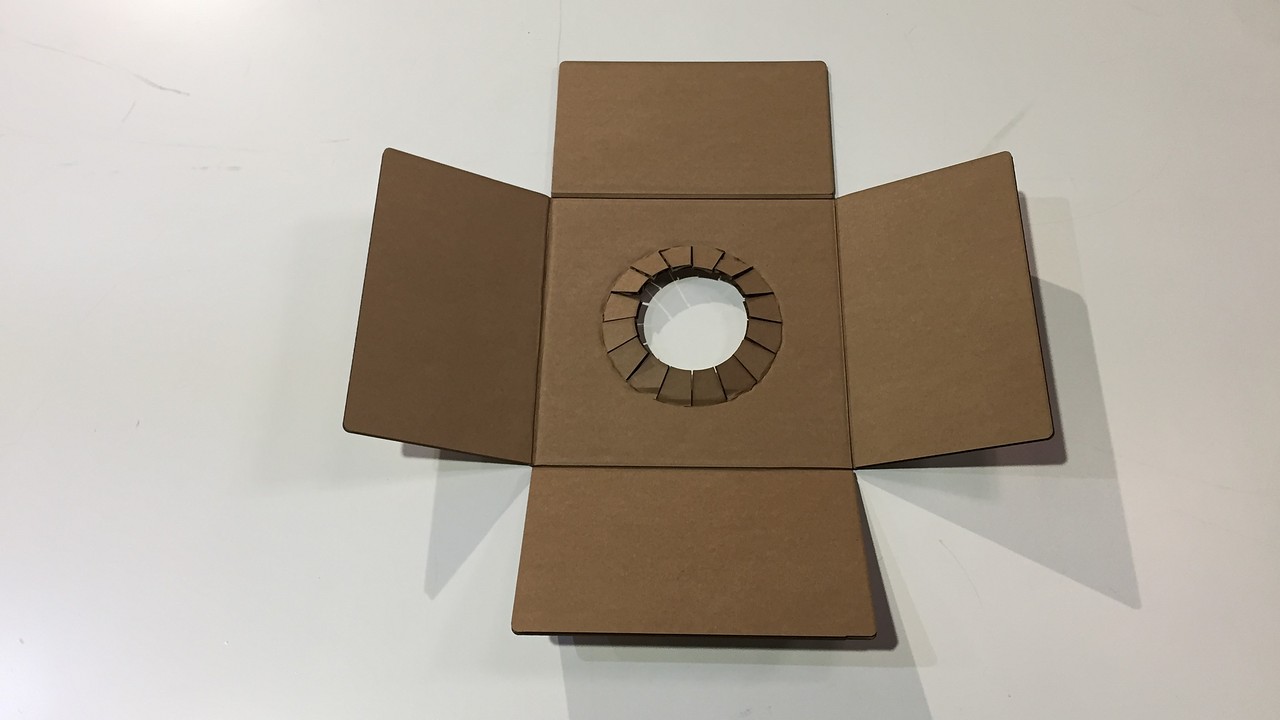
- Protect the lamp from vibrations and shocks. For that I would like to suspend it inside the box by means of supports that adjust to its geometry.
- Focus on the packaging only having one slot for adhesive. No point would be great, but I can't think of how.
- Make the box do not need adhesive tapes. Only geometries that fit other geometries.
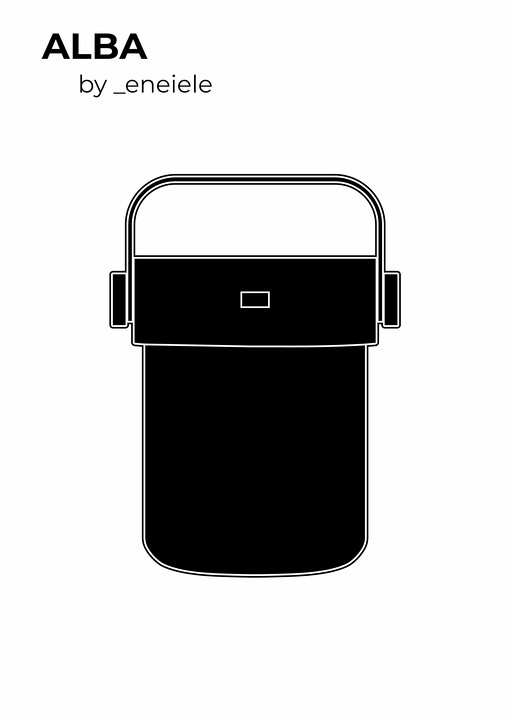
- Serigraph, engrave or similar for the exterior image of the box. It would be great to get 1: 1 scale views of the lamp front, side and rear.
Packaging Rough Sketch
As almost always, I think better with a pen in hand, drawing more than thinking. The idea as I was saying is to get a clean appearance, but when you get closer you start to discover secrets here and there. In the following sketch I show you the external appearance of the box when it is finished.
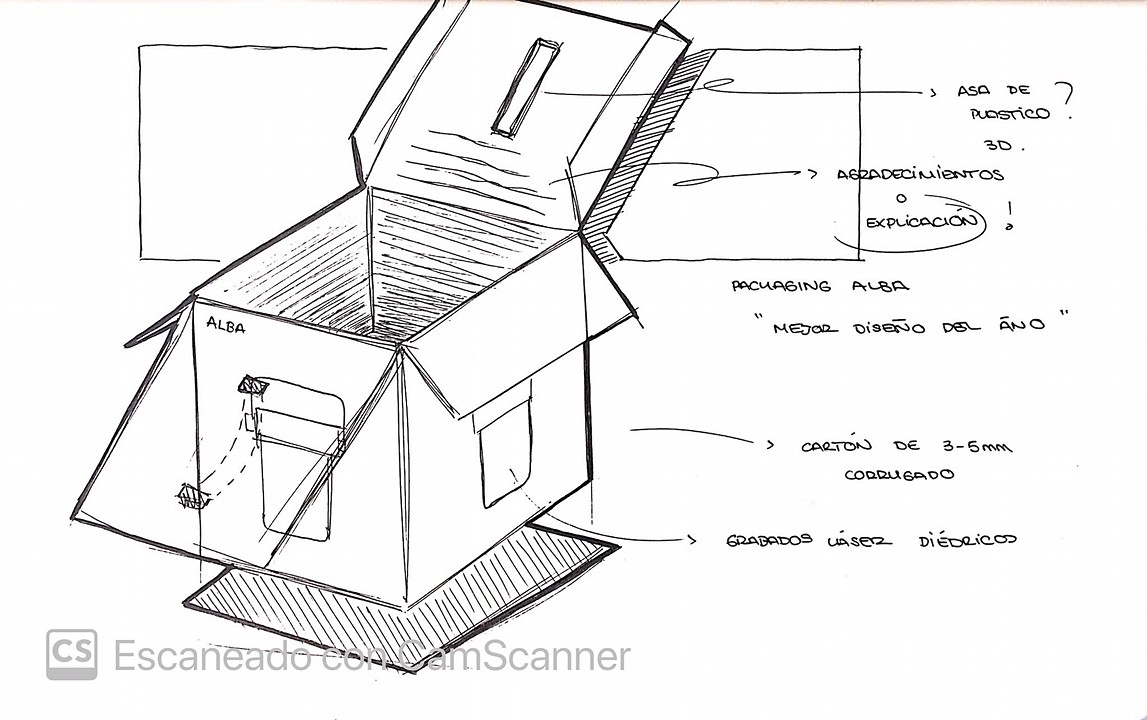
Actually, I think that the handle is not necessary due to the usefulness of the product. If all goes well, this box will only move the product from the Fab Lab Barcelona facilities to the DesignHub. These two facilities are 3 blocks apart (5-0 minute walk). I will try to see if it is really necessary, or if it is overcomplicating the product.
Solidworks (Design)
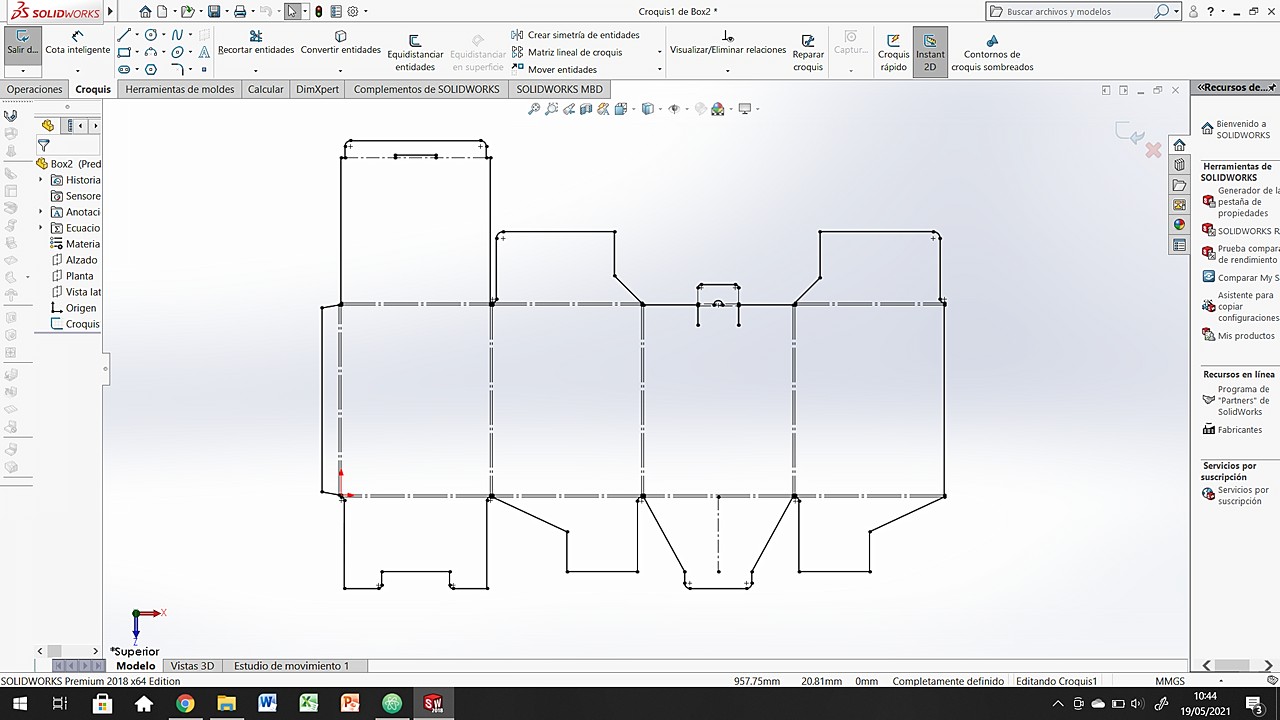
To start working I choose Solidworks. It is my usual software to work in 3D but in the case of the box I will use it as parametric 2D software. Some tolerances and fits may not be exact on the first try and having the measurements parameterized will help me save time in the future.
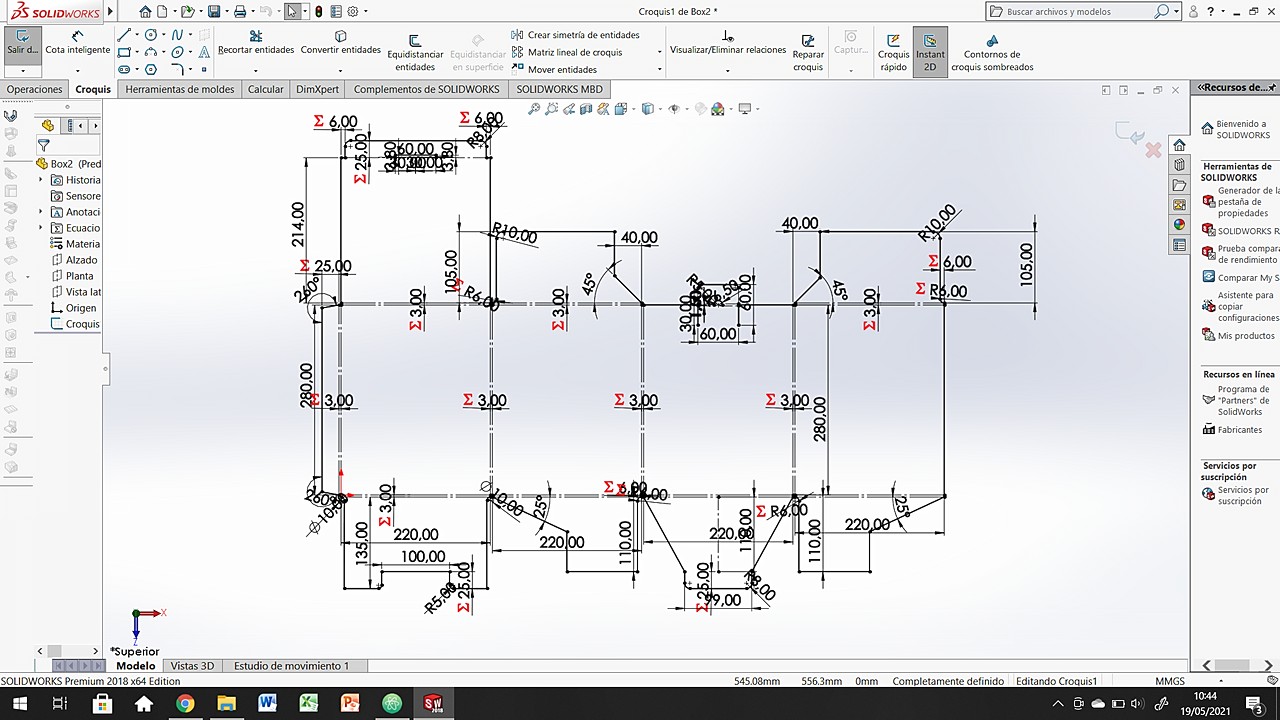
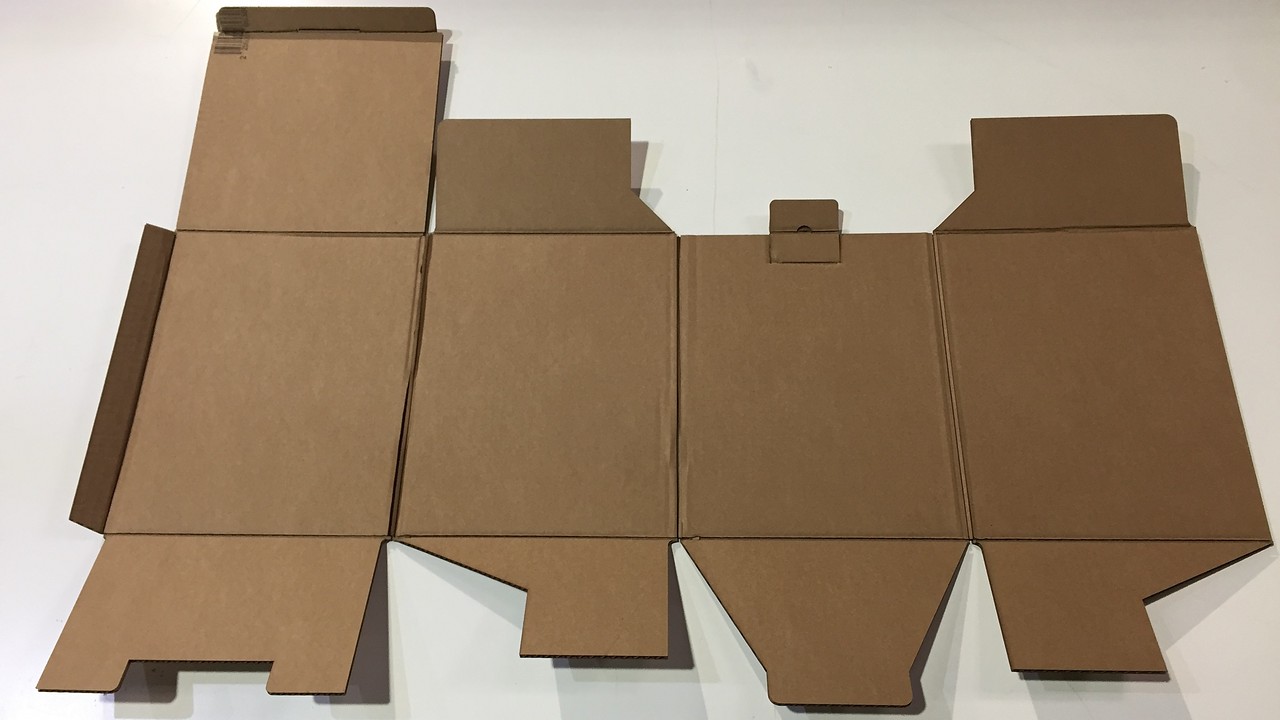
Box
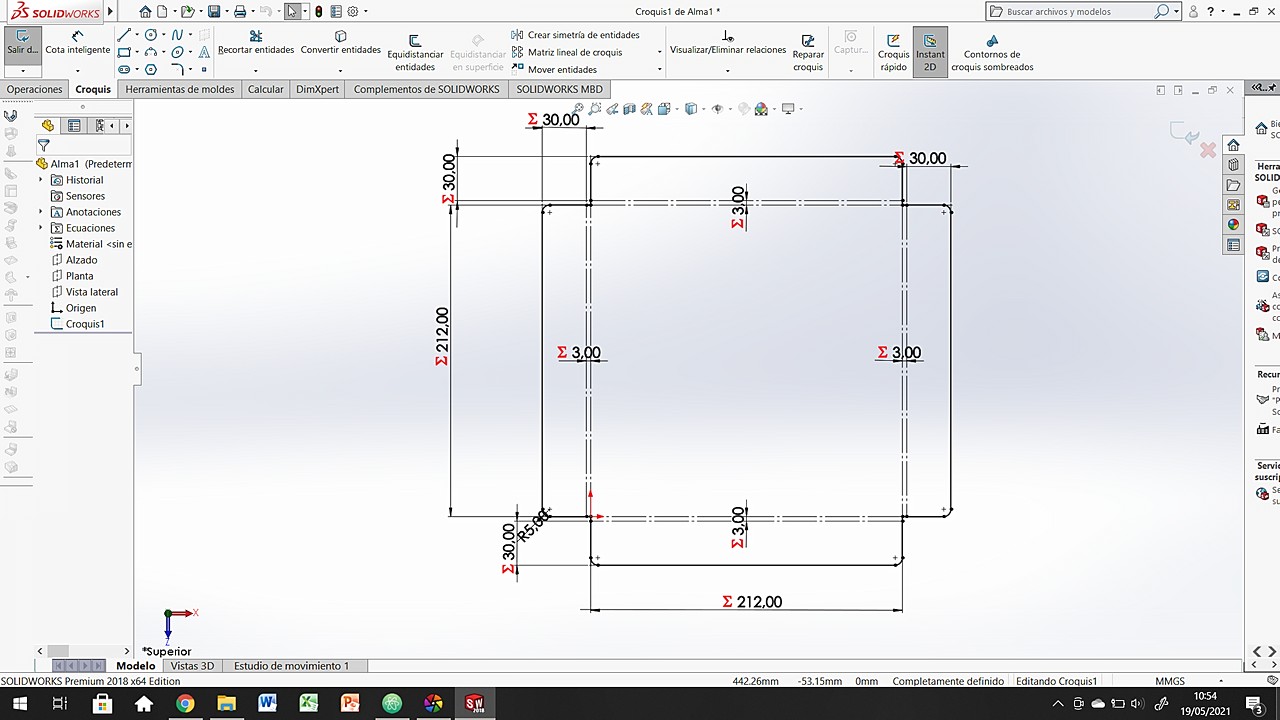
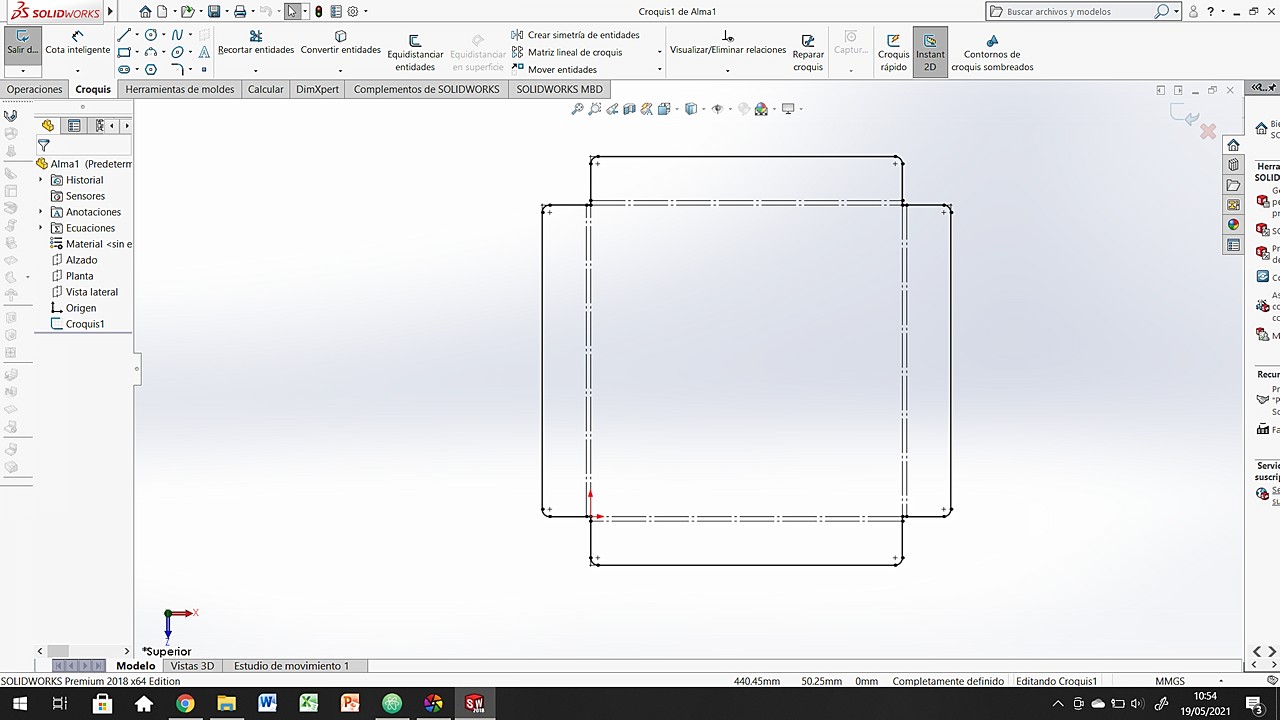
Subjection 1
Subjection 2

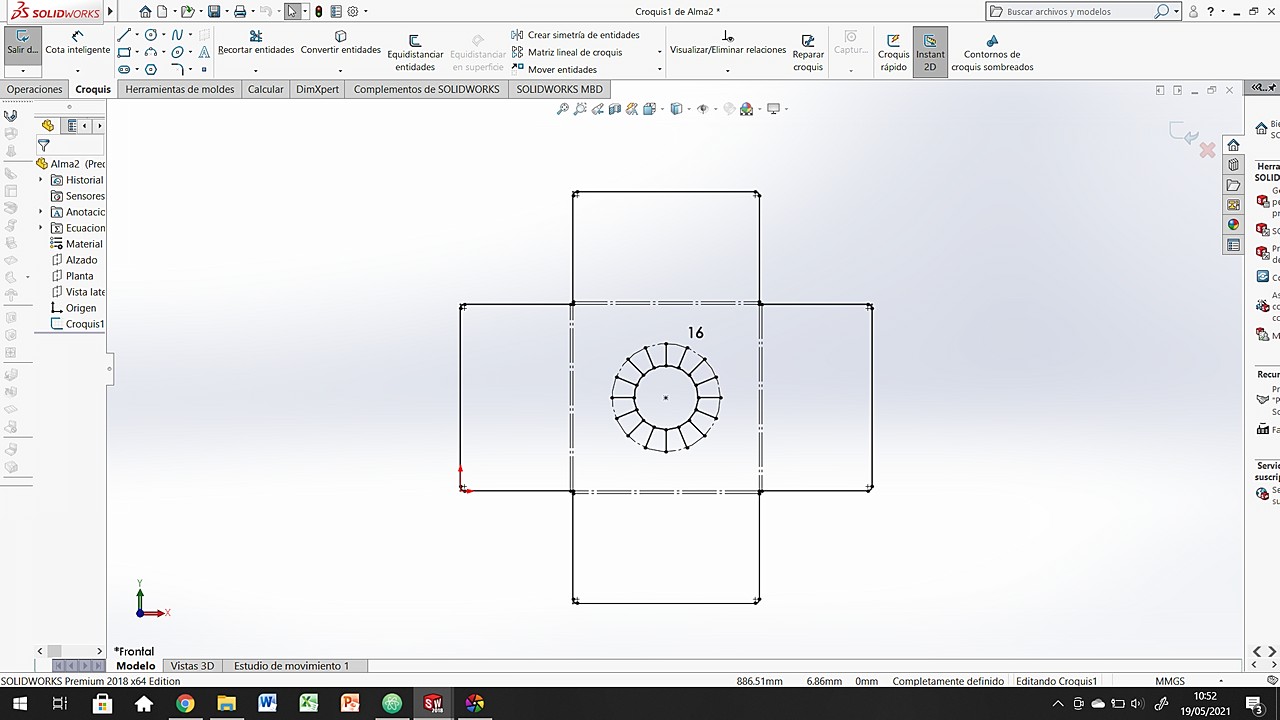
As you can see in the images above, the measurements with summation (Σ) correspond to the parameterized measurements. I have not taken into account all the measures because many do not have to be parametric. The ones that I have taken into account have been:
- Edge bending margin (3mm)
- Subjections 1&2 width (212mm)
- Subjection 2 flaps height (125mm)
- Horizontal margin for the folds to fit within the overall body of the box (6mm)
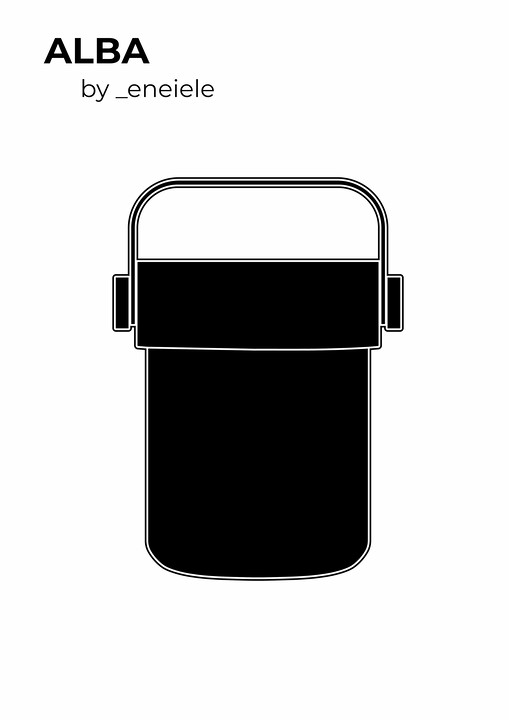
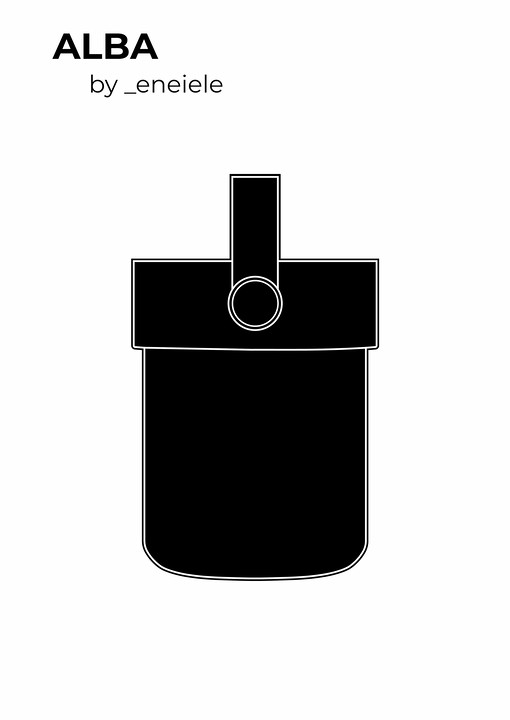
Illustrator (Graphics)
So that the box is not boring and quickly transmit the measurements and appearance of the product to the user, I use Illustrator to vectorize over the study images that I made to present the project to the contest.
Using as inspiration the Vitra box that I showed you in the initial example on the web, I would like to put the dihedral perspectives of the product on the corresponding sides of the box. Some big product and electronics brands use this system and I find it a great success.
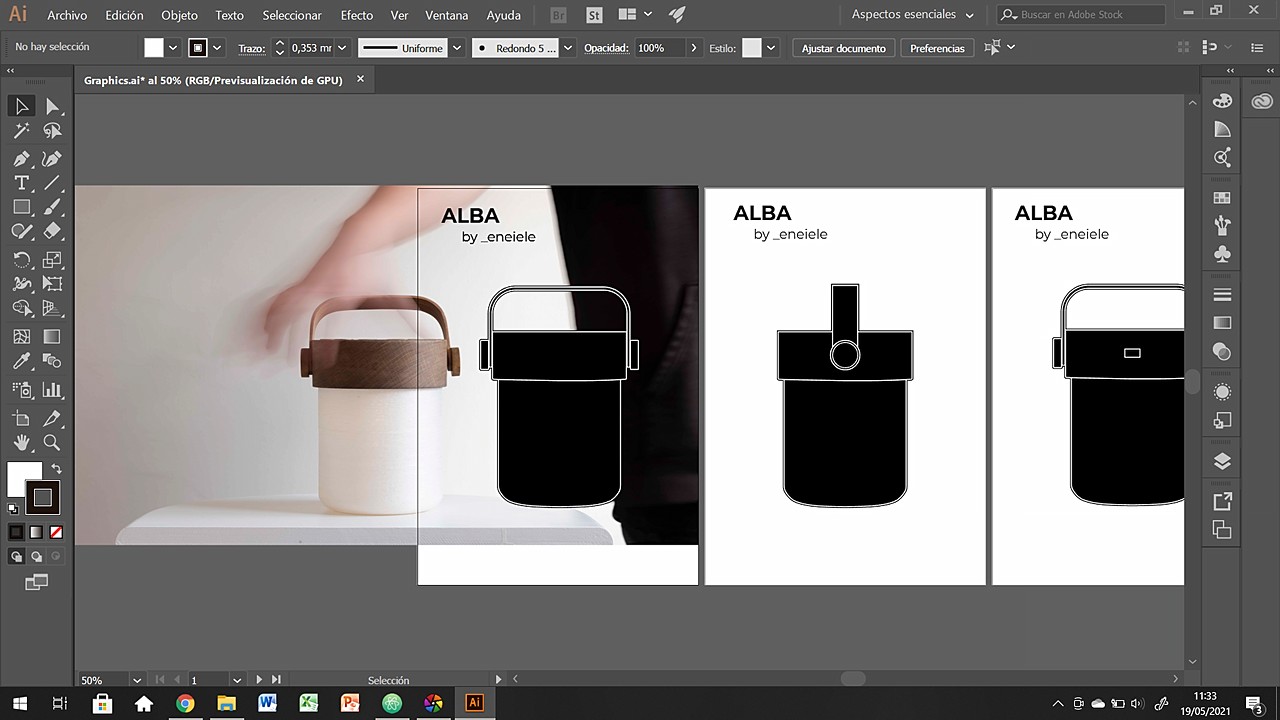
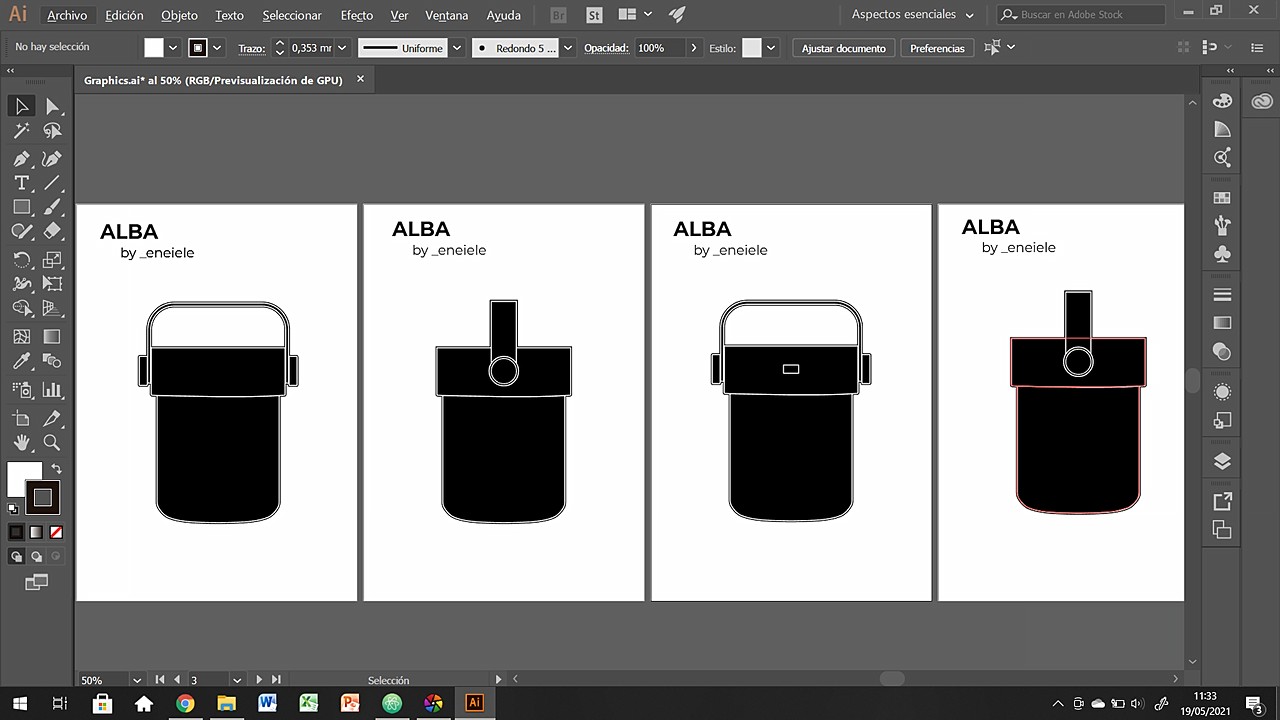
The workflow is not complicated, but it is somewhat tedious. The brush tool with which I have worked is not complex as I said, but getting the curves to correspond to reality is not immediate. There is a lot of work to approximate the curves and colored surfaces until they are exact.
Next, you have the final vectors ready to be applied on the cardboard surfaces. I am happy with the result and I think that outside of Fab Academy I will try to use them in some other product that revolves around the lamp (stickers, bags, t-shirts ...)
Rhino (Layout and Nesting)
The last step before actually starting manufacturing is preparing the vectors so that the laser cutters can understand the format. For that I make the leap to Rhino, which in addition to being the most intuitive for these things, is also the software with which our machines work.
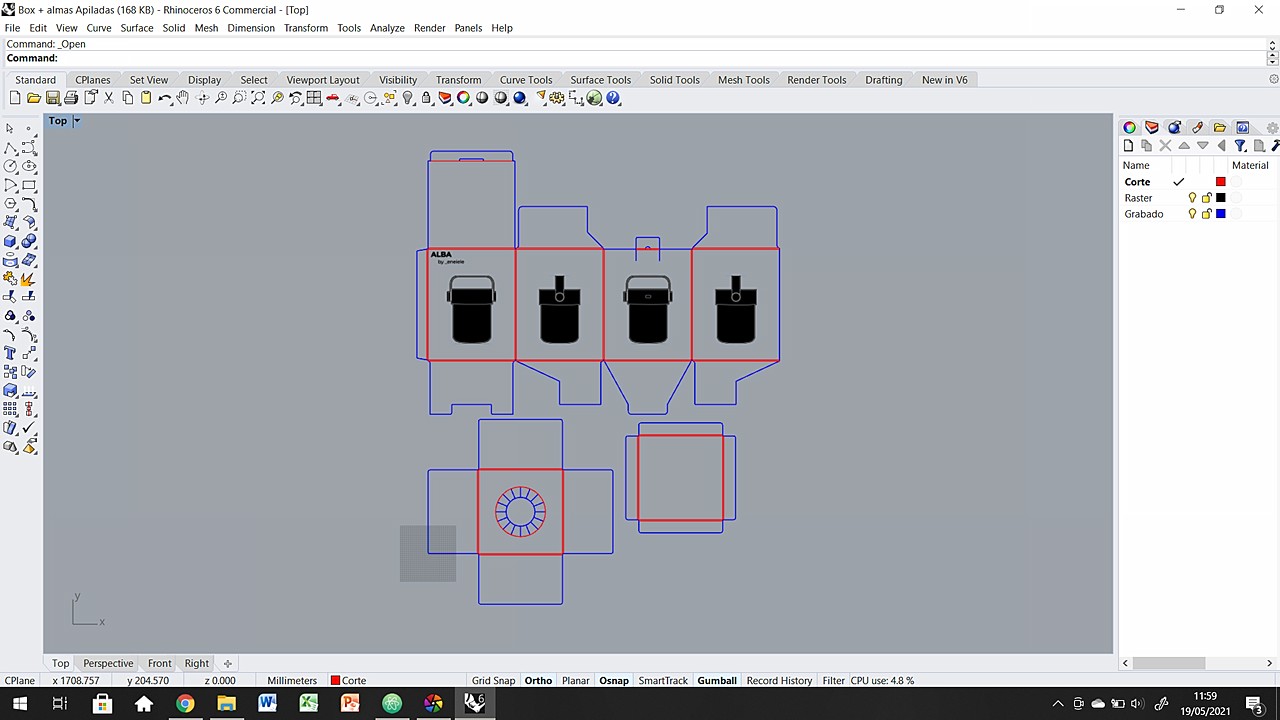

Basically the work consisted of importing the files in .dxf format from Solidworks and in .jpg from Illustrator. Place all the bodies in the proper position so that they fit in the piece of cardboard that I am going to use and generate the necessary layers for the cut to be correct.
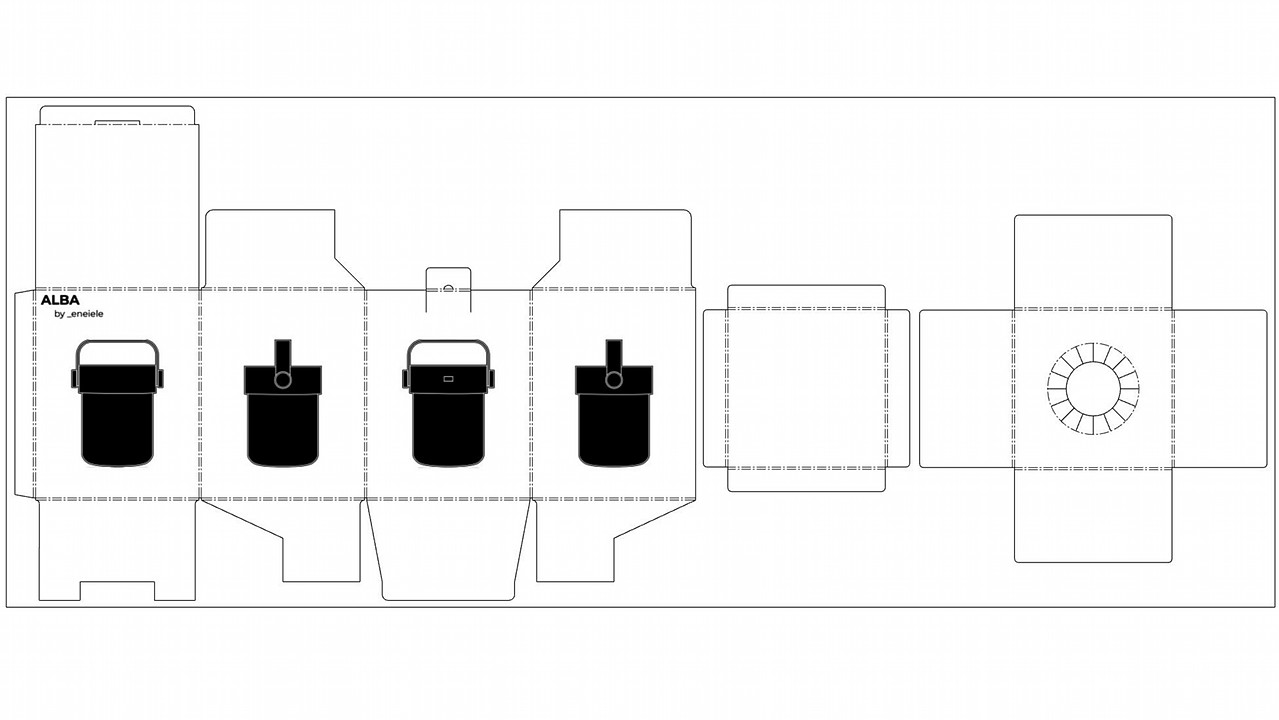
The layers that I have used you can see them in the image on the right, but they are in Spanish. For a better understanding:
- Red Layer: engravings for easy bending
- Black Layer: Rasters for product image
- Blue Layer: Box geometry cuts
The colors are not random, but are the order in which the Lab's cutters make the cuts. I was wrong with the order of firsts, but in the images you have the endings. I also prepared a small image so that you can see all the components of the box at a glance and in black and white that I have the feeling that everything is better appreciated.
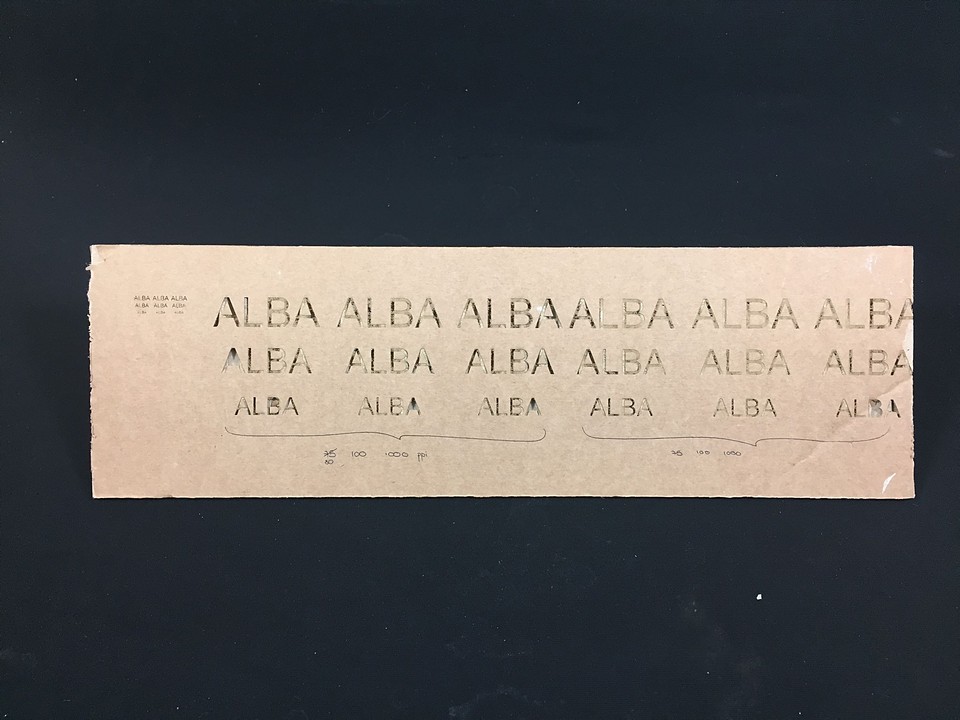
Engraving Test
The graphics that I want to apply to the visible sides of the box, I would like them to be an engraving on the cardboard. It seems very simple explained like this, but the problem with cardboard is that the composition of the material is not continuous. That is why when you engrave on it, sometimes the saturation of the burn is not uniform.
To play it safe, I prefer to do some tests with the cutter, to find the most adjusted laser cutter settings possible. The goal is to achieve a uniform burn color, along with a uniform material thickness reduction. In addition, I would like to do some tests with the thickness of the fonts, making sure that it is visible from a certain distance.
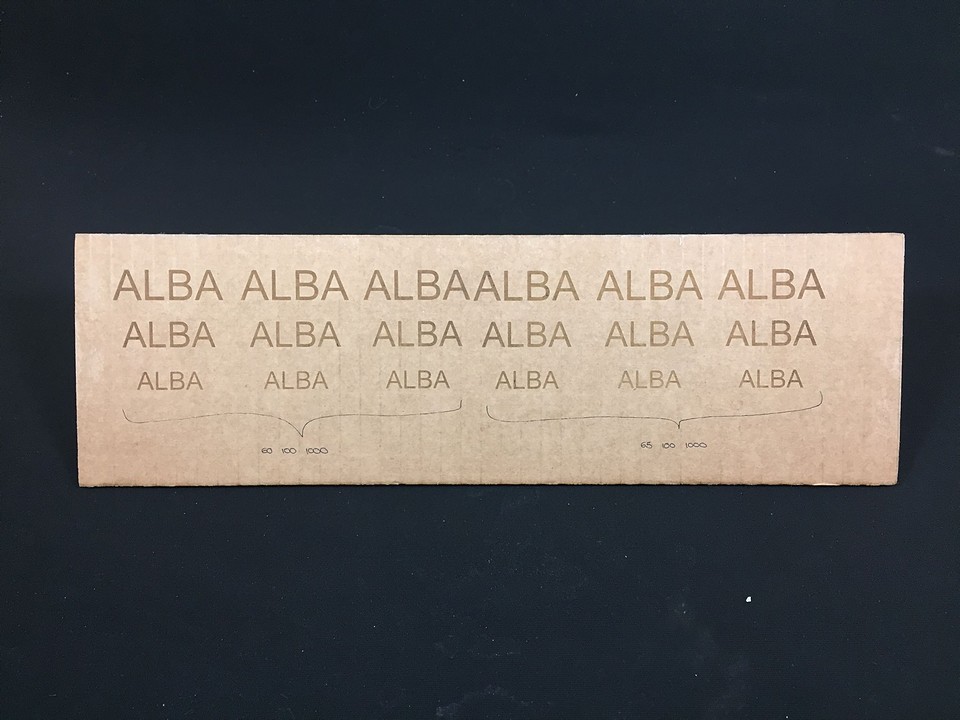
Finding the exact settings has not been easy. It all depends a lot on the material, depending on the density and how curved or flat the sheet is. Also depending on the availability of the machines, it is possible that I end up using a different one than the one I used for the tests.

Finally, the settings with which I have felt most comfortable and that give the best results have been the following:
Seetings for 4mm Kraft Cardboard
- Cut: P 60 / S 0.5 / R 20000Hz
- Engrave: P 70 / S 100 / R 20000Hz
- Raster: P 65 / S 100 / R 1000PPI
I started working with the ones recommended in the Lab cheat sheet but I kept adjusting until I got the desired finishes.
Laser Cut
When I had the files ready, I found that they did not fit on the medium laser cutter. Take advantage of the problem to learn about the operation of the large cutter. With the help of Mikel, our warehouse manager, I learned the workflow with the most industrial machine. Believe me that it is much more complex to use than its smaller sisters. The software is not dedicated and everything is done from a remote computer, which is a few meters away.
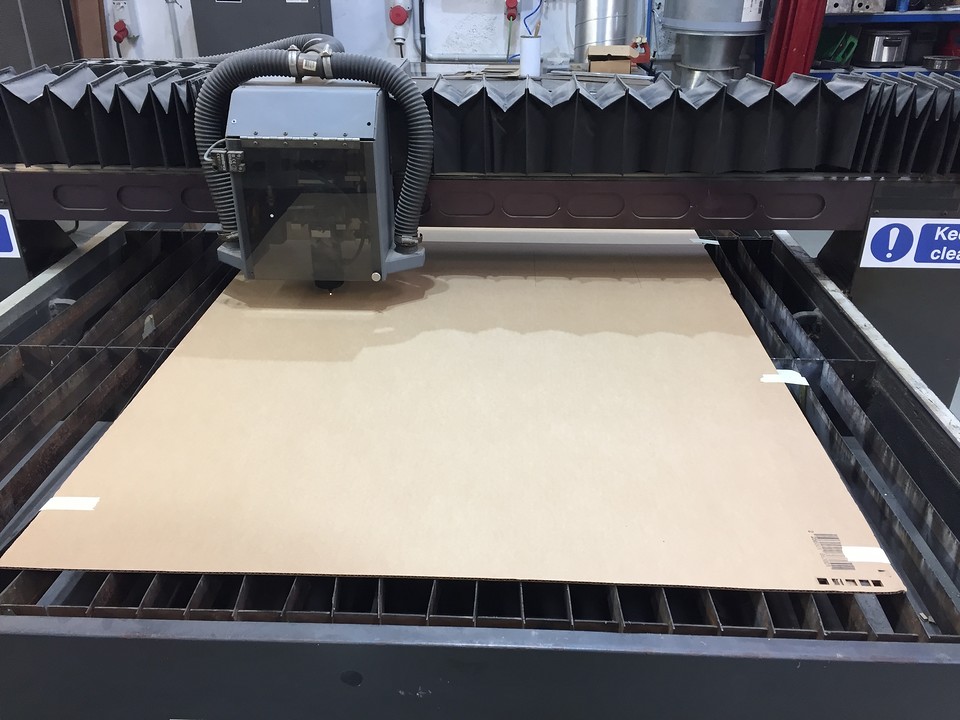
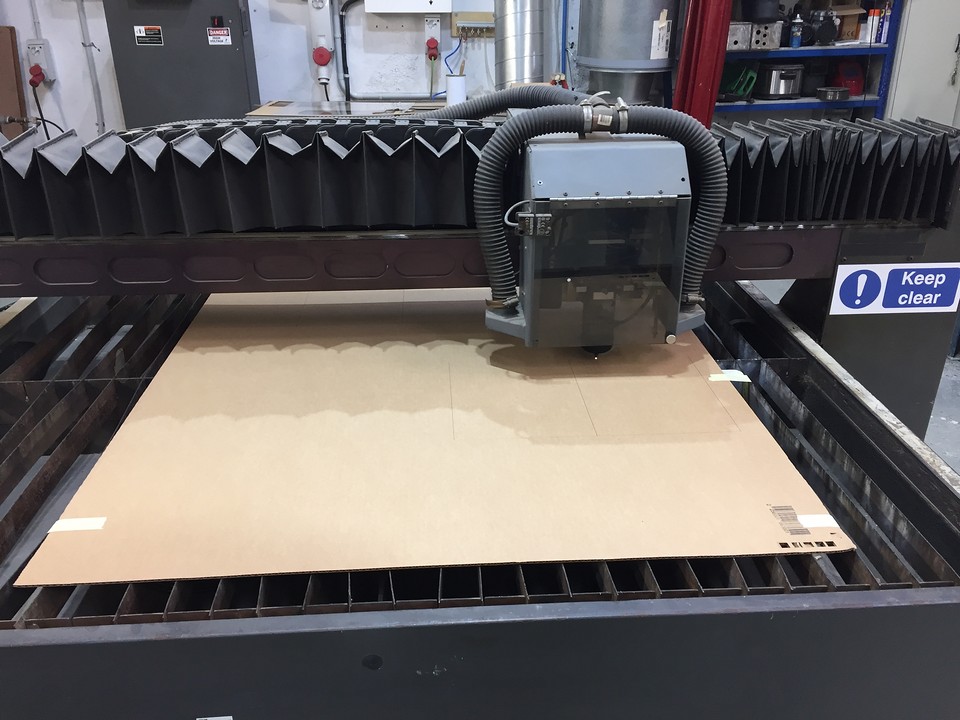
As I am not sure that the cuts and tolerances are correct, I prefer to cut the geometries first, bend and check that everything fits. Later I will take care of recording on the medium machine. The big one has bad behavior with rasters and engravings. Not that I get them wrong, but you have to do some calculations to understand the position of the geometry according to the global origin and volatile origins.
All three pieces look great and I am very happy that the dies I designed for bending have worked perfectly. The truth is that I am glad to have foreseen the general tolerances without having to create other prototypes. It is a pleasure that everything works the first time.
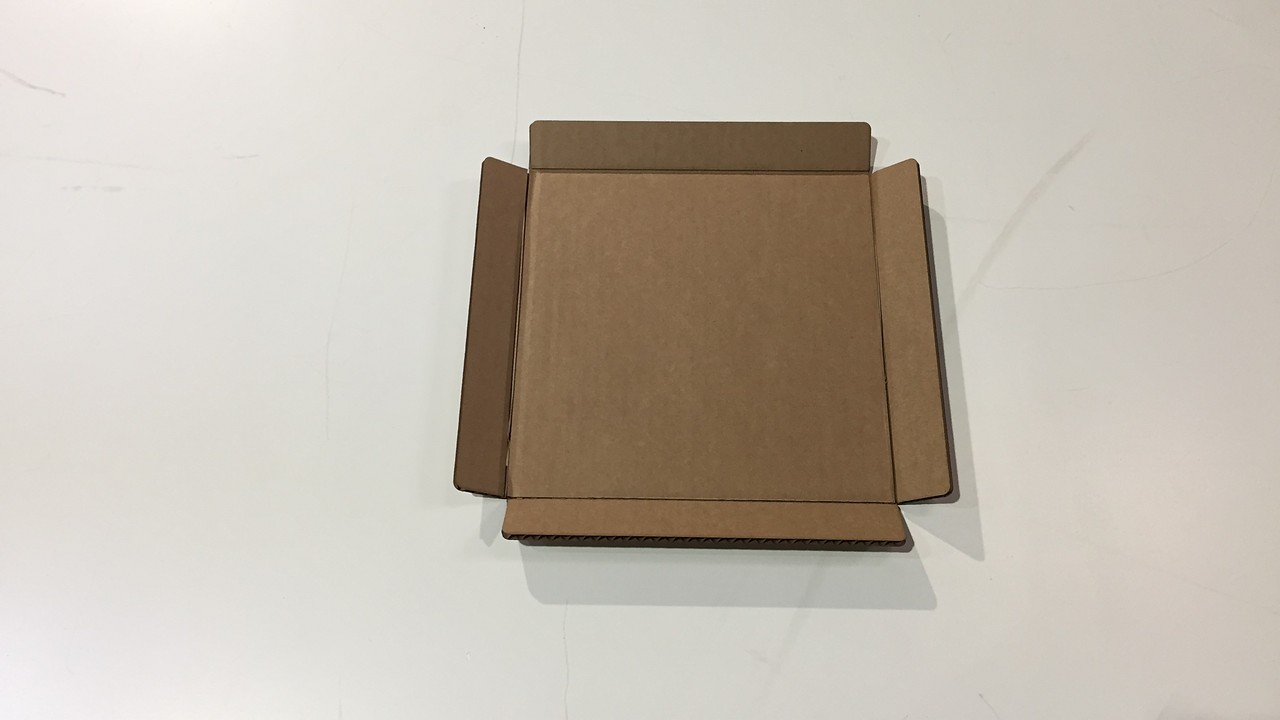
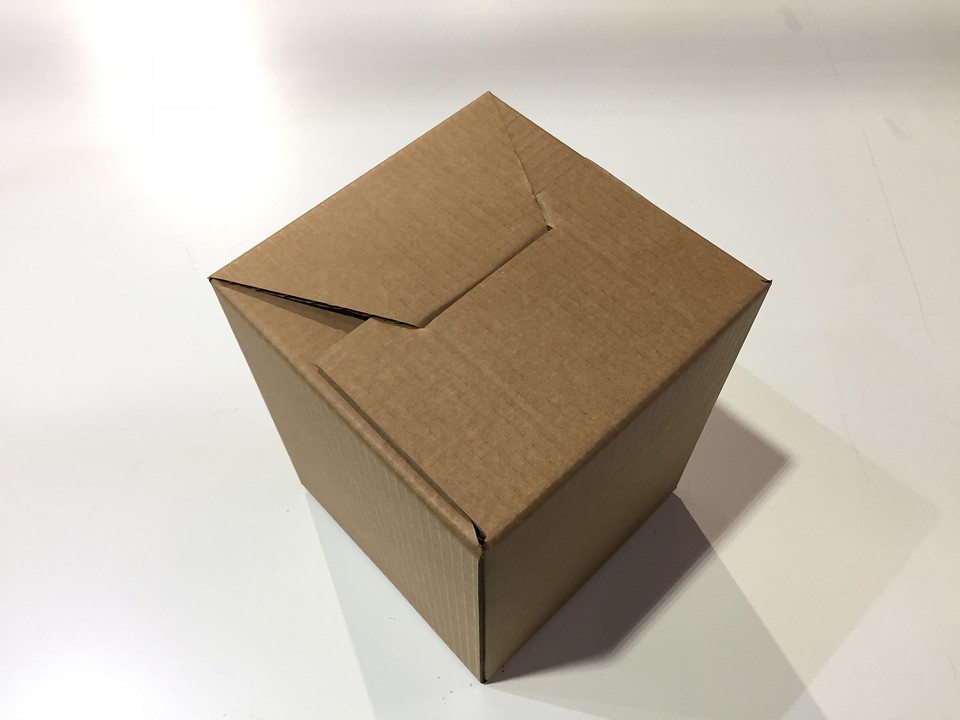
Folding
At this point I have already seen that everything is well dimensioned, but the question remains whether when I start to fit them everything will be correct. It is common when you make origami-based products, that the relative errors accumulate one after the other and the last union does not fit.
The process that I have followed to assemble the box has been:
- Mark all the folds with a blunt edge tool. Make sure nothing fails.
- Mastering the folds to create a little memory for them
- Glue the small flap with hot glue
- Close the lower cover by fitting the pieces together
- Fold the lower reinforcement and insert it into the box.
- Fold the upper reinforcement and insert it into the box. (took long because of the circular pattern)
- Close the top cover and insert the tab in position
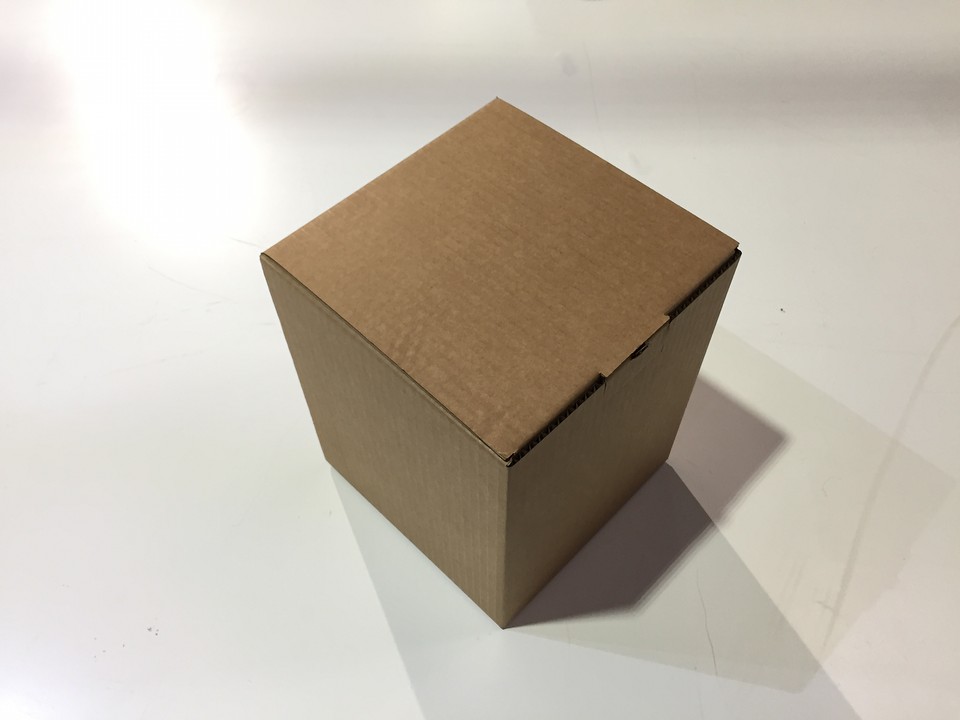
Engraving
Everything fits great !!! We are going to make the engravings of the graphics to finish this packaging.
This process was very long! The rasters I used are approximately 150 * 200mm in size to scale 1: 1 with the product. Approximately each one takes about 18-22 minutes to complete, making a total of 4 so it takes 1h20min to finish. It is frustrating to be staring at the machine for so long but it really is super satisfying to watch.
There was one thing that I especially liked that I had never considered. Since the box was already bent, the surfaces were not completely parallel to the base. That caused the side graphics to be shaded by mistake (but still perfect). Notice in the images that the front and side are flat in terms of color, but the sides are shaded.
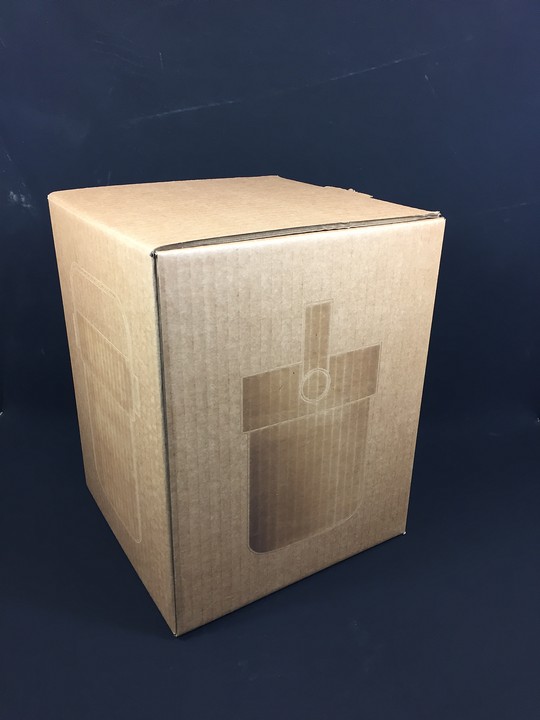
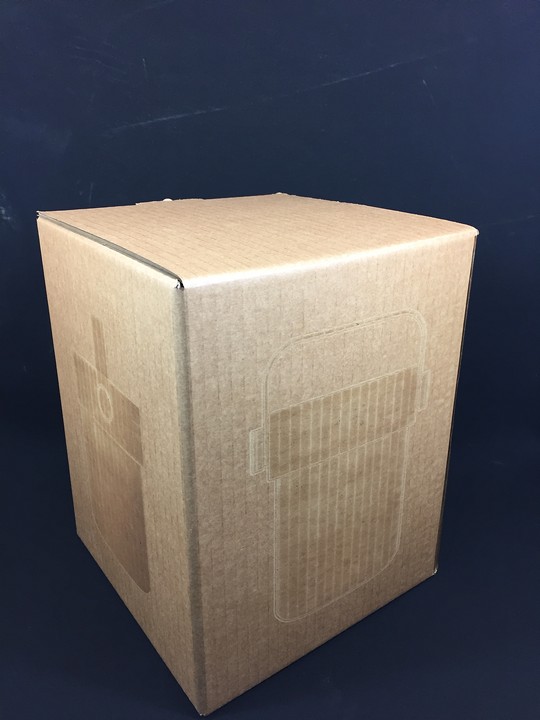
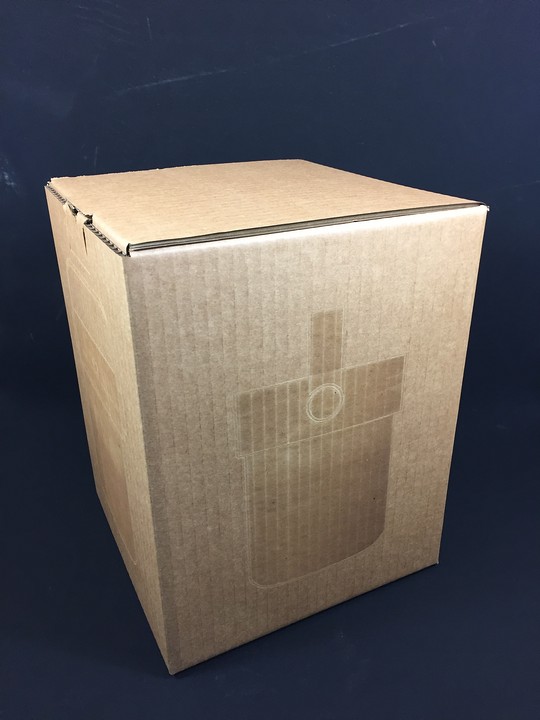
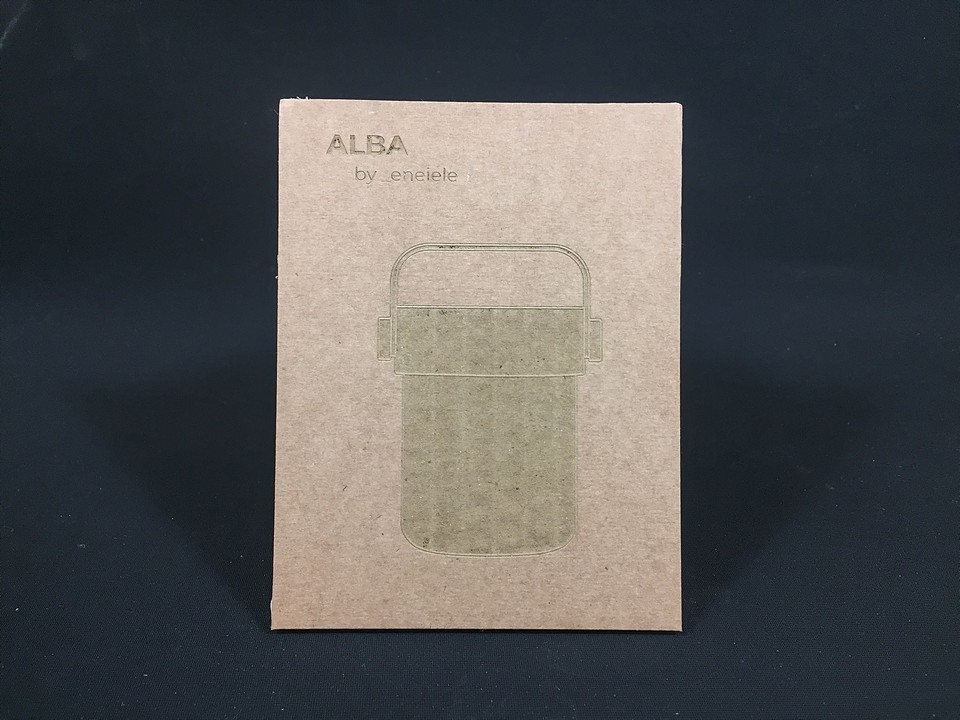
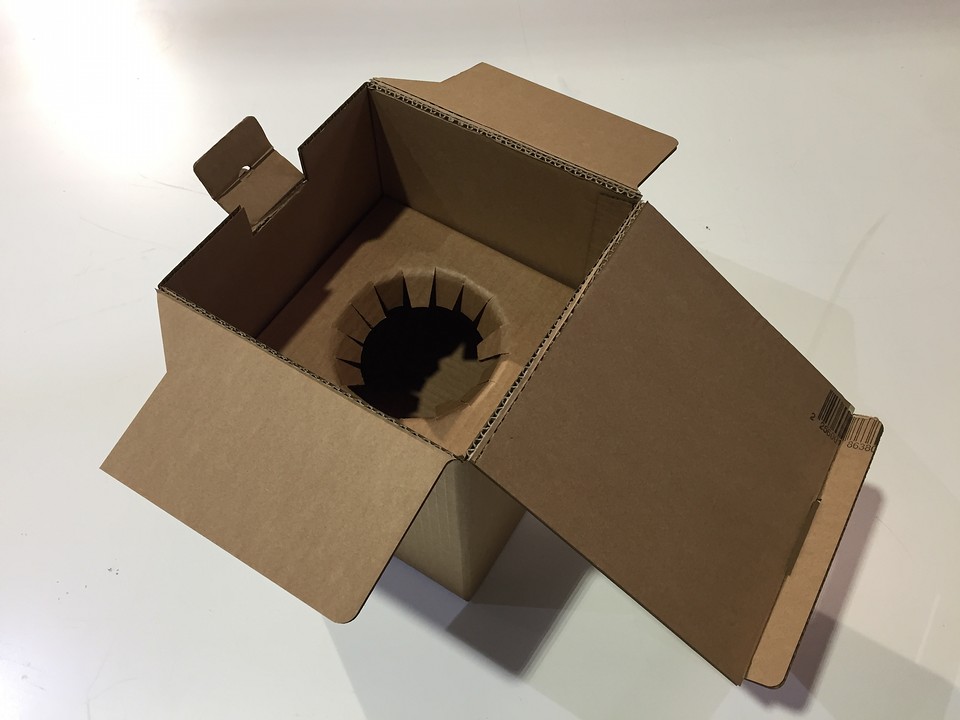
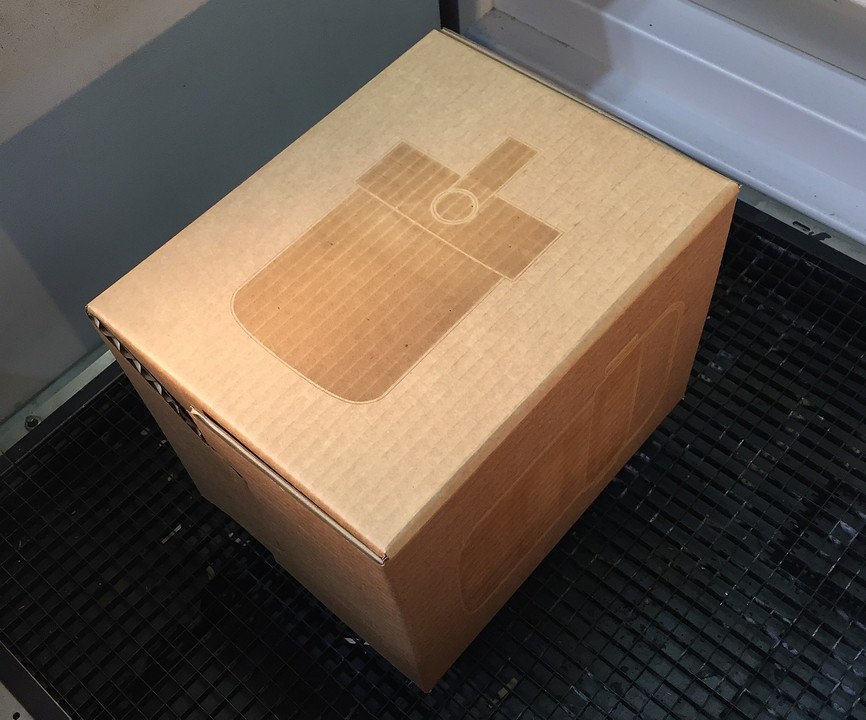
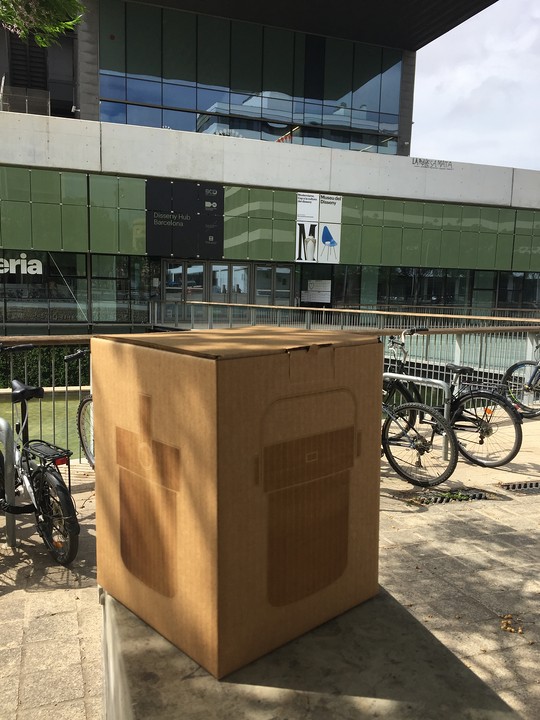
Results
Here are some final images of how the box has been and how the product fits inside!
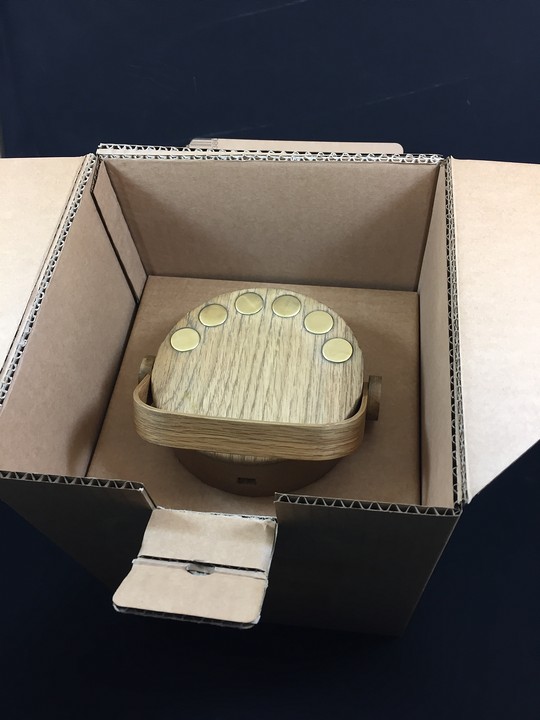
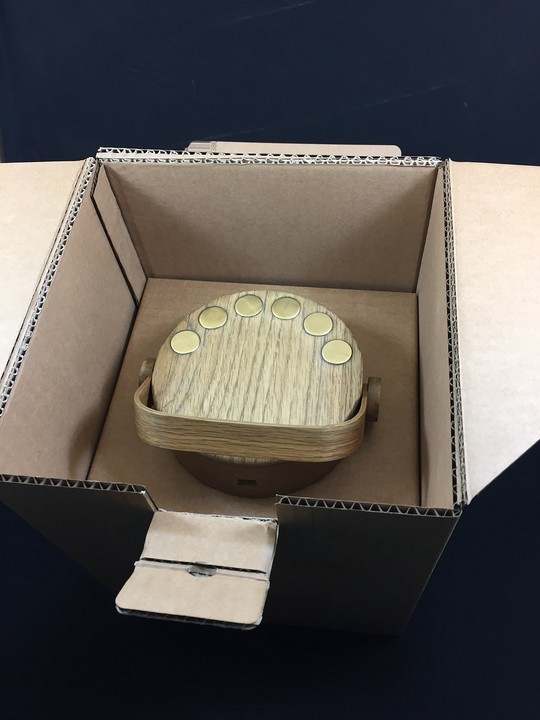
Everything has turned out great and I'm happy with how it is. So I'm going to the museum to deliver it !!!!!
Conclusions
The material bending technique is very powerful, in my particular case I have managed to protect a product with a few square centimeters of raw material. I imagine that in larger cases bending is a great way to generate volumes from flat materials. In addition, the fact of folding the material stresses it internally. This means that the rigidity of the final result is sometimes much higher than when it is a single solid volume.
Original Files
Link to Original files from this week.
What to improve for next assignments?
Being the last week with technical concepts, it no longer makes much sense to improve attitudes and procedures. It is time to focus all my efforts on the final project. There are 3 weeks left and they have to be super productive. I will organize my head in one day, I will make a work scheme and for all!