- Test the design rules for your 3D printer(s)
- Individual assignment:- design and 3D print an object (small, few cm3, limited by printer time) that could not be made subtractively
- 3D scan an object (and optionally print it)
Group Assignment
Individual assignment
Project work
Learning outcome
- To understand 3D Printer machine
- Use of 3D design S/W such as Solid work
- Print the 3D model on 3D printer
- To understand better use of third part software such as Factory
- 3D Scan of composter
Hero shot
.
Group assignment
As part of gruoup assignment i studied about wall thickness , overhang distance & surface finishing which i described below.
Wall thickness
Wall thickness, also known as shell thickness, is the thickness of the outer walls of your design. In manufacturing, you always want to use as little material as possible, or just as much as you need.This goes for 3D printing, as well. The added luxury is that you can decide the material thickness of your project’s walls, top, and bottom when you prepare the 3D print file for your 3D printer.
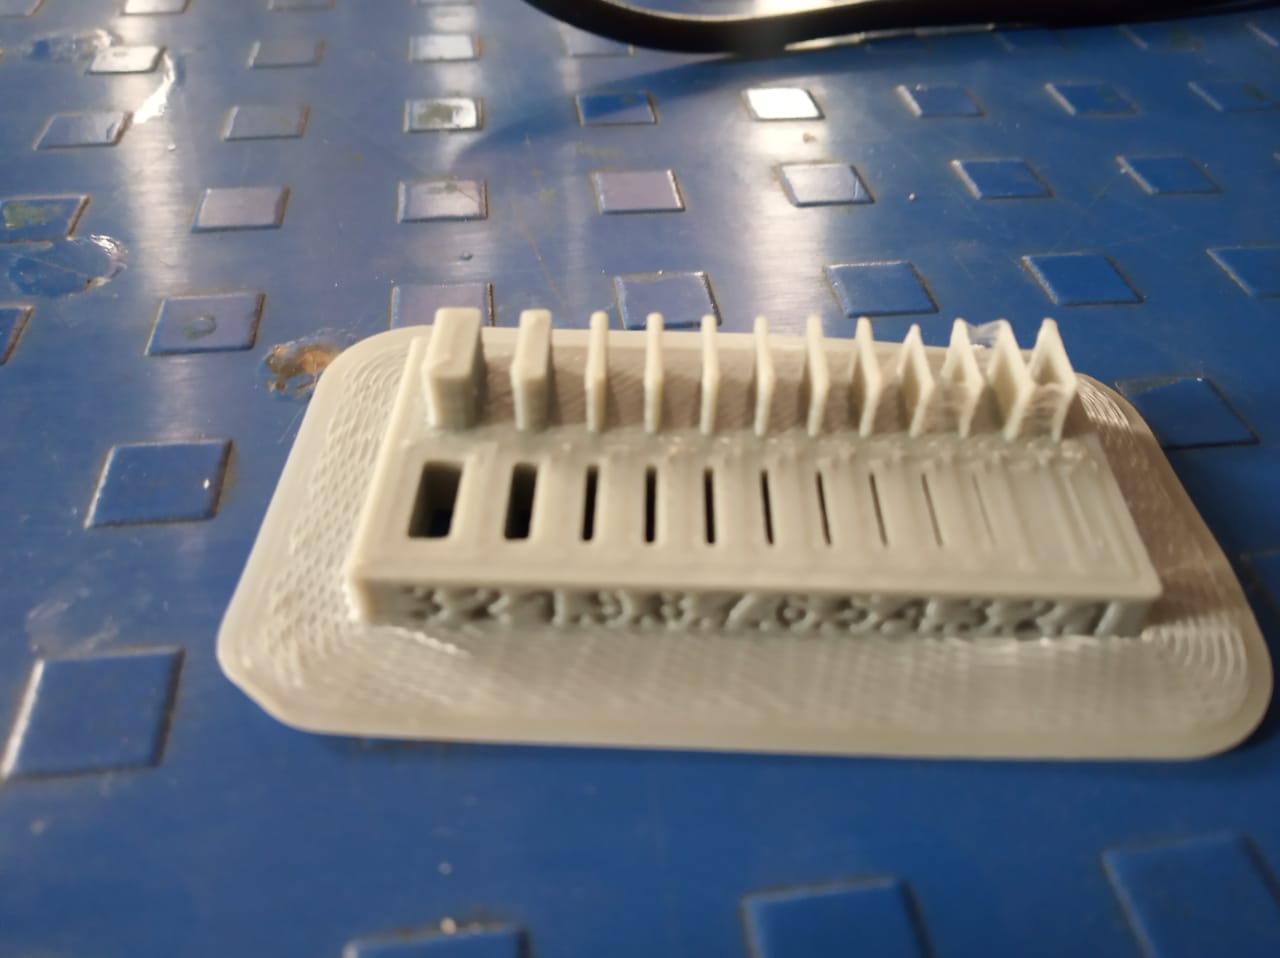
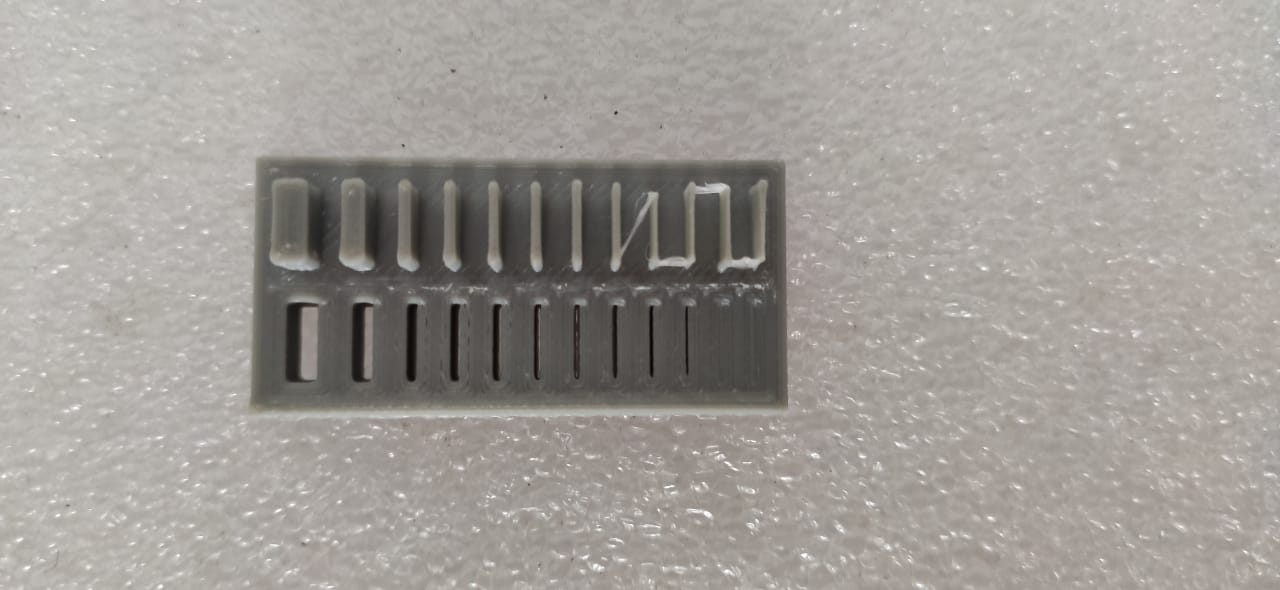
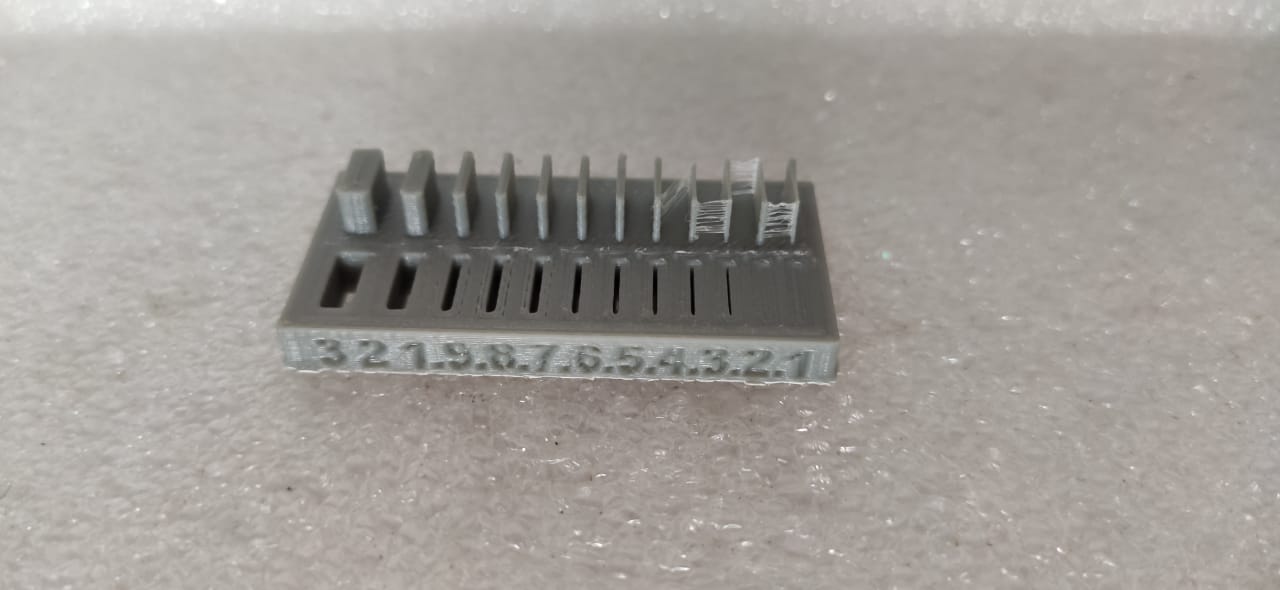
The wall thickness parameter can siginificantly increase or decrease print time.
overhang distance
In general, when your model has an overhang or a bridge which is not supported by anything below, you may need to use 3D printing support structures to be able to 3D print it. Here are some examples of overhangs and bridges illustrated with the help of the letters Y, H, and T.
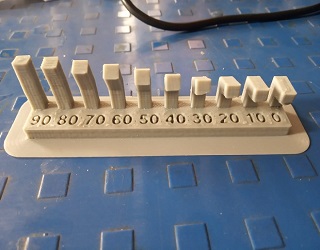
However, not all overhangs need to be supported. The general rule of thumb is: if an overhang tilts at an angle less than 45 degrees from the vertical, then you may be able to print that overhang without using 3D printing support structures.
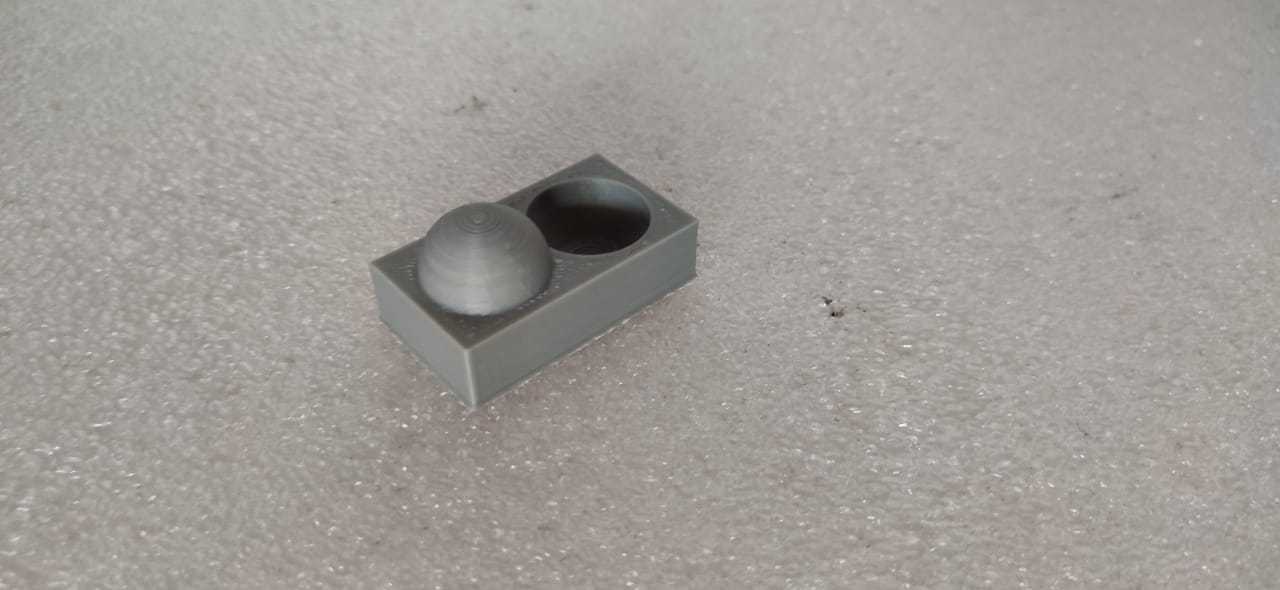
Surface finishing
If you are looking for a way to smooth your prints after you remove them from the build plate ,sanding is a really great alternative. In order to use these sanding techniques to completely smooth your model , you will need the following things
We print our model with standard setting of 0.2mm layer height, 20% in fill and 2 shell.Once your part is free from the bulid plate ,remove rafts and supports material from the model,Be sure to wear mask.Now all support material has removed ,You can begin the sanding process.Sanding will produce small particles of filament so wear a mask start with sand paper.
Individual assignments on 3D printing & Scanning
Table of Content
3D Design
What is 3D printing:
3D printing or additive manufacturing is a process of making three dimensional solid objects from a digital file. The creation of a 3D printed object is achieved using additive processes. In an additive process an object is created by laying down successive layers of material until the object is created. Each of these layers can be seen as a thinly sliced horizontal cross-section of the eventual object. 3D printing is the opposite of subtractive manufacturing which is cutting out / hollowing out a piece of metal or plastic with for instance a milling machine. 3D printing enables you to produce complex shapes using less material than traditional manufacturing methods. (Source:3D printing)
How Does 3D Printing Work?
It all starts with a 3D model. You create one yourself. When creating it yourself you can choose to use 3D modeling software like Solid work or 3D scanner .
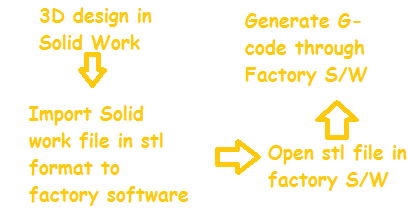
3D design to 3D Printer
Flow of design
Step 1
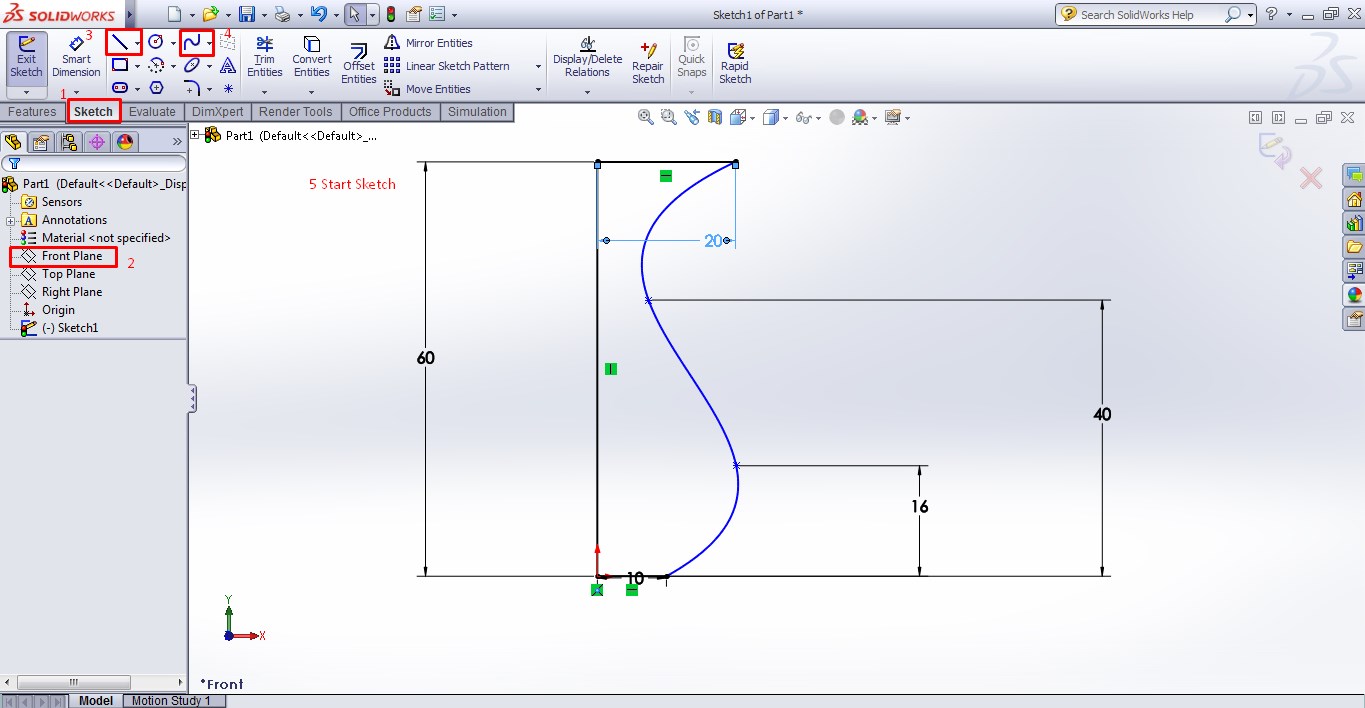
Step 2
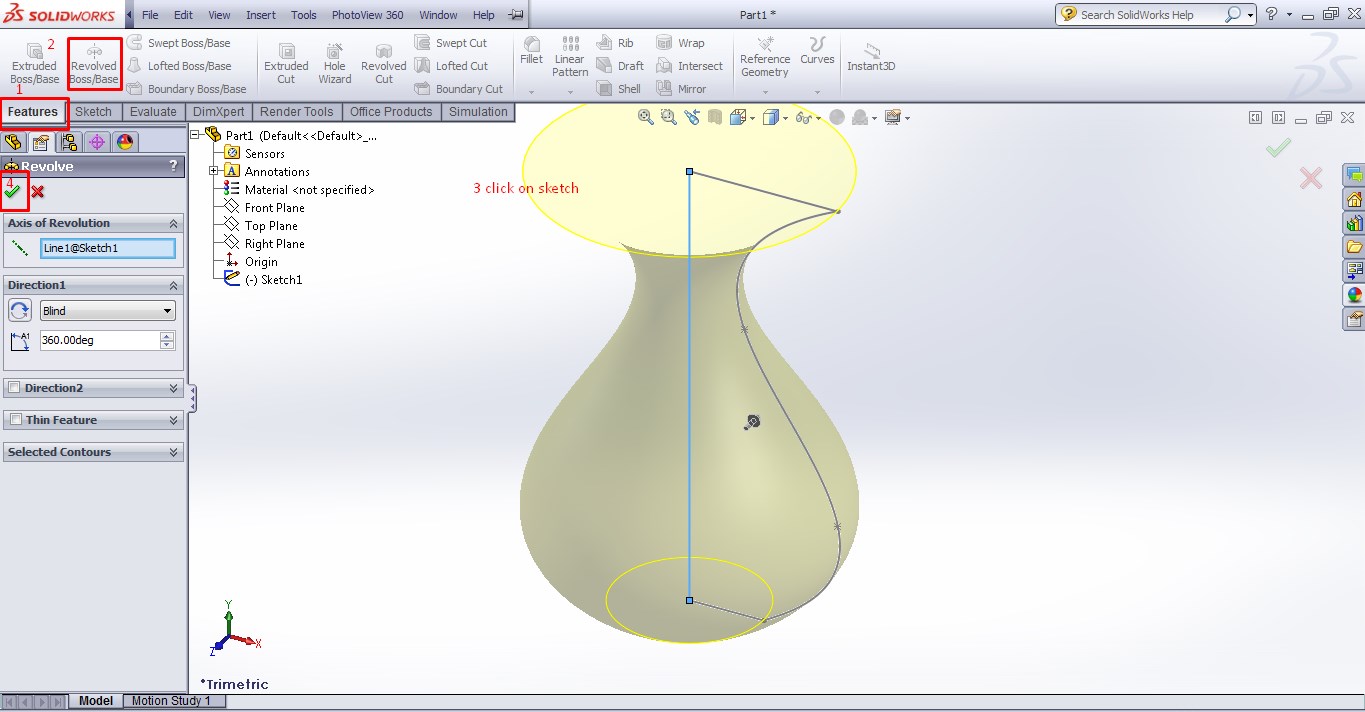
Step 3
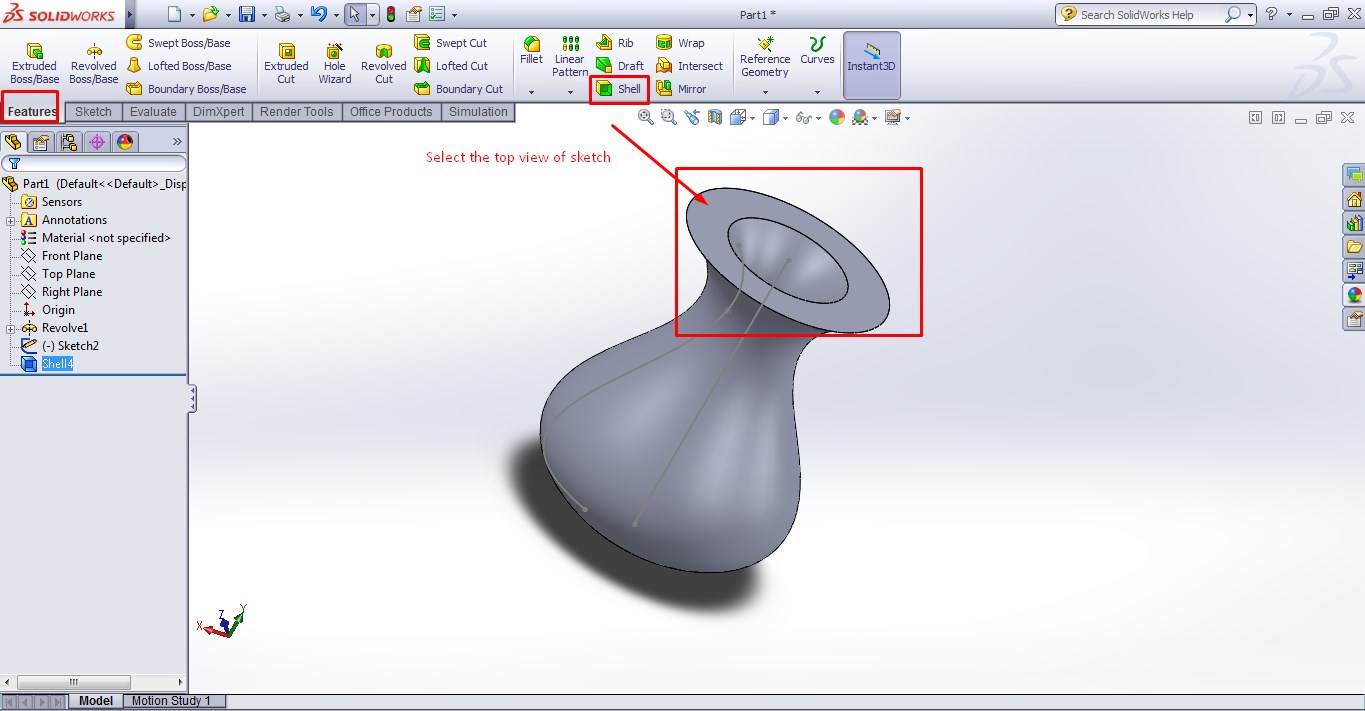
Step 4
Step 5
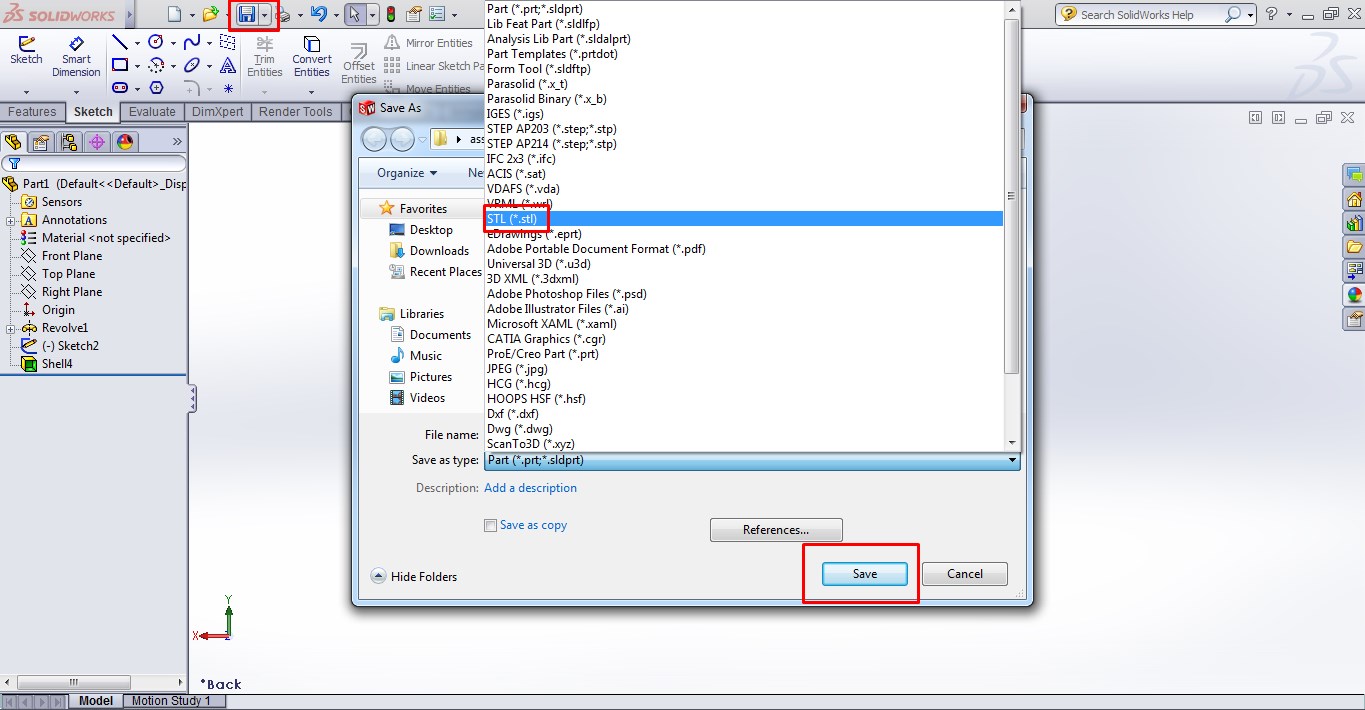
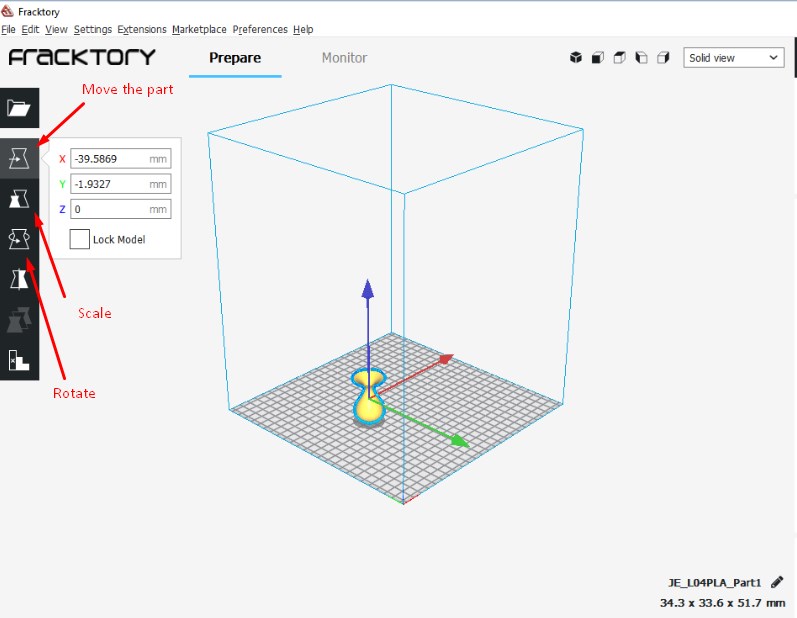
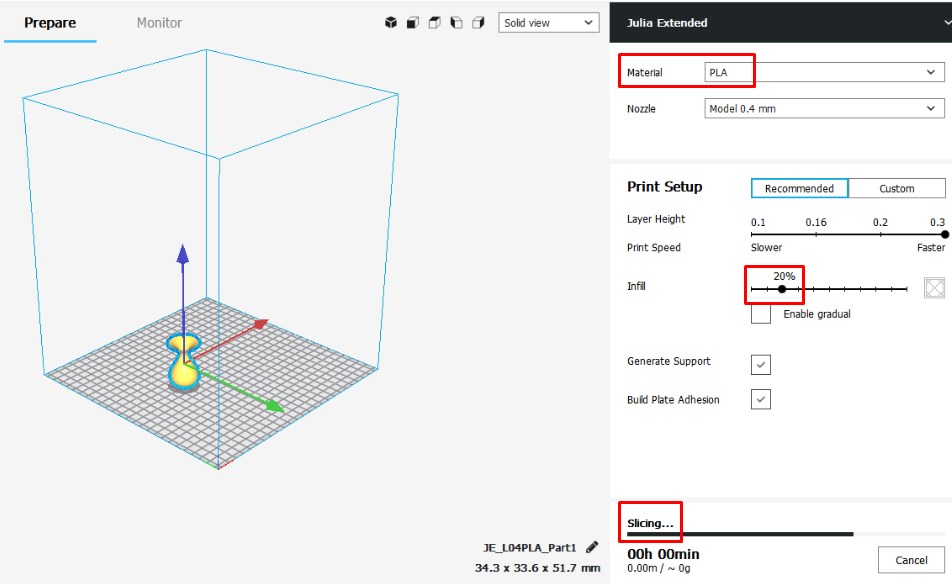
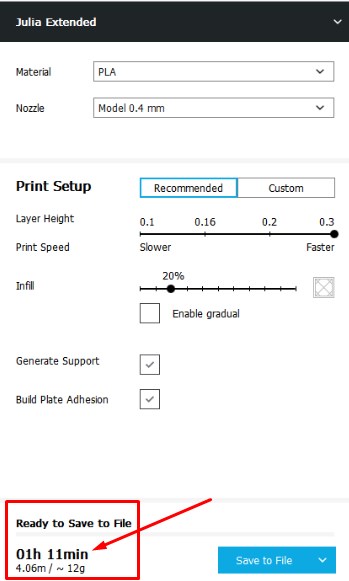
Factory is a third party software which is needed to convert STL file into G-code.Our 3D printer undestand only g-code. This g-code will be loaded into 3D printer.
Step 7 3D Print Design
Step 6
.
#Making of 3D printing
Step 7 3D Print Design

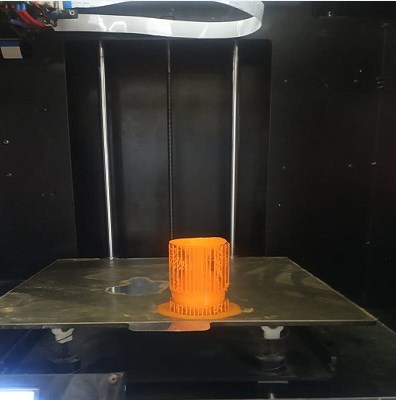
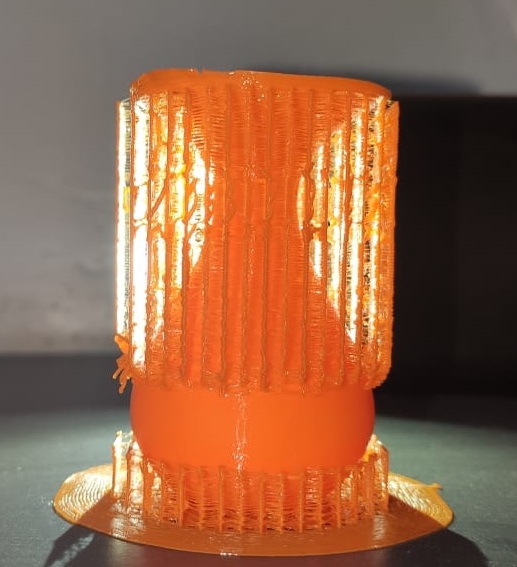
Used Spatuala to take out from printer.
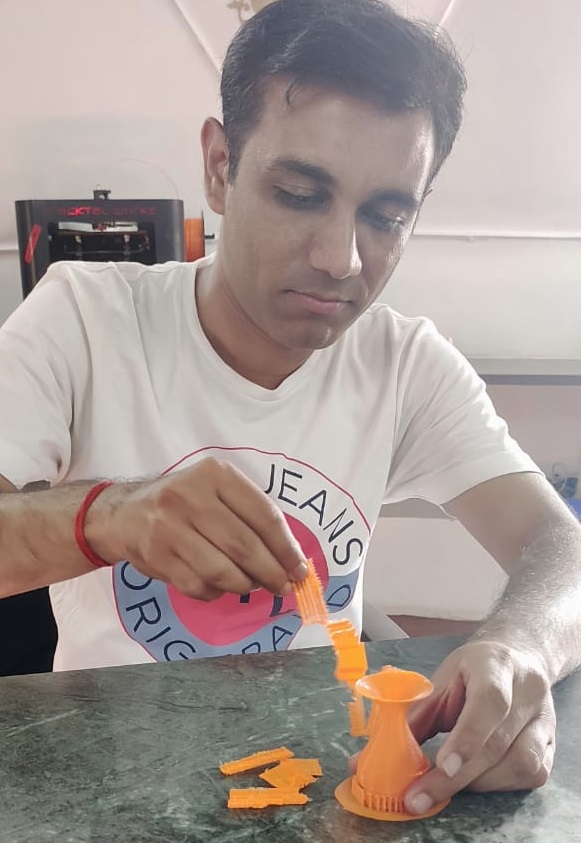
Removed unwanted support material smoothly.

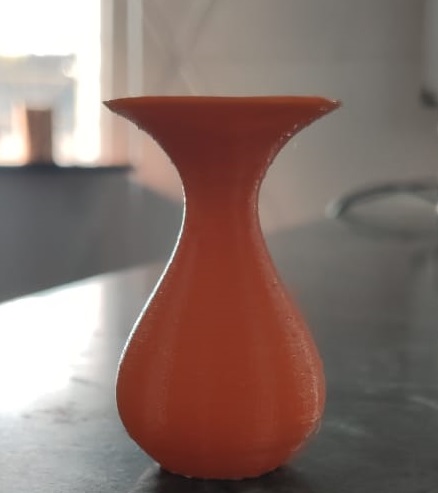
Finaly,This is how look my flower pot design.

Advantages of 3D printing
Disadvantages of 3D printing
How 3D printer flower pot couldn't be possible in subtractive?
3D Scanning
Requirment
Step 1.Set up the environment
Before you begin scanning process you have to connect 3D scanner to PC having 3D system sense S/W installed in it.3D Systems Sense is a free program that enables you to work with the Sense 3D Scanner. The program gives you the creative freedom to combine scans with other favorite designs. You can upload scans directly for 3D printing, either at home or through the cloud.Then open the 3D system sense S/W and select the perticular view and then adjust the view and start the sacnning of object.
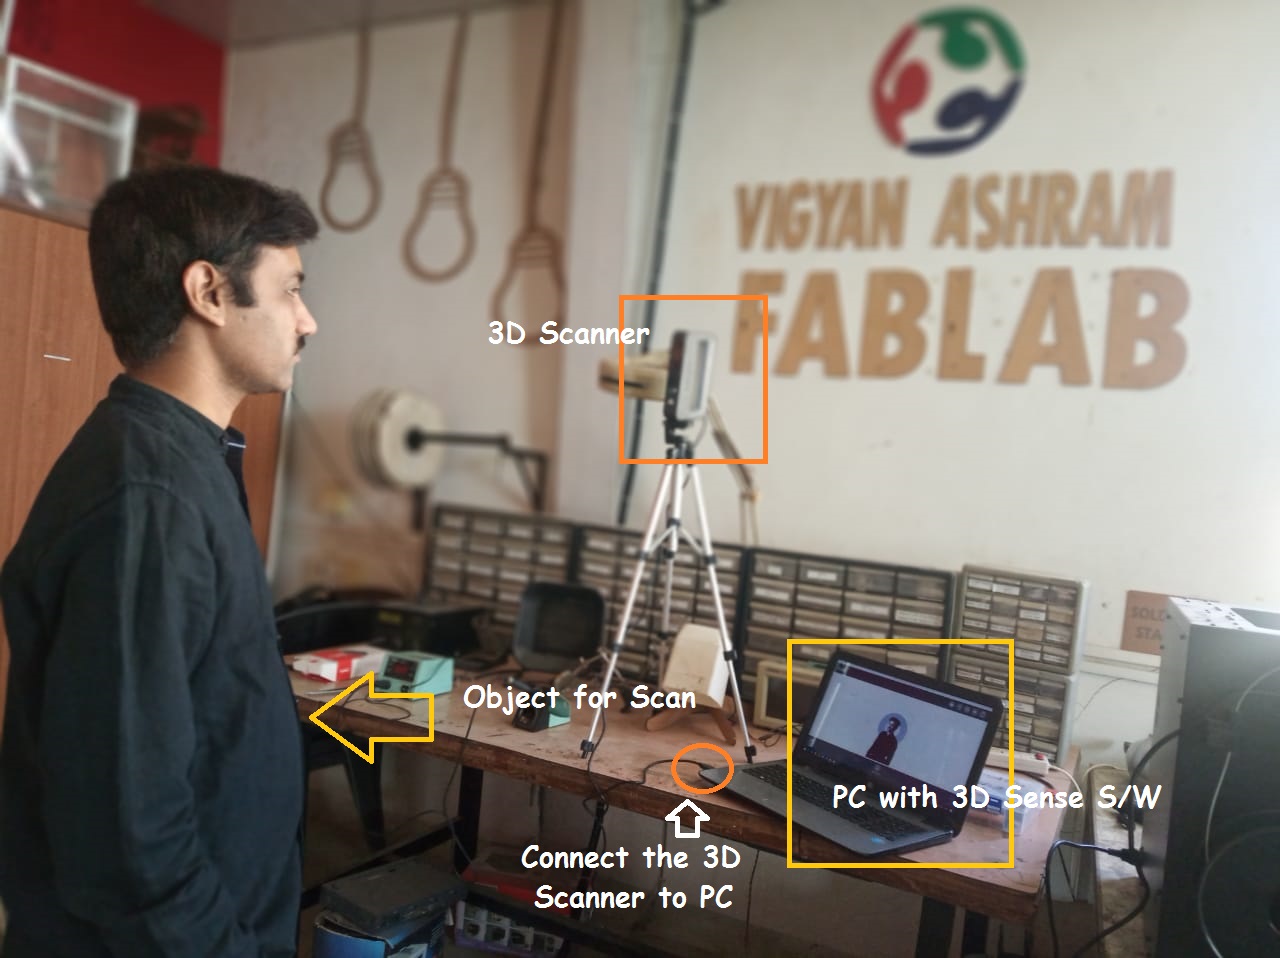
Step 2.Scan the object
Start scanning the object through sense 3D scanner and rotate the object 360 degree smoothly(otherwise object loss error will display) and the finised the scan .Save the file in stl format.
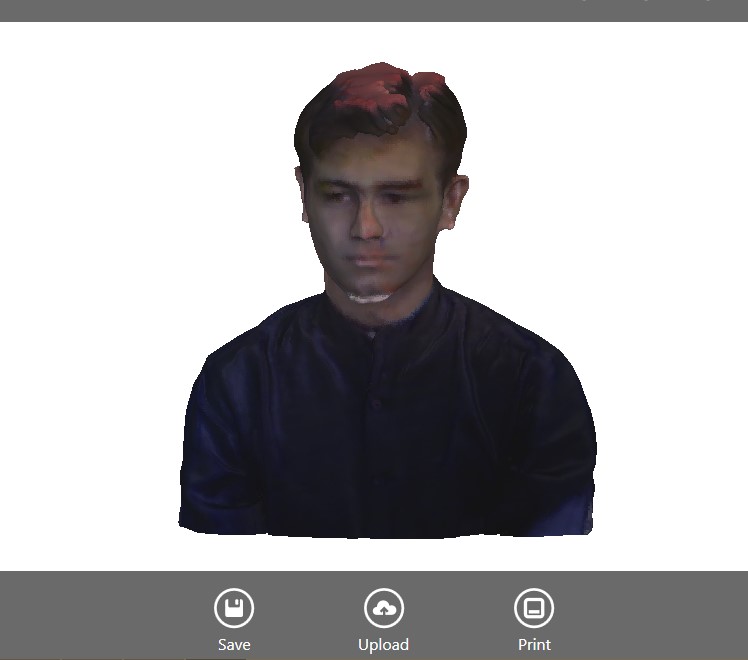
Step 3.Export the file in Factory S/W
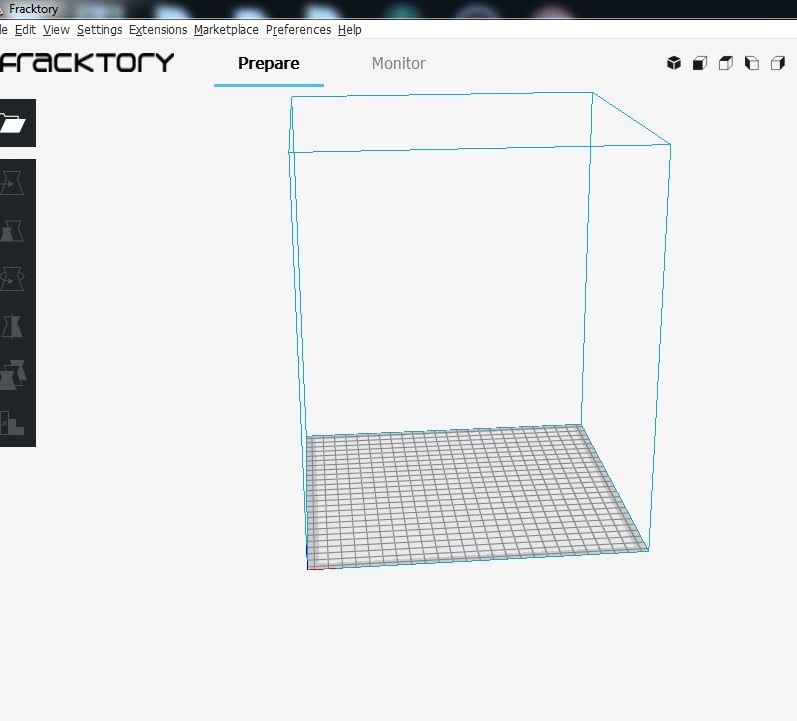
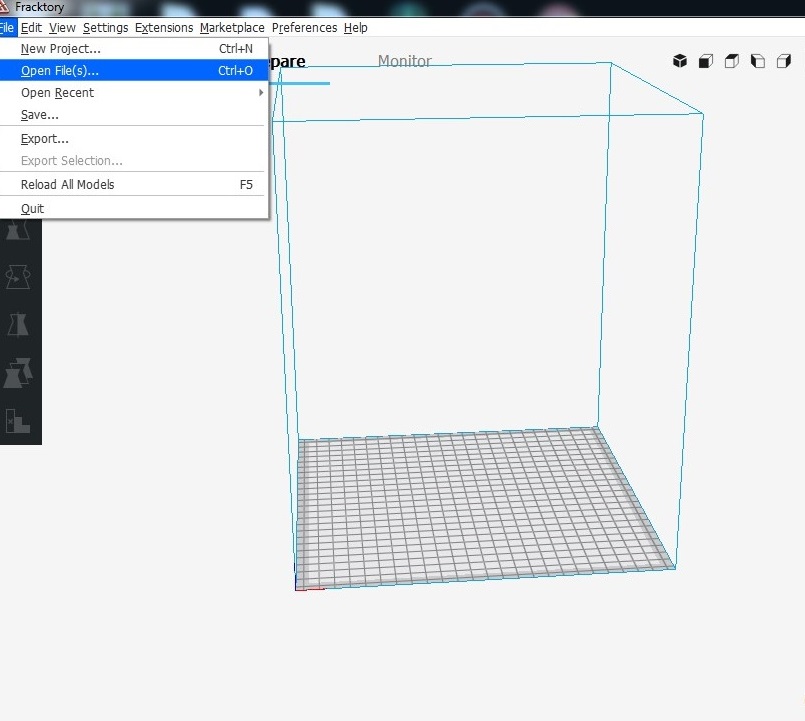
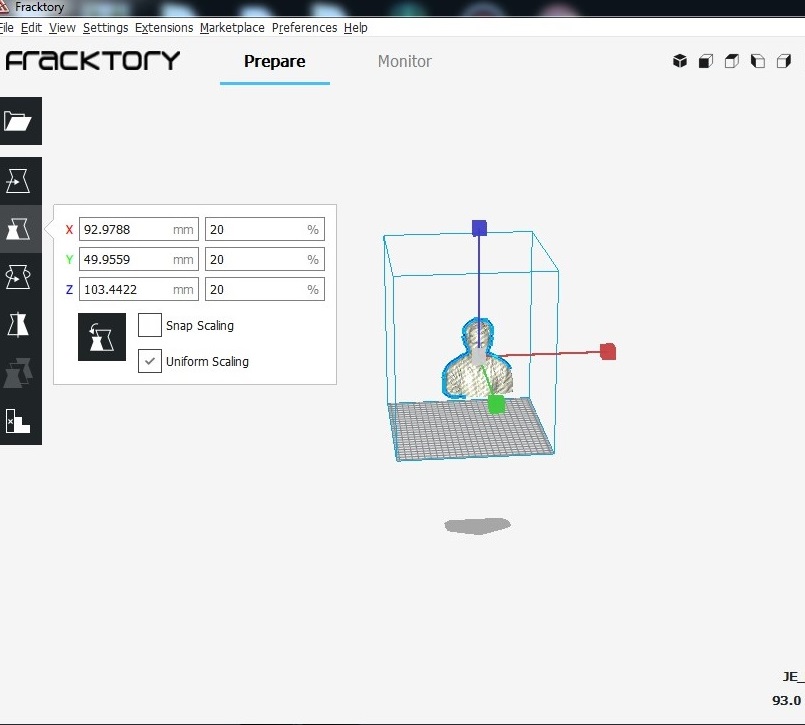
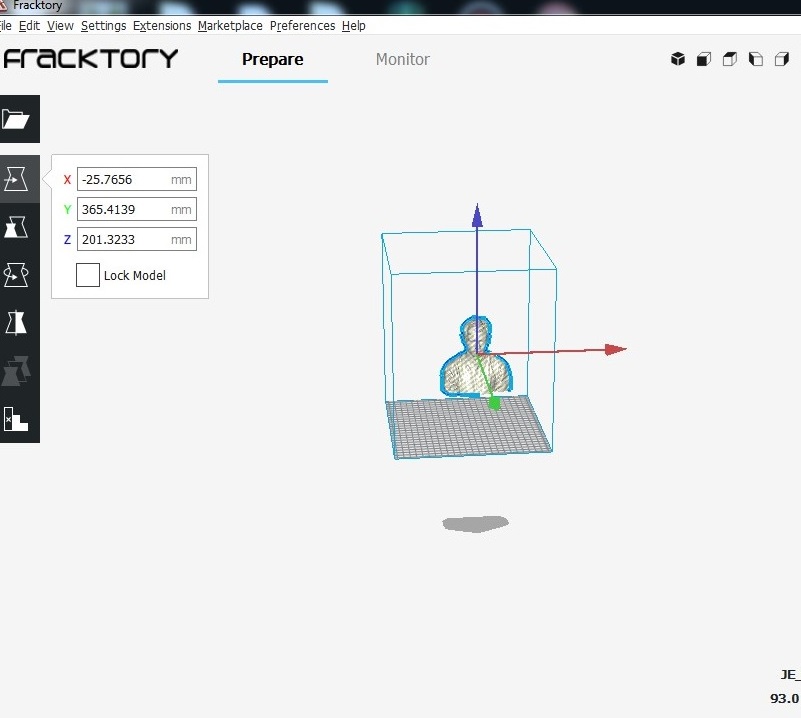
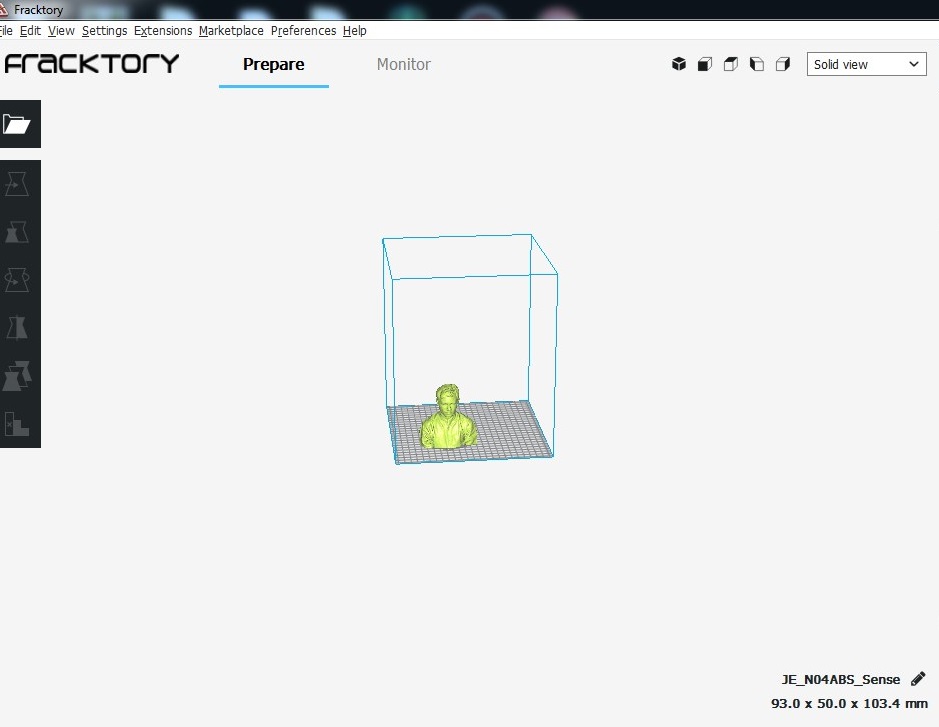
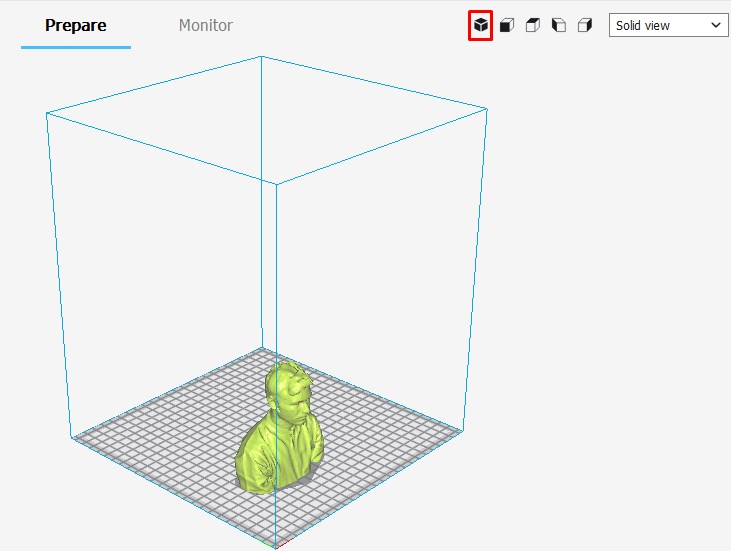
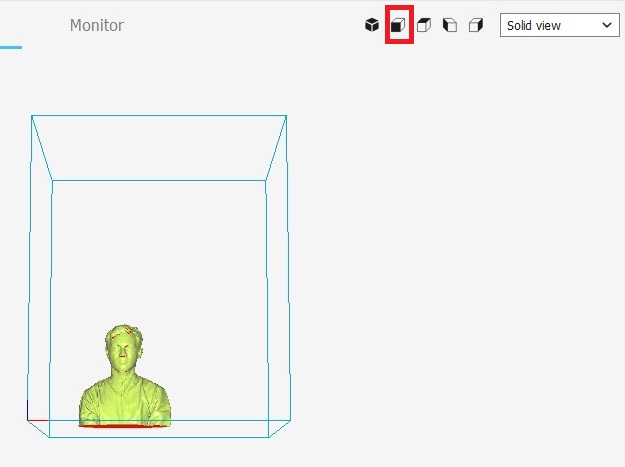
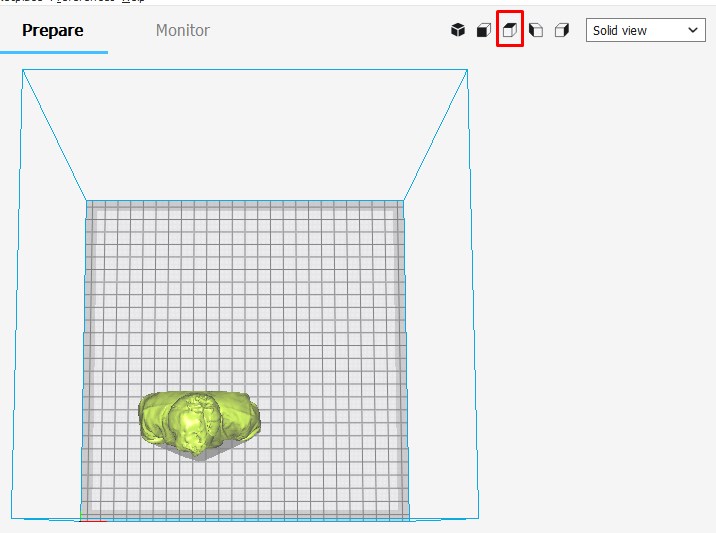
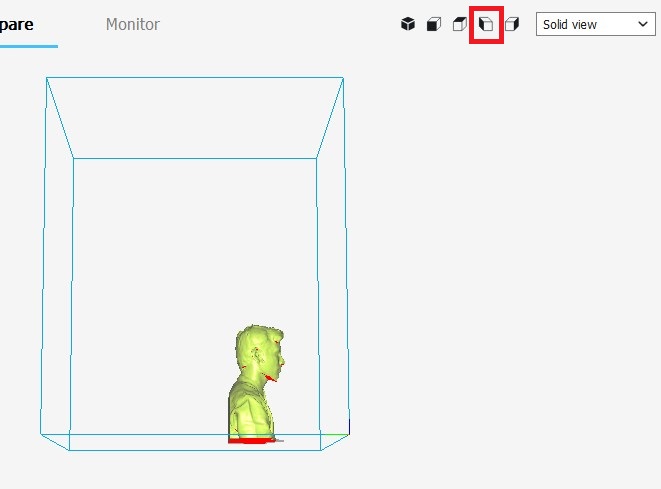
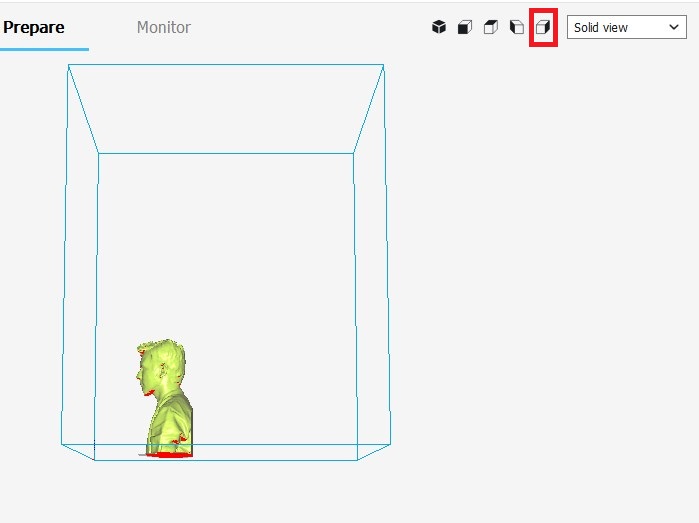
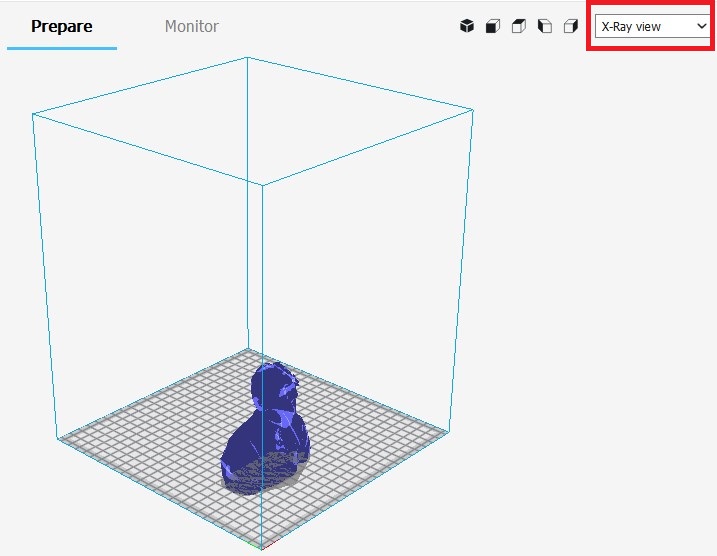
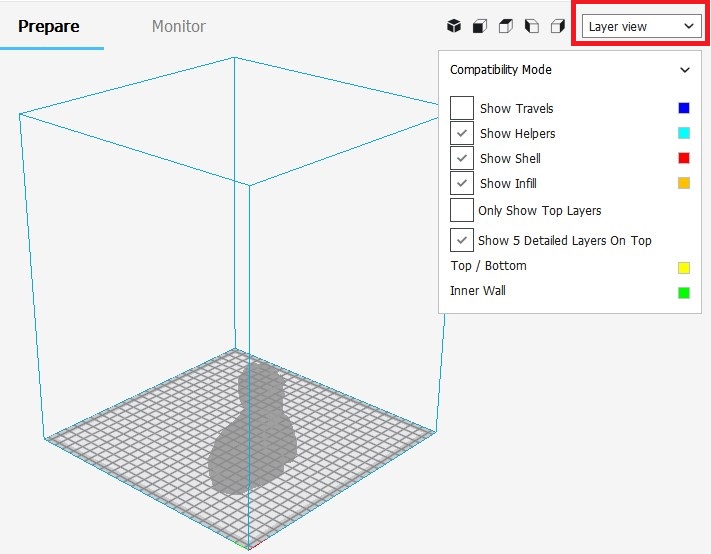
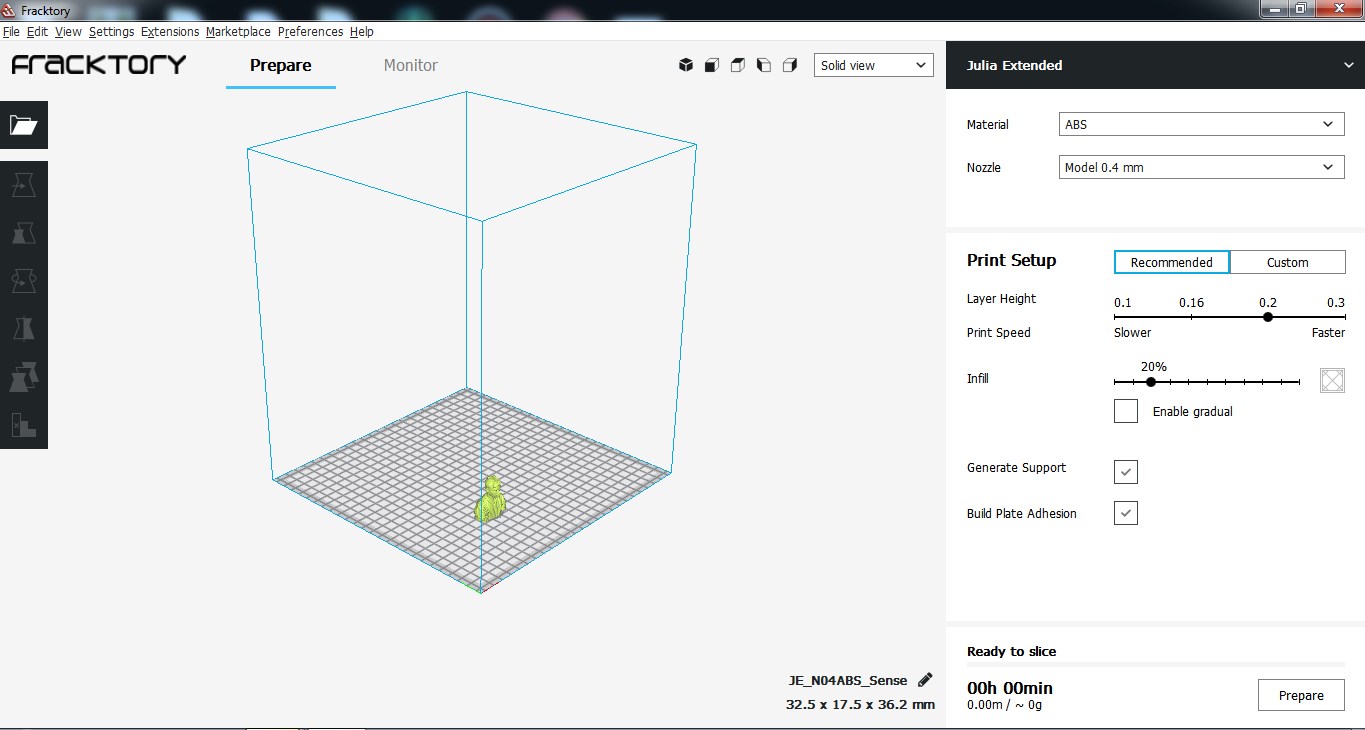
Click on prepare button for slice the object.
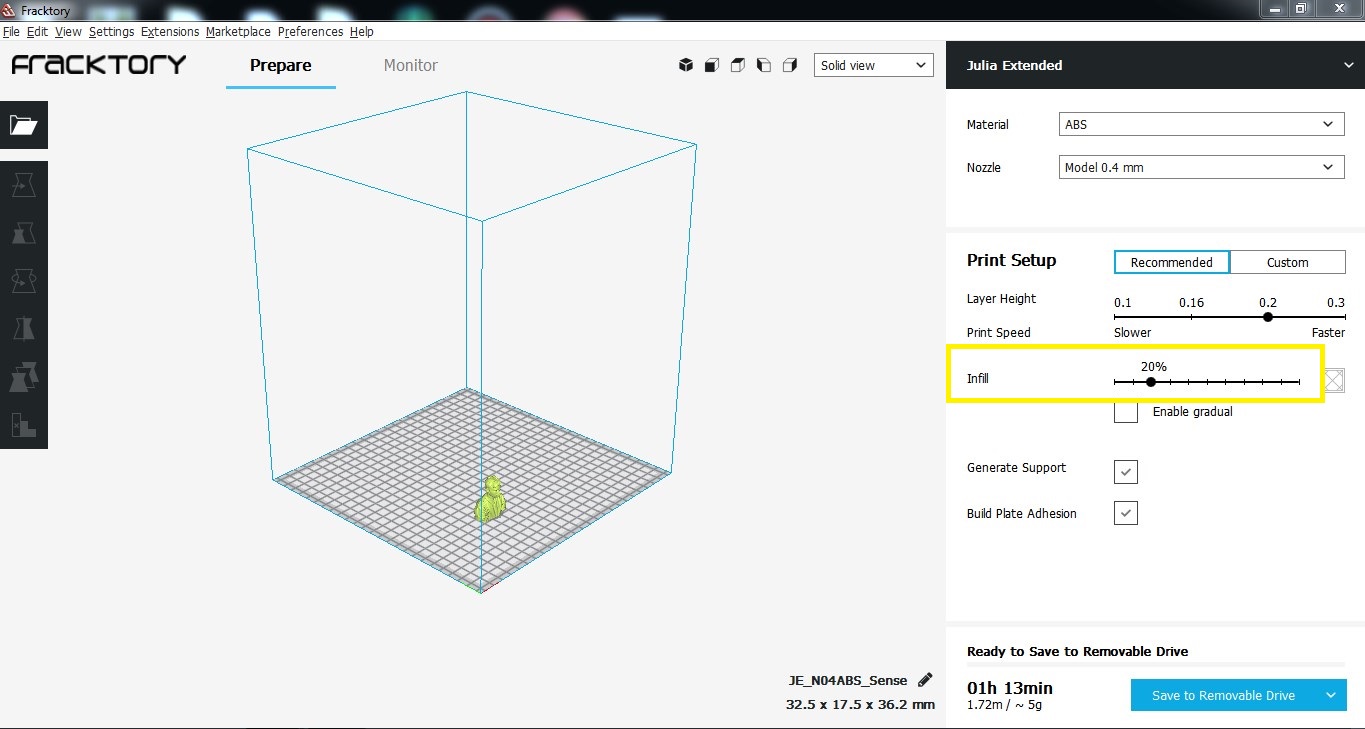
As you can see the estimated time to print the object is shown around 1 hr 13min.Save the design and generate the g -code.
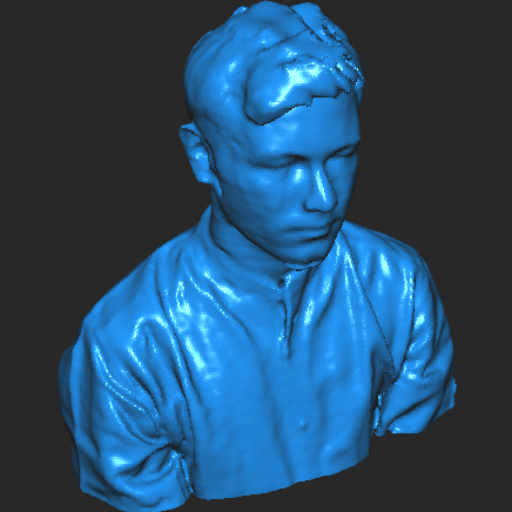
Apply design Rules:Infill
As during group assignment i got to know about the infill which plays a very vital role in 3D printing.
Keeping all these design rules in mind i decided to go with infill 20% for my design
Step 4.Start 3D printing the object
Start printing the object using 3D printer.Do above said settings for 3D printing and wait approximetly 1hr 30 min for 3D print object to come out.
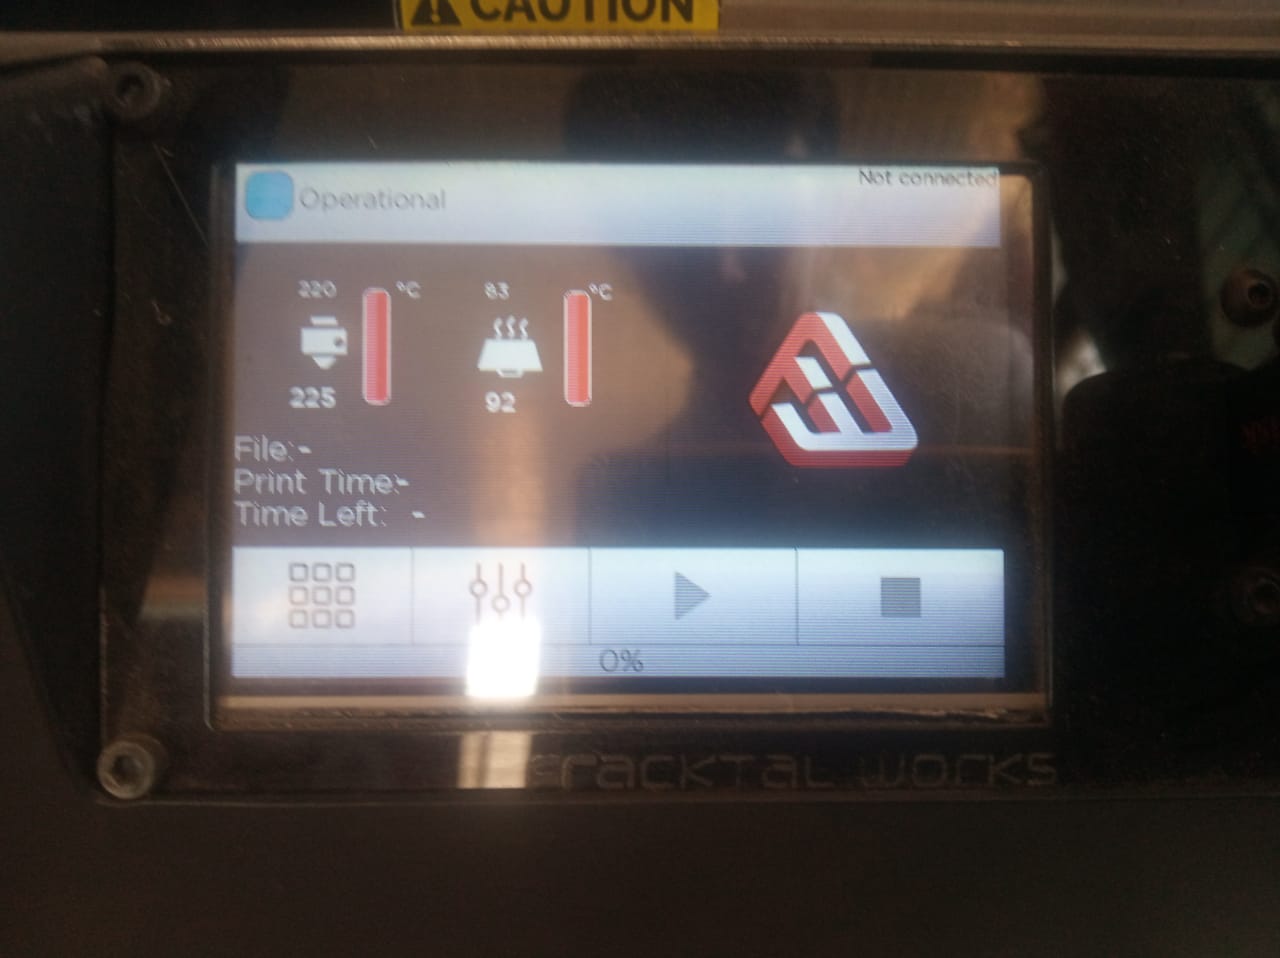
Step 1.
Step 2.
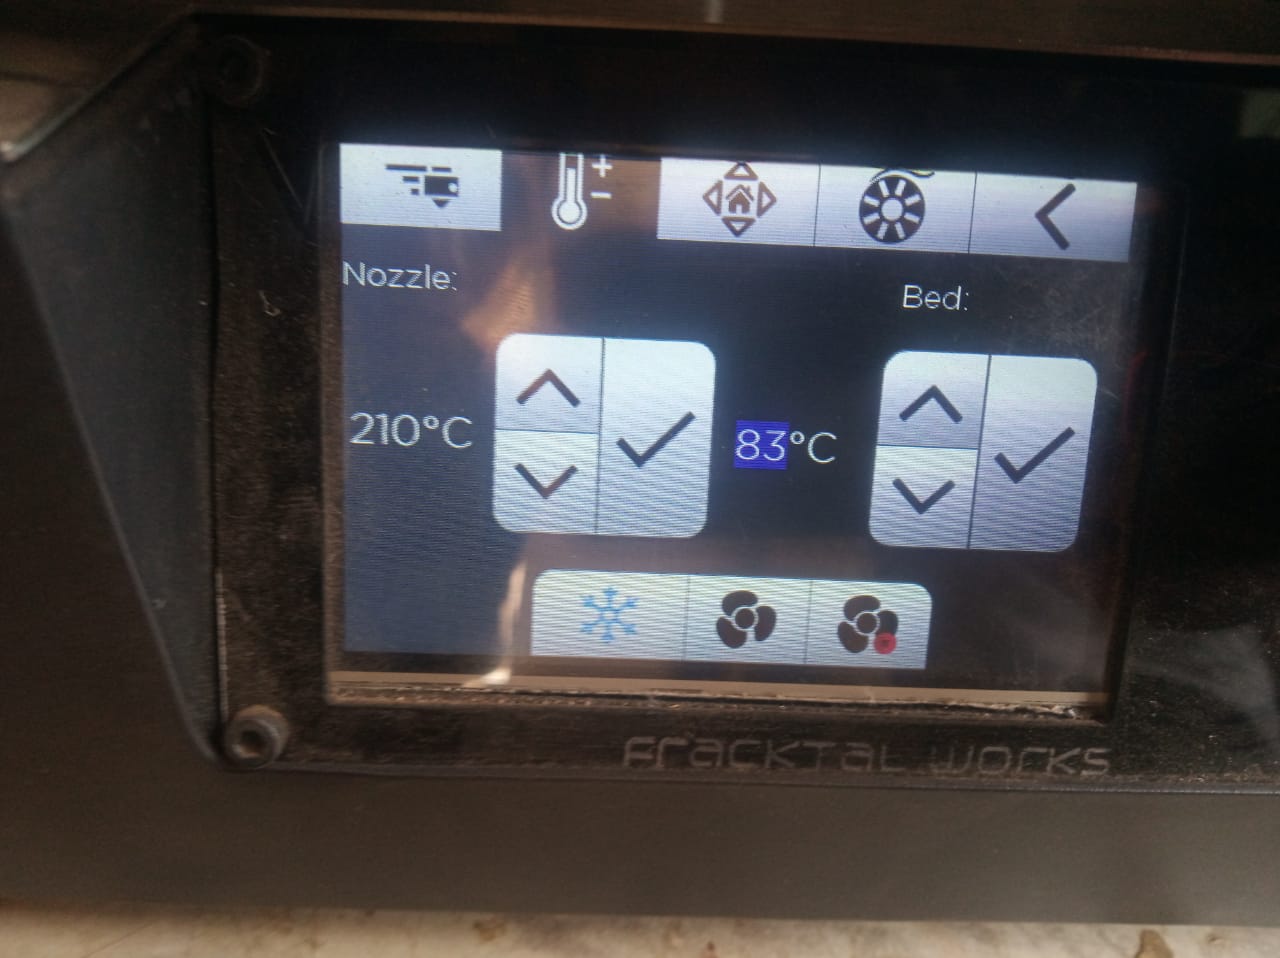
Step 3.
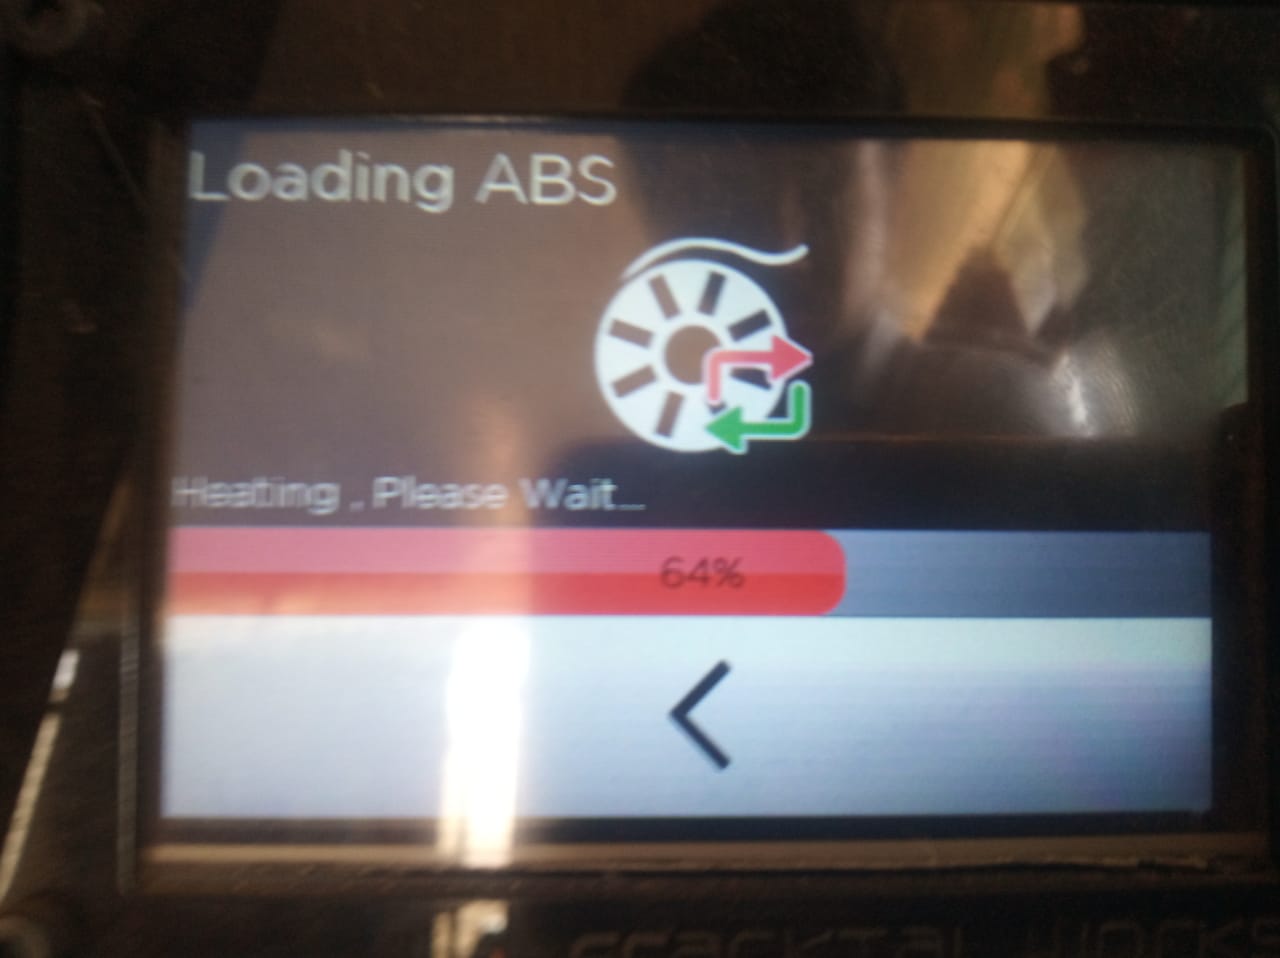


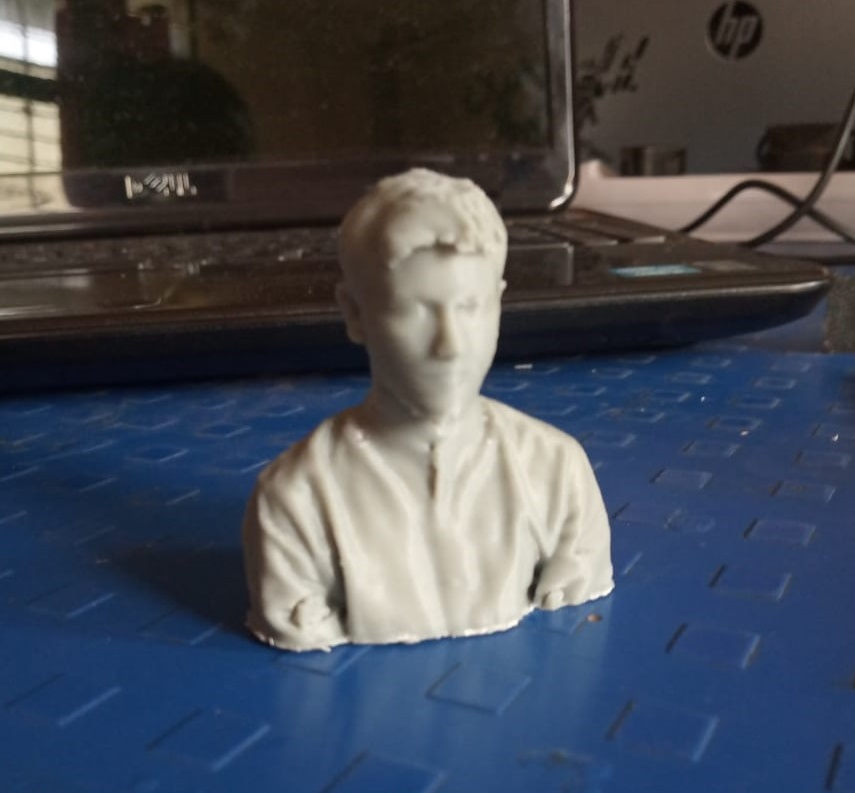
This is me!
Project work:
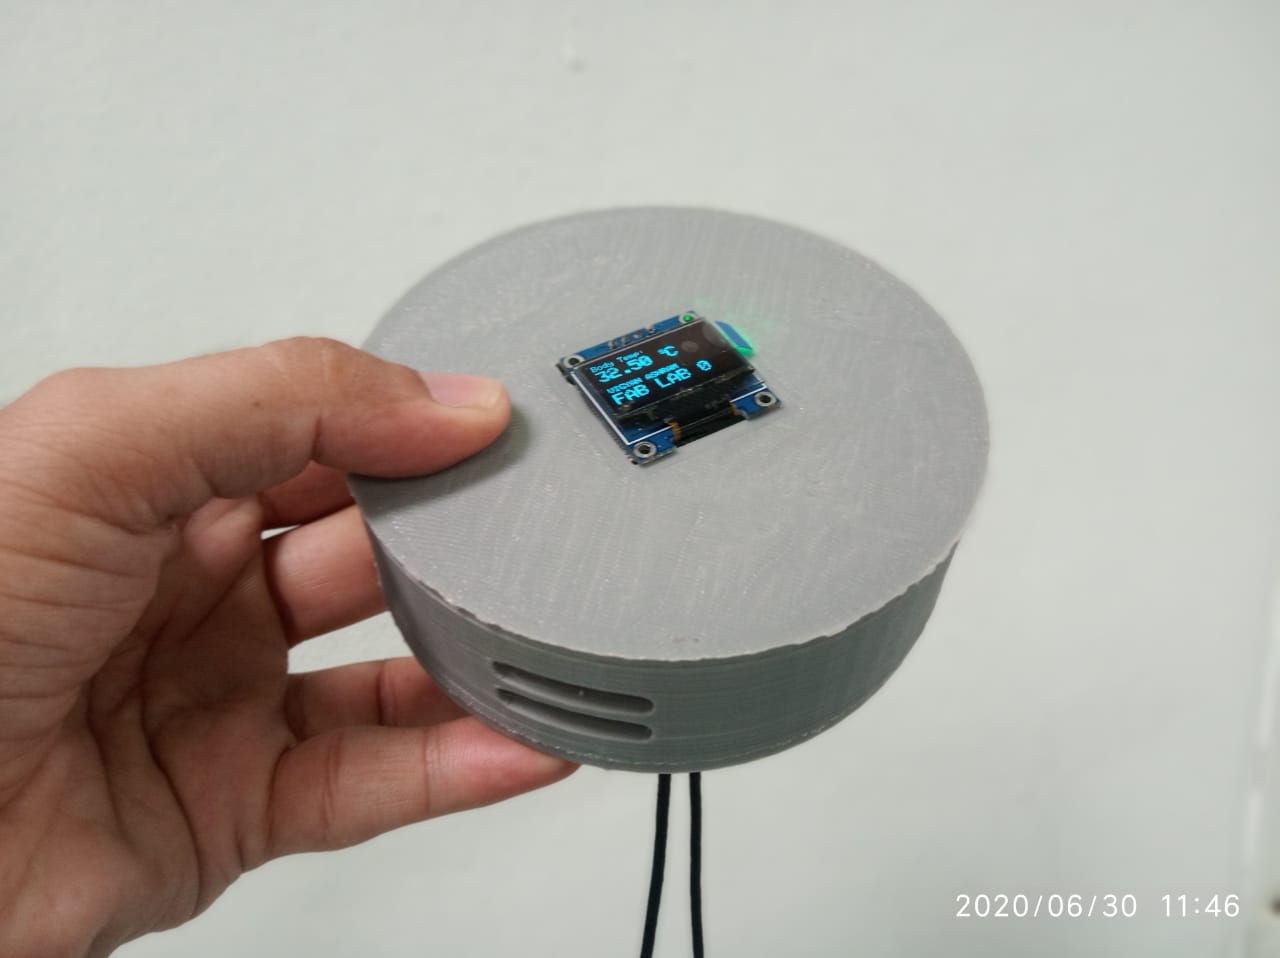
3D design to printing of server module for project:
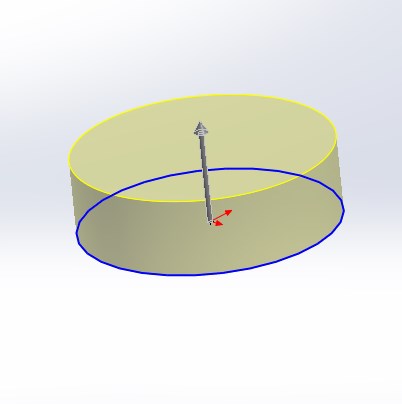
Step 1: 3D design sketch of server module in solid work:
Lower box in solid work:
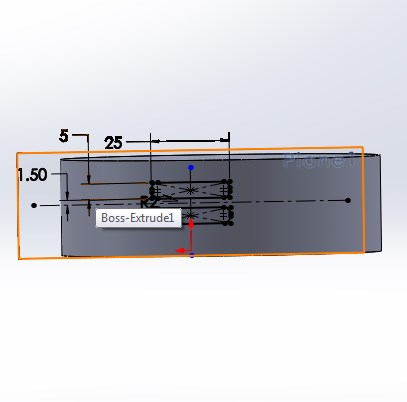
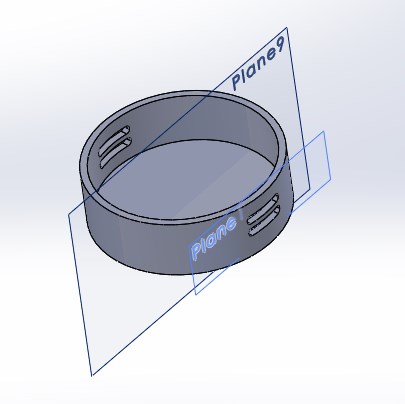
Upper plate in solid work:
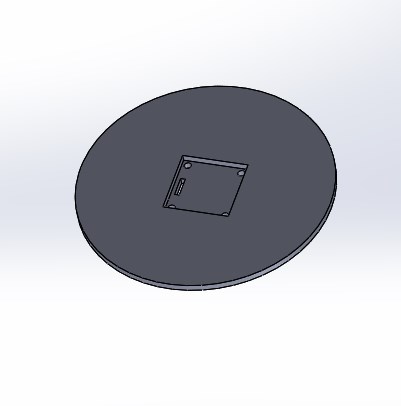
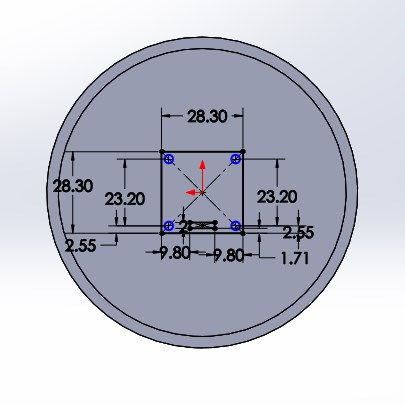
Step 2: 3D printing of server module using fractal machine:
For 3D printing the above design first i convert stl file into g code using fractal software.Then used this g -code into fractal machine.Then set the parameter for machine as mentioned above already and then start printing .
Step 3: Hero shot:
