Individual assignment
Table of Content
- About raster 2D design
- GIMP :2D design raster software
- GIMP Tutorial 1:Create a logo
- GIMP Tutorial 2:Change the file size
- ABout vector 2D design
- Inkspace : 2D design vector software
- Inkspace Tutorial 1:Colorful infographic template
- Inkspace Tutorial 1:How to remove backgraound of image?
- Raster Vs Vector
- 3D design
- 3D design:Solidwork
- 3D design:FreeCAD
- Comparision between Solid work Vs FreeCad
- Learning Outcome
- Update
- Downloads
Hero Shot
Project work

About raster 2D design
A raster image is an image file format that is defined by a pixel that has one or more numbers associated with it. The number defines the location, size, or color of the pixels.source :wikipedia
Intersting find outs:
Q.Can we enlarge the pixel dimension & resolution of a raster image?
Ans:Once the image is created at a certain dimension, you may not be able to use this image at a larger size without losing quality.
Q.Is JPEG a vector or raster?
Ans:Raster images use many colored pixels or individual building blocks to form a complete image. JPEGs, GIFs and PNGs are common raster image types. Almost all of the photos found on the web and in print catalogs are raster images. ... Vector images, alternatively, allow for more flexibility.
GIMP :2D design raster software
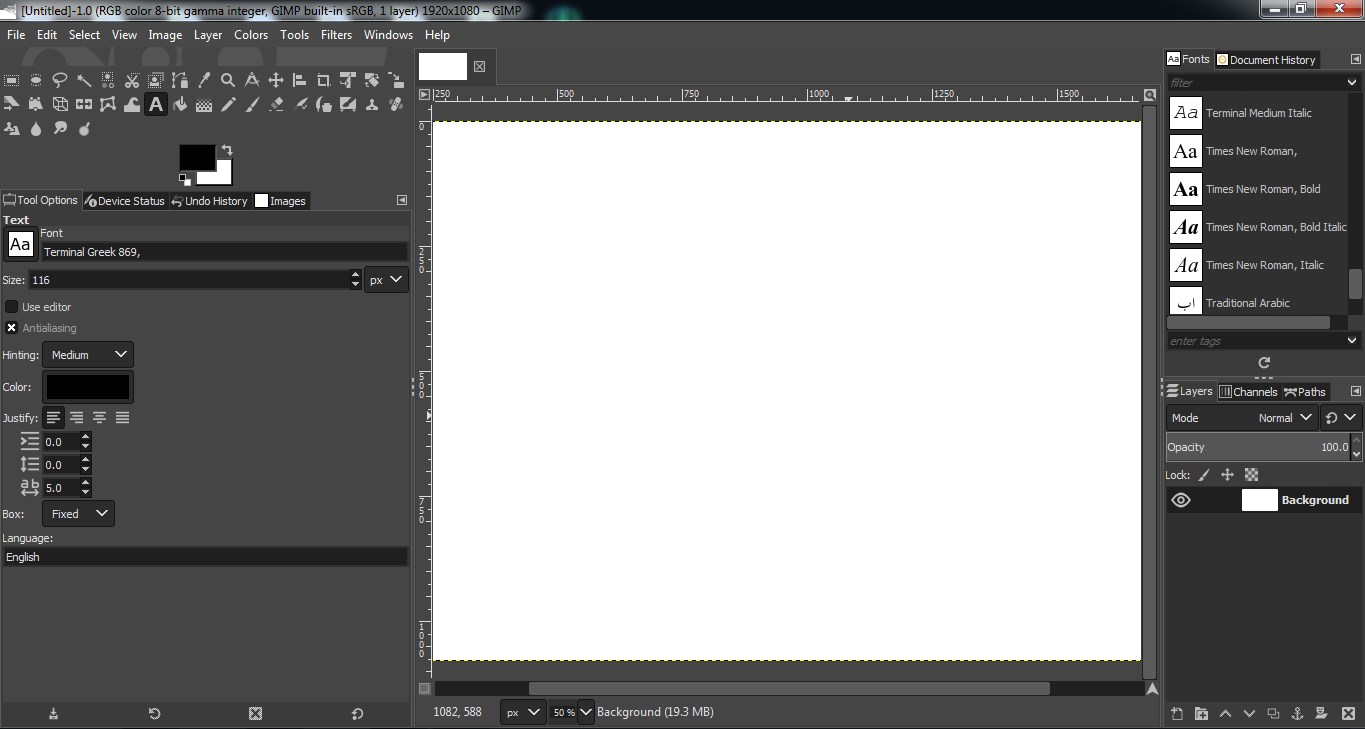
After understnding little bit about raster lets get to hands on GIMP software.The full form of GIMP is GNU Image Manipulation Program.It is a free and open-source raster graphics editor used for image retouching and editing, free-form drawing, converting between different image formats, and more specialized tasks.So now i am going to draw my project logo using logo.I have elaborate detailed procedure of that.Hope you will get understand it.
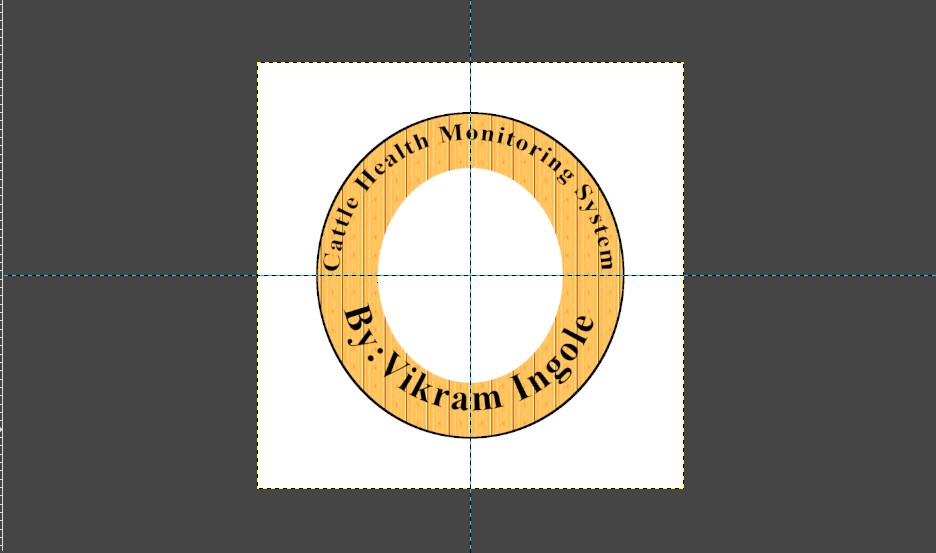
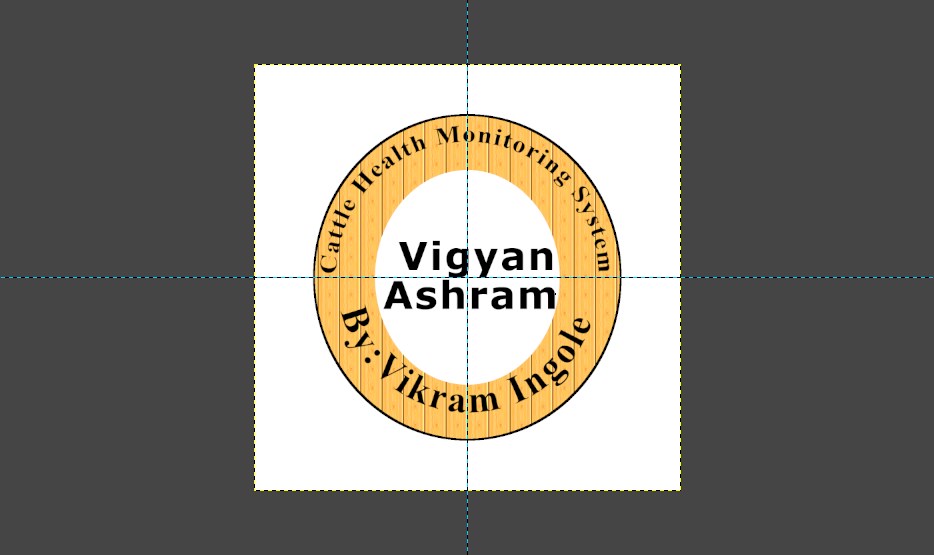
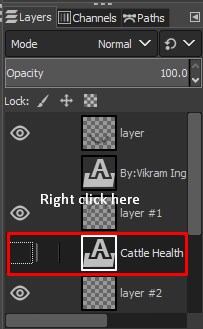
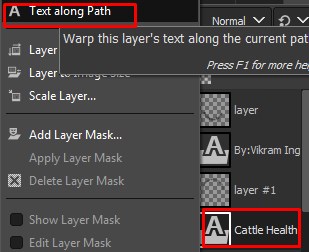
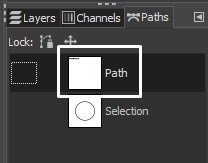
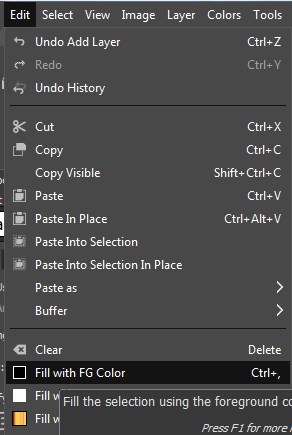
GIMP Tutorial 1: How to Create a Logo in GIMP (Text Version)
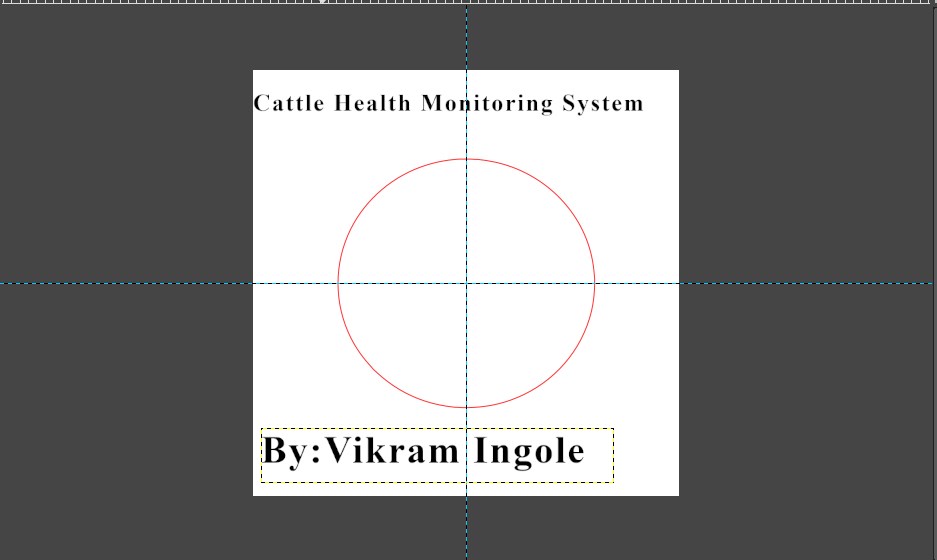
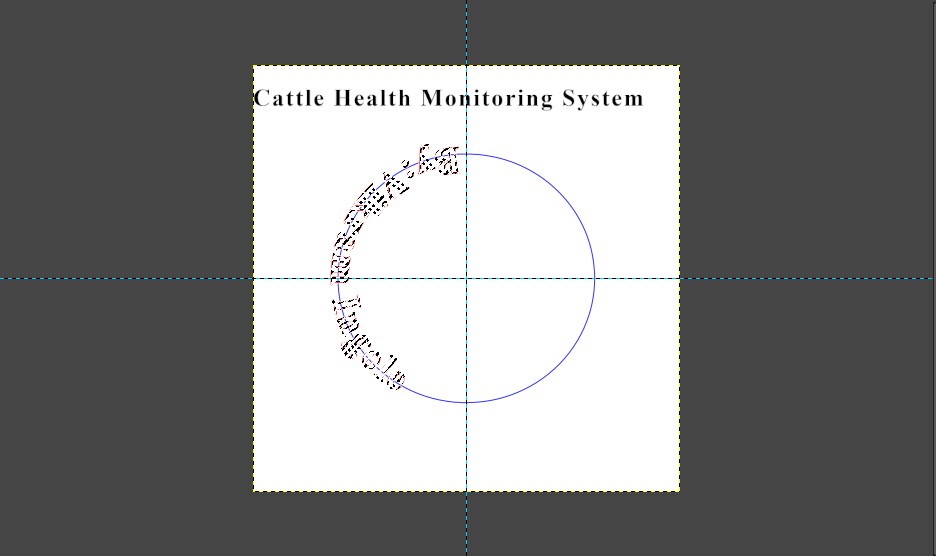
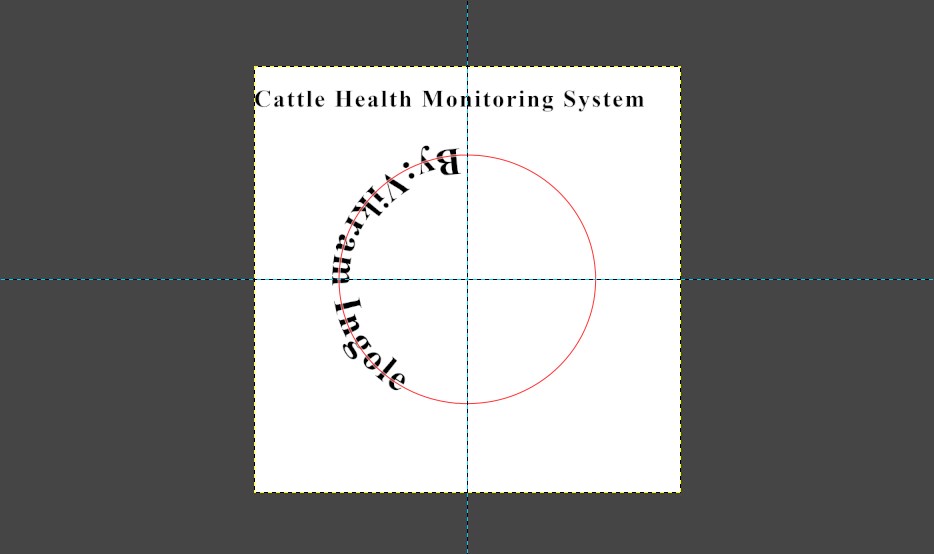
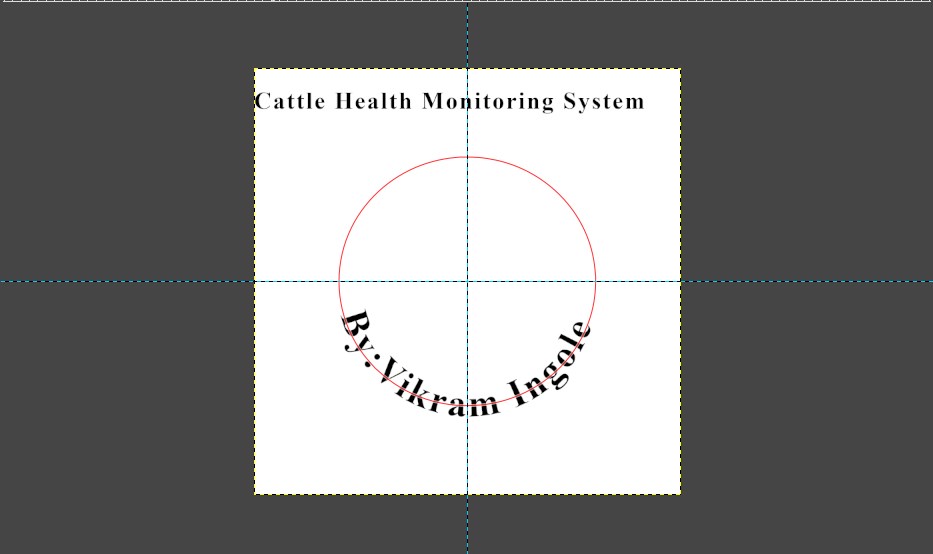
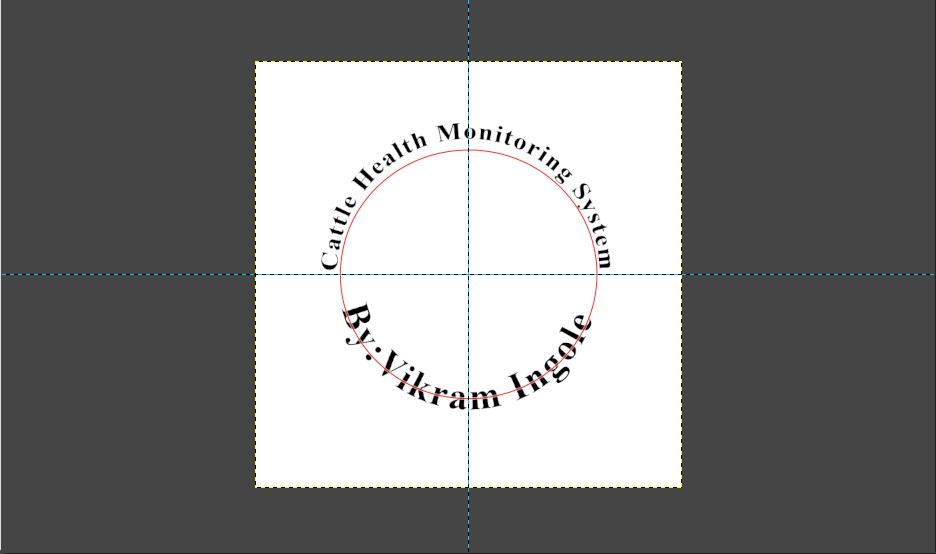
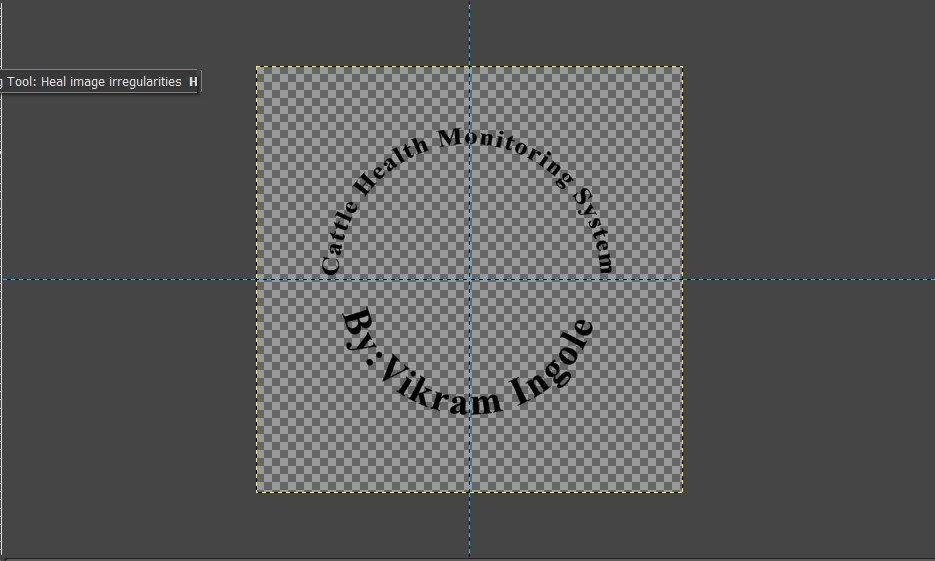
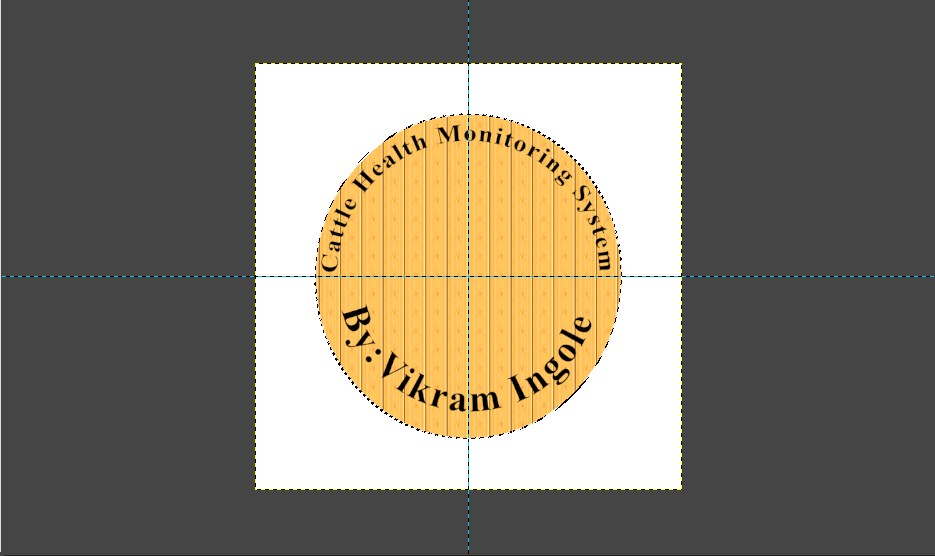
This Tutorial demonstrate how you can take a text and wrap around a circle using GIMP.For my final project kit i want the one logo over there which indicate the name of my project title along with my name.So i want to used this GIMP software to create my project logo.
Lets go ahead and start using GIMP.Before we go to details procedure lets have a closer look of opening view of GIMP software.

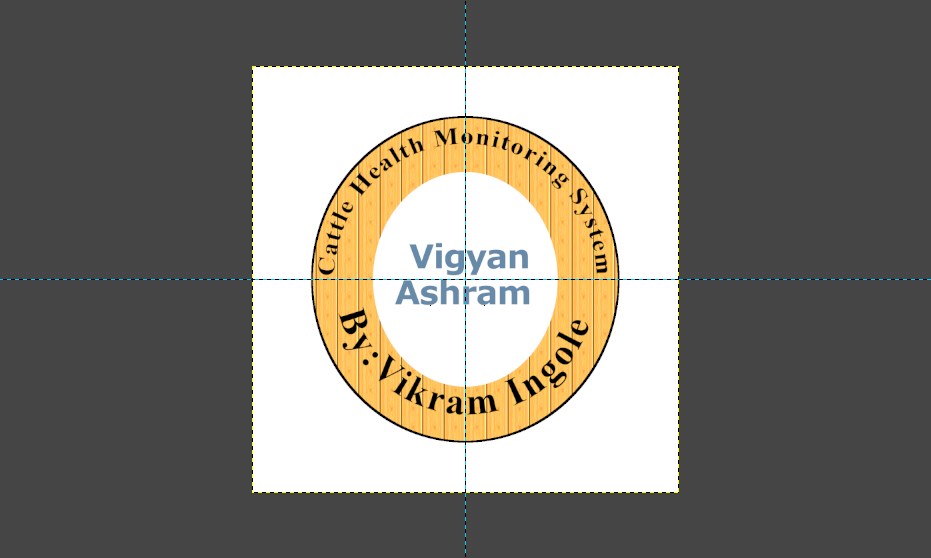
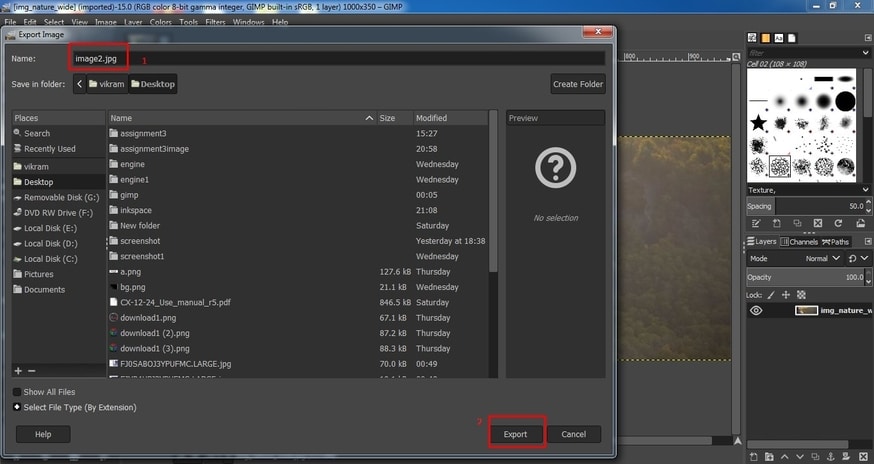
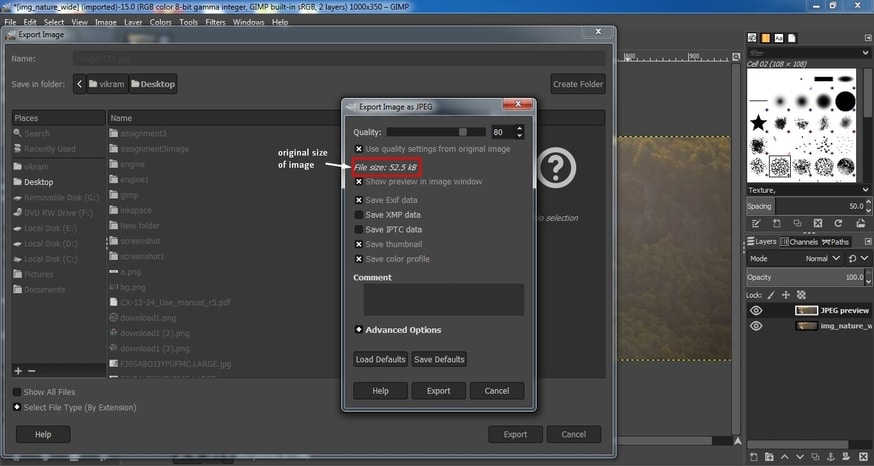
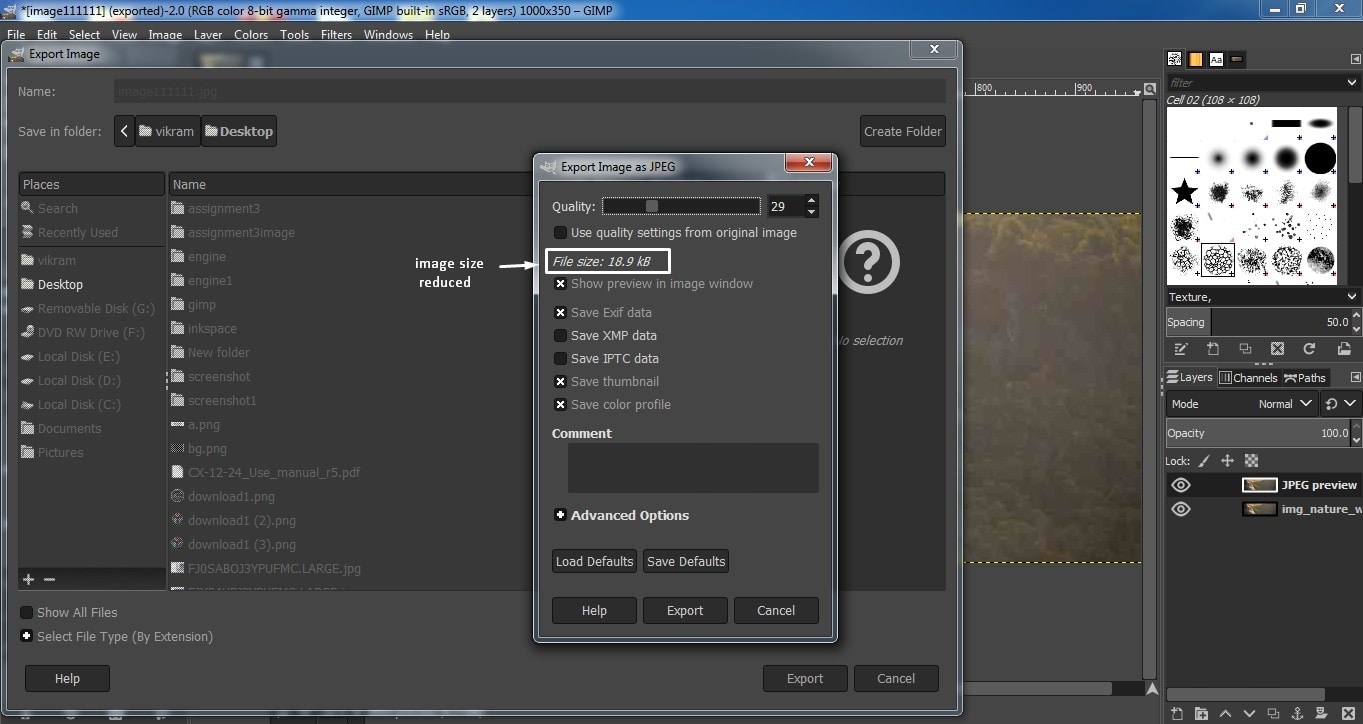
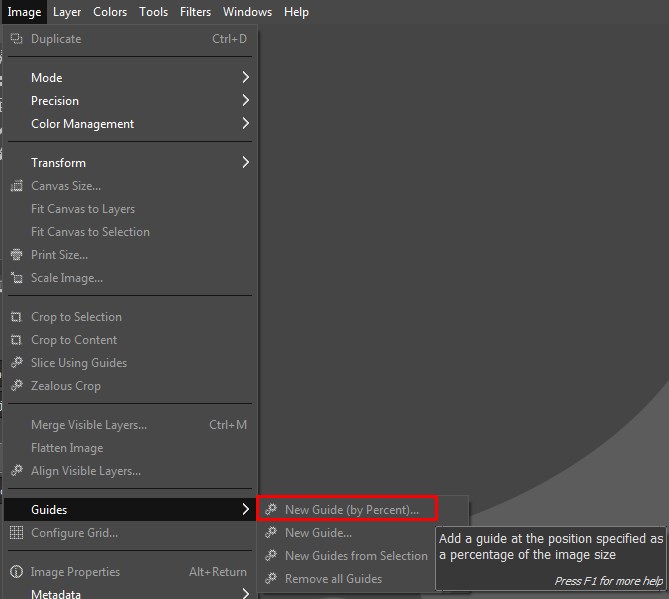
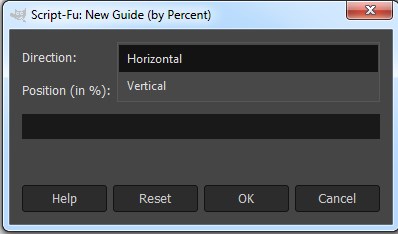
GIMP Tutorial 2: Change file / image size:
While designing web page most of us including me struggled to keep the size of image low (keeping good quality) ultimetely which result into large repo size.So i came to know the another features of GIMP .In this tutorial i am going to demonstrate you how to change the image size which will be very helpfull in designing my web page size effetively.

 Top
Top
About 2D Vector design
Introduction
Vector graphics are computer graphics images that are defined in terms of 2D points, which are connected by lines and curves to form polygons and other shapes.source:wikipedia
Vector graphics are commonly used for logos, illustrations, technical drawings and for use with processes that require vector art such as specialty signs and printing, engraving and etching. Also used in CAD, Engineering, and 3D graphics.
Q.What is a vector in graphic design?
More specifically, a vector graphic is artwork made up of points, lines, and curves that are based upon mathematical equations, rather than a solid colored square pixels. This means that no matter how large or small or how close you zoom in on the image, the lines, curves, and points remain smooth.
2.What is vector graphics with examples?
Examples of vector graphic formats are PICT, EPS, and WMF as well as PostScript and TrueType fonts. These are created with GIS and CAD applications as well as drawing programs
TopInkscape : 2D design vector software
Introduction
Is inkscape free to used?
Inkscape is a professional vector graphics editor for Linux, Windows and macOS. It's free and open source. Inkscape is just so absolutely jam packed full of features we can't tell you about them all here. ... Learn how Inkscape can be used to its most powerful level.
Inkscape is professional quality vector graphics software which runs on Windows, Mac OS X and GNU/Linux. It is used by design professionals and hobbyists worldwide, for creating a wide variety of graphics such as illustrations, icons, logos, diagrams, maps and web graphics.
When i designing my web page i used fab academy logo with dark background.When i used this image on my web page it was looking something odd.So my local instructor asked me to change the backgroung of that image using inkspace.So lets learn inkspace 2D vector software.
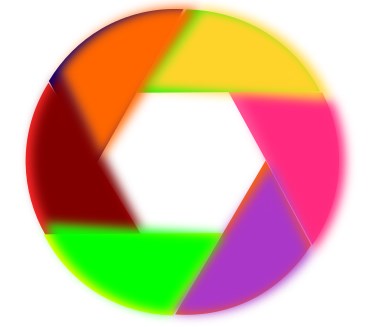
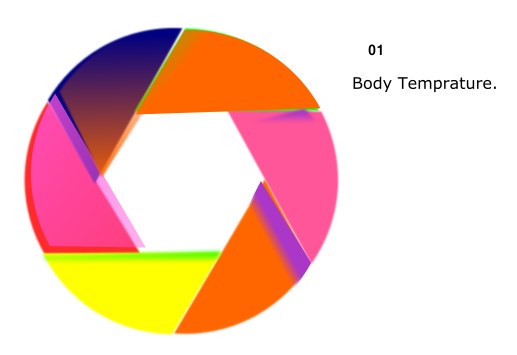
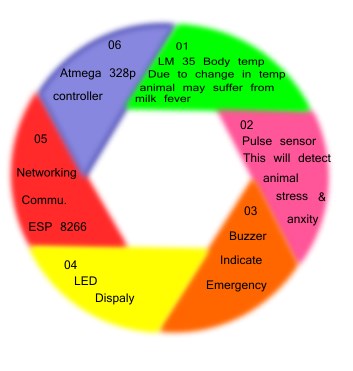
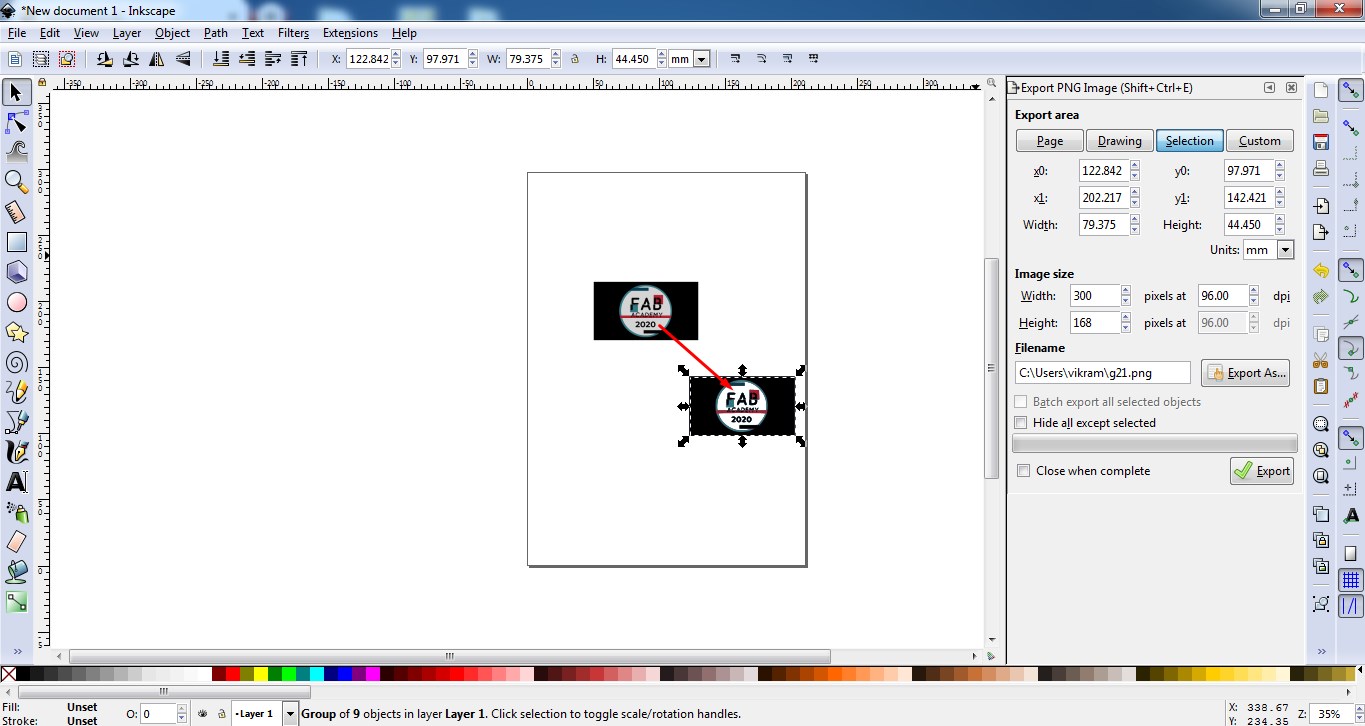
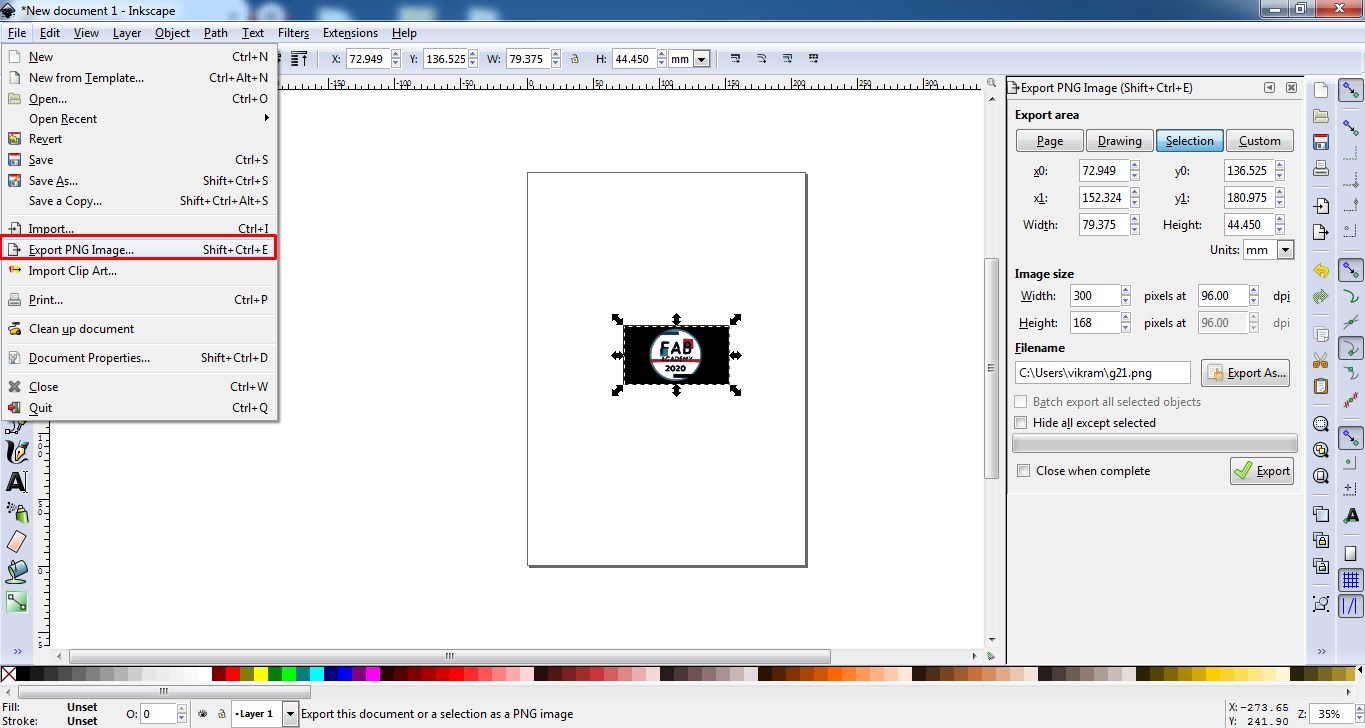
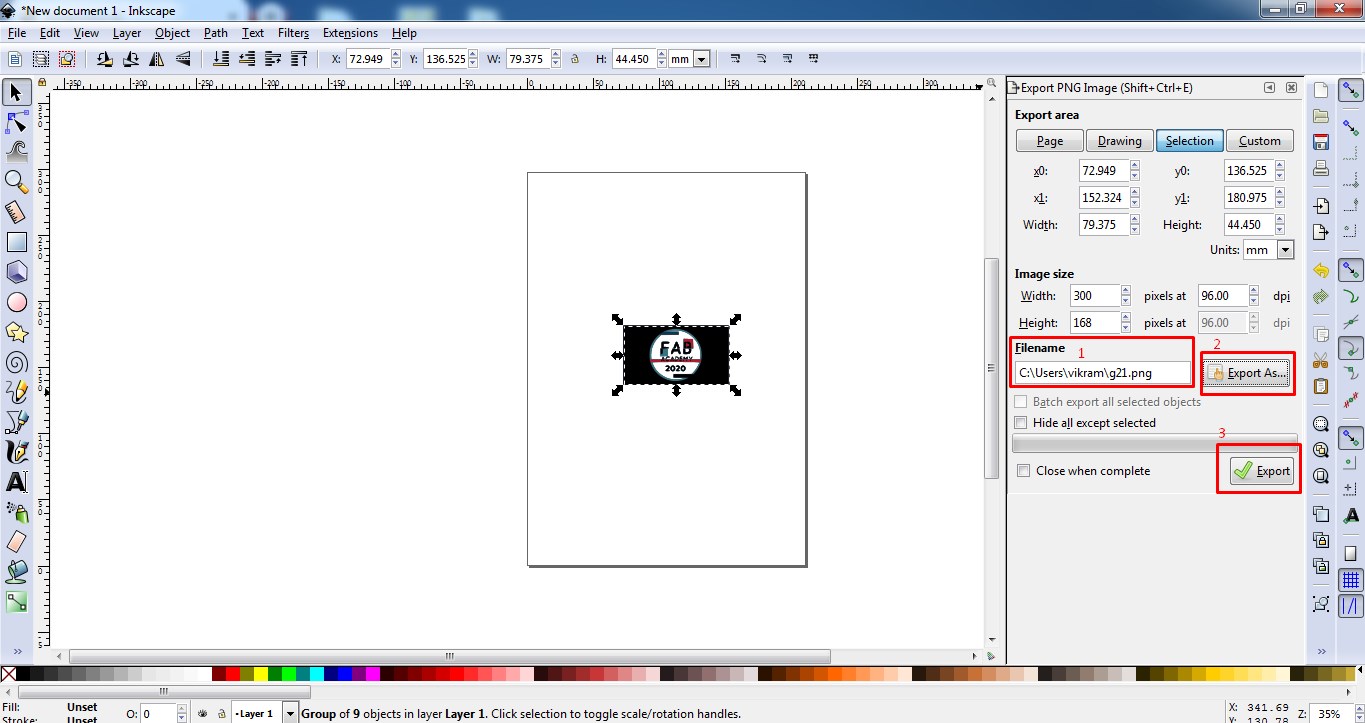
Tutorial 1:Colorful Infographic Template
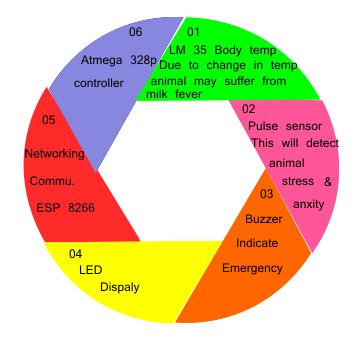
While designing my final project web page i want to show one circular informaticve chart which consists of my project content.So my lcal instructor asked me to used inkscape for it which is good option to explore inkscape.So lets designing one inforamative chart/template for project work.


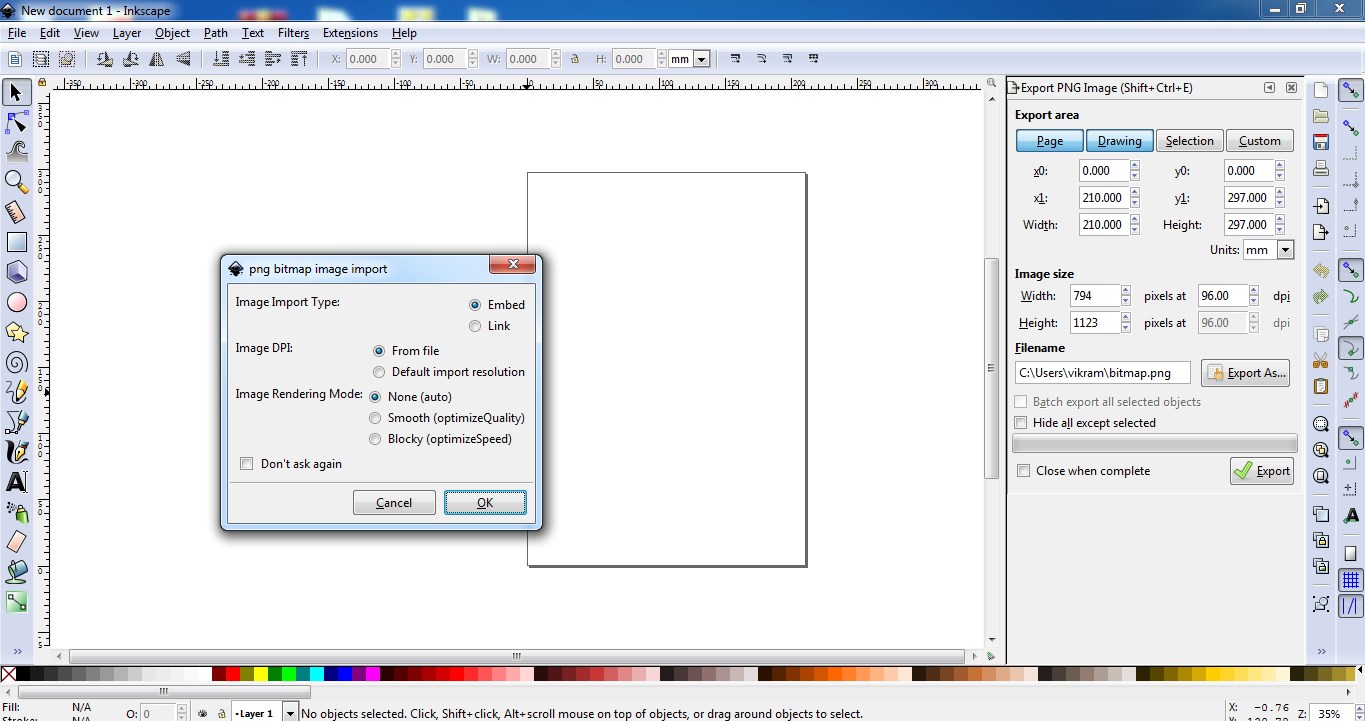
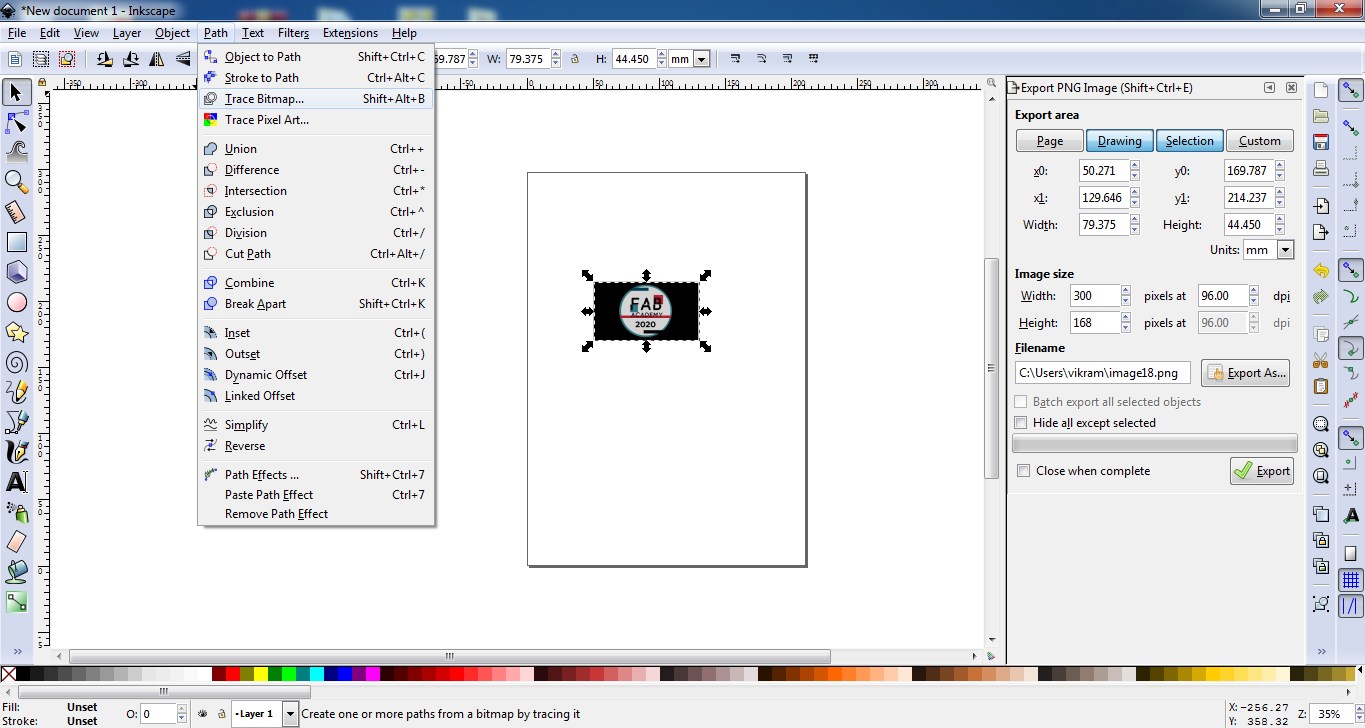
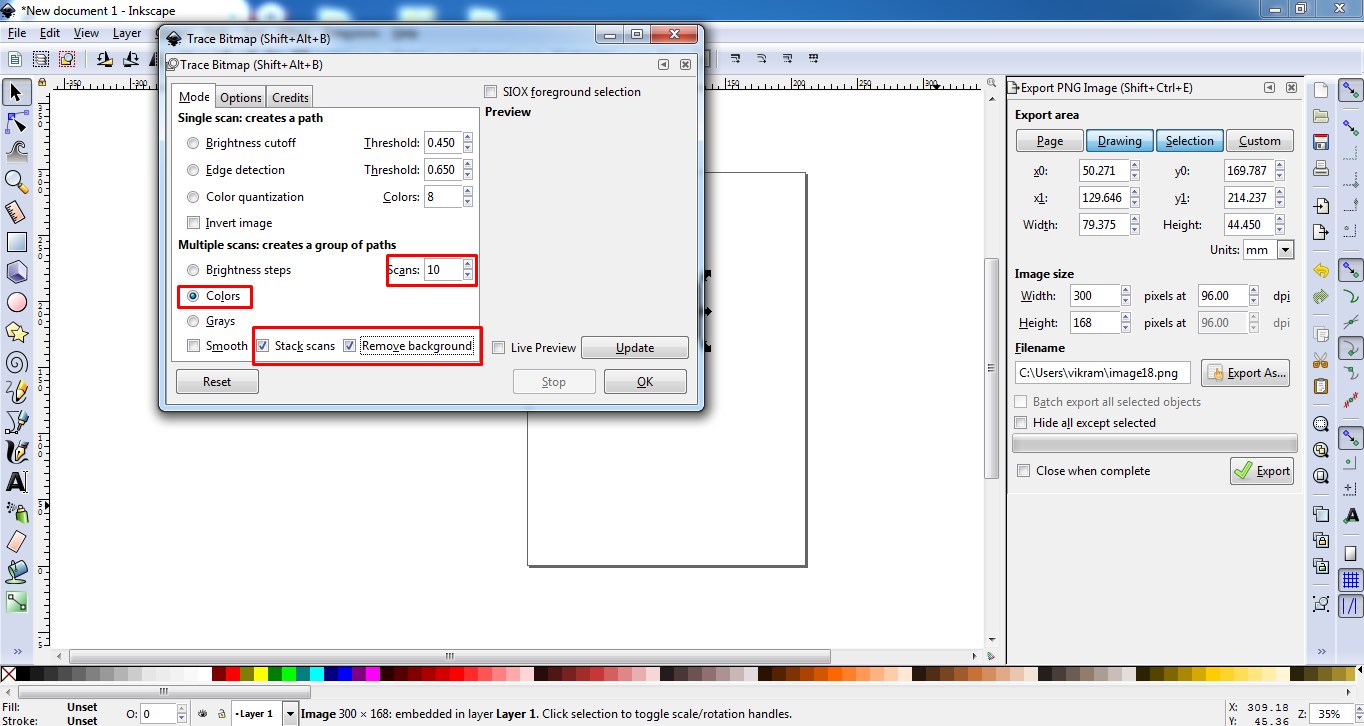
Tutorial 2:How to removed the background of an image?
Yes,you can!.I am going to demonstrstes you that how to remove the background part from an image????
Follow the one by one steps as i shown below:
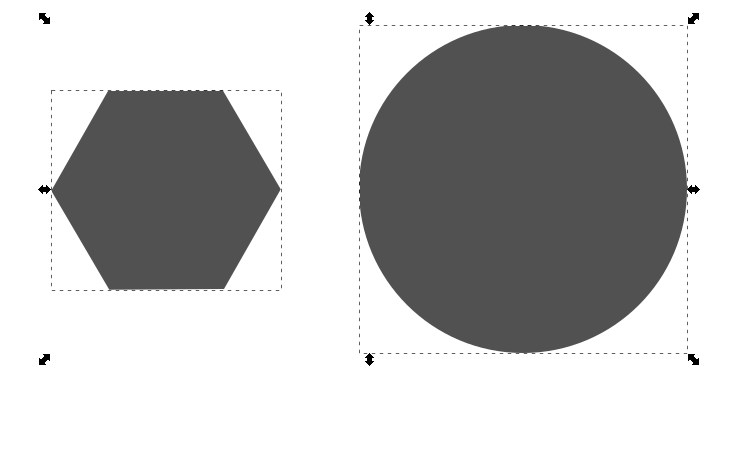
After understanding the vector design and cleared some doubts,now i am excited to know the about Raster Vs Vector ?
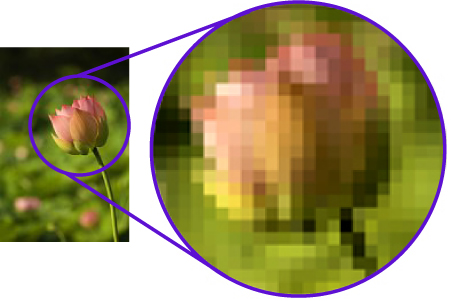
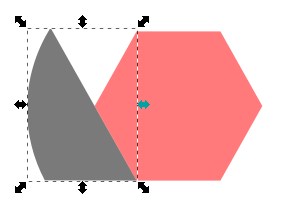
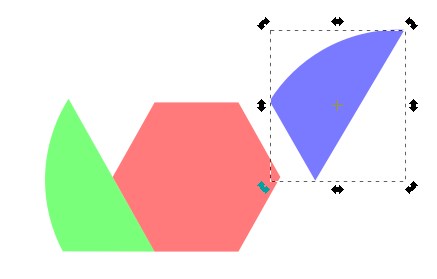
TopRaster Vs Vector
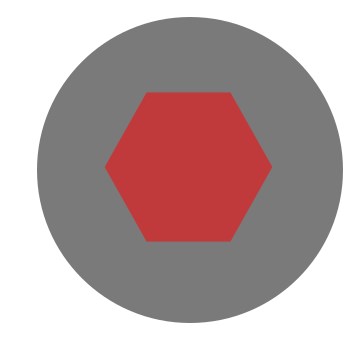
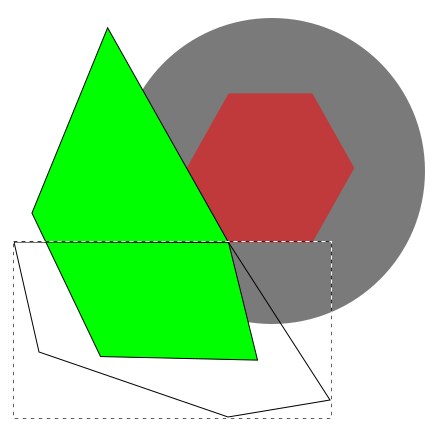
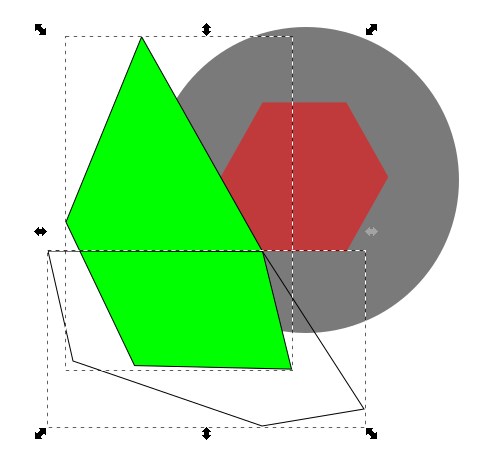
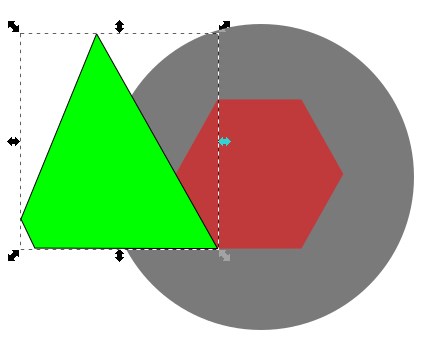
Here i found one image that actually tell you how Raster is different than vector.
 Top
Top
Learn 3D design
Before i tell you something about 3D design i must need to tell you that this 3D softwares was actually new area for me.I never experienced that before.I hope at the end of this tutorial my opinion get change.Using different tools of it we can design any 3D object.
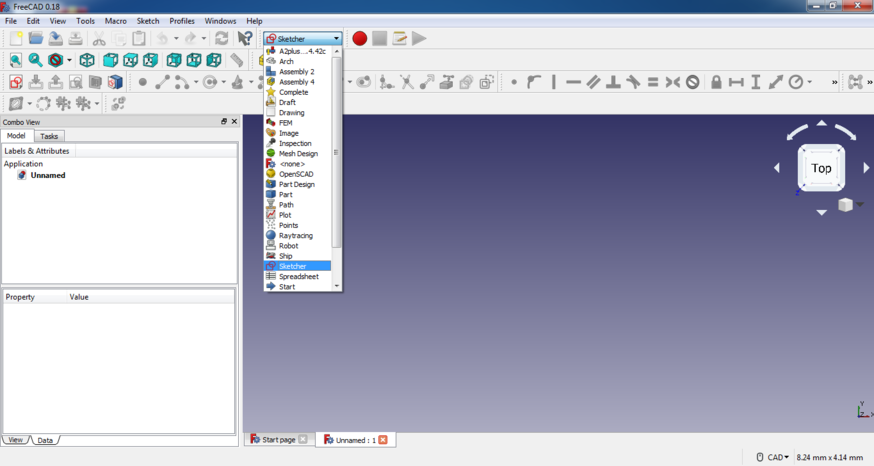
For 3D design,I have decided to used Free CAD ,solidwork and Fusion 360.As Neil suggested to go for FreeCAD so i begin to sketch my design with FreeCAD.But i really got stuck!.I didnt understand anything how to used this s/w.So i requested to our instructor to arrange the session on FreeCAD.So Ms.Apeksha who took detailed session starting from part design , assembling to animation as well.Really this session helped me to boost my confidence.So in next day morning i start with FreeCAD followed by solid work.Then i tried to compare both one.
TopAbout Solid work :
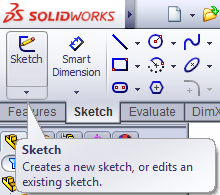
Hi everyone welcome to the tutorial of solid work design.If you are new to solid work then you come to right place.Here i am going to cover almost everything that you need to be able to work with software from the movement you open solid work.Solid work is a very capable CAD software with lots of freatures but here i will demonstrstes you few of them.I will introduced you the basic tools of solid work such as creating 3D part , assembling that part.To learn more about the solid works you visit the video tutorials on this website.
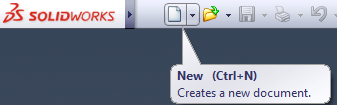
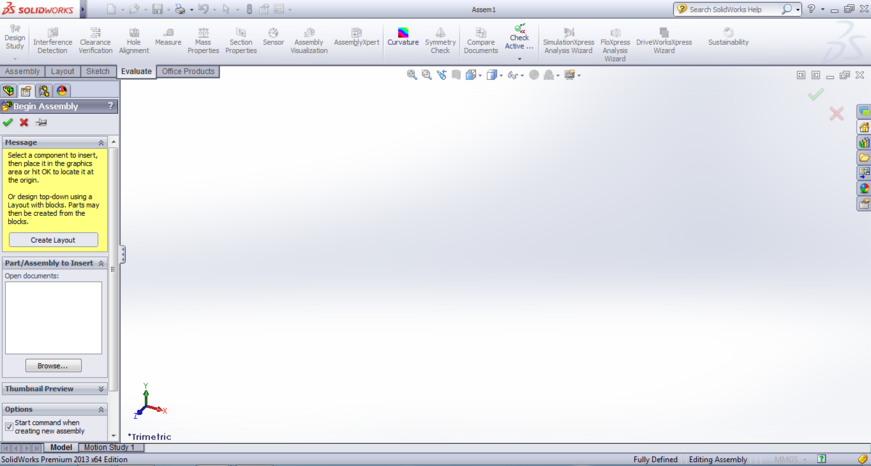
So,lets get strated,when you open the solidworks , this is what you will see.
In this pop up window you have three sections namely part,assembly and drawing.Part section is for creating single 3D part , assembly section to visualy assembled the part which you created in part sections and in drawing section you can create the engineering 2D drawing of your model.So lets go the part section first by double click on it.

1.Part Section
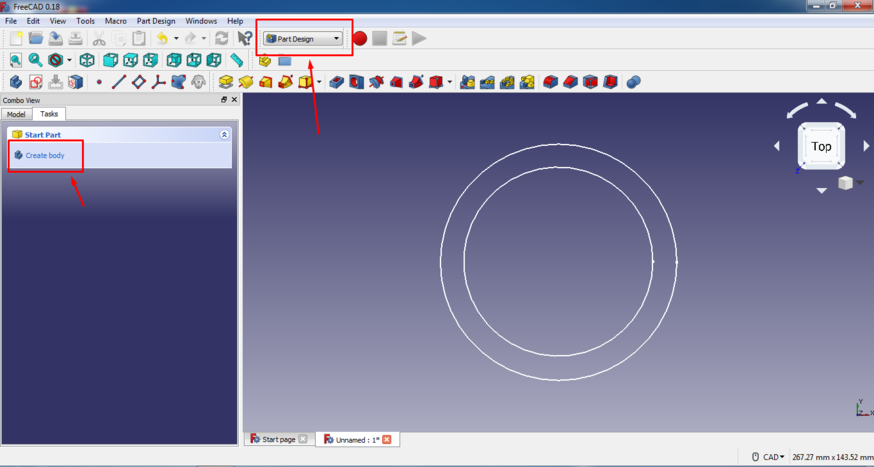
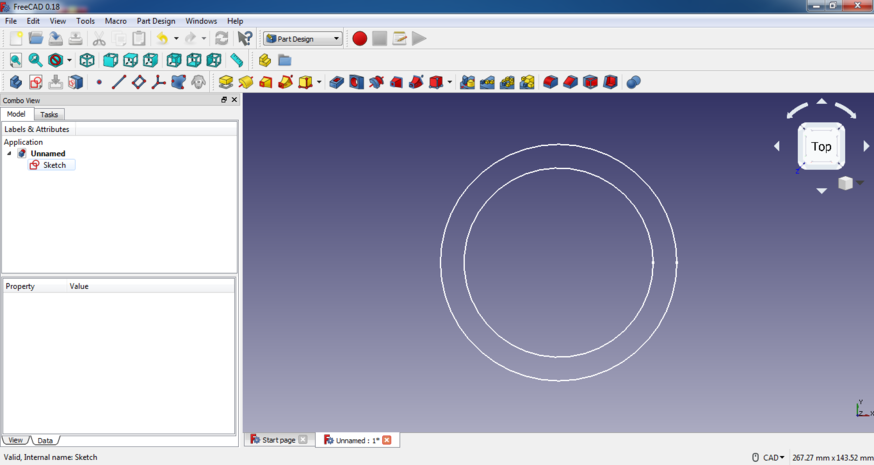
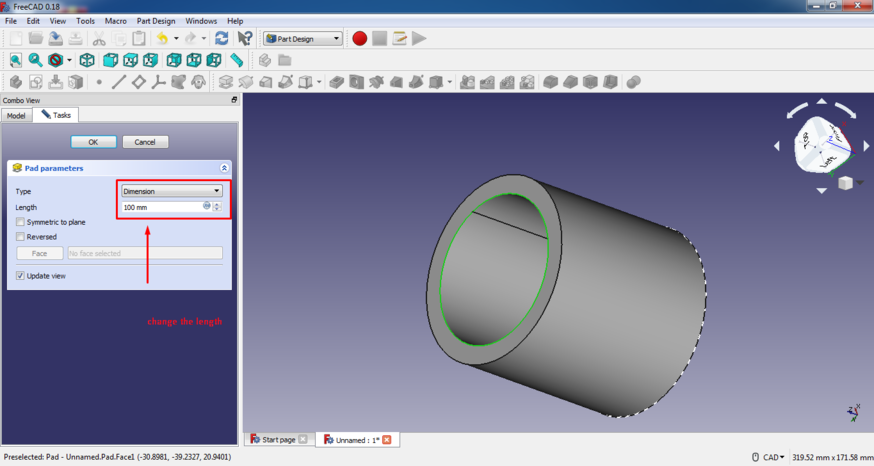
In this section i am going design a two parts and the assembled both of them using freeCad.Also i tried to explain you the the freeCad software like menu bar etc.So lets begin the design in freeCad.
This is the interface of solid work part section envirnoment.Now you can obeseved here , there are so many buttons but i request you to please pay attention on one which i will tell you.I want you to concentrates on only two of them i.e.features and sketch menu thats it.Lets see each of them what they offer.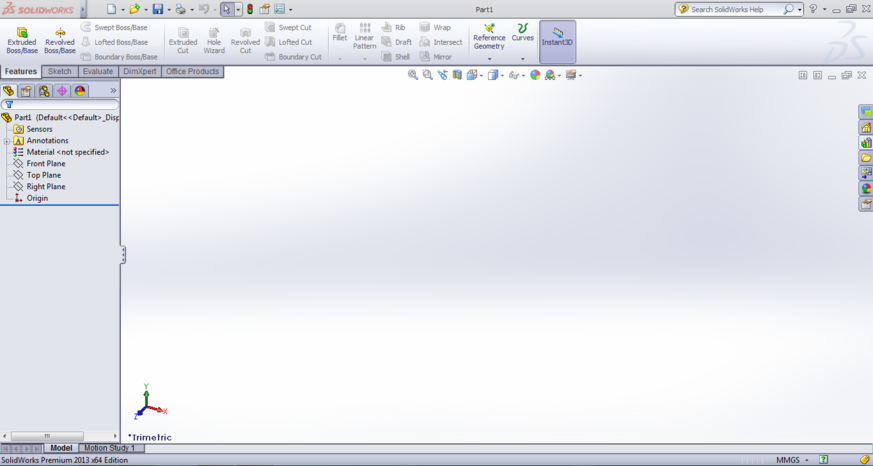
- a)Features menu:
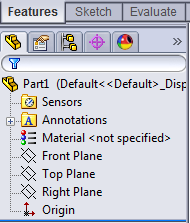

In features tab we need to concentrates only on three things which is front plane,top plane,right plane which you can see above.So,in order to get 2D part of your sketch you need a plane so here i select front plane by clicking on it.Also in upper part of the sketch menu i used extruded base which offers you to create 3D model of your sketch.Extruded base which is the one of the probabaly most used features in solidworks.This features will extrude the volume out of it.
- b)Sketch menu:
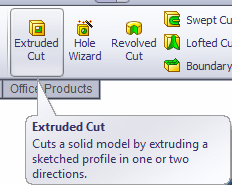
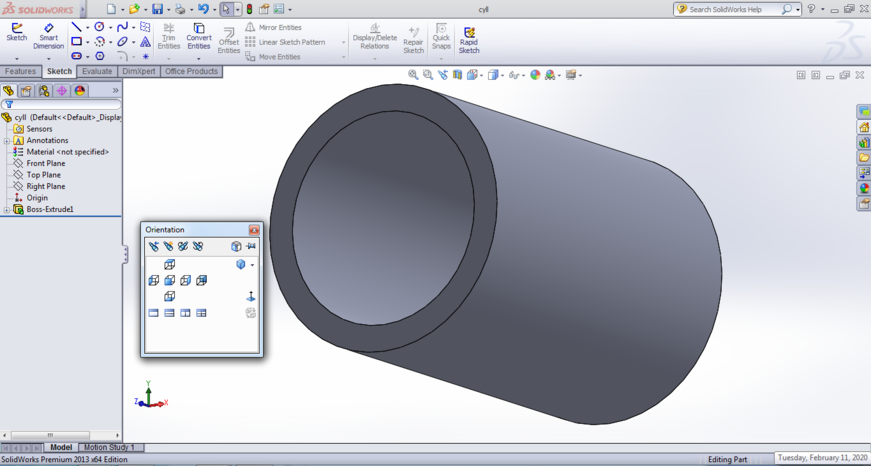
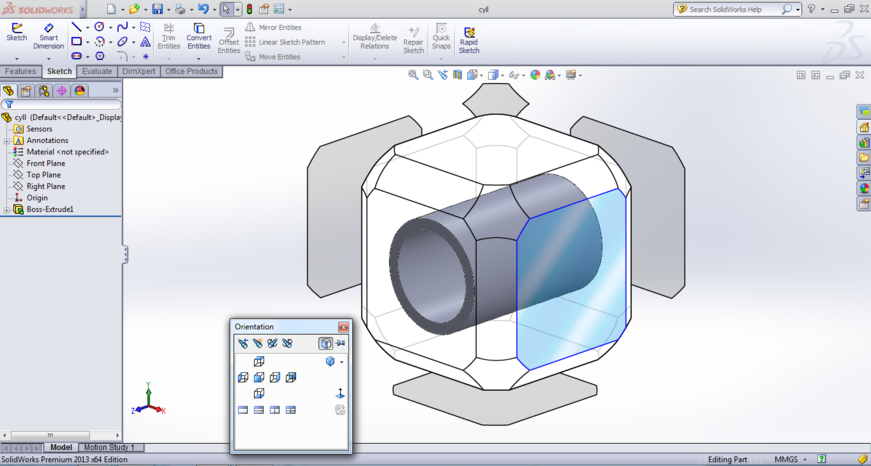
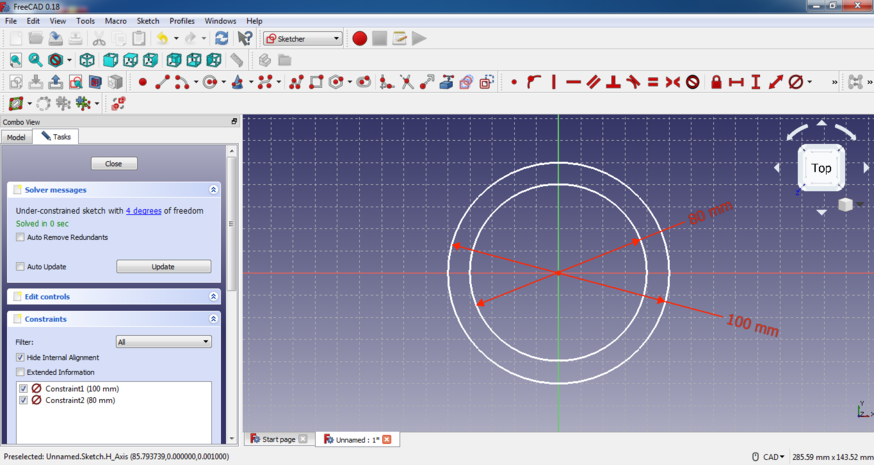
Next we go to sketch menu and activate the sketch mode here.Here i designed the first part which is cylinder in sketch menu and then i cut the cylinder throughout by clicking on extruded cut of feature menu .Now this is we called a body /part.To rotate this part hold the mouse wheel + dragging.You can also edit the sketch by clicking on Box - Extrude1.
Design the First part:
 Design the Second part:
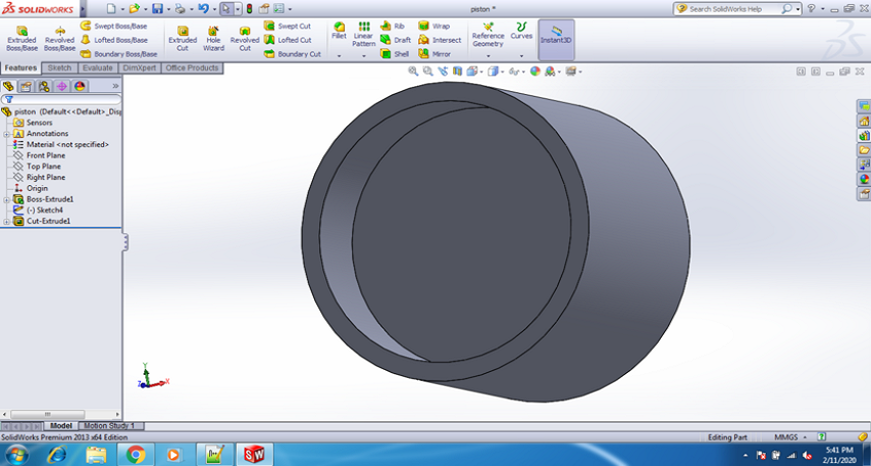
Hey gueys here i finished two design parts of my sketch.So next thing is to assembled it.
2.Assembly Section
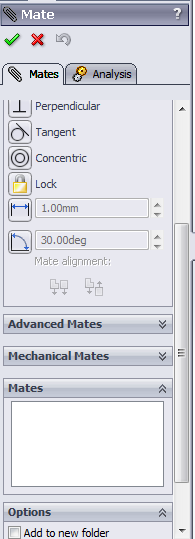
In assembly section we are going to assembled both the part design.For that i used two important menu of assembly i.e.Mate and Move componants.On upper part of the window you can see the Mate menu which is used to build the relationship between both parts.Also you can used move componant menu to move the componants
On your left you can see Begin assembly then click on browse to view multiple parts (which was designed earlier)to assembled here.
So below screenshot shows the final steps where both parts got assembled.
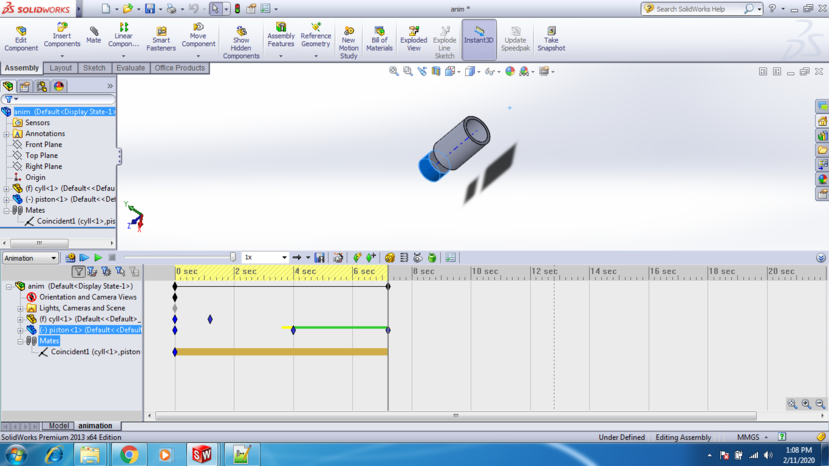
Learn Animation in Solidwork
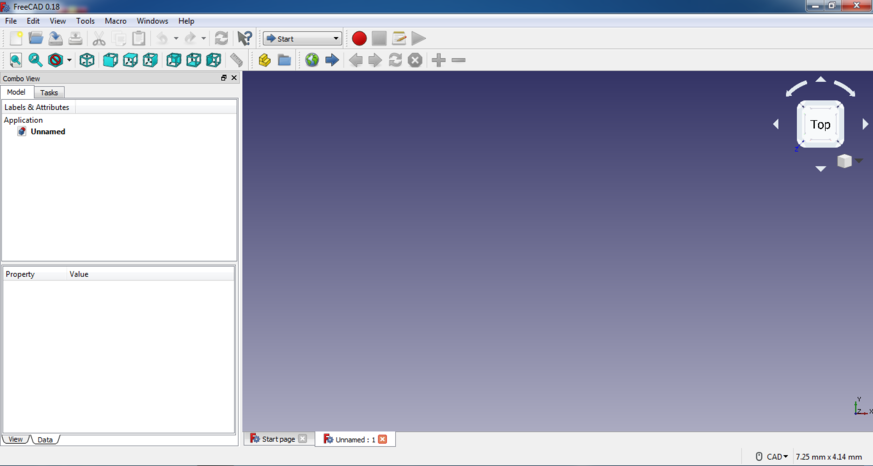
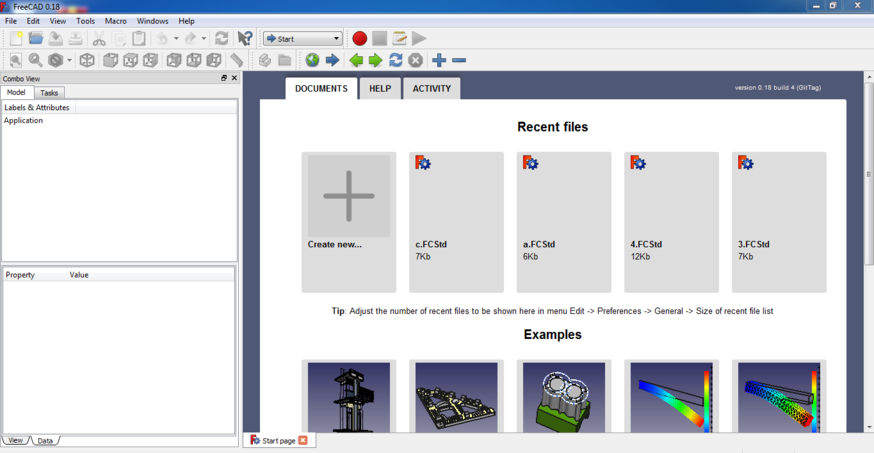
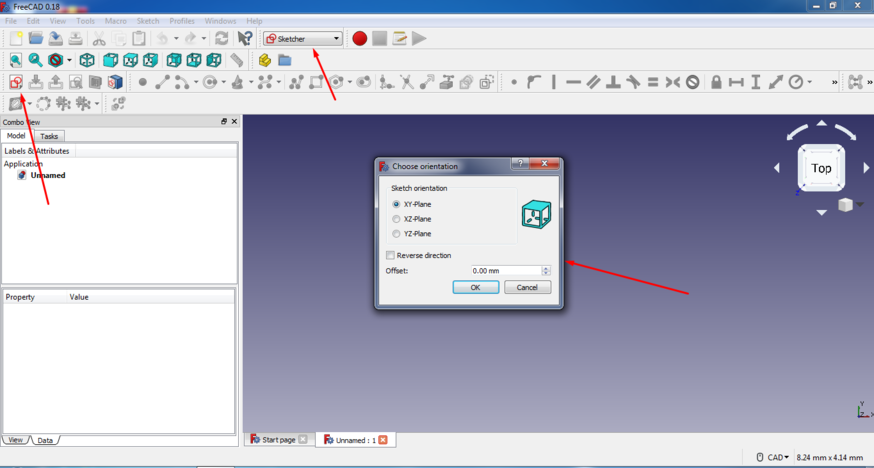
TopAbout Freecad 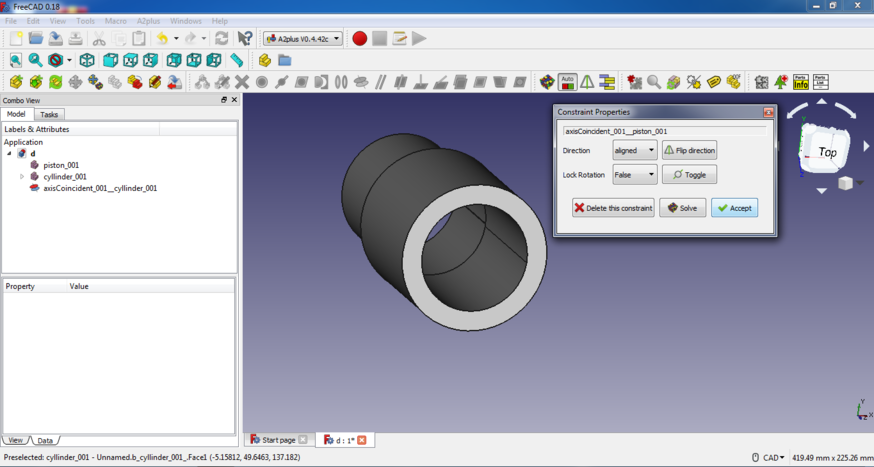
FreeCAD is a free and open-source general-purpose parametric 3D CAD modeler and a building information modeling software with finite-element-method support.FreeCAD is intended for mechanical engineering product design but also expands to a wider range of uses around engineering, such as architecture or electrical engineering. Because of the free and open-source nature of the software, users can extend the functionality of the software using the Python programming language. FreeCAD is currently in a beta stage of development.Click here to read more
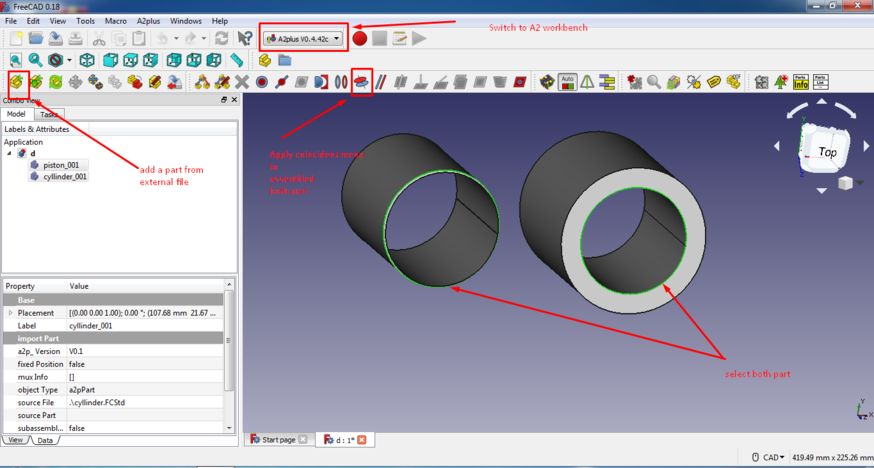
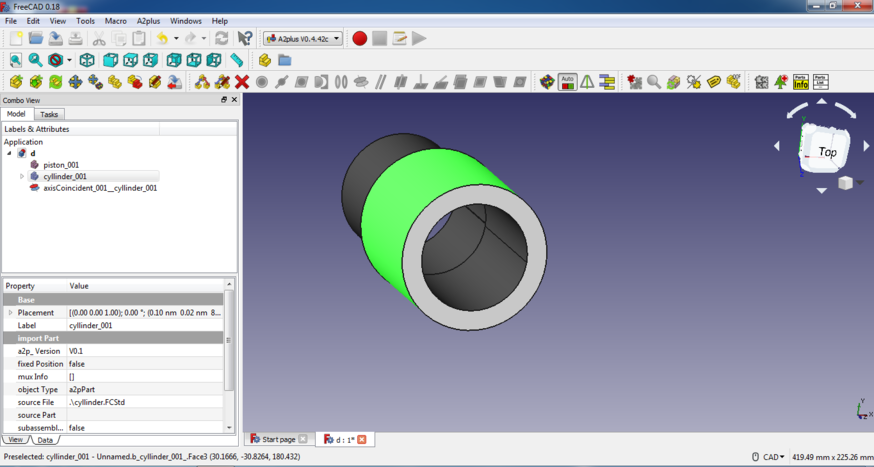
Steps to design in FreeCad:

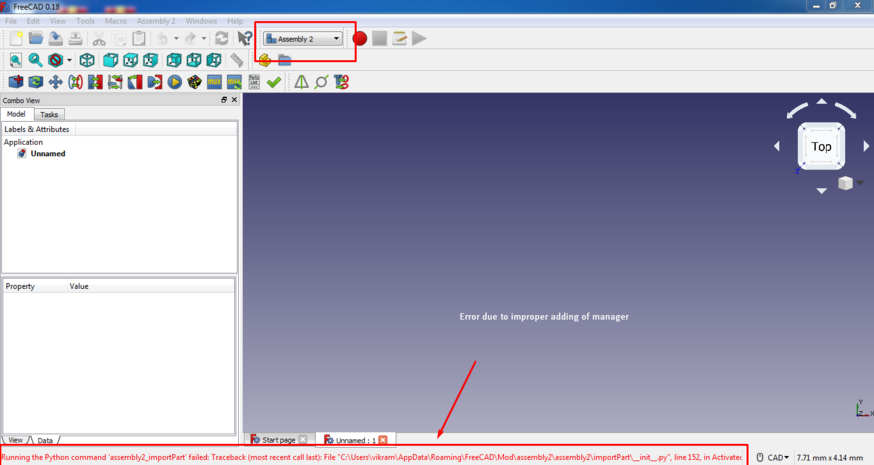
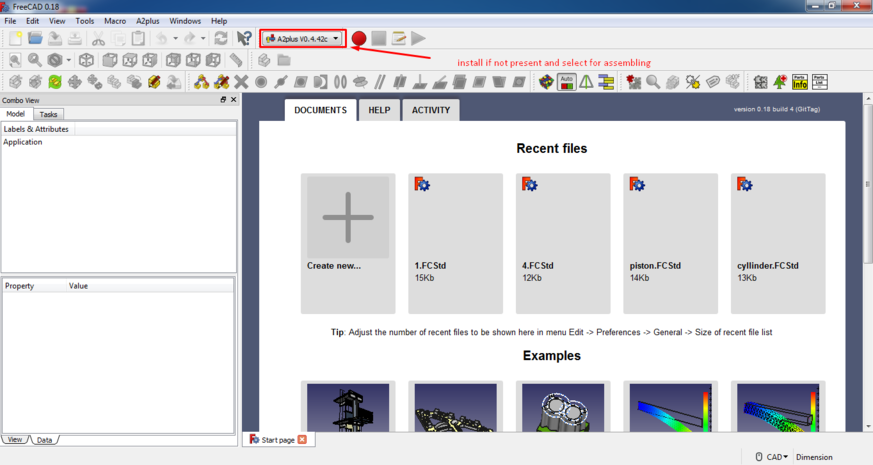
Error :I got the following error when i switch to Assembly2 workbench instead of A2 plus
 Top
Top