- Characterize your lasercutter, making test part(s) that vary cutting settings and dimensions
Group Assignment
- Cut something on the vinylcutter
- Design, lasercut, and document a parametric press-fit construction kit, accounting for the lasercutter kerf, which can be assembled in multiple ways
Individual assignment
Hero shot
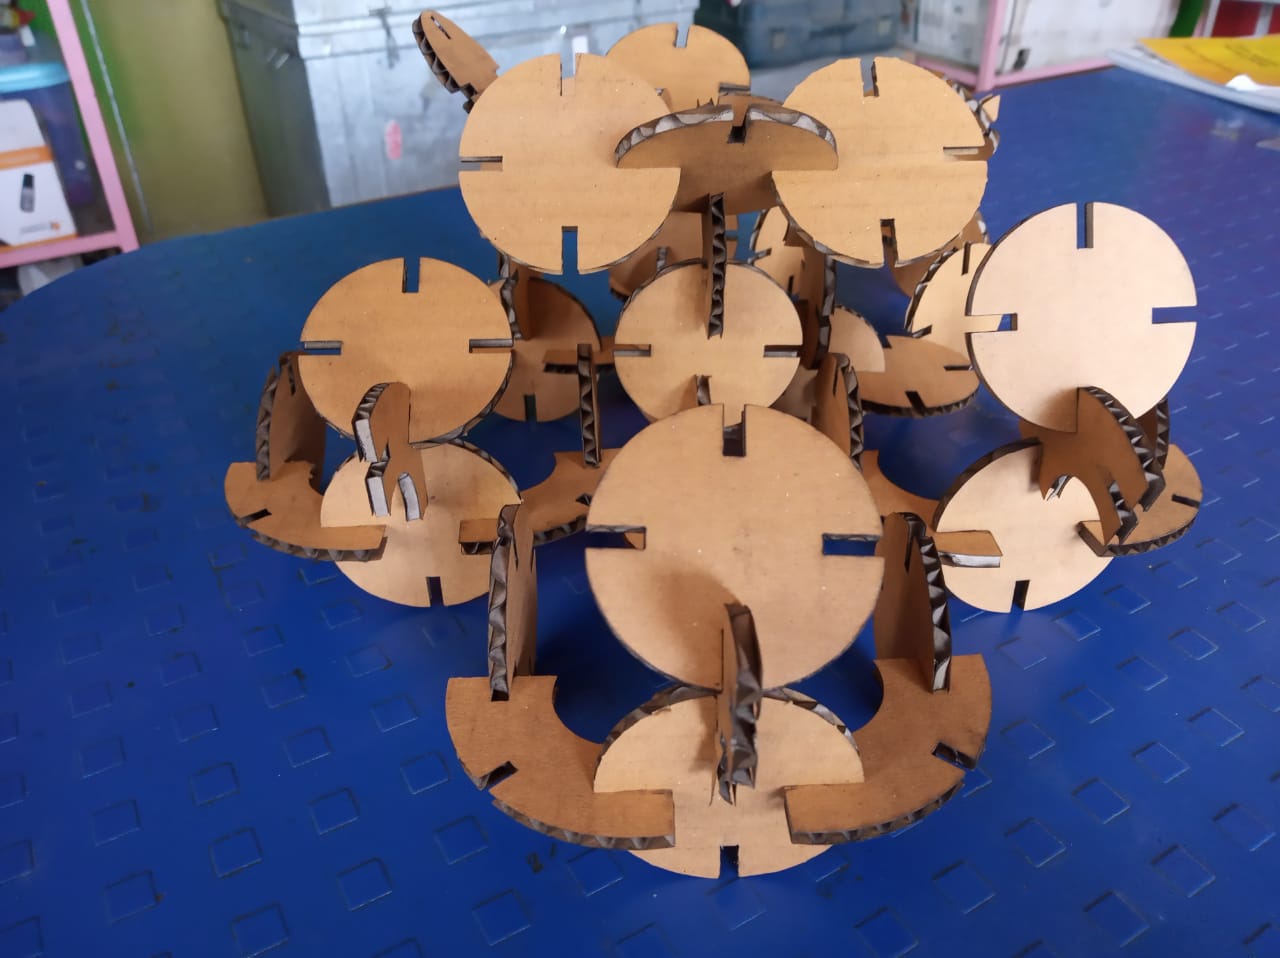

I never used computer controlled cutting, so I am excited to explore this new things!
Design and fabrication Outcomes
- Designed parametric parts using FreeCAD for laser cut
- Made a logo kind of design for vinyl machine
- Understand UI for a laser cutter and a vynil cutter
- Characterized and parametrized a laser cutter
- Form a different a press-fit structure
Group assignments on Laser cutter:
- Objectives:
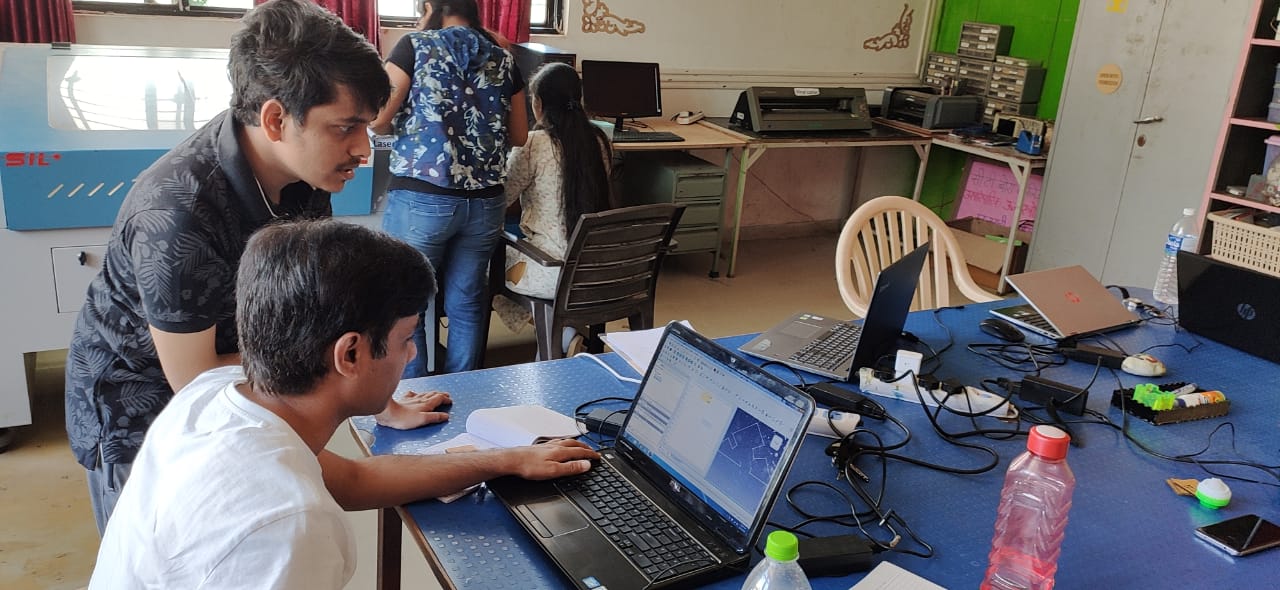
On Thusday morning Our Lab instructor Mr Suhas brief us and and give us detailed information on Laser cutter.In that session he divided our work into four sections to finish our group assignment.So i have to finish first two one i.e.
Process 1.Understand Laser cutter
About Laser cutter:
SIL Laser Engraving - Cutting Machine is versatile & finds application in signage, indoor & outdoor advertisement, art & craft, gift, shoes, toys, garments, model cutting, papers & packaging, wood & MDF cutting industry, interior, decorators and many more.
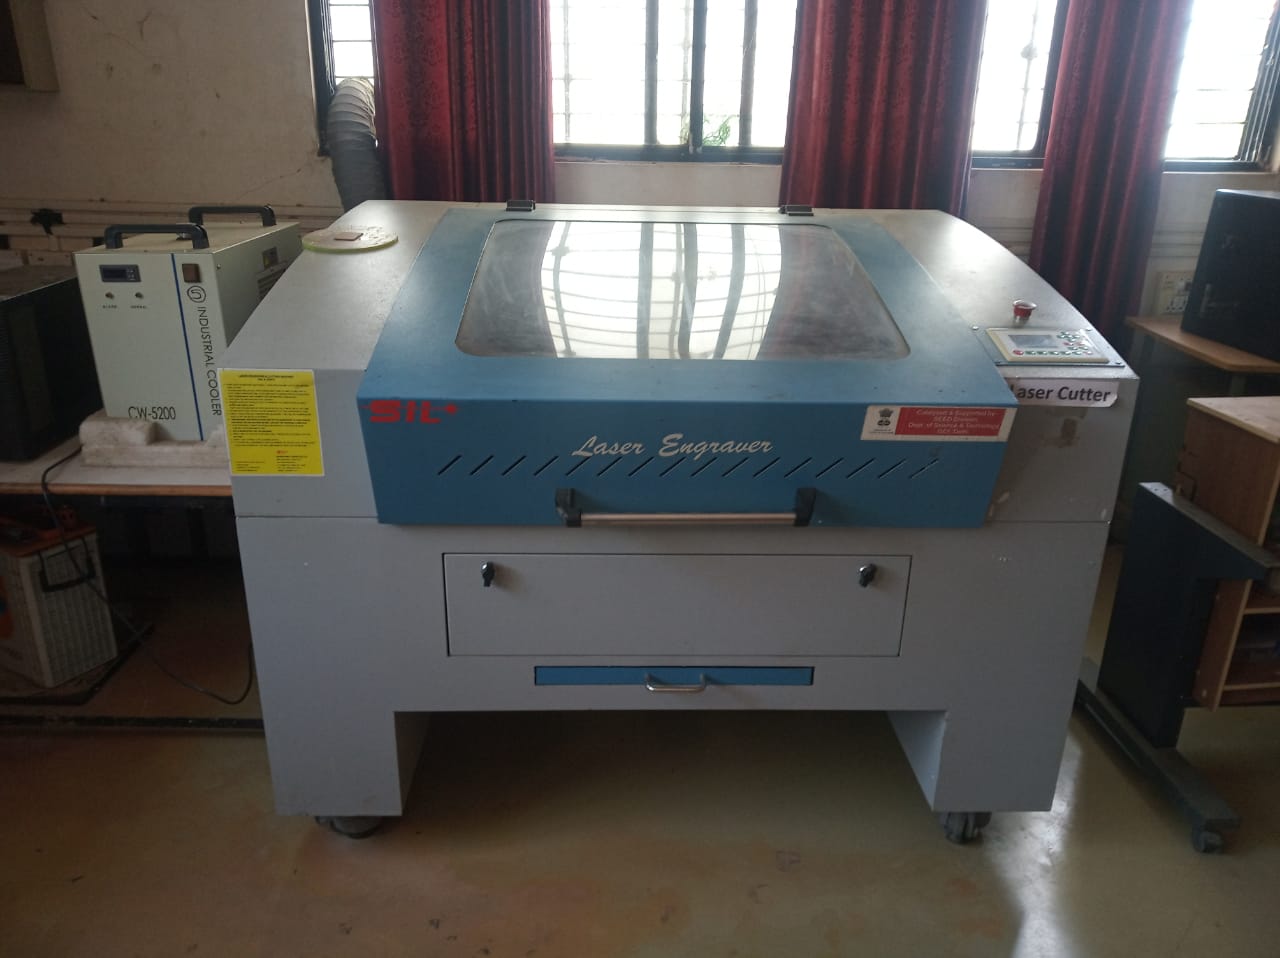
Specification:
Following are the specification of SIL Laser cutter.
| Model NO. | 1325-1318 |
| Engraving speed | 0-640000mm/min |
| Cutting speed. | 0-30000mm/min |
| Laser type | Co2 DC glass laser tube |
| Laser power | 80Watt |
| Positioning Accuracy | 80Watt |
| Processing area | 900 by 600mm |
| Working speed | Adjustable |
| Power supply | AC 220V+ 5%; 50/60Hz |
| Format supported | AI, BMP, PLT, .DXF, DST etc. |
Features:
Procedure to start Laser cutter:
- Check mains->
- Turn on isolation transformer->
- Turn on UPS->
- Turn on Air compresser->
- cooler->
- Turn on Laser cutter main->
- Turn on Laser->
- Turn ON Exhaust->
- Turn on Lamp->
- Interface with laptop->
- Download file from lptop to machine ->
- Finally,click on start button of Laser machine
Process 2.Deep dive into laser cutter speed & power
In afternoon session we planned to understand the effect of speed and power on cut width , kerf angle, engraving depth.
Friends,when we used laser cutter to cut the material most important aspects to consider is to balance the speed and power.
Usually,we expect the machine to cut the material as fast as ,but are they enough strong to do this?"may be not".
Our experiment was simple: using “FreeCAD” we drew a series of 5mm by 5mm squares and cut 10-20 examples of each using different Energy settings. Each individual square was measured with a micrometer for two different characteristics:
So What exactly we did?
We design a 2D Square using FreeCAD around 22 pieces ,each one is tested with different speed and power for cardboard,MDF and acrylic sheet.Following table shown you comparision of laser cutter performance with repect to speed and power for diiffwrnt material surface.
| Material | Power | Speed | Star rating |
|---|---|---|---|
| Cradboard | 55 | 60 | ** |
| 70 | 60 | ** | |
| 45 | 60 | * | |
| 40 | 30 | ||
| 45 | 40 | * | |
| 65 | 60 | *** | |
| 65 | 50 | ***** | |
| 40 | 30 | ||
| 60 | 50 | ** |
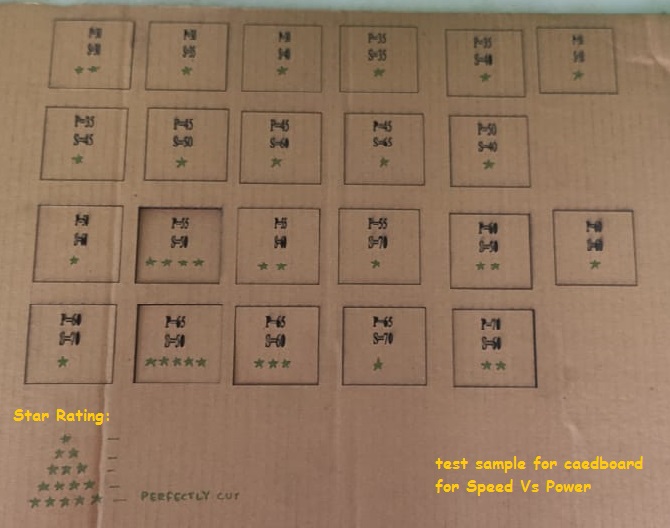
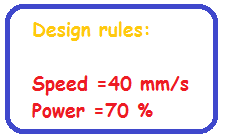
Summary:So after doing all above exersize we finilised the rules for cardboard which i am going to used for my individual assignments i.e.We select speed 40 mm/sec , 70 % power and add kerf of 0.20 mm
For detailed information about group assignment please click here Group Assignment
Top2.Individual assignments on Laser cutter:
My individual assignments is comprised following four parts such as
I followed below steps that actually take you for above four parts one by one so lets do it!
Step 1:Used of Parametric Spreadsheet

Step 2: Adding Parametric Spreadsheet

Step 3: Adding Parametric Spreadsheet
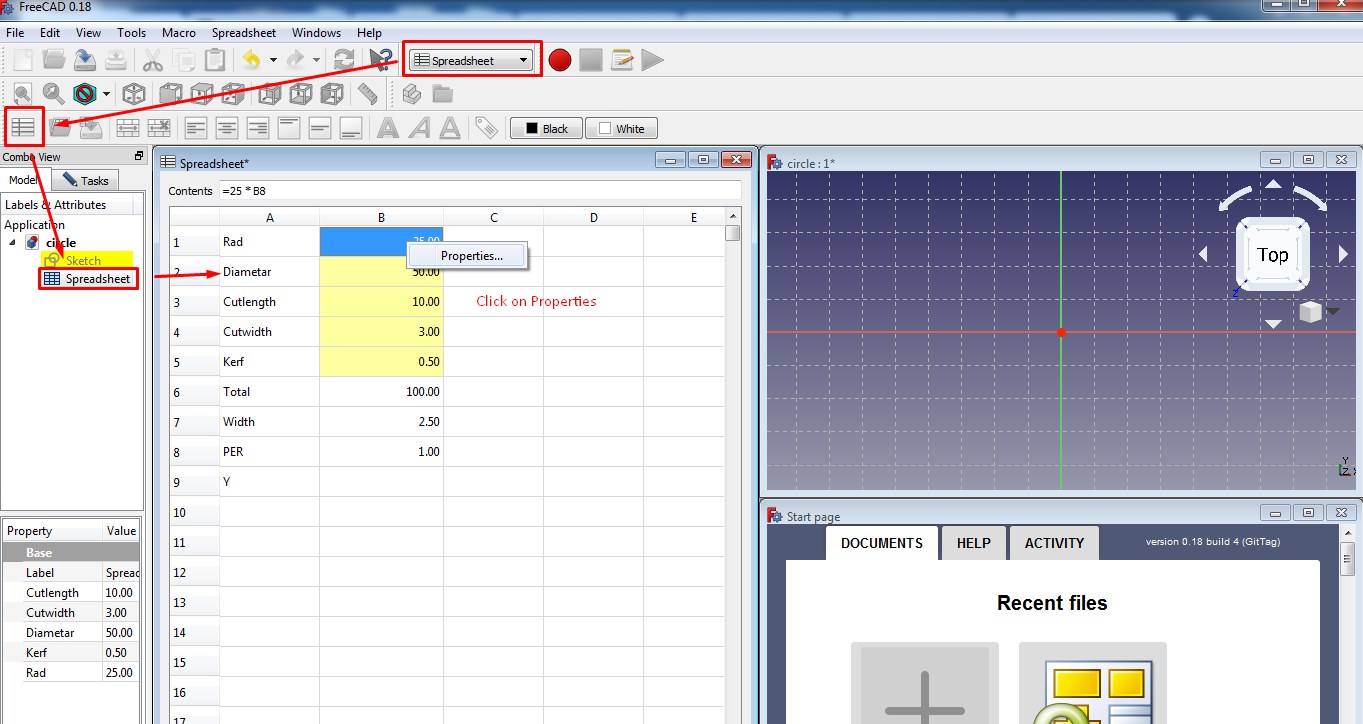
.
Step 4: Adding the first circle and constraints
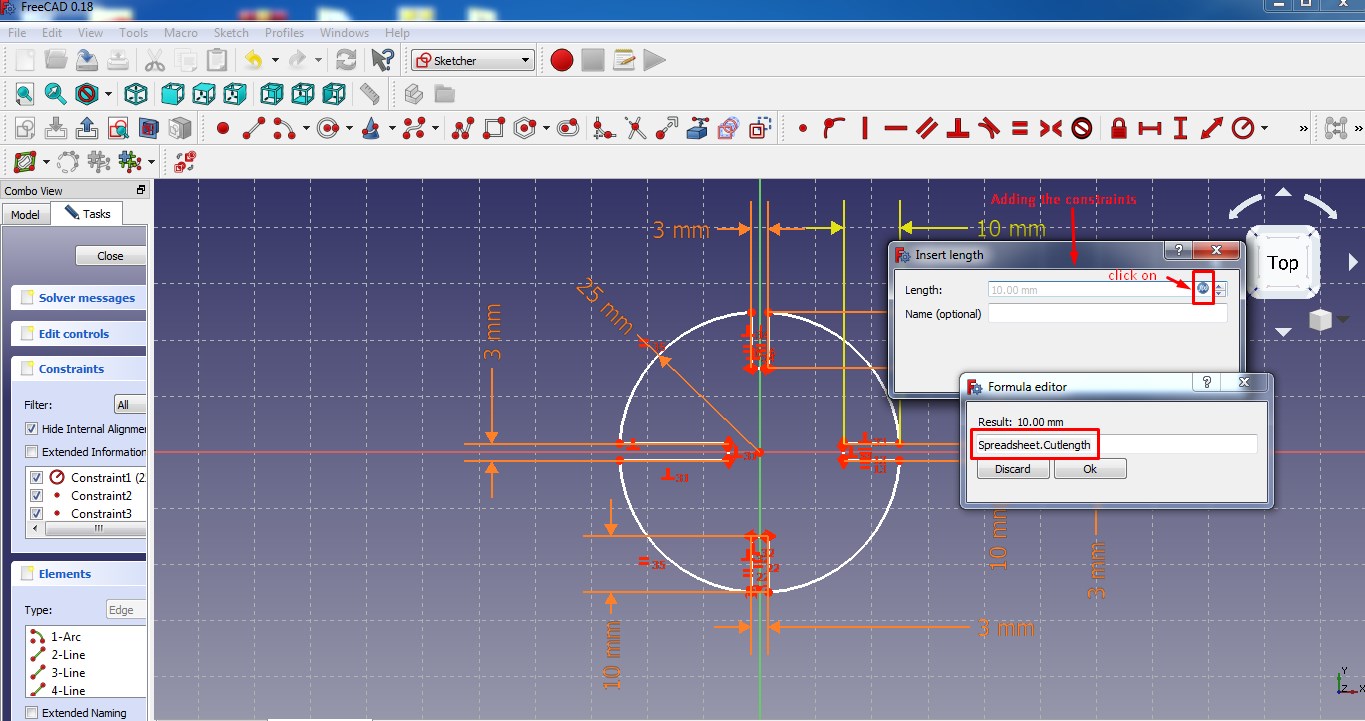
Step 5:Adding the first circle and constraints
In following screenshot you can see the change in shape of circle as the value in spreadsheet get change.This is quite usefull for big design.
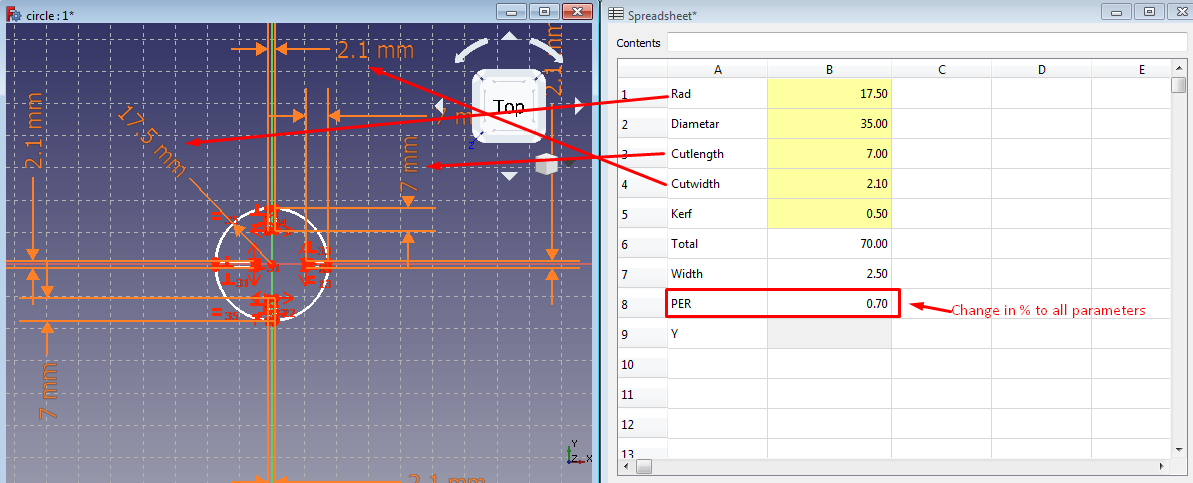
Step 6: Adding the first circle and constraints
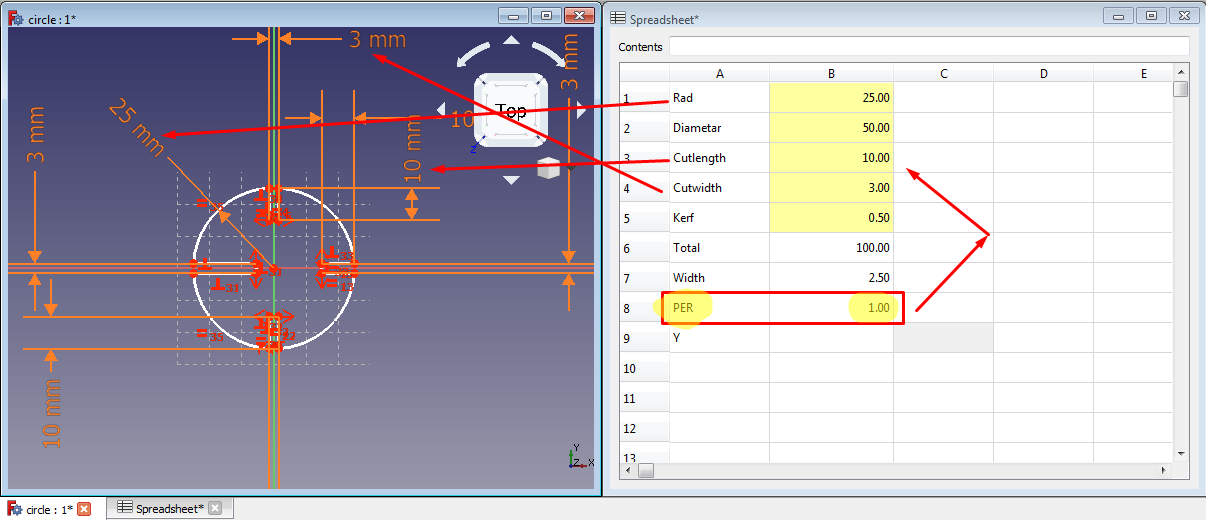
Point to be noted :Design rules for adding kerf
Step 7: Draft workbench
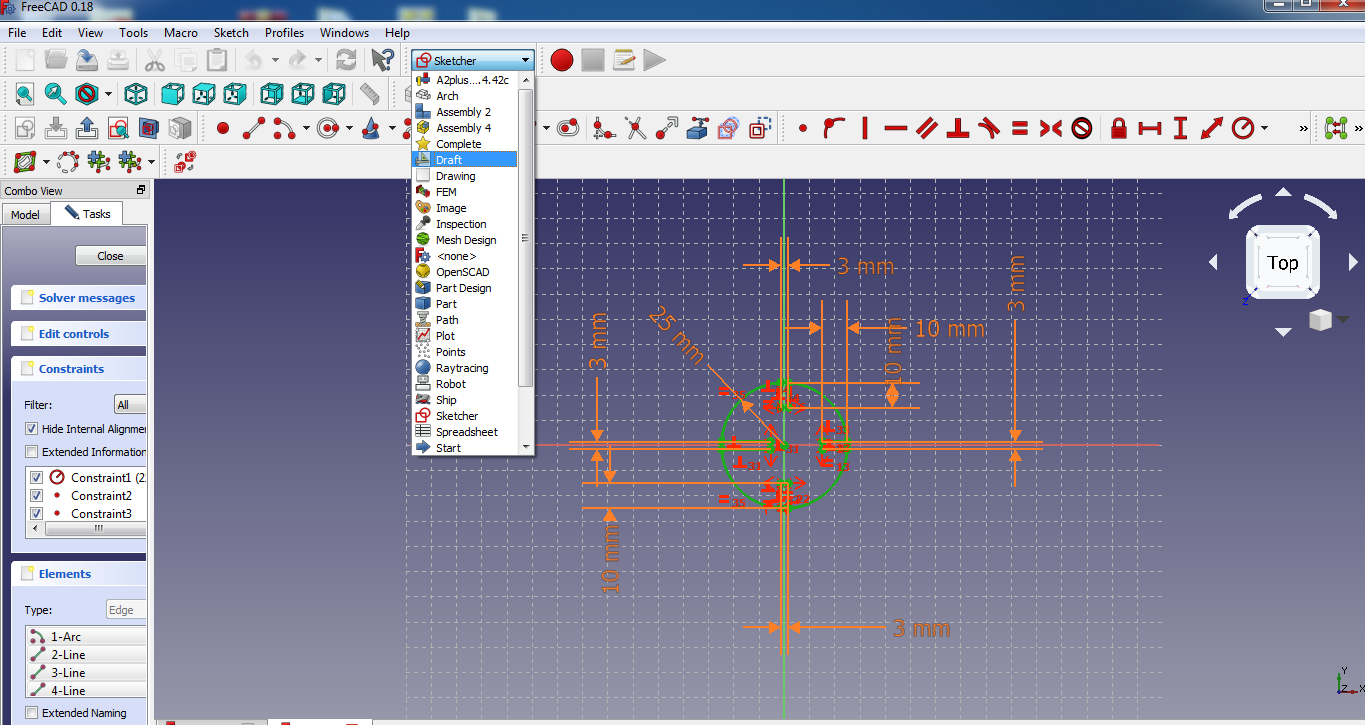
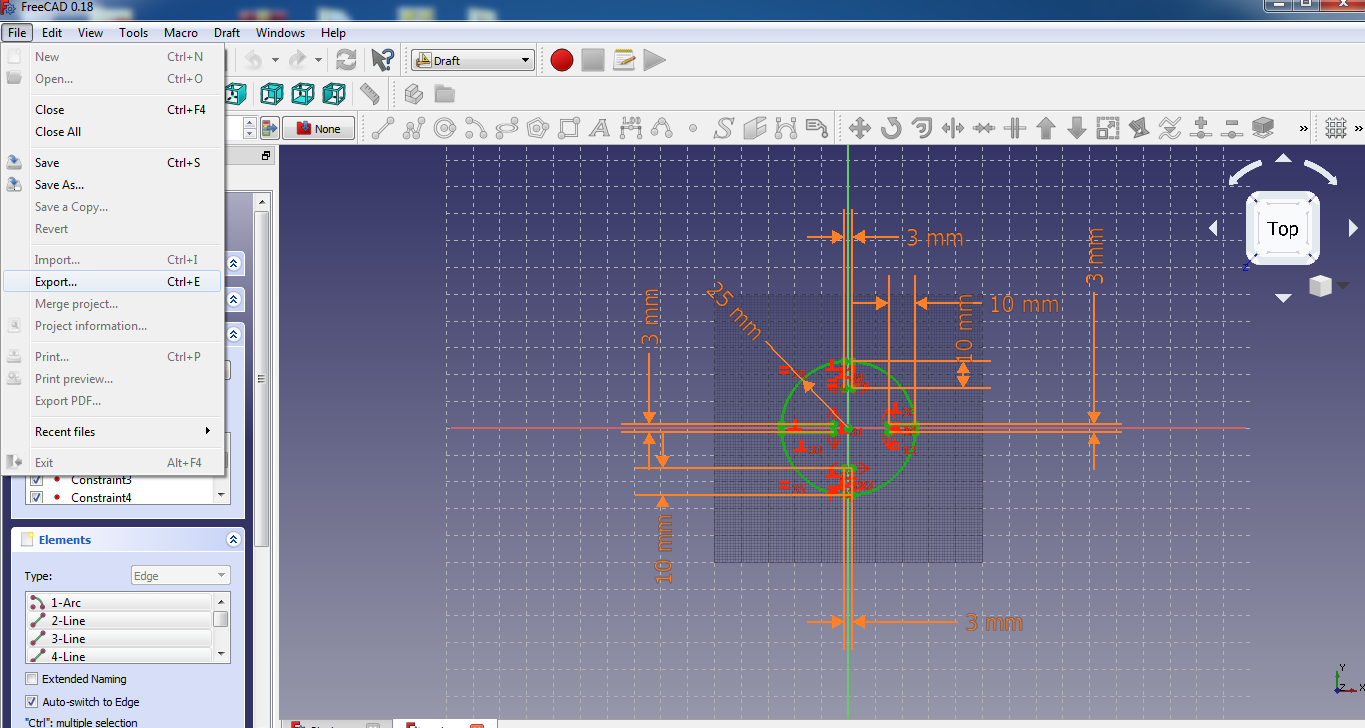
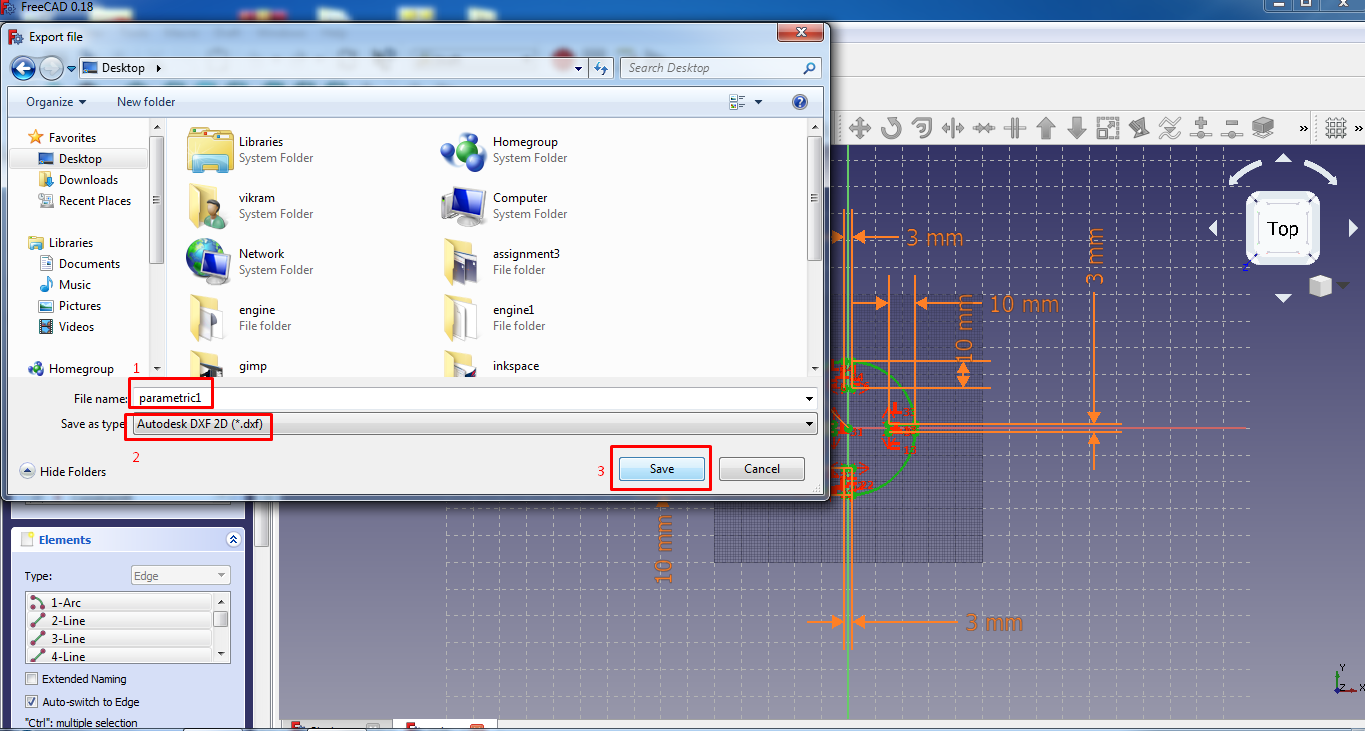
So in this way we finished the first two part of our work.Click here to download parametric design freecad file.
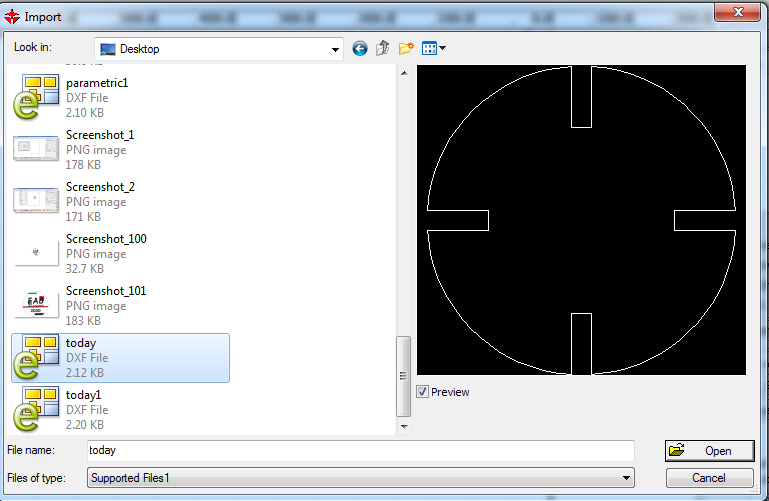
Step 08: Open to RD WORKS S/W
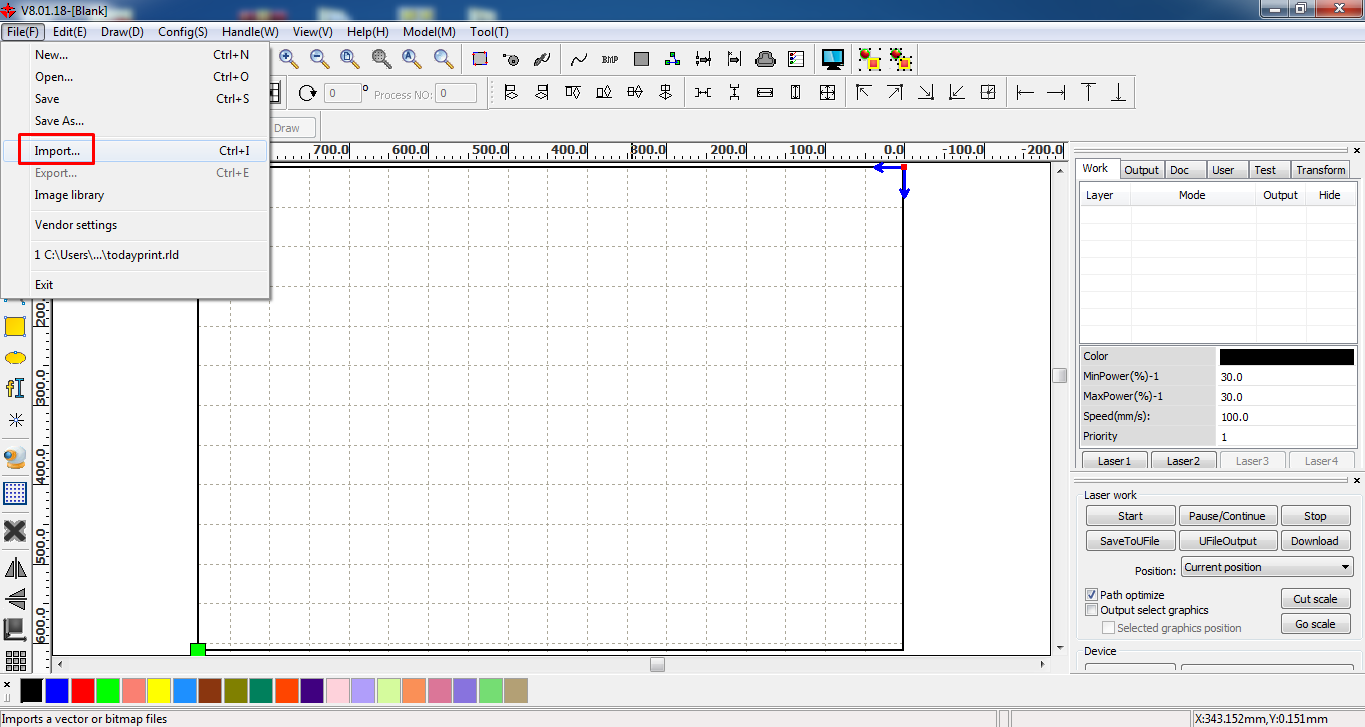
Step 09: RD WORKS S/W - Steps 4&5.
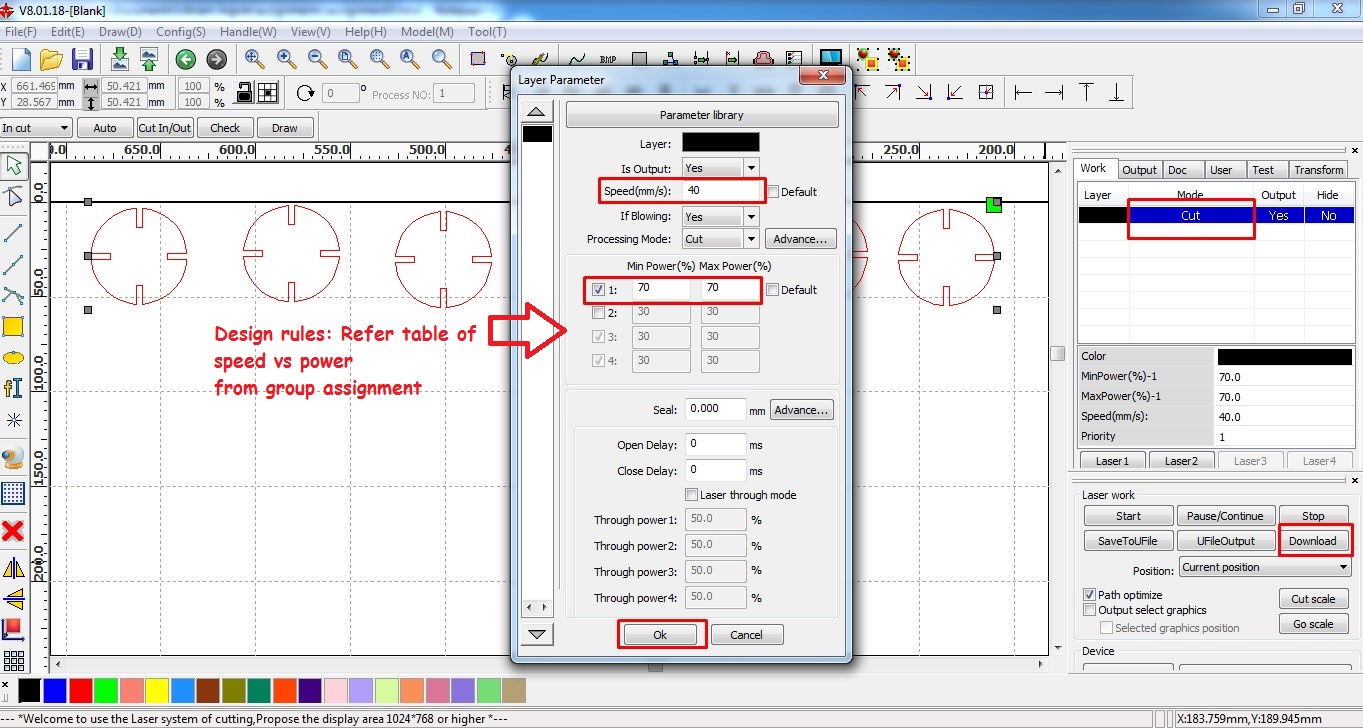
Step 10: Hands on laser cutter
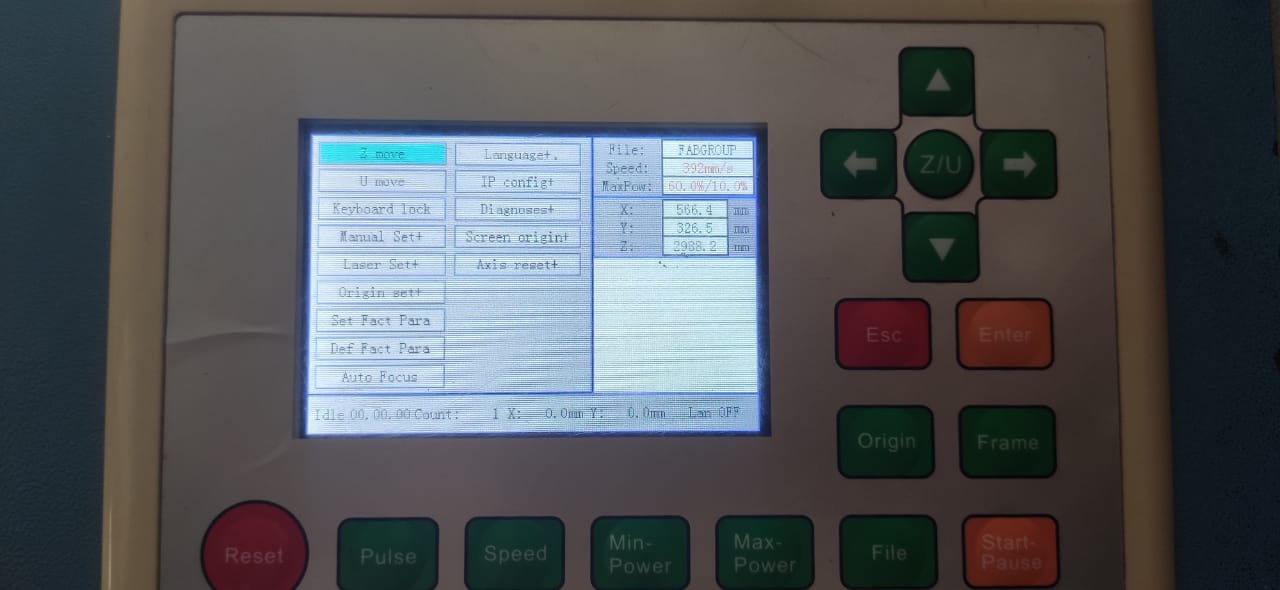
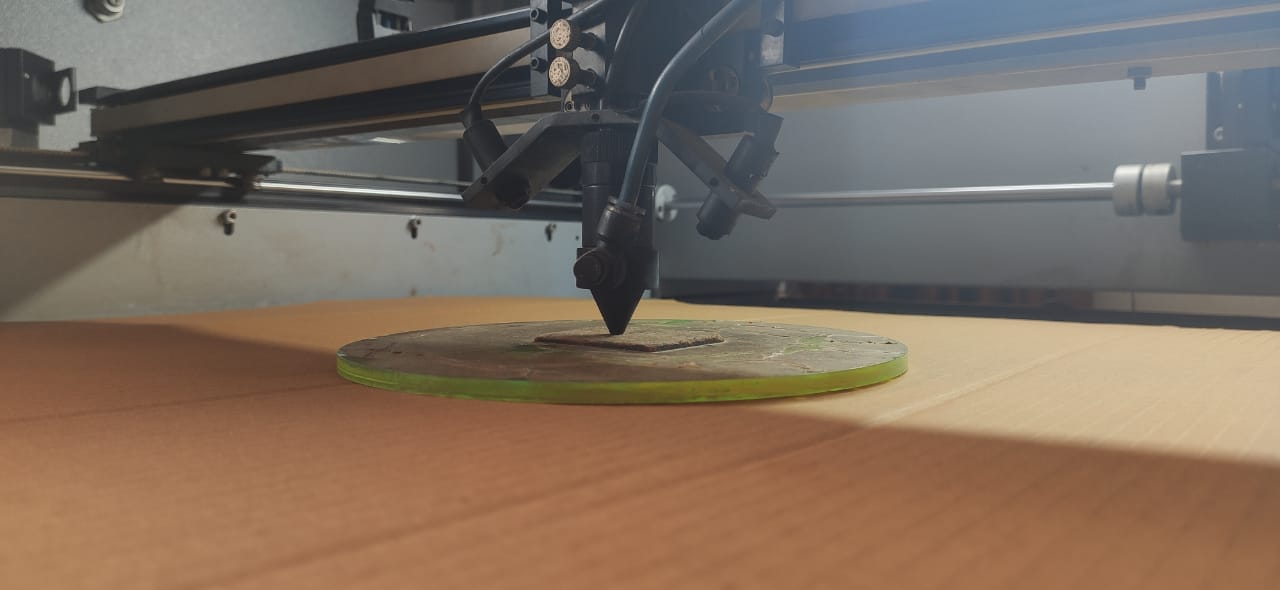

Step 11.Press fit Assembly


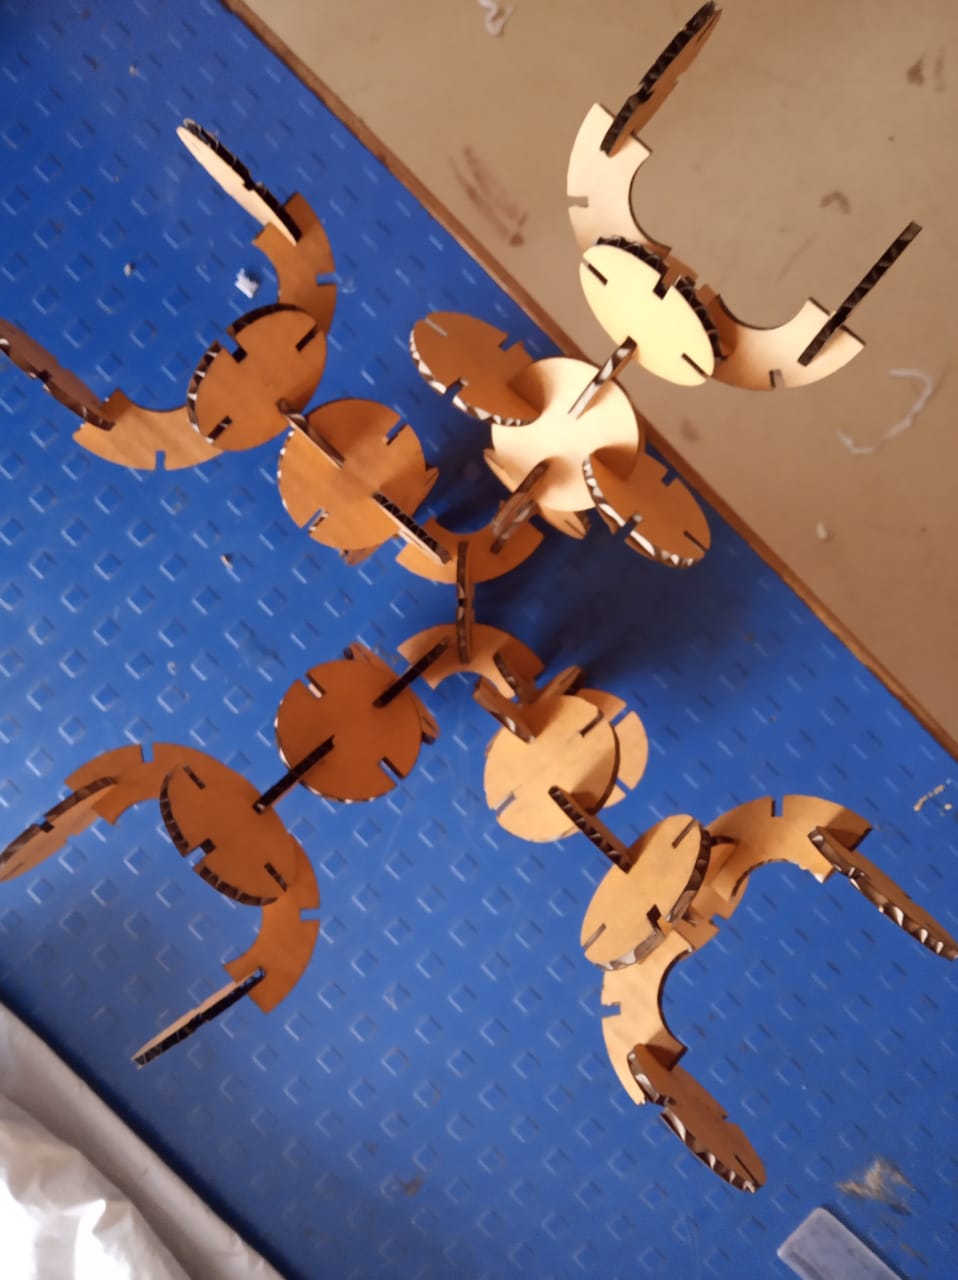
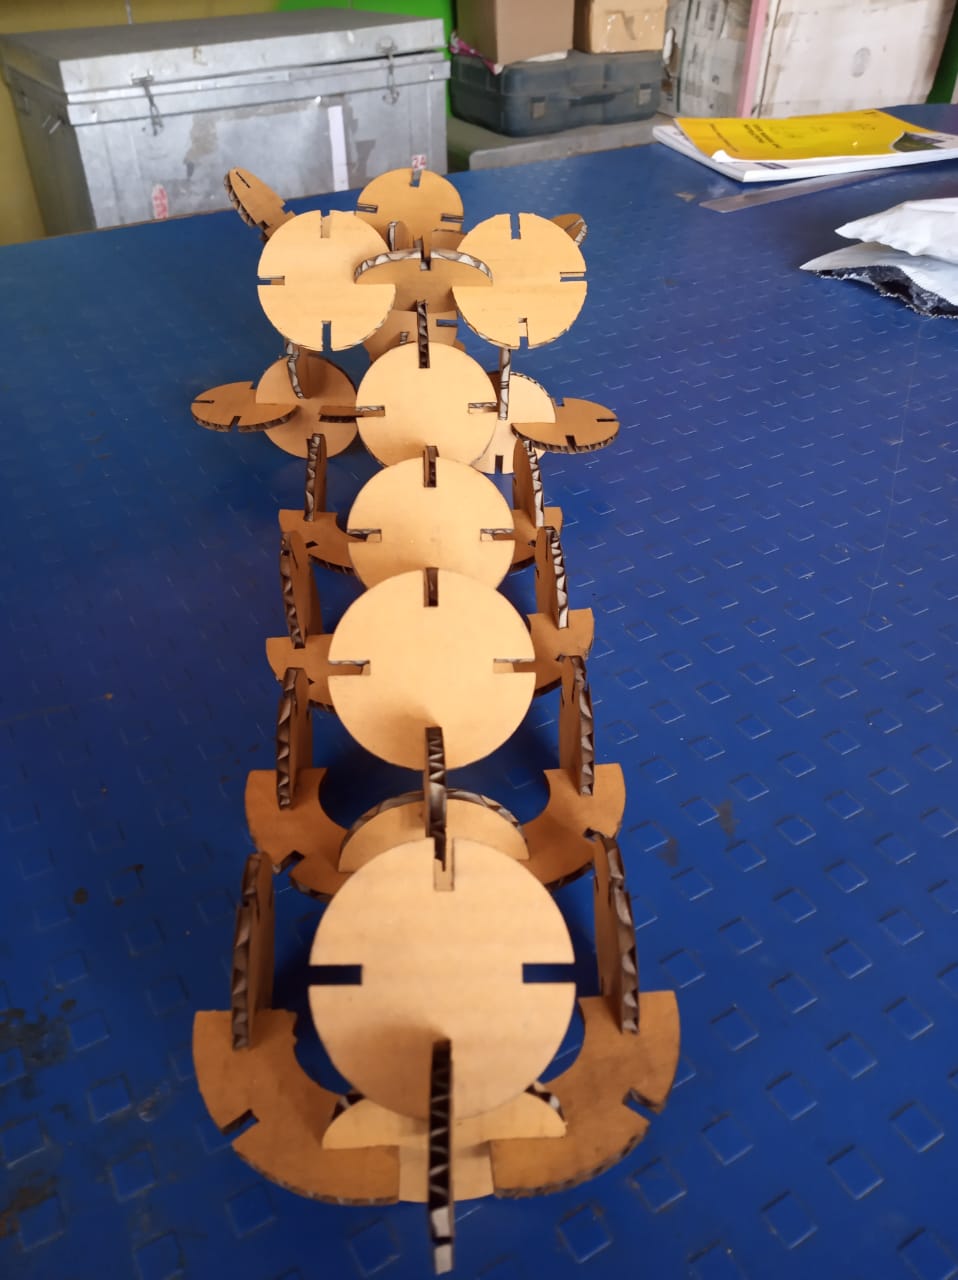
Its really fun to press fit the object and made different view.I am experiencing for the first time and i enjoyed quite a lot.
TopAbout Vinyl cutter
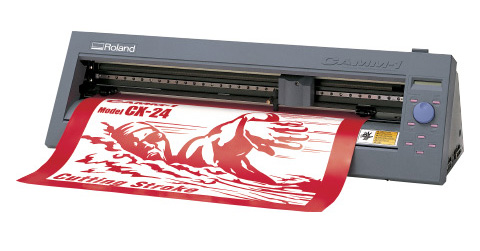
After finishing the task on laser cutter we start our work on vinyal machine.Accordingly first we planned to collect the information about the working operation,which Software required.So below i just give the details of it.Then we planned to sketch the design and print it usung vinyla cutter.
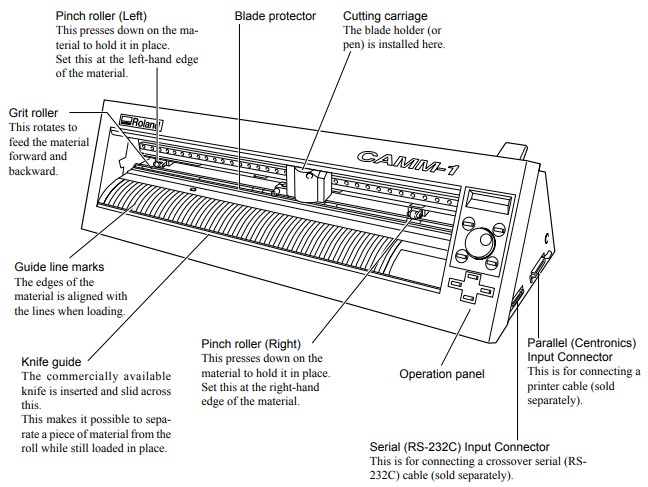
Part names and functions

What this machine is all about?
A vinyl cutter is a type of computer-controlled machine. ... like a printer controls a nozzle, the computer controls the movement of a sharp blade over the surface of the material. This blade is used to cut out shapes and letters from sheets of thin self-adhesive plastic (vinyl).To know more about Vinyal cutter please visit the company website.The CX-12/24 is exceptionally easy to use and incorporates advanced features previously available only on Roland’s PRO series vinyl cutters.
- These include:
- One piece front panel
- JOG dial eliminates dipswitches
- Easy-to-read 16 character LED display
- Push button replace membrane switches
- Relocated material load lever
- Larger, single-action pinch roller assembly
- Cutter knife groove on front apron for easier manual cutting
Steps to used Vinyl Cutter:
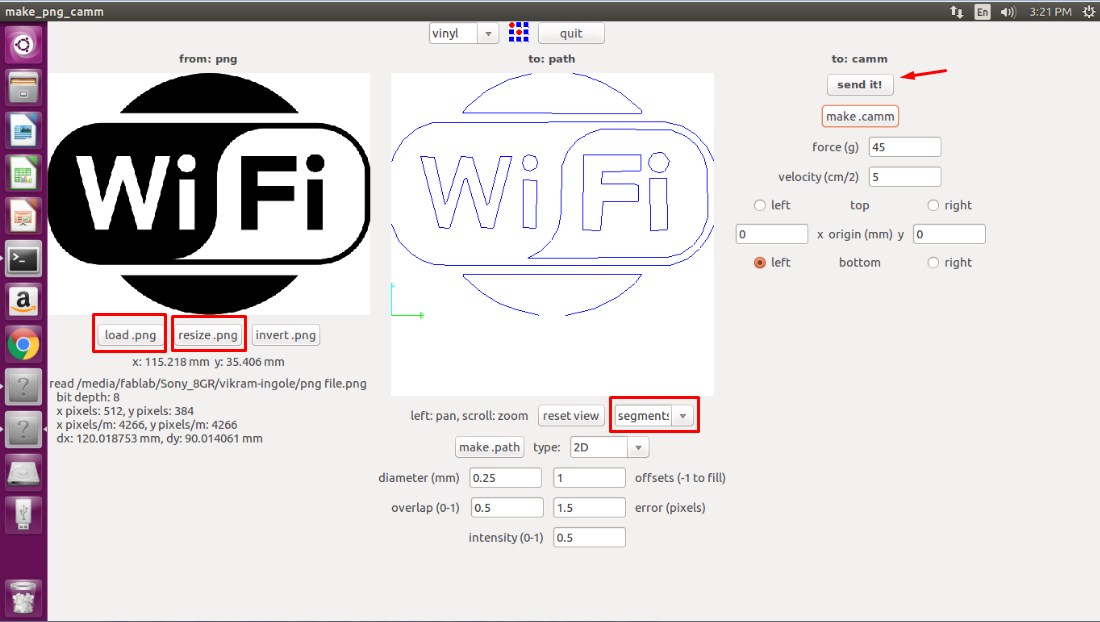
- Export design sketch in png format
- Load the design Sketch on software named as FabMod in png format
- Resize the image accordingly to your requirment.
- Select segment
- Select type 2D
- Finally Click on send it.
- Put the vinyl paper in machine
- Before you start anything first think exactly on which portion of paper you want to print the design and accordingly set the origin.
- Use the position key to move the blade holder.Move to the position where the cutting test is to be performed.
- Wait , for while
- See , here is my print .

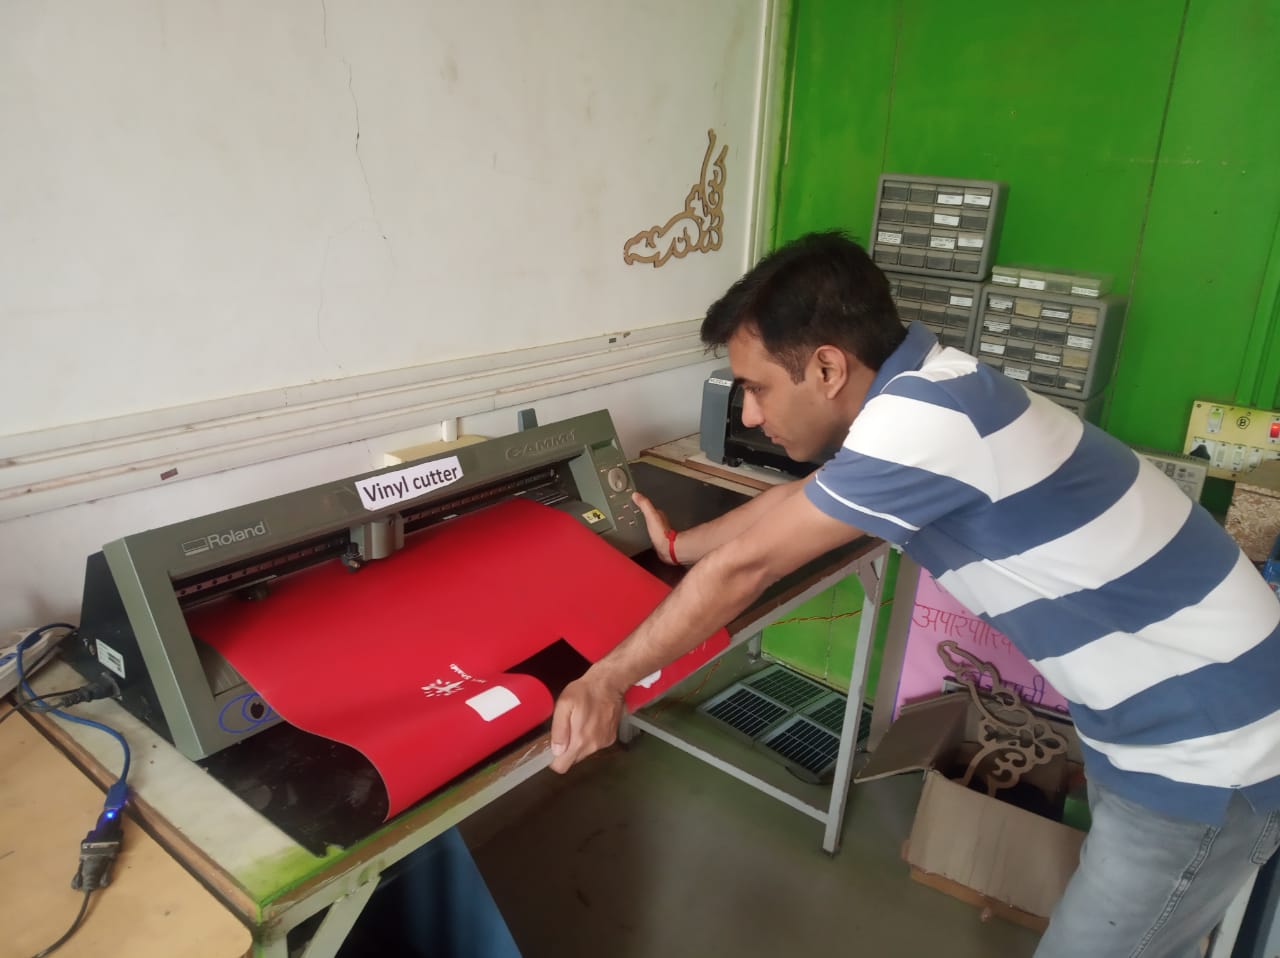

Note:If adjusting the blade force does not produce good cutting results, then adjust the amount of blade extension from the blade holder
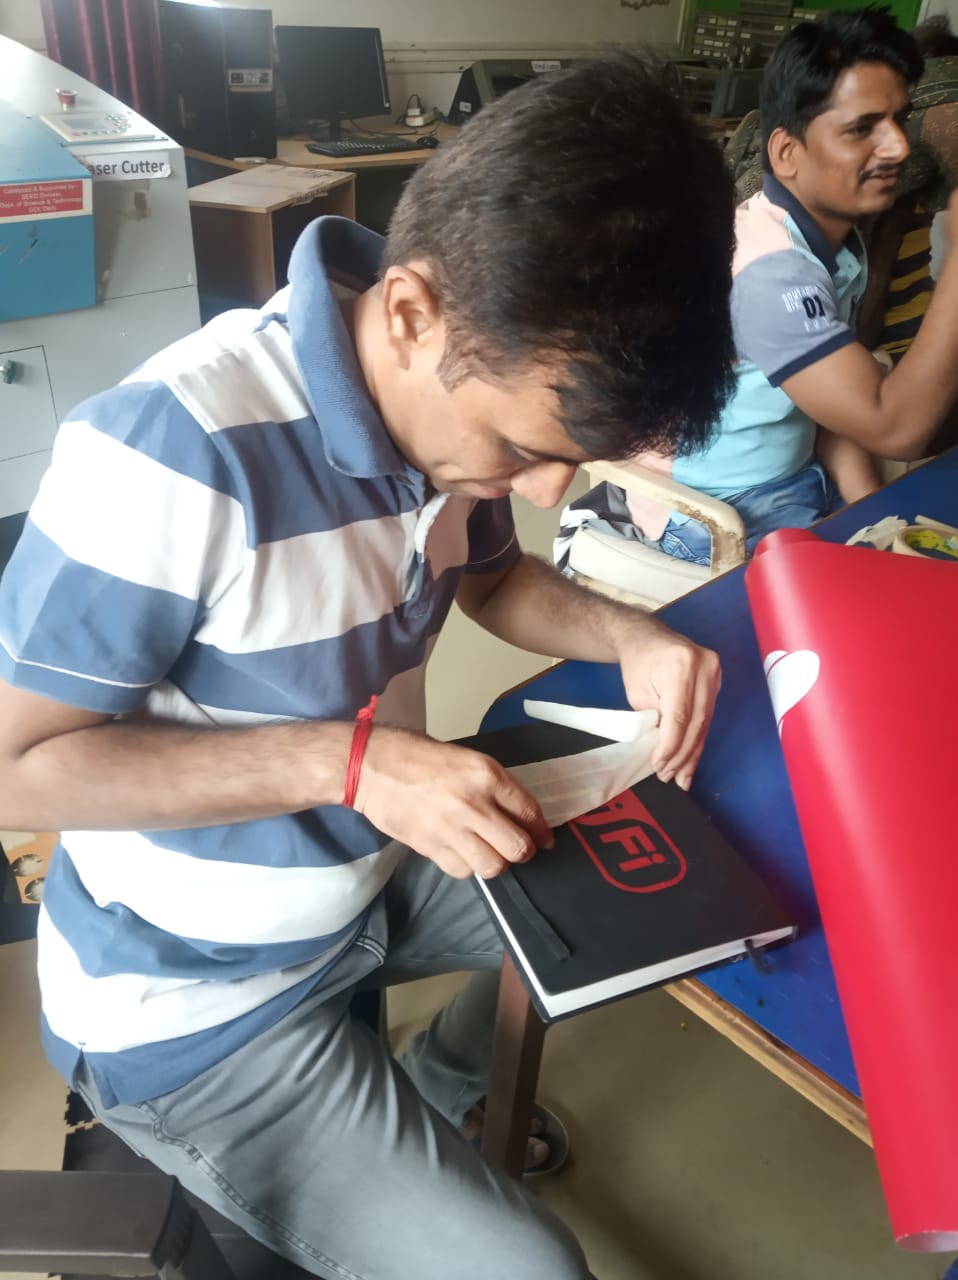


Feeling happy to see the my first design on vinyl cutter.It was really wonderfull experience.