4. Electronics Production
This week we finally start to learn the most interesting part of knowledge. Because the Electronics part is what I’m weak at. So I really want to promote myself. And as you know, we can’t leave without IoT products. Every creativity design all needs a microcontroller to process many complex commands. Then let’s begin a new adventure.
Assignment:
♦Group assignment:
Characterize the design rules for your PCB production process.
♦Individual assignment:
make an in-circuit programmer by milling and stuffing the PCB,test it, then optionally try other PCB processes.
FabTinyISP
The FabTinyStar is yet another version of an AVR ISP programmer/board that can be produced in a fab lab using a milled PCB and readily available components. The project is based on the efforts of many people. For more history of the FabTinyStar and the people who have contributed to it, please refer to Zaerc’s FabTinyStar page.
♦More reference:
FabTinyISP
Building the FabTinyISP
FabISP
The FabISP is an in-system programmer for AVR microcontrollers, designed for production within a FabLab. It allows you to program the microcontrollers on other boards you make.
The Electronics Production assignment is to mill the board, stuff it with components and program it. We will be using these programmers throughout the semester to program the other boards we create.
The genealogy of the FabISP design is interesting in its own right; Neil’s FabISPis based on David Mellis’s FabISP which is based on Limor’s USBTinyISP which is based on Dick Streefland’s USBTiny.
Here are some of the design versions depend on ATtiny45 and Attiny44
ATtiny45 Sean Alex Tomás Jonathan Brian Zaerc
ATtiny44 Ali Valentin Bas Andy David
♦More reference tutorial about FabISP Embedded Programming
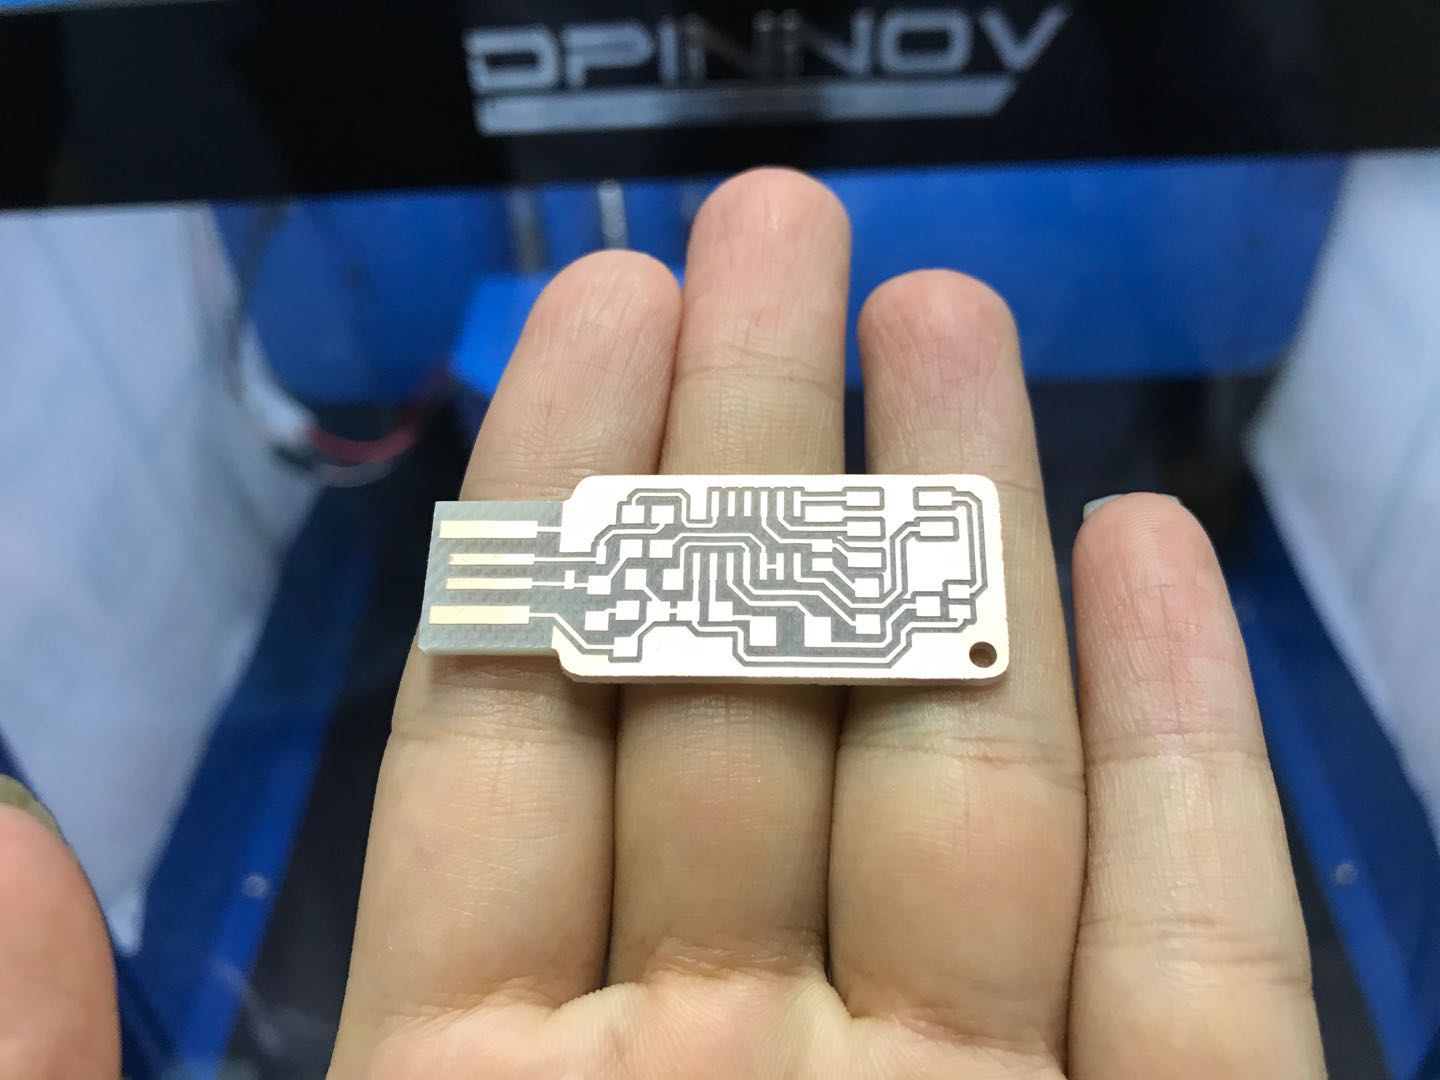
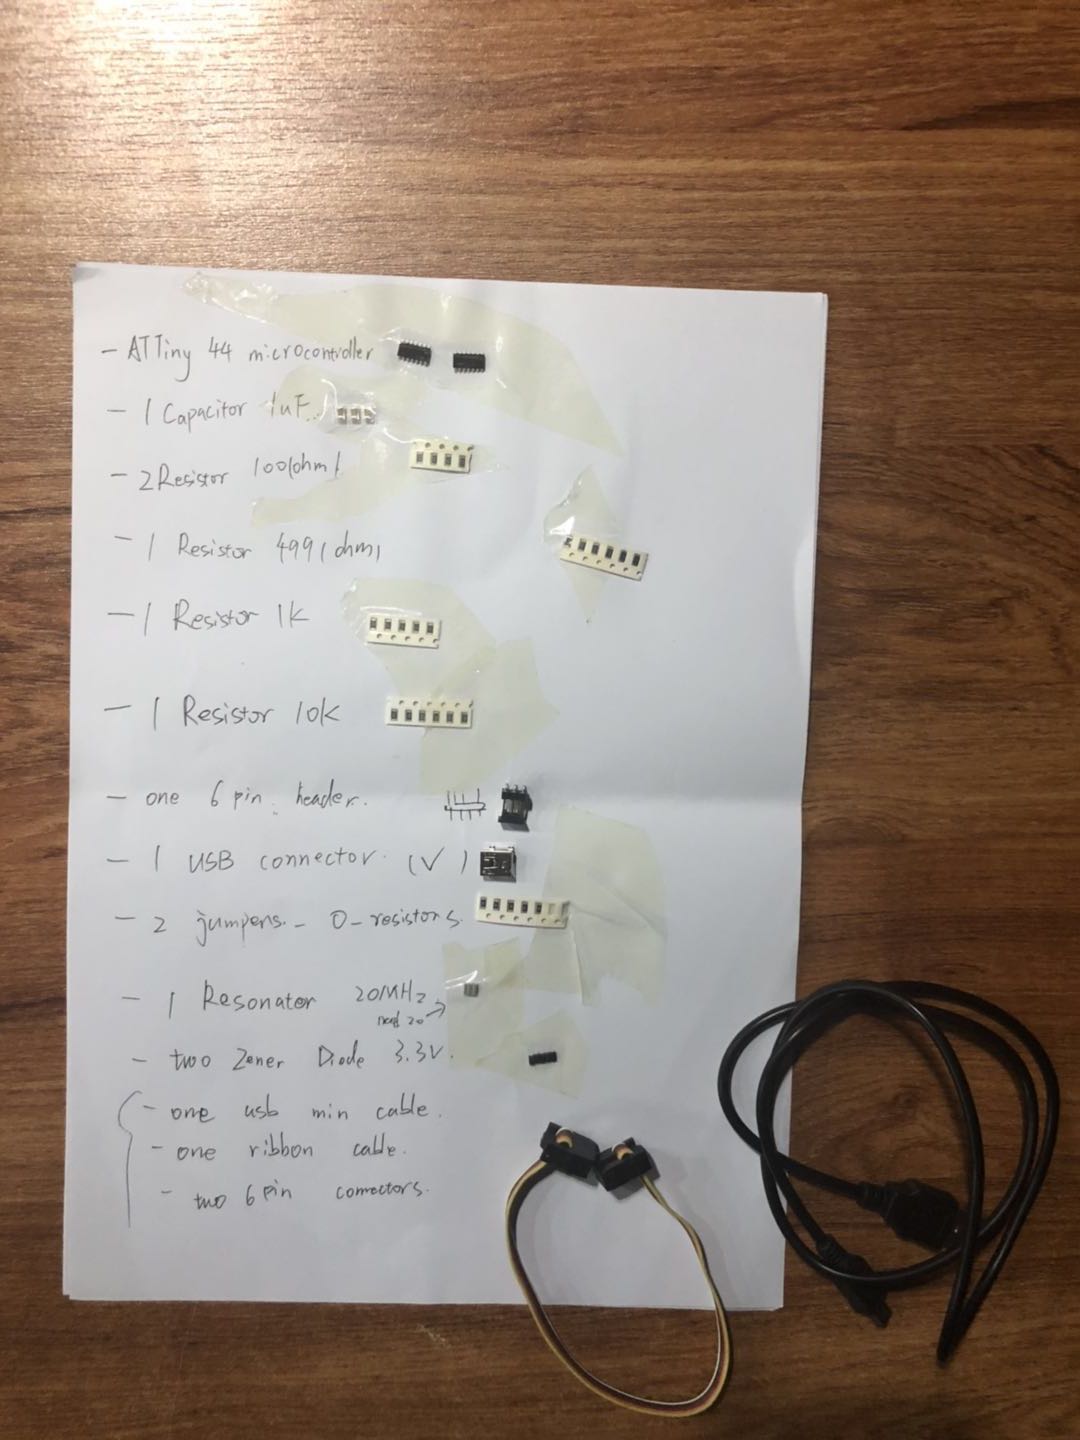
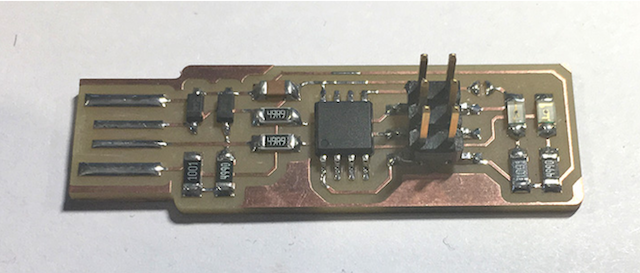
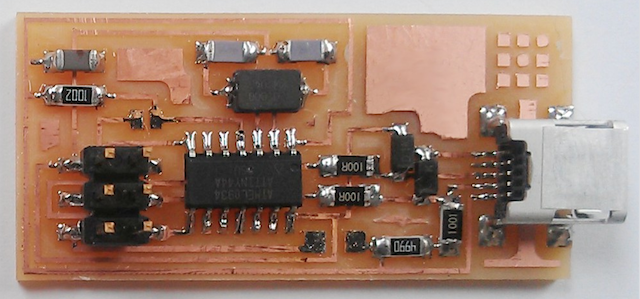
What I’m going to working on FabISPkey
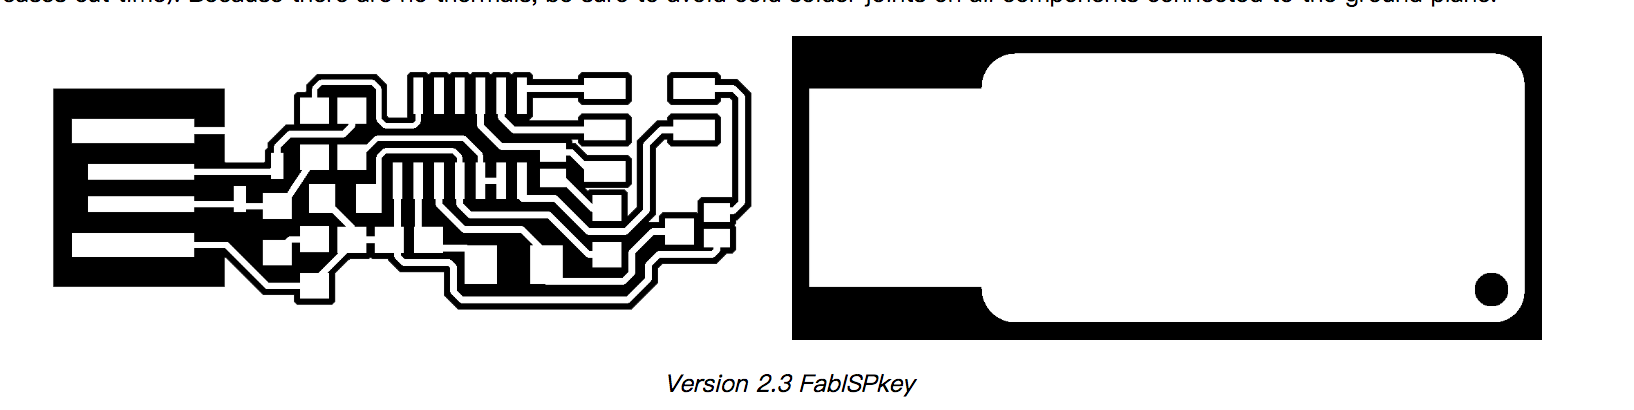
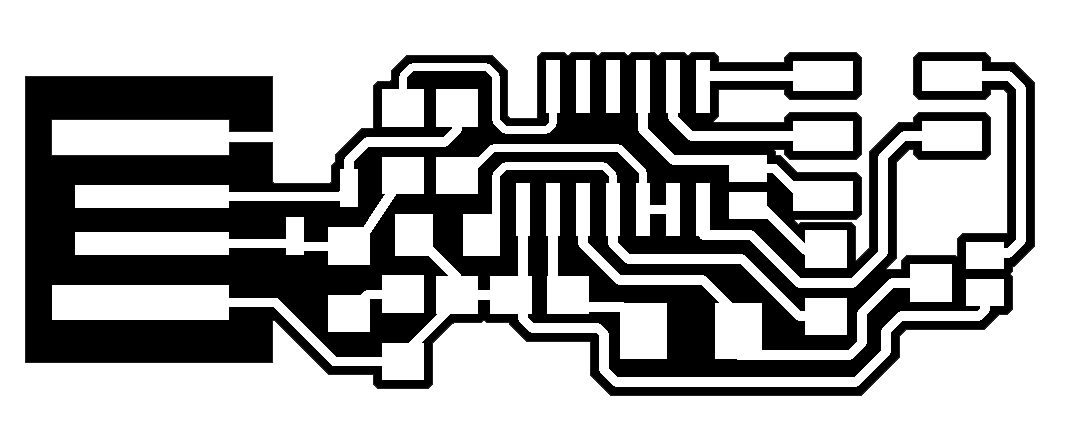
Version 2.3 FabISPkey
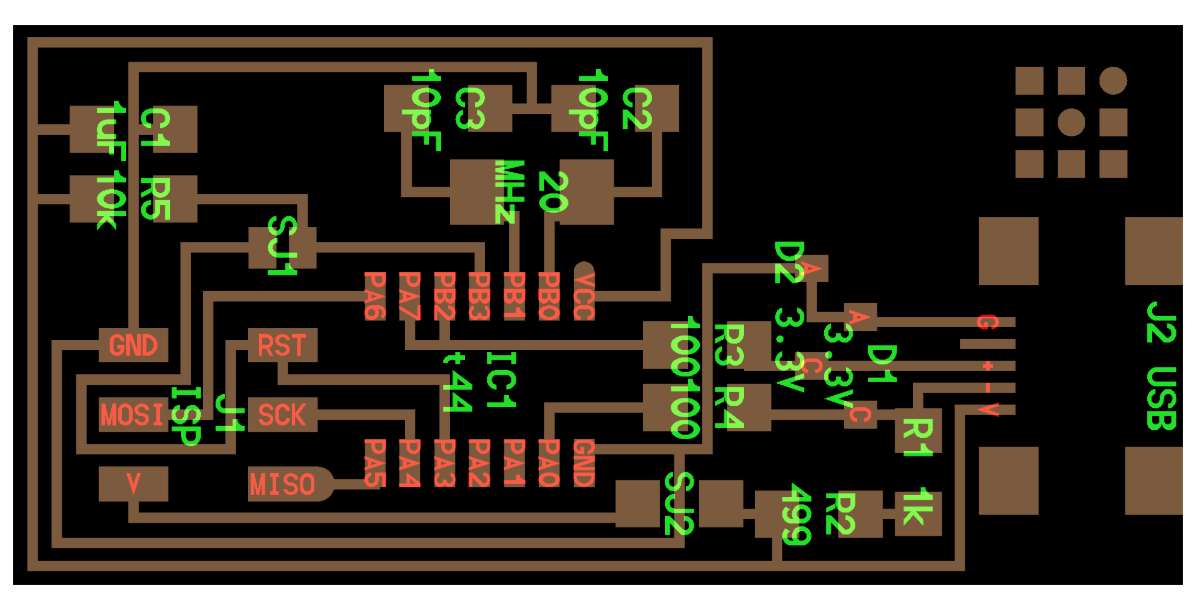
Download the traces and outline png files.
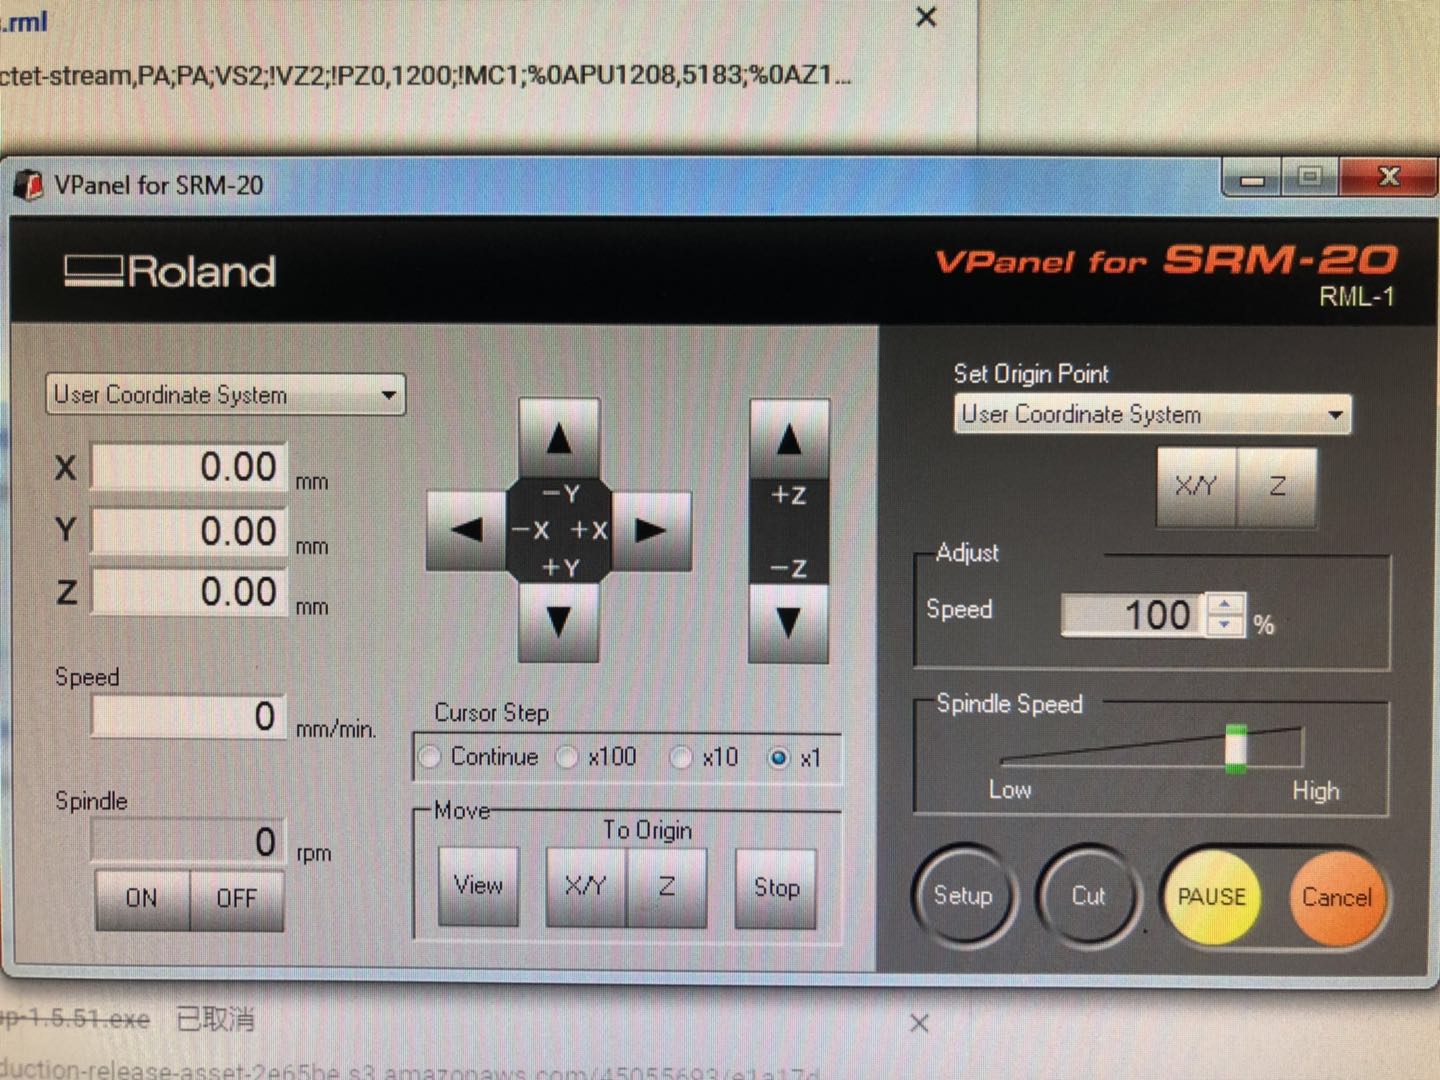
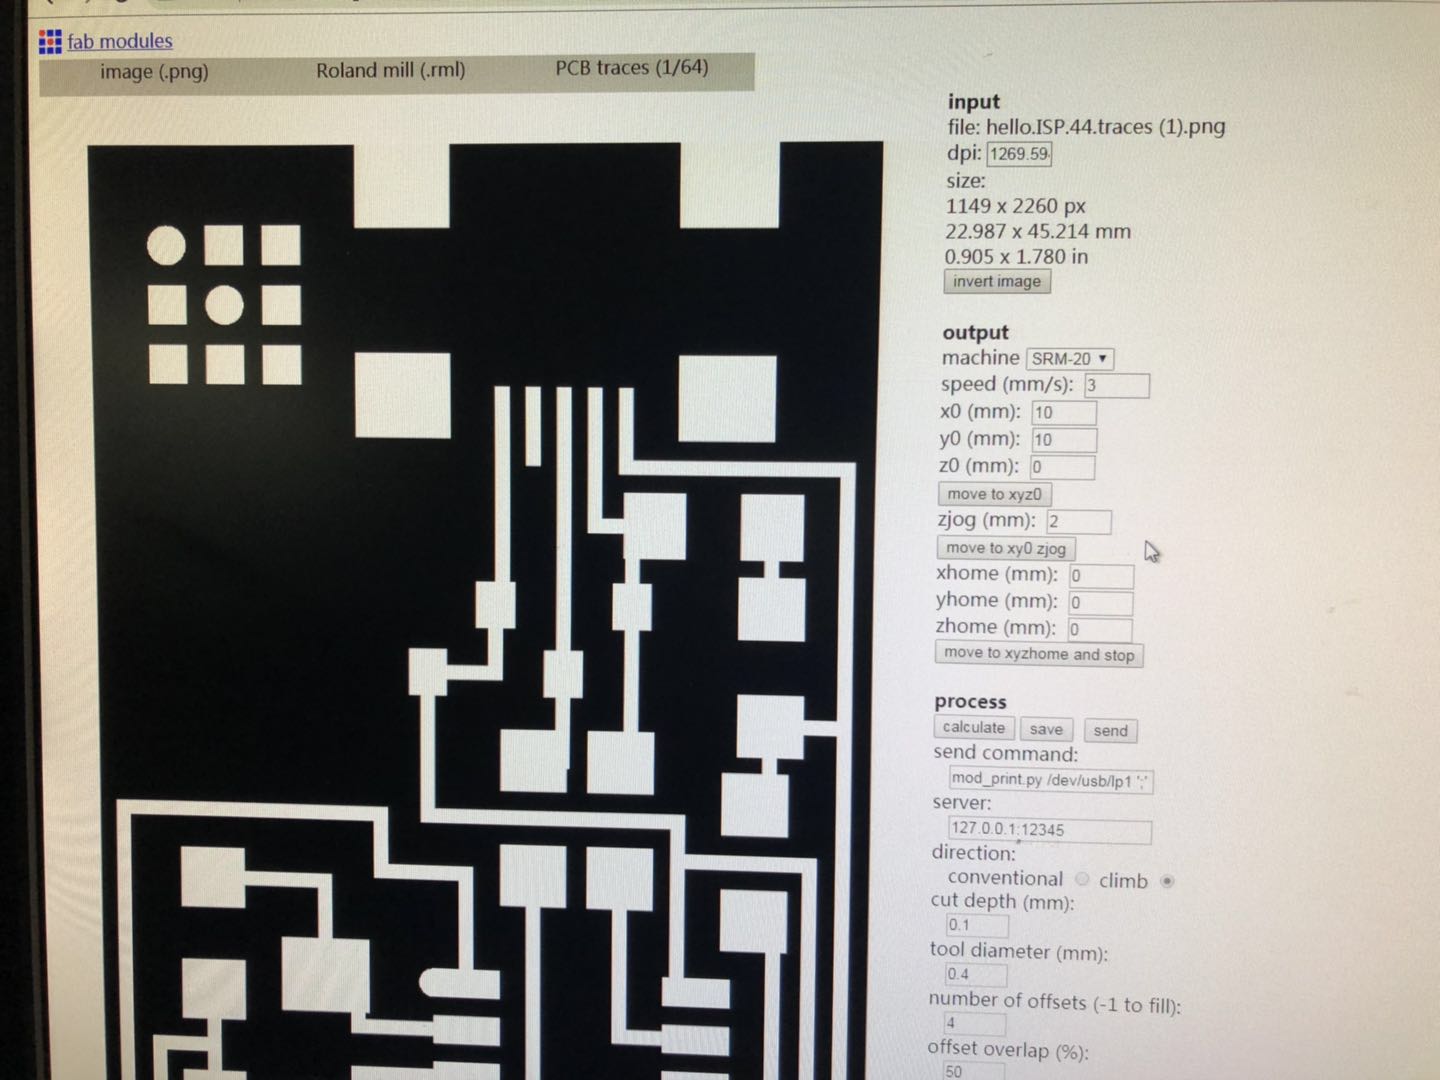
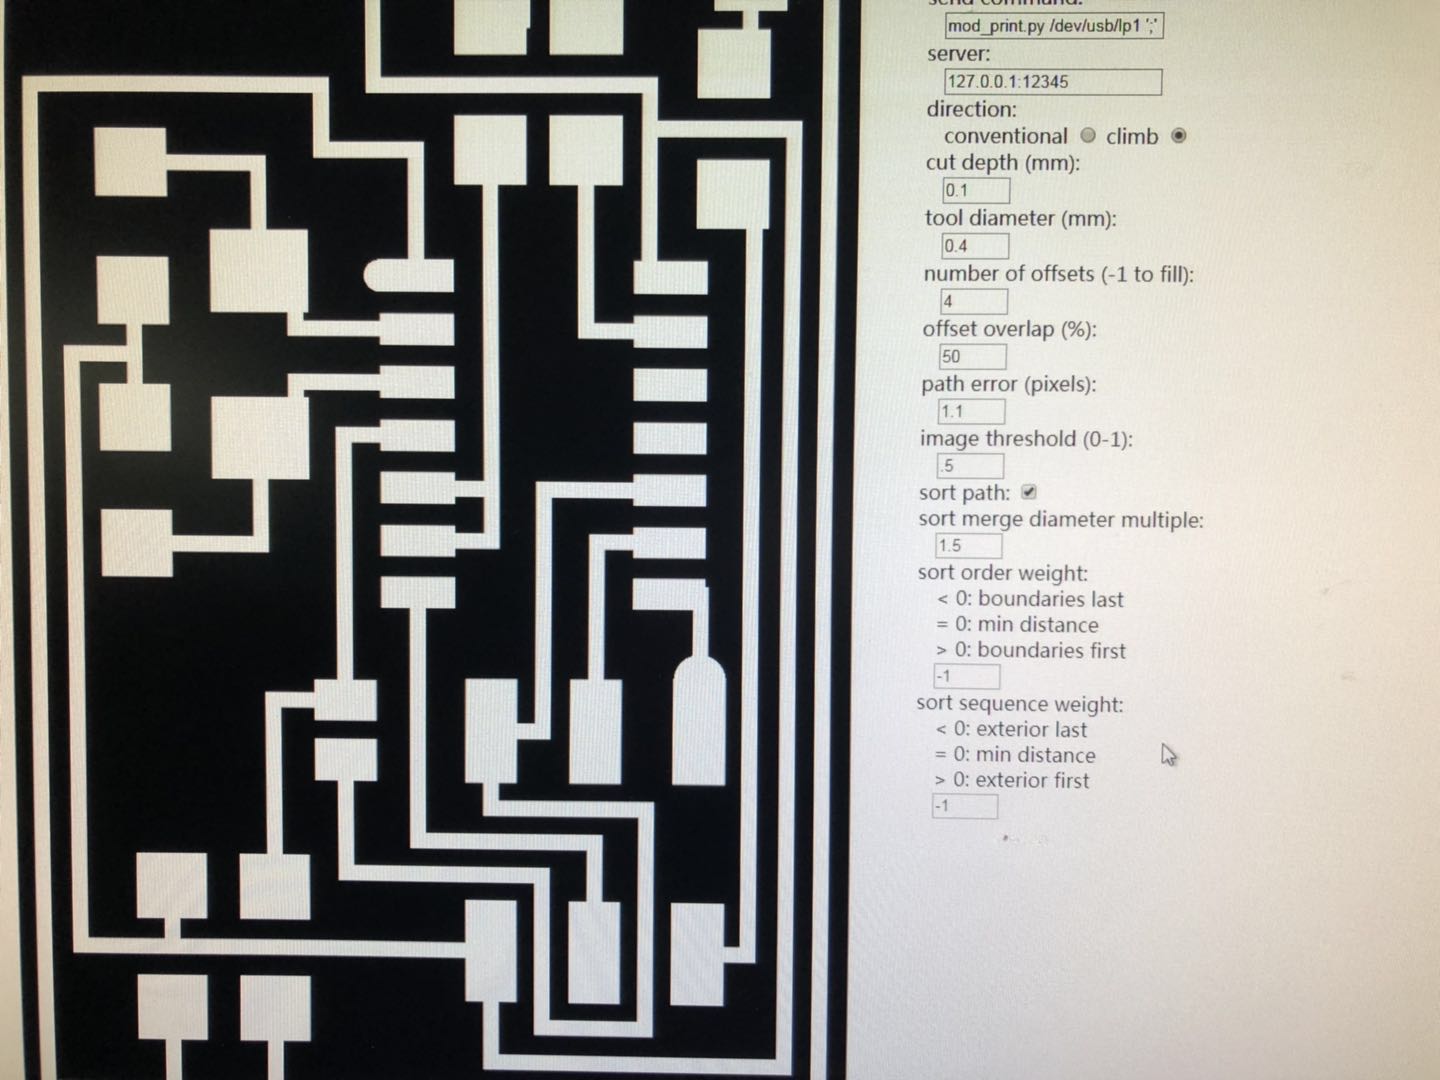
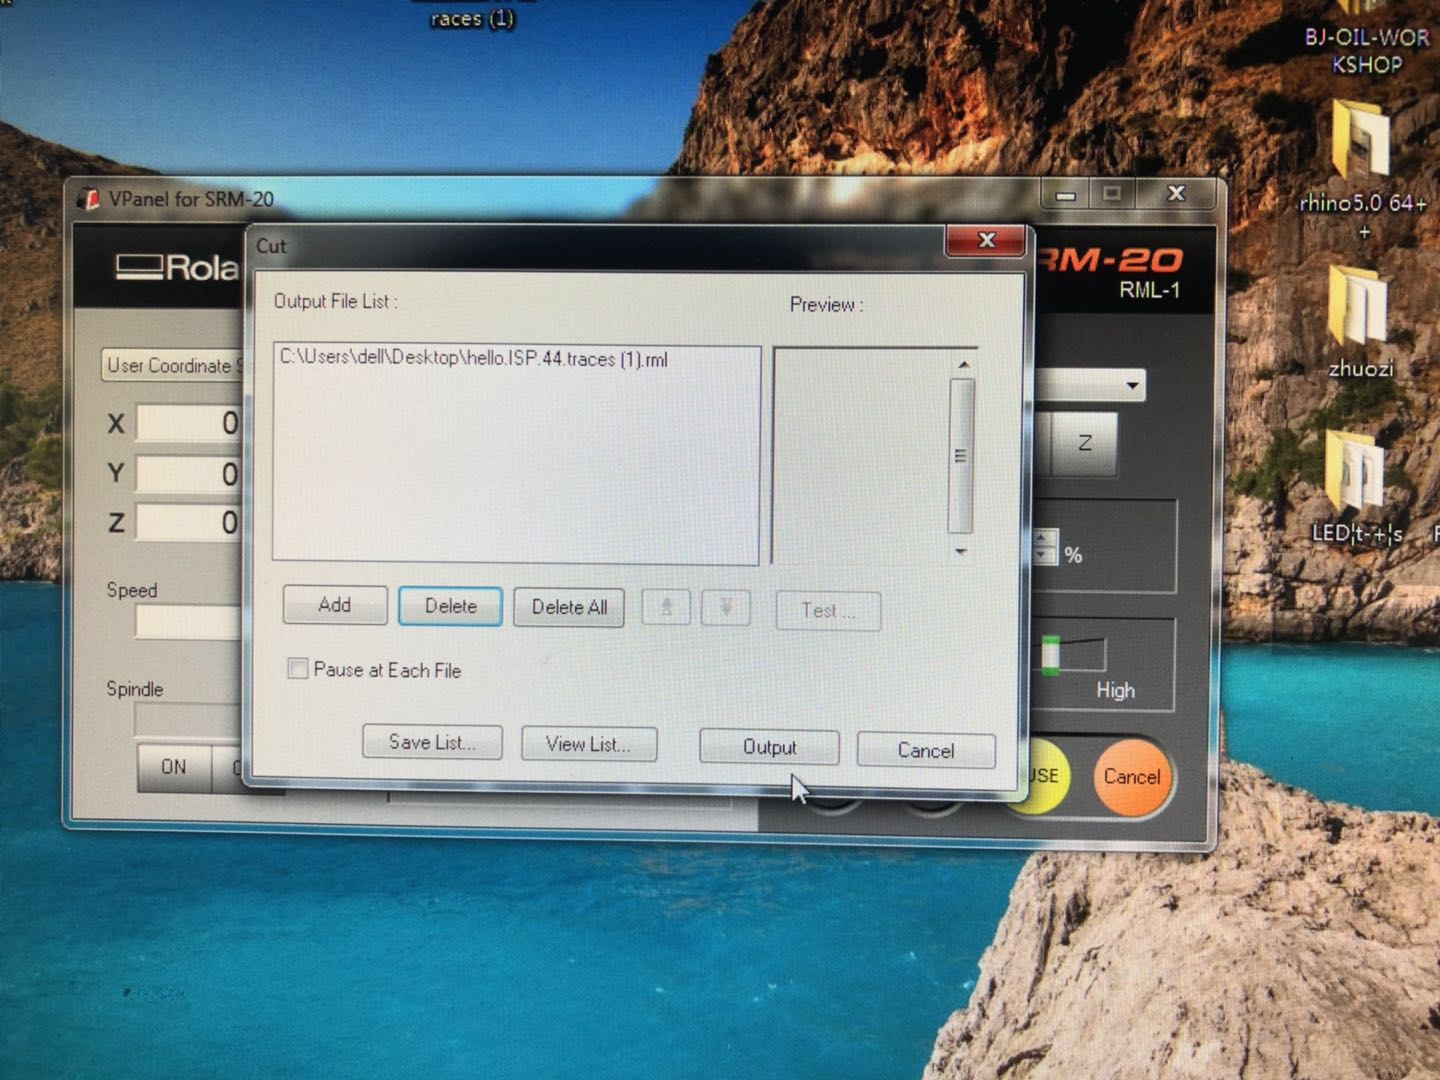
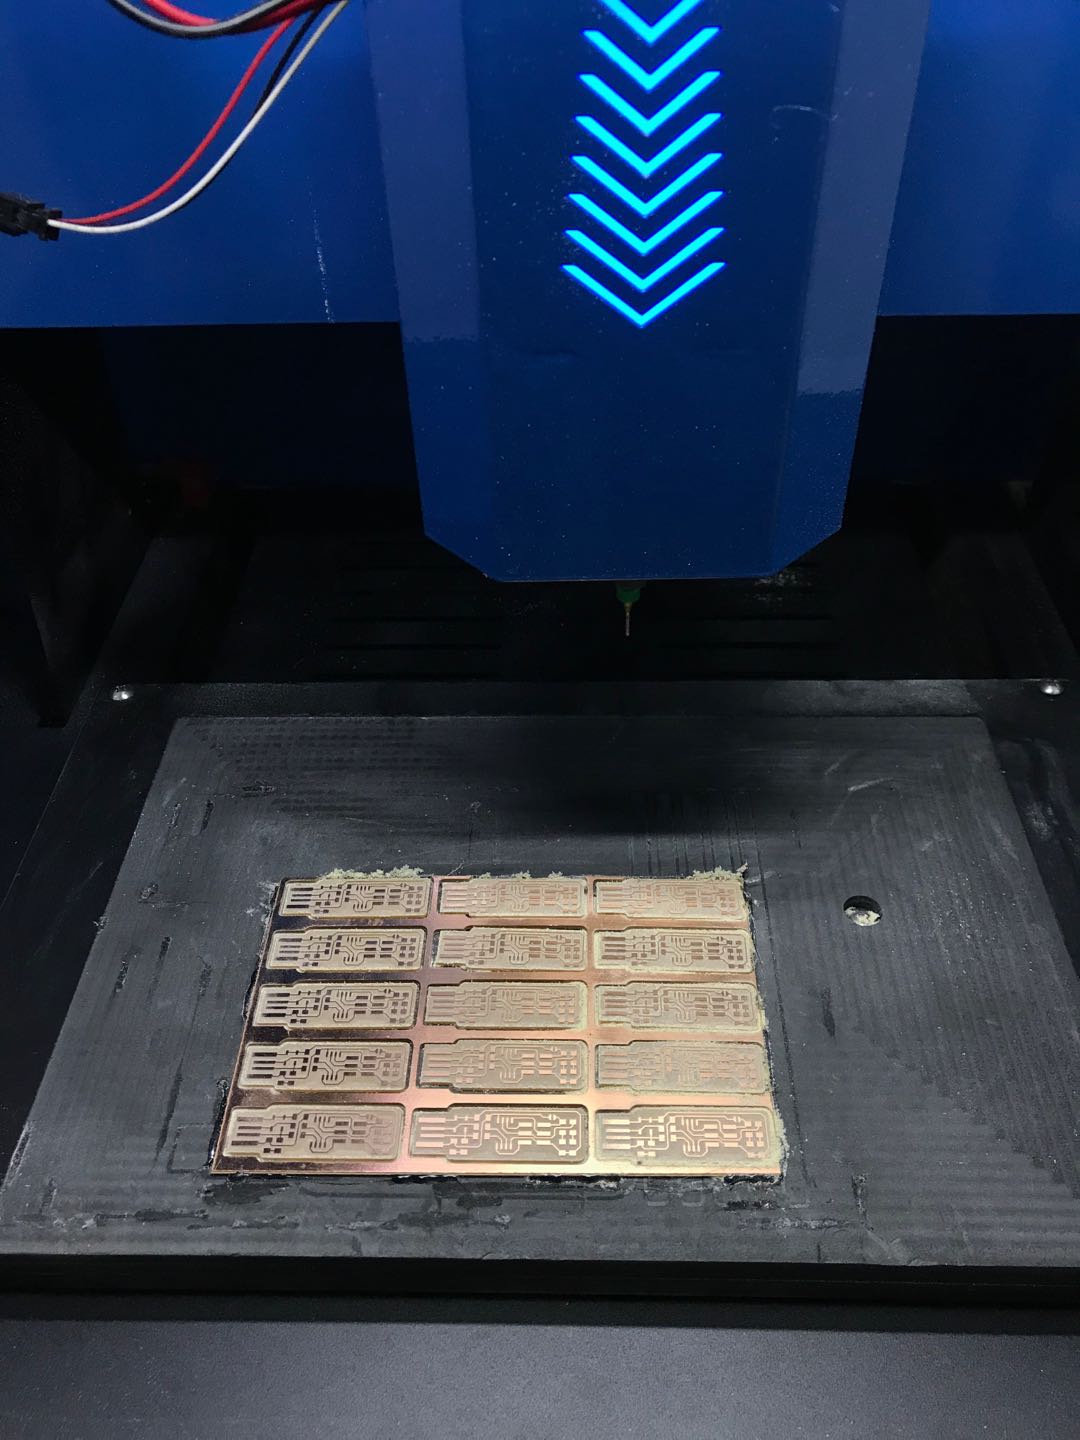
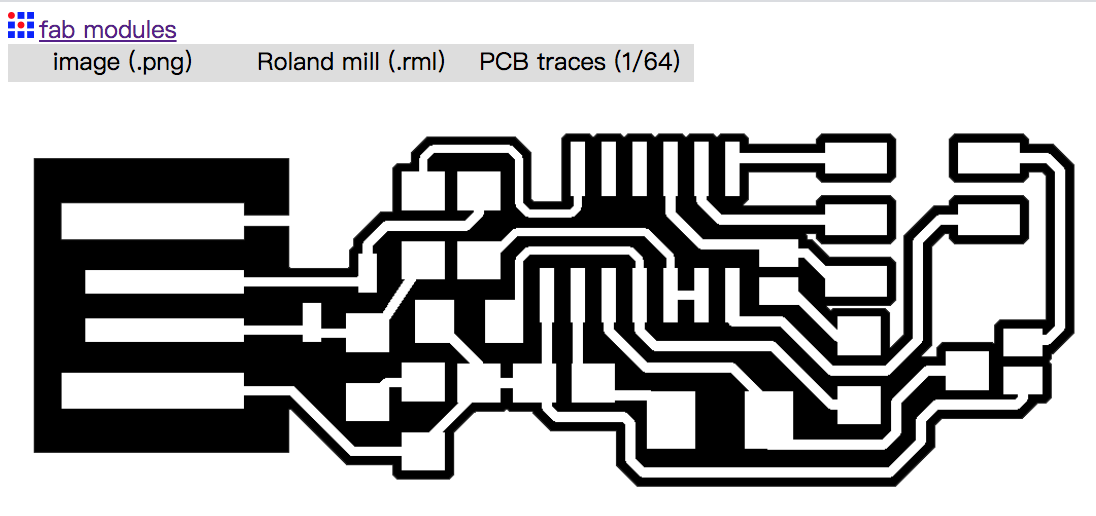
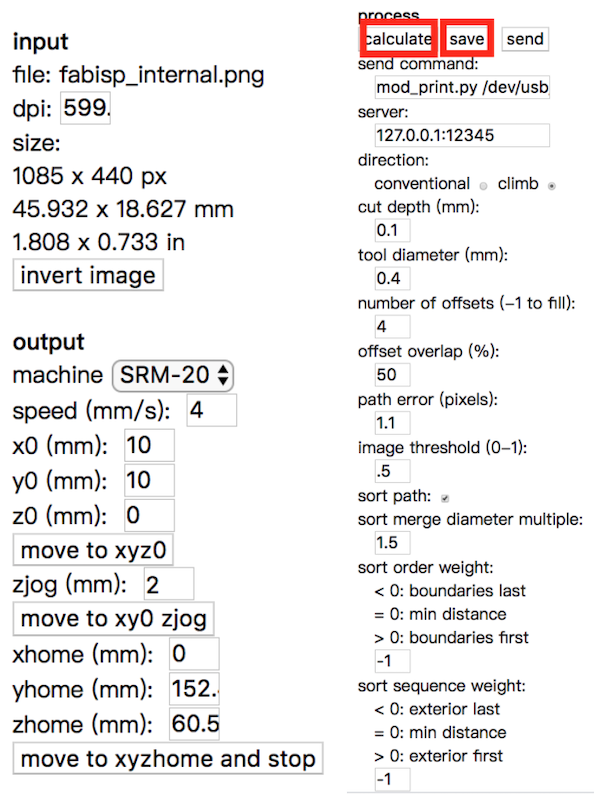
What I’m going to use equipment is the Roland milling machine “SRM-20”. And I used the Fab Modules to set the parameters and save the “.rml” file that could be read by Roland.
♦More reference tutorial about FabISPkey Other Fab ISP Models
Image > Roland > PCB traces(1/64)
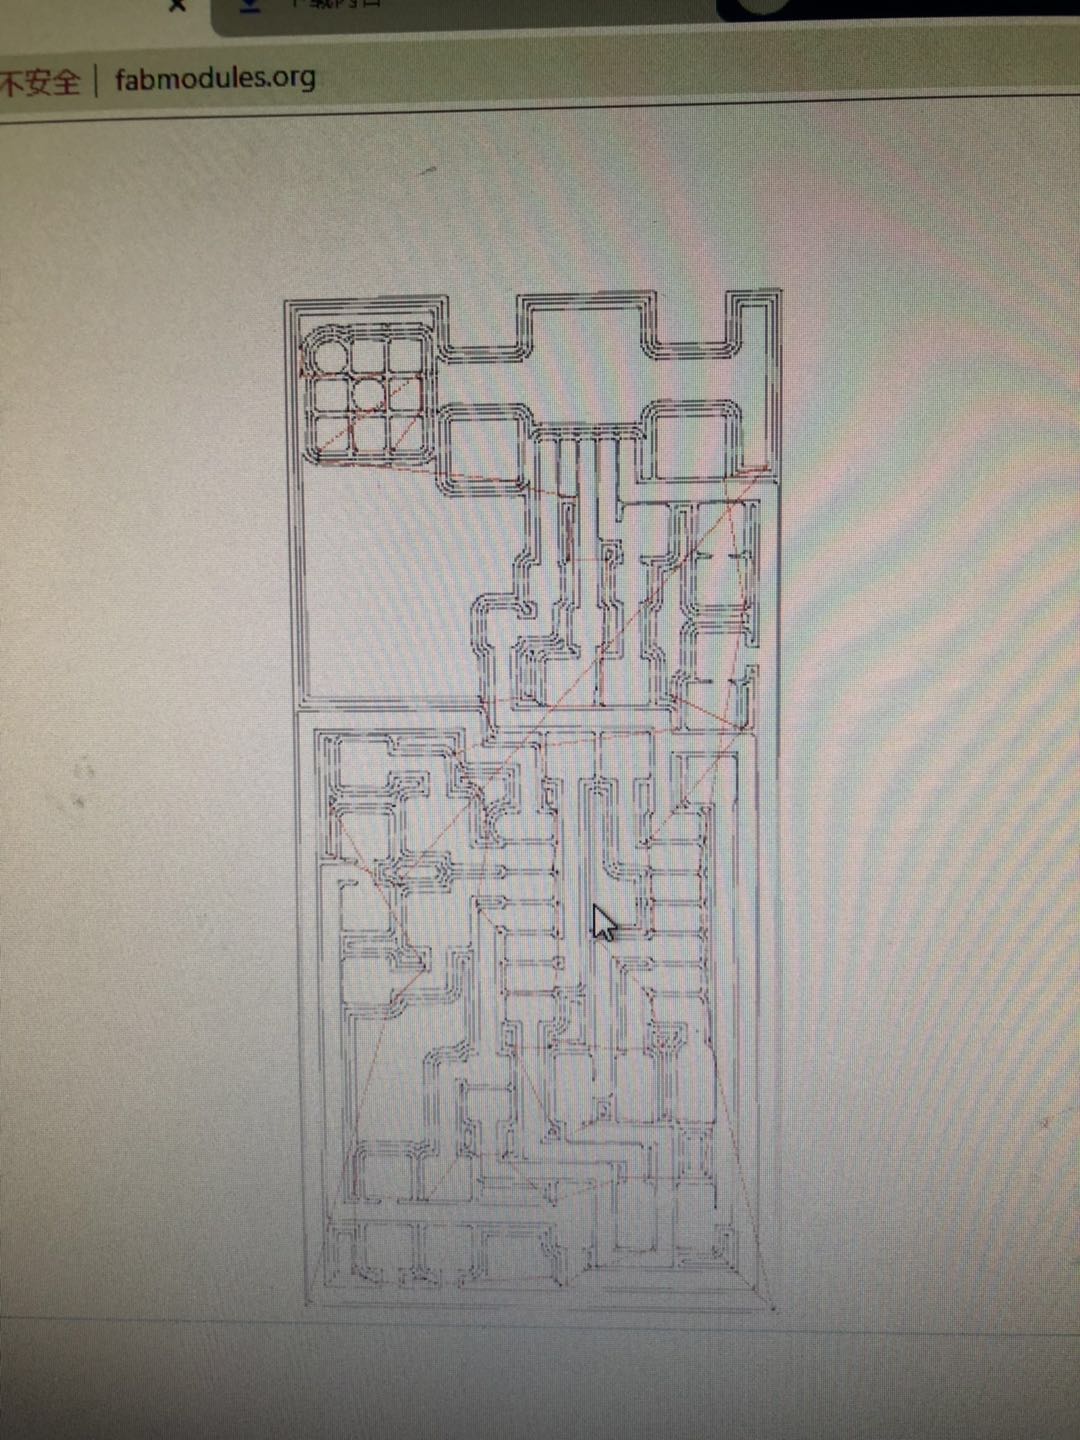
When I check the path image I found there are some issues in the red circles.
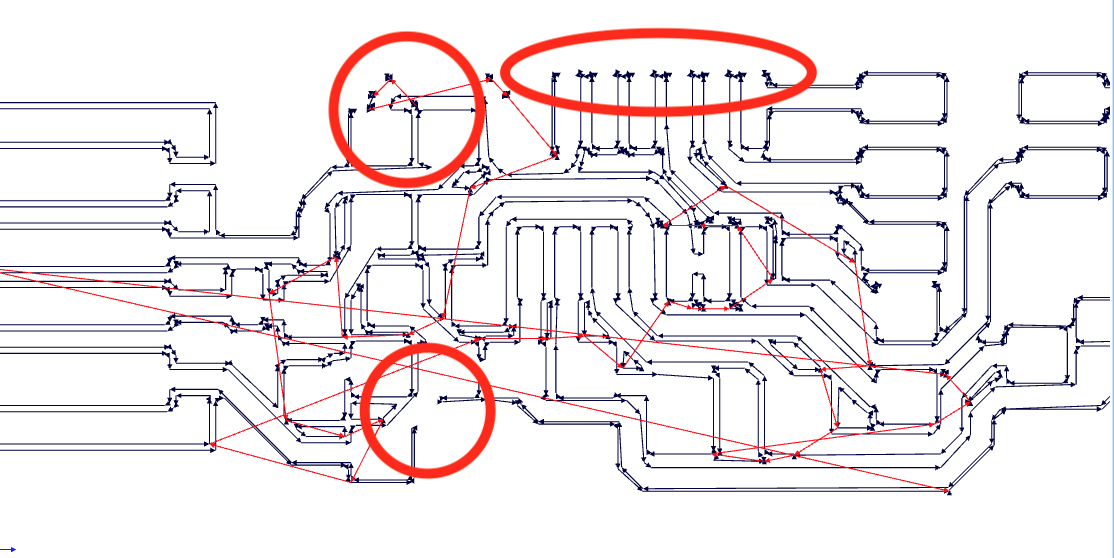
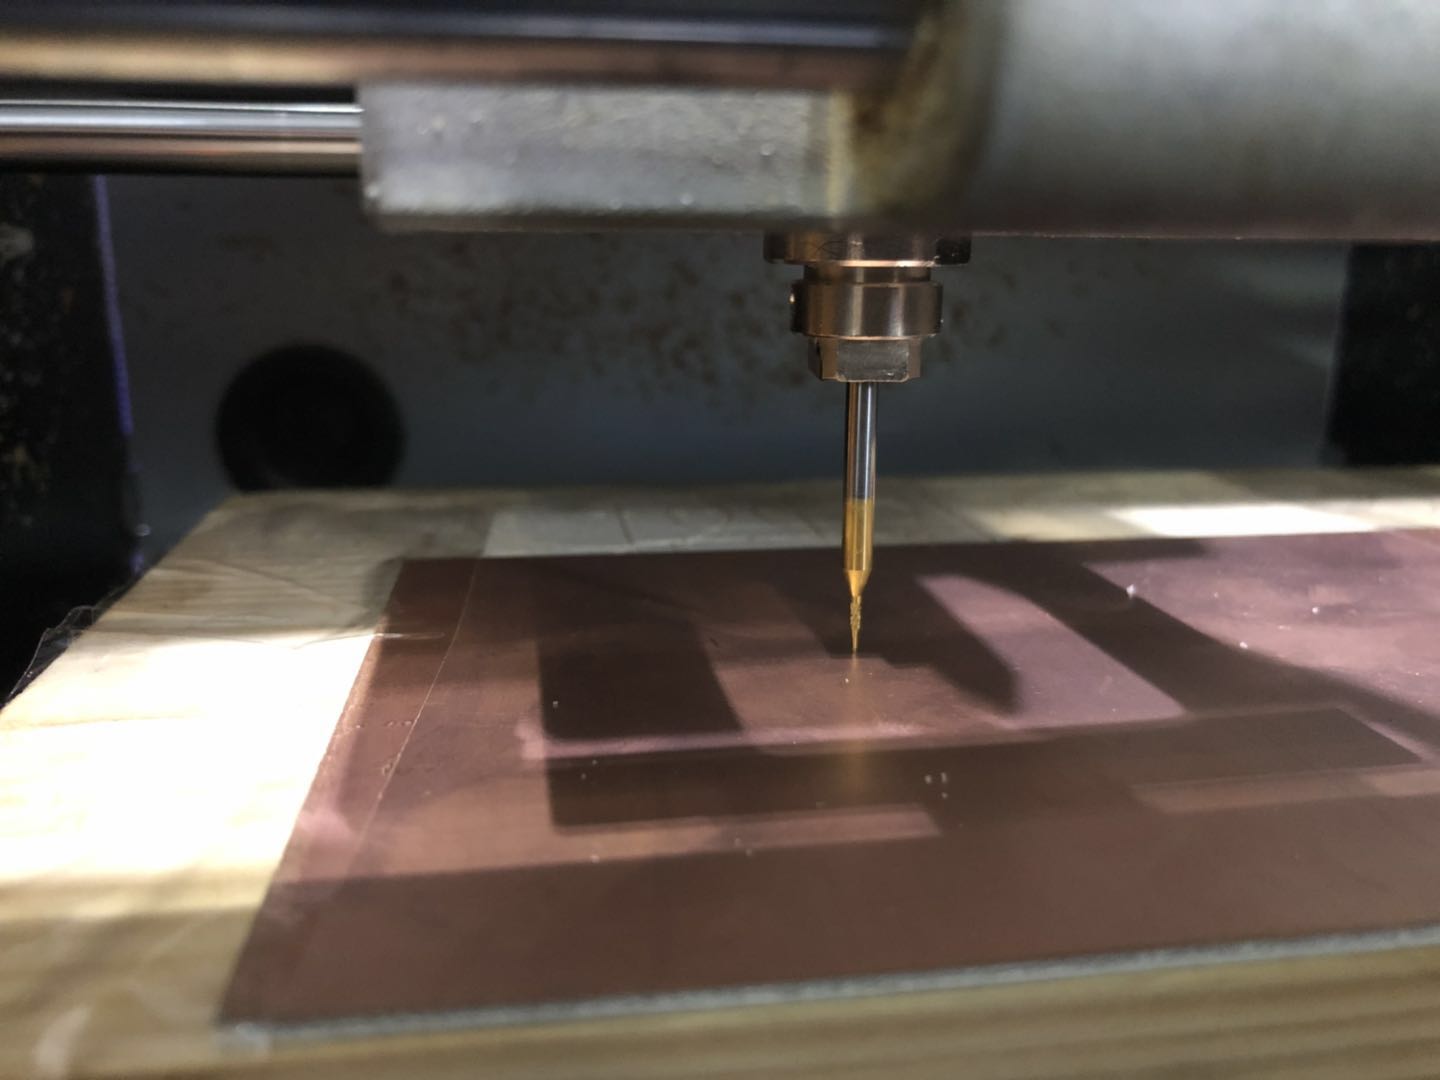
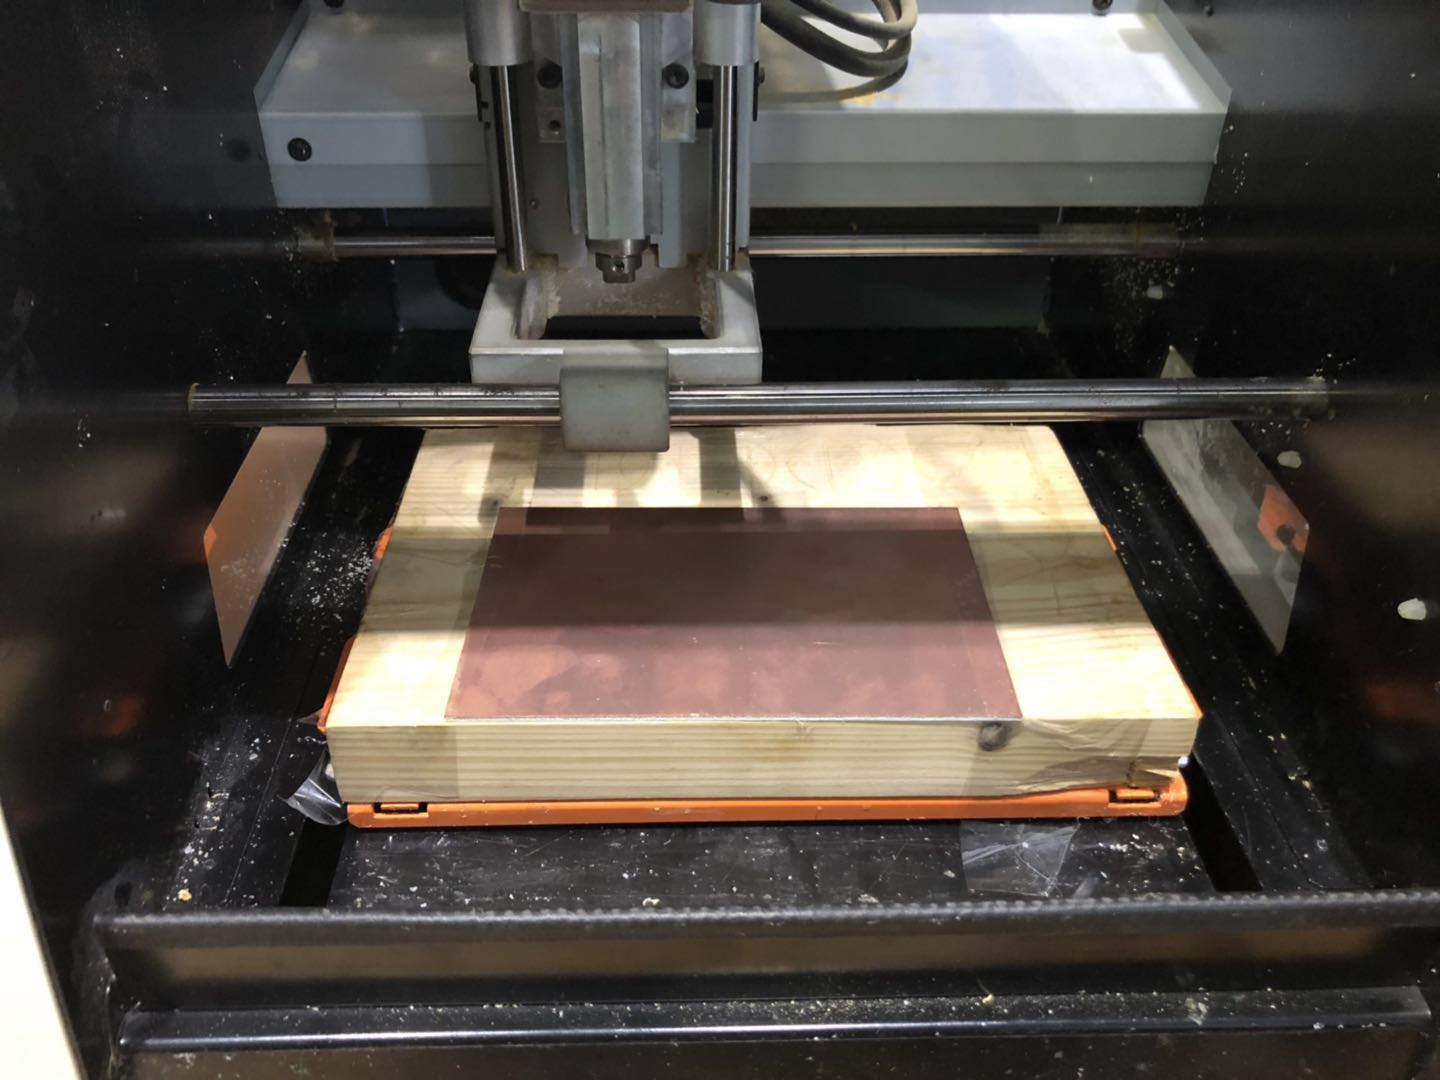
Next is preparing the milling machine.
- Place one piece of material on the platform. Material and platform need to be fixed together. We could use tapes, glue, screws. Make sure the platform is flat enough. Or you may happen something like this.

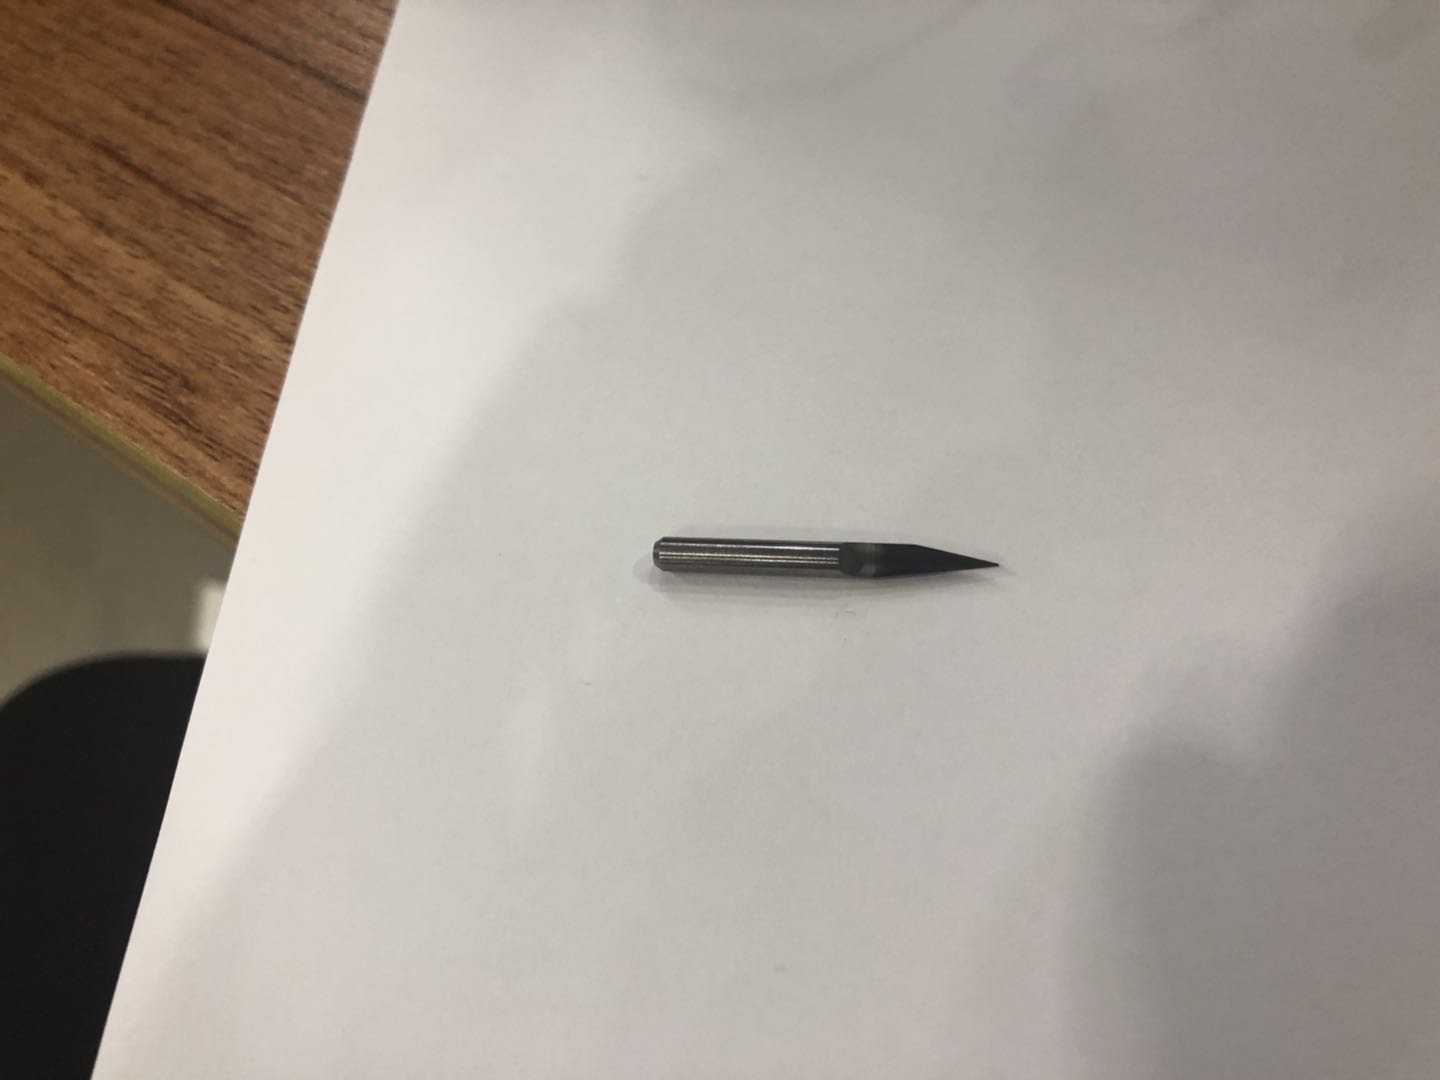
- Choose the right CNC router. We need the 1/64in(around 0.4mm) for trace and 1/32in(around 0.8mm) for the outline. Besides, there are different types of CNC router like that I showed below.
-
This one’s structure is strong but due to the it’s shape has an angle. So it is very important to control the cutting depth.
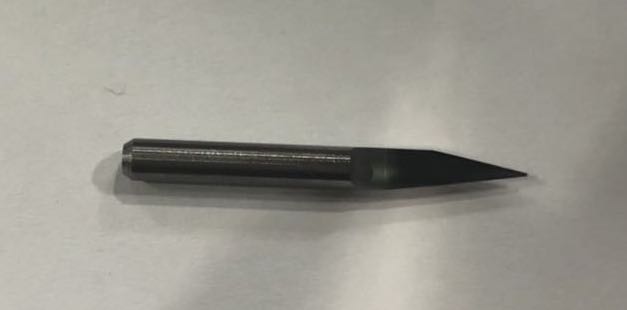
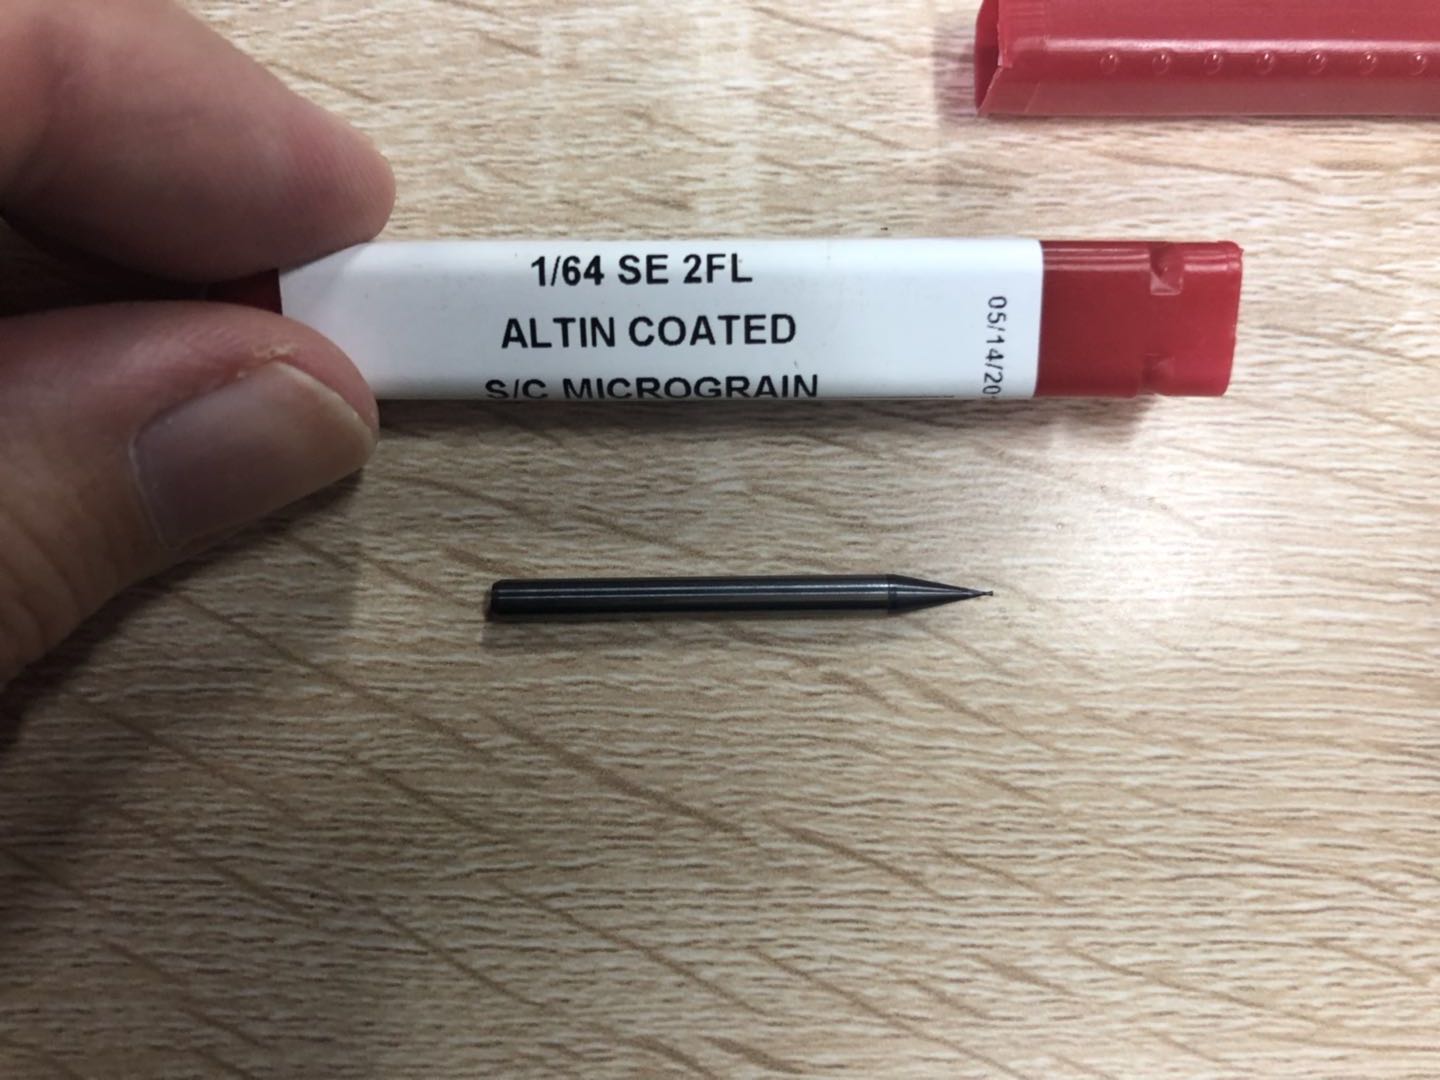
-
Another one looks like this. This one weakness is if you could set the right speed and depth, the top of the CNC router is easily broken.

-
To set the right original point for the CNC router.(X/Y/Z)