2. Computer-Aided Design
This week I was familiar with using various design softwares, including 2D and 3D, and at the same time try to propose the final project draft.
Assignment ♦model (raster, vector, 2D, 3D, render, animate, simulate, …) a possible final project, compress your images and videos, and post it on your class page
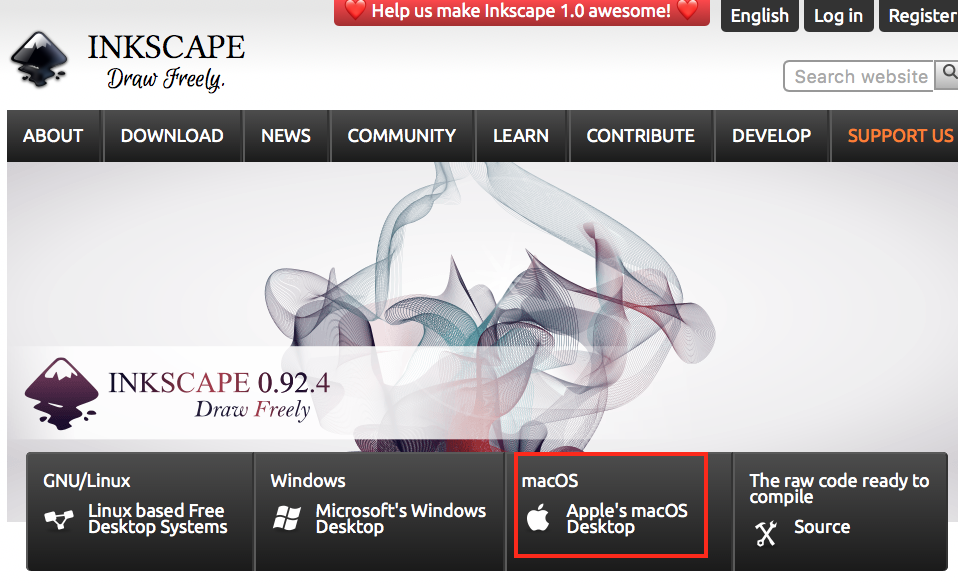
1.Inkscape
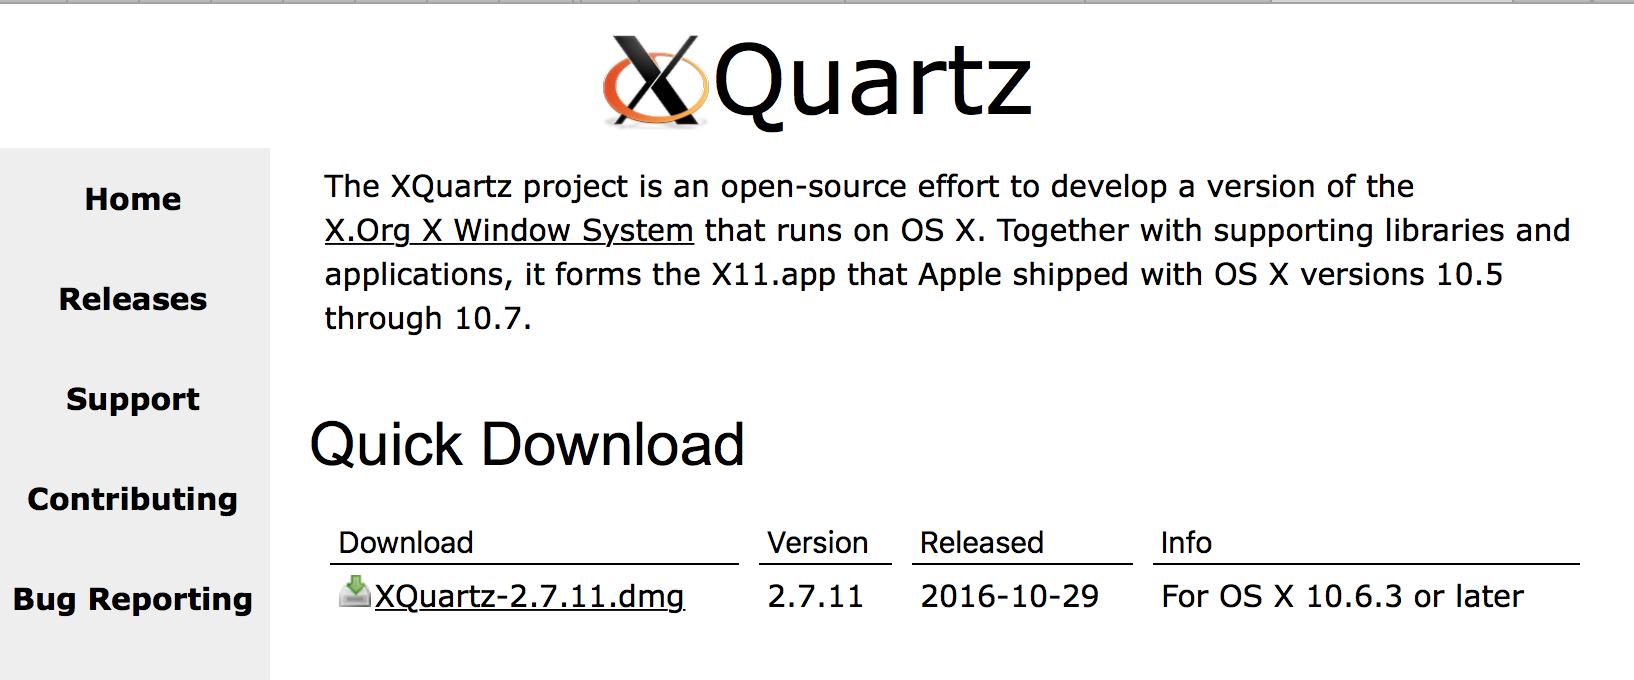
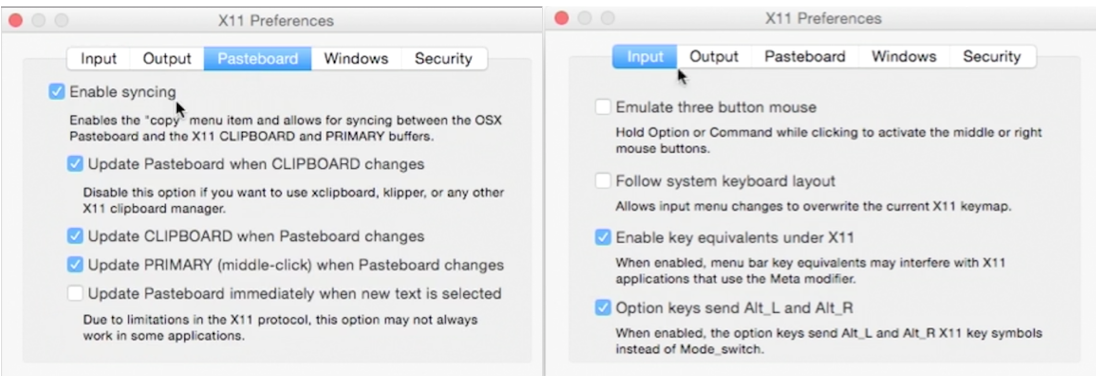
I use the Mac OS system. So After download and install the Inkscape. We must download another software is XQuartz then install it.
XQuartz is an open-source project that is committed toward making an x.org X Window Systems variant that runs smoothly on Apple’s Mac OS X
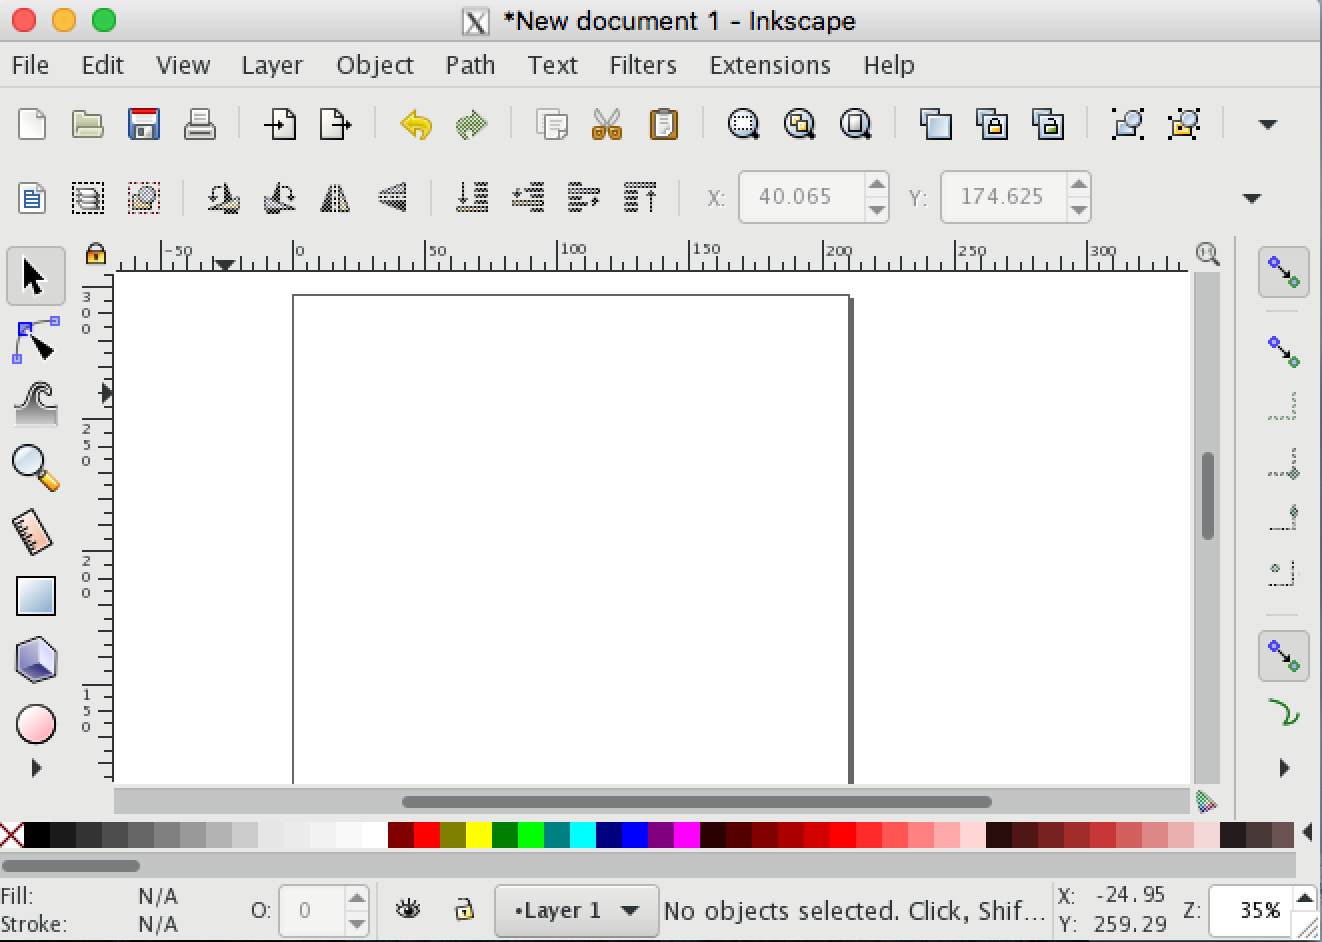
After all of the above steps. We could start our first learning with Inkscape.The interface is what looks like below.
Then set some default preferences.
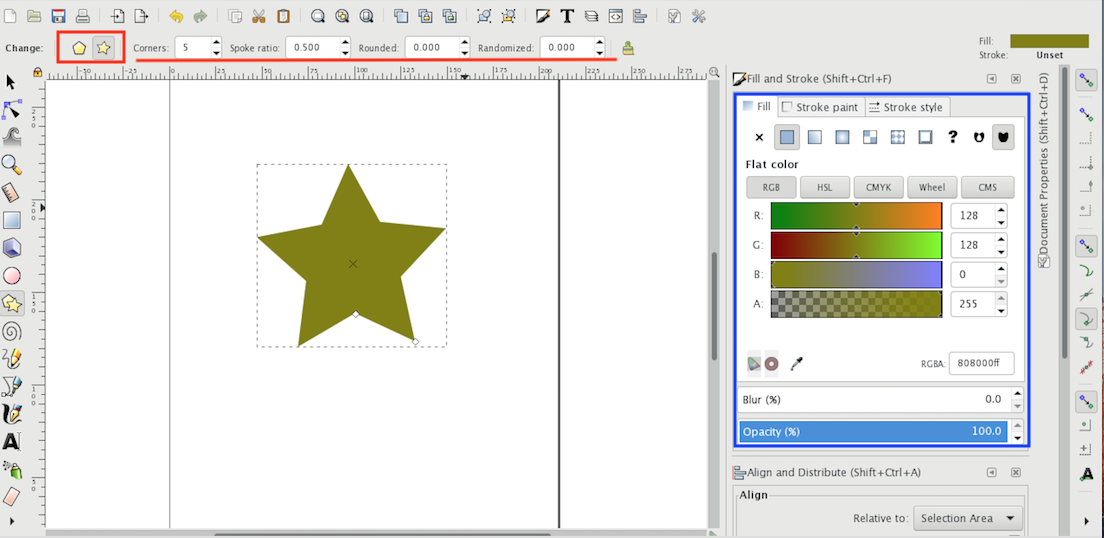
Here is some simple I tried to make a object. Changing the parameter in the top of the icons. Then change the color and opacity.
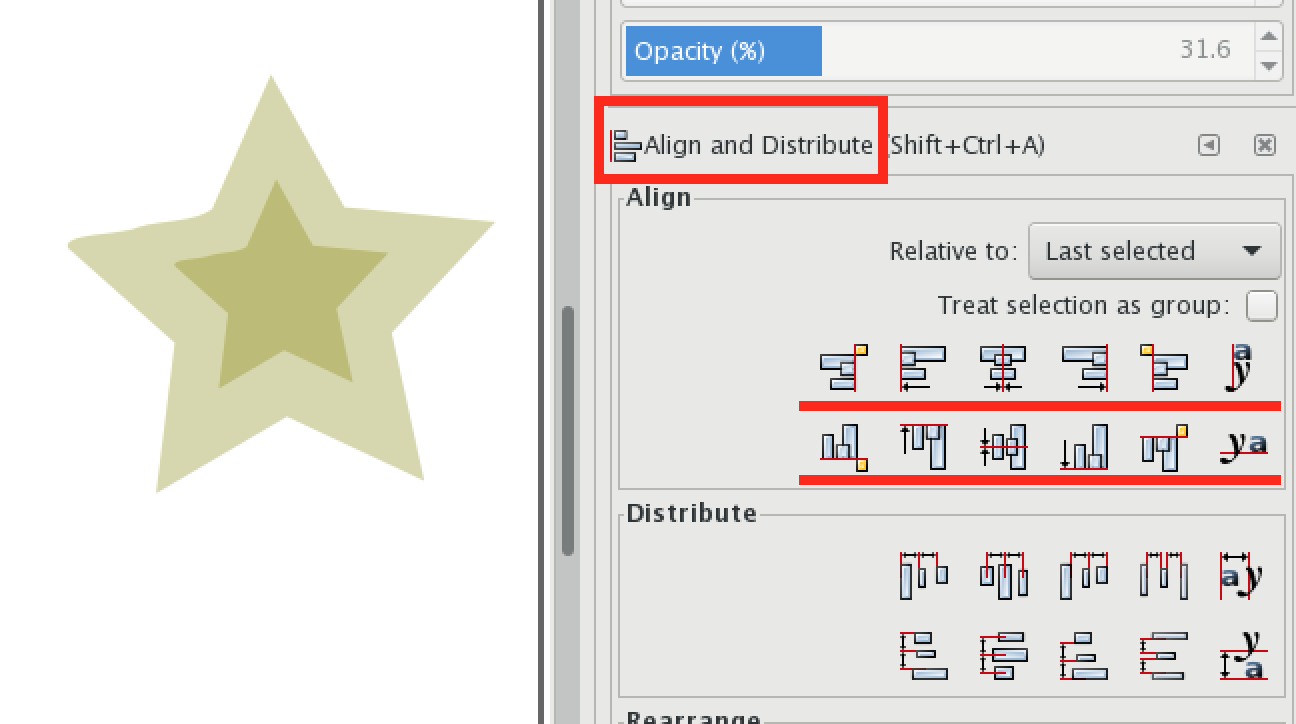
We could through the “Align and Distribute” to change objects position.
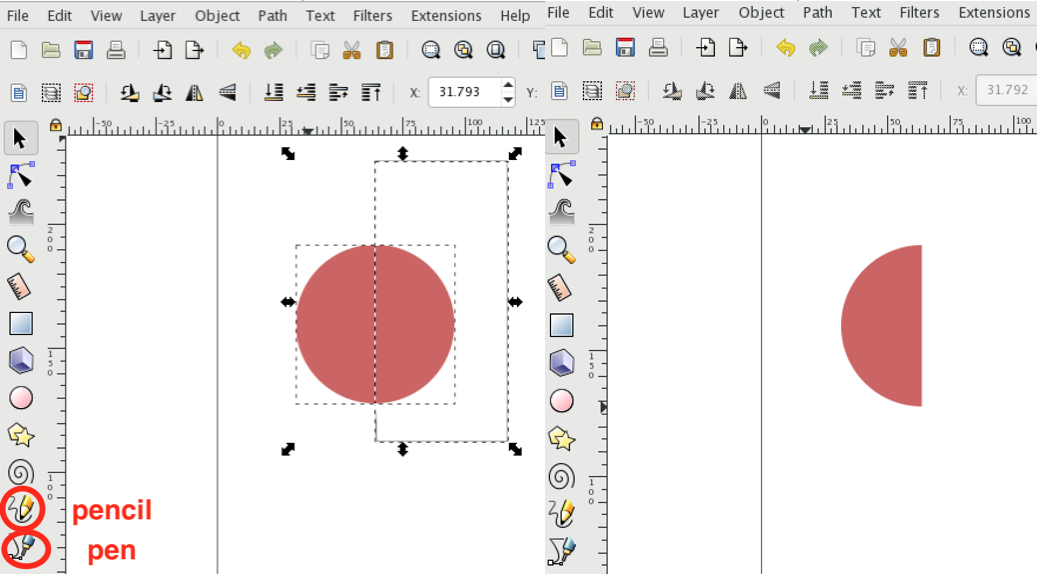
Draw a object with pen or pencil and through the command “Difference” to change object’s shape.
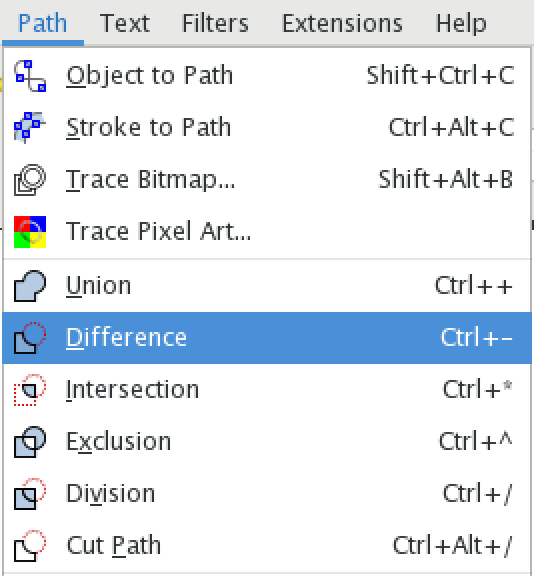
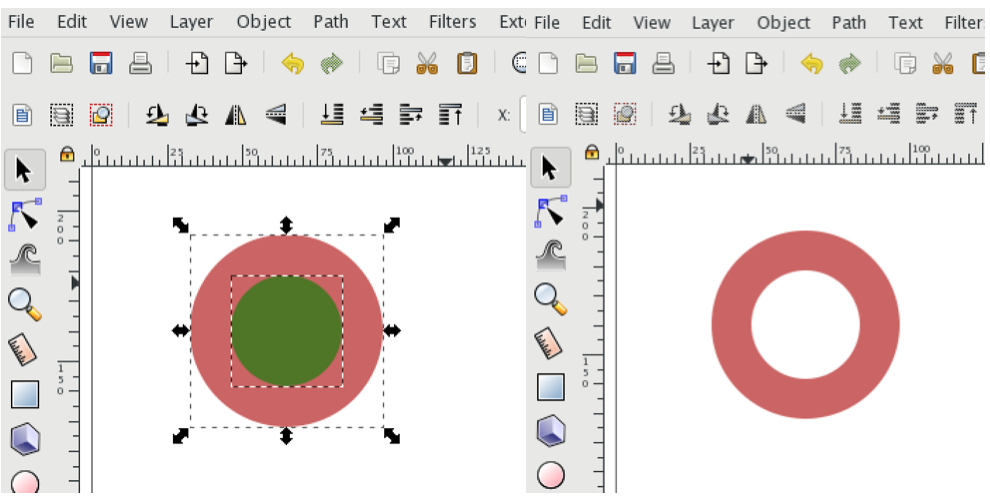
Or use two object to create a new shape
2.CorelDRAW
I tied to make a simple cellphone holder through the CorelDRAW and the laser cutter.
I download one image as the cellphone holder main structure.
Use the below command to change the image into Trace Contour. Change the color to black and set the detail.
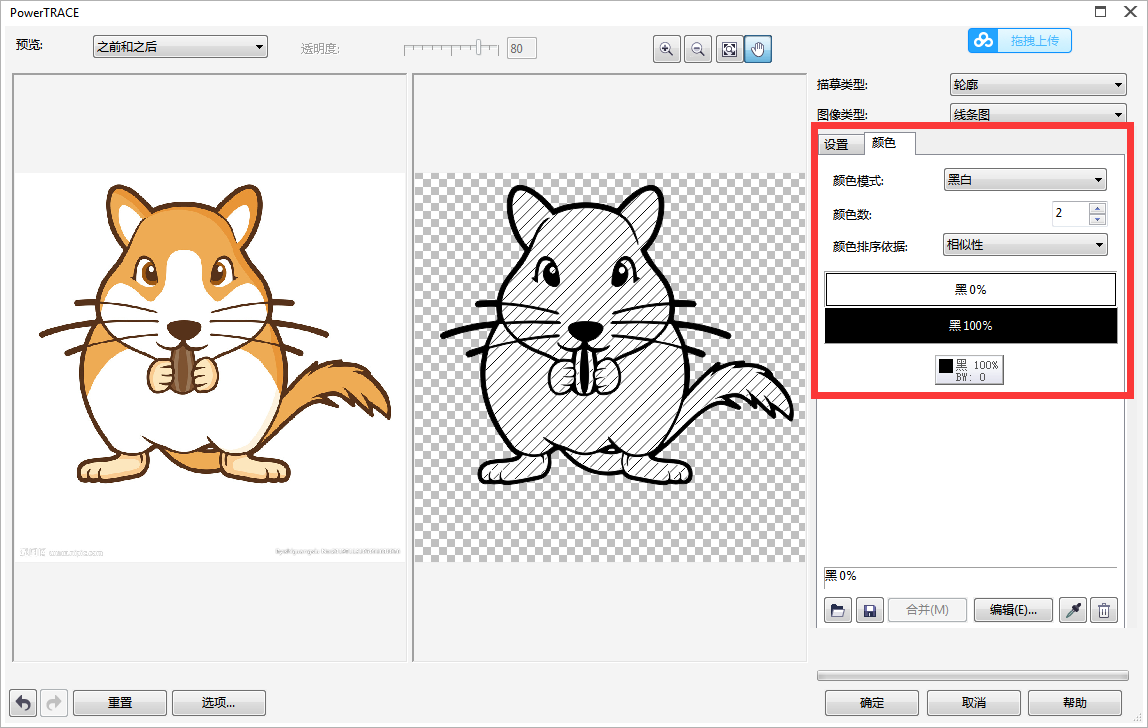
Separate the image outline as red line. This step is what we use laser cutter to process material. Red line is to cut off. And the black line is to carve the surface.

Add two holes on the main part and be careful the size equal to the “ H ” part. “H” will be the support for the holder.
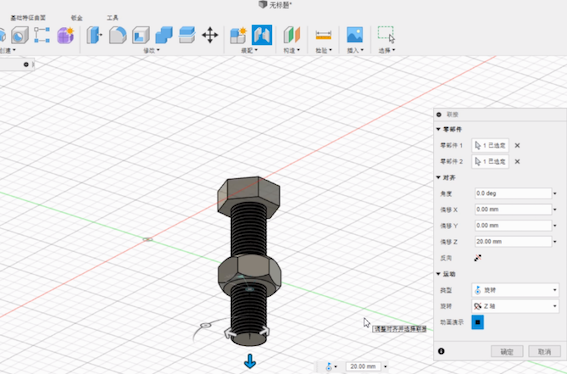
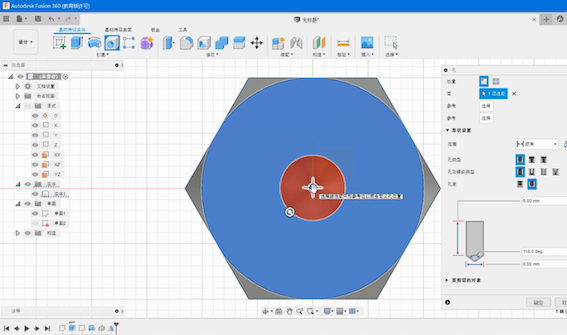
3.Fusion 360

I tried to make a screw and nut, and then assemble them together.
Firstly I need create a hexagon in the polygon icon.And extrude a certain distance. Create a chamfer for the nut.
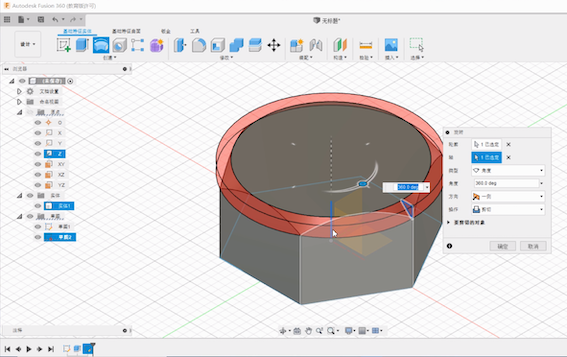
Make a tapped hole with certain parameter.
Create a sketch of a new polygon for a screw.Create thread for the screw and make the same type as the nut.Create the head of screw.Lastly, finish the assemble step using the “joint” command.