1. Principles and practices & Project management
This week I’ve learned the first class from Professor Neil. The content include what’s Fablab and what we could do after finishing the Fabacademy courses. The first week assignment is working through a git tutorial and then building a personal site in the class archive describing me and my owe final project.
Actually before the Course I have no idea about building website. I only got once or twice using the web tool to make a personal website. But those work are very easy to do. Only need to find a website sample and then just change the words and image. This week is a first challenge for me.
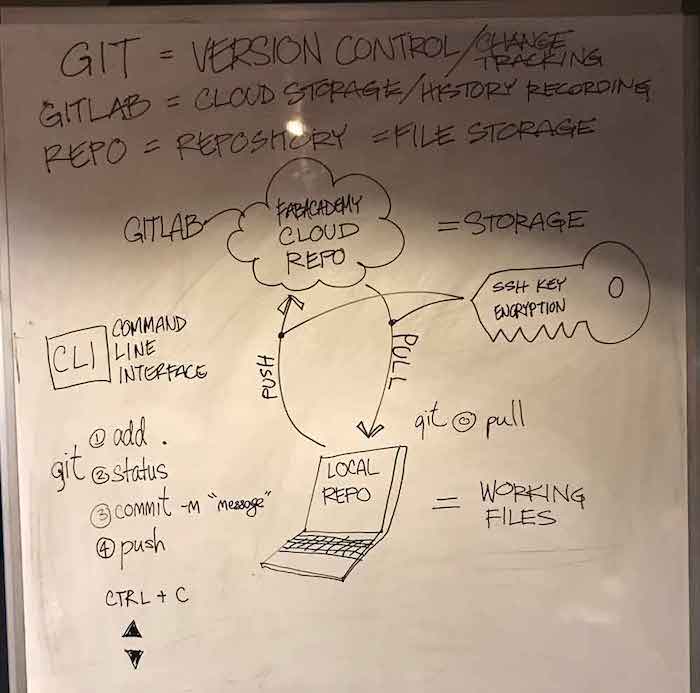
When I doing assignment I search the information from http://fabacademy.org what I found the Karmakura Fablab tutorial’s image is very useful for me. The below image explain the GIT,GITLAB,REPO, and how do they work.
Then I start to do the work. At first I wanted use my thinkpad(windows system) to do that. But after I’ve download the python. I couldn’t update the newest pip. Maybe the problem is that my laptop system is window7. The other reasone maybe the Internet connecting problem. Due to I am in China and the connection is not very stable. So at last I decided to change another laptop and use Mac to finish this assignment.
The 1st week assignment
♦Work through a git tutorial
♦Build a personal site in the class archive describing you and your final project
1.1 Check the python version and then update.
A:Through the website to install the python.
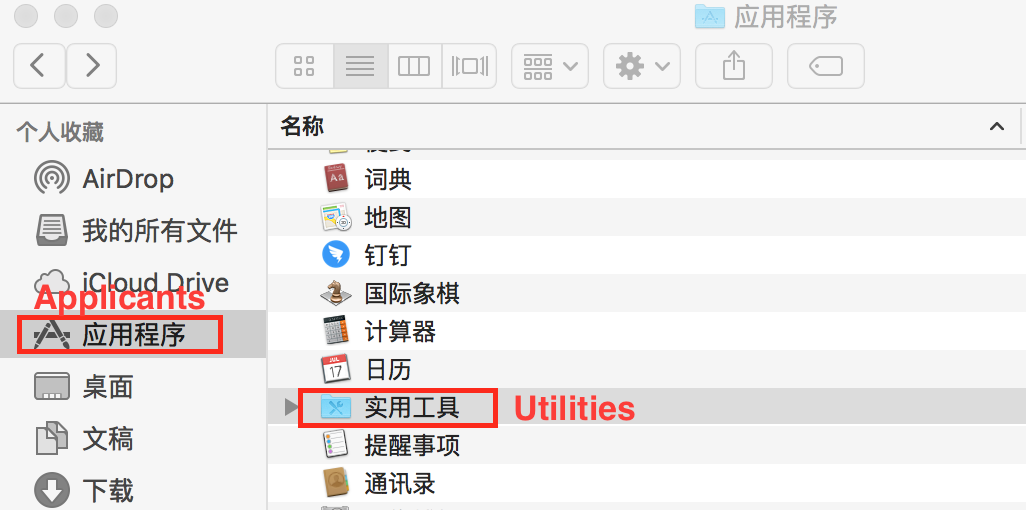
As you know Mac should be have the python originally. We’d better download another python3. And keep the original python 2.X in the laptop. Because many Mac applicants also need the python 2.X .
We can open “ terminal ”
Type in “python --version” to check like this.

Downloading python 3 from https://www.python.org
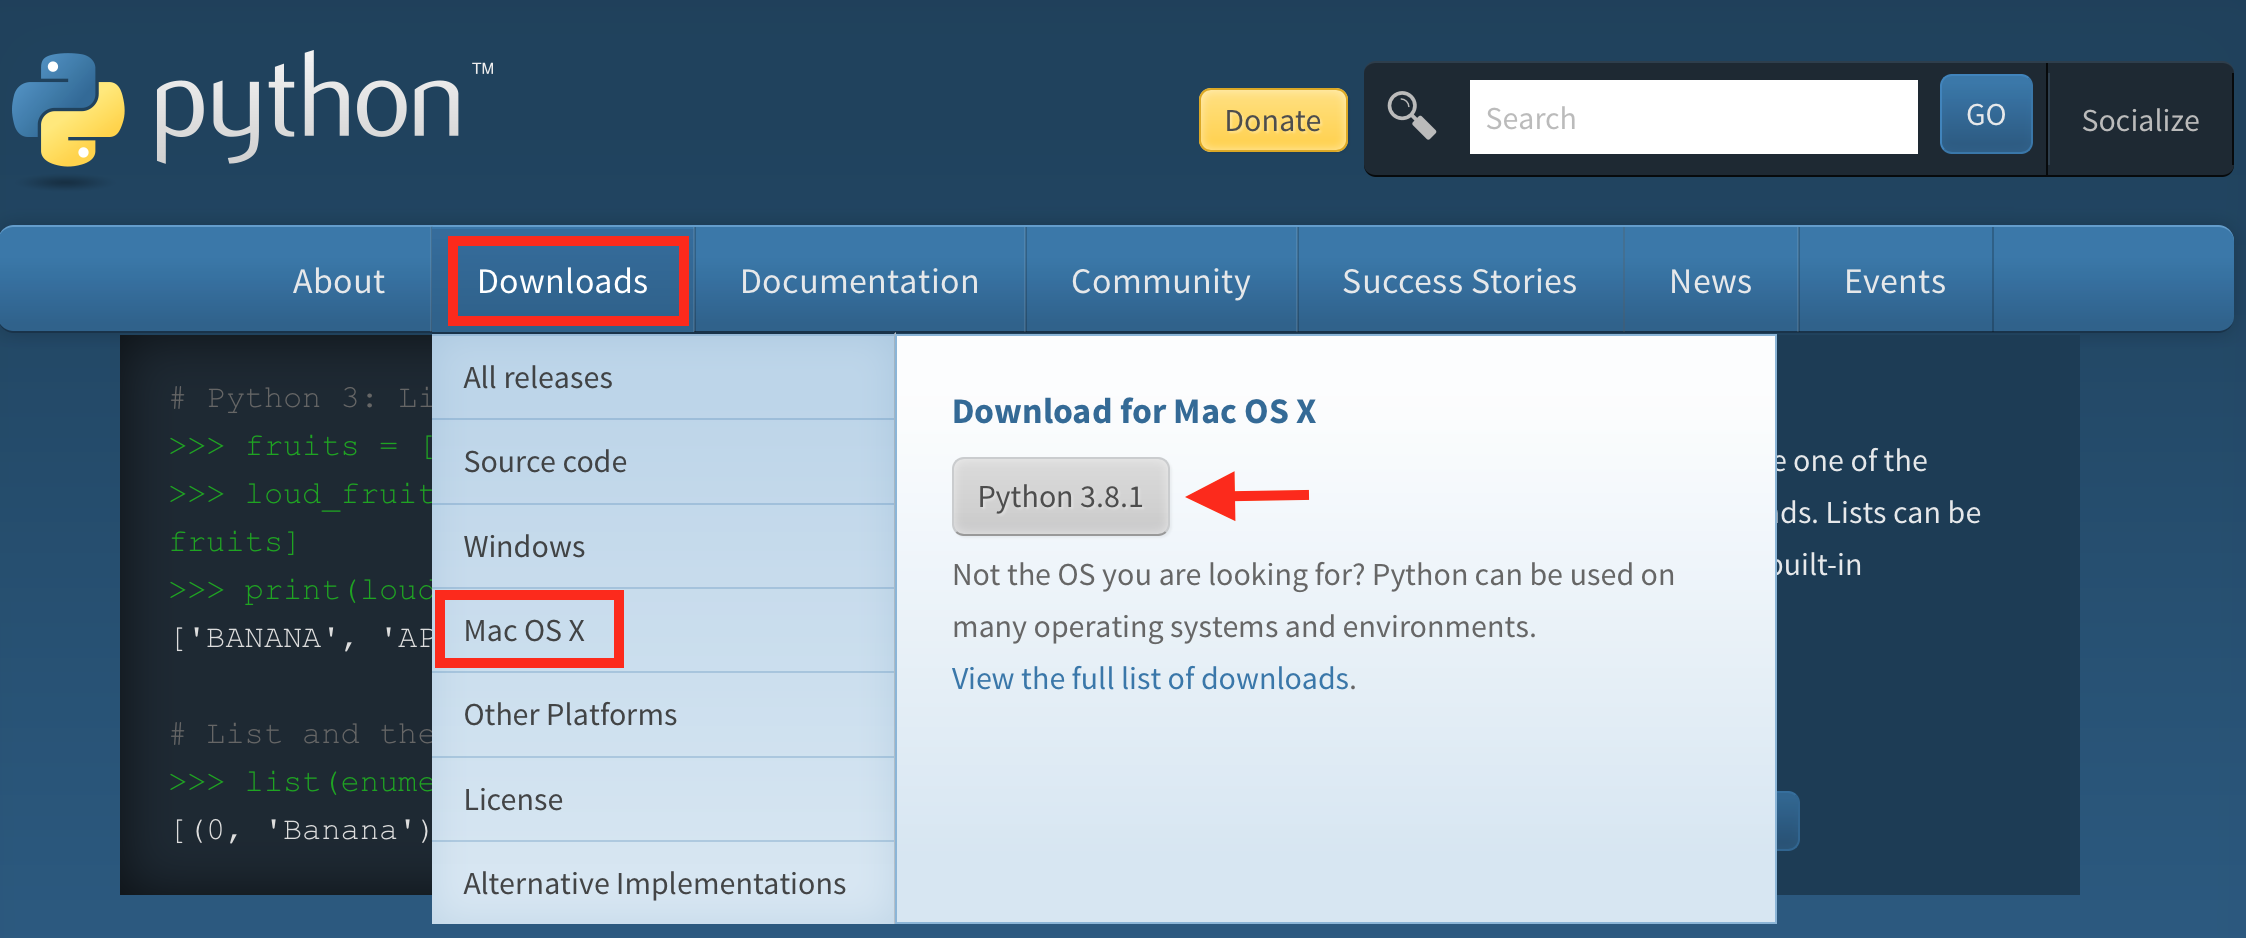
Open the downloaded pkg file and install it follow the instruction.

When we type in “ python3 --version” , we will found the python3 was installed successfully.

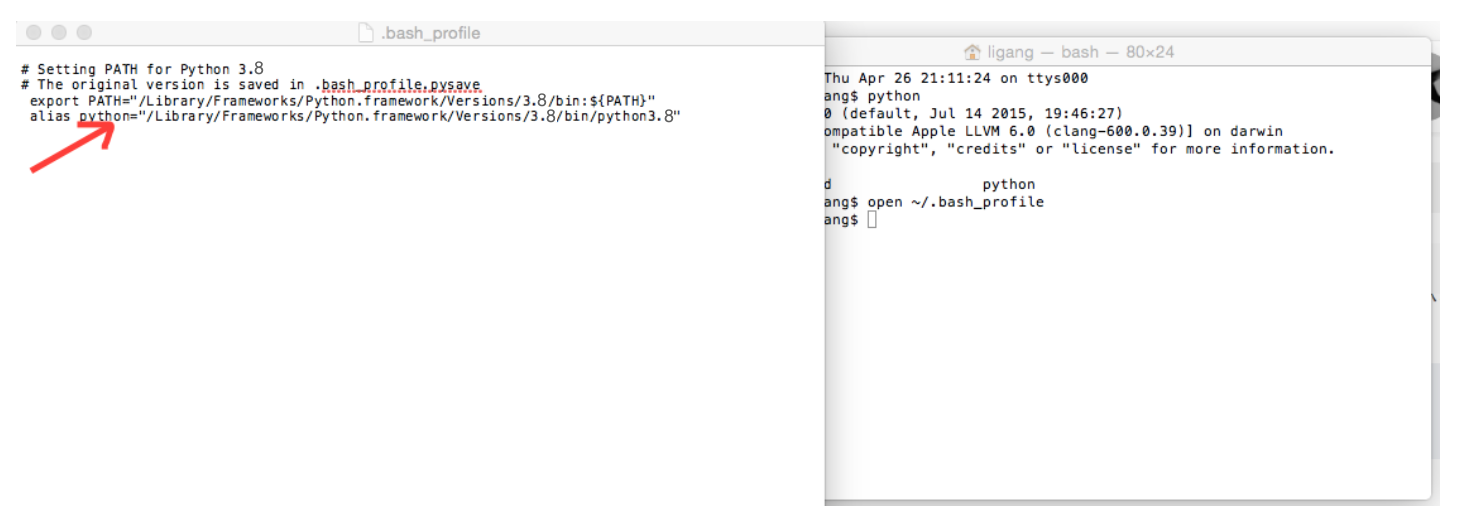
Change the python 3.8 as the
Type in “open ~/.bash_profile” will open a text file
we just need to add
alias python=”/Library/Frameworks/Python.framework/Versions/3.8/bin/python3.8”on the last line.
the command + s to save the new text file.
Open “ Terminal ” type in “ source ~/.bash_profile”
At last type in “ python” in the Terminal to check the default python version.
If you want to change the default python version to python 2.X. Just do the same way and delate the alias python=”/Library/Frameworks/Python.framework/Versions/3.8/bin/python3.8”and save the file.
B:Through the homebrew to download the python3 and the pip3 will install together with the python3
brew install python3
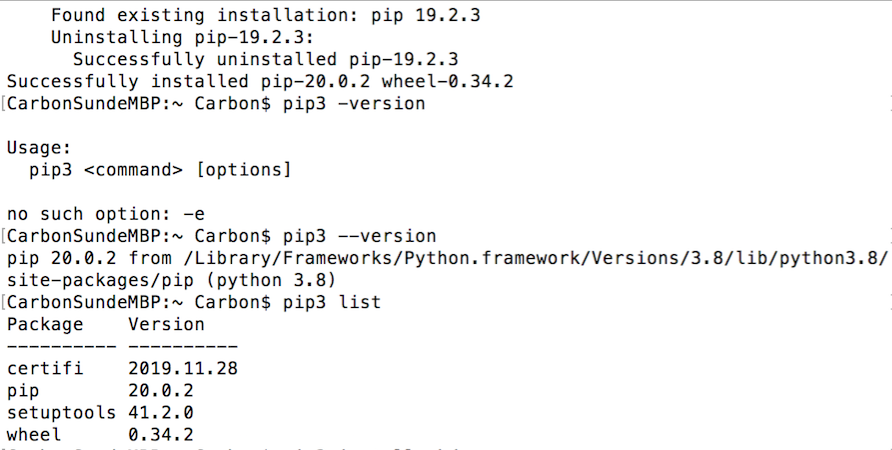
1.2 Check the pip version upgrade or install
A:Check the version
pip --version

B:If you have the version we could only upgrade the pip
pip install --upgrade pip
C:If you do not have the pip we need to install it.
curl https://bootstrap.pypa.io/get-pip.py | python3

python3 get-pip.py
D:We could also use the below command to install it.
$ sudo easy_install pip
$ sudo pip install --upgrade pip
During the installation need to type in the laptop passwords. What need to pay attention when we type the passwords the letter wouldn’t be seen so just ignore that.
Finally finish the pip installation
1.3 Install the mkdocs use below command
pip install mkdocs

1.4 Install the mkdocs use below command we can use “mkdocs -h” to find the help
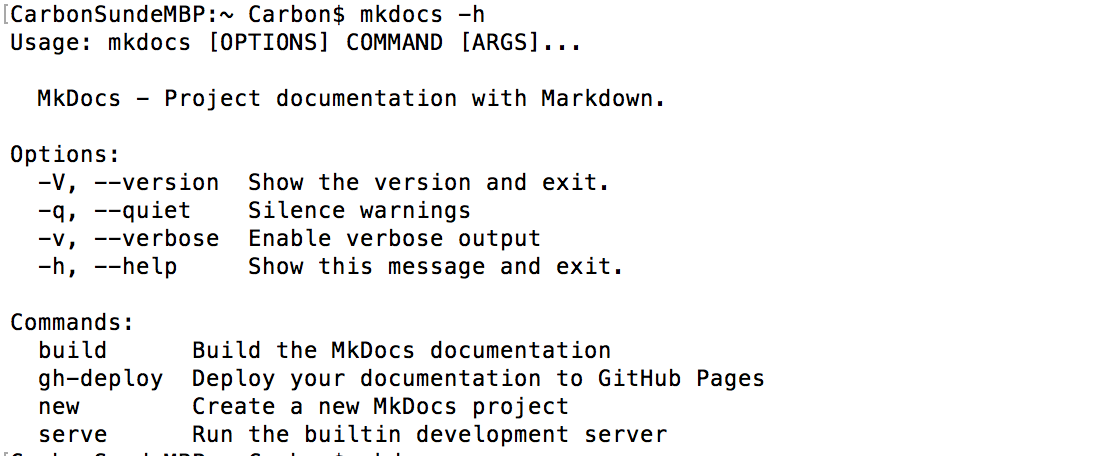
“mkdocs -V” or “mkdocs --version” to check if we install the mkdocs successful.

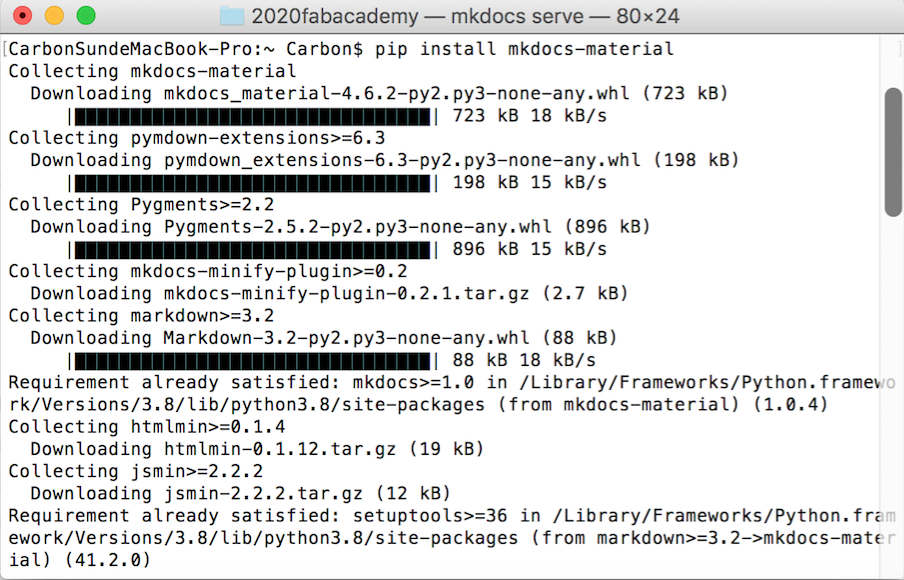
1.5 pip install mkdocs-material
1.6 Download git or upgrade
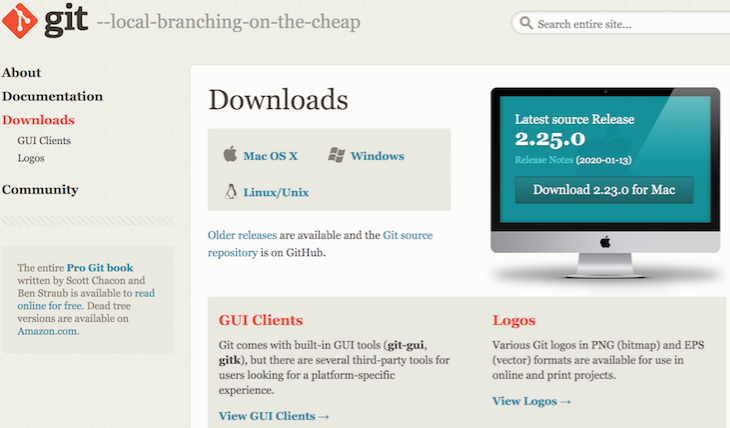
Open the downloaded dmg file and install it follow the instruction.

Check the if git install successful and the version.

1.7 Setup Git
Here is the tutorials “GIT SIMPLE CHEAT SHEET”about it which is very detail we just need to follow that.
A:Add your Git username and set your email
B:Configure you email address for uploading

1.8 Generate SSH key
A:Check if you have an SSH KEY already
cat ~/.ssh/id_rsa.pub
(If you see a long string starting with ssh-rsa, you can skip the ssh-keygen step)
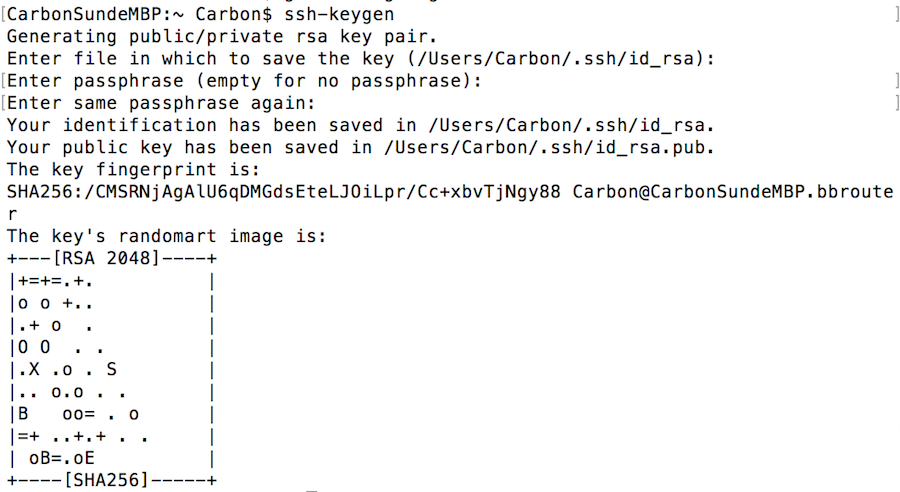
B:Generate your SSH key
ssh-keygen

Then we don’t really need the passwords ,so just click enter skip this step.
C:You could also create a new SSH Key , then type in y to overwrite.

D:Copy the SSH key
\sim Use the command “cat ~/.ssh/id_rsa.pub ” then you will get a long string starting with ssh-rs. Command+c to copy it.

\sim Use the command “pbcopy < ~/.ssh/id_rsa.pub” to copy it.

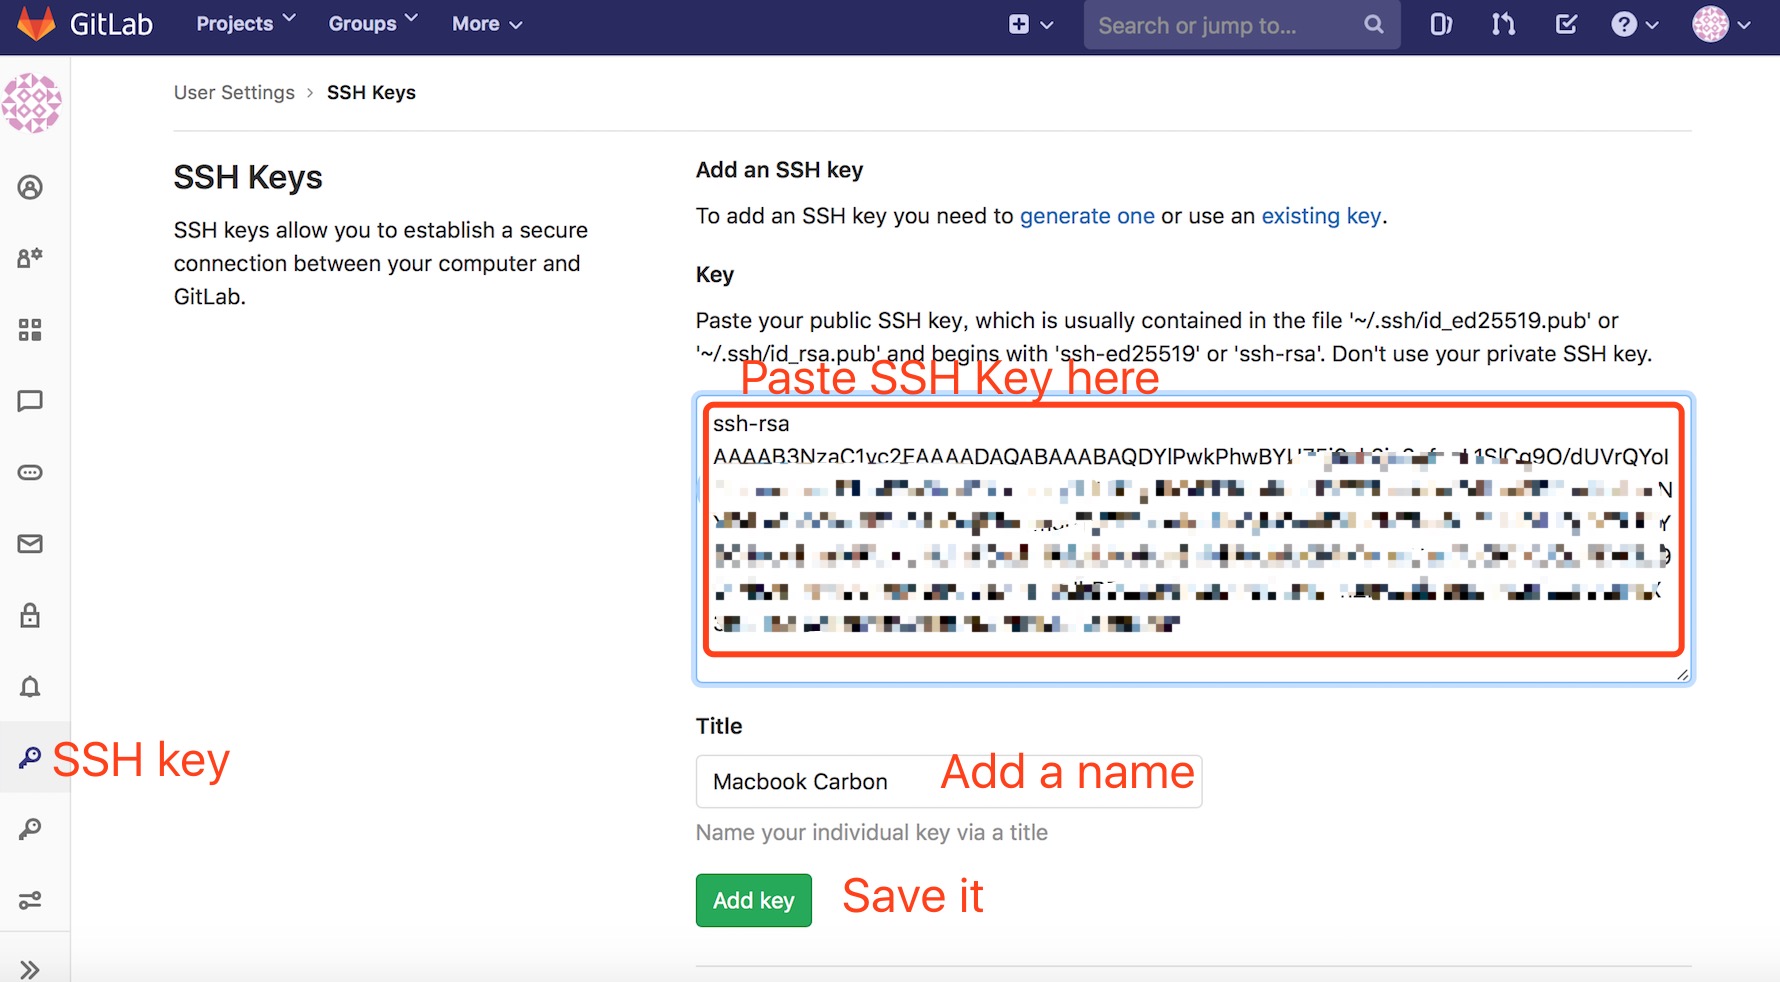
E:Paste the SSH Key to your gitlab account then save it.
1.9 Clone the repo from gitlab and push
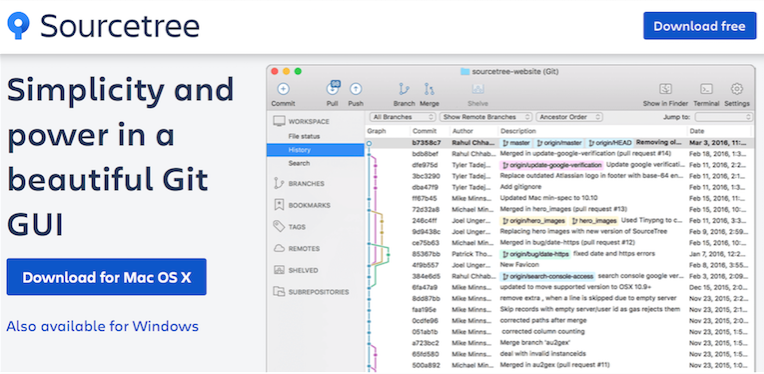
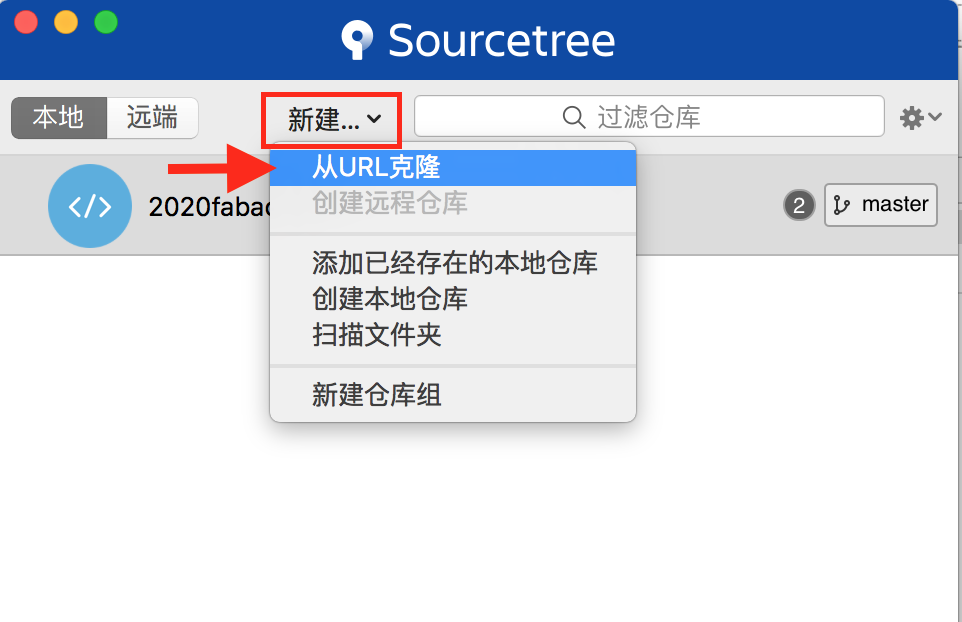
I decide to use the Sourcetree for cloning and push
Firstly download the applicant from https://www.sourcetreeapp.com. Then choose the your computer system installation.
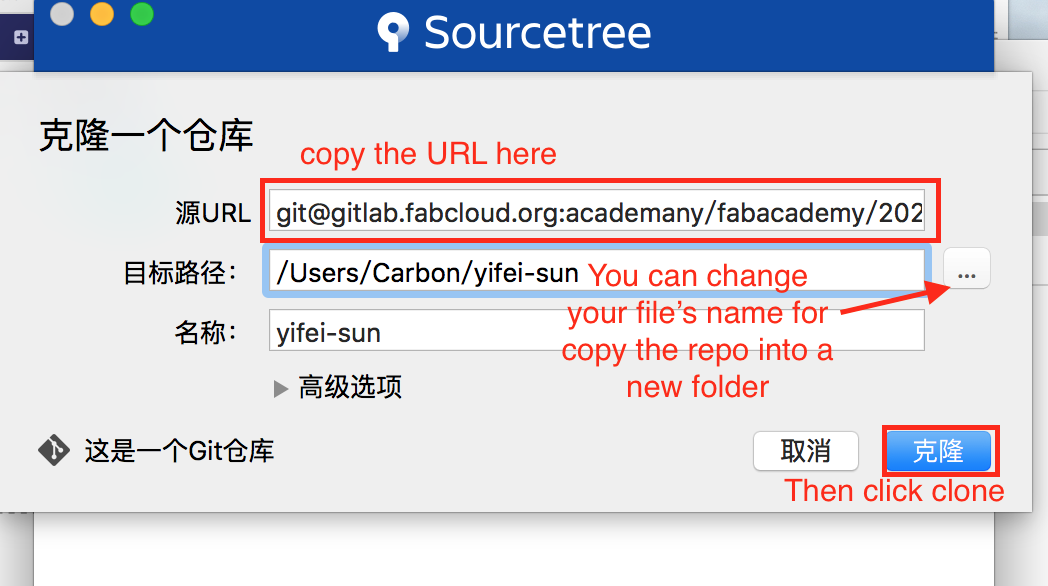
Open your gitlab website and copy URL (clone with SSH)
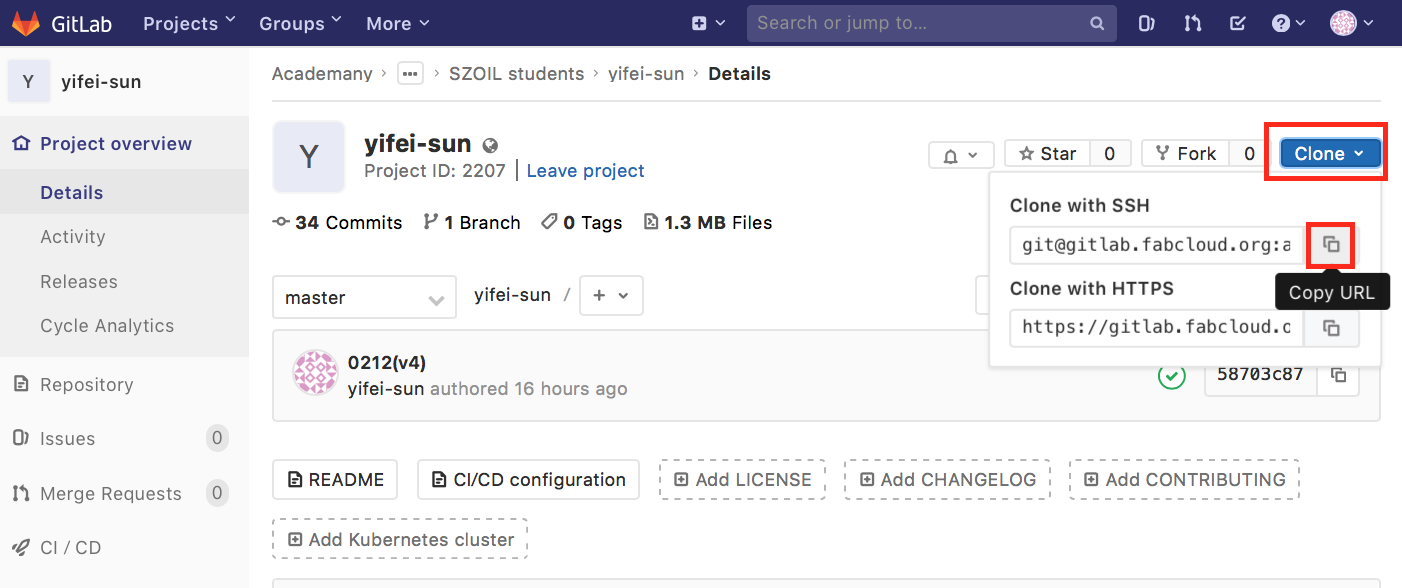
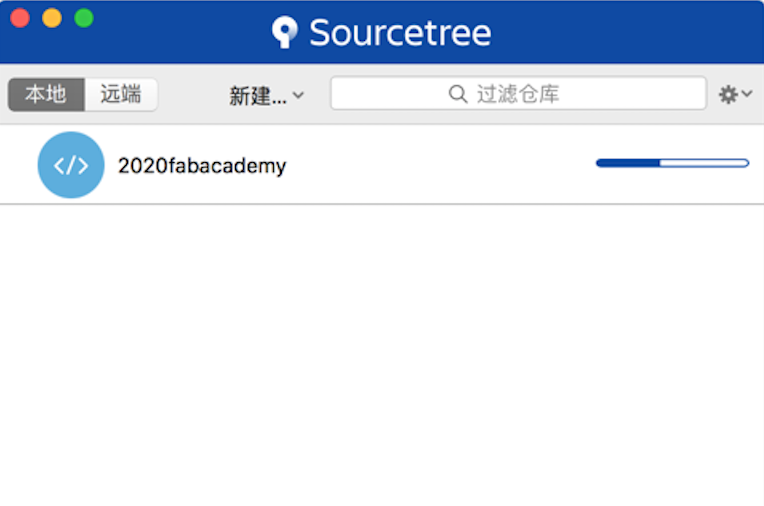
Open Sourcetree to clone
At the same time we need to download the editor software what I use is VSChttps://code.visualstudio.com
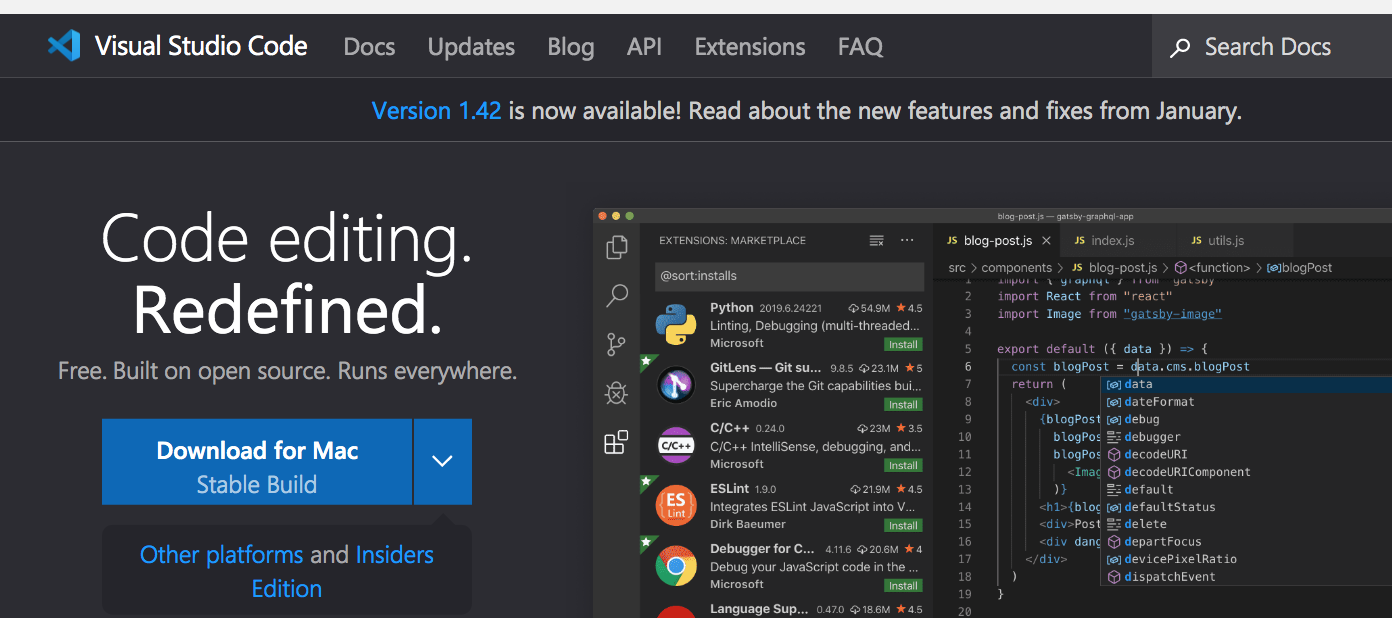
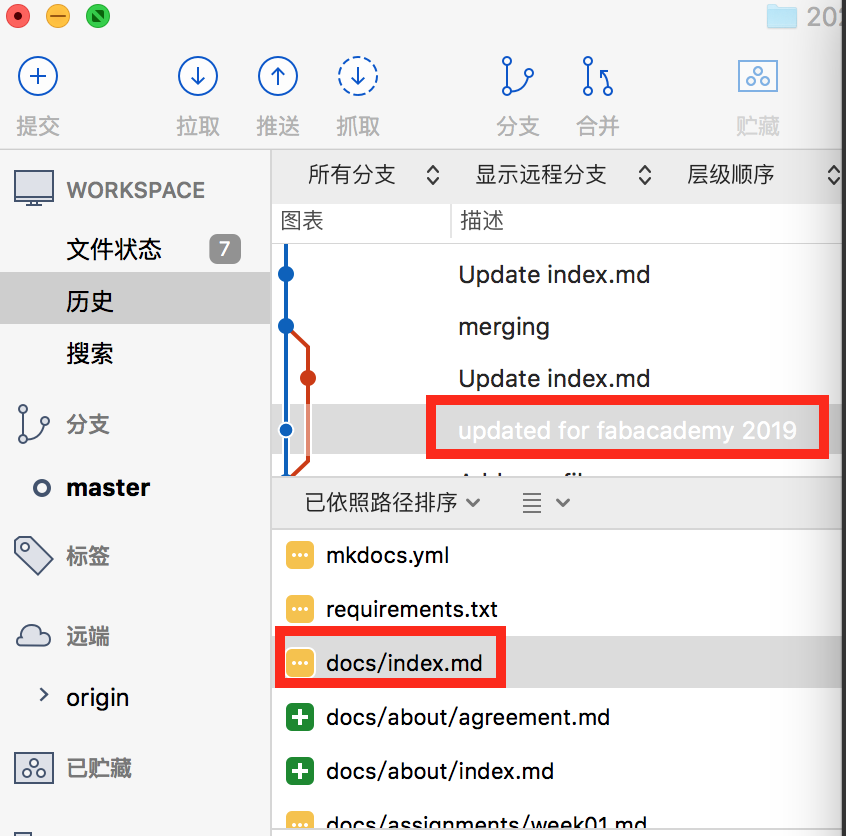
After the clone. Open the repo with VSC
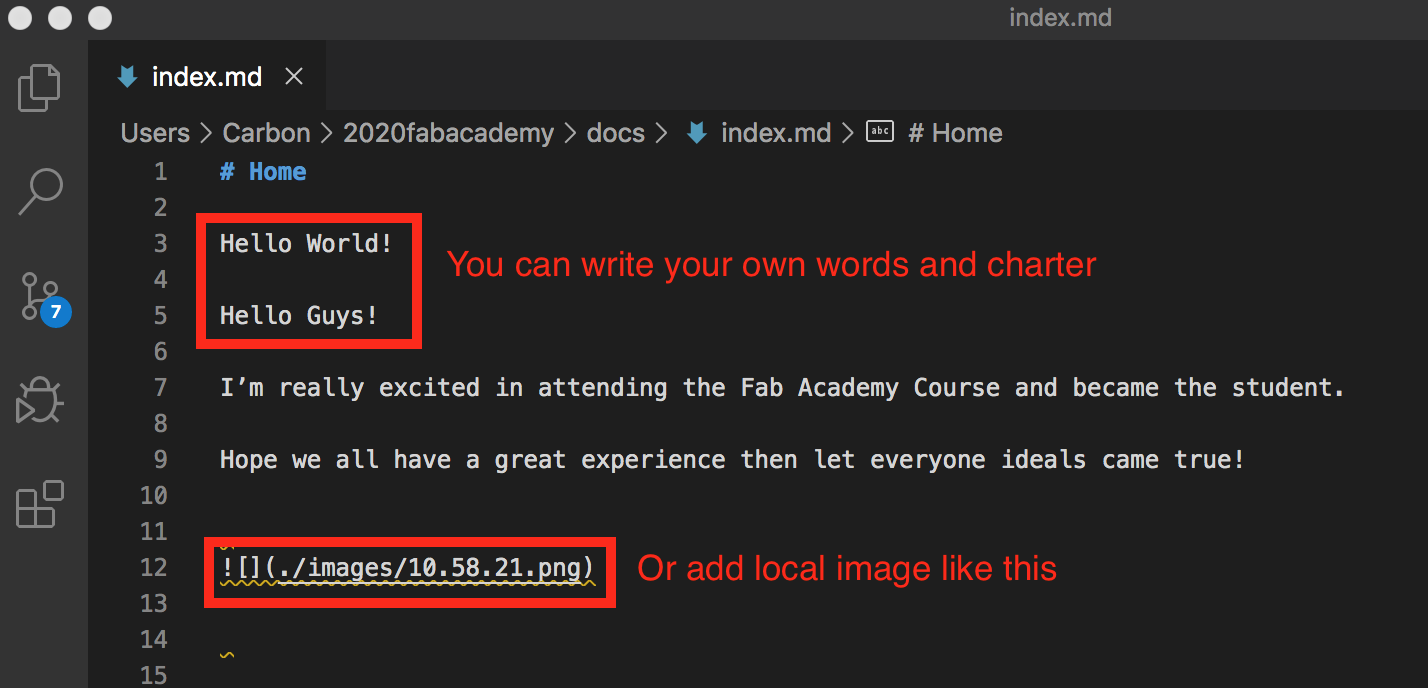
we will find all the repo inside. Find the markdown document, we can edit our website now.
The interface is like this.
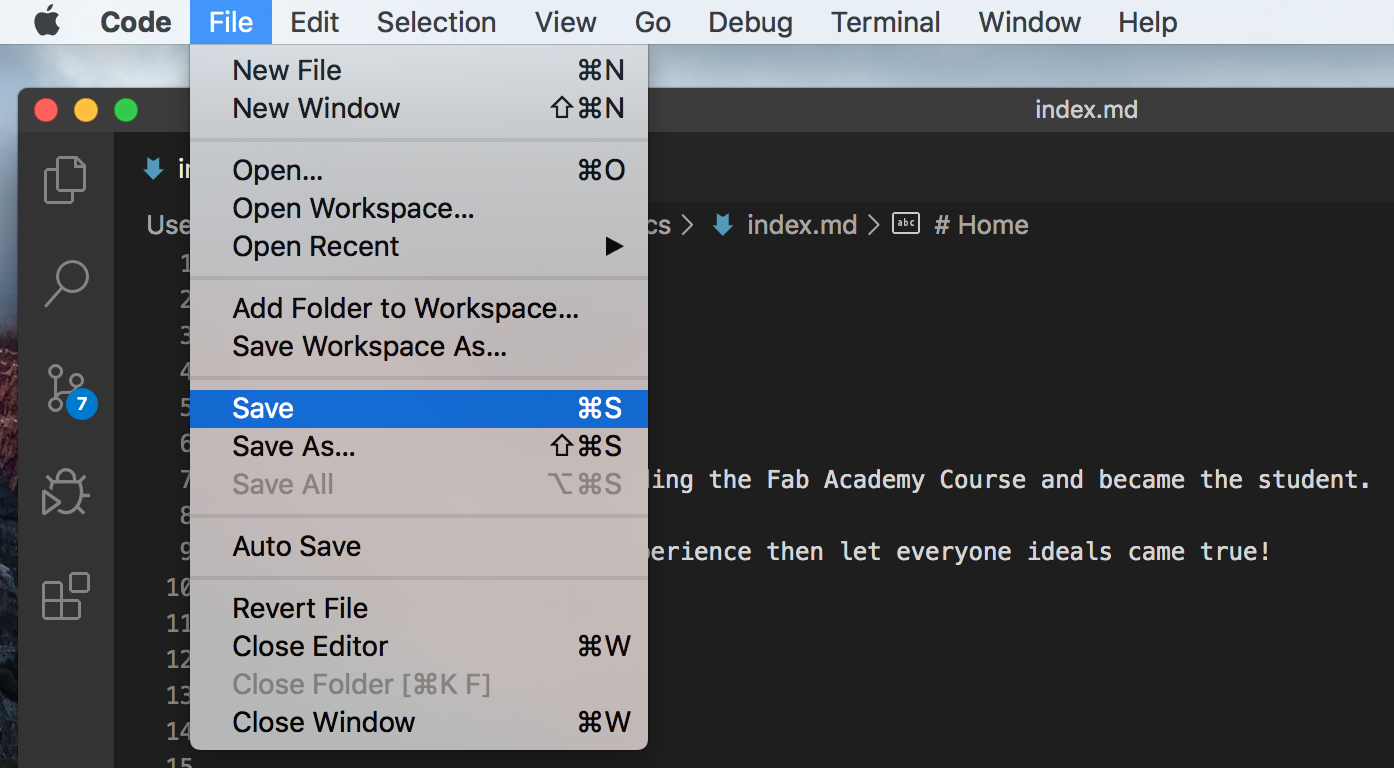
After edition we need to save the file.
We will found the uncommitted changes in the sourcetree and we need to commit those changes.

Then push the new repo to the gitlab.

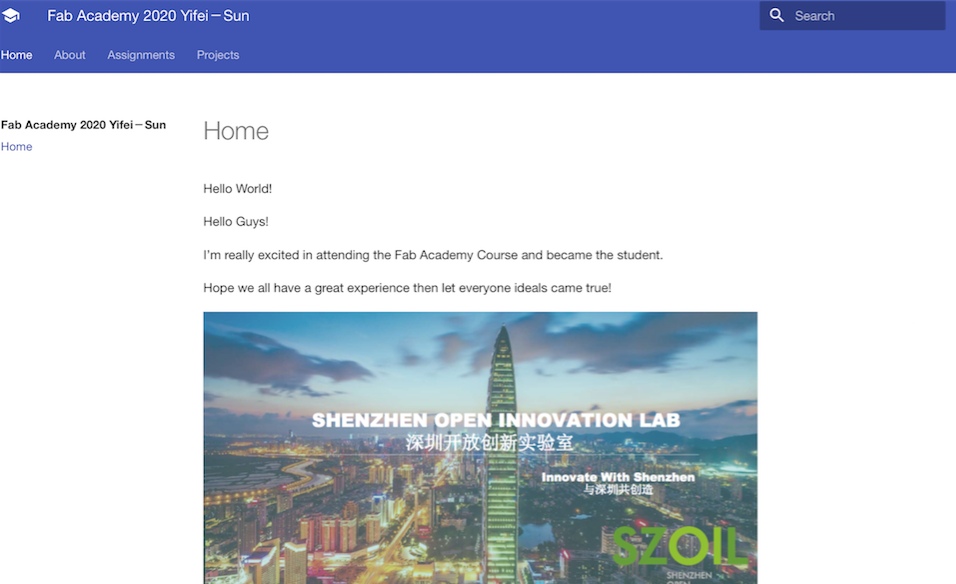
At last we could find that our website have been updated.
http://fabacademy.org/2020/labs/szoil/students/yifei-sun/
1.10 Review the website in local
We also could through MkDocs to check the web pages off-line.
Using the terminal to open the file where you clone your repo. “cd 2020fabacademy(your file’s name)/“

Use the command “mkdocs sereve”
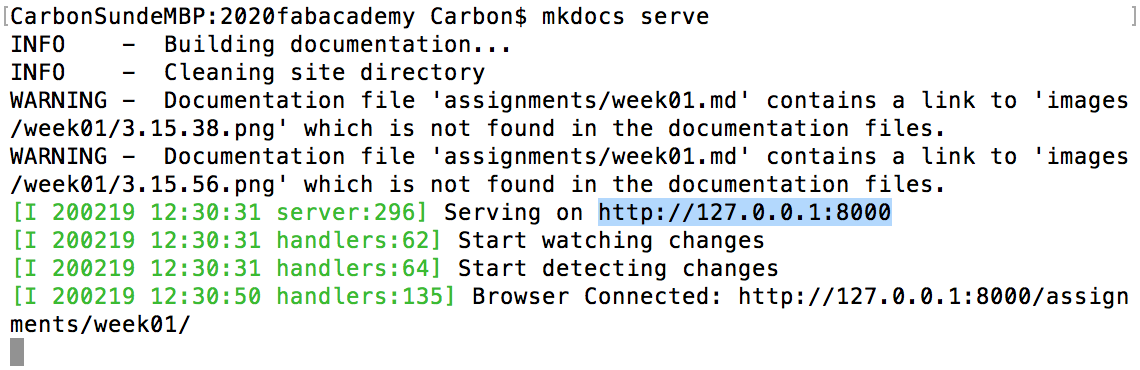
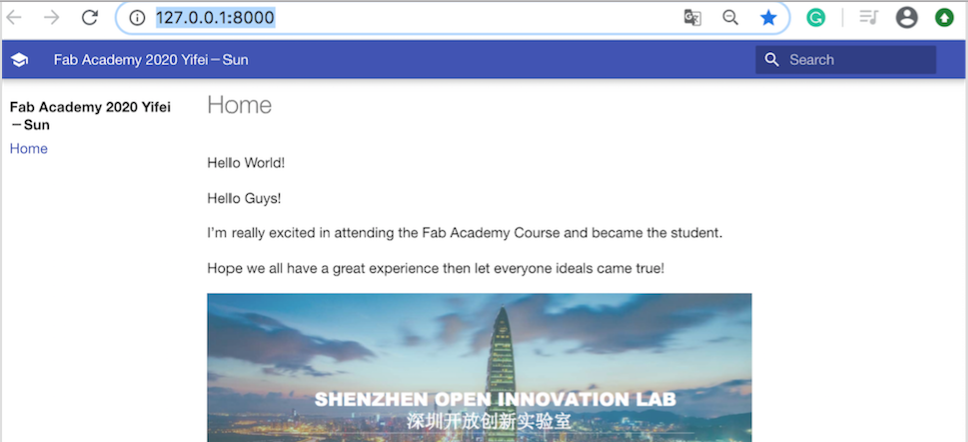
Copy the website address “http://127.0.0.1:8000” into Browser
Then you will find the off-line website.
Let’s build our personal website together.