2. PROJECT MANAGEMENT
2.1. My first contact with GIT. An intense adventure
To show all this information in my first personal website, this week, I have learned to use Git, Gitlab and Gitbash and related commands. It has been hard but I have finally been able to learn something about it.
What is GIT?
GIT is a distributed version-control system for tracking changes in source code during software development. It is designed for coordinating work among programmers, but it can be used to track changes in any set of files. Its goals include speed, data integrity, and support for distributed, non-linear workflows. About Git
What is Giitlab?
GitLab is a web version control and collaborative software development service based on Git. In addition to a repository manager, it also offers wikis hosting and an error tracking system, all published under an Open Source License.
This application offers functionality to automate the entire DevOps life cycle from planning, to creation, build, verify, security testing, deploying, and monitoring offering high availability and replication, and scalability and available for using on-prem or cloud storage. Includes also a wiki, issue-tracking and CI/CD pipeline features. GitLab also offer GitLab Pages product for creating websites with Let’s Encrypt support since version 12.1
How to instal GIT and get your SSH-Key?
Access to Gitlab: To access GitLab the first thing is to enter login and password with the FabAcademy registration data.
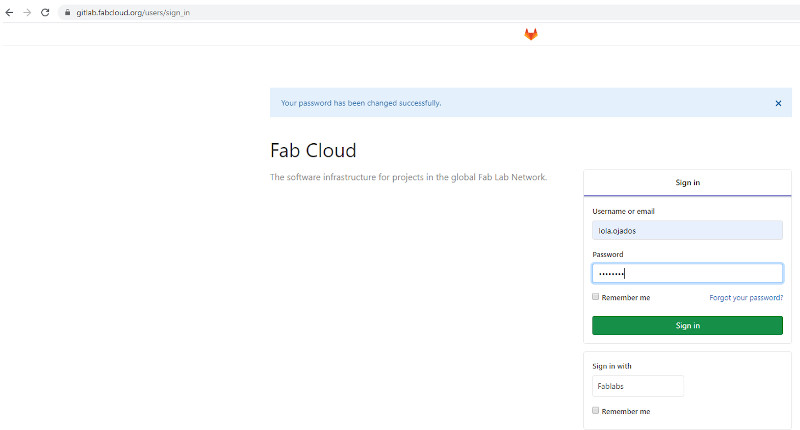
So you can enter the personal repository:
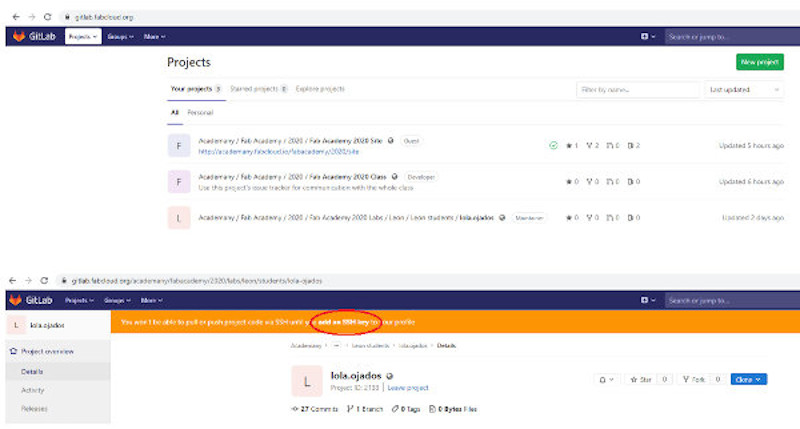
Here it is indicated that an SSH Key must be added.
It is time to install “Git” on our computer to create our SSH Key.
For that, you have to go to the official website (https://git-scm.com/downloads) and download and install the software. Only allow the default option. When working with Windows, the software installs “Git Bash”. which is the command line interface, which will be used to communicate with our online repository in GitLab.
To create my SSH Key*, I follow the tutorial I find in:
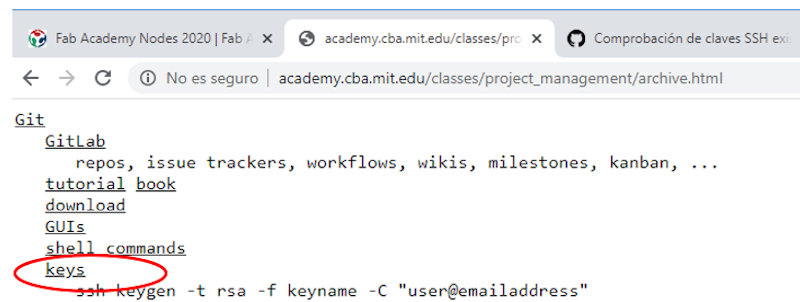
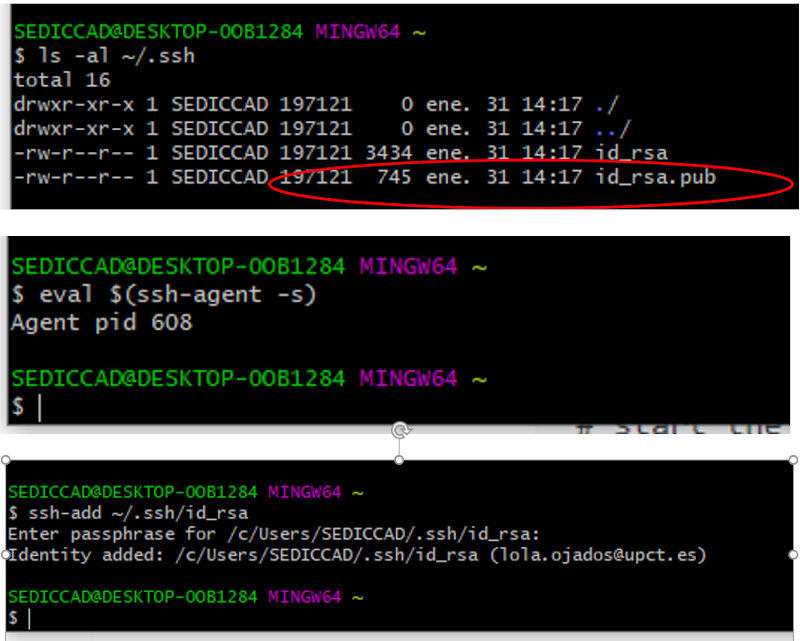
Following the tutorial in Git Bash I get:

Continuing with the process:
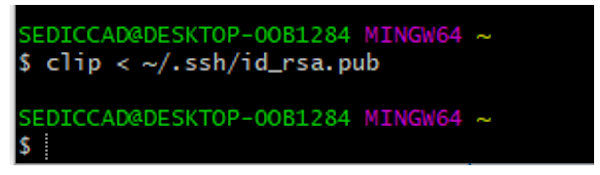
Next I copied the ssh key to the clipboard like this:
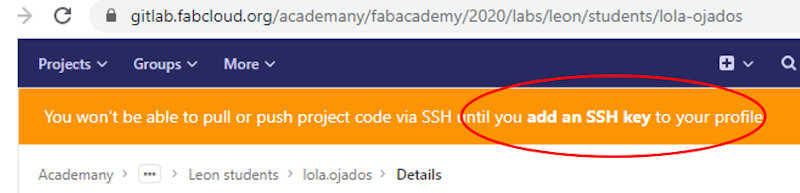
I enter the browser in GitLab, in my repository, I access my space: https://gitlab.fabcloud.org/academany/fabacademy/2020/labs/leon/students/lola-ojados
And I select, add an ssh key to my profile in this orange message:
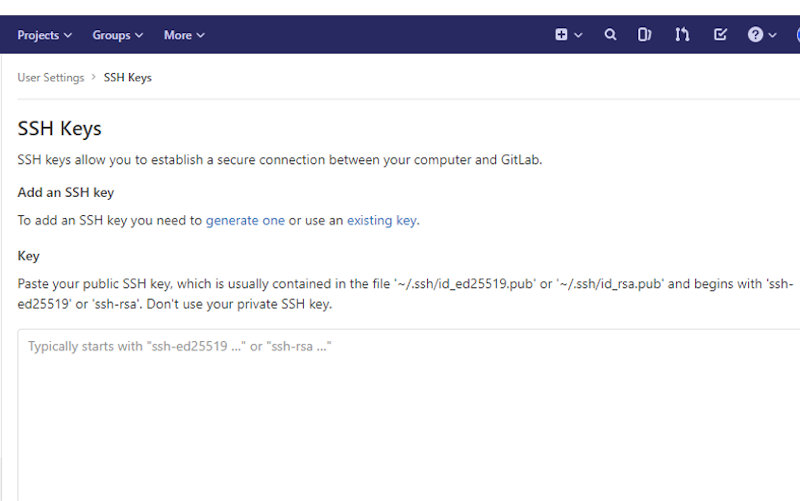
It appears that:
Here I paste what I copied to the clipboard:
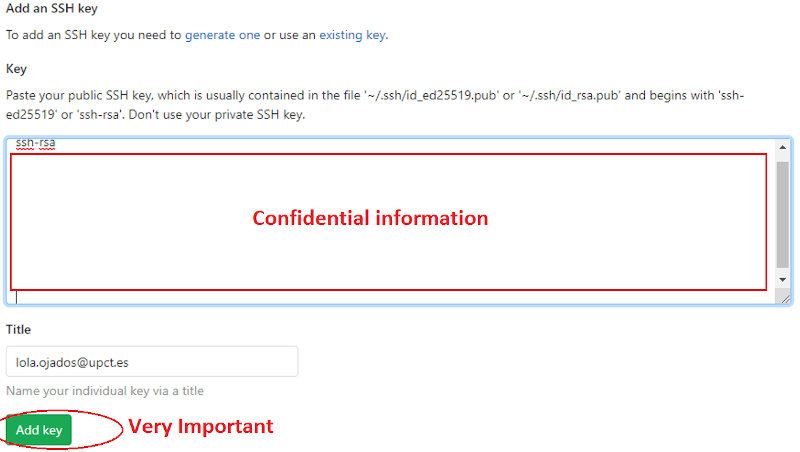
It is very important to press the “Add Key” button. I have had to do the process twice because of my dismissal.
After following this process using the tutorial, researching websites of students from previous years, I found this as a summary. I find it interesting to put it in my documentation because it can be helpful for me and other FabAcademy students.
Open Git Bash, and follow this four steps:
1.- First step: You have to identify yourself. Type git config –-global user.name “your_username” and press enter and then type git config -–global user.email “your_email” and press enter again. In this step, Git Bash gives no answer. You must use the same credentials as for GitLab.
2.- Second step: check if we already have a SSH-Key. Type cat ~/.ssh/id_rsa.pub. If a long text that begins with ssh-rsa appears, it means that a key already exists and the next step can be skipped.
3.- Third step: generate the SSH-Key. type ssh-keygen -t rsa -C “your_email”. Enter is clicked here until the ” “key’s randomart image” appears.
4.- Fourth step: To see the public key. Type cat ~ / .ssh / id_rsa.pub and the huge string you get is your key.
2.2. My first web page. My personal website
Currently, there is a personal site in FabAcademy with all the folders created for the different Assignments. At the moment, I will use this template, and if I advance my learning in HTML, I may decide to change the format in the future. I cannot delay much because the information grows and with it the work that this change entails.
I used Markdown template to configurate my website. First in remote mode and later I have used brackets to work in local mode.
Online editing of contents in the repository
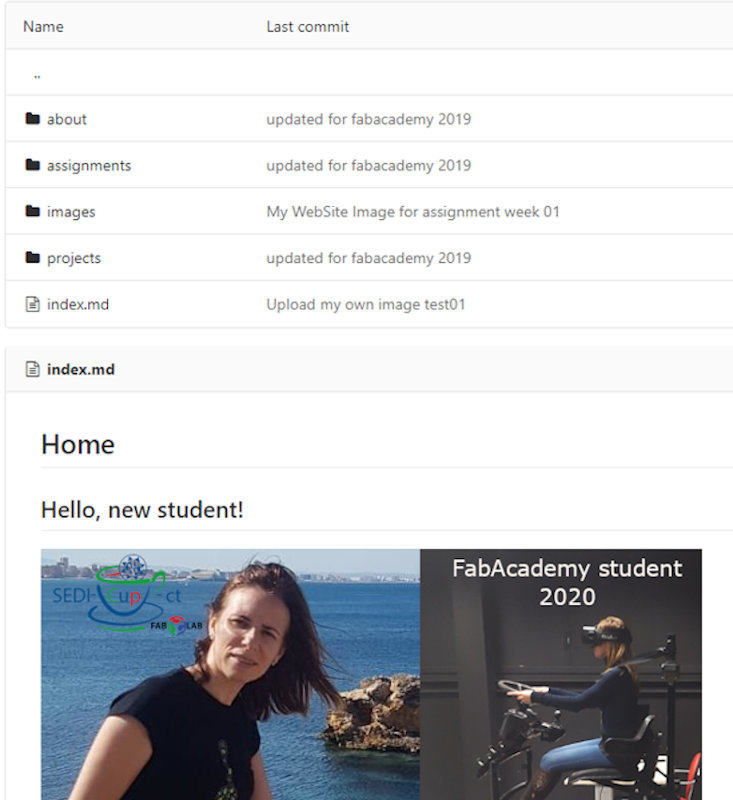
The main page of our online repository is structured in this way:
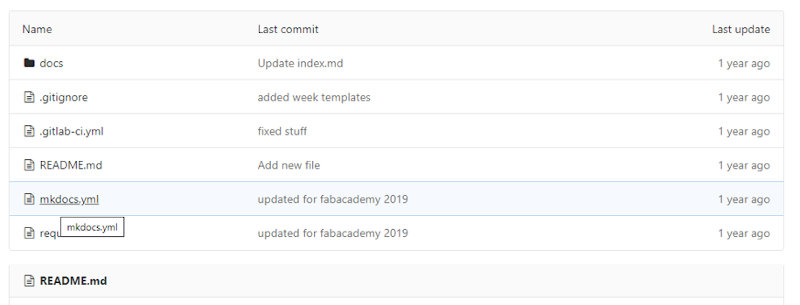
The file called “mkdocs.yml” is the web page template. To customize the site you have to open and edit the content.
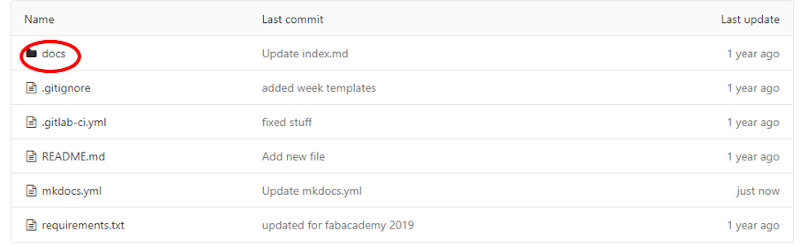
In the “docs” folder you will find all the files and texts of our site, and they can be added and modified.
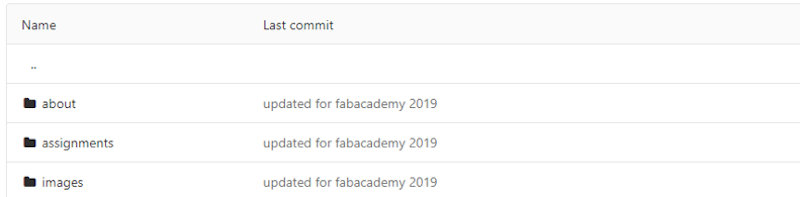
In “about” you can add personal information by opening and editing the “index.md” file. In assignment, everything that has been done and learned every week will be documented. In “images” the images are uploaded to show on our page.
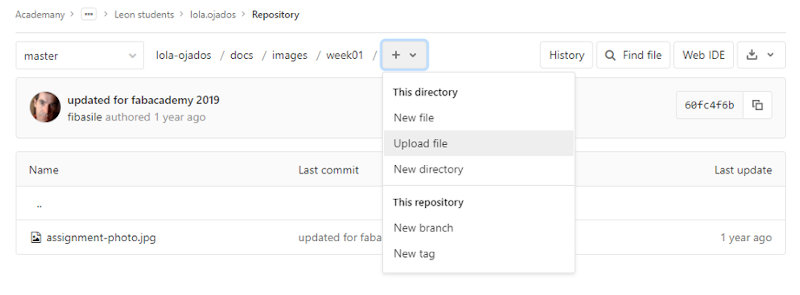
It is very important to assess and limit the size of the files that are uploaded. The personal repository memory has a limit of 200 MB. For the images the recommended size is 100kb maximum per photo, with a size of 800x800px. Max.
I have modified the template by editing and adding files.
My personal space is already having my own content.
Editing content in the repository in local mode
To clone your online repository in your computer open Git Bash and go to the folder where you want to create the local repository.
Type “pwd” to know where you actually are.
Type “ls –a” to know the list of folder/files that you have in the place where you are.
Type “cd nameofthefolder” to select the folder. Once you are working in the correct folder then:
Type git clone git@git.fabacademy.org:fabacademy20… (You will find your git address under your name in the main page of your personal project for fab academy).
To edit my files locally I decided to use Brackets. (To modify local files you just have to follow the same steps that if you modify online).
Update online all changes made to the local repository
Everything modified and saved in Brackets, images, texts, videos … in the local repository, must be uploaded to the online repository and on the website. First, in Git Bash you reach the repository folder. Once there, follow these steps.
Type:
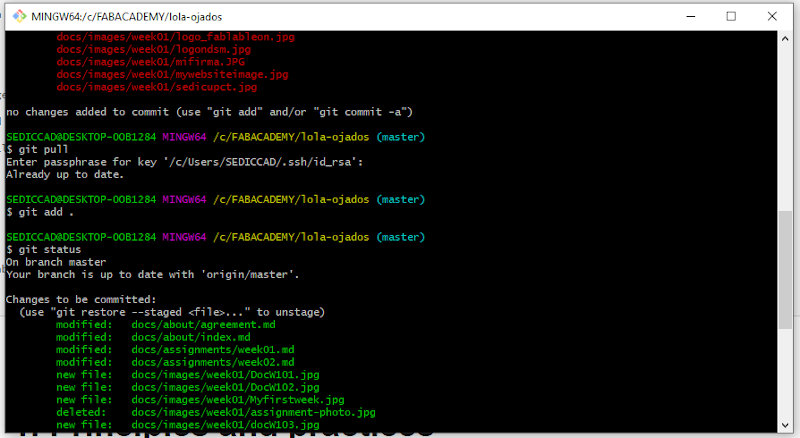
1.-git status (to see what has changed).
2.-git pull (to upload the local repository to the last version of the online repository. This is very useful if several people are working on the same repository).
3.-git add . (to add the changes).
4.-git status (to check that the changes were added).
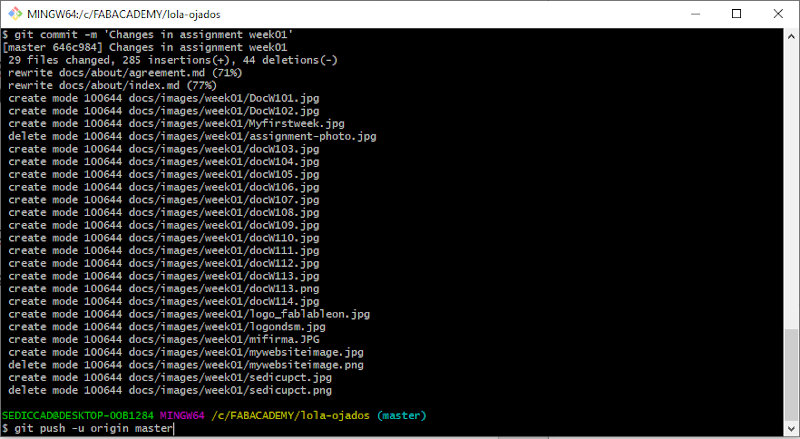
5.-git commit –m ‘descriptionofthechange’ (to confirm the changes).
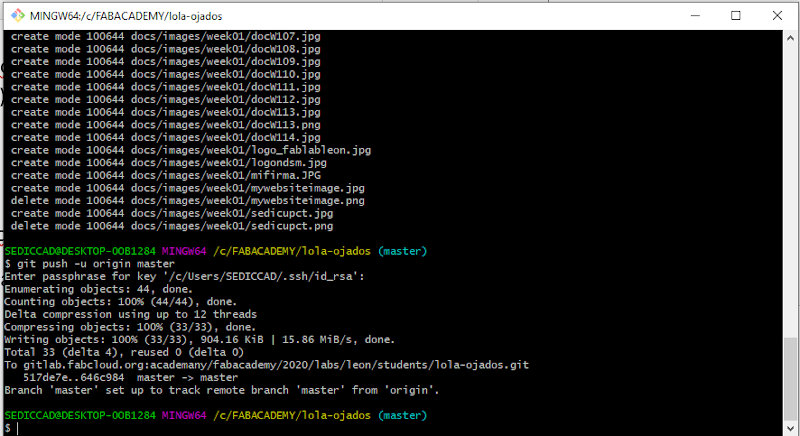
6.-git push –u origin master (to make the changes effective and finally update the repository online).
*Warning: Never do a “push” without first having done a “pull” *
I have survived this first week and the flu that has invaded my home. I’m ready for a war…
It has been hard and intense.
I will follow the motto of my notebook where I take notes of FabAcademy :).

2.3. Assignment update week 10 (Input Devices). Problems with Git.
I find it interesting to document here what happened to me when I was trying to upload the changes made locally to the repository. From week 7 to week 10, many things have changed in the way we work, well, actually in the way we have to develop all the routines of our daily life. This is happening in the entire world, although not simultaneously. Here in Spain, a state of alarm was declared due to the coronavirus pandemic since week 7. Therefore, the FabLab had to be closed, and everyone began to work from our own home with the resources that we could have.
This has slowed down my work at FabAcademy, I have had to restructure the work planning of research support service that I coordinate and assign new tasks to the staff, providing them with technical and computer resources that were portable and could take them home.
In addition, my research group has opened several new lines of work that have to do with trying to combat the spread of the virus and its effects. We are collaborating with Health and government at the same time.
This is being hard, since at home I also have my children, without being able to go to school or to their extracurricular activities, but without stopping to do these tasks at home and for which they require my help and that of my husband, who he is even more involved than me. I also have my father at home and I am very concerned about his health since he is a heart patient with respiratory conditions.
With this scenario, although I have been progressing with the FabAcademy assignments, almost three weeks have passed in which I have been documenting, but since the computer from which I normally access the repository was not accessible, I had not uploaded this documentation.
When I went to do this, I was in for a nasty surprise.
From the GitBash terminal, when git push to upload changes to the repository, an excess memory error appeared.
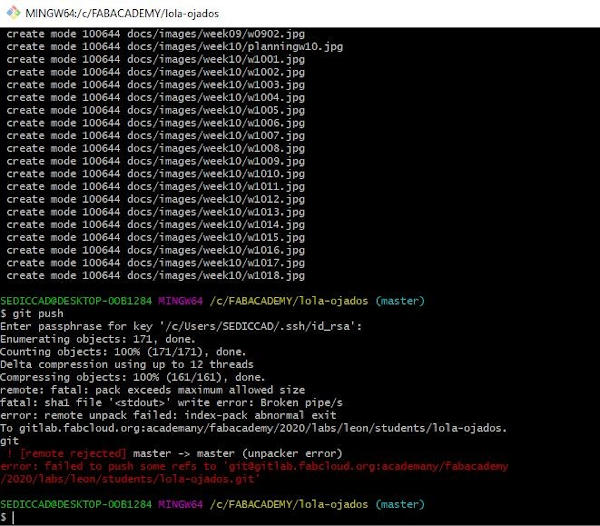
After trying to do this several times, looking in the fabacademy information if this had happened to someone else and seeing how they had managed to solve it, I tried several solutions but the error was still the same.
So, I asked my partner Álvaro … Now we communicate by videoconference, I miss him and the rest of my colleagues.
It occurred to us to work locally duplicating the folder where I have all the information that I am updating with brackets and then upload it to the repository. The idea was to have this copy in another directory and delete from the original all the advances from the version that appears on the web because it is included in the repository folder, to be able to upload information little by little.
I had already started with this task to see if it worked, when yesterday (April 6, 2020) we had Local Review with my colleagues and instructors from León. I explained my problem and what I was going to try to do. And Pablo and Nuria (great, thanks to the fact that they are always there) who are my instructors from the local node where I am a remote student, gave me they proposed a better solution.
What I have done to solve the problem has been “CLONE” the latest version of the repository uploaded to the cloud, and with what I had advanced locally, update it little by little.
When trying to upload all the changes of three weeks at once, I was trying to upload about 30Mg and the system did not allow it, in this way I am uploading the changes step by step sequentially and in this way I do not exceed the allowed limit, I am also taking advantage to review , correct mistakes, finish documenting in some points of the assignment and complete others with this new experience as in the case of what I am doing right now, for example…
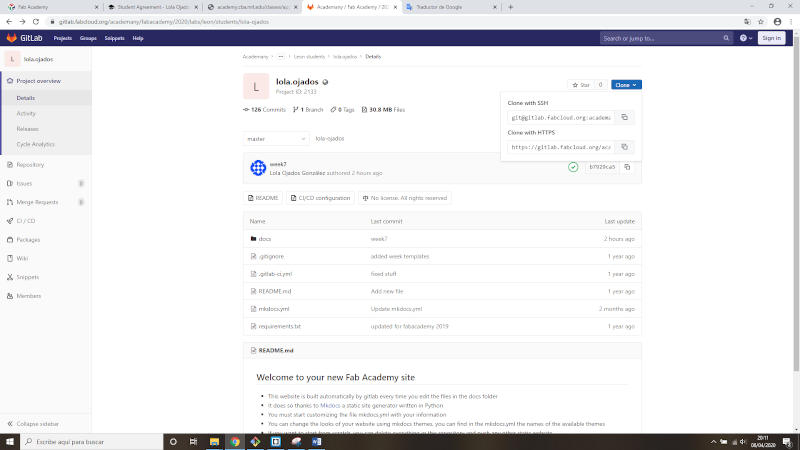
Here I find the link to clone my repository.
This is the text you have to put in the finish when you run the git clone command: gitlab.fabcloud.org/academany/fabacademy/2020/labs/leon/students/lola-ojados.git

Here I can see what my last updates have been in the cloud repository, the last two test and the previous one had been a month ago.

Conclusion, “It can’t be that long without updating my work documentation on FabAcademy or I will have problems again.”