Week 10
Moulding and casting
MOOD OF THE WEEK

After last week that was pretty lame for me, I'm doing something manual, which I find way more pleasant :)
Maybe a deviated way to stop not liking electronics I think is to find a new project which is not a hello board. It's been a while since I wanted to do a mask with several leds and lights, I think I'm gonna focus on this for my next "big project".
I also want to maybe change of final project, and do my escape game in another place with some people helping me. I think I'm gonna do a "small" final project, so I'm sure to have something to present in june and I'll see if I have time to focus on the escape.
Moulding and Casting
This week's assignments :
- Group assignment
- review the safety data sheets for each of your molding and casting materials, then make and compare test casts with each of them
- Han Solo assignments :
- design a mold around the stock and tooling that you'll be using
- mill it (rough cut + (at least) three-axis finish cut)
- use it to cast parts
Group Assignment
Here is the link to our documentation for the group assignment : http://fabacademy.org/2019/labs/sorbonne/group_work/molding_and_casting.md/
Han Solo Assignment
Inspiration
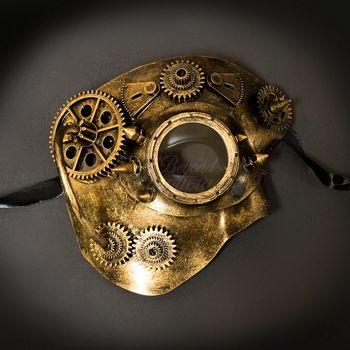
It's been a while since I wanted to make a Steampunk Masquerade Mask. I want to do a mix between those two masks.

I drew a first version on inkscape.
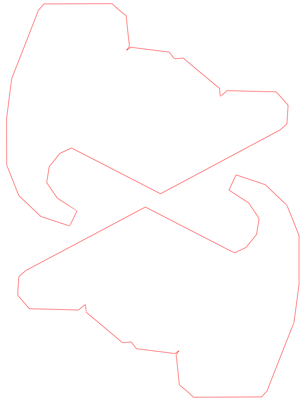
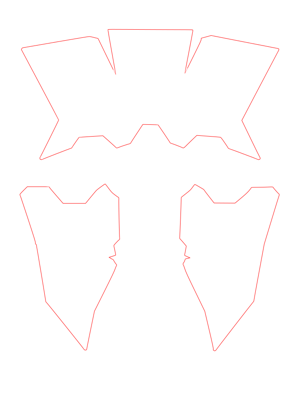
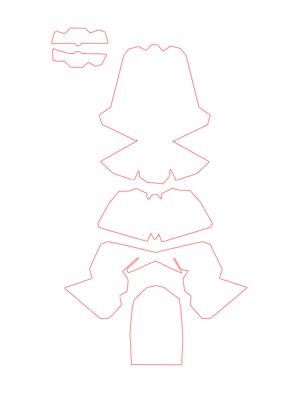
I started to draw the mask and do a first version of it, but it doesn't look so good lol I won't waste too much time on it this week coz it's not the main subject.
Let's see how this week can help me in that project :) This week, we have to mold and cast whatever we want. I'll do the gears to decorate my mask :) Time to dive into silicon, catalyst and epoxy resine !
Step 0 : understanding the process
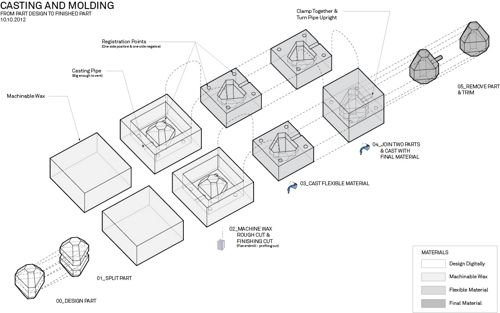
There’s a certain logic to the process we are going to use. We are doing a mold, a casting mold and finally our workpiece.
It can be confusing when you design your mold in 3D, to keep that logic in mind. Here’s an illustration that helped me a lot :
Step 1 : designing the mold
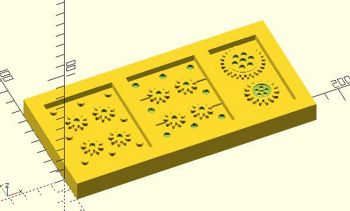
Here’s the first step of everything : designing our mold. I want to do some gears to decorate a mask I’m making. Let’s open our friend OpenScad to do it :)
Doing them was pretty easy, I’m starting to be at ease with the software. I found a very useful library that I used for the gears : MCAD OpenScad Library
Really easy to install, you just have to follow what they say on Github. Let’s look at the code together to understand how it works :
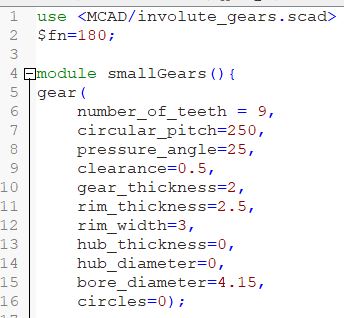
To include the library in our code, we just have to add the line "use
You see that to “call” a gear, you just have to write “gear”, complete and play with the different parameters that are written (the advantage is that they are pretty self explanatory).
To help you, check the MCAD User Manual, I found all the answers to the questions I had in there !
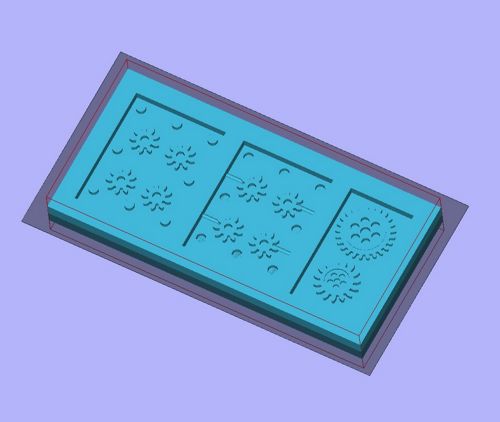
Here is the final result :
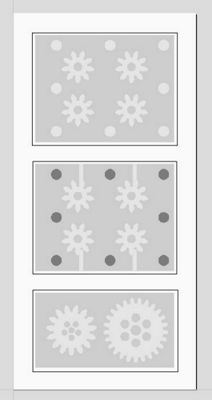
Step 2 : Milling the mold
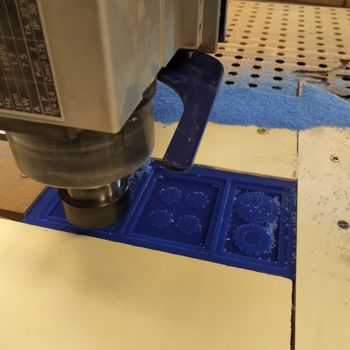
Now that I have my design, let’s go to the ShopBot to mill our mold ! I’m using wax blocks. It’s easy to carve and to mold silicon in it.
To know how to use the Shopbot, you can go to the "Something big" week for the tutorial :)
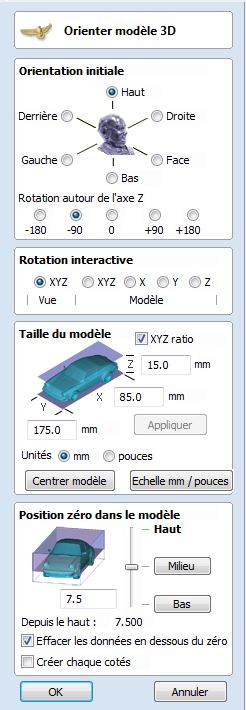
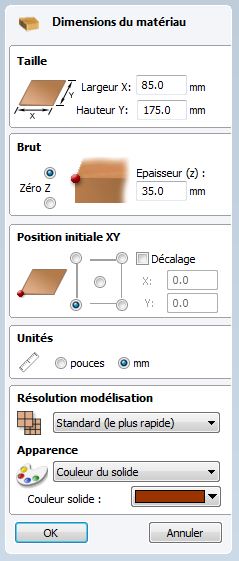
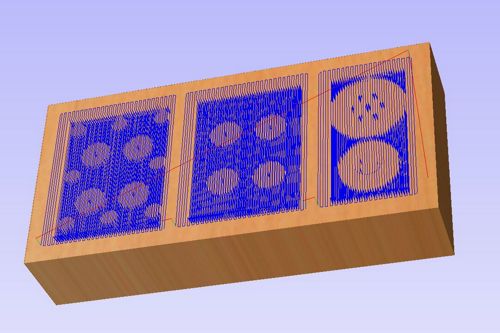
Here is the rendering in the software Shopbot3.

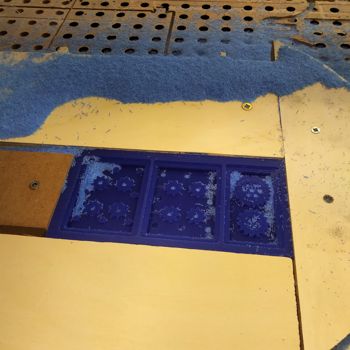
Here is the rendering in the wax being milled :)
Step 3 : Moulding the silicon
Once I have my first wax mold, I have to go to the chemistry lab so I can use safely the silicon and epoxy.
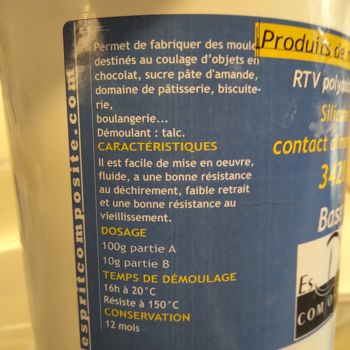
As I read in the label, I need 10g of catalyst (part B) for 100g of silicon (part A).
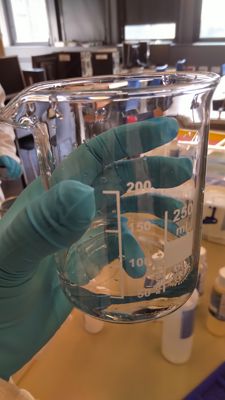
First thing I need to do is get an idea of the volume of silicone I'll need to fill my mold. For this, I poured some water in it and transfered it into a container. By putting the container on a weighing machine, I know exactly the quantitiy of silicon I need.
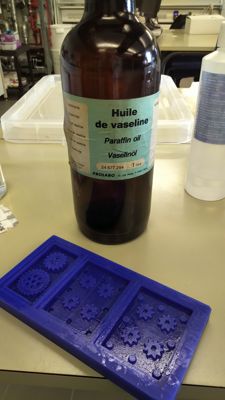
To make sure my mold will come out easily, I also poured a very little bit of paraffin in it.
Then I add the catalyst and some silicone oil to prevent bubbles. The catalyser is 10g for every 100g of silicon.
I have to stir my mix for 5 minutes and slowly pour it in the mold. Pfiou, making sure the silicon gets in every corner is not as easy as I thought ! The paraffin is definitely not helping at this point because the silicone is quite thick and my mold has very small holes in it.
Then I used a vacuum chamber to remove the bubbles. It's pretty fun to watch all the bubbles come at the surface of the silicon :)
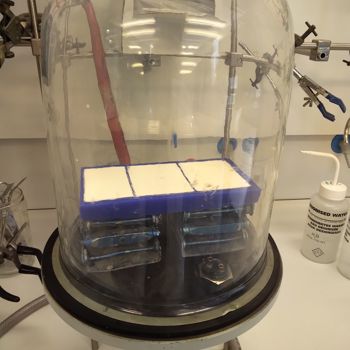
Now, it's a 24h's wait to be able to pour some epoxy in it !
Step 4 : Moulding the epoxy
24 hours later, I can pour my epoxy in the mold ! Here is the datasheet for the epoxy I used : https://media.jacksonsart.com/pdf/pcrmsds1.pdf
And here is what the product looks like.

Reading the datasheet
It is important to read it for saftey measures. For instance, from what I'm reading the product is not flammable, but there's a possible irritation for the skin and the eyes. I also read that it is toxic to acquatic environement, which means it's not a good idea to use this epoxy in project related to water (like decoration for a fish tank or decoration for a glass of drink for exemple).
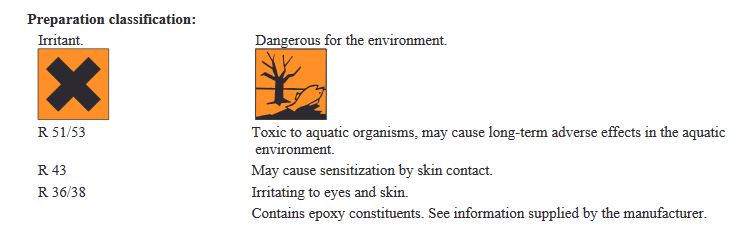
As I read the "Environmental precautions" in the datasheet, I also see that I have to be careful not to wash my containers in the classical drain and just put it in trash, as it can contaminate water. I'll have to put all my trash in a special disposer.

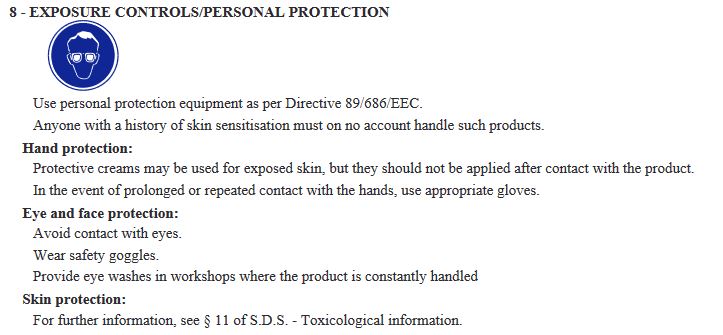
I'm also doing well by going to the chemistry lab to manipulate the epoxy, as I have to take several security precautions to use it : gloves, glasses and a blouse.
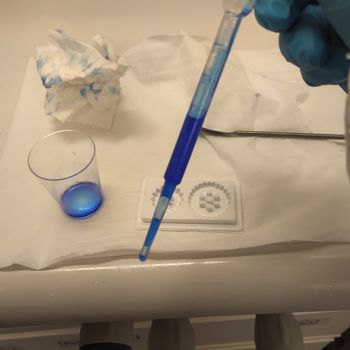
Pouring the epoxy
Now that I have read all the precautions I have to take, here what the process is for mixing and pouring the epoxy !
By reading the label on the box of the epoxy resin, I have to mix 1 dose of A solution (the catalyst) with 2 doses of B solution (the resin).
Since my mold is pretty thin, I don't need a lot of epoxy. I used the same technique as before, with the water, to know how much material I'll need to pour into the mold.
I also added some blue dye to give some colors at some of my gears :)
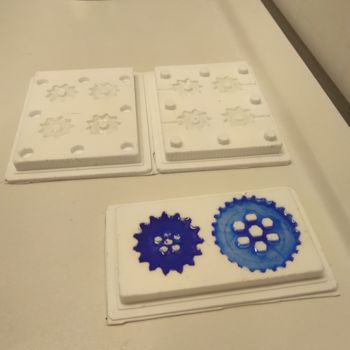
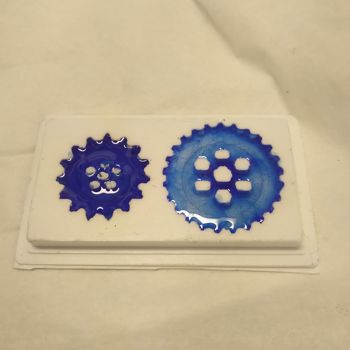
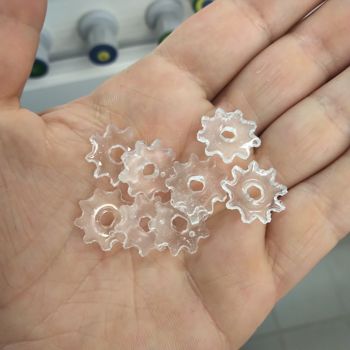
Another 24 hours wait, and voilà ! :) Nice beautiful gears :) Since you've seen the blue ones already in the previous pictures, here's the transparent ones :)
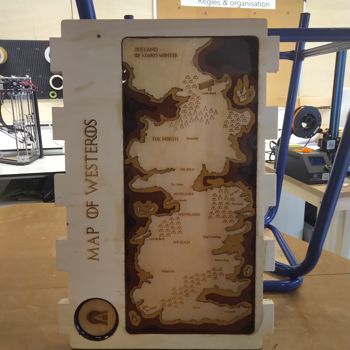
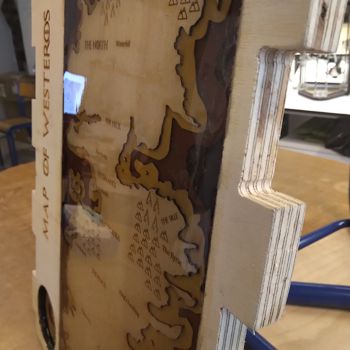
BONUS TRACK : Epoxy is coming !
I put some epoxy in my GOT table, so it is perfectly usable and it protects my beautiful map :)

UPDATE : OUPS, DID MY WEEK AGAIN !
I hadn't considered one point of the instructions given with my assignment : I didn't have any rough cut or three axis finish cut in my previous design. Damn ! I have to redo it all over again ^^
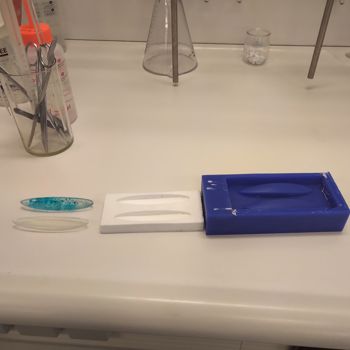
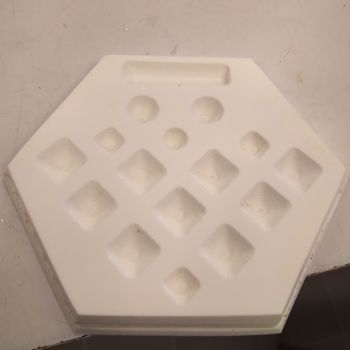
But no worries, let's optimize time and use something I've already milled and that fits the instructions : my pill dispenser ! (to find the files for this project, please click here to go to WildCard Week) I'll use the thermoformed pill dispenser I've done as a mold for my silicon, since the first wooden mold has been done with the Shopbot it works :)
I won't describe the whole process again since it's explained earlier, but here are the pictures :)
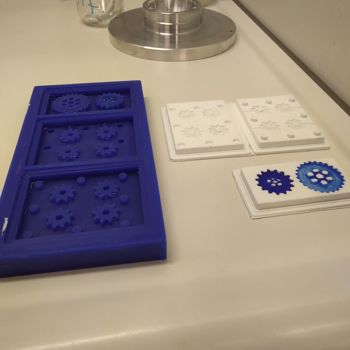
Doing the silicon mold
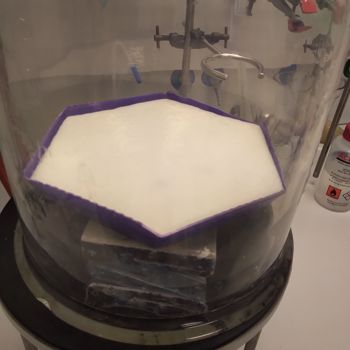
I'm pleased, it worked pretty well ! :)
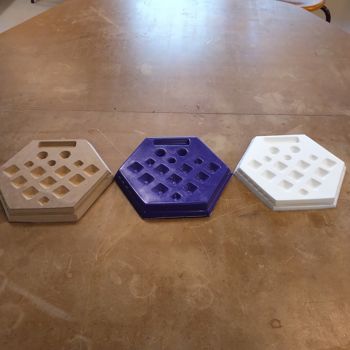
Doing the epoxy
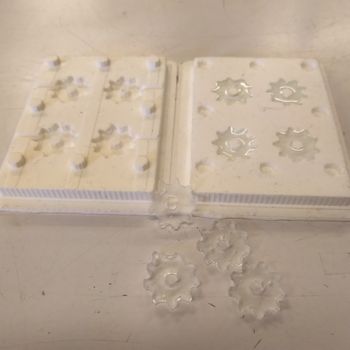
Same process as before, just added a little extra : some glass paint drops inside of the expoy, to give some drops of colors. Don't know how it will go ! I hope well :)
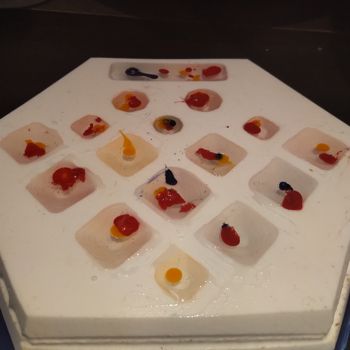
Waiting 24 hours again and see... The result is pretty fun ! :)
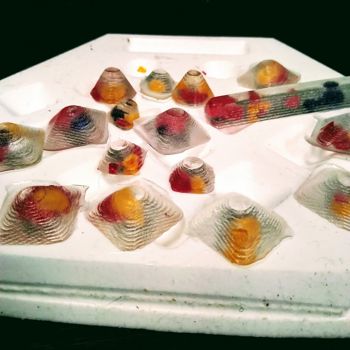
Wanna try by yourslef ?
Here are all the links to my files, feel free to download them :
| Name of the documents | Link to download |
|---|---|
| Small Gears | OpenScad file |
| Small Gears | STL file |