Week 4
Ready... Action... CUT !
MOOD OF THE WEEK

Pfiou, this week has been quite a rush ! I know what I have to improve for next week... ORGANISATION !
I succeeded in doing my solo assignments, but didn't finish documenting it and I didn't quite finished what I had to do for the groupe project, which is not cool for the other guys. I'll try to finish it this morning before the presentation with Amsterdam.
But also this week was rich in perspectives for what's coming next : I had appointments with several structures (a web school, a museum, an association that works with girls in schools to teach them web programming) and they're all interested in my final project ! :)
But still, if I can't organise myself better, I won't be able to show them... well anything ^^ It's gonna be a month since the beginning, this week I have to find a proper rythm so I can do everything I have to do and not die of exhaustion ^^
Be the Edward Scissor Hands of computer-control cutting
This week's assignments :
- Groupe assignment
- characterize your lasercutter, making test part(s)
- vary cutting settings and dimensions
- Han Solo assignments :
- cut something on the vinylcutter
- design, lasercut, and document a parametric press-fit construction kit, accounting for the lasercutter kerf, which can be assembled in multiple ways
Group Assignment
Here is the link to our documentation for the group assignment : http://fabacademy.org/2019/labs/sorbonne/group_work/laser_cutting/
For this week, we had to use the laser cutter. In the fablab we have a Trotec Speedy 100.
How does it work ?
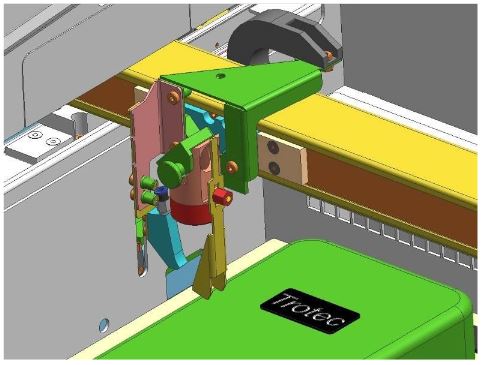
Our laser cutter works with a CO2 laser. The laser is first bounced on half-opaque mirrors, to accumulate power and then bounced off of regular mirrors (see picture below) until it finally reaches the lens. The lens then focuses the laser’s power on the surface of the material to cut.
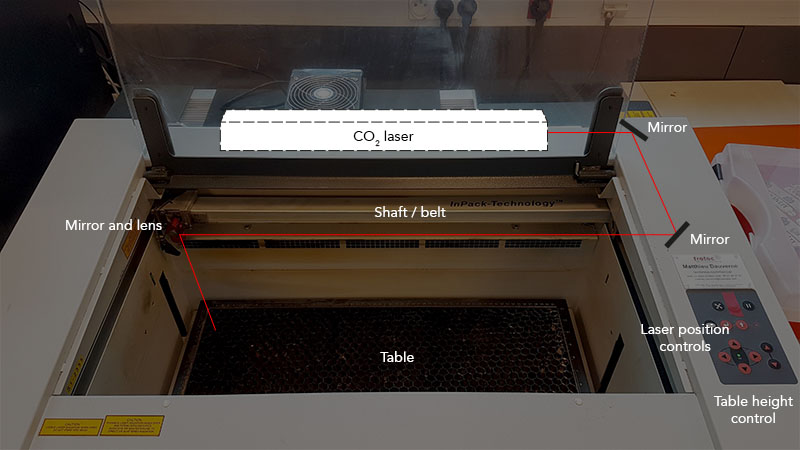
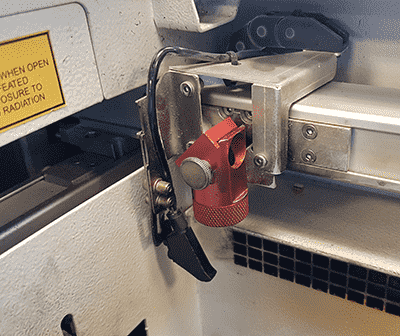
The focal distance is different for each lens, therefore, before using the laser you have to reset the table height accordingly with the help of a wedge (see pictures below). We’re using a 1.5 inch lens.
Han Solo Assignments
Assignment 1 : Using the vinyl cutter
Aside of the Fabacademy, I coach a group of 8 pre-teenagers (from 10 yrs old to 12) to participate to the First Lego League. The FFL is an international competition of lego programmable robots.
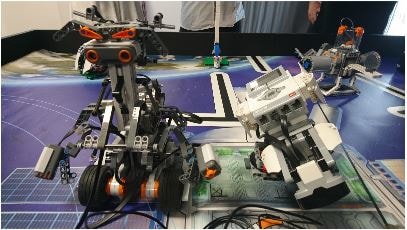
This year the theme was “into orbit”, and the kids had to work together to accomplish multiple things and present it to a jury :
- Create a robot and program it to accomplish several missions.
- Create a fictional project that could improve the lives of astronauts when they’re in the ISS or for when they’ll travel to mars.
- Show their team spirit.
We had the regional competition saturday, and to work on their team spirit, I made them find a team name, and think and draw a team logo. Here’s their great work :)
For them to be their best selves on the day of the competition, I made them t-shirts at the Fablab, with their logo, their name and all the logos of the associations that host the workshop and their city.
For that I first bought flex vinyl (black, blue and yellow) and t-shirts, and my colleague sent me all the logos I needed.
Wanna know how I did those t-shirts ? Follow my tutorial, there I explain all you need to know about our Silhouette Cameo and how to make t-shirts with it :)
BONUS TRACK : press multiple colors at the same time
Now that I know how to use those machines, let’s try to do multiple colors impressions :) This time I’ll do a t-shirt for my goddaughter, who’s a fan of Pikachu !
Step 1 : create layers
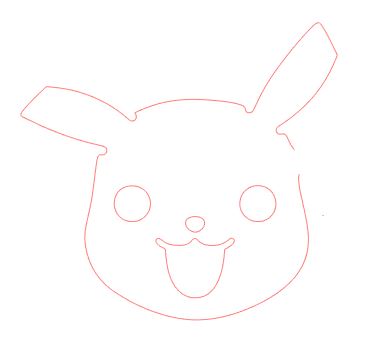
Since I want to cut different colors, I have to separate all the different layers. Here’s the original file.

I see there’s three colors : black, yellow and red. This mean three different materials, three different layers !

Let’s cut them to see what it looks like !
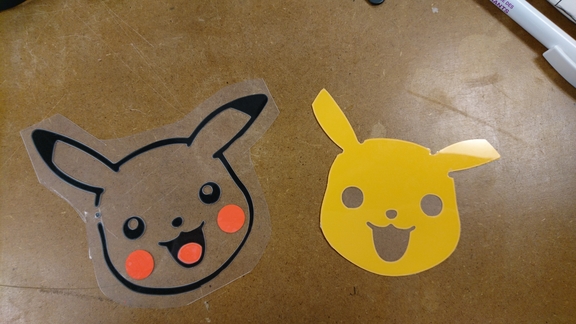
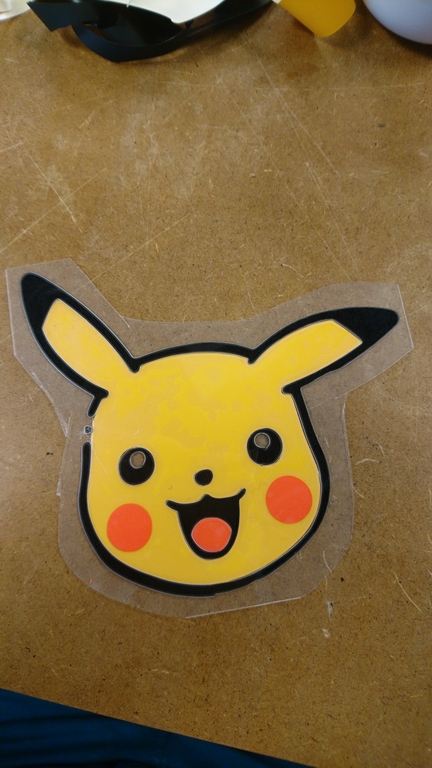
I cut the red and yellow, to add it to the black layer. Here’s how it looks when all is done :)
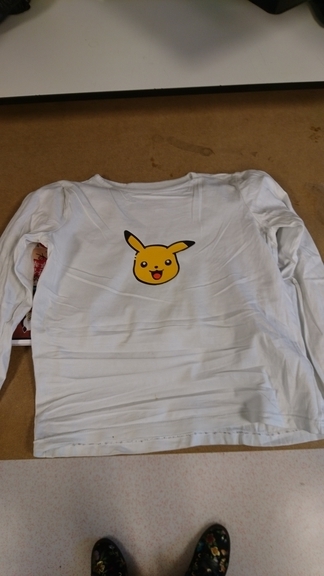
Let’s try it on a t-shirt !
Arf, when I took off the plastic that protects the flex, I realised that I didn’t took the plastic off the red layer… so it couldn’t stick to the t-shirt, but got pressed on the plastic ^^’ Be careful not to do the same mistake !

And well, no red cheeks but it still looks pretty cool ! :)
- Ressources :
- [FR] https://www.bistouille.fr/tuto-print-and-cut-silhouette-studio/
- https://www.manualslib.com/manual/997056/Silhouette-Cameo.html#manual
Assignment 2 : Create a pressfit construction kit using parametric design
After looking at parametric designs online, I realised I did one without knowing it in my last week's assignment. Ou can check it out on my week 3 page.
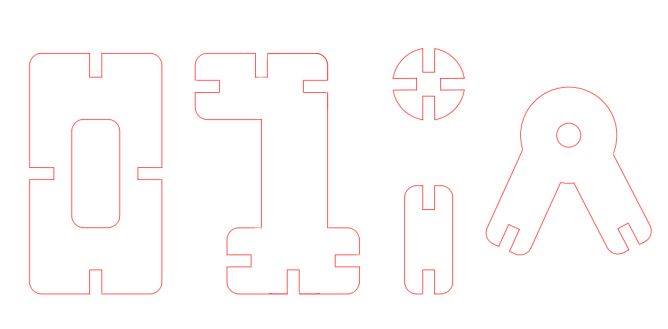
First thing I did, was looking at some inpirations online. Here are the two pictures that really helped and inspired me in my projects.
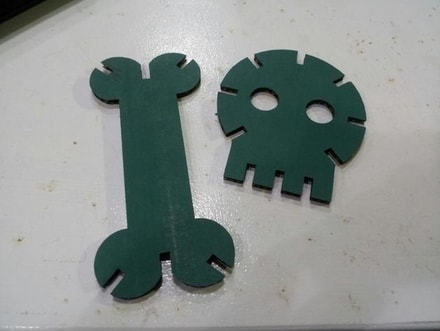
I got inspired by the drawings to test parametric designed shapes, and my first simple pressfit construction kit.
By looking at this bone and skull pressfit kit, I also got an idea. When looking at it, I thought "Hey, wouldn't it be fun to create a DNA construction kit, and people could use it to create characters with it".
Then I started thinking, "Hey ! What is the DNA of computers ? Binary ! What if I built a construction game to learn how to count in binary ?"
I don't know if you've seen it, but there's a great 101 programmation course called CS50, it's done by Harvard and you can follow it online. In the first lessons, the teacher shows an app to help the students understand how to count in binary.
This idea really appeals to me, let's do this ! :D
For this work, I used the software Inkscape. It's an open-source equivalent of illustrator. Some people have trouble using it, I find it pretty useful :)
You want to know more about Inkscape ? Check out my tutorial :)
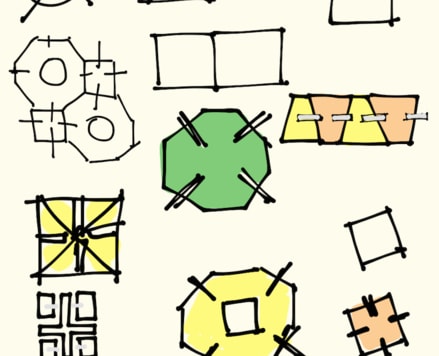
First, I drew some shapes I'd like to use for this project, just to get first ideas of design. Here are the first results :

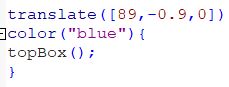
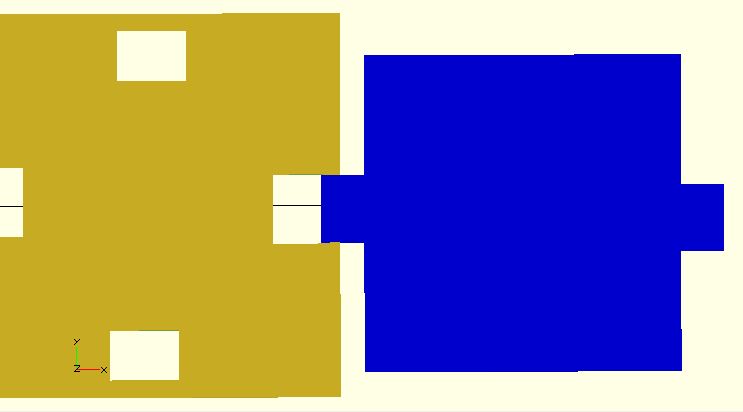
Quick tip: when you create a pressfit construction kit, be careful and test your pieces to make sure they're fit together ! In my OpenScad code, I change the colors and translate the pieces in one another to do so.
Now that I've done my tests, I can go on and dive into parametric designs and do my binary pressfit construction kit !
But first, let's do a simple version with only some joints. How did I do it ? Go and see my tutorial on parametric design to know some more :)
How do I set up the settings for the Trotec ?
Just follow those simple steps :
- 1/ Switch the machine on with the ON / OFF switch.
- 2/ The working table automatically references in X/Y/Z direction. Which means your frame will be put in the default position, so you can do your own setting after.
- 3/ Open the protection cover and place work pieceon the workingtable.
- 4/ Focus the Laser Beam : move the processing head over the material to be engraved by means of the positioning keys X/Y. Hang the focus tool on the external ring of the working head so that the focus tool can move unhindered. Move the working table upwards by pressing the Z positioning key. While doing this carefully observe the focus tool. Before the focus tool reaches the work piece, move the working table upwards only very slowly and step by step by briefly tapping the positioning key, until the tool tilts to the side. Now the lens is focused onto the surface of the material.
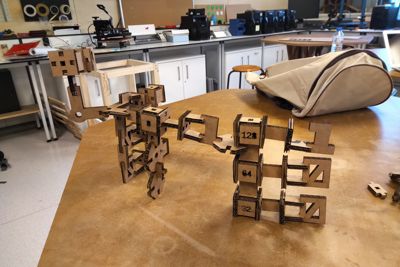
Now that it is all set and done, I just have to launch my cutting. Here is the photo of the pressfit construction kit of my game :)
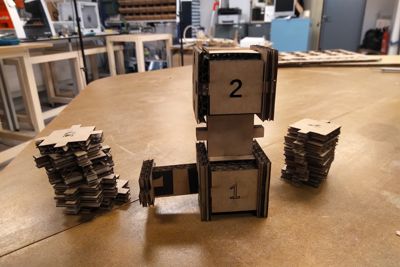
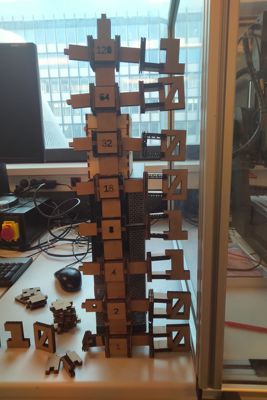

And you know what the fun part is ? You can actually do whatever construction you want with it too ! :)
Wanna try by yourslef ?
Here are all the links to my files, feel free to download them :
| Name of the documents | Link to download |
|---|---|
| Vinyl Cutter - Pikachu t-shirt | Yellow layer |
| Vinyl Cutter - Pikachu t-shirt | Red layer |
| Vinyl Cutter - Pikachu t-shirt | Black layer |
| Pressfit Construction Kit - Binary Countdown | Main boxes with binary countdown modules |
| Pressfit Construction Kit - Binary Countdown | 0 and 1 modules |
| Pressfit Construction Kit - Binary Countdown | Big joints to have fun and make crazy binary constructions ^^ |