13. Applications and implications
Final project
My Final project will be, like of many students from Oulu, a LED lamp.
Essentially the project will be a smart connected light using the ESP-Mesh network. Also, the board will have for the required Attiny AVR inclusion a Buck Regulator. This will convert the input voltage 5V to ESP32 required 3.3V
What will it do?
The core of the lamp will be ESP-Mesh or Blynk controlled motherboard with Neopixel-like LED light support. To which any Neopixel-like(WS2812B, SK6812, APA106, etc.) LED variant can be added and the lamp shape of shade can be anything. In layman’s terms: an easy platform for intelligent lighting. The shape of the lamp enclosure is completely irrelevant in this case.
In the code one RGBWW pixel will take 96 bytes of memory. One byte per red, green, blue and white channel. The ESP32 4Mb version can drive up to 42 790 LEDs, the 16 Mb version can drive up to 174 762 LEDs, depending on the size of the rest of the program’s size. Power requirements will be a concern before the memory limit. One pixel color draws at full power 20 mA per color. The total power draw all LEDs on fully loaded 4Mb ESP would be: 4 x 0.02mA x 42 790= 3420 Watts! If the LEDs efficiency is average 70lumens/watt this would be 239 456 lumens. That’s the amount of nominal stadium light.
Who’s done what beforehand?
On the market, there is plenty of smart connected lights. Like Philips Hue or Flux Smart. These lights are usually hugely expensive and/or need a central hub to work. One hub can control 50 lights and they need to be in the range of the hub. With mesh, the limit is somewhere 1000 devices and the range is expanded with every device. These lights are usually single die LEDs. the color and color temperature can be usually changed. in the most expensive models, some color pattern animations can be preinstalled. Individually addressable LED strip will be more versatile. Any kind of animation can be programmed.
Mio Kato Has done wireless lighting system. My idea is to get rid of the central controller and every control calculation is made on the mesh cloud ESP:s. Or in the case of the Blynk the server can be anywhere on planet. It does not need to be in the same room.
What will you design?
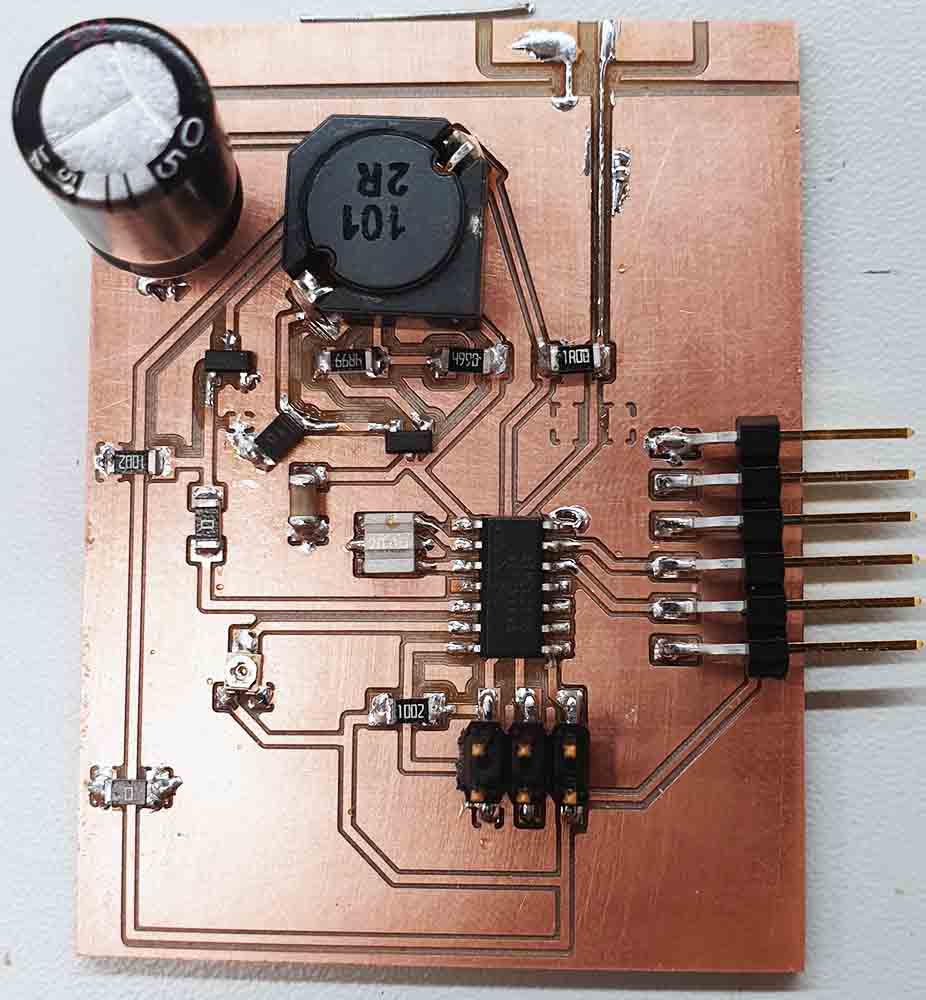
The PCB, power distribution unit for the 3.3v rail, enclosure and demo model. And some code
What materials and components will be used? Where will come from? & How much will they cost?
| Part | From | Pcs | Price | total |
|---|---|---|---|---|
| Attiny44A-SSu | Fab inventory | 1 | 1.1€ | 1.1€ |
| ESP32 | Buutti.com inventory | 1 | 3.5€ | 3.5€ |
| 5V SK6812 RGBW LED-strip | Ordered | 1-416LEDs depending on needs of the lighting. | 78.58€/1000pcs | 0,07858-32€ |
| 230Vac to 5VDC 5A PCB to PCB trasformer | Ordered | 1 | 20.53€ | 20.53€ |
| MOSFET P-CH | Fab inventory | 1 | 0.34 | 0.34€ |
| MOSFET N-CH | Fab inventory | 1 | 1.13 | 1.13€ |
| Inductor 100mH | Fab Inventory | 1 | 0.78 | 0.78€ |
| Capasitator 150uF | Fab inventory | 1 | 0.48 | 0.48€ |
| Capasitator 10PF | Fab inventory | 1 | 0.05 | 0.05€ |
| Capasitator 1PF | Fab inventory | 1 | 0.05€ | 0.05€ |
| Schottky diode | Fab inventory | 1 | 0.17 | 0.17€ |
| FTDI Header | Fab inventory | 1 | 0.5€ | 0.5€ |
| Pinheader | Fab inventory | 1 | 1,5€ | 1,5€ |
| PCB | Fab inventory | 1 | 1 | 1€ |
| Total | 31,2€ - 63.8€ |
Most of the cost comes from the 230Vac power supply and the LEDs. I ordered known good converter for this project. in the future if the ac power supply can be done straight into the PCB which will cut down the costs.
What parts and systems will be made?
I will make the PCB for the motherboard and it’s enclosure. And a demo lamp.
What processes will be used?
- 2D desing: Some laser etching image to the laser cut demo enclosure.
- 2D desing: Laser etch mask with improved kerf tolerances for the PCB rabid production.
- 3D printing for the enclosure.
- Laser cutting for the demo lamp.
- 3D printing for the holder of the LED strip.
- Electronics design, milling and soldering for the microcontroller.
- Molding and casting for the AC voltage side podding. With thermal control additive.
What questions need to be answered?
Does anyone know enough C?
Does the Attiny44Buckregulator give out enough stable voltage to reliably drive ESP32?
Is oomoo safe enough for electronics podding?
How will it be evaluated?
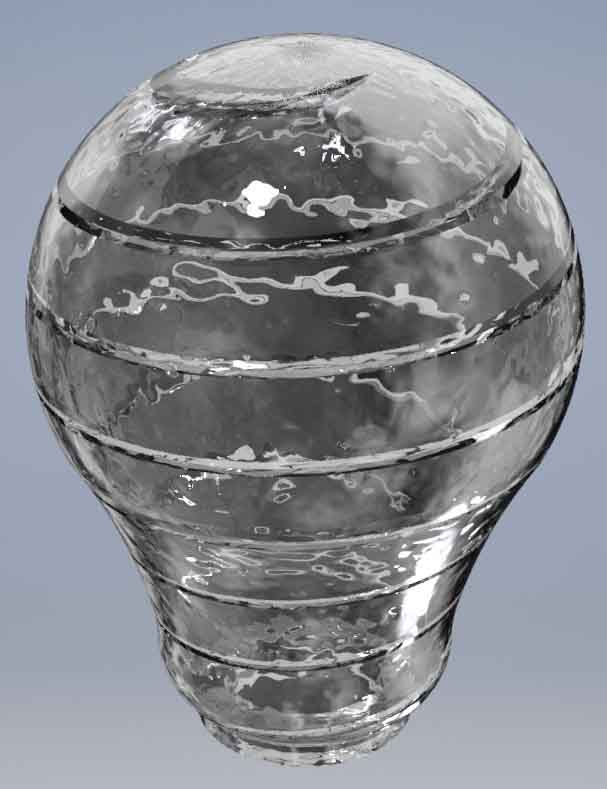
Minimum requirements for project success is to complete the motherboard and make it communicate with the server. The motherboard consists of AttinyBuck and the ESP32. The standard Edison light bulb is so popular because anyone can put the bulb into any form of type of lampshade Somehow this convenience has been lost in the realm of LEDs. The LED(usually in the form of a strip) dictates the shape and the outer form of the lamp. The idea in my project is to make easy platform into which any length or number of LED’s can be added and the final form of the lamp can be anything varying from single LED nighlight to an actual stadium light. Every use case dictates the final form independent of the internal electronics controlling board.
I designed my project to be an easy entry project in ESP32 and in power management systems project for koodikärpät(koodikärpät.com , Iltalehti , Oulun ylioppilas lehti , Facebook page ,Oulu Lehti ,instagram , a technology summer job for teenagers from 15 to 17 years old. Last year we had 290 summer jobbers. The teenagers made everything from flabby bird like-game in mobile phone, a VT zombie shooter game with 3D modeled and printed gun with working trigger, mag release, mag reload and working slide to Vive VR glove with positional and finger placement trakking . As good as Arduino is for learning coding microprocessors it is severy lacking multiple key features which limit heavily its usability in wilder projects. The real deal killer for today’s teenagers is the absence of easy WiFi. Everything needs to be easy, cheap and internet based. Otherwise, it is seen as “unnecessary, useless and pointless.” and not something that is worthy of anyone’s time. I hope that smartphone controlled connected animated lights would be more invigorating and not so pointless. The general idea is to be somewhat inspiring, hugely modular, cool looking, and easy to custom to your own likings. All parts are bog-standard and just bogged together. As this will be free and for everybody to use. And I will probably teach to 80 teenagers how to build and code their own version in next 2 to 3 months.
From the smartphone/tablet the light is controlled. Installing more light should enable those lights automatically. Seeing the light.
What are the implications?
- 3D modeling: lampshade
- 2D modeling: lampshade
- Additive and subtractive fabrication processes: 3D printing lamp shade, laser cutting the lamp shade.
- Molding and casting: Electronics podding.
- Electronics design and production: Microcontroller board.
- Microcontroller interfacing and programming: wireless interface. and voltage control and adjust.
- Microcontroller integration and packaging.