Assembling
On the previous page, I show how to produce all the mechanical parts. Now, it’s time to assemble all the parts.
Assembling the main ring
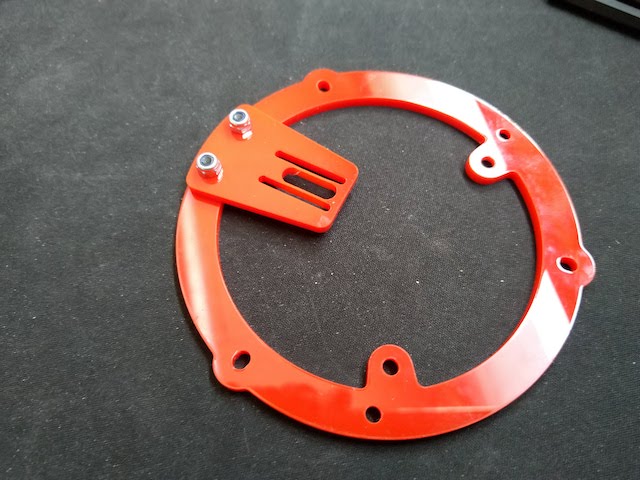
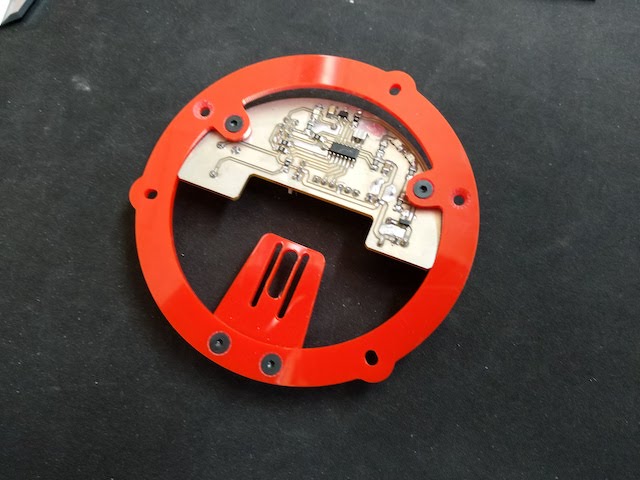
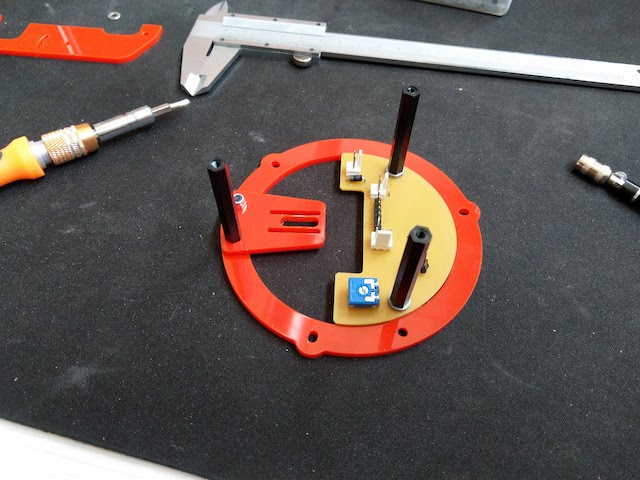
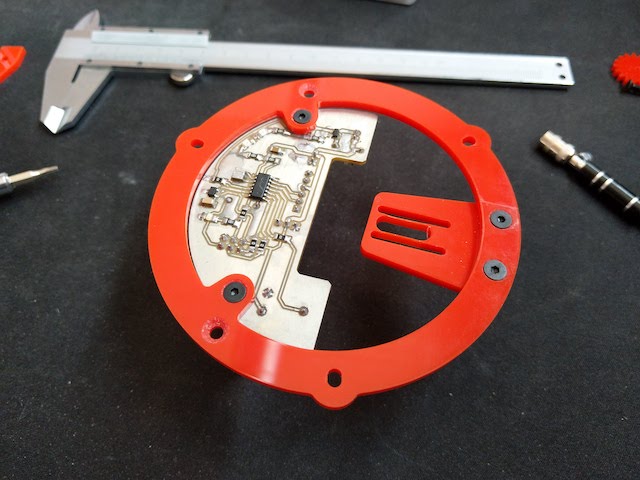
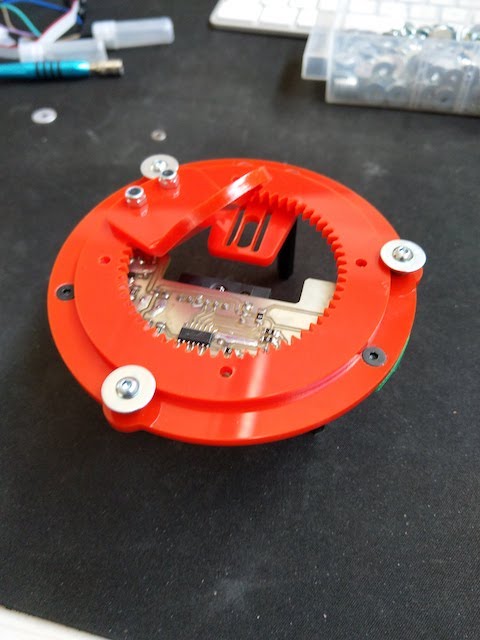
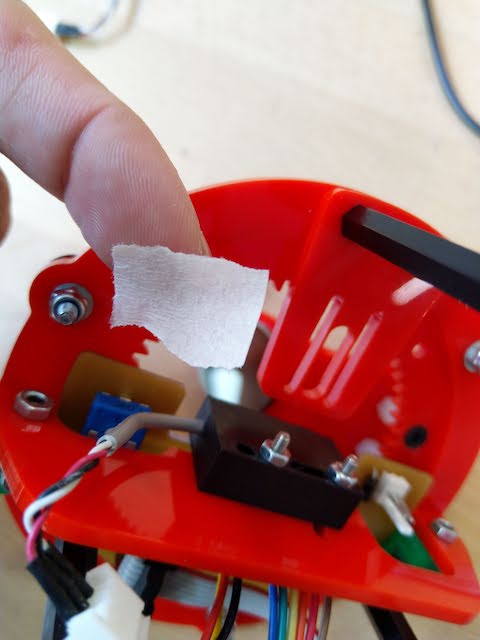
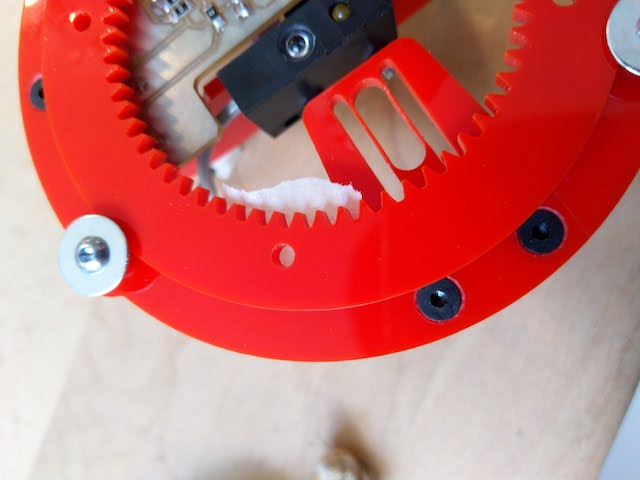
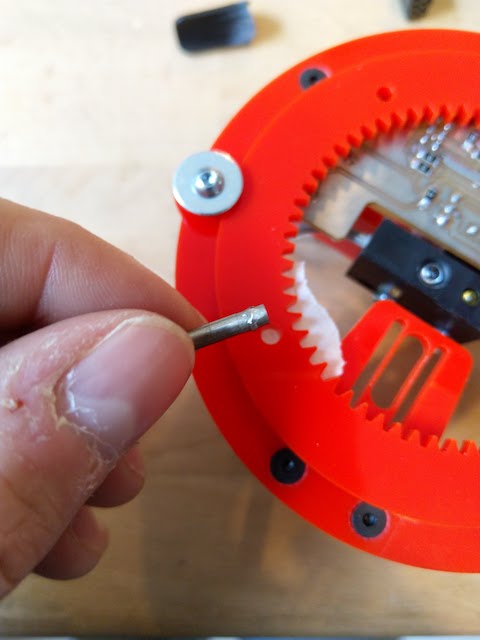
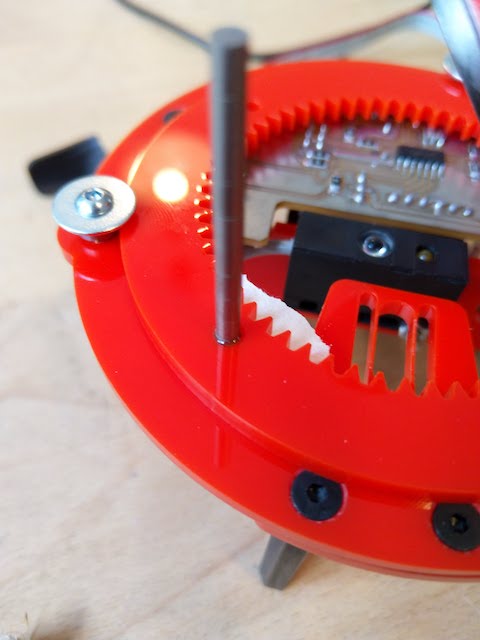
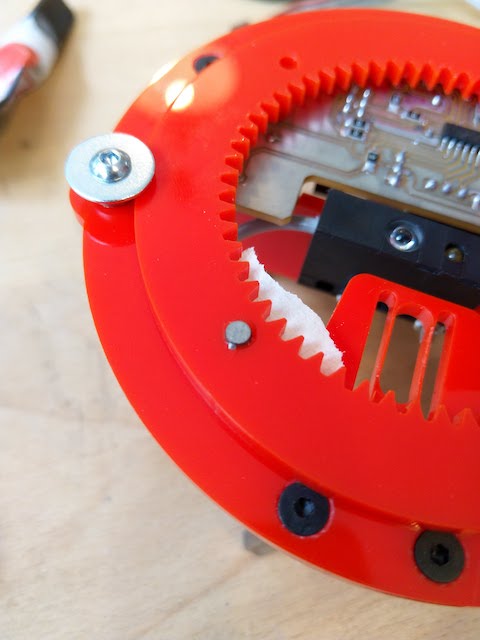
First you have to assemble the main ring which is the support for all the system.
| First fix the motor support | Then fix the PCB | Add the spacers | the main ring is assembled |
|---|---|---|---|
 |
 |
 |
 |
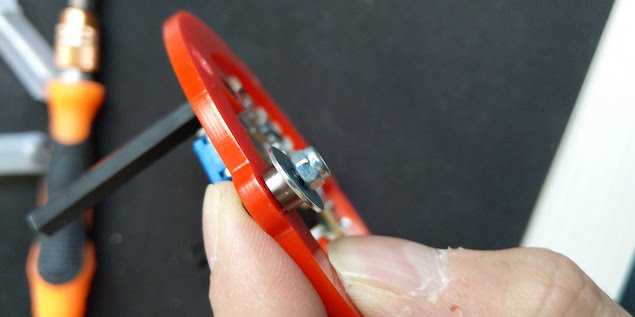
Last thing you will add the bearing but just on two of the three hole available. The last one will be fix main the rotating ring will be put in places.
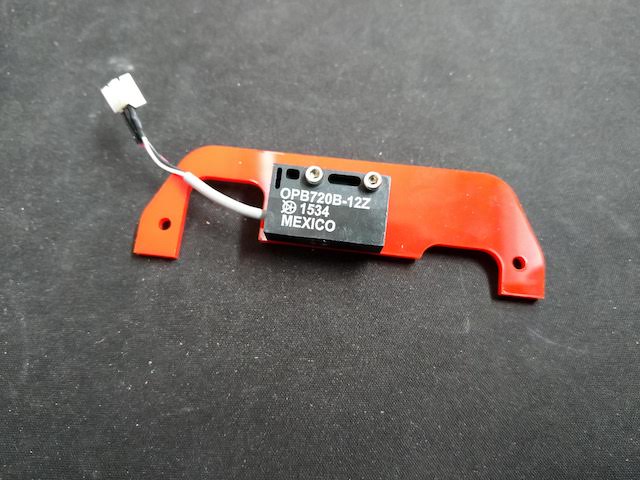
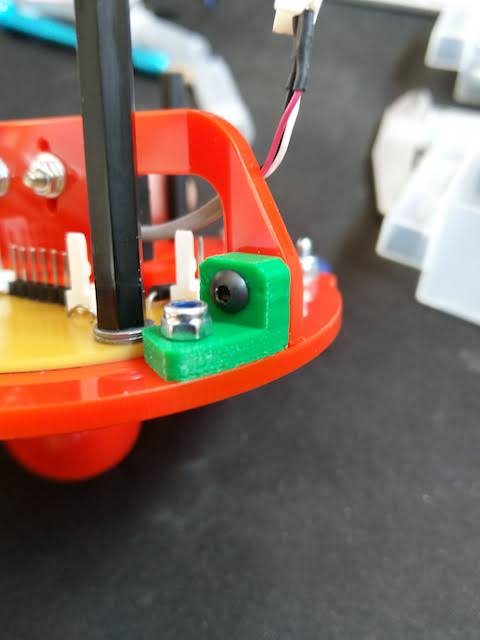
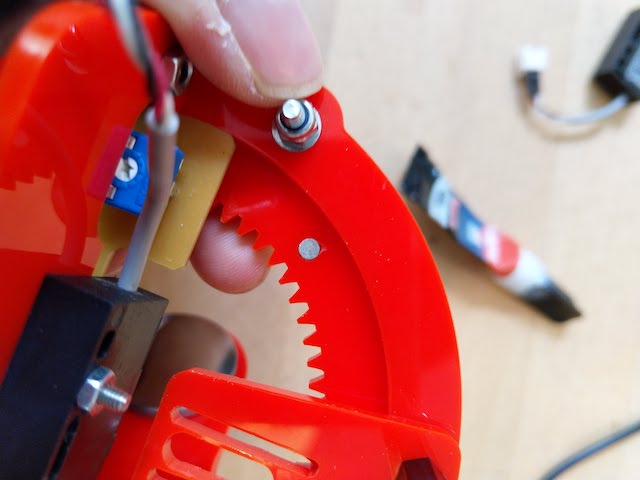
Assembling the sensor an its support
Next, we need to assemble the sensor on the support and fix this assembly on the main ring.
| Fix the sensor with M2.5 screw | Another view |
|---|---|
 |
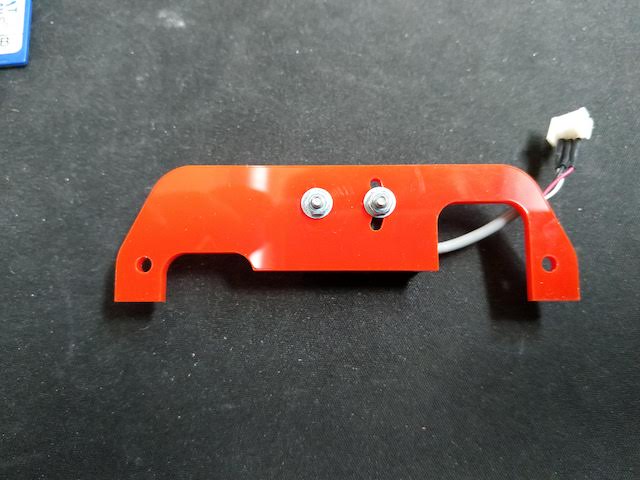 |
| Fix the 3d printed support on the main ring | Use countersunk head screw | fix the sensor support |
|---|---|---|
 |
 |
 |
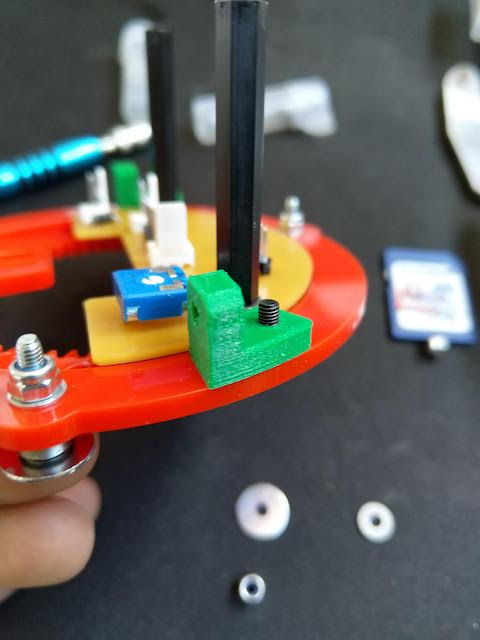
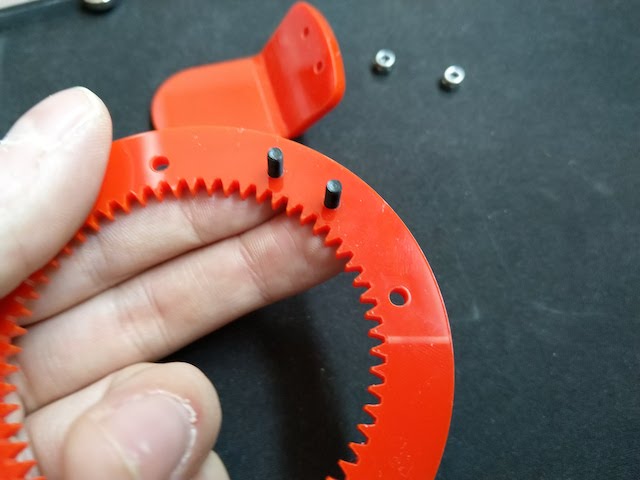
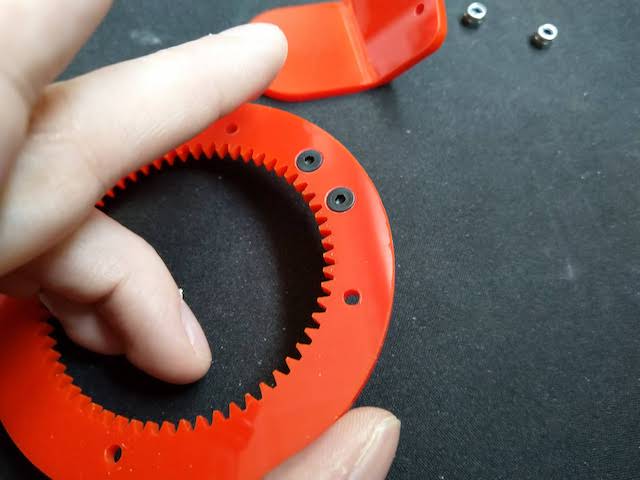
Assembling the rotating ring
| All the parts you need | Insert the screws | Another view | Fix the folded part for the mirror |
|---|---|---|---|
 |
 |
 |
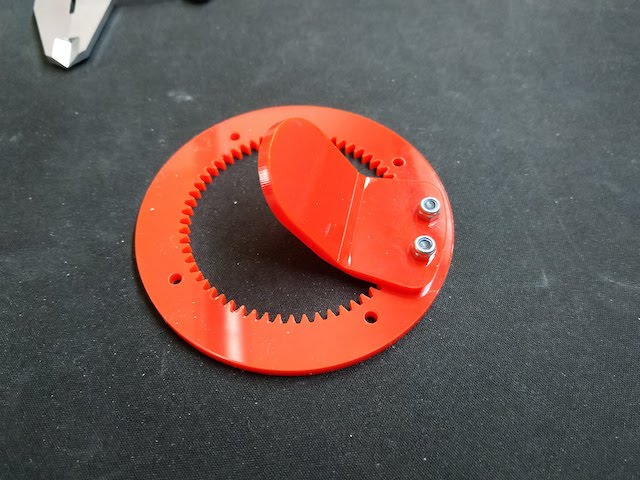 |
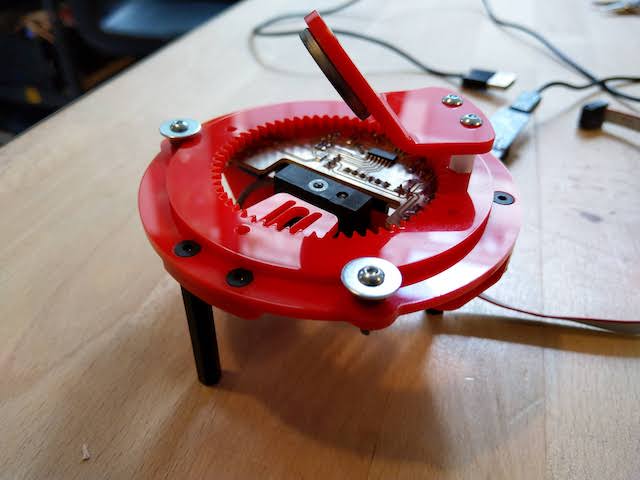
The main ring and the rotating ring assembled :
But after the first try, I discover that the distance of the mirror need to be a little more important. So I added to the design 10mm spacers.
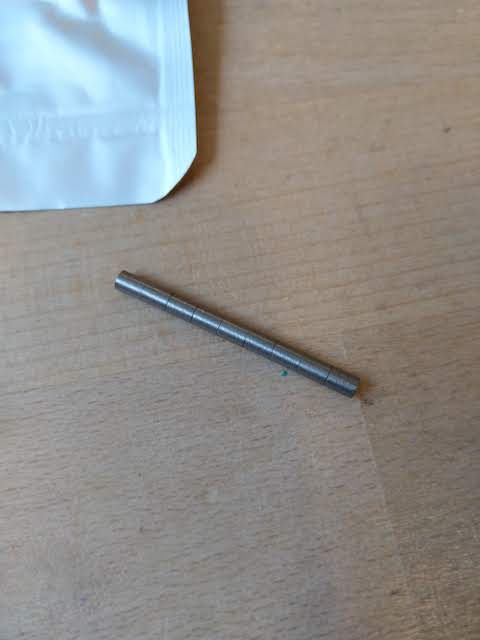
Assembling the magnet
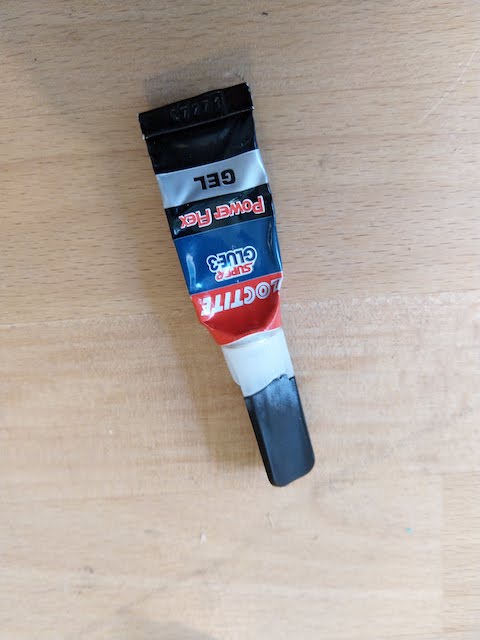
The magnet will be glue on the rotating ring. To do that, follow the steps :
| The magnets | The glue | A piece of tape |
|---|---|---|
 |
 |
 |
| Put the tape below the hole | Put some glue on the magnet | Place the magnet into the hole using all the other magnet in place | Remove all the other magnets |
|---|---|---|---|
 |
 |
 |
 |
And that’s good ! Like this the magnet is correctly placed into the ring :
Conclusion
All is done for the assembly part. The project can work like this. The shell can be added, but for the tests I will let the project open.
-