3D Design
To design my box, I used the software Fusion 360 to design all the different parts, assembled them and create the plan for the Shopbot.
1 - Designing the parts
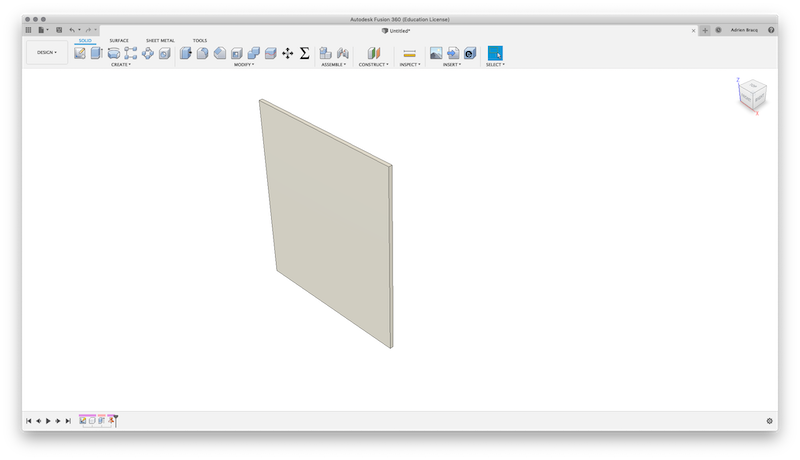
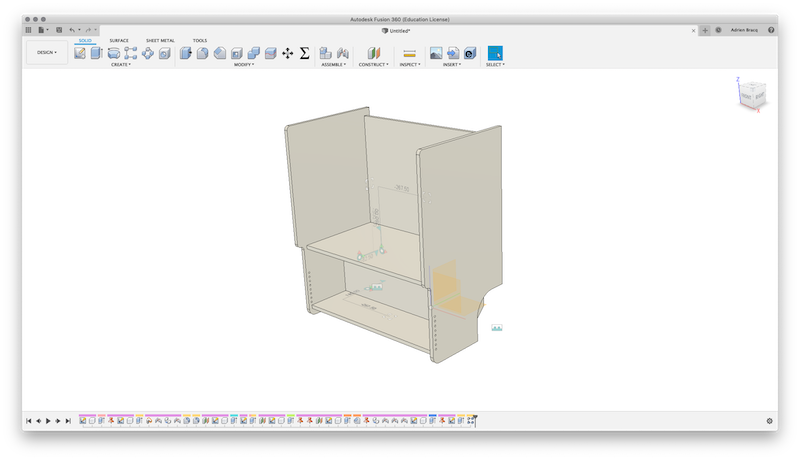
First, I have designed all the part without the tabs. All the different parts has been put into separated components and the identical parts has been duplicated.
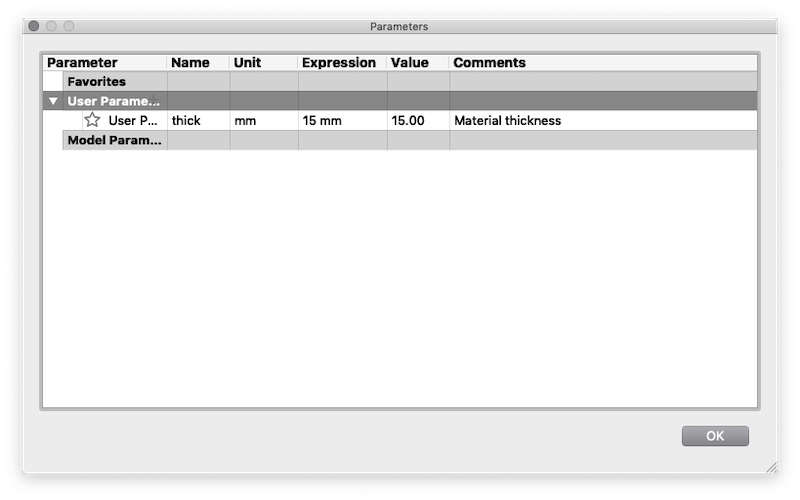
I also created a parameter for the thickness of the material. I choose to use first a 15mm plywood, but as I would like to be able to change the thickness at the end of the design, I would like to let it be parametrical.
| Parameter | Begin to design all my parts as a simple sheet | All the parts without the tabs |
|---|---|---|
 |
 |
 |
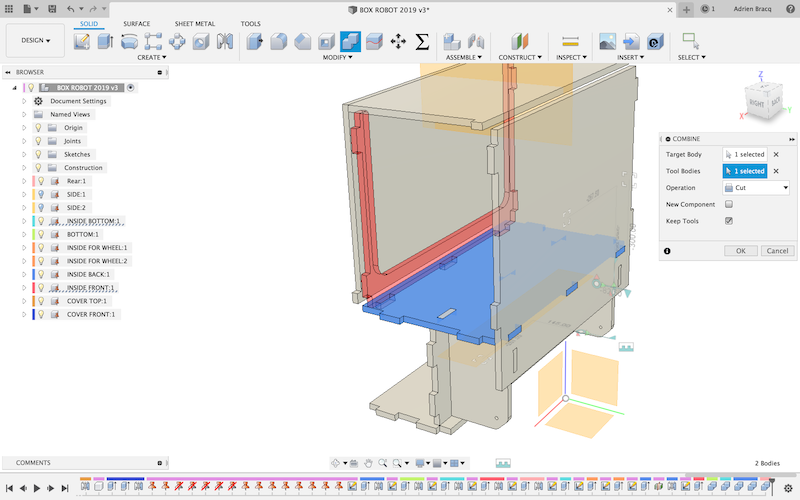
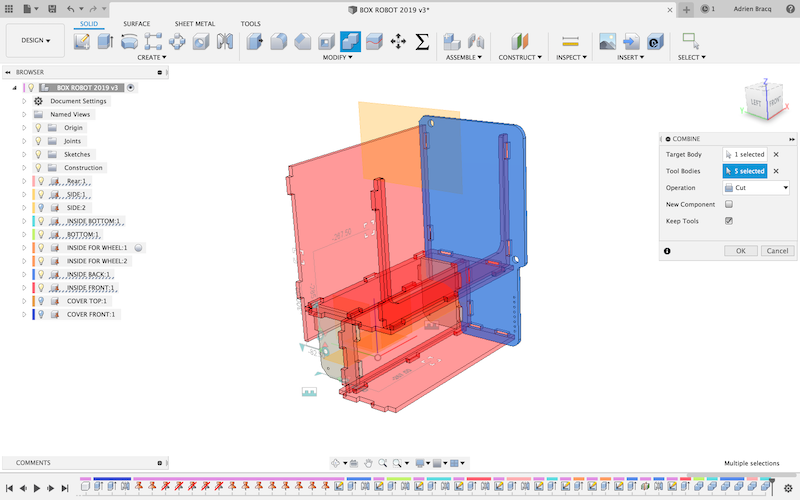
After that, I have created all the different tabs but only the “male parts”. When that has been done, I have use the combine function to create the different “holes” / “female tabs” by cuting the parts with each other.
This technic I very useful because It allow us to quickly and easily create all the holes on the parts and avoid dimensions problems.
| The combine function | You can cut a part using multiple tool bodies | The result |
|---|---|---|
 |
 |
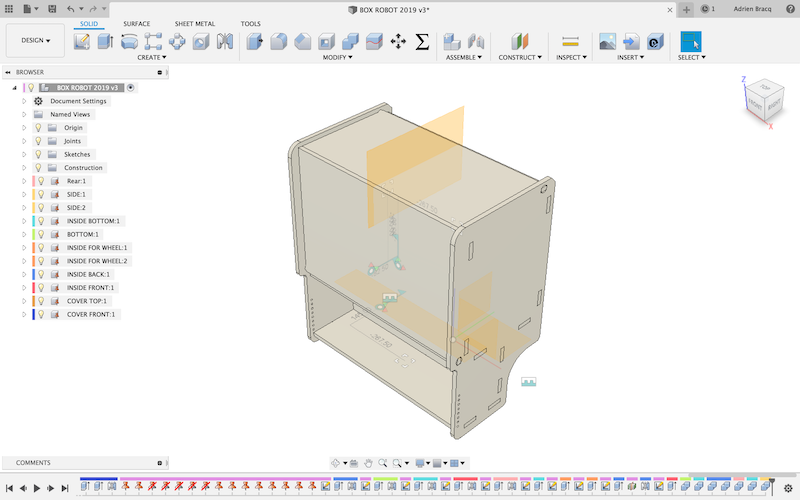 |
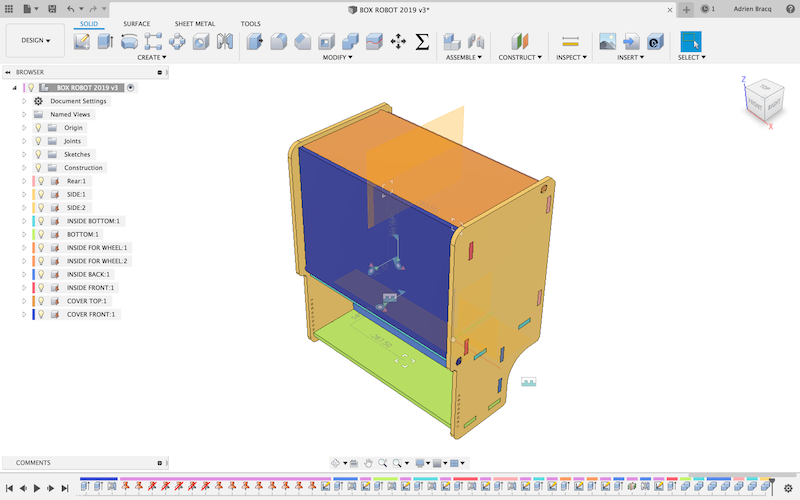
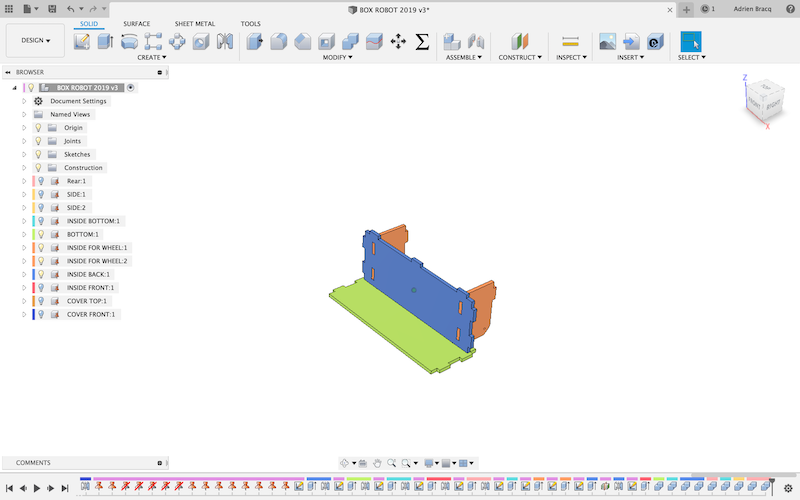
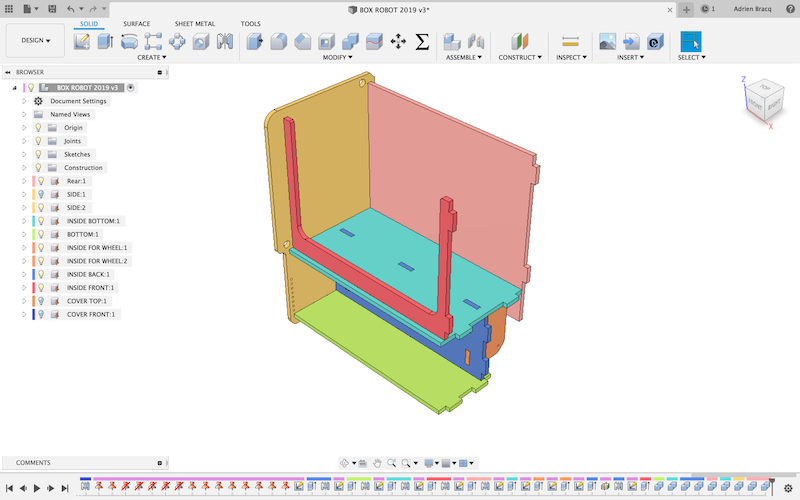
After that, I have verified that all the parts can assembled and if the assembly steps are consistent. To do that, I turn on the color cycle tool on fusion 360. this tools will apply a random color to each parts so you cant easily visualized them. to verify the assembly steps, I just turn ON/OFF the view of the parts and verify the assembly.
| Color cycling tool | Verifying all the parts | Verifying the assembly steps |
|---|---|---|
 |
 |
 |
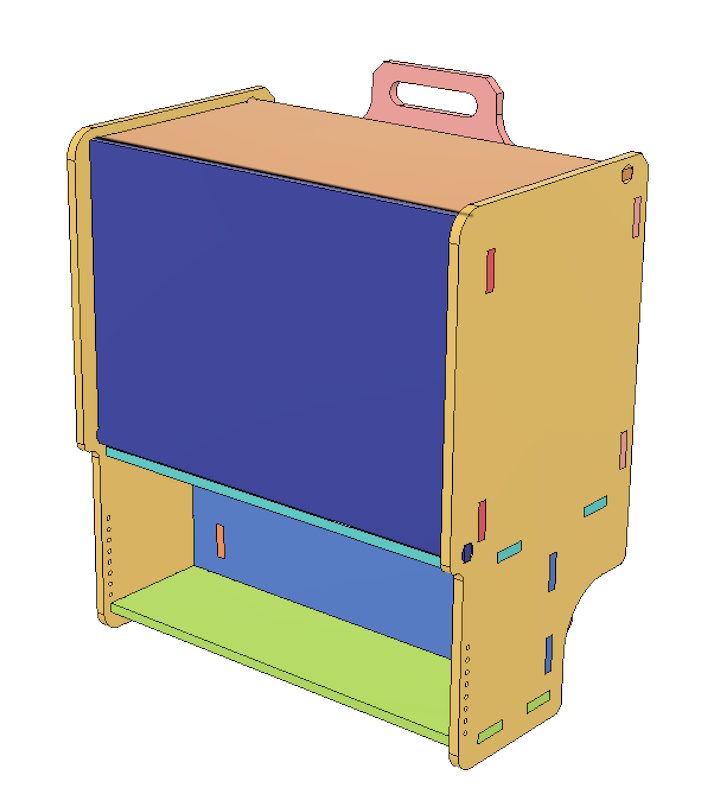
You can see the 3D design below, and download it if you want :
2 - Create the plan
As I have the design of all the parts of my box, I need to create the plans so I can send the files to production. To do that into fusion, I created a drawing file of my 3D design, and put all the views of my parts separately into the drawing.
Warning
Always verify that the scale ratio is set to 1:1. If not, the drawing of your parts will not have the right scale.
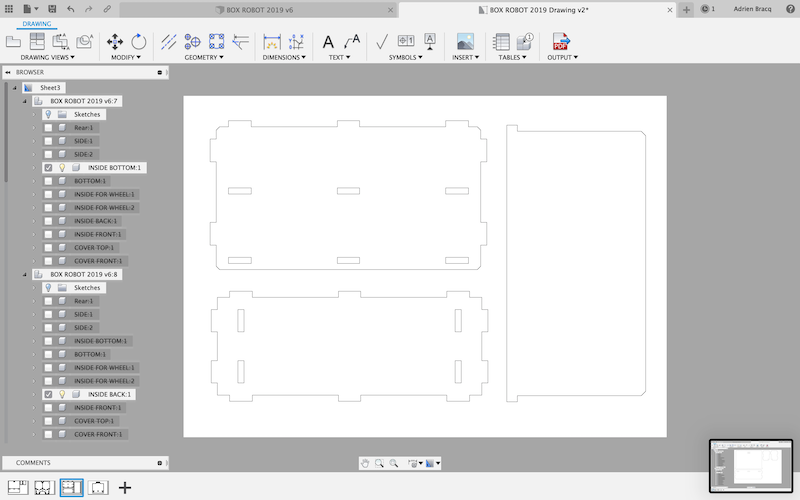
After that, you just have to create the PDF of the plan. This method is very powerful, because you can update all the plan if you make a modification on the 3D design file by just clicking the update button when fusion detect that the parts has been modified.
You can find and download the plans of my part here.
3 - Create the DXF files
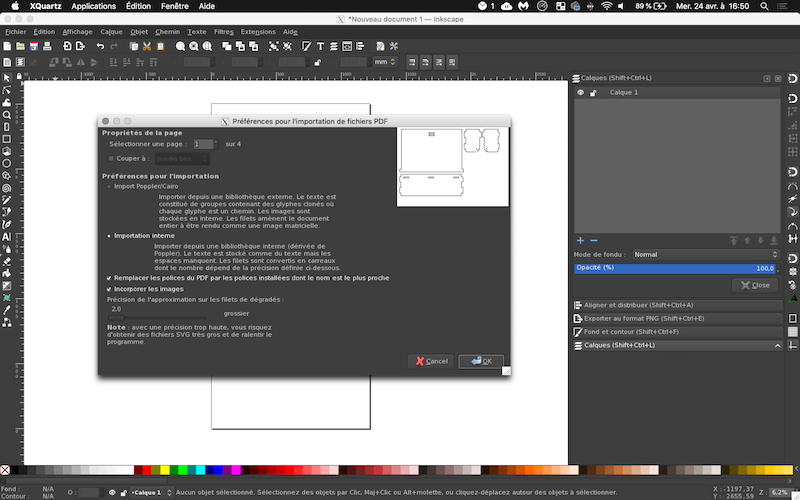
After creating my pdf plans, I need to transform them into dxf files for the Vectric software. To do that, I use Inkscape by importing all the pdf pages into a new file and manage all the parts so they all fits into the cutting area.
| Import all the pages | Manage the space |
|---|---|
 |
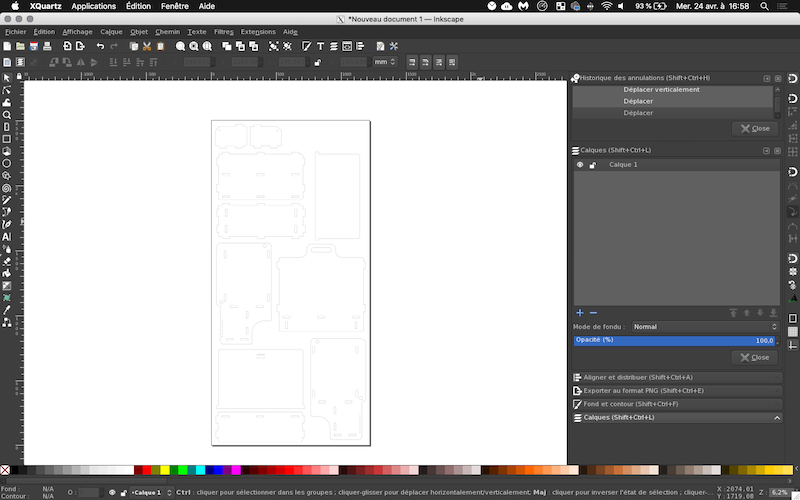 |
After that, I’ve just exported my dxf file. You can find it here..
So now, you can jump to the next part of my documentation: the production.