Production
To make my project, I use the shopbot of the lab in combination with VCarve Pro software.
1 - Make the machine files
To make the file for the shopbot, I use VCarve Pro software. First I imported all the dxf file that I did previously. I also create the dogbone on my design using the dedicated tool of the Software.
| the file imported into VCarve Pro | The dogbone tool |
|---|---|
 |
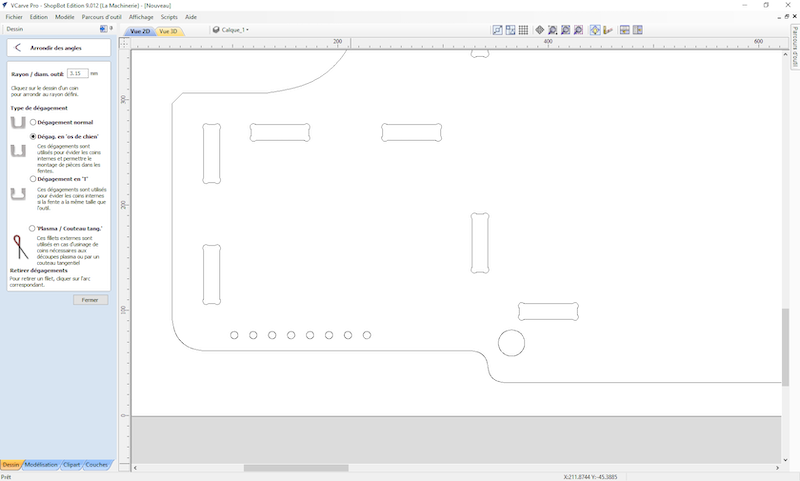 |
After that, I just need to select all the parts and select the tool I would like to use. Here, I choose a upcut tool of 6mm diameter. the softaware will generate all the paths for the machine. I will just add some tabs ta maintain the parts during the production.
| Creating the tabs | The siumulation of the cut |
|---|---|
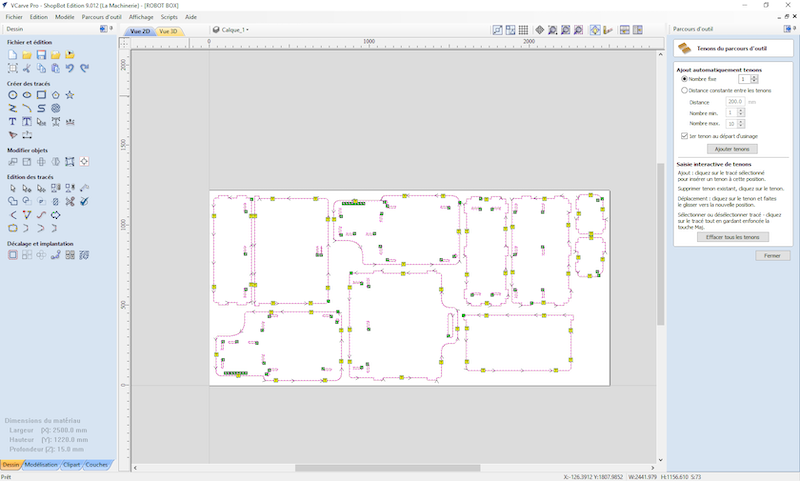 |
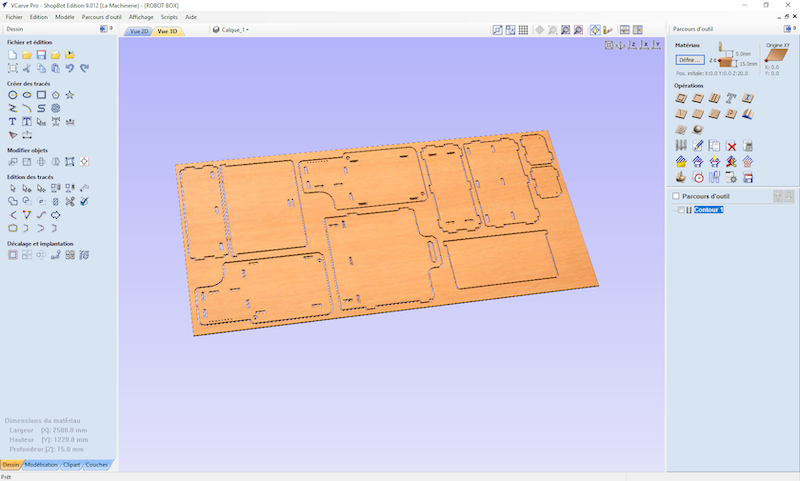 |
You can download the machine file here for the shopbot.
2 - Milling the project
To mill my project, I use the shopbot. After putting the tool and the material into the machine, I’ve made the zero for the Z axis using the dedicated tool. I have also verified that my design fits into the machine before launching the milling.
| The shopbot | Putting the material | Zero the Z axis |
|---|---|---|
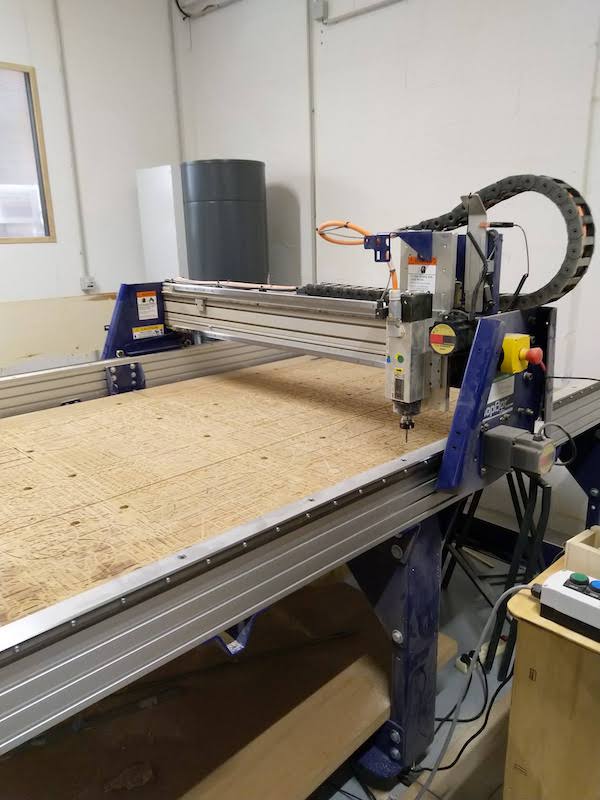 |
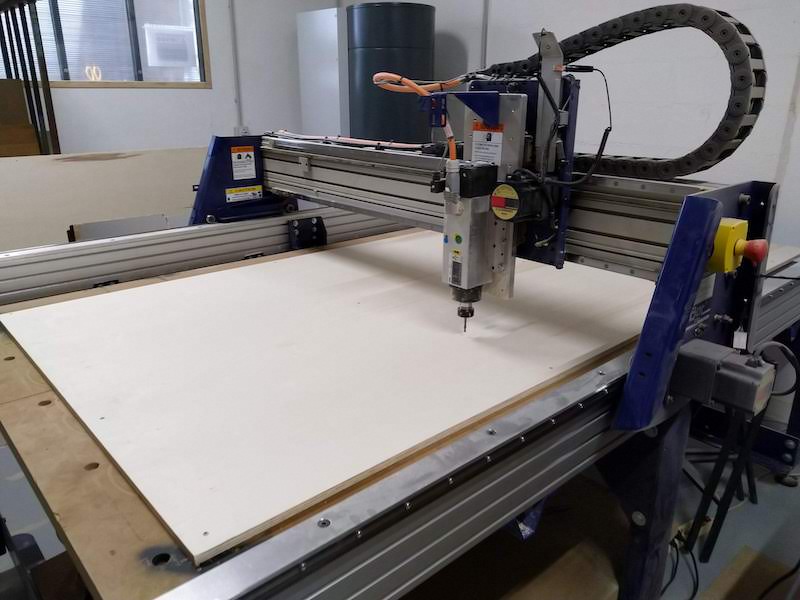 |
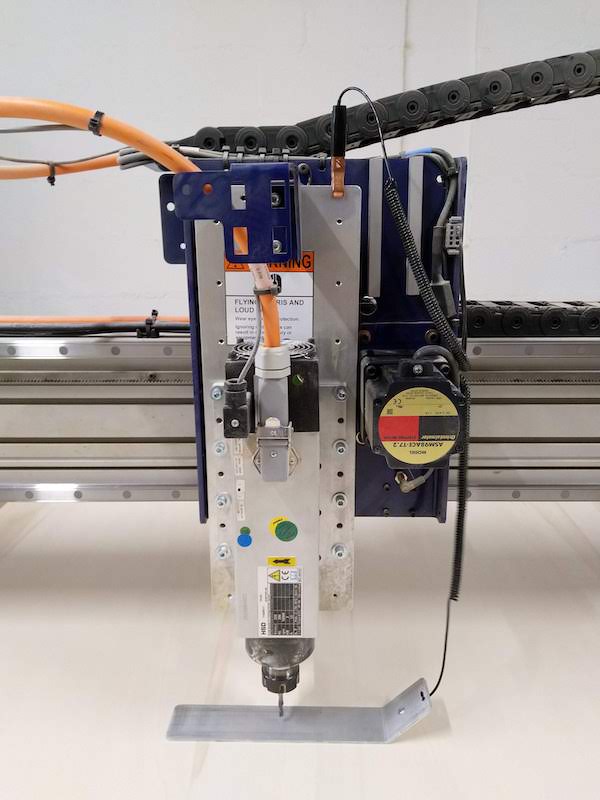 |
| Beginning | One part finish | Nearly done |
|---|---|---|
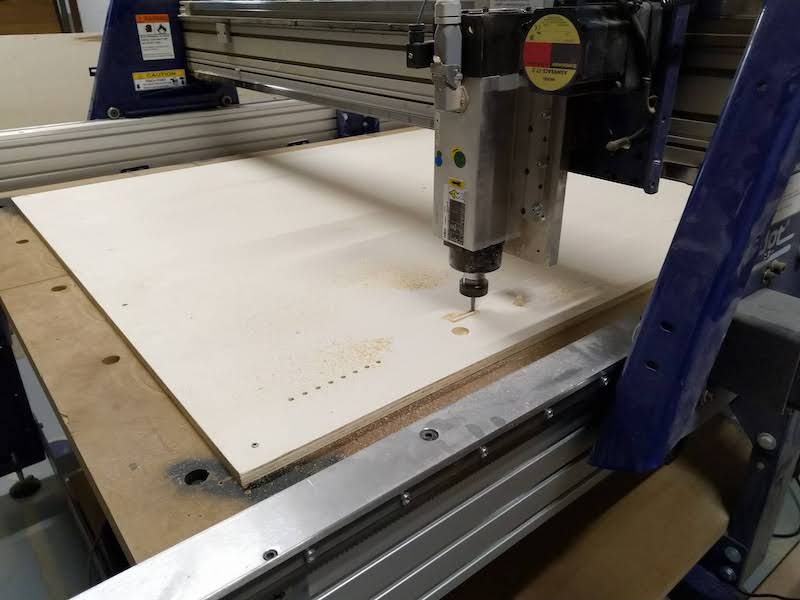 |
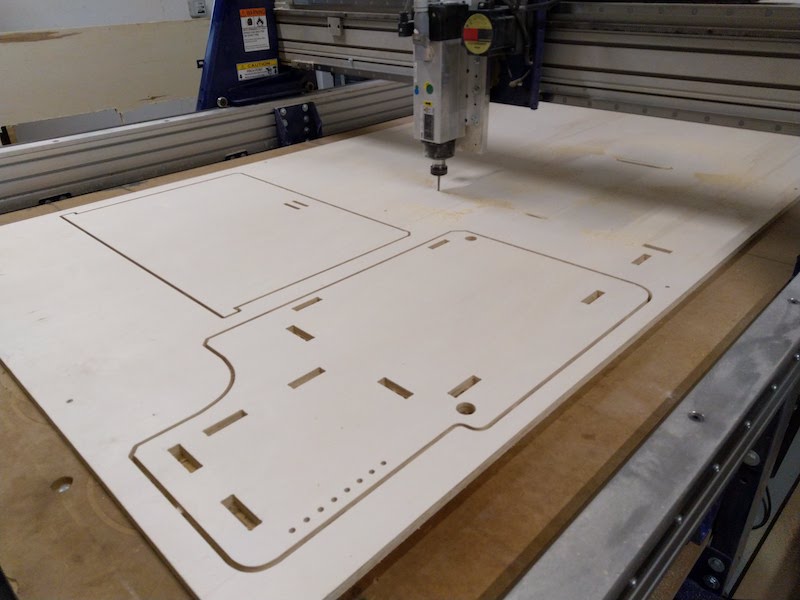 |
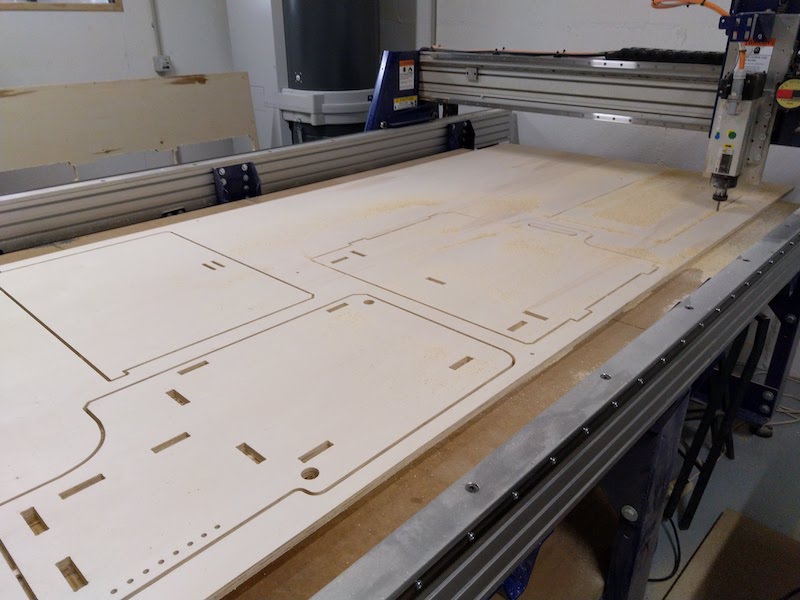 |
So now, you can jump to the next part of my documentation: the assembly.