Assembly
Now it’s time to assemble the project.
1 - Assemble the milled parts
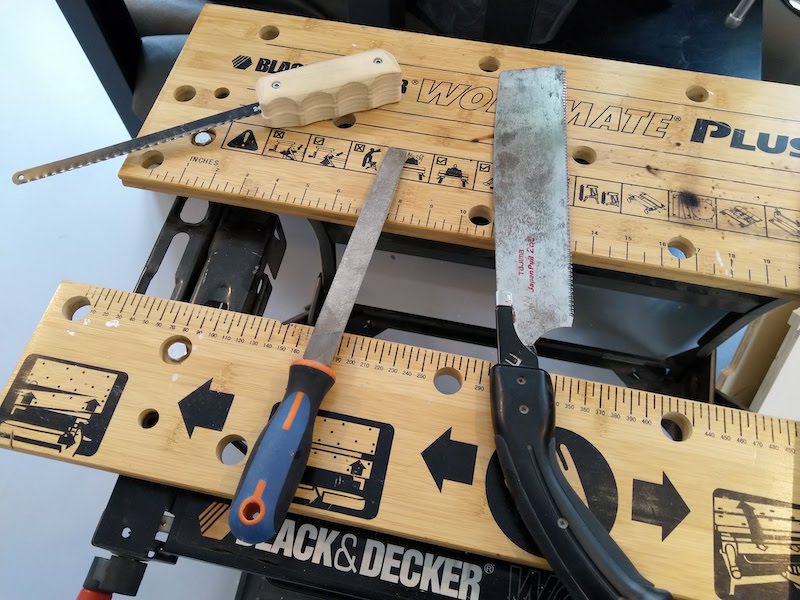
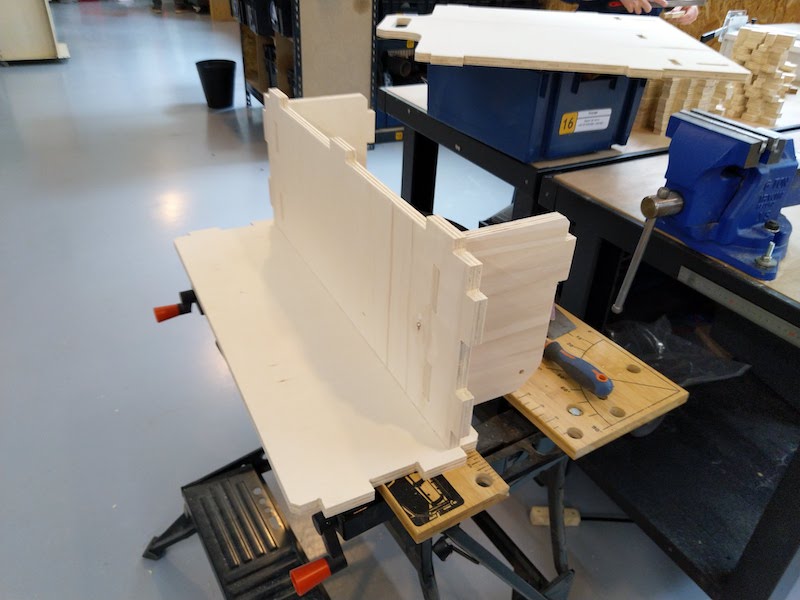
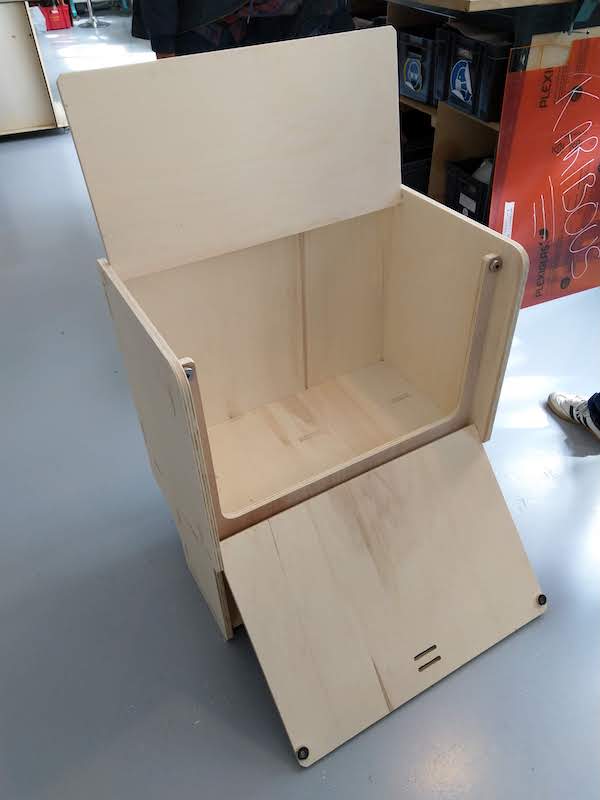
First I detached and sanded my parts, and after that I try to quickly assemble them to make sure all the parts fits correctly together.
| Tools I use to detached the parts and file them | Assembly test | Test done. The assembly seems to work correctly |
|---|---|---|
 |
 |
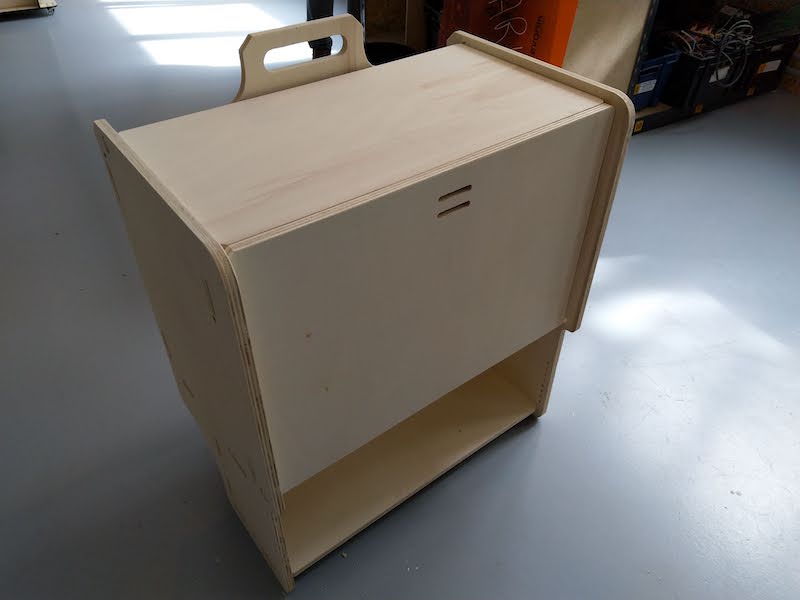 |
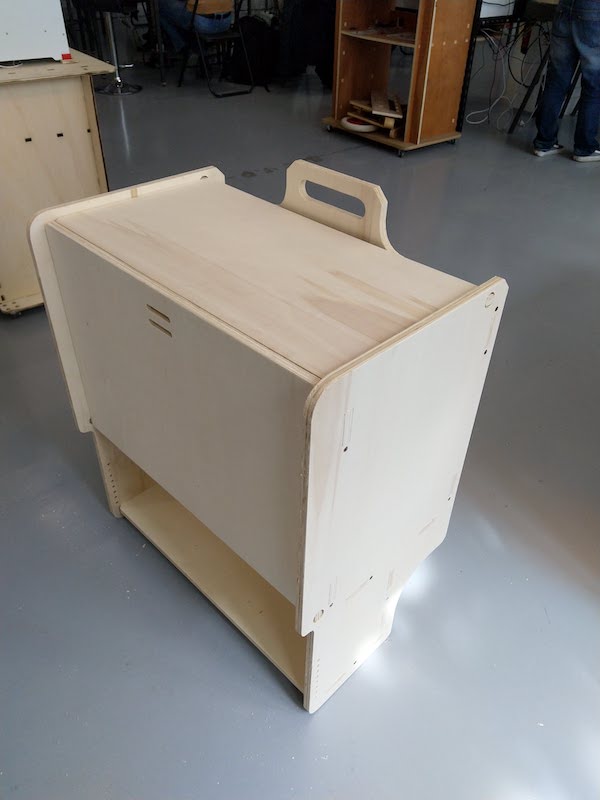
As the assembly was correct, I screwed the parts together :
2 - Assemble the rest of the parts :
2.1 - The magnet
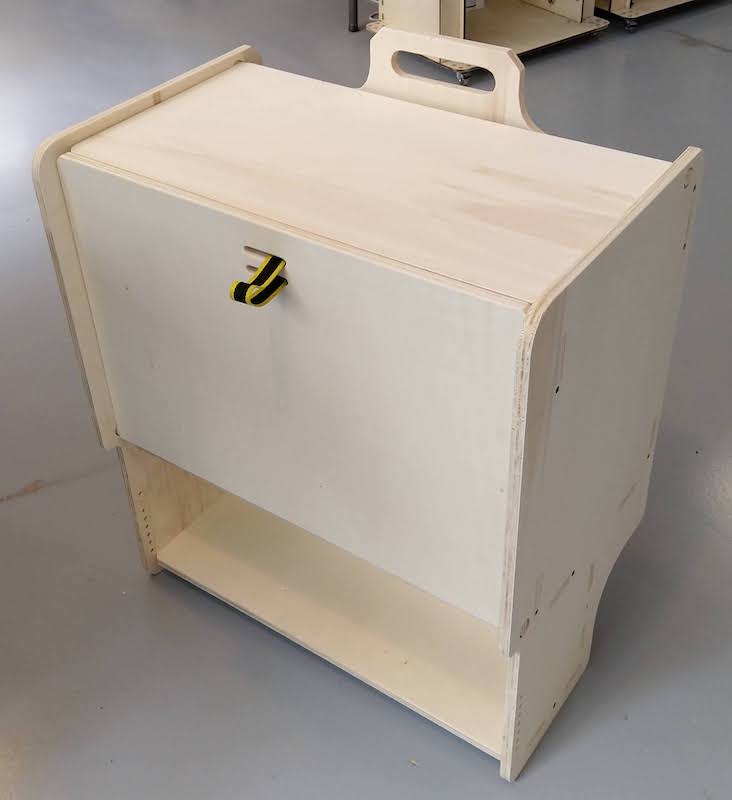
To maintain the front door, I decided to use some magnet that I screw on the box.
| The front door opened | The magnet on the box | View when the front door is closed |
|---|---|---|
 |
 |
 |
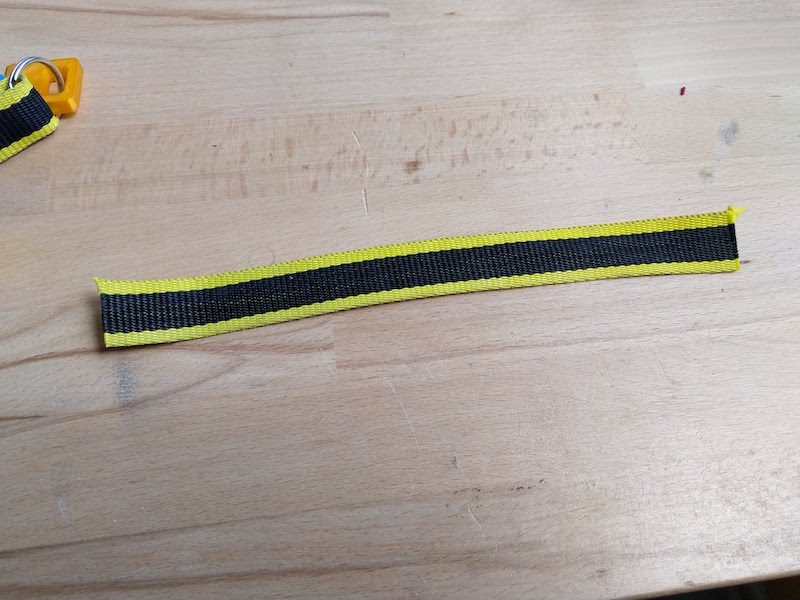
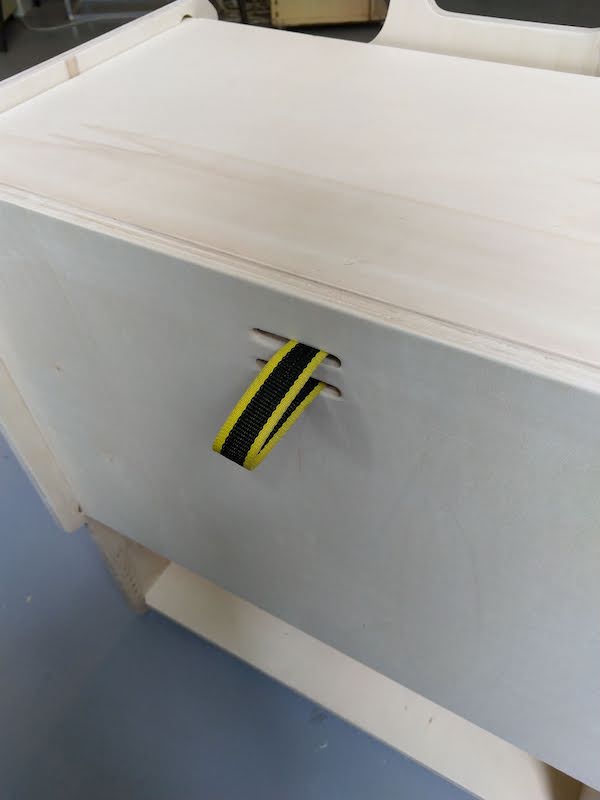
2.2 - The straps
The straps were made to be able to open the front door.
| The straps | The straps on the door |
|---|---|
 |
 |
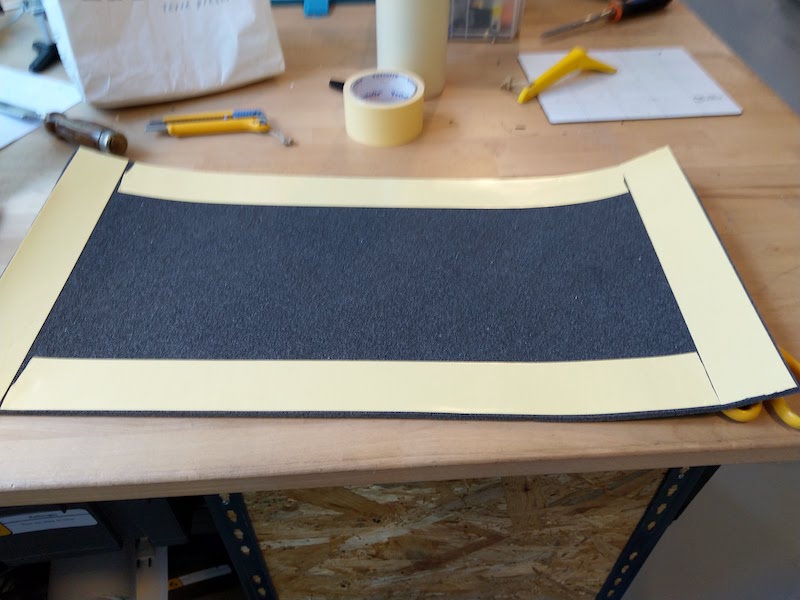
2.3 - The foam
The foam will maintain the robots inside the box. For the bottom of the box, I use rigid foam that I will cut to the robots dimensions when they will be finshed. The foam has been pasted with double-sided tape.
| The rigid foam for the bottom | the double-sided tape on the foam | The foam glue to the bottom of the box |
|---|---|---|
 |
 |
 |
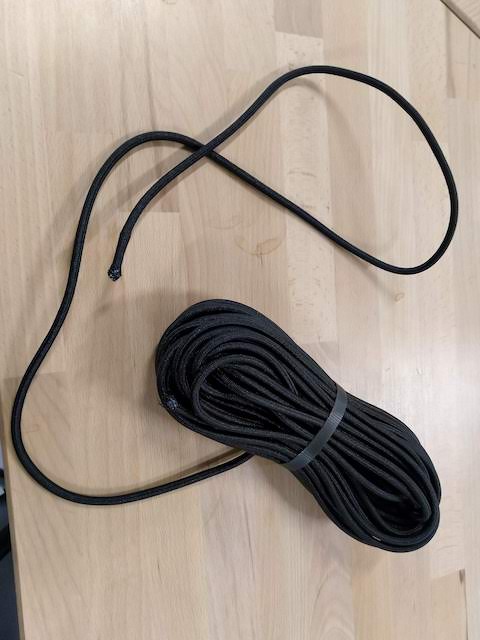
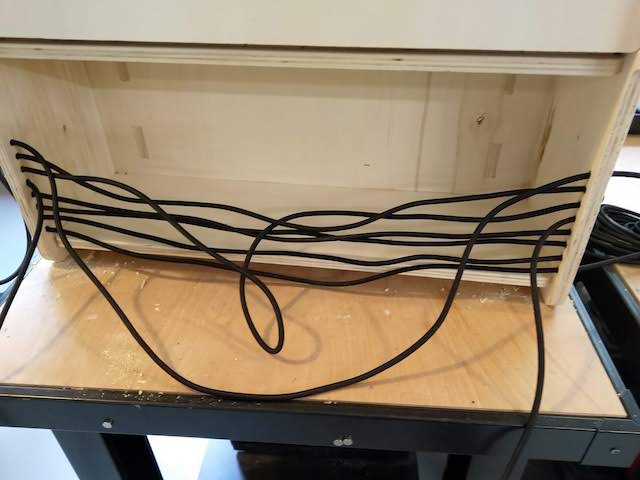
2.4 - The elastics
| The elastic | step 1 | step 2 | step 3 |
|---|---|---|---|
 |
 |
 |
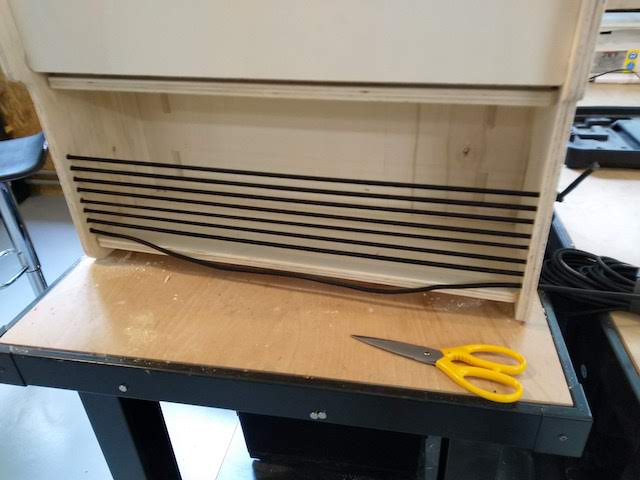 |
Results :

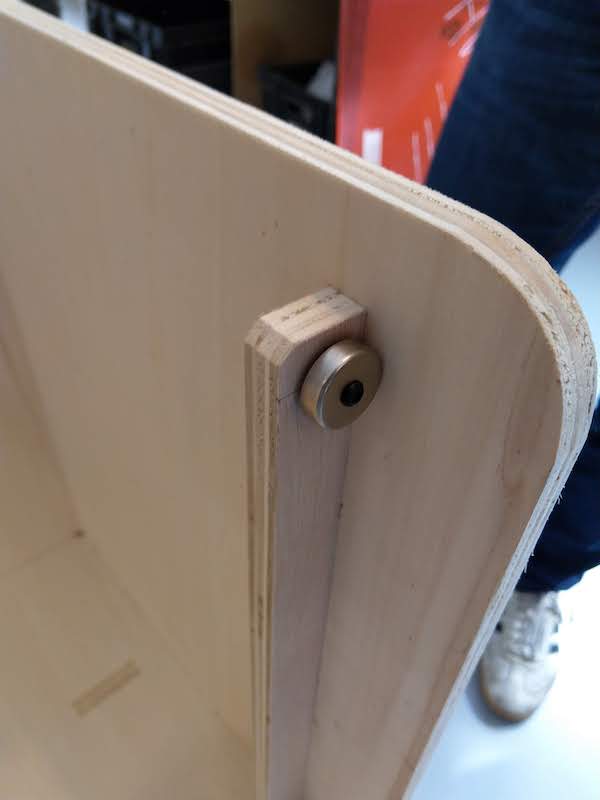
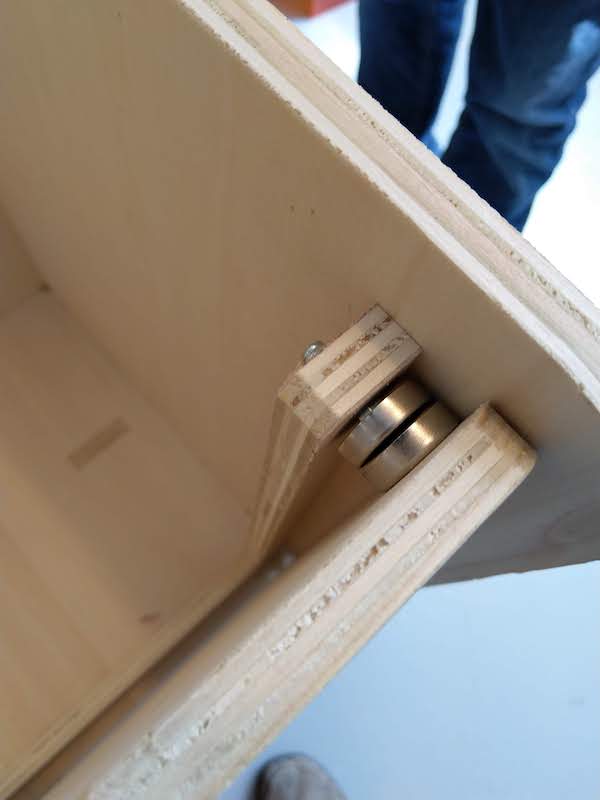
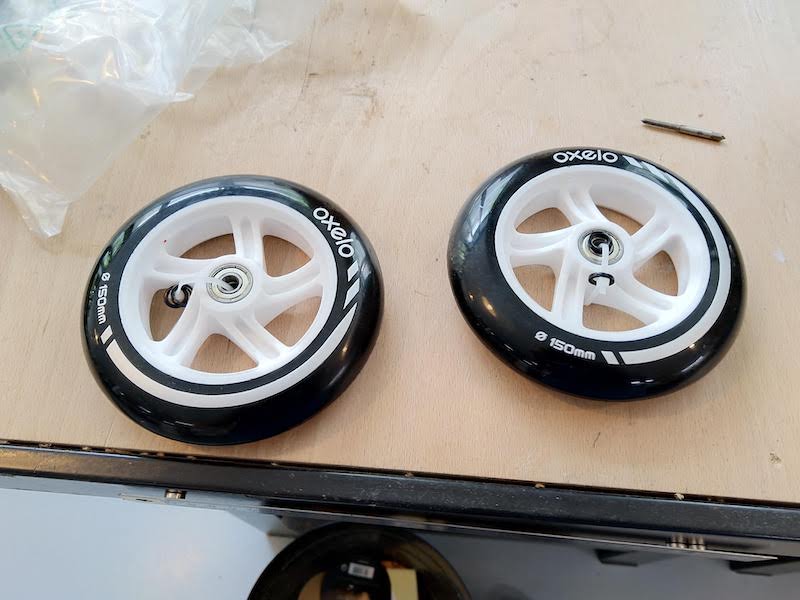
2.5 - The wheels
Wheels are some scooter wheels I find in my garage 
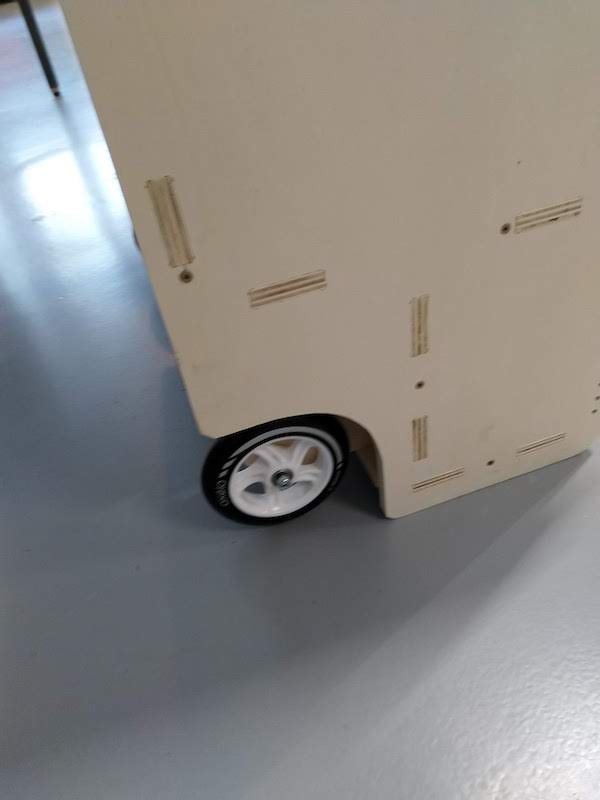
| The scooter wheels | View of the wheel on the box | The box with the wheel |
|---|---|---|
 |
 |
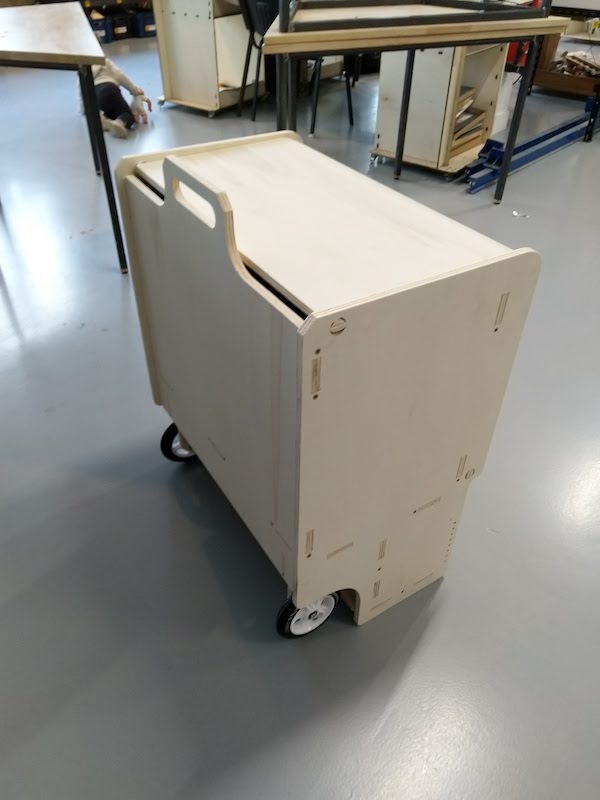 |
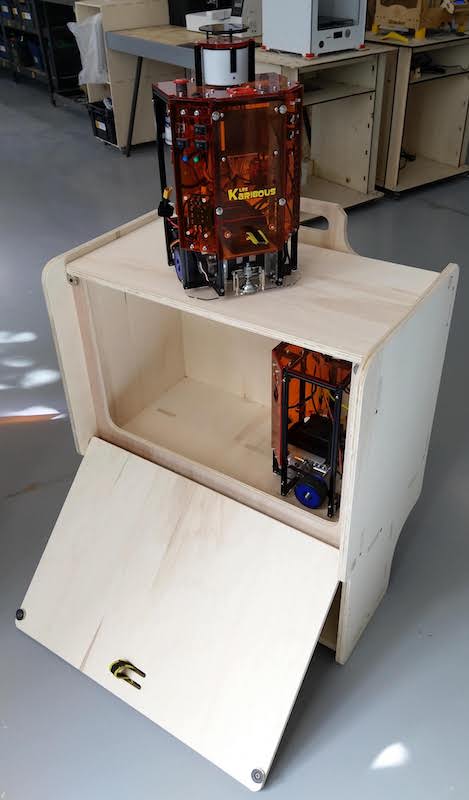
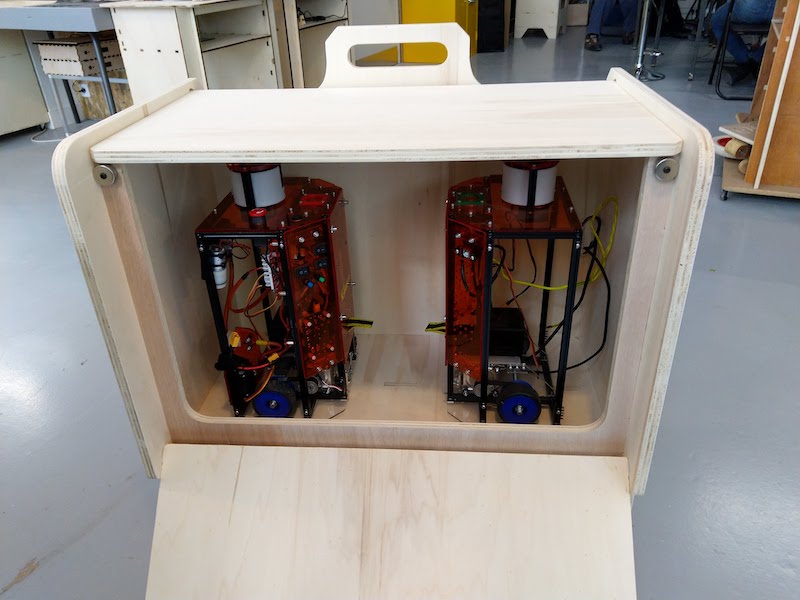
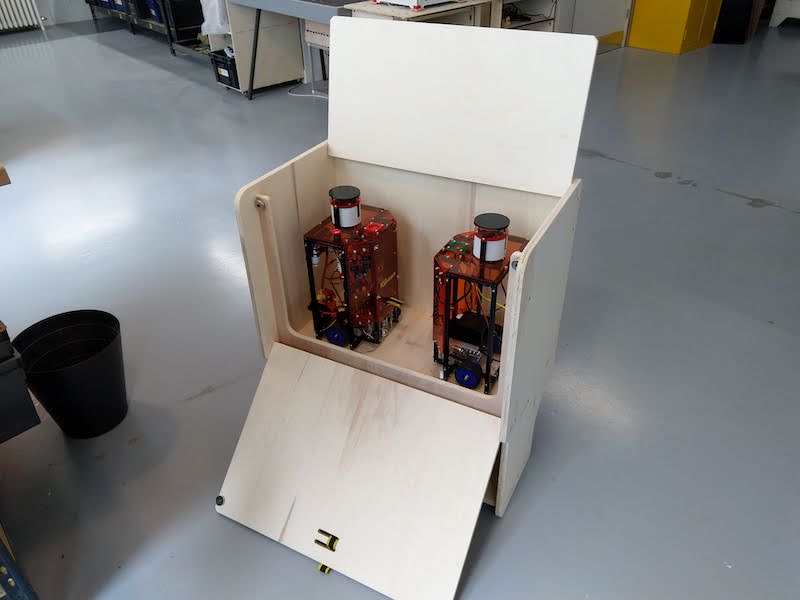
3 - Final result :
| Closed | Semi-opened | The robot inside | Completely opened |
|---|---|---|---|
 |
 |
 |
 |