
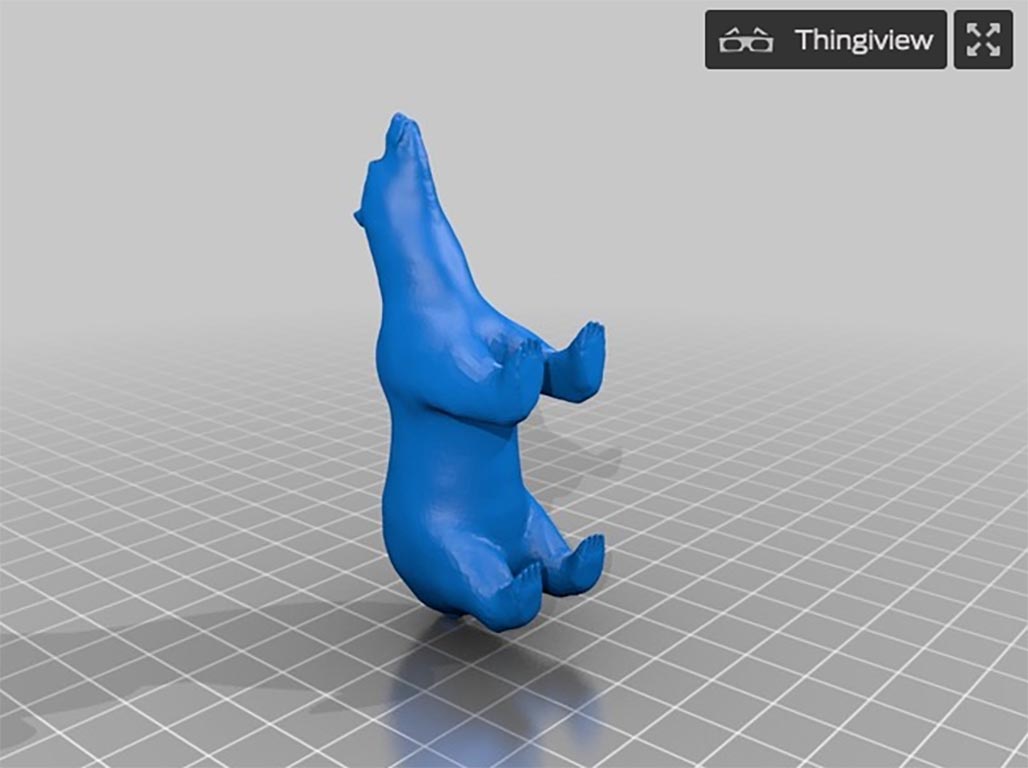
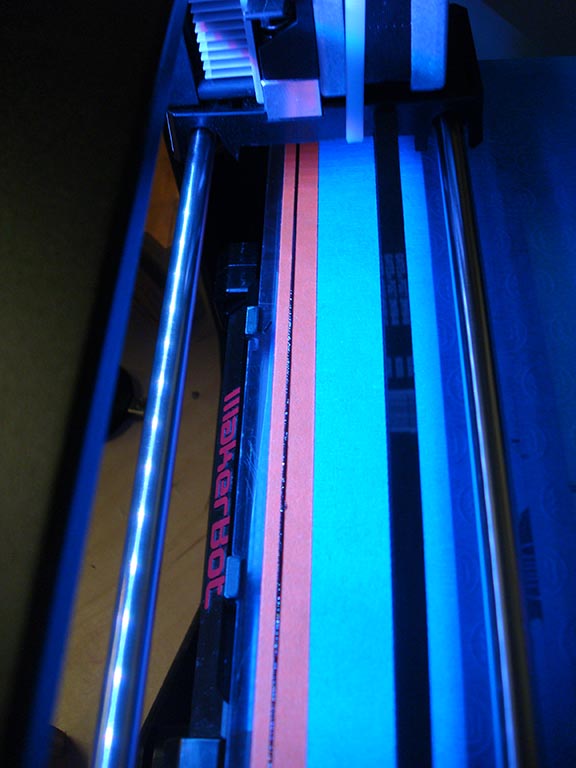
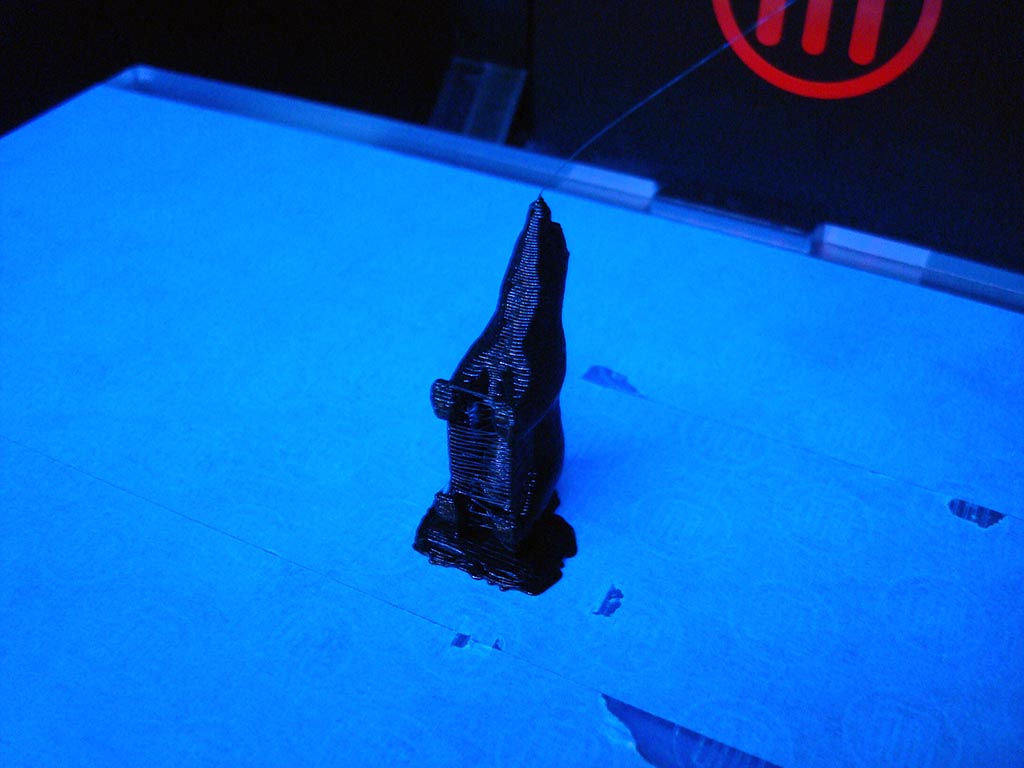
For this week's assignment, I experimented with a variety of scanning devices: a Sense device made by Cubify, 123D Scan App on my Ipad, and with a high-end Artec scanner courtesy of RISD. Since I have never 3D printed anything, the first mini-project I did was to download an existing .stl model from Thingyverse. I chose a polar bear which ironically was printed in black instead of white. So its a polar bear without fur ( fun fact - polar bear skin is black! ) This allowed me to move quickly into learning how to operate the MakerBot and go through the entire model, upload, print process. I started my print the a test strip and saw that material wasn't coming out from the extruder evenly; I followed the PLA to the back of the machine and found a twist in the spool. This jamb in the material spool provided an additional learning opportunity where I learned how to unload/load new material and feed it into the extruder.I chose to print the polar bear at a low-resolution just to save some time. We have a big group in Providence and there were many people were trying to use the printer after me.
Polar Bear Model from Thingyverse
Poor quality test strip - what the heck is going on here?
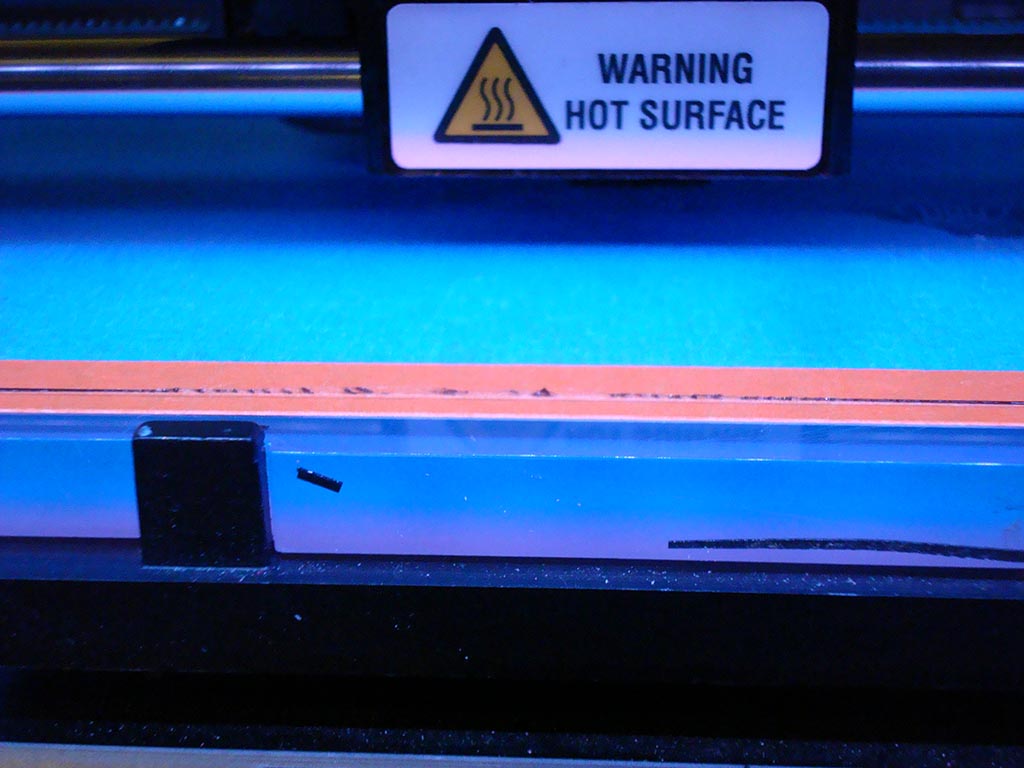
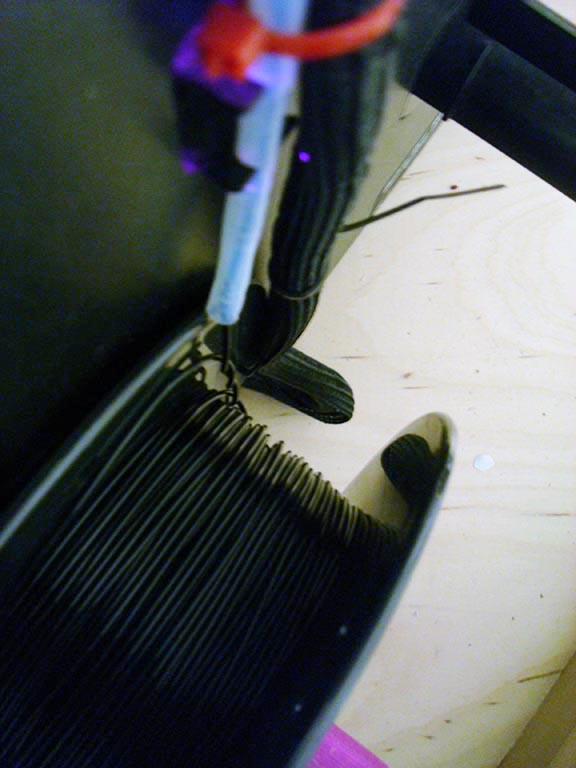
Ah-ha! That's the problem!
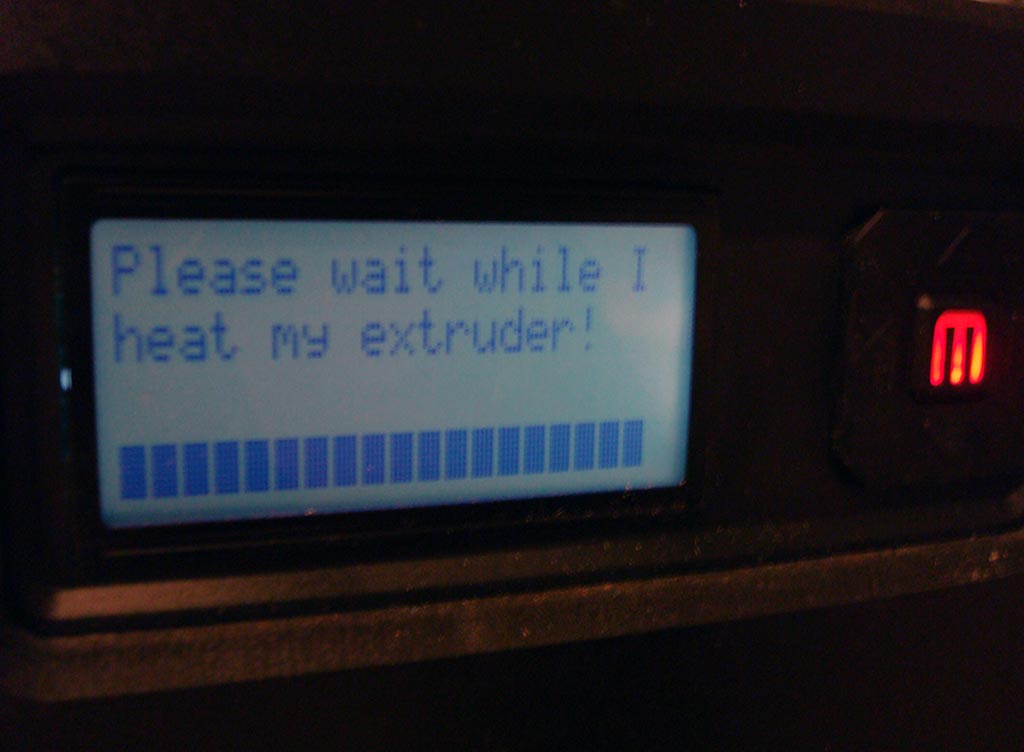
Reheating extruder...
Nice quality test strip - I'm ready to print the model
Furless Polar Bear with supports
Final model with supports removed

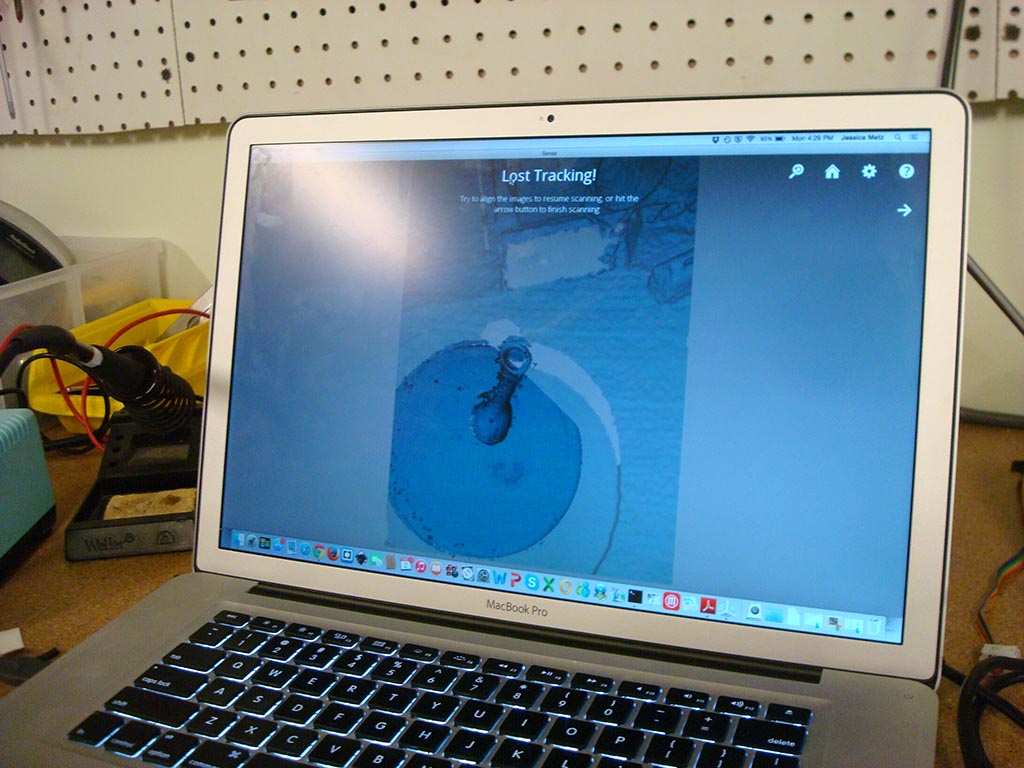
I then moved on to scanning a milk glass vase. Larry, another AS220 member who has been a big help throughout the class, whipped together a lazy susan on the Shopbot to assist with our scanning attempts. The lazy susan allowed us to place our objects in the center, hold the Sense scanner in one place, and gently rotate the object. The Sense scanner is pretty finicky and can easily lose its position which means you have to start your scan all over again. The promo video showing the child scanning his cat in a matter of seconds is ridiculous and will give you an unrealistic idea of the amount of time needed to scan anything, let alone a living, breathing creature. But it does have some helpful software that is pretty easy to use.

I learned an important lesson trying to scan the milk glass vase - it's hard to accurately scan objects that reflect light. It was also a challenge to scan an object that was symmetrical. Between the shape and the inherent material properties of the vase, the Sense scanner had difficulty keeping on track and I eventually moved on to something else. Me!
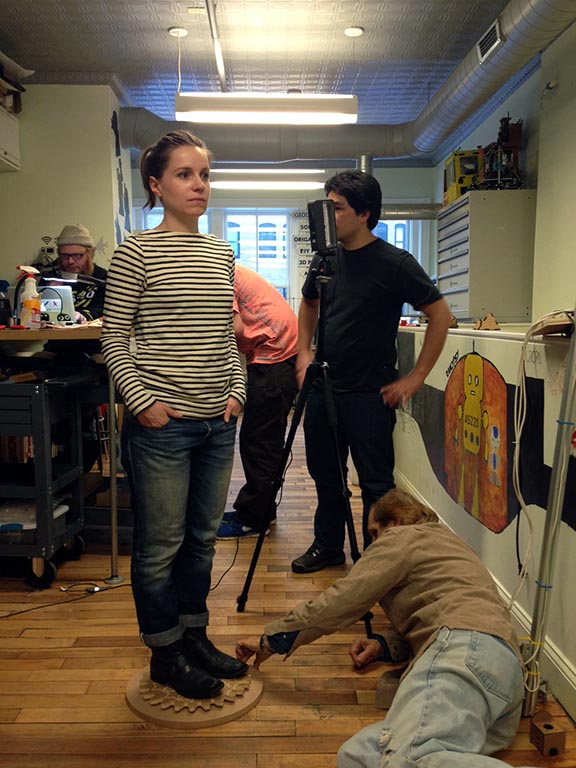
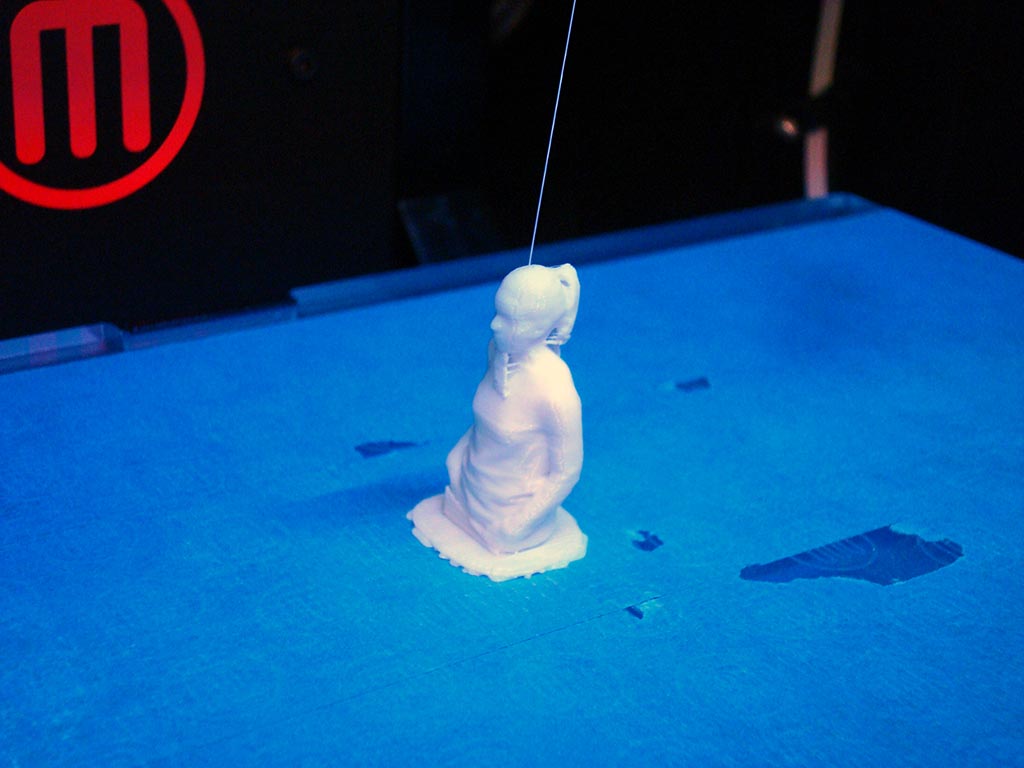
After the vase, Kenzo and I decided to work together to try and scan me. We attached the Sense scanner to a camera stand to hold it in place and using Larry's lazy susan, which turned out to be pretty sturdy, Kenzo turned the lazy susan and I stood still. We weren't able to capture my full height with the Sense; the distance needed between the scanner and me turned out to be too great to maintain steady tracking so we focused on my top half since that part of the body has more detail.We were able to capture me and the Sense software generated the 3d model.
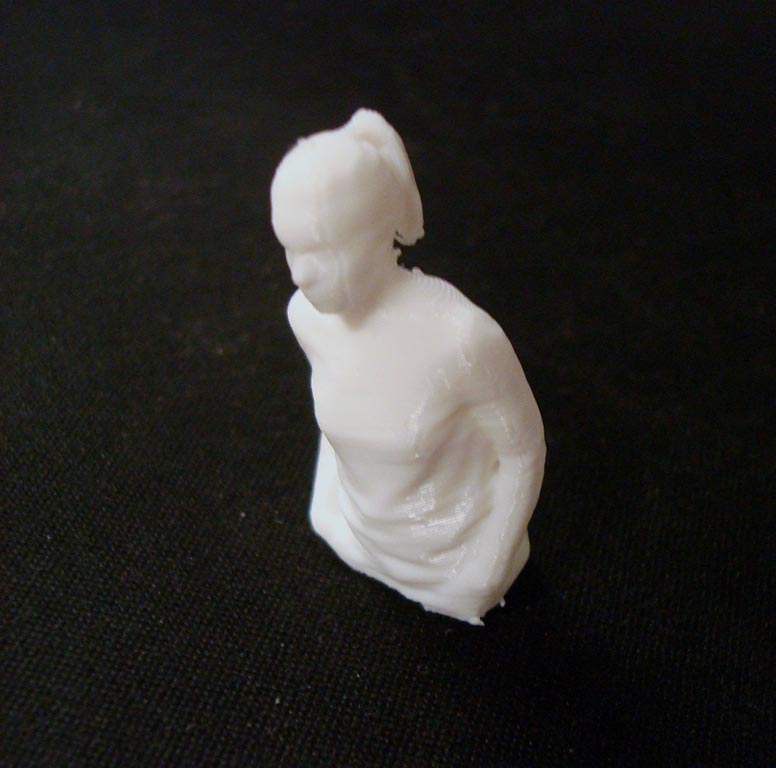
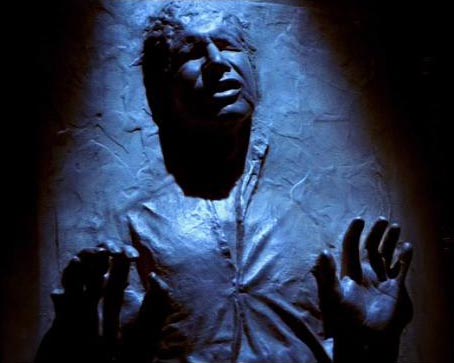
For this print, I wanted a higher resolution to capture more details. I was pleasantly surprised that the final model was able to accurately portray my facial features, my ponytail and the folds of my shirt. Pretty neat! However, every time I look at this little model I am reminded of Han Solo frozen in carbonite. Creepy.
Final model with supports
Final model with supports removed
Han Solo
Bird scanned with Artec Scanner at RISD Nature Lab
Puffin scanned with Artec Scanner at RISD Nature Lab
Jessica Metz Fab Academy 2015