
This week we learned how to use the vinyl cutter and the laser cutter. The final assignment is to design, make and document a press-fit construction kit.
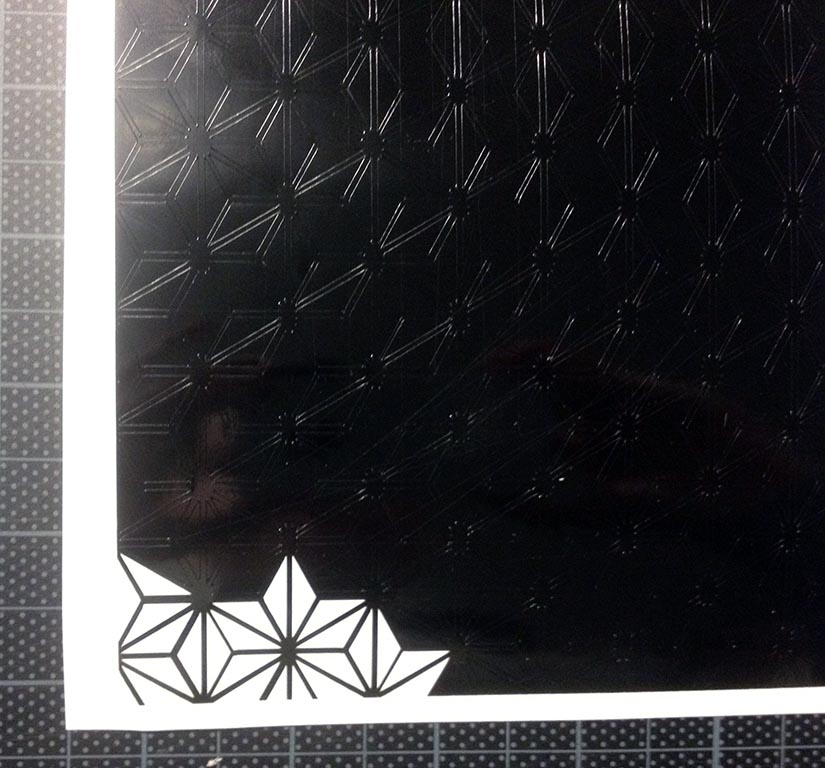
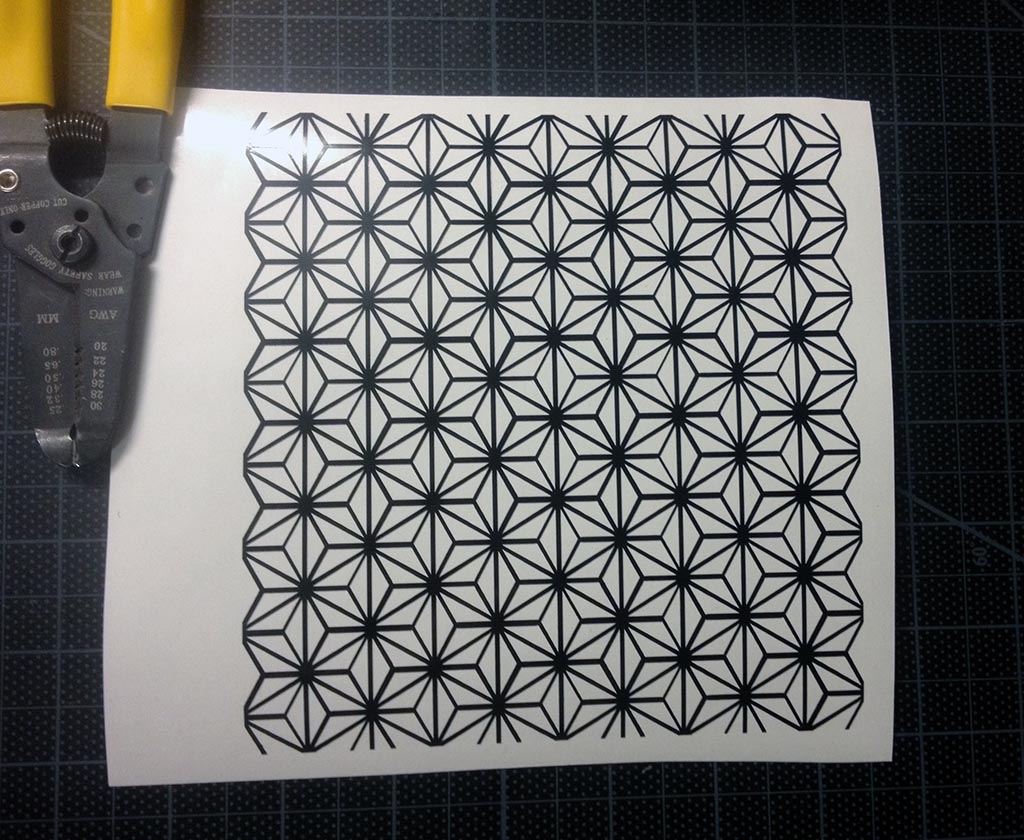
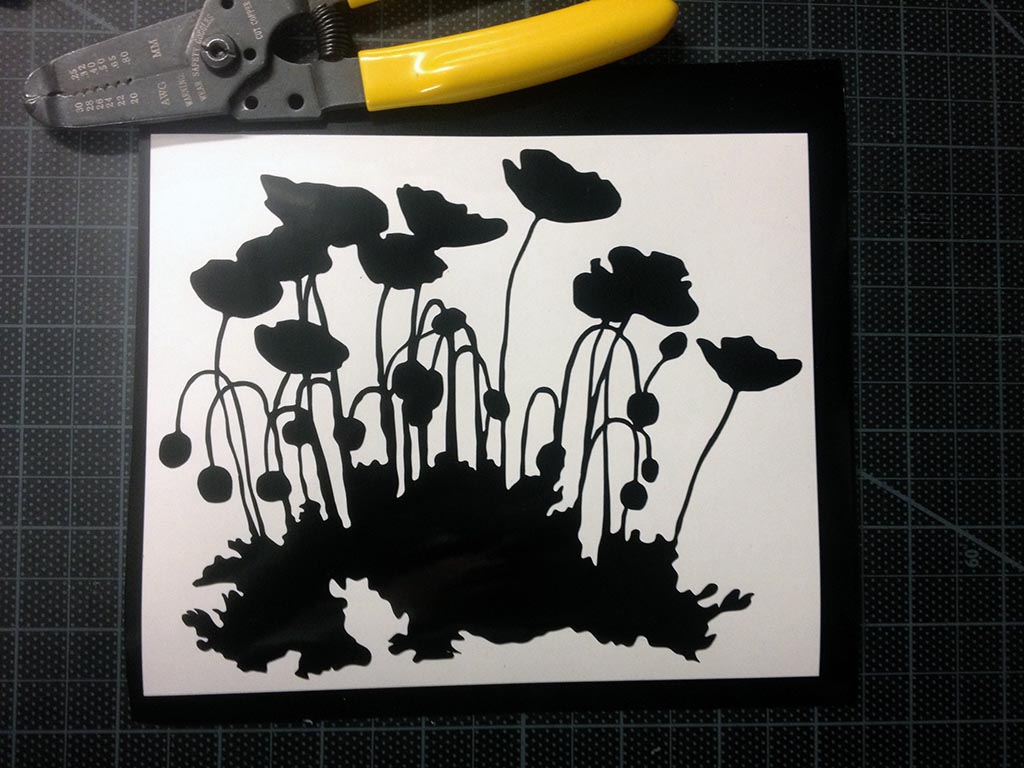
I started out playing with the vinyl cutter since Neil mentioned that it was an underutilized machine. I wanted to see what kind of detail level it was capable of handling. I chose to draw up a detailed geometric design made up of straight lines and also a large abstracted design of arctic poppies. I thought the organic shapes would be a good test to see how well the tool handled curves.
I drew my designs in AutoCAD since that is a program I am comfortable working in and I can quickly get my ideas down on the page.
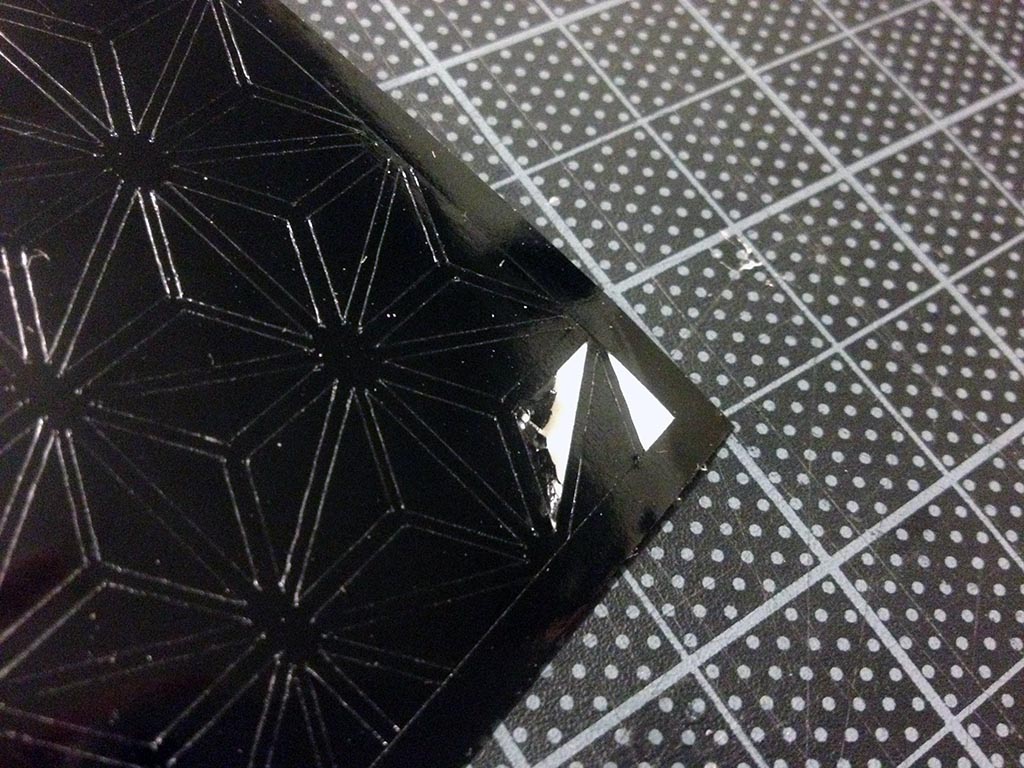
On the first pass, the blade got caught up and started pulling material away. Based on a suggestion from our lab guru, Shawn, I replaced the blade, did another test cut and everything progressed smoothly.
Vinyl cutter got snagged on the material
As complex as the geometric pattern looked to me, the vinyl cutter was able to cut it out in less than 10 minutes. The flower design took a little longer but was still very fast - less than 20 minutes. I don't even want to think how long it would take me to cut out the same pattern with an x-acto knife.
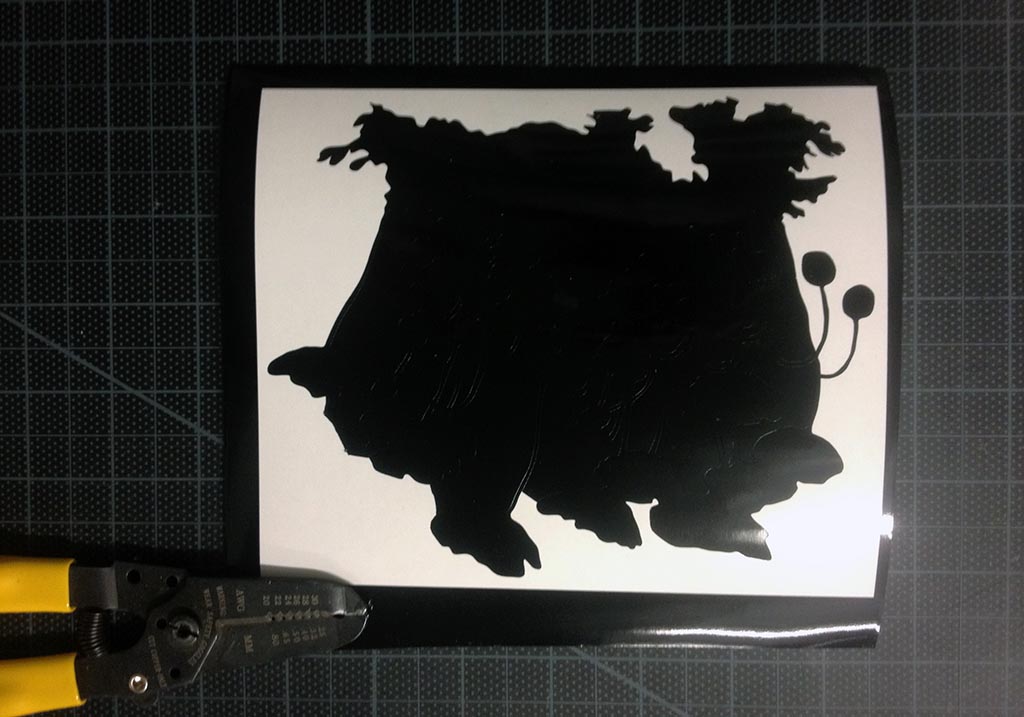
Once the cutting was complete, I began the tedious task of weeding out the areas that needed to be removed. I was surprised to find myself enjoying this part of the process.
Weeding out the excess material

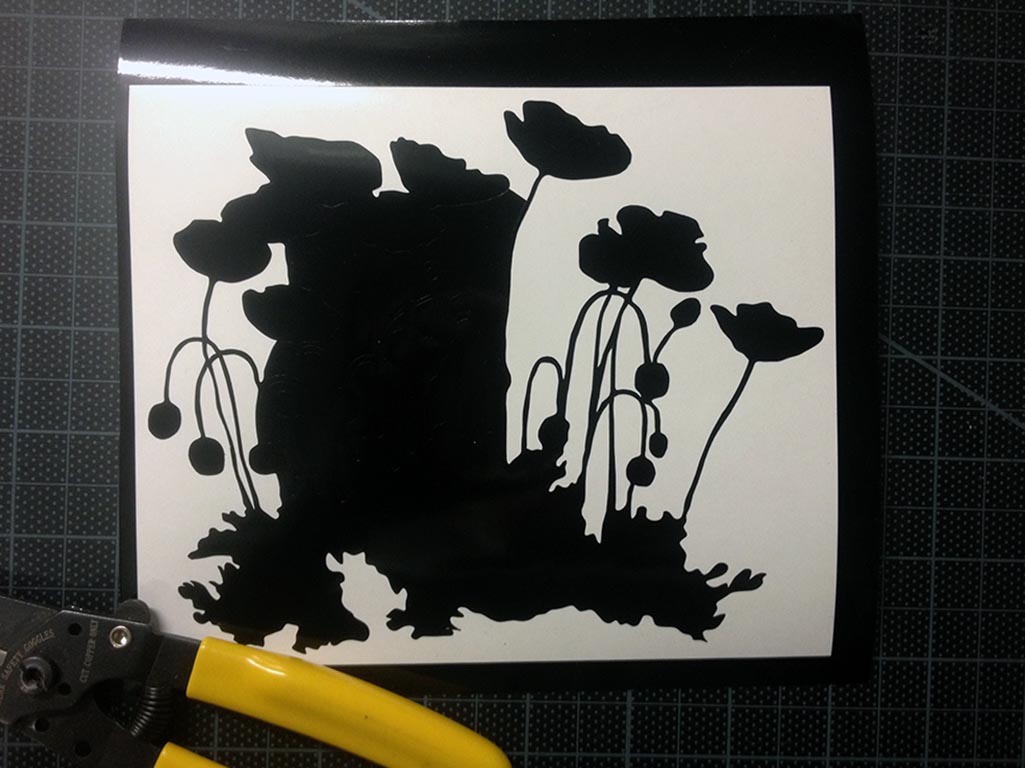
Weeding Complete!
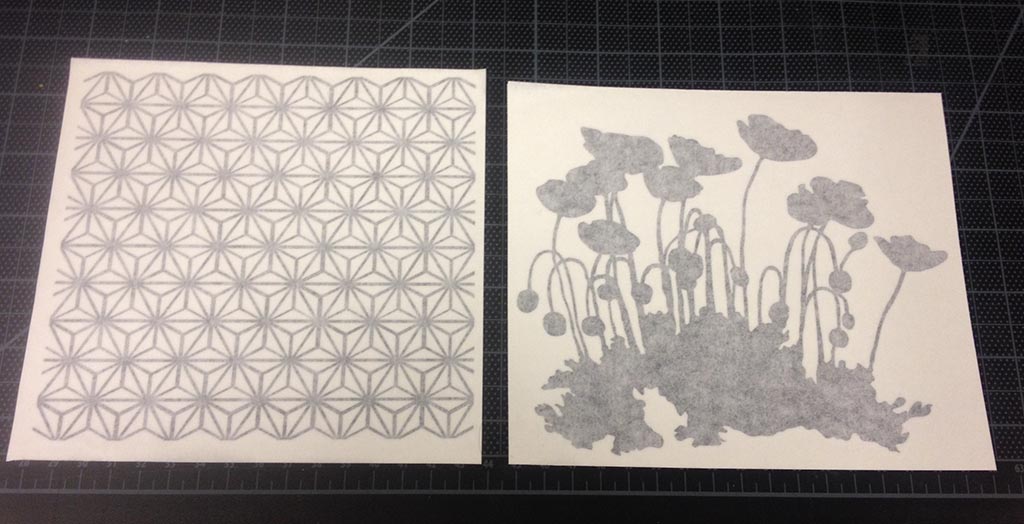
Covering it with the transfer tape to help with the final placement of the vinyl cut - wherever that may be...

The completed vinyl cuts
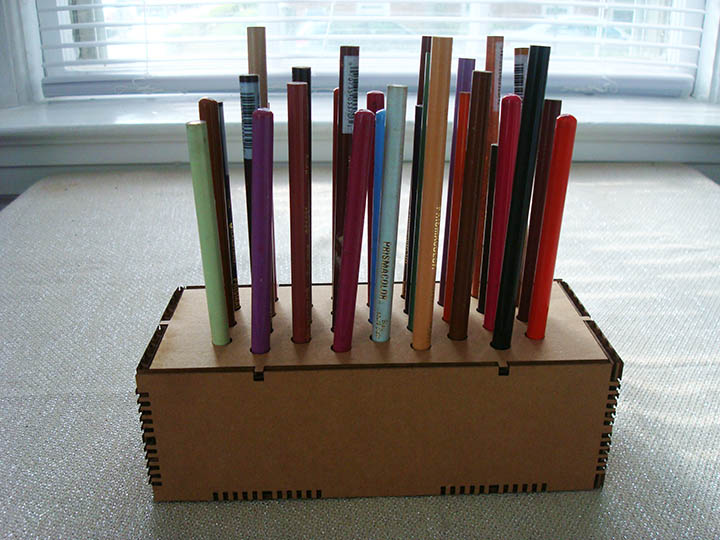
In addition to learning to use the final cutter, we had to make a pressfit box, including a lid, out of corrugated cardboard. I designed a desktop pencil holder to hold and display my colored pencils.
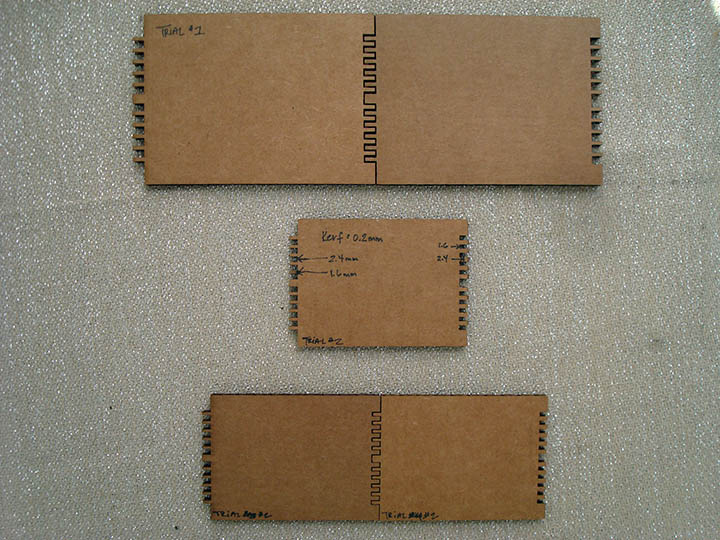
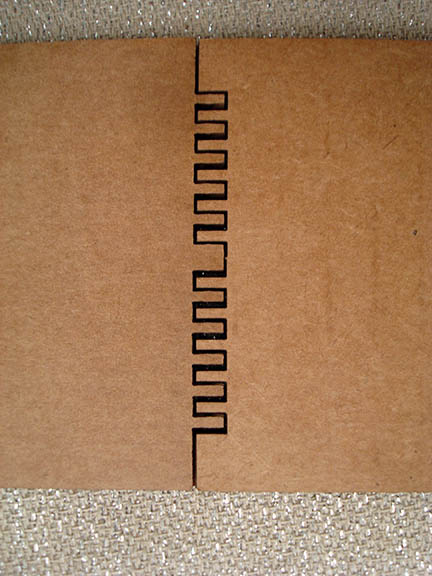
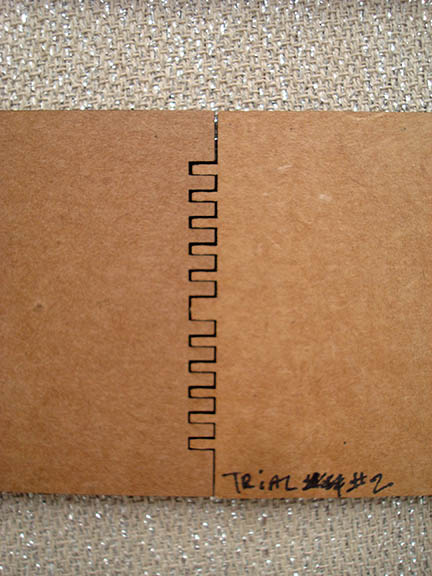
I wanted my box to have joints reminiscent of woodworking joints and spent some sketching ideas. I drew up my final design in Autocad because I am familiar with the program. I did several test cuts before I found the correct settings for my joints and then I laser cut the pieces of my box. Now I have a nice little desktop pencil holder!
Sketching Ideas

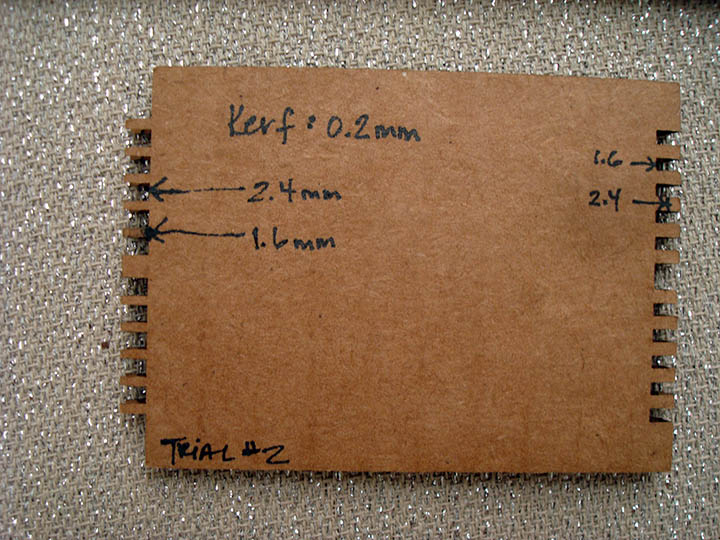
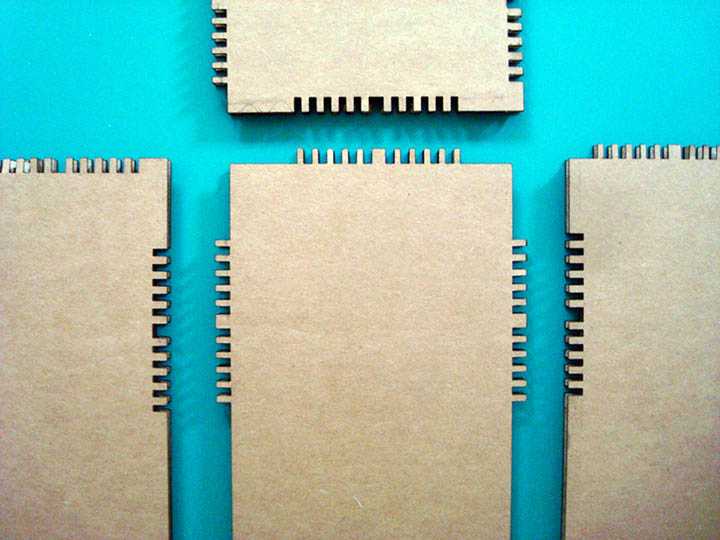
Test cuts to determine joint size
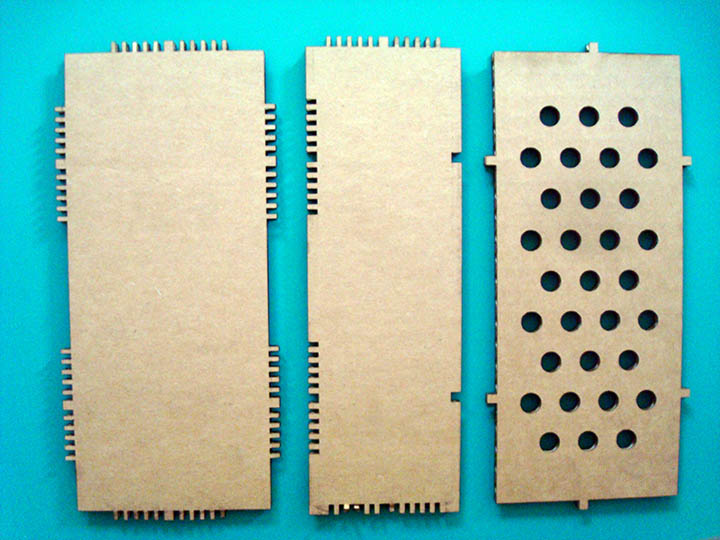
The Final Cut
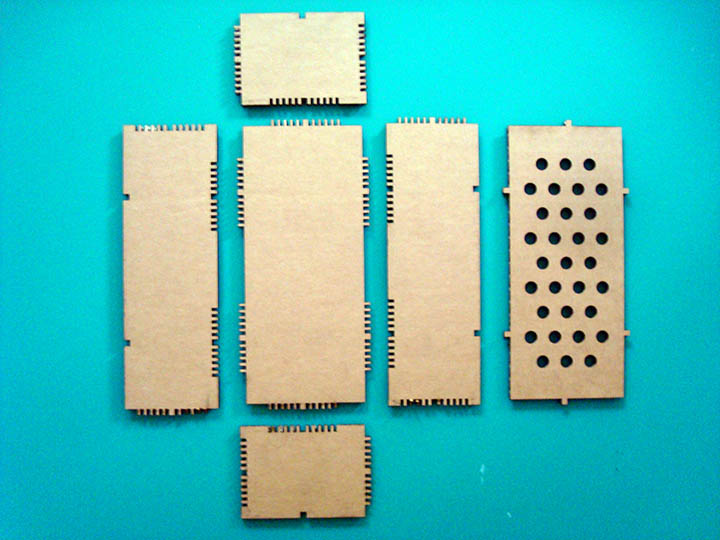
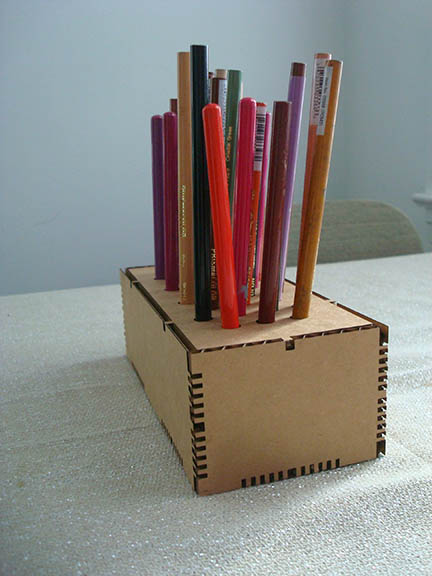
The final product!
Jessica Metz Fab Academy 2015