
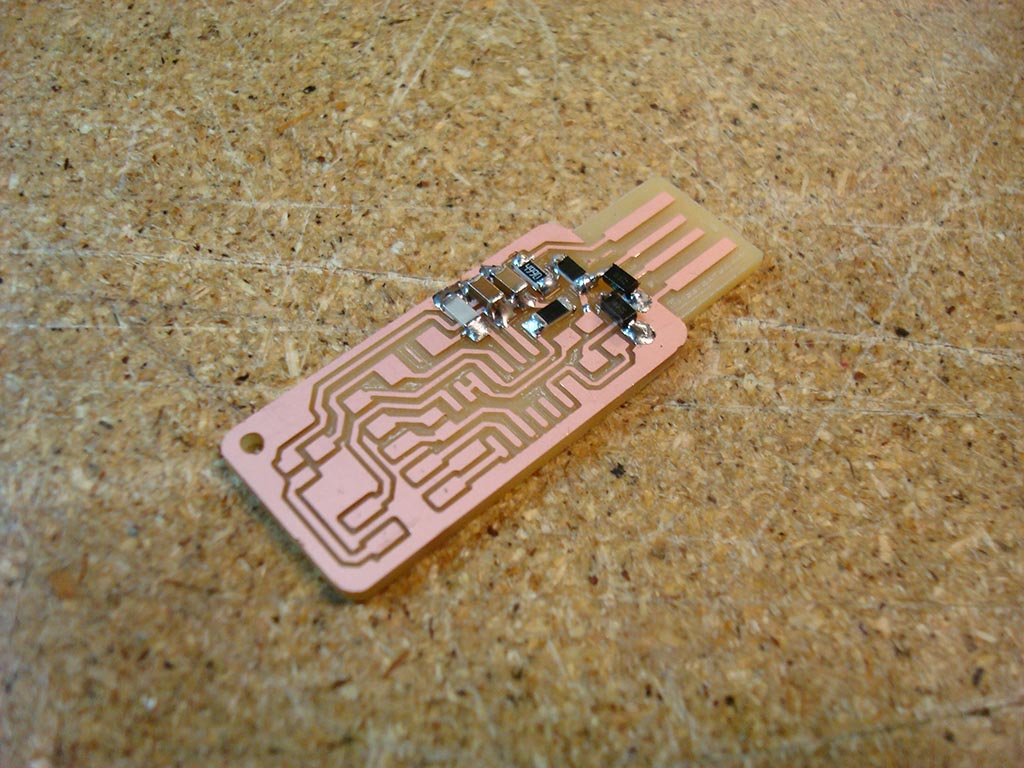
This week's assignment is to make the FabISP in-system programmer, using the Roland to mill the board. For this assignment, the traces and the outline for the circuit were given to us as a .png file.
I relied heavily on the tutorial and the training we had in class to show us a typical workflow for milling our boards; then we each milled our boards.
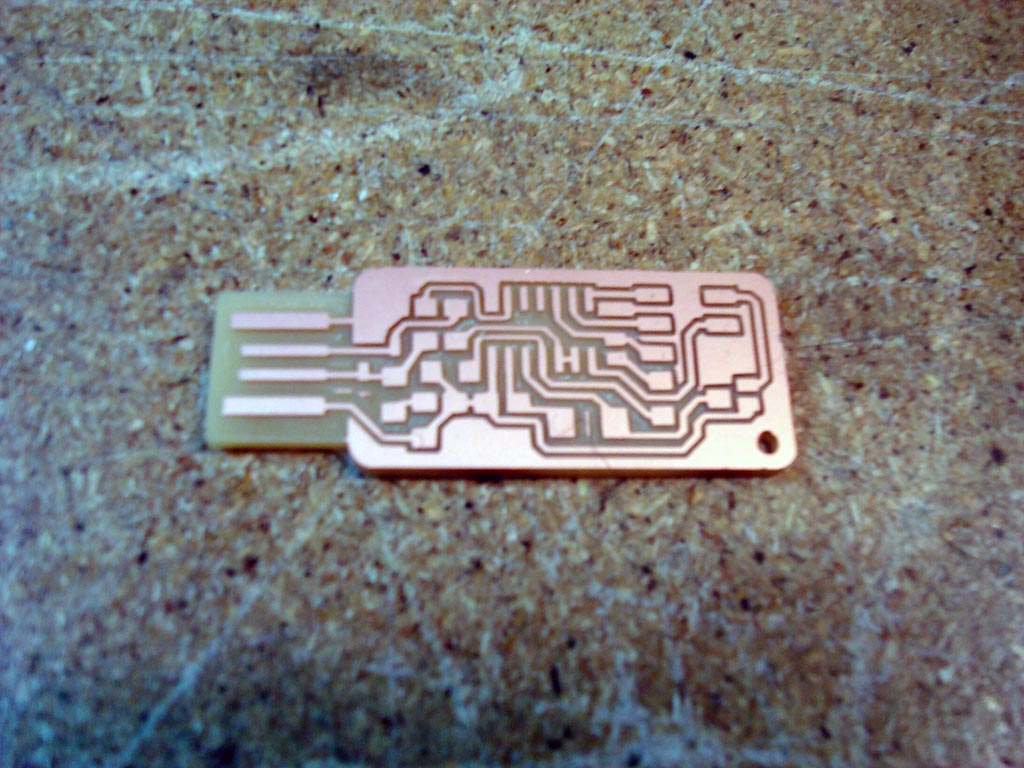
My FabISP
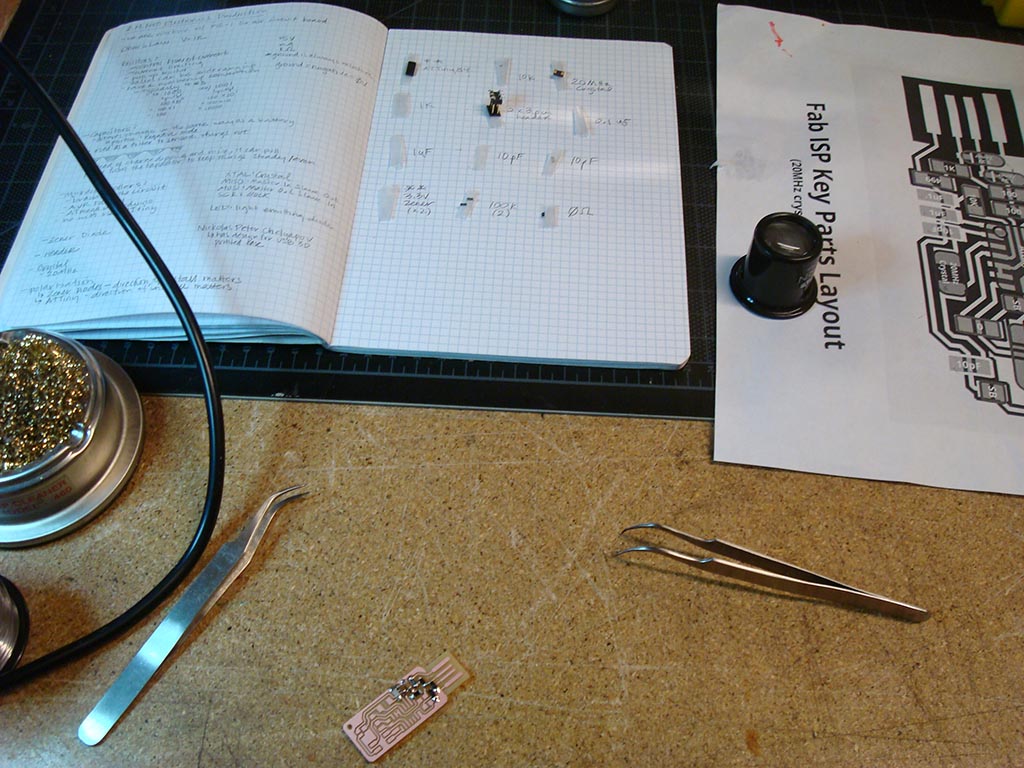
The tutorial listed all of the components needed for the circuit; I collected each component and labeled them for quick reference before I started soldering.
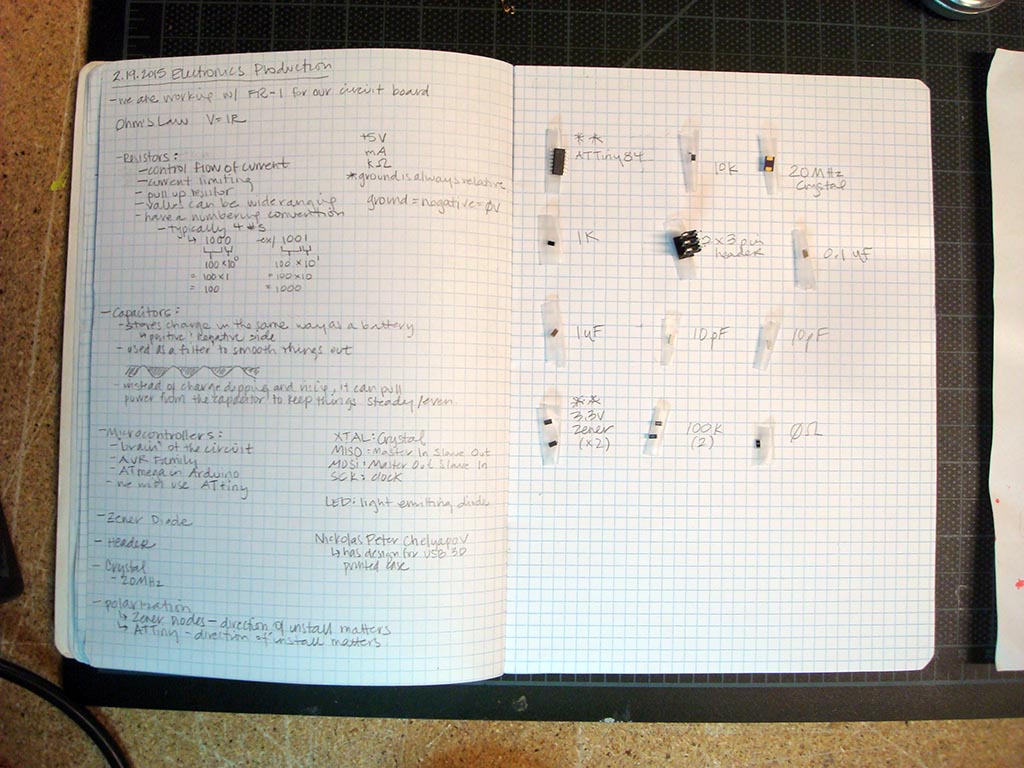
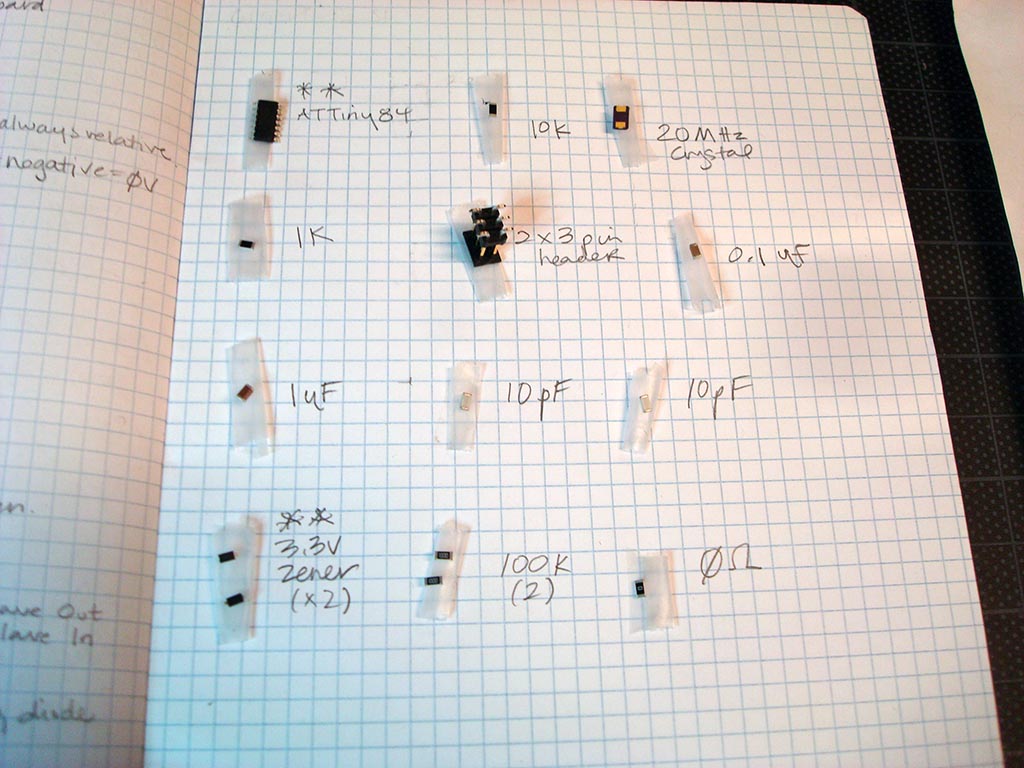
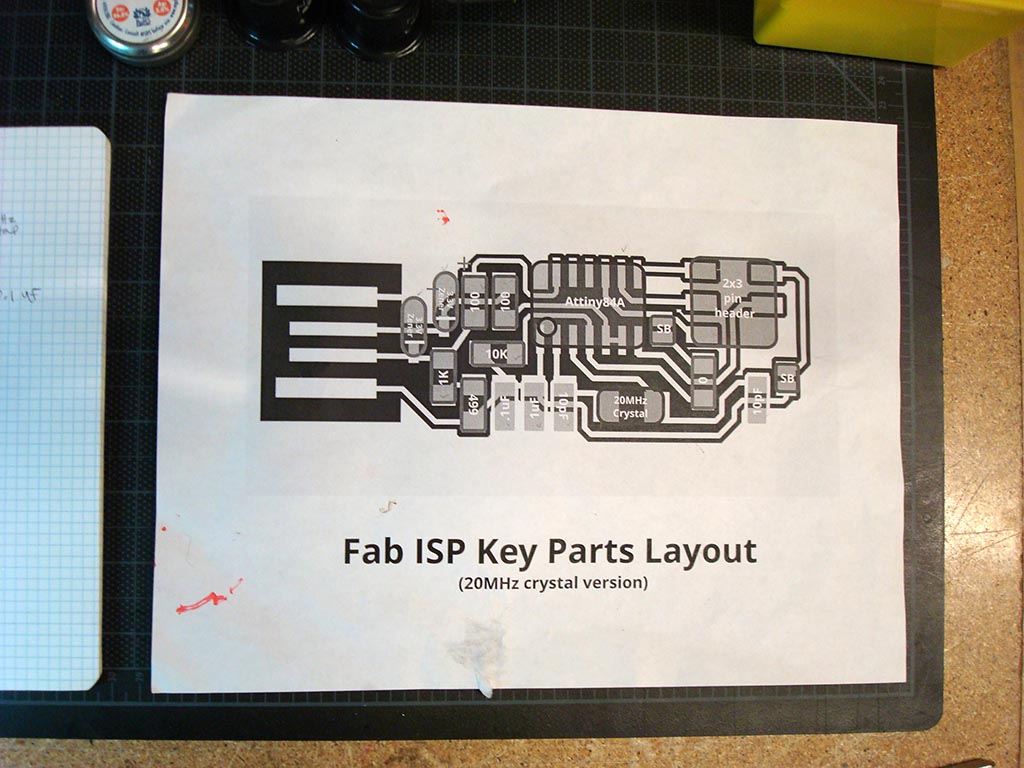
We had a printed layout that circled around for all of us to reference as we placed our components. I have experience soldering stained glass but placing components that were so incredibly tiny took some effort. It was more of a two handed operation than I had expected; I would hold the component in place using my left hand and tweezers, and solder with my right.
Soldering Workstation
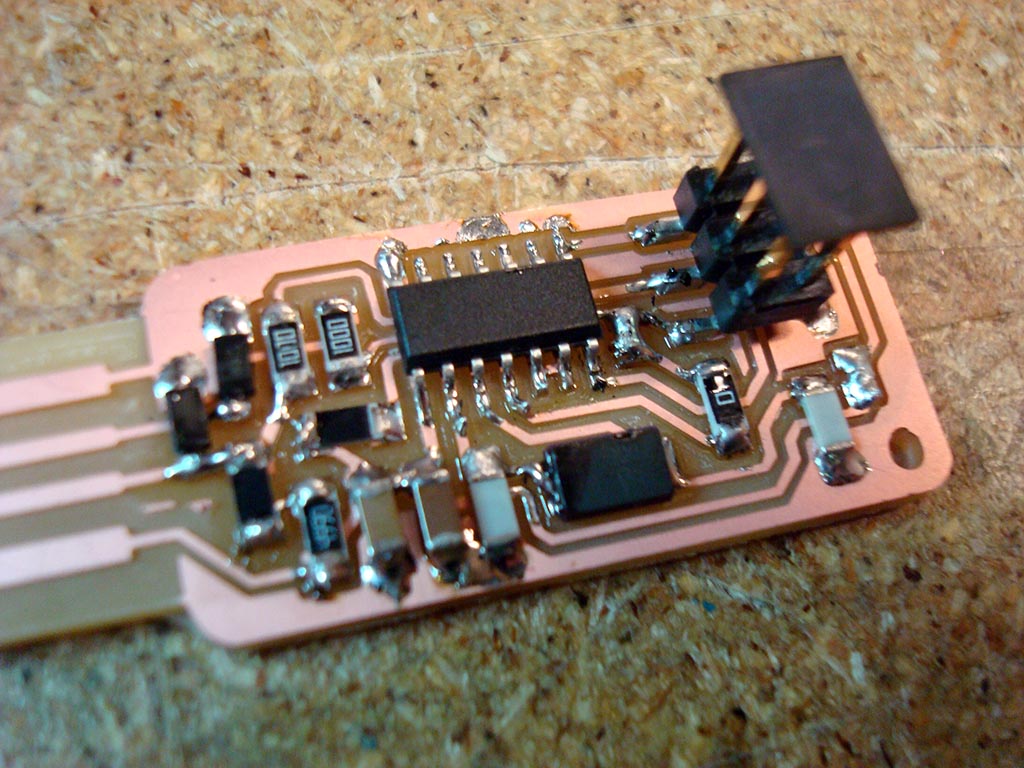
Soldering In Progress
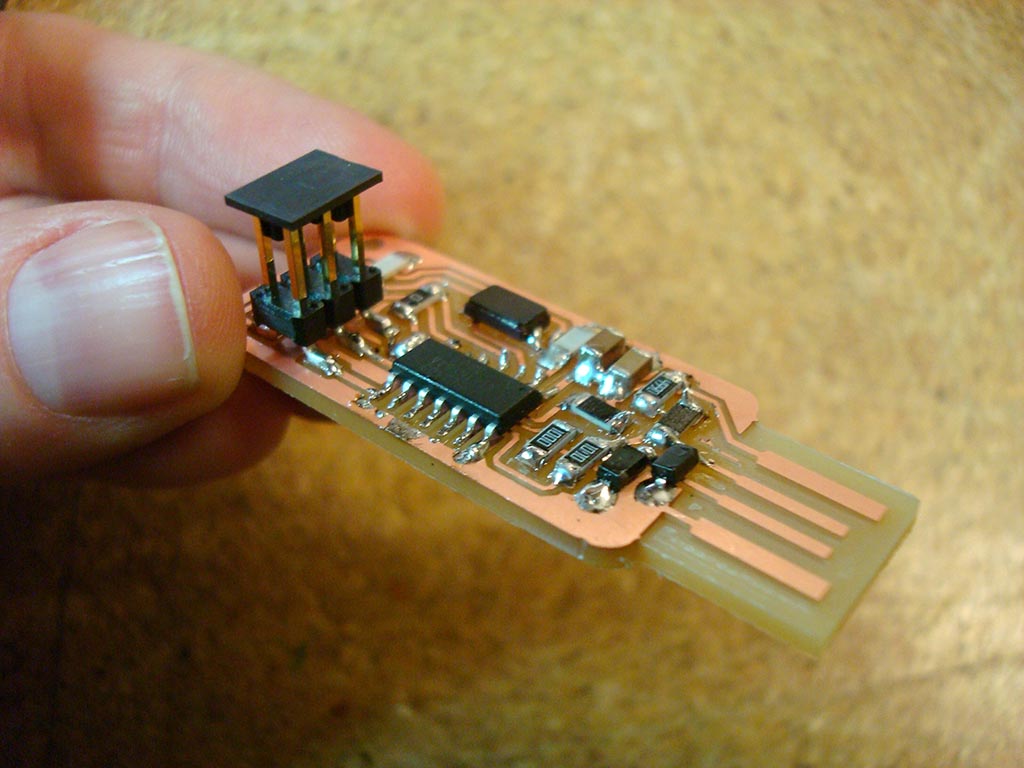
Finished Board
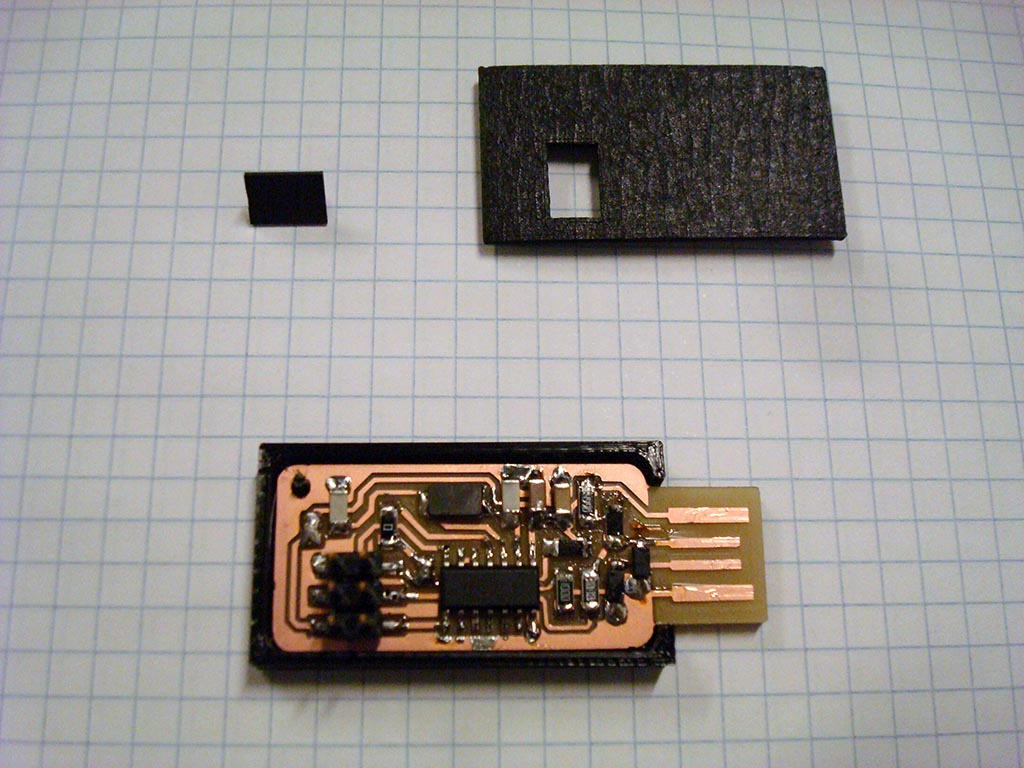
Kenzo took on an additional project as printed cases for everyone in class. This helped the FabISP fit a little more snug in the USB port on our computers.
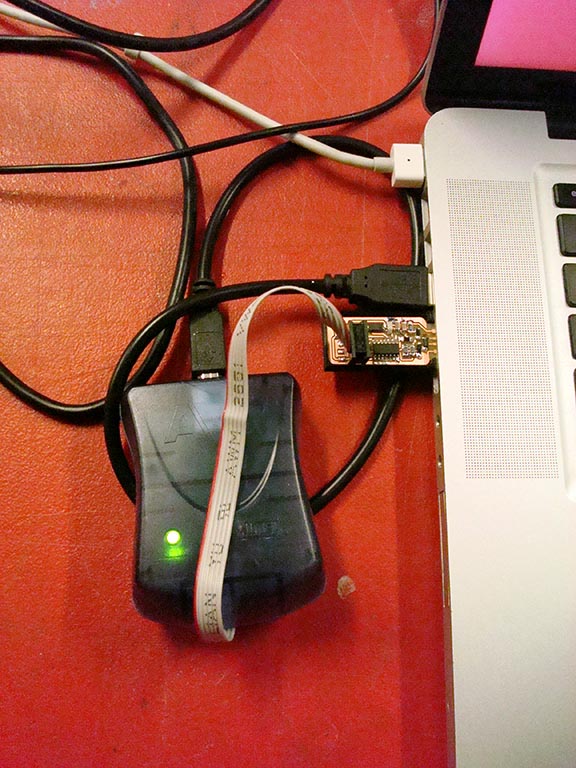
Once the circuit board was complete, I needed to program it. We used the AVR Dude in our group and I connected it to the 6-pin programming header and the USB. We set up a laptop station out of Kenzo's computer to make programming efficient for our group.
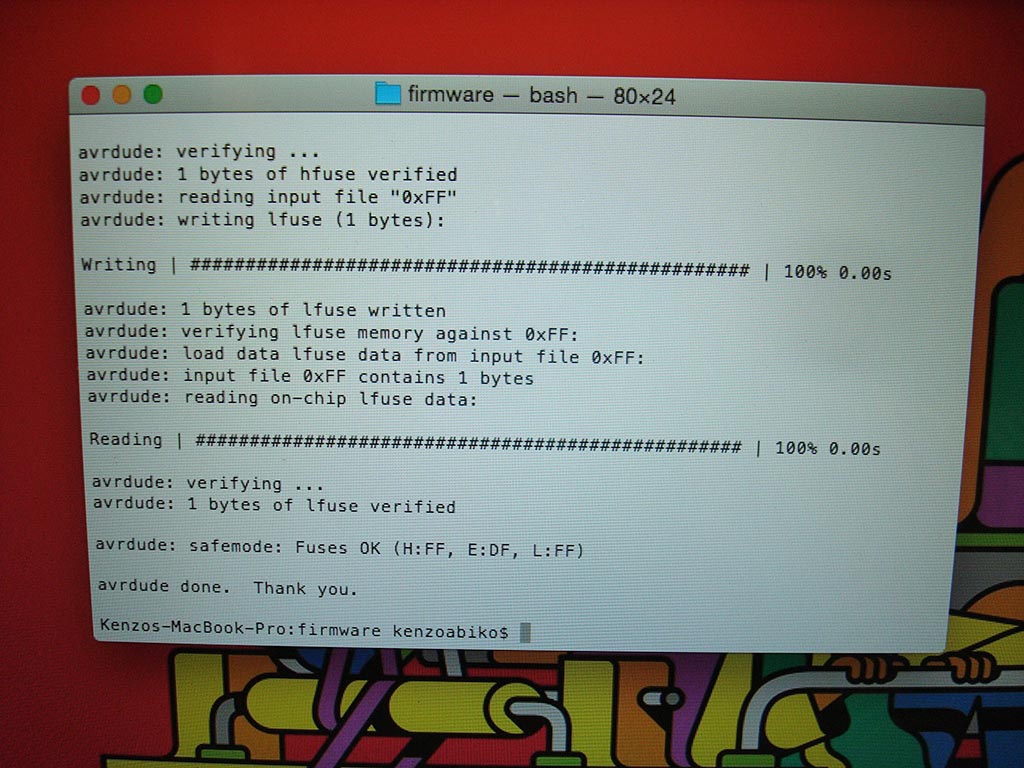
I was able to program my board using the AVR Dude but had trouble programming another board with my FabISP.
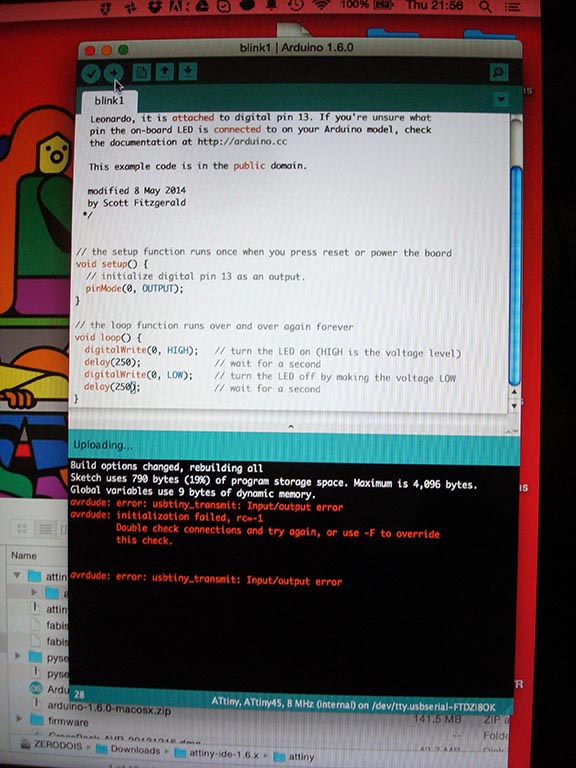
After doing some trouble-shooting, I ended up using a USB extension cable because my FabISP fit better in the that cable than in my USB drive. When I used the extension cable, everything worked smoothly!
Design files can be found on the Fab Academy's tutorial site
Jessica Metz Fab Academy 2015