Embedded Programming
Microcontroller Datasheet
For this assignment
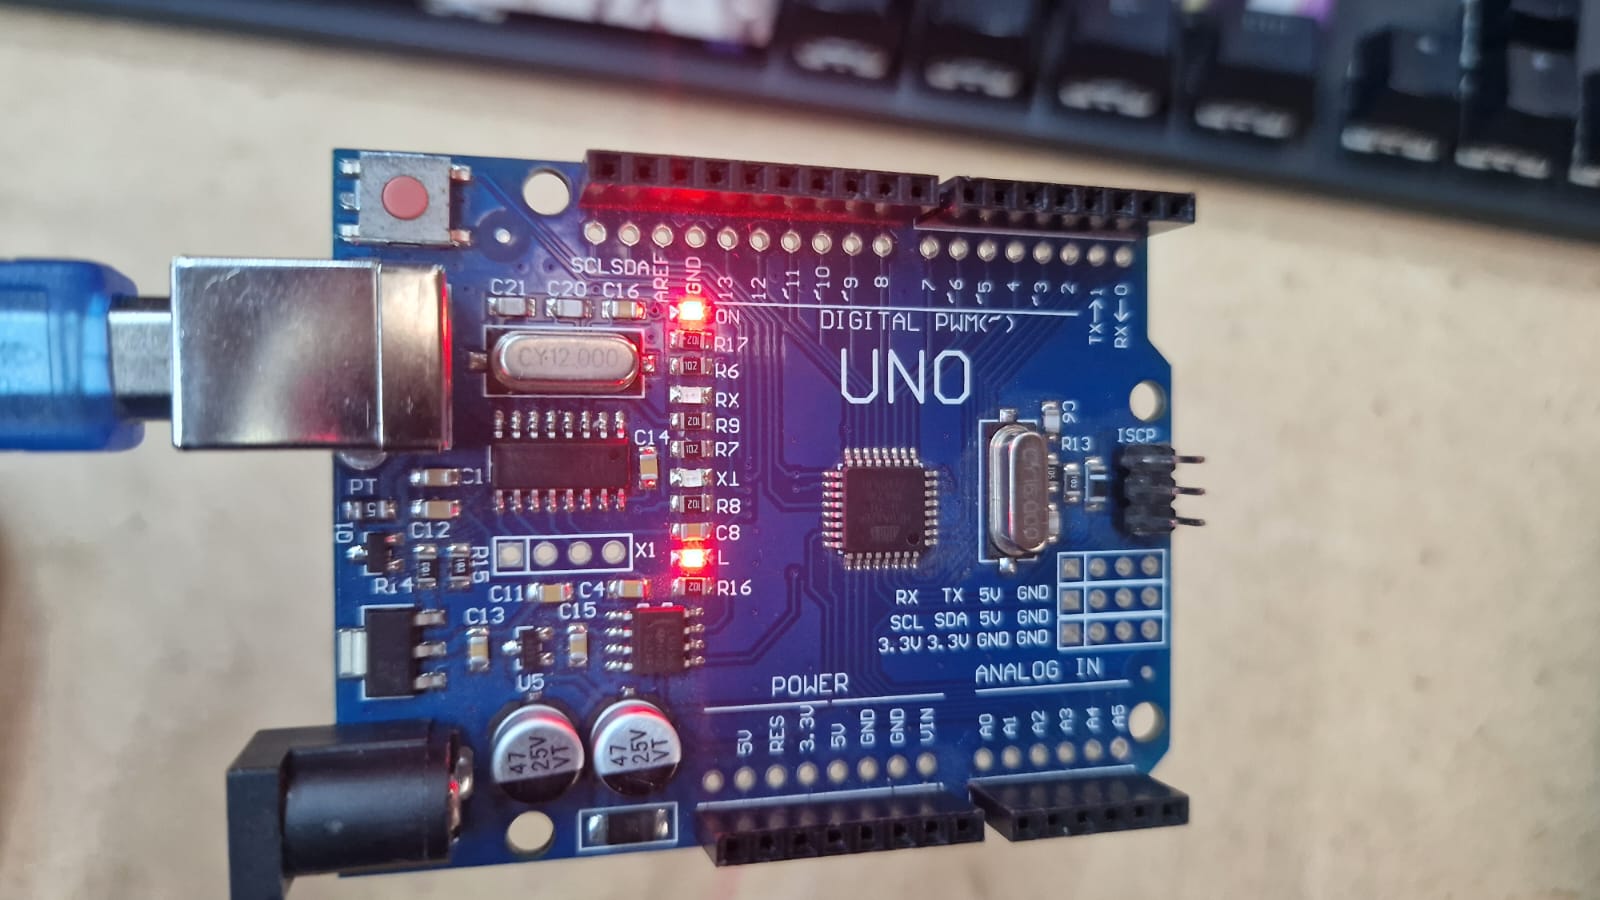
I used an Arduino Uno R3, which is based on the ATmega328P microcontroller.
I reviewed the ATmega328P datasheet and learned some important specifications:
-
Architecture: 8-bit AVR RISC-based microcontroller.
-
Operating Voltage: 5V (standard for the Uno board).
-
Clock Speed: 16 MHz (crystal oscillator on the Uno).
-
Memory: 32 KB Flash (for your code), 2 KB SRAM (for variables), and 1 KB EEPROM.
-
Pinout Features: Note which pins support PWM (Pulse Width Modulation) and which ones are for ADC (Analog to Digital Conversion).
-
Digital I/O pins: 14
-
Analog input pins: 6
-
Communication protocols: SPI I2C
The ATmega328P is suitable for simple embedded systems because it is easy to program and supports many input and output devices.
Project Description
For this assignment, I connected a micro servo motor to the Arduino Uno R3 and controlled it using a simple Arduino program.
The servo motor rotates to different positions according to the programmed instructions.
This demonstrates how a microcontroller can interact with an output device.
Programmed a Board to Interact and Communicate
I used:
Computer with Arduino IDE
Wiring Connections
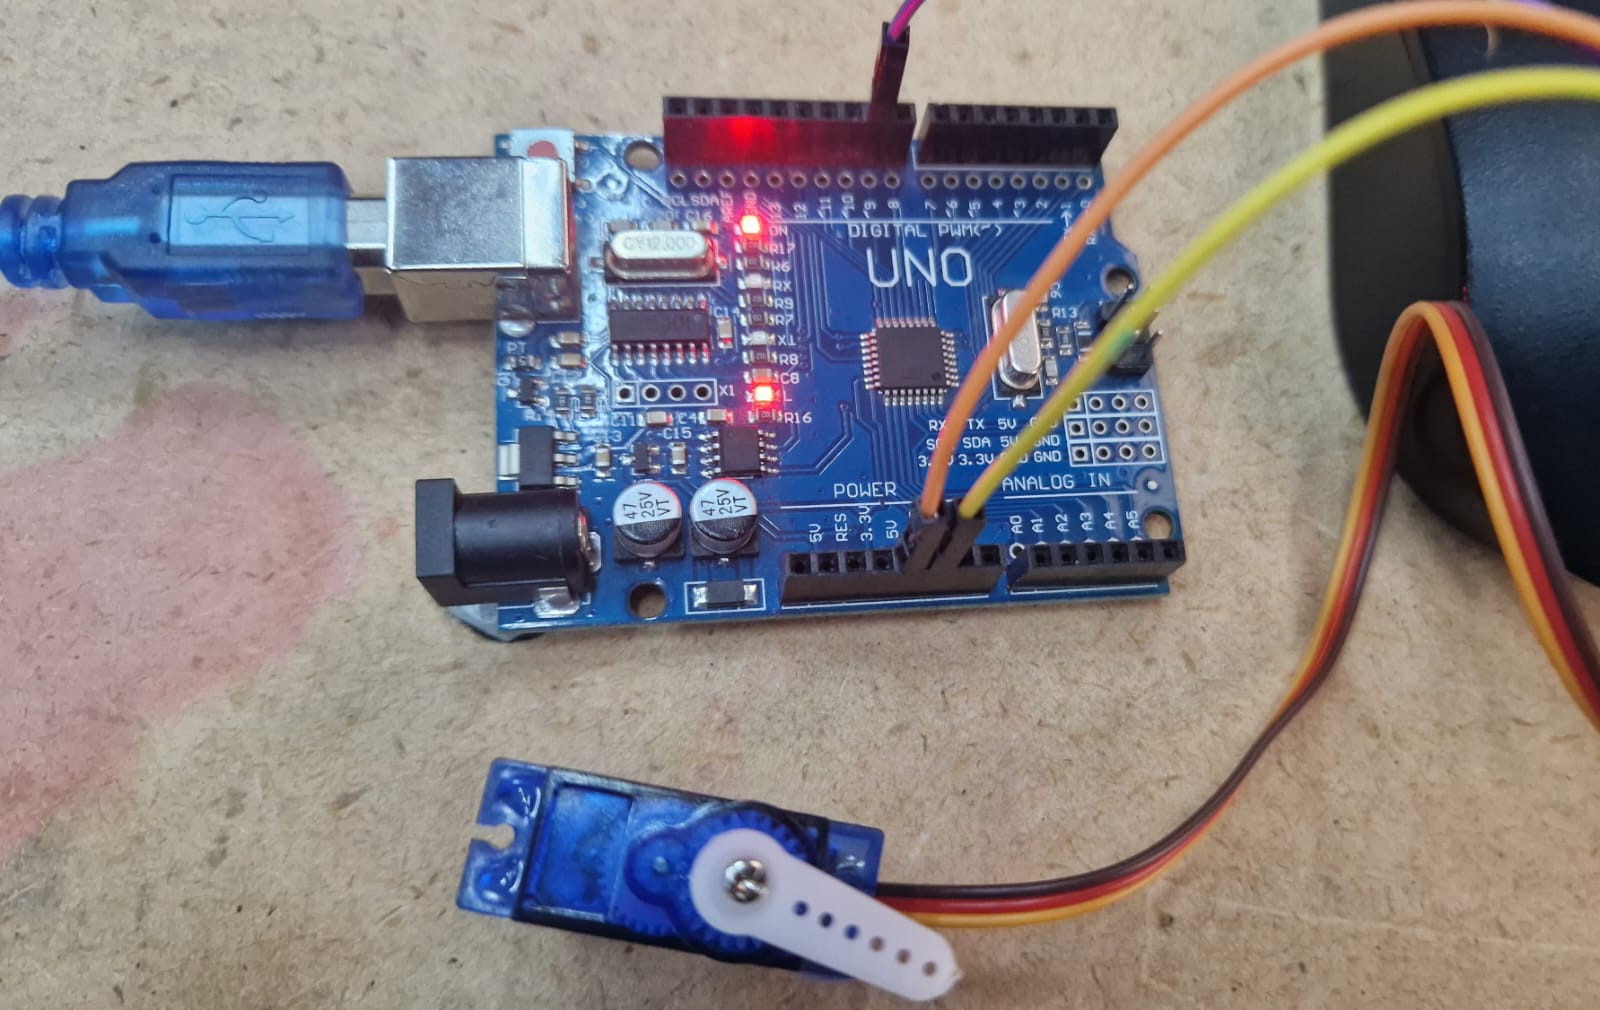
I connected the micro servo motor to the Arduino Uno R3 as follows:
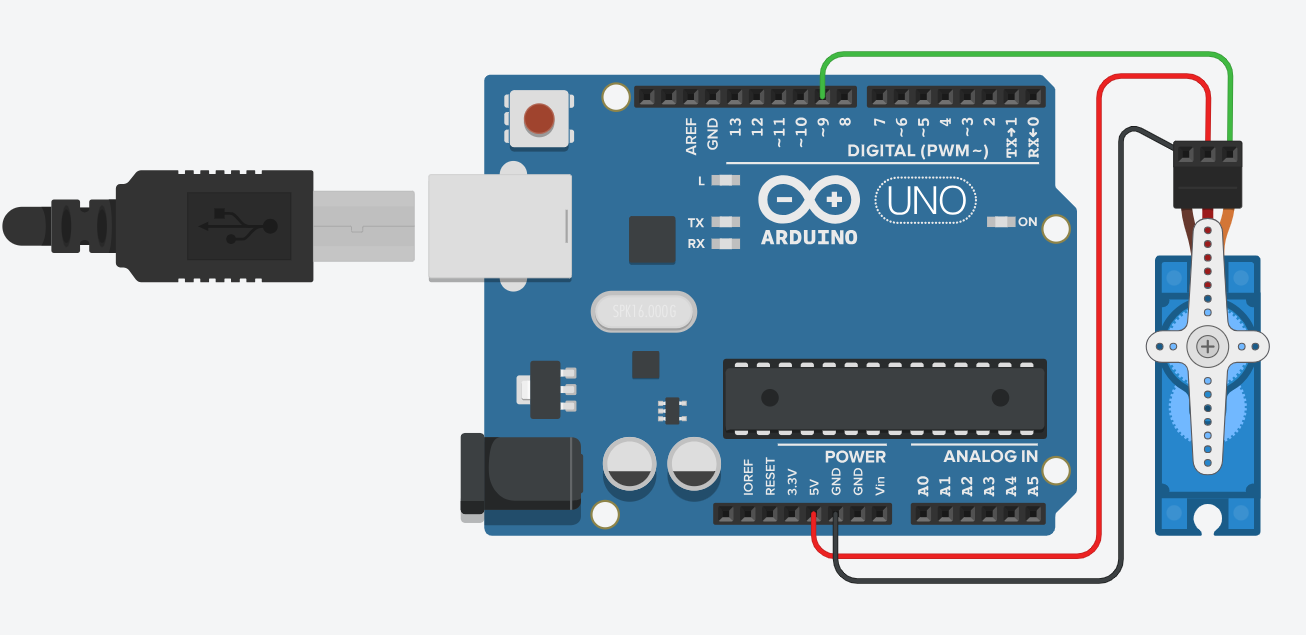
- Servo GND → Arduino GND
- Servo VCC → Arduino 5V
- Servo Signal → Digital Pin 9 (~9)
Then, I connected the Arduino Uno R3 to my computer using a USB cable and uploaded the program using Arduino IDE.
This setup allowed the Arduino to communicate with the servo motor and control its movement.
Programming Process
I used the example Sweep program from the Arduino Servo library.
First, I included the Servo library, which allows Arduino to control servo motors.
Then, I created a servo object called servo_9 and attached it to digital pin 9.
In the setup function, the servo was initialized and configured to operate within a pulse range of 500 to 2500 microseconds.
Inside the loop function, the servo rotates from 0 degrees to 180 degrees one degree at a time. After reaching 180 degrees, it rotates back to 0 degrees.
A delay of 15 milliseconds is added between each movement to give the servo enough time to reach the next position.
The process repeats continuously, creating a smooth back-and-forth sweeping motion.
Code
#include <Servo.h>

int pos = 0;

Servo servo_9;

void setup()
{
  servo_9.attach(9, 500, 2500);
}

void loop()
{
  for (pos = 0; pos <= 180; pos += 1) {
    servo_9.write(pos);
    delay(15);
  }
  for (pos = 180; pos >= 0; pos -= 1) {
    servo_9.write(pos);
    delay(15);
  }
#include <Servo.h>imports the Servo library.int pos = 0;creates a variable to store the servo angle.Servo servo_9;creates a servo object.servo_9.attach(9, 500, 2500);attaches the servo to digital pin 9.servo_9.write(pos);moves the servo to the selected angle.delay(15);gives the servo time to move.- The first loop rotates the servo from 0° to 180°.
- The second loop rotates the servo from 180° back to 0°.