Principles and Practices, Project Management
Tools
I use Windows as my operating system. I am already familiar with it, and it is convenient for development and documentation work. All the software required for Fab Academy can be easily installed and used on Windows.
VS Code
I used VS Code (Visual Studio Code) as my main editor for writing documentation and managing my project files.
At first, I had no experience working with MkDocs or GitLab, so everything was new for me. I installed VS Code and opened my Fab Academy repository there. Using the built-in terminal was very convenient because I could edit files and run commands in one place.
Folder Structure Screenshot
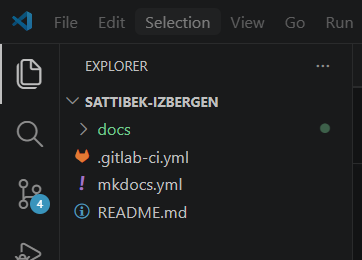
I used VS Code to:
- edit Markdown files
- organize project folders
- run Git and MkDocs commands
- preview and test my website locally
Git
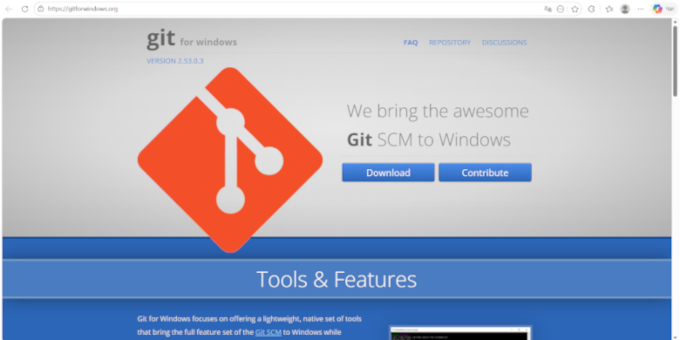
Git is a version control system that helps track changes and manage project updates safely.
At first, Git was difficult for me because I had never used version control before. I learned how the workflow works step by step.
I used this workflow:
1. Clone repository from GitLab
After configuring Git, I cloned my Fab Academy repository from GitLab using SSH.
git clone https://gitlab.fabcloud.org/academany/fabacademy/2026
labs/yufablab/students/sattibek-izbergen.git
````

This screenshot shows the repository being cloned into my local computer.
### 2. Edit files locally
### 3. Add changes:

```bash
git add .
````
### 4. Commit changes:

```bash
git commit -m "Update Week 1 documentation"
5. Push changes:
git push
This workflow helped me understand how to manage and upload my documentation correctly.
One issue I faced was during git push. Git rejected the push because one of my video files was too large for GitLab.
Error Screenshot

To solve this problem:
- I removed the large file from the repository
- added it to
.gitignore - compressed the video and decided to use external hosting for large media files
After that, the push worked successfully.
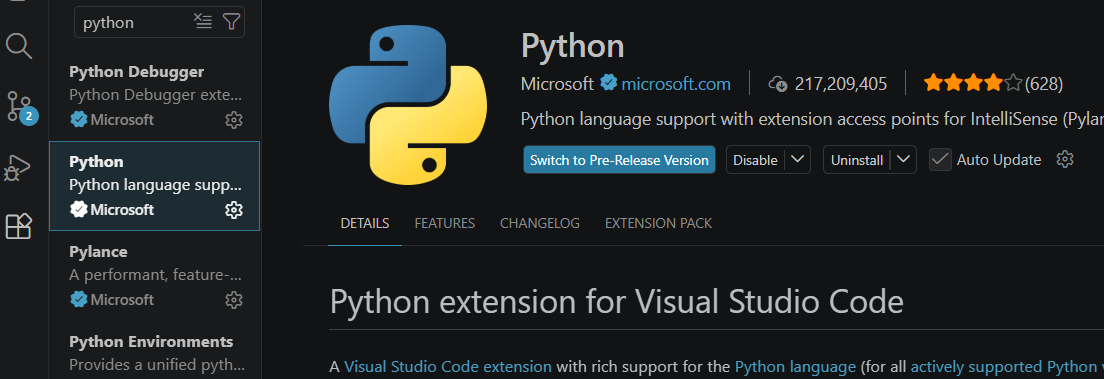
Python and Pip
Python is required for MkDocs and documentation tools.
I installed Python on Windows and used pip to install the required packages.
Commands I used:
pip install mkdocs
pip install mkdocs-material
pip install mkdocs-git-revision-date-localized-plugin
MkDocs
MkDocs is a documentation generator that converts Markdown files into a website.
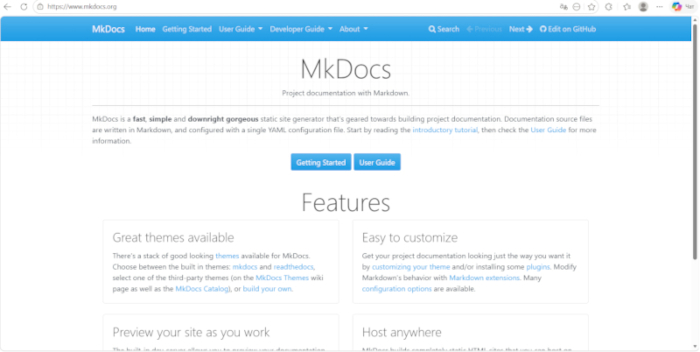
I used MkDocs to create and organize my Fab Academy documentation website.
First, I installed MkDocs:
pip install mkdocs
Then I installed the Material theme:
pip install mkdocs-material
After installation, I launched the local server:
mkdocs serve
This allowed me to open the website in my browser and instantly see all changes after editing files.
One problem I faced was with the mkdocs.yml configuration file.
The website did not start correctly because of incorrect YAML indentation.
I found the issue by reading the error shown in the VS Code terminal. After correcting the spacing and navigation structure, the website started working properly.
Error Screenshot

Error: MkDocs encountered an error parsing the configuration file: while parsing a block collection
in "C:\Users\Sattibek\sattibek-izbergen\mkdocs.yml", line 9, column 4
expected <block end>, but found '<block sequence start>'
.
I also edited the mkdocs.yml file to:
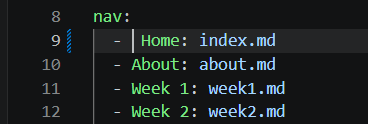
Navigation Screenshot in mkdocs.yml

- add navigation
- organize weekly assignments
- improve the website structure
Running the Website Locally
I tested my website locally before publishing it.
I used:
mkdocs serve
Then I opened: My Local Web Page
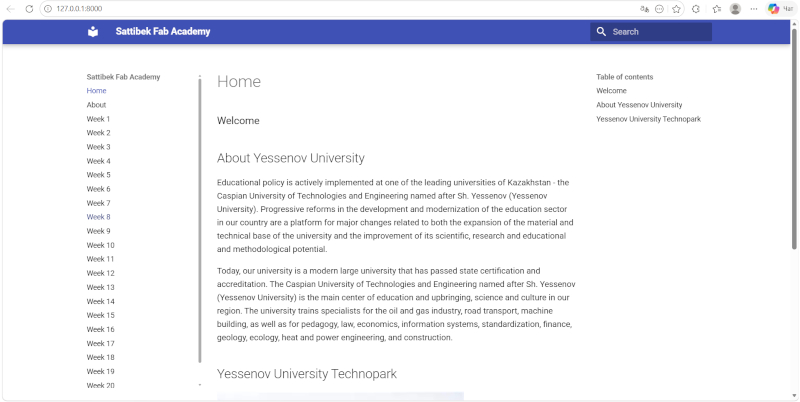
http://127.0.0.1:8000
This helped me:
- test navigation
- check images and links
- fix formatting problems before pushing changes to GitLab
Running the site locally was very useful because I could immediately see the result of my changes.
Markdown
Markdown is a lightweight markup language that you can use to add formatting elements to plaintext text documents.
My syntax is Basic
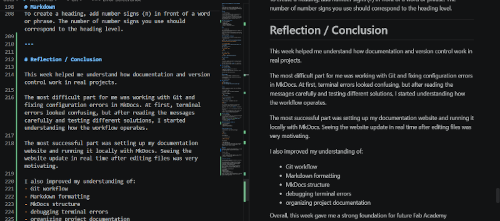
To create a heading, add number signs (#) in front of a word or phrase. The number of number signs you use should correspond to the heading level.
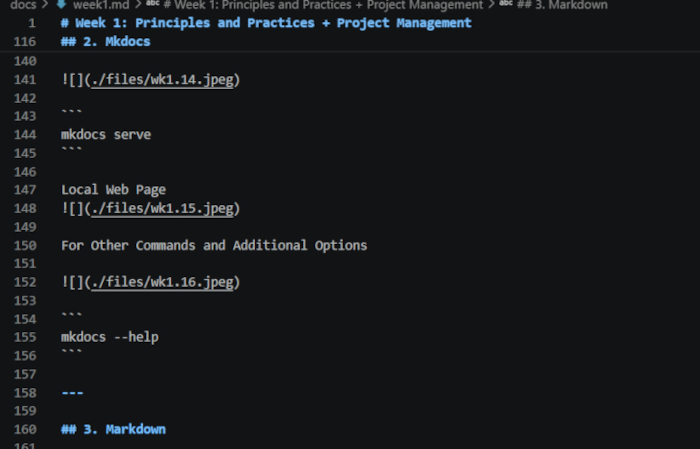
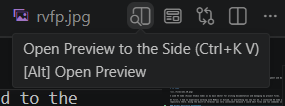
Documentation Workflow Trick
One useful trick I used while writing documentation was keeping the Markdown preview open on the side in VS Code.
Open Preview in Preview Editor (Ctrl+K+V+Alt)
 kbkk
kbkk
This allowed me to:
- instantly see formatting changes
- check headings, images, and code blocks
- quickly find Markdown mistakes
- compare the source text and final website view at the same time
This screenshot shows the split-screen workflow I used while editing documentation.
Using the side preview helped me work faster and avoid formatting problems before publishing the website.
Reflection / Conclusion
This week helped me understand how documentation and version control work in real projects.
The most difficult part for me was working with Git and fixing configuration errors in MkDocs. At first, terminal errors looked confusing, but after reading the messages carefully and testing different solutions, I started understanding how the workflow operates.
The most successful part was setting up my documentation website and running it locally with MkDocs. Seeing the website update in real time after editing files was very motivating.
I also improved my understanding of:
- Git workflow
- Markdown formatting
- MkDocs structure
- debugging terminal errors
- organizing project documentation
Overall, this week gave me a strong foundation for future Fab Academy assignments and helped me become more confident working with development tools.