Computer-Controlled Cutting
Group Assignment
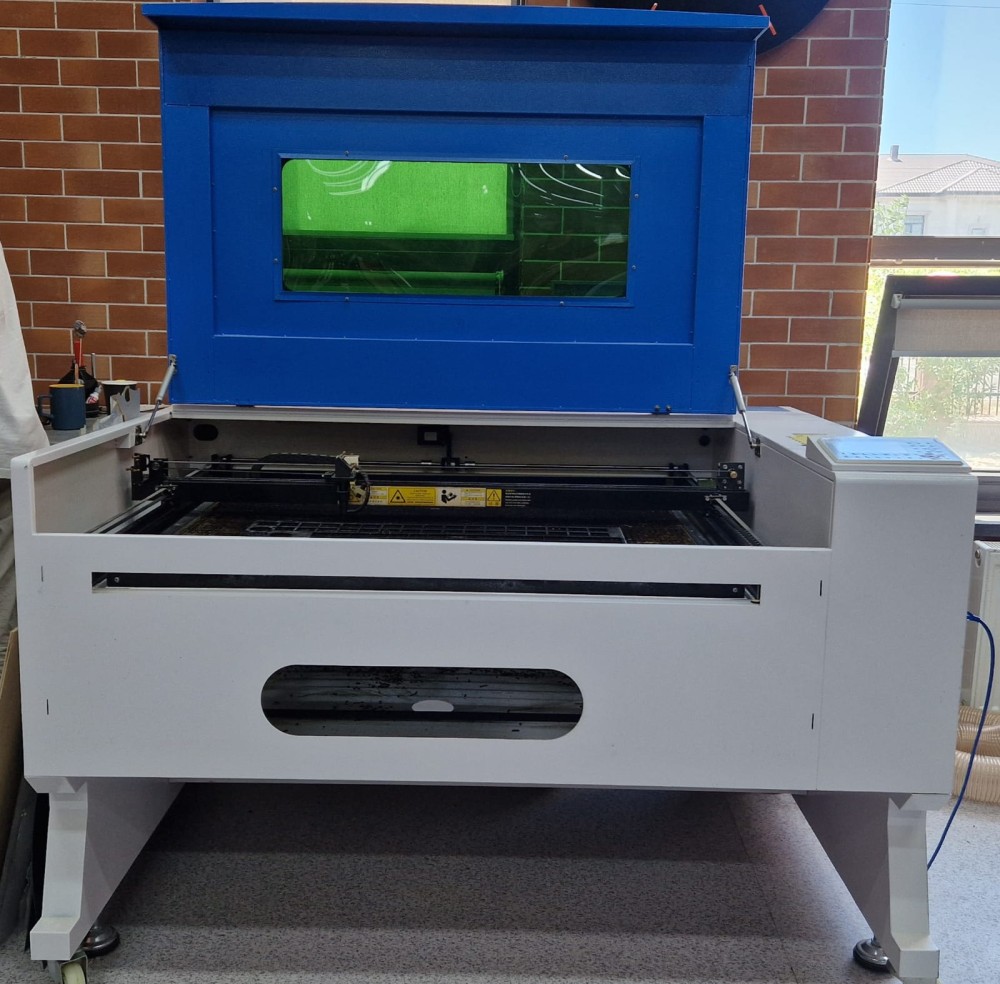
The VOIERN 1310 CCD laser engraving machine (with camera) RD 100W is popular in the textile, clothing, and footwear industries for cutting out parts that are later used as finishing elements for finished products (clothing labels, jeans badges, patches and chevrons, appliqués, embroidery, insoles, etc.). This model of laser engraving machine is also widely used in the advertising and souvenir industries for the production of individual elements and finishing of finished products.
| Type | VOIERN 1310 RD 100W | |
| Motherboard / Controller | RuiDA | |
| CCD Camera | SV300 | |
| Machine Size | 1850 x 1310 x 1125 mm | |
| Machine Color | White-Blue | |
| Working Area | 1300 x 1000 mm | |
| Engraving Thickness | 2 mm (depending on material) | |
| Cutting Thickness | 2 cm (depending on material) | |
| Engraving Speed | 1-1000 mm/s | |
| Cutting Speed | 1-500 mm/s | |
| Laser Power | 100 W | |
| Laser Tube Type | Sealed CO2 Laser Tube | |
| Cooling Mode | Water Cooling Protection System | |
| Water Protection | Yes | |
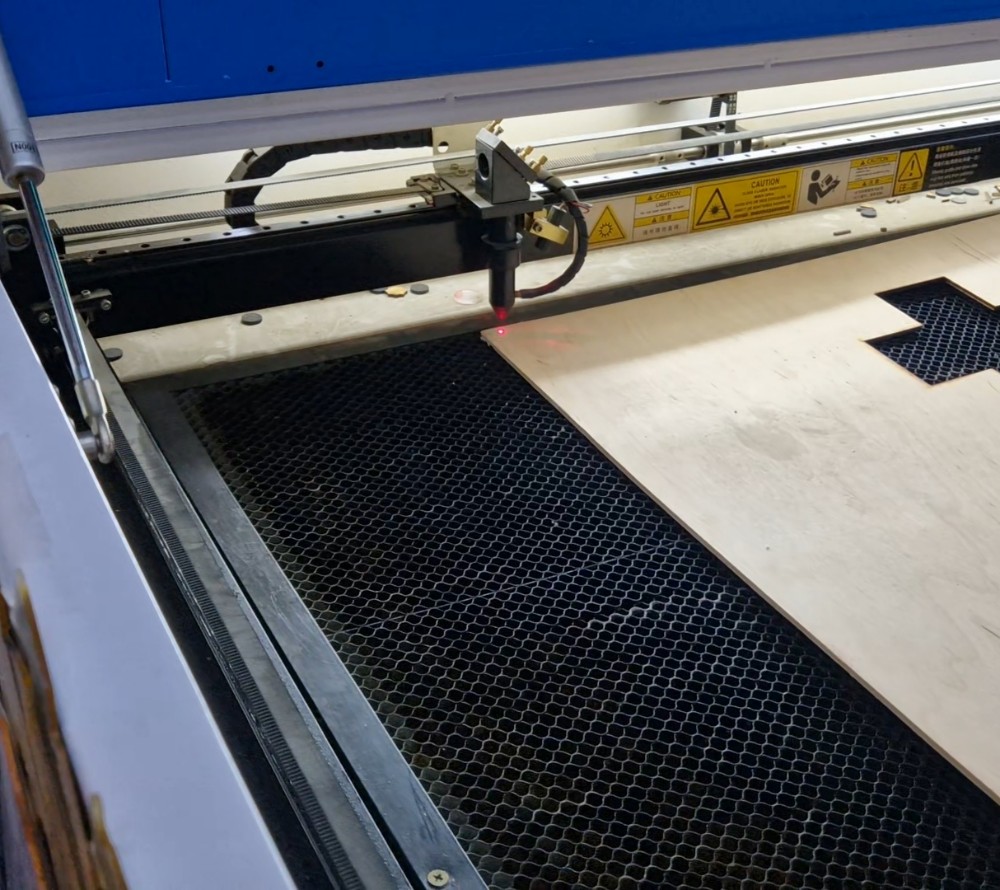
| Positioning Method | Red Light Positioning | |
| Location Accuracy | <=0.01 mm | |
| Working Platform | Honeycomb / Paddle Platform | |
| Lifting Range | Electronic lift 0-350 mm | |
| Power supply | AC220V/110V 50Hz | |
| Net weight | 380 kg | |
| Packaging | Plywood box and foam | |
| System environment | Windows XP/7/8/10 | |
| Control software | RDWorks |
Safety Training
Before using the machine, we completed the laboratory safety training.
We learned the basic safety rules:
Always wear appropriate personal protective equipment if required. Never leave the laser cutter unattended while it is operating. Check that the material is suitable for laser cutting. Keep hands away from moving parts. Use the vacuum extraction system to remove dust and leftover material after cutting. Clean the workspace after finishing the job.
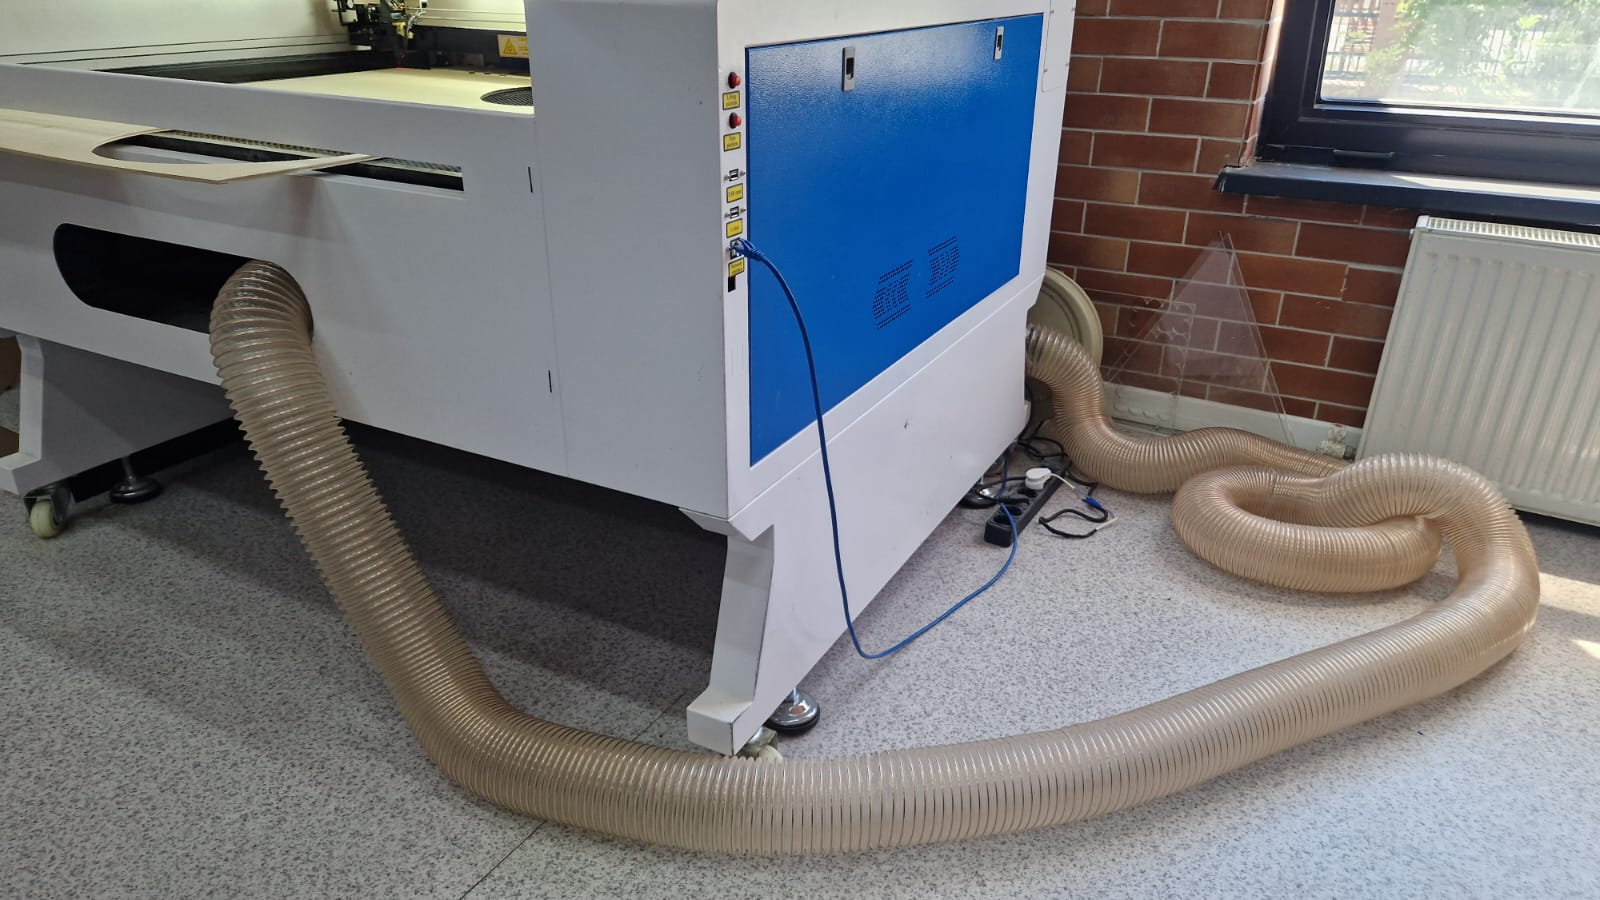
The vacuum system helps keep the machine and work area clean by removing debris and cutting residues.
Laser Cutter Characterization
Kerf Measurement
Design Size
Measured Size
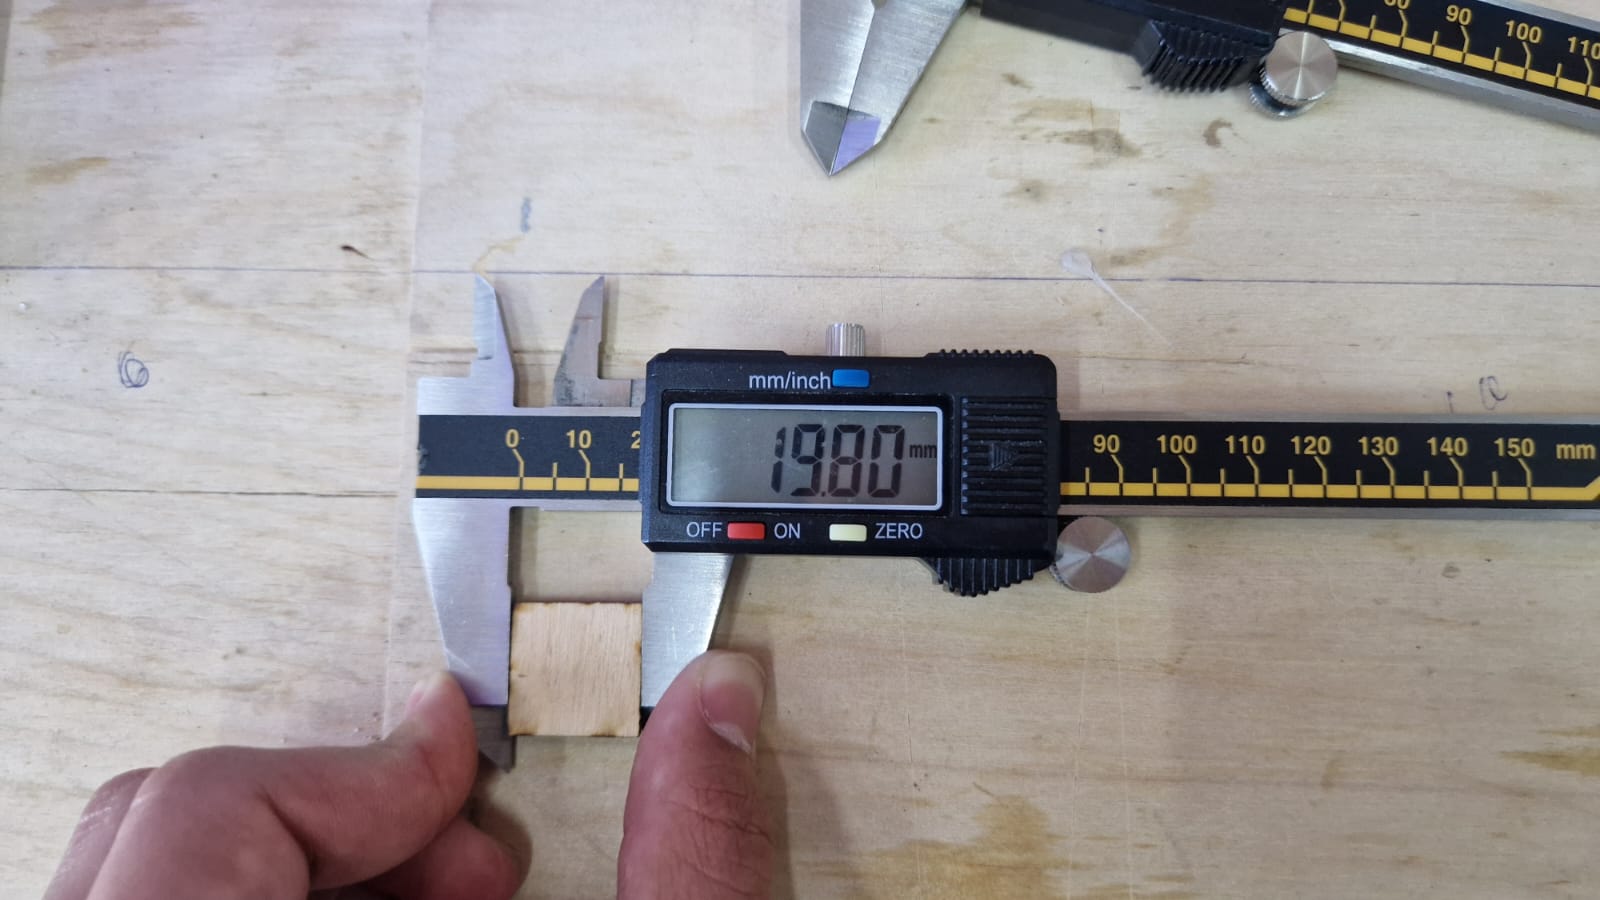
Measurements
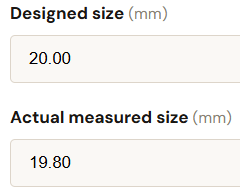
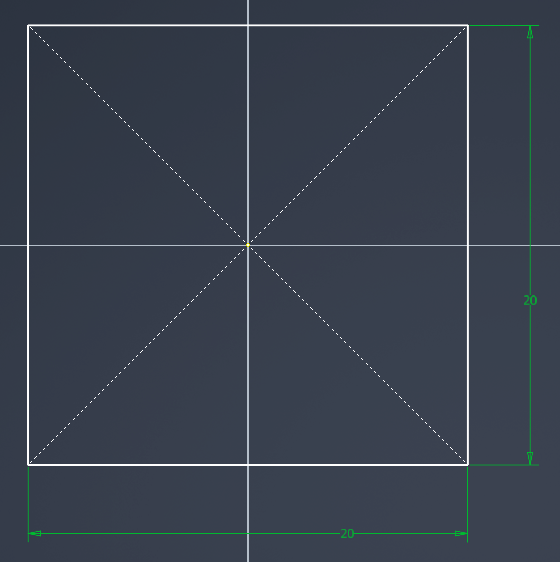
We performed a kerf test using the following formula:

Kerf = (Design size – Measured size) ÷ 2
This allowed us to determine the amount of material removed by the laser beam.
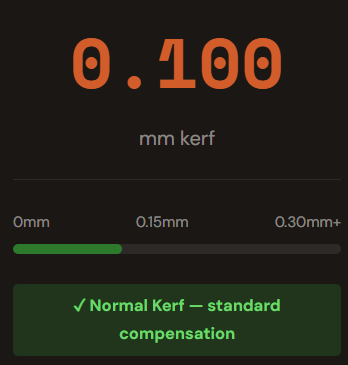
Our kerf has a 0.100 mm cut, which is a normal kerf with standard compensation. The material loss is 0.400 mm. The total difference is 0.200 mm.
For our project, the kerf value was already established and used during the design process.
Links
### Kerf Calculator
Group Assignment
Individual Assignment
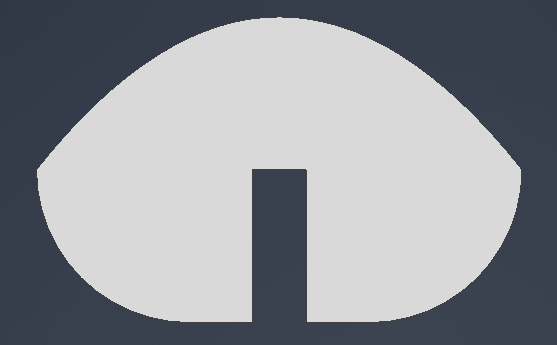
Design
For this assignment, I designed a simple parametric construction kit using Autodesk Inventor 2026.
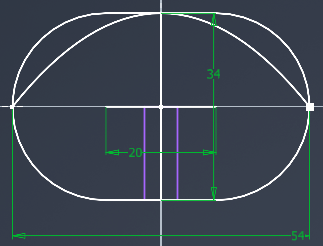
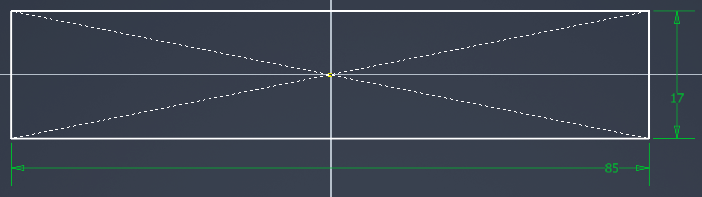
I created three different 2D sketches and saved each part as a separate .ipt file.
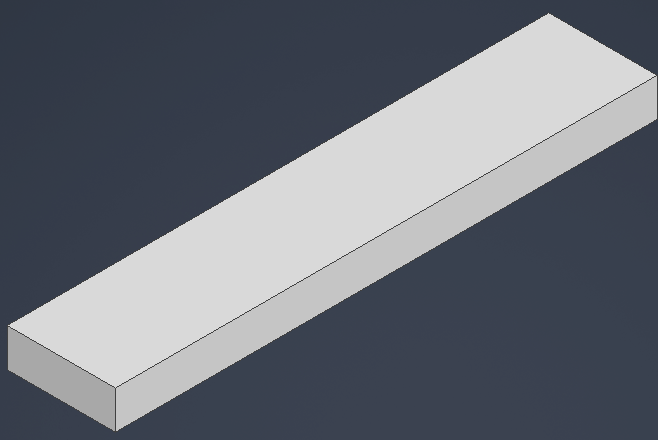
After finishing the sketches, I extruded all the parts to a thickness of 6 mm, which is the actual thickness of the plywood material I used.
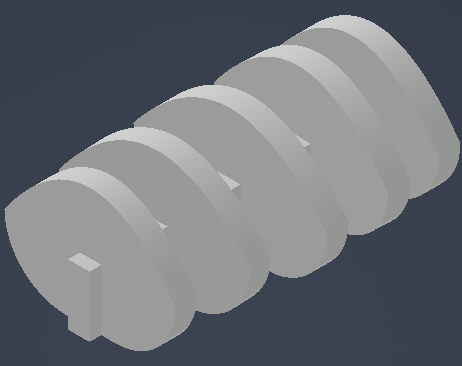
The goal was to create a simple press-fit construction kit that could be assembled without glue or screws.
Parametric Design
To make the design parametric, I opened the Manage tab and selected Parameters.
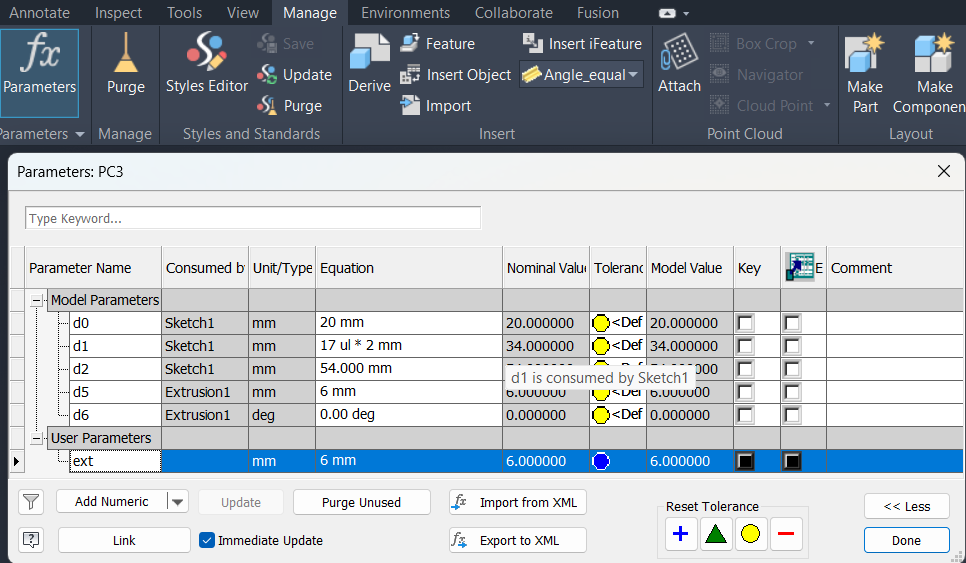
The parameters window displays all dimensions used in the current part. I clicked Add Numeric to create a new user parameter.
I entered:
- Parameter Name: ext
- Unit: mm
- Equation: 6 mm
After creating the parameter, I returned to the 3D Model tab.
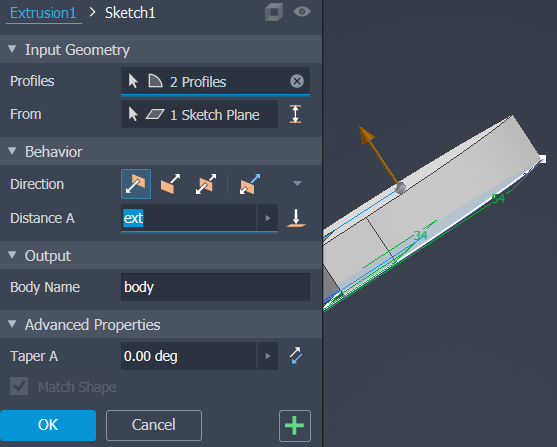
While using the Extrude command, instead of entering a numerical value in the Distance A field, I entered the parameter name "ext".
Using parameters allows the model to update automatically if the material extrusion changes in the future.
Laser Cutting Setup
I opened the laser cutting software and imported my design files.
The steps were:
- Click File.
- Select Import.
- Import the DXF files.
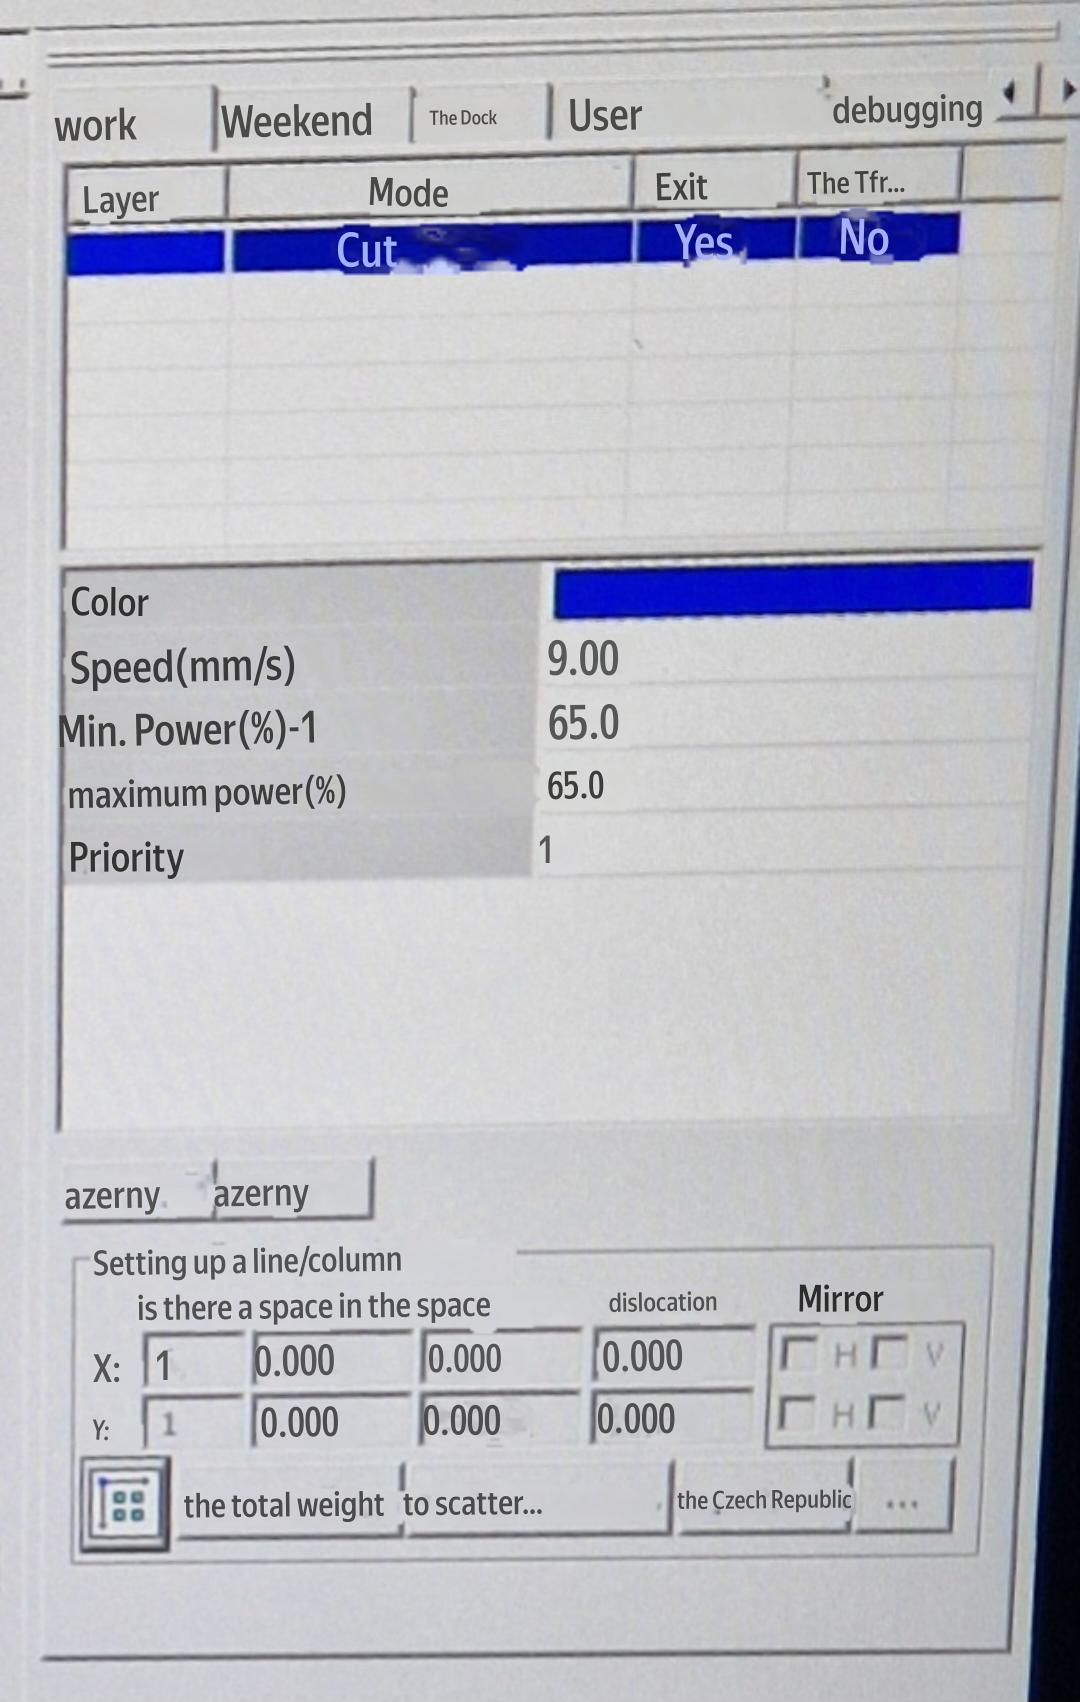
On the right-side settings panel, I configured the job settings.
Initial settings:
Mode: Cut Speed: 50 mm/s Minimum Power: 45% Maximum Power: 45% Priority: 1
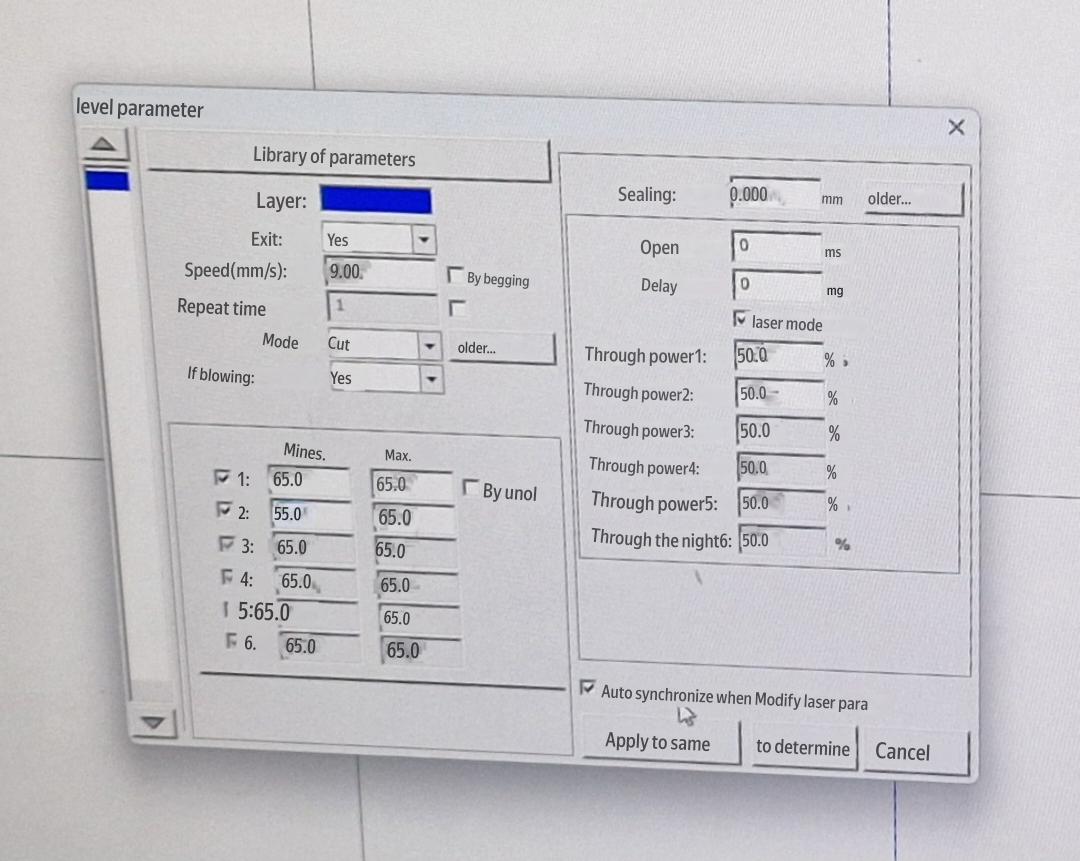
Then I opened the advanced cutting parameters by double-clicking the Cut Mode option.
For the final cutting parameters, I used:
Speed: 9 mm/s Minimum Power: 65% Maximum Power: 65%
I clicked Apply to Same to apply these settings to all selected parts.
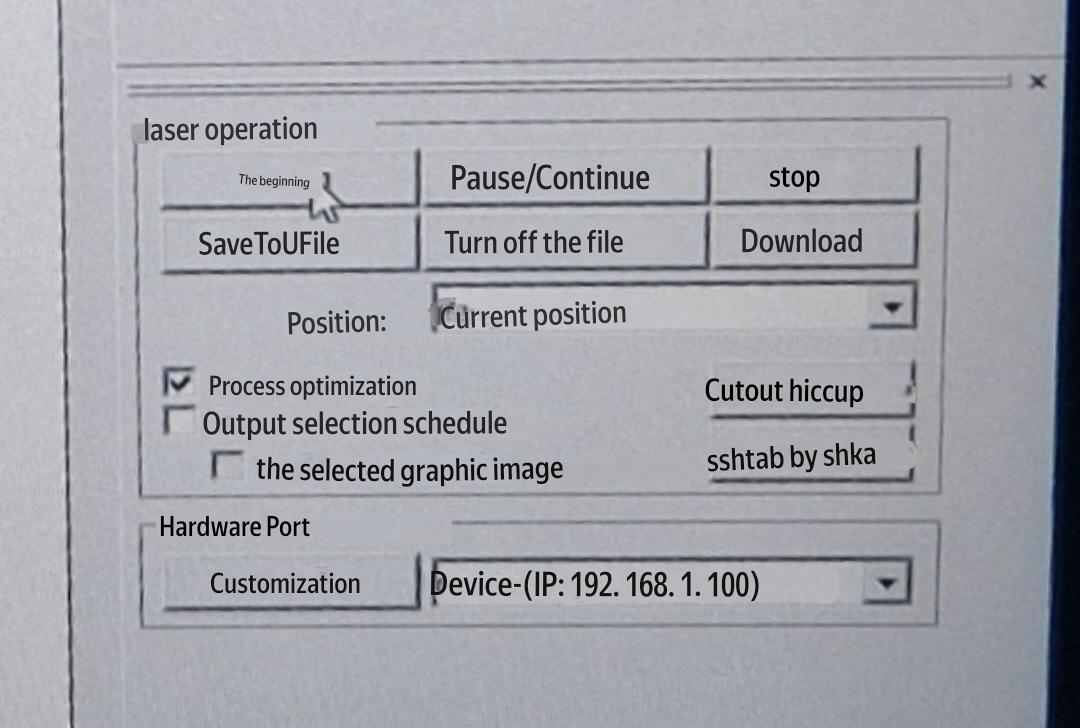
Finally, in the bottom-right laser control panel, I pressed Start, and the laser cutter began processing the material.