Wildcard Week
Process Not Covered in Other Assignments
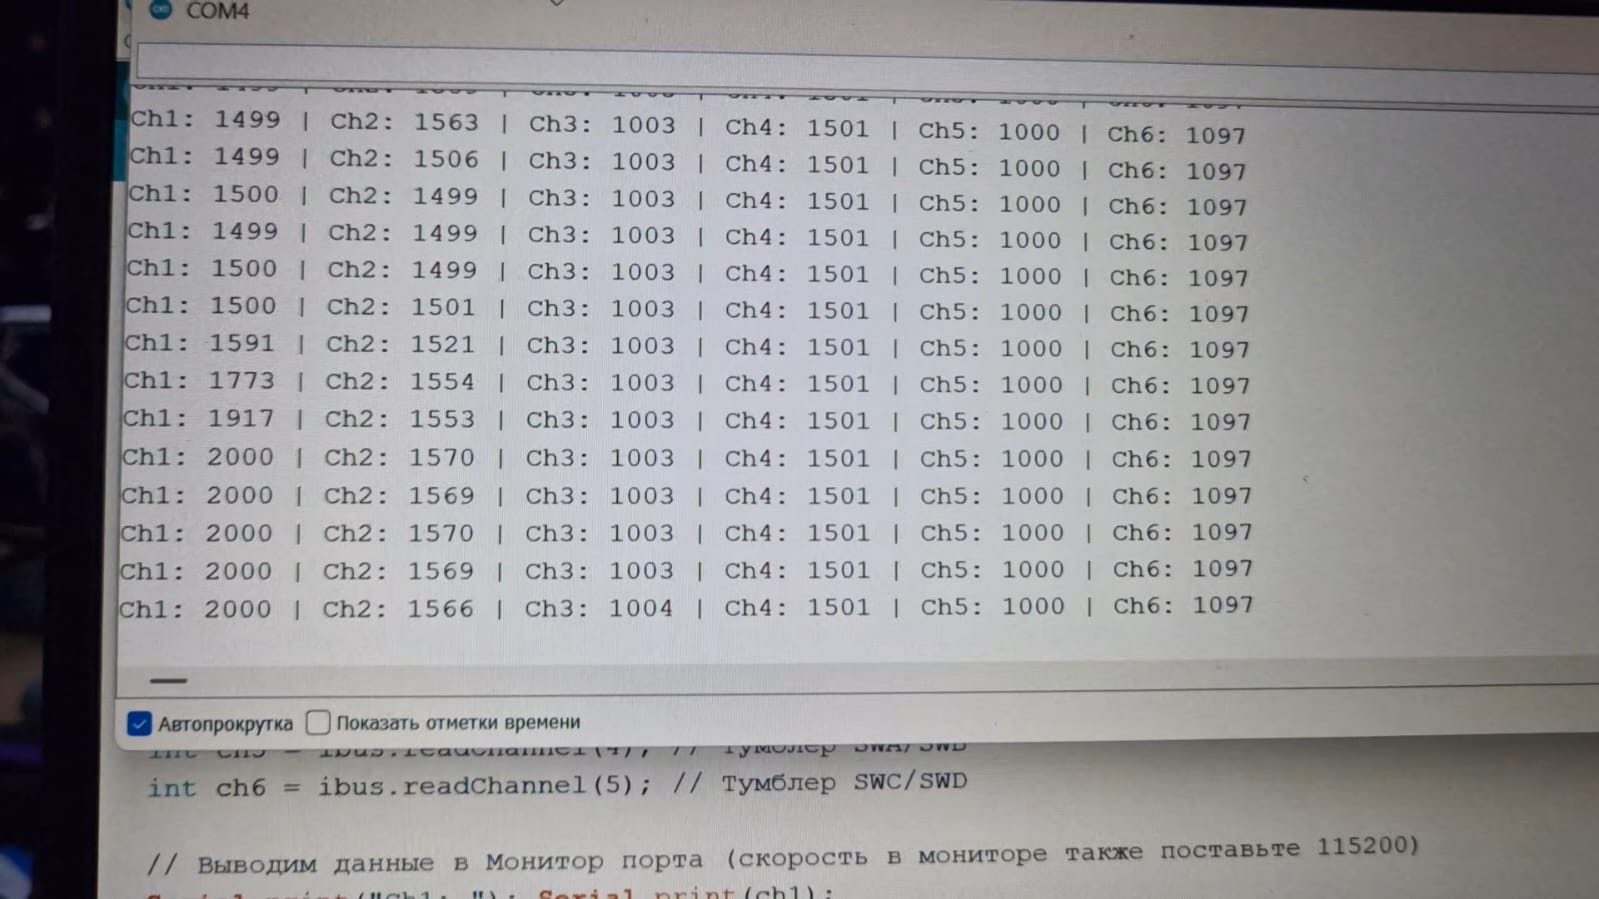
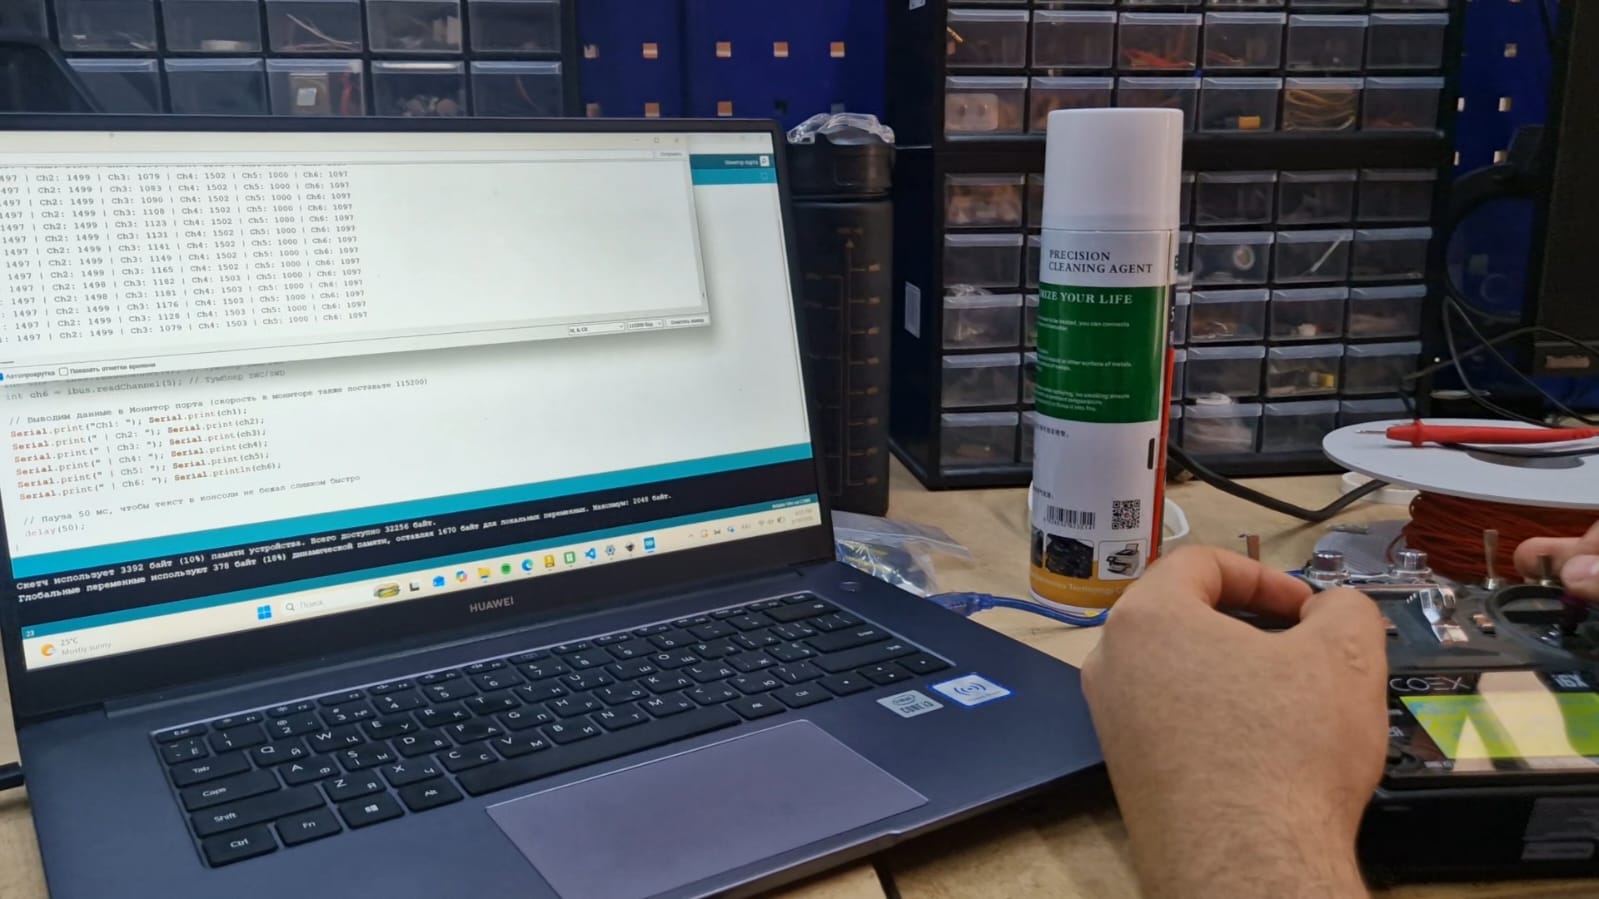
For this assignment, I connected a FlySky FS-A8S micro receiver to an Arduino Uno R3 and used the i-BUS communication protocol to read remote-control signals.
This process is different from other Fab Academy assignments because it focuses on integrating an RC receiver and wireless communication instead of using standard sensors, output devices, or simple wired interfaces.
This setup for wireless control.
Hardware Used
- Arduino Uno R3
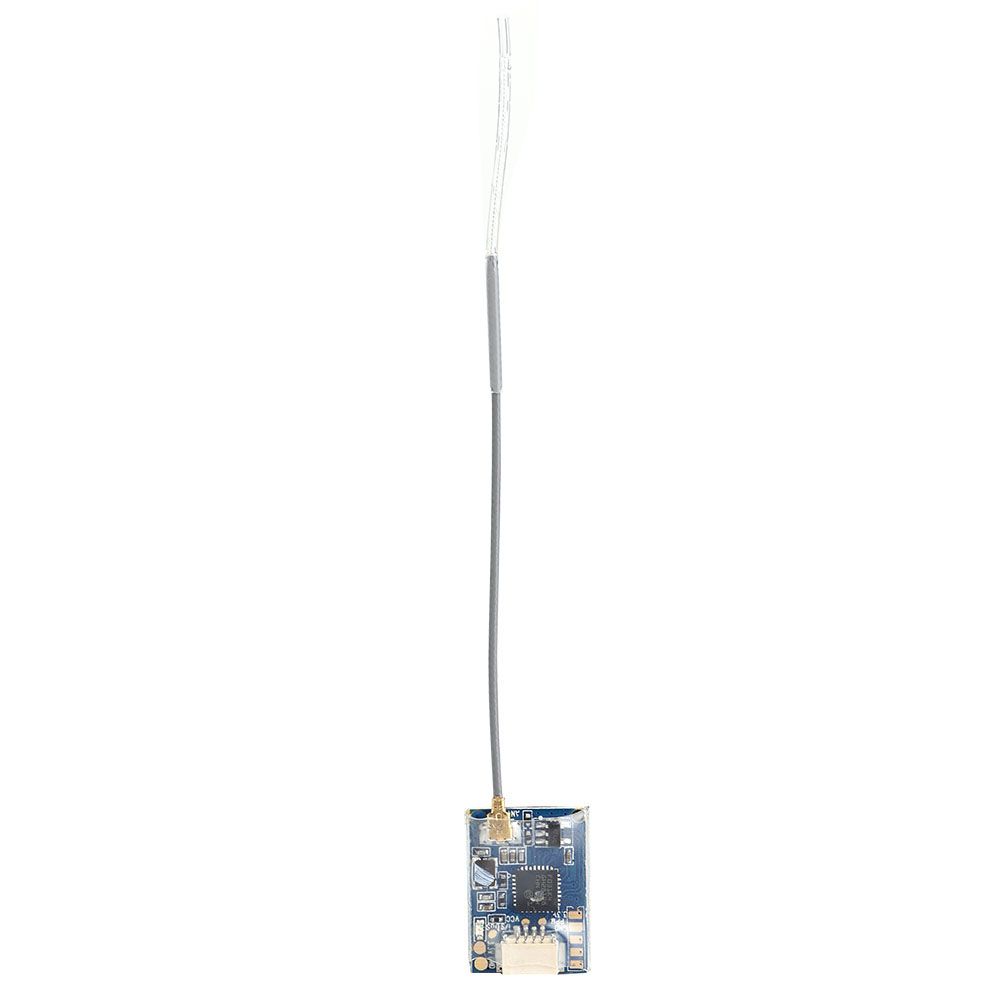
FlySky FS-A8S micro receiver
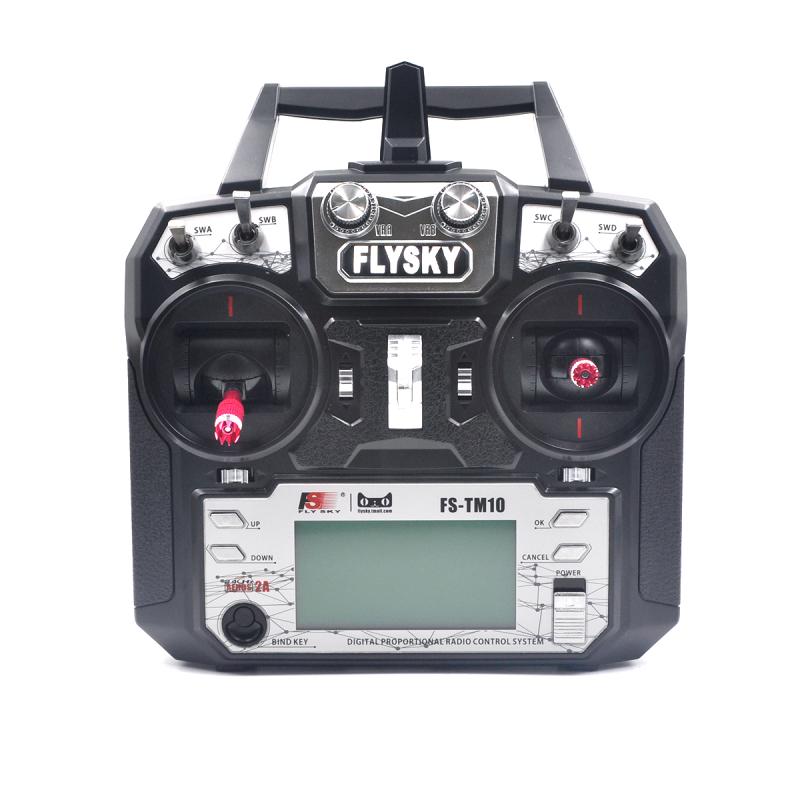
FlySky transmitter
- Jumper wires
- USB cable
- Computer with Arduino IDE
Wiring Connections
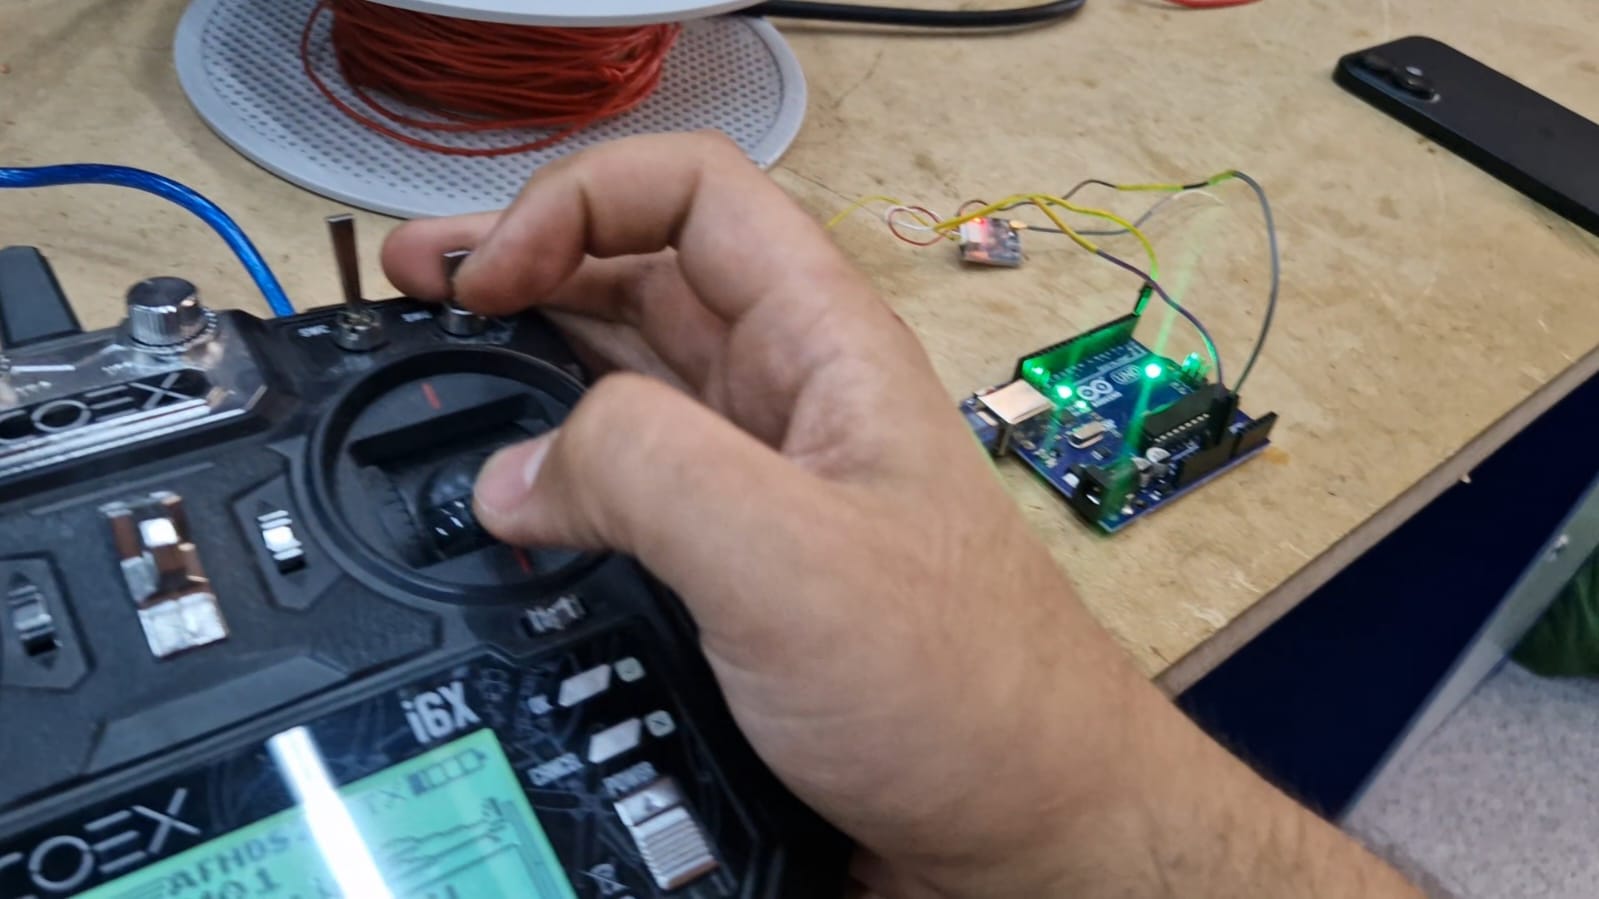
- FlySky FS-A8S → Arduino Uno R3
- GND (Black) → GND
- VCC +5V (Red) → 5V
- i-BUS Signal (White) → RX (D0)
Arduino Library Setup
I used the IBusBM library.
Installation steps
Open Arduino IDE.
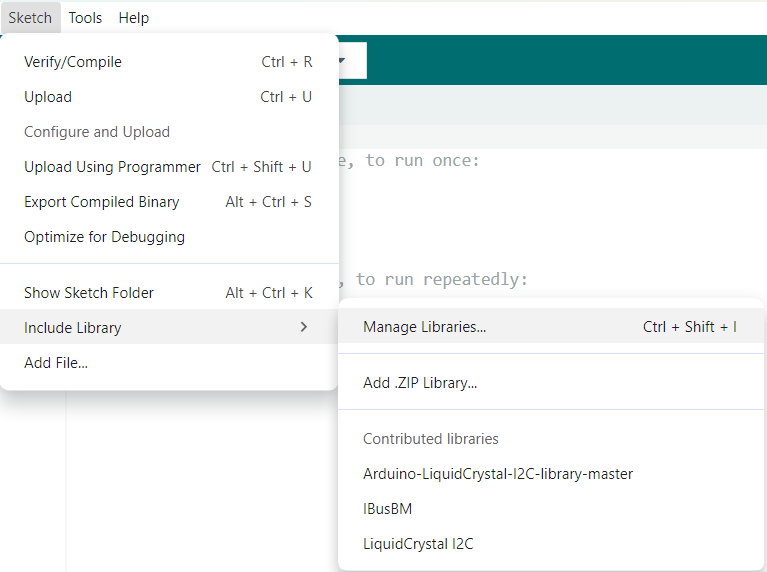
- Go to Sketch → Include Library → Manage Libraries.
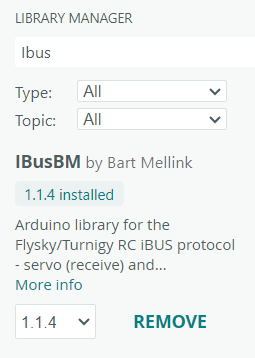
- Search for IBusBM (by bmellink). Click Install.
This library allows Arduino to communicate with the FlySky receiver through the i-BUS protocol.
Programming Process
The program reads the signal from channel 2 of the FlySky receiver and controls two output pins.
I defined:
Pin 2as the forward output;Pin 3as the backward output.
A center value of 1500 was used because RC receivers typically send values around 1500 when the joystick is in the neutral position.
A dead zone of 50 was added to prevent unwanted movement caused by small signal fluctuations.
Inside the loop function:
Arduino reads channel 2 from the receiver.
* If no valid signal is detected, both outputs remain off.
* If the joystick moves forward, pin 2 turns on.
* If the joystick moves backward, pin 3 turns on.
* If the joystick is centered, both outputs remain off.
The program repeats continuously every 50 milliseconds.
Source Code
#include <IBusBM.h>

IBusBM ibus;

const int PIN_FORWARD = 2;
const int PIN_BACKWARD = 3;

const int CENTER_VALUE = 1500;
const int DEAD_ZONE = 50;

void setup() {

  pinMode(PIN_FORWARD, OUTPUT);
  pinMode(PIN_BACKWARD, OUTPUT);

  digitalWrite(PIN_FORWARD, LOW);
  digitalWrite(PIN_BACKWARD, LOW);

  Serial.begin(115200);

  ibus.begin(Serial);
}

void loop() {

  int ch2 = ibus.readChannel(1);

  if (ch2 < 900) {

    digitalWrite(PIN_FORWARD, LOW);
    digitalWrite(PIN_BACKWARD, LOW);

    return;
  }

  if (ch2 > (CENTER_VALUE + DEAD_ZONE)) {

    digitalWrite(PIN_FORWARD, HIGH);
    digitalWrite(PIN_BACKWARD, LOW);

  }

  else if (ch2 < (CENTER_VALUE - DEAD_ZONE)) {

    digitalWrite(PIN_FORWARD, LOW);
    digitalWrite(PIN_BACKWARD, HIGH);

  }

  else {

    digitalWrite(PIN_FORWARD, LOW);
    digitalWrite(PIN_BACKWARD, LOW);

  }

  delay(50);
}
Code Explanation
#include <IBusBM.h>imports the i-BUS communication library.IBusBM ibus;creates an i-BUS object.PIN_FORWARDandPIN_BACKWARDdefine the output pins.CENTER_VALUE = 1500sets the neutral joystick position.DEAD_ZONE = 50prevents accidental movements.ibus.begin(Serial)starts communication with the receiver.ibus.readChannel(1)reads channel 2 from the FlySky receiver.- If no valid signal is detected, both outputs are turned off.
- Moving the joystick forward activates
pin 2. - Moving the joystick backward activates
pin 3. - Returning the joystick to the center turns both outputs off.
What I Learned
During this assignment, I learned:
- how to use the FlySky FS-A8S receiver;
- how the i-BUS protocol works;
- how to install and use the IBusBM library;
- how to read RC signals with Arduino;
- how to create a dead zone for stable control;
- how to integrate wireless control into a project.
Hero Shots