17 - Wild Card Week (composites)
Summary
For wild card week there was a wide range of topics to pick from, containing some very interesting fields like origami, e-textiles and soft robotics. At the Waag we decided to focus on composites this week.
Approach
Since I'm running a bit behind on documentation and my final project the approach this week was again to keep it simple.
Assignment
- group assignment:
- produce test coupons for your composite fabrication process(es)
- individual assignment:
- read the safety data sheet (SDS) and technical data sheet (TDS) for the resins that you're using design and fabricate a 3D mold (~ft2) and produce a fiber composite part in it, with resin infusion and compaction
Group assignment
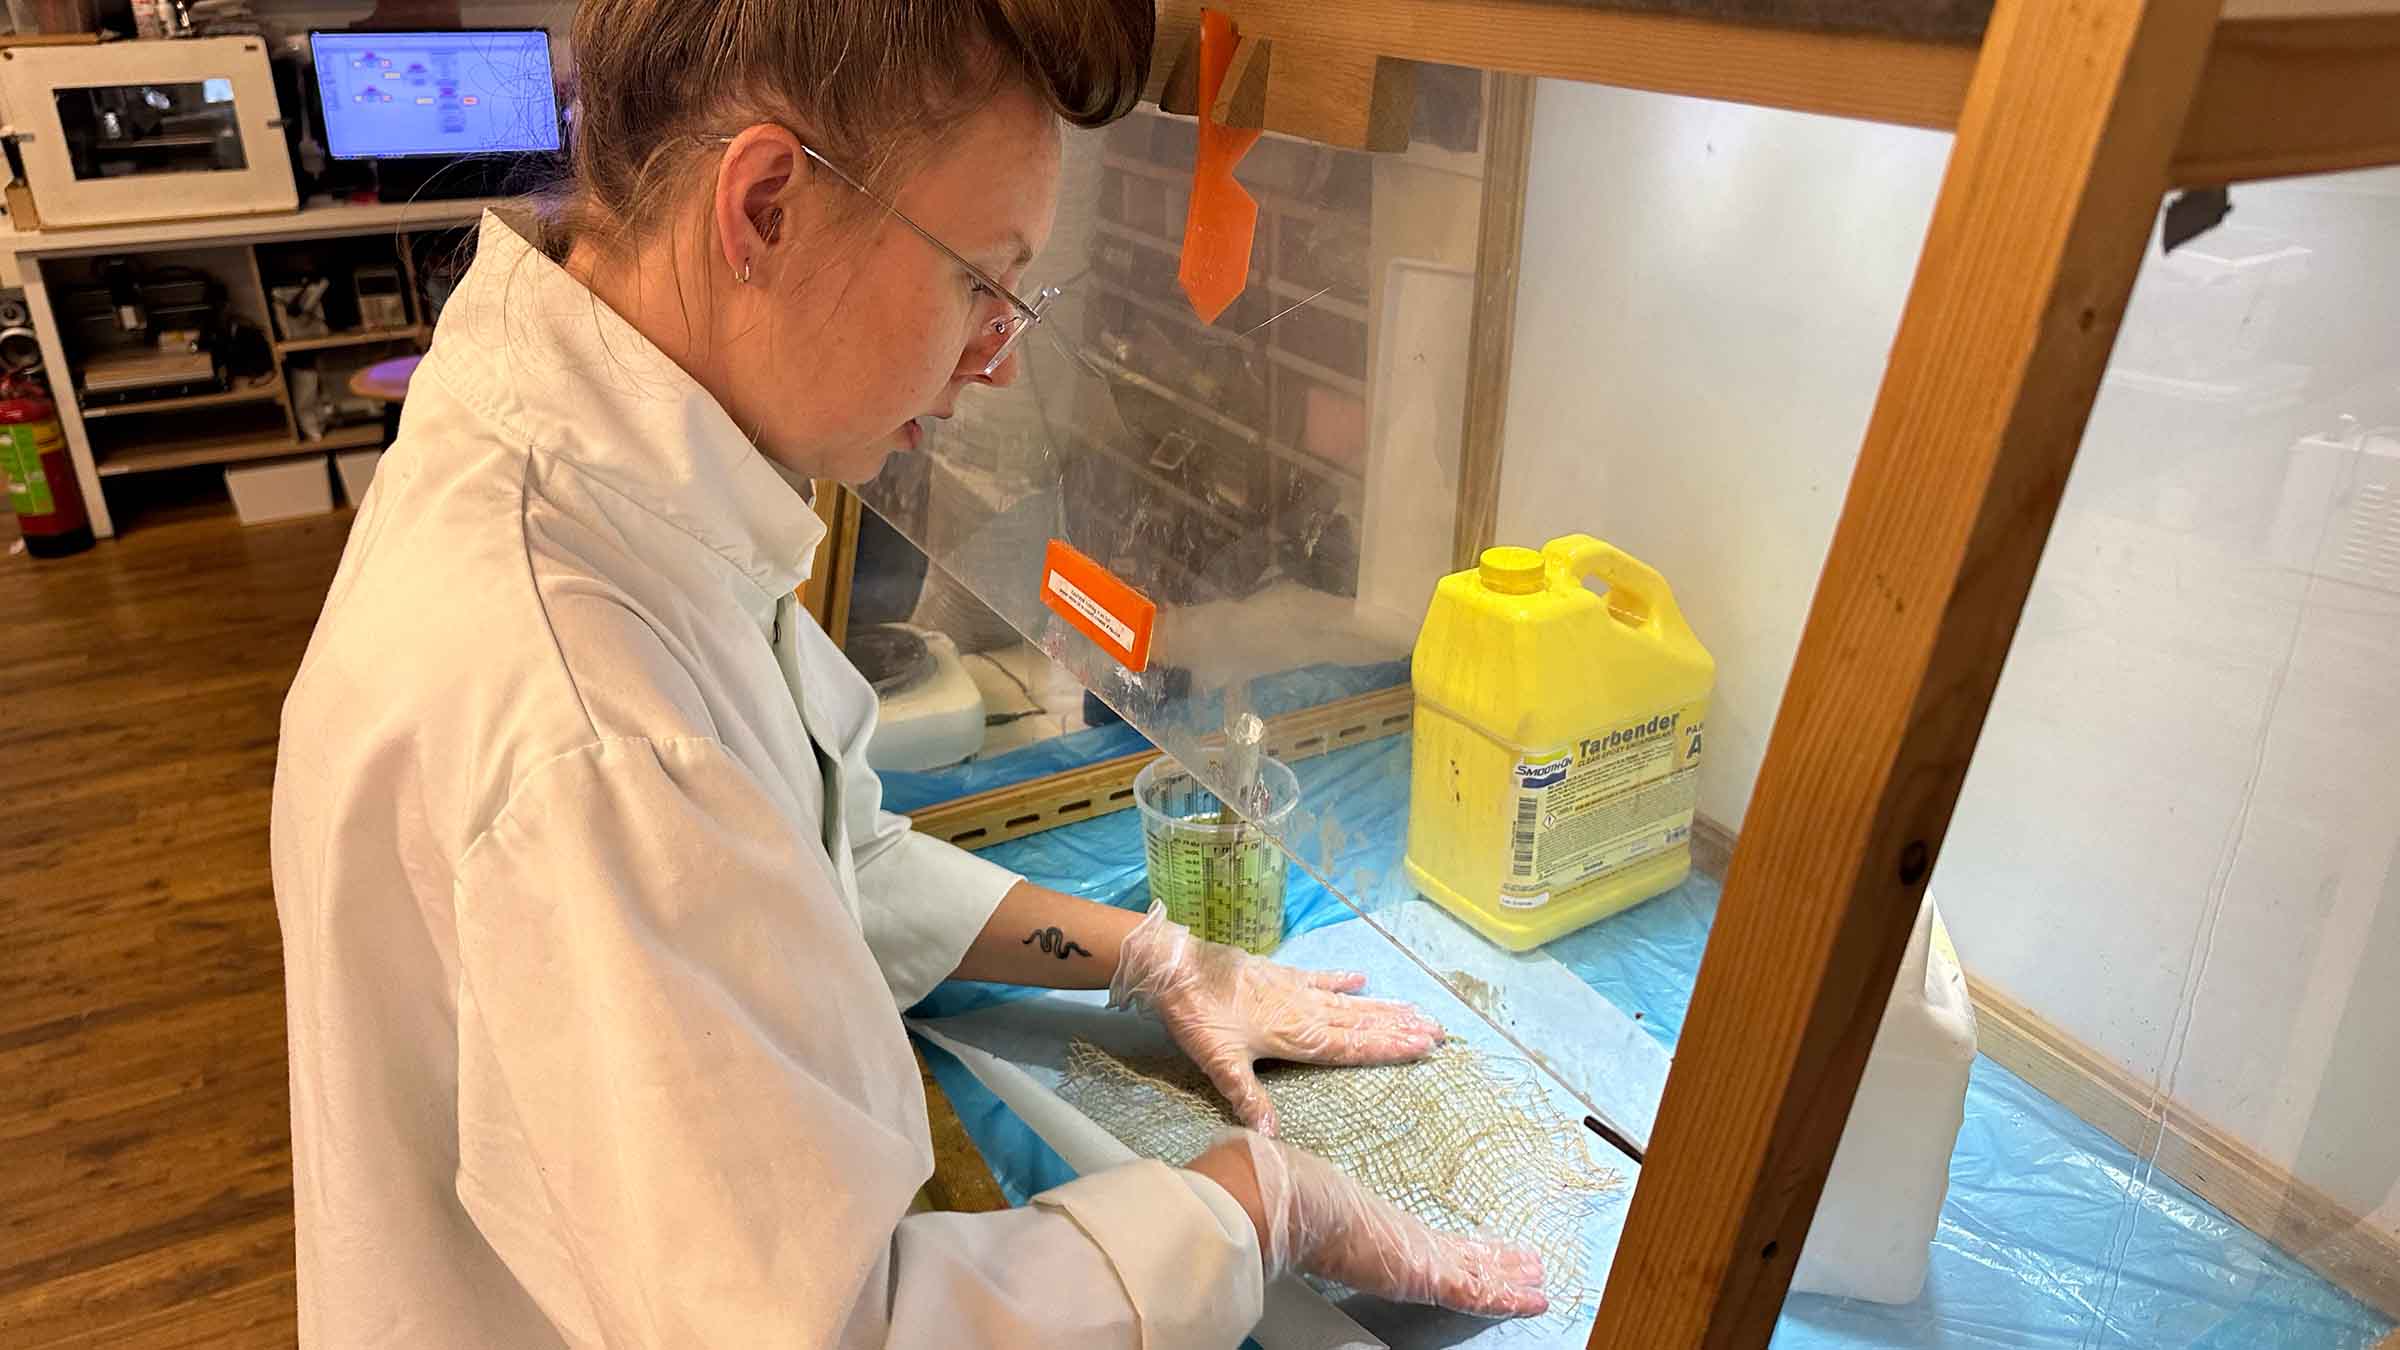
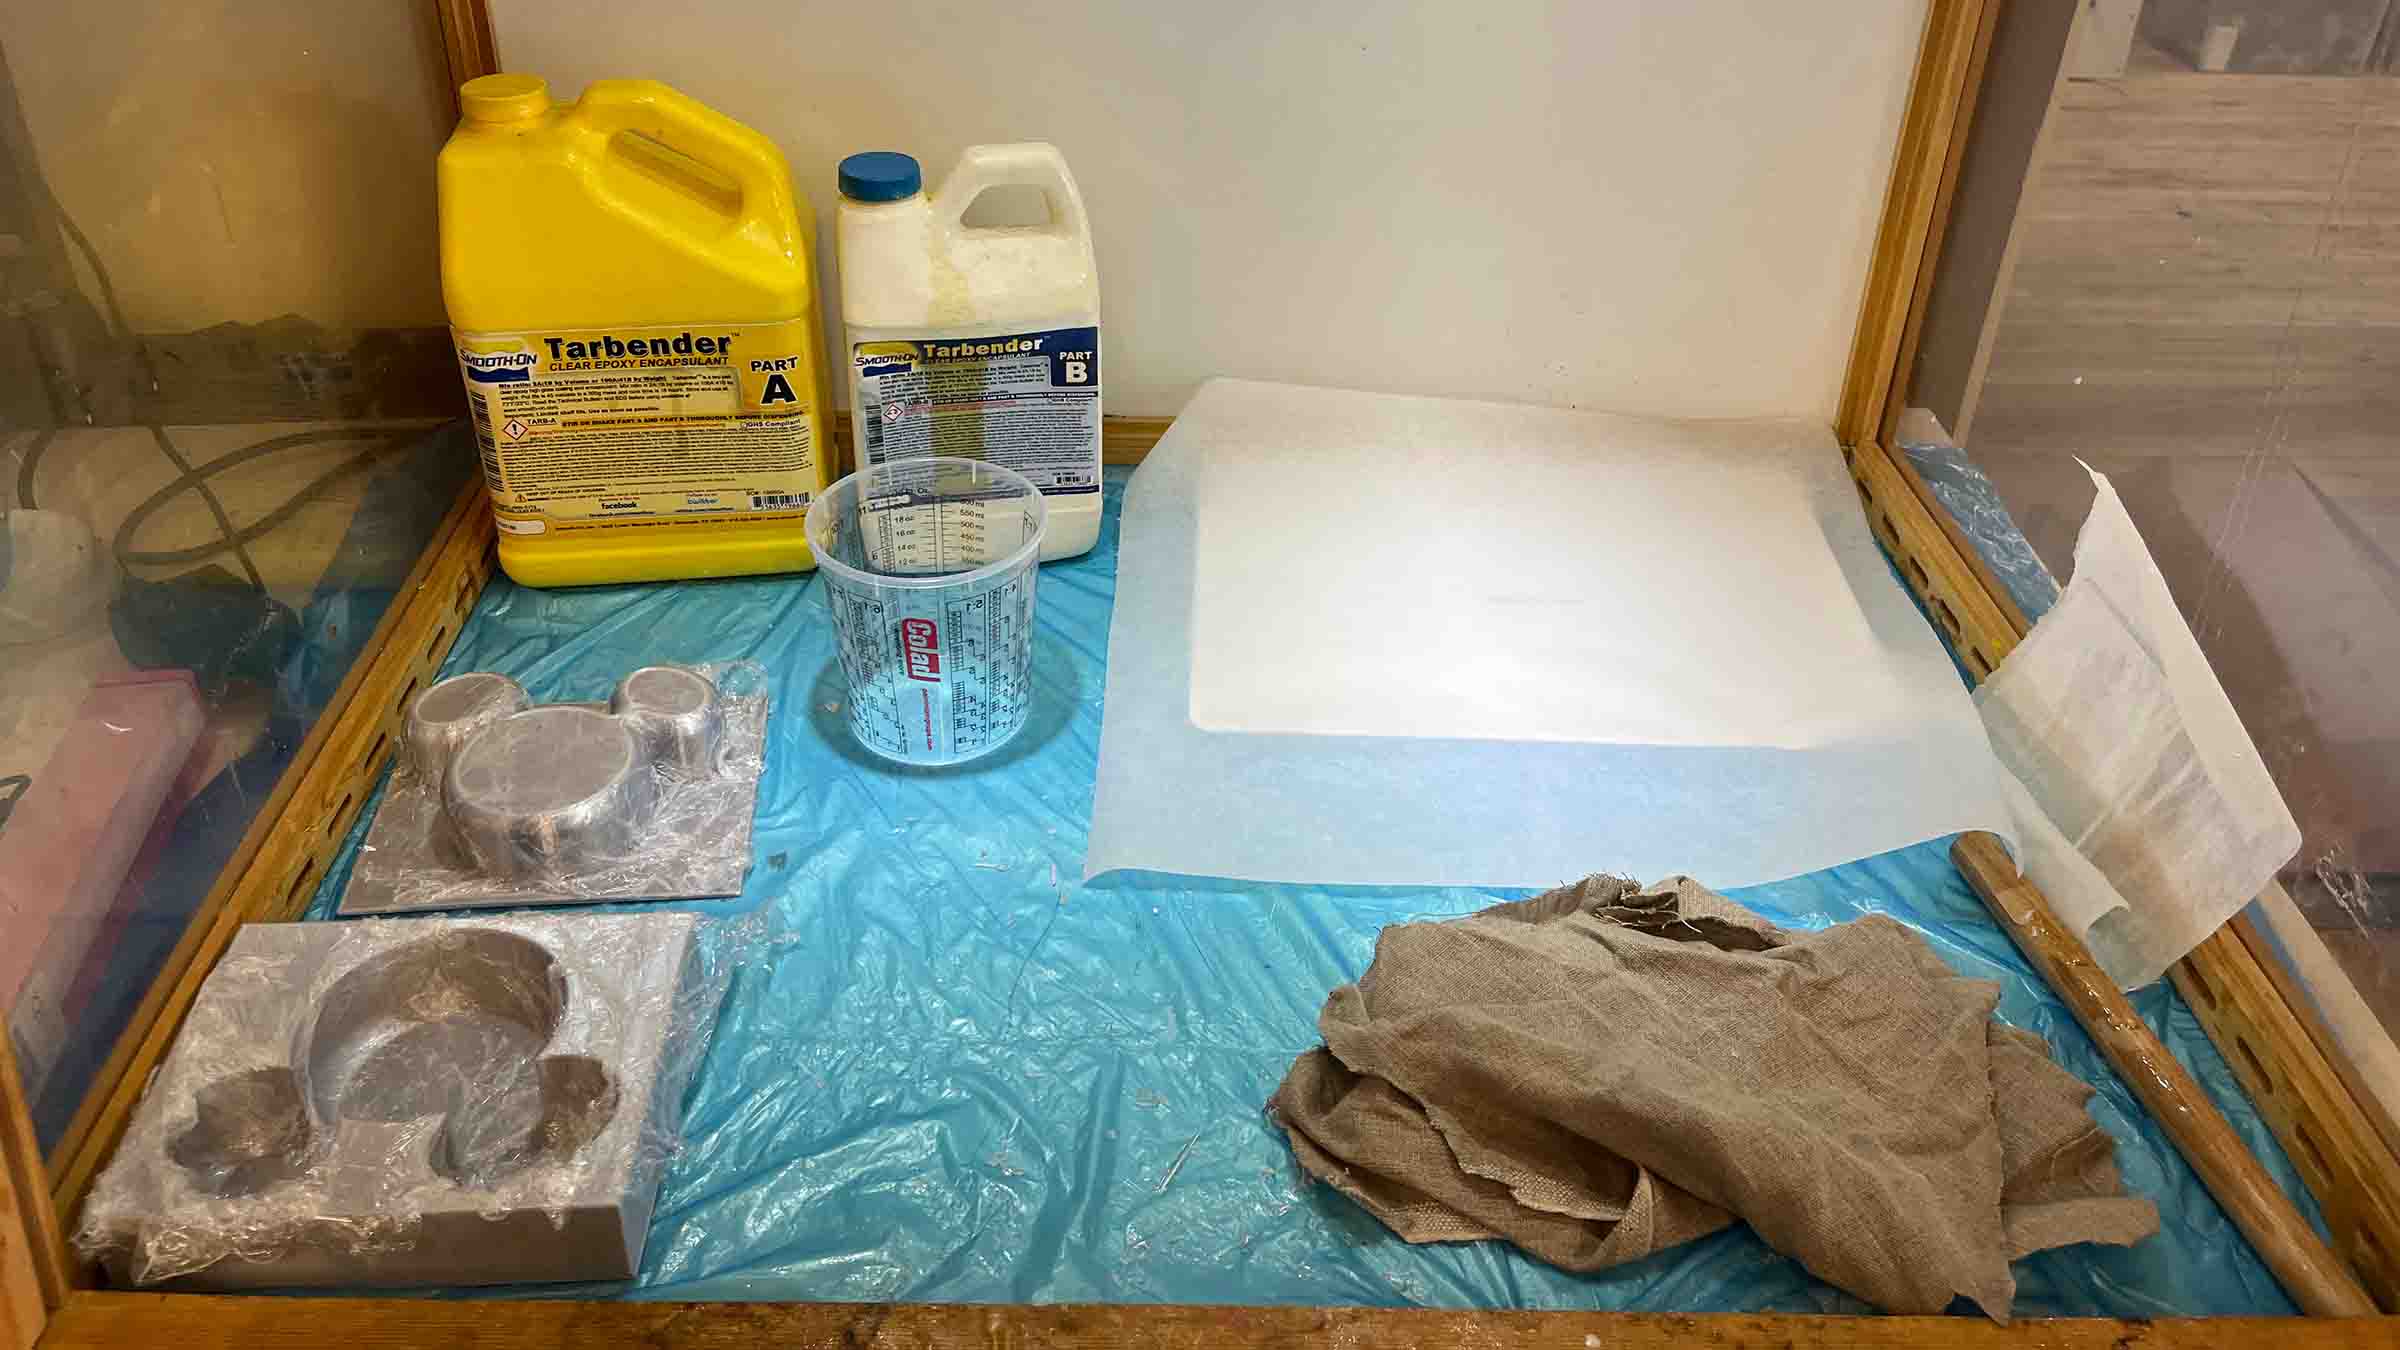
For the group assignment my classmates Remco and Christian tested out both a epoxy (Smooth-On Tarbender Epoxy) and a bio based resin with two different kinds of fabrics and both with and without a core. For my part I did the same – but only using the epoxy since the bio resin didn't work out – but put them in a vacuum bag so we can compare the properties of the composites with different curing methods. Both are made up of two layers of fabric and no core.
They came out quite nice, when you compare them to the ones not dried in the vacuum bag they seem to be less bendy, though I may have also rubbed the epoxy more into the fabric than the boys did the first time. I especially like the structure on the burlap one, though it is quite brittle.
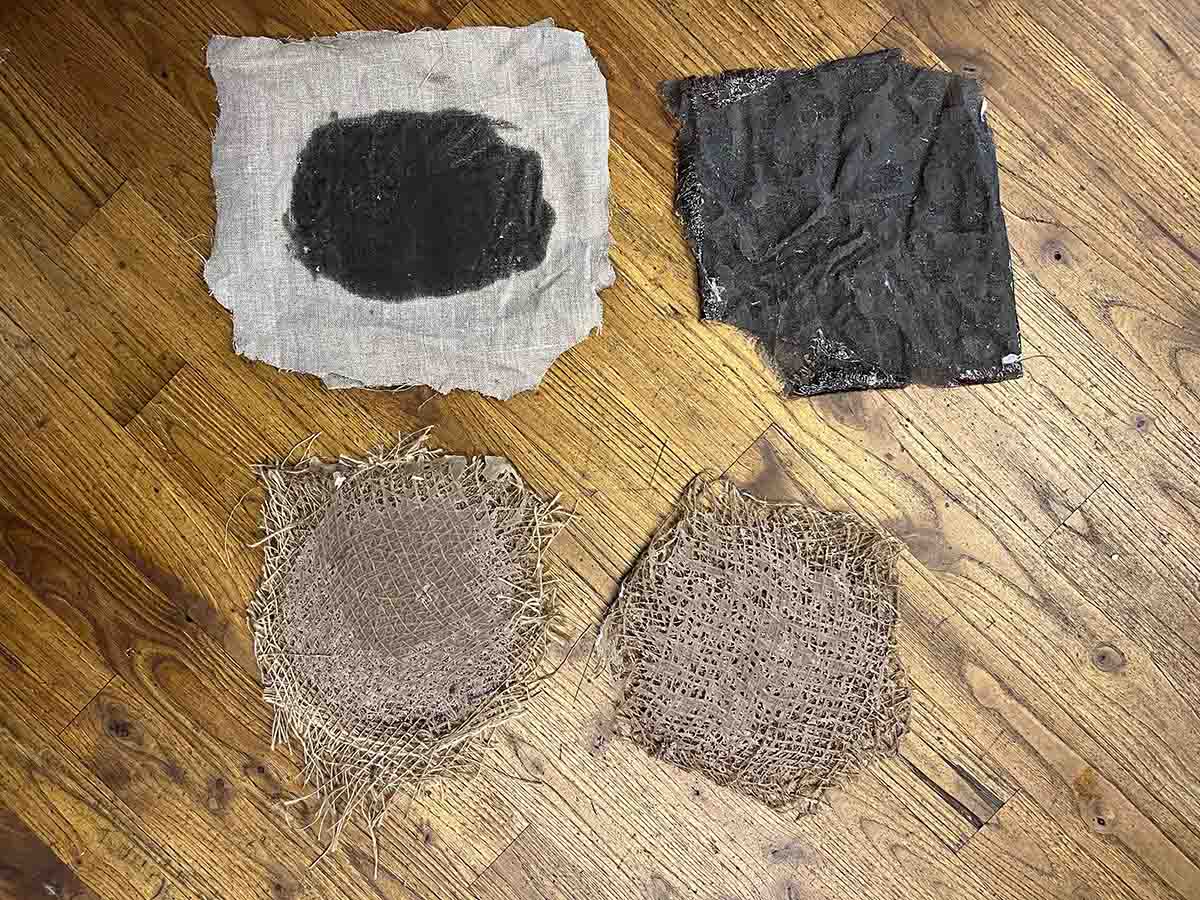 The two on the right are the ones from the vacuum bag
Individual assignment
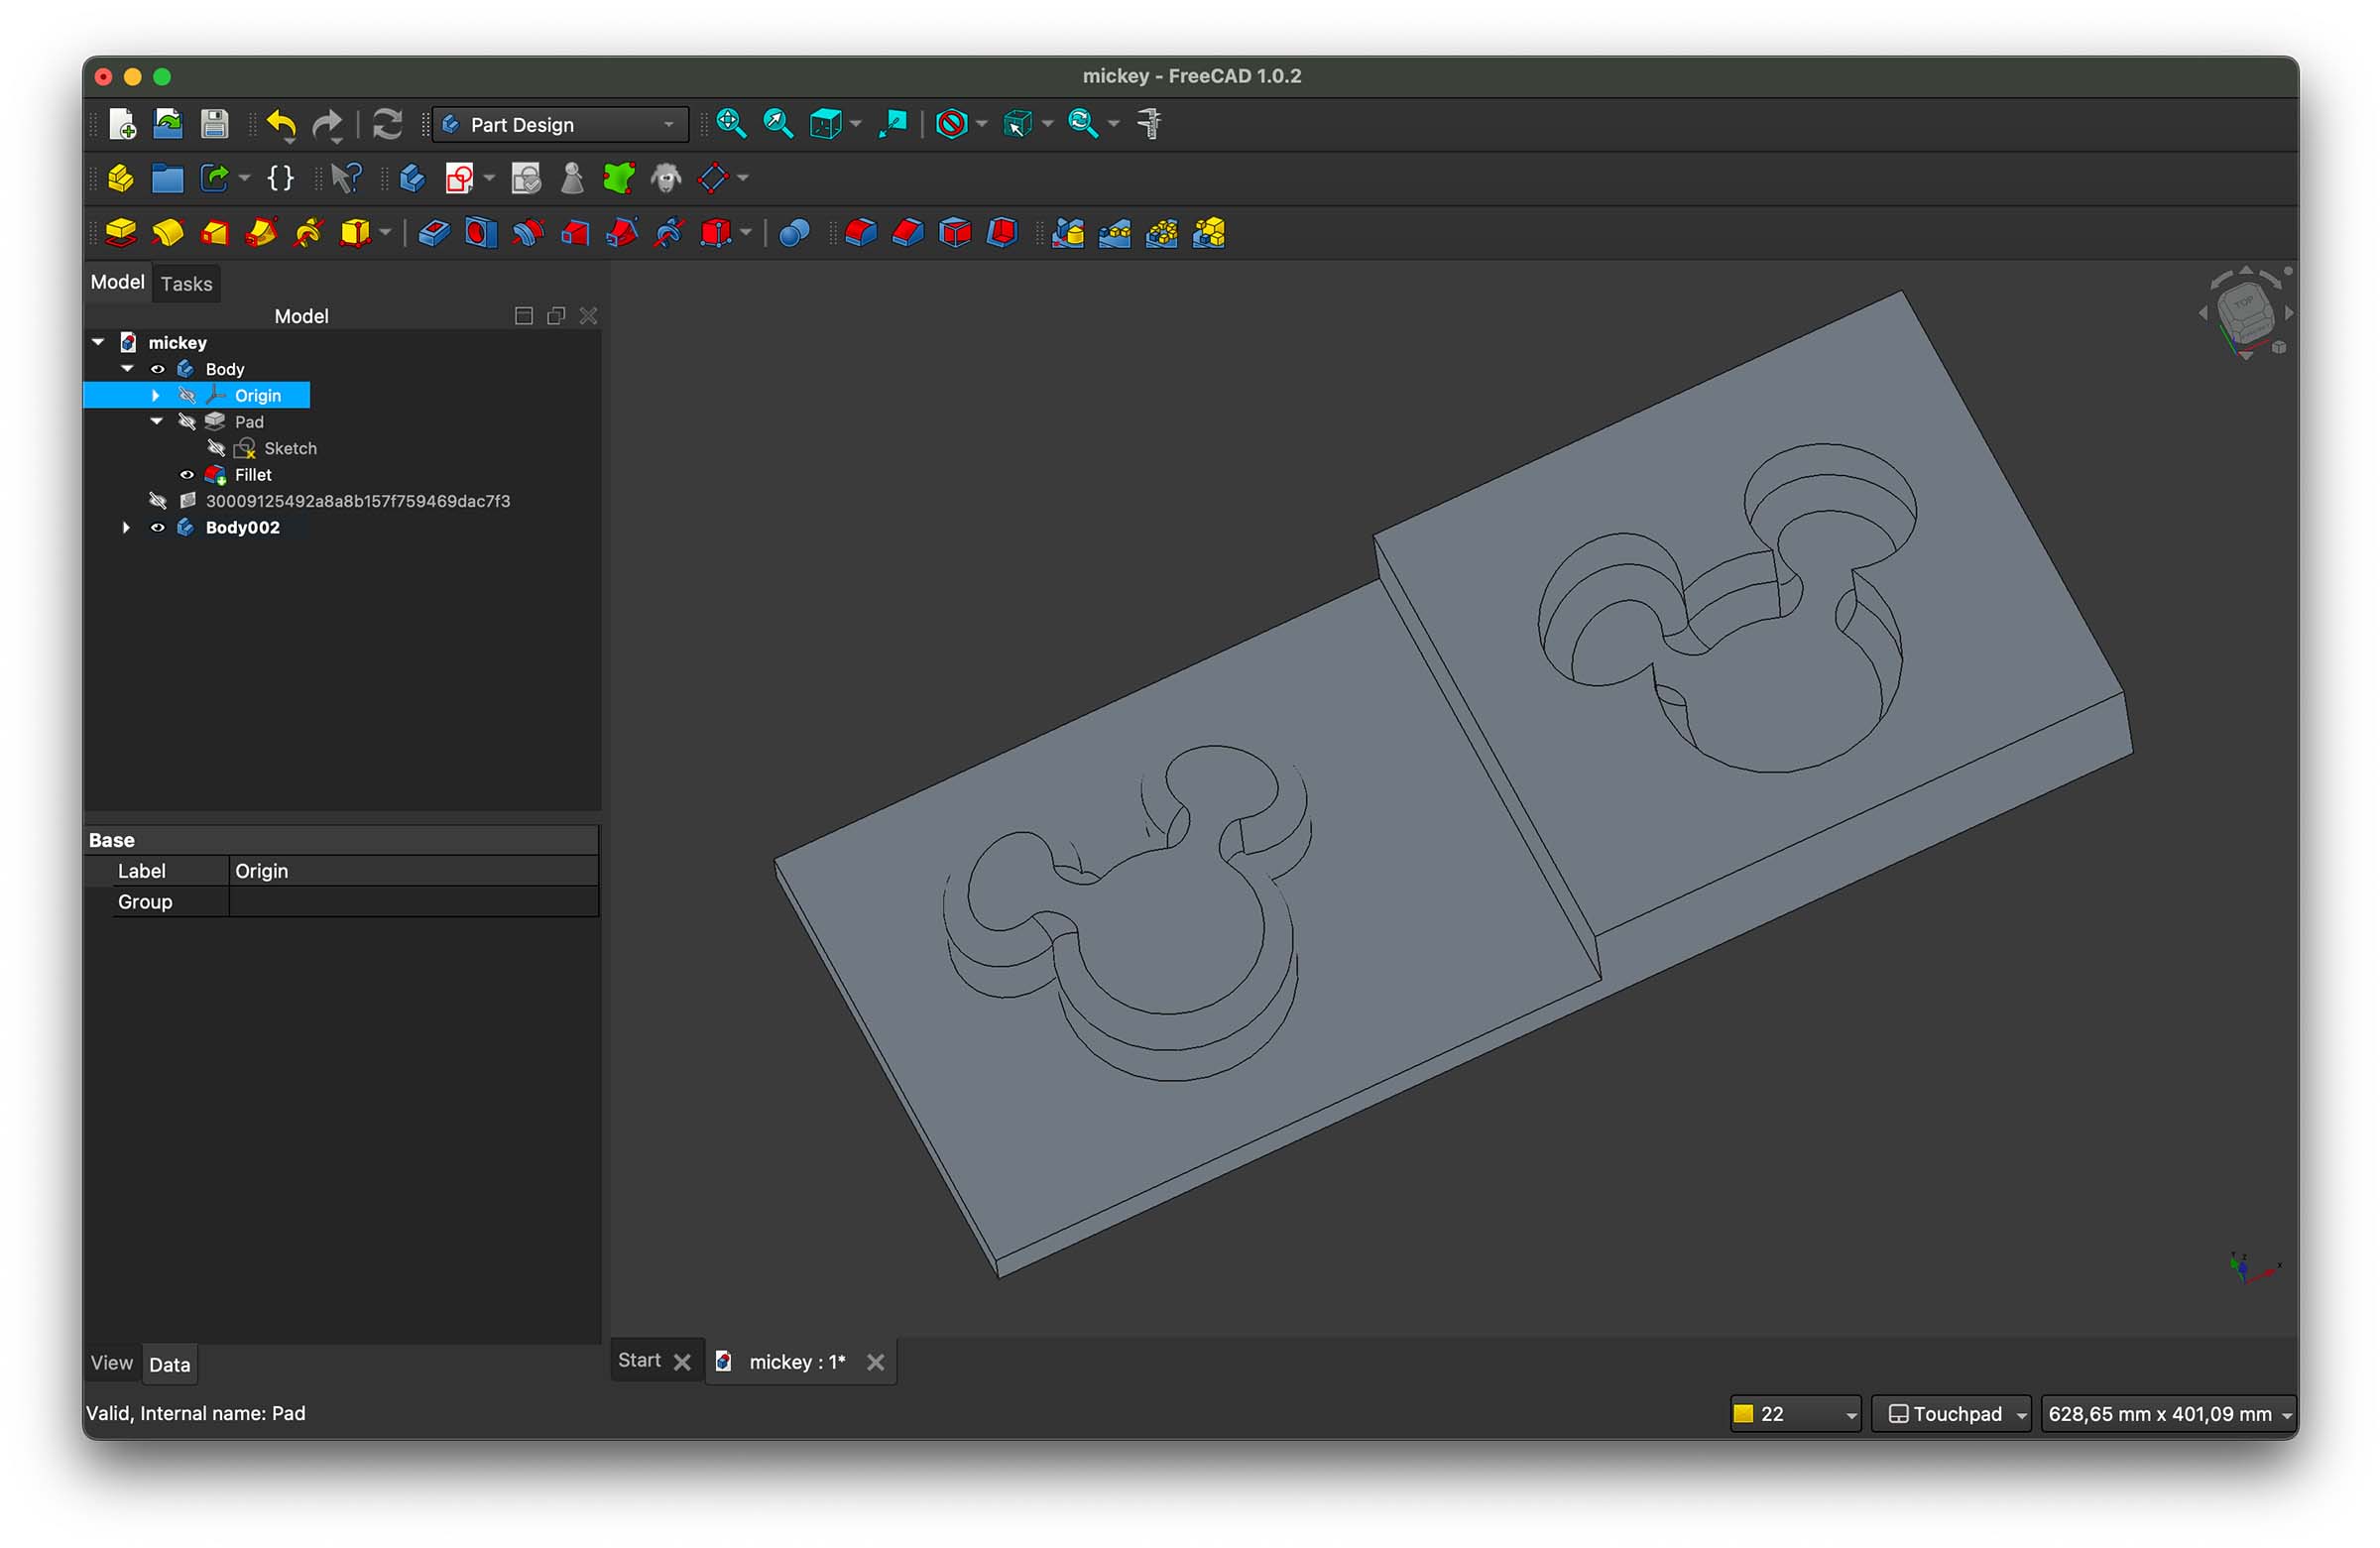
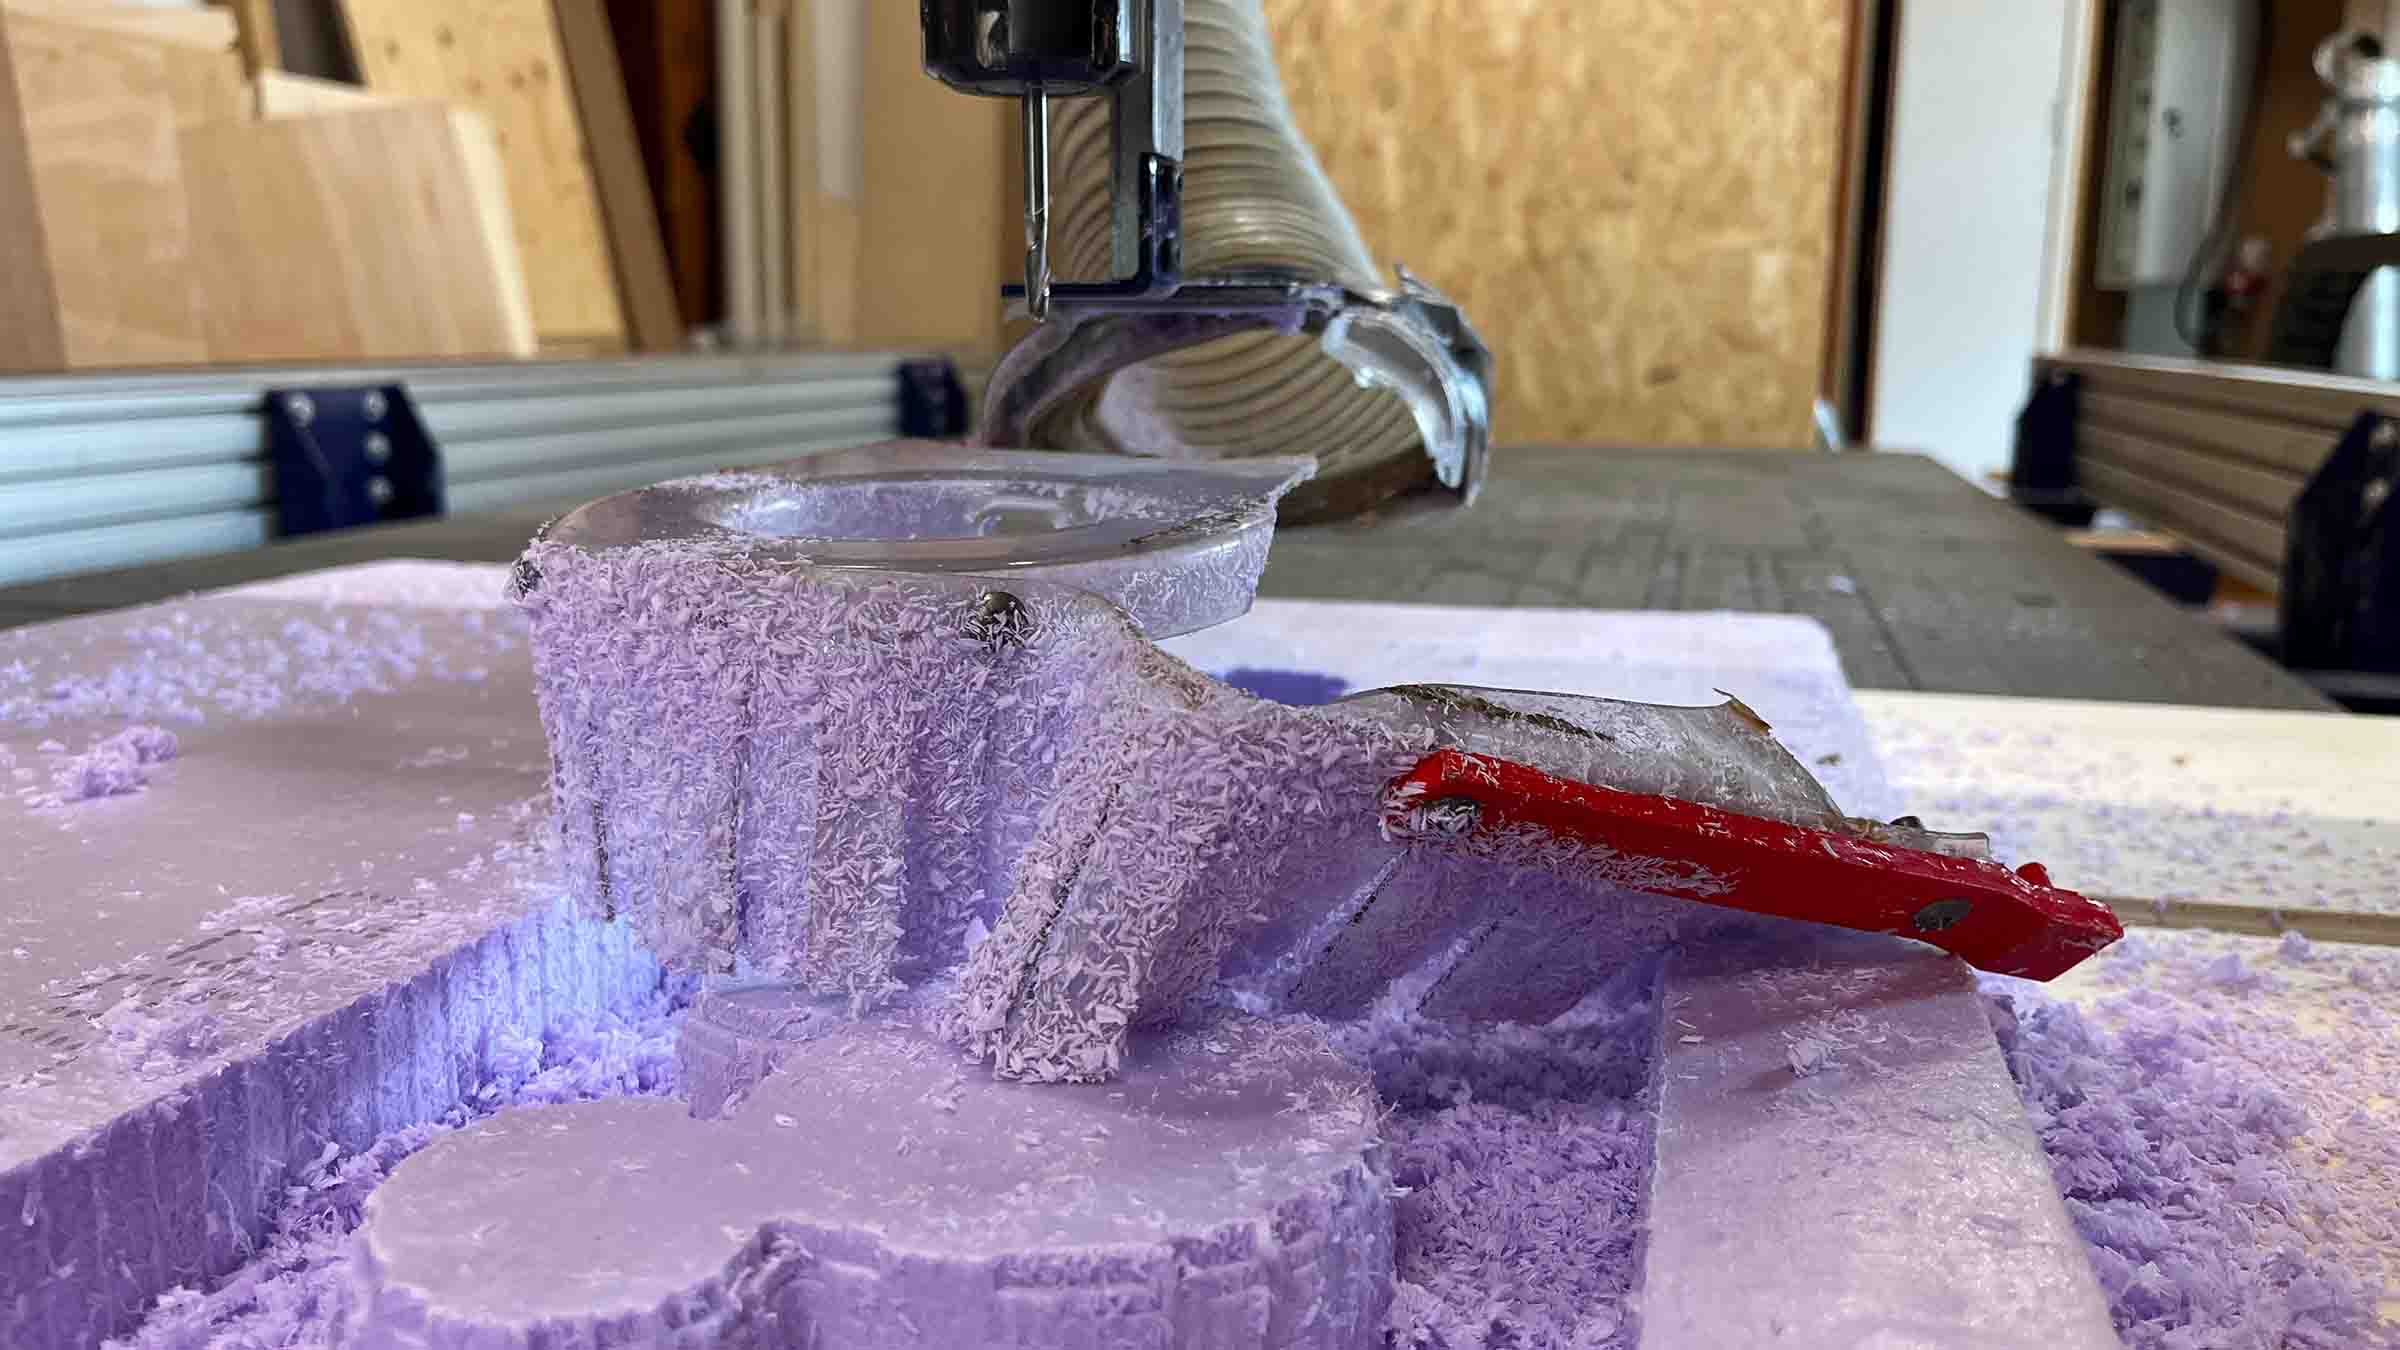
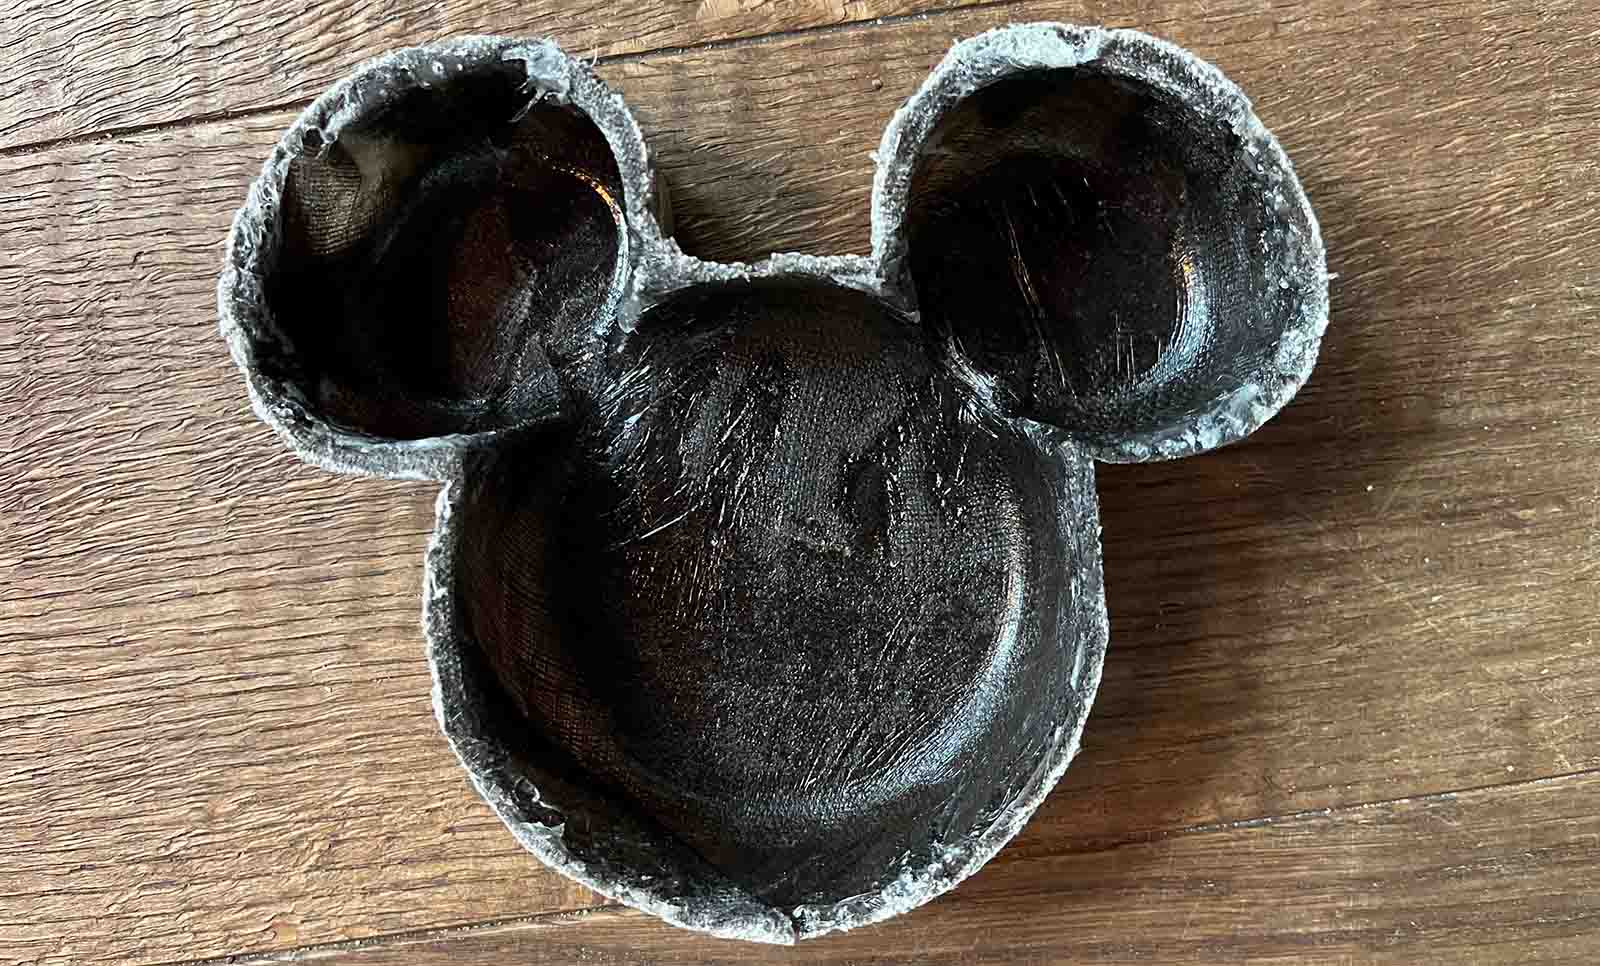
Since we're keeping it simple this week and I'm not planning on using composites for my final project I didn't want to spend a lot of time 3D modeling a complex shape, so I thought of shapes that exist of primitives and landed on a classic: Mickey Mouse. I drew the outline in Freecad and padded it. I also added a fillet around the edge to make it a sort of bowl with a rounded bottom, this should also help when fitting the two molds together. The positive side is about 5mm smaller than the negative side.
I first started milling this mold on the ShopBot just like we did in week 14 for molding and casting week. I made a mistake by not double checking the skirt was properly attached after the boys did their milling and it broke during my milling job.
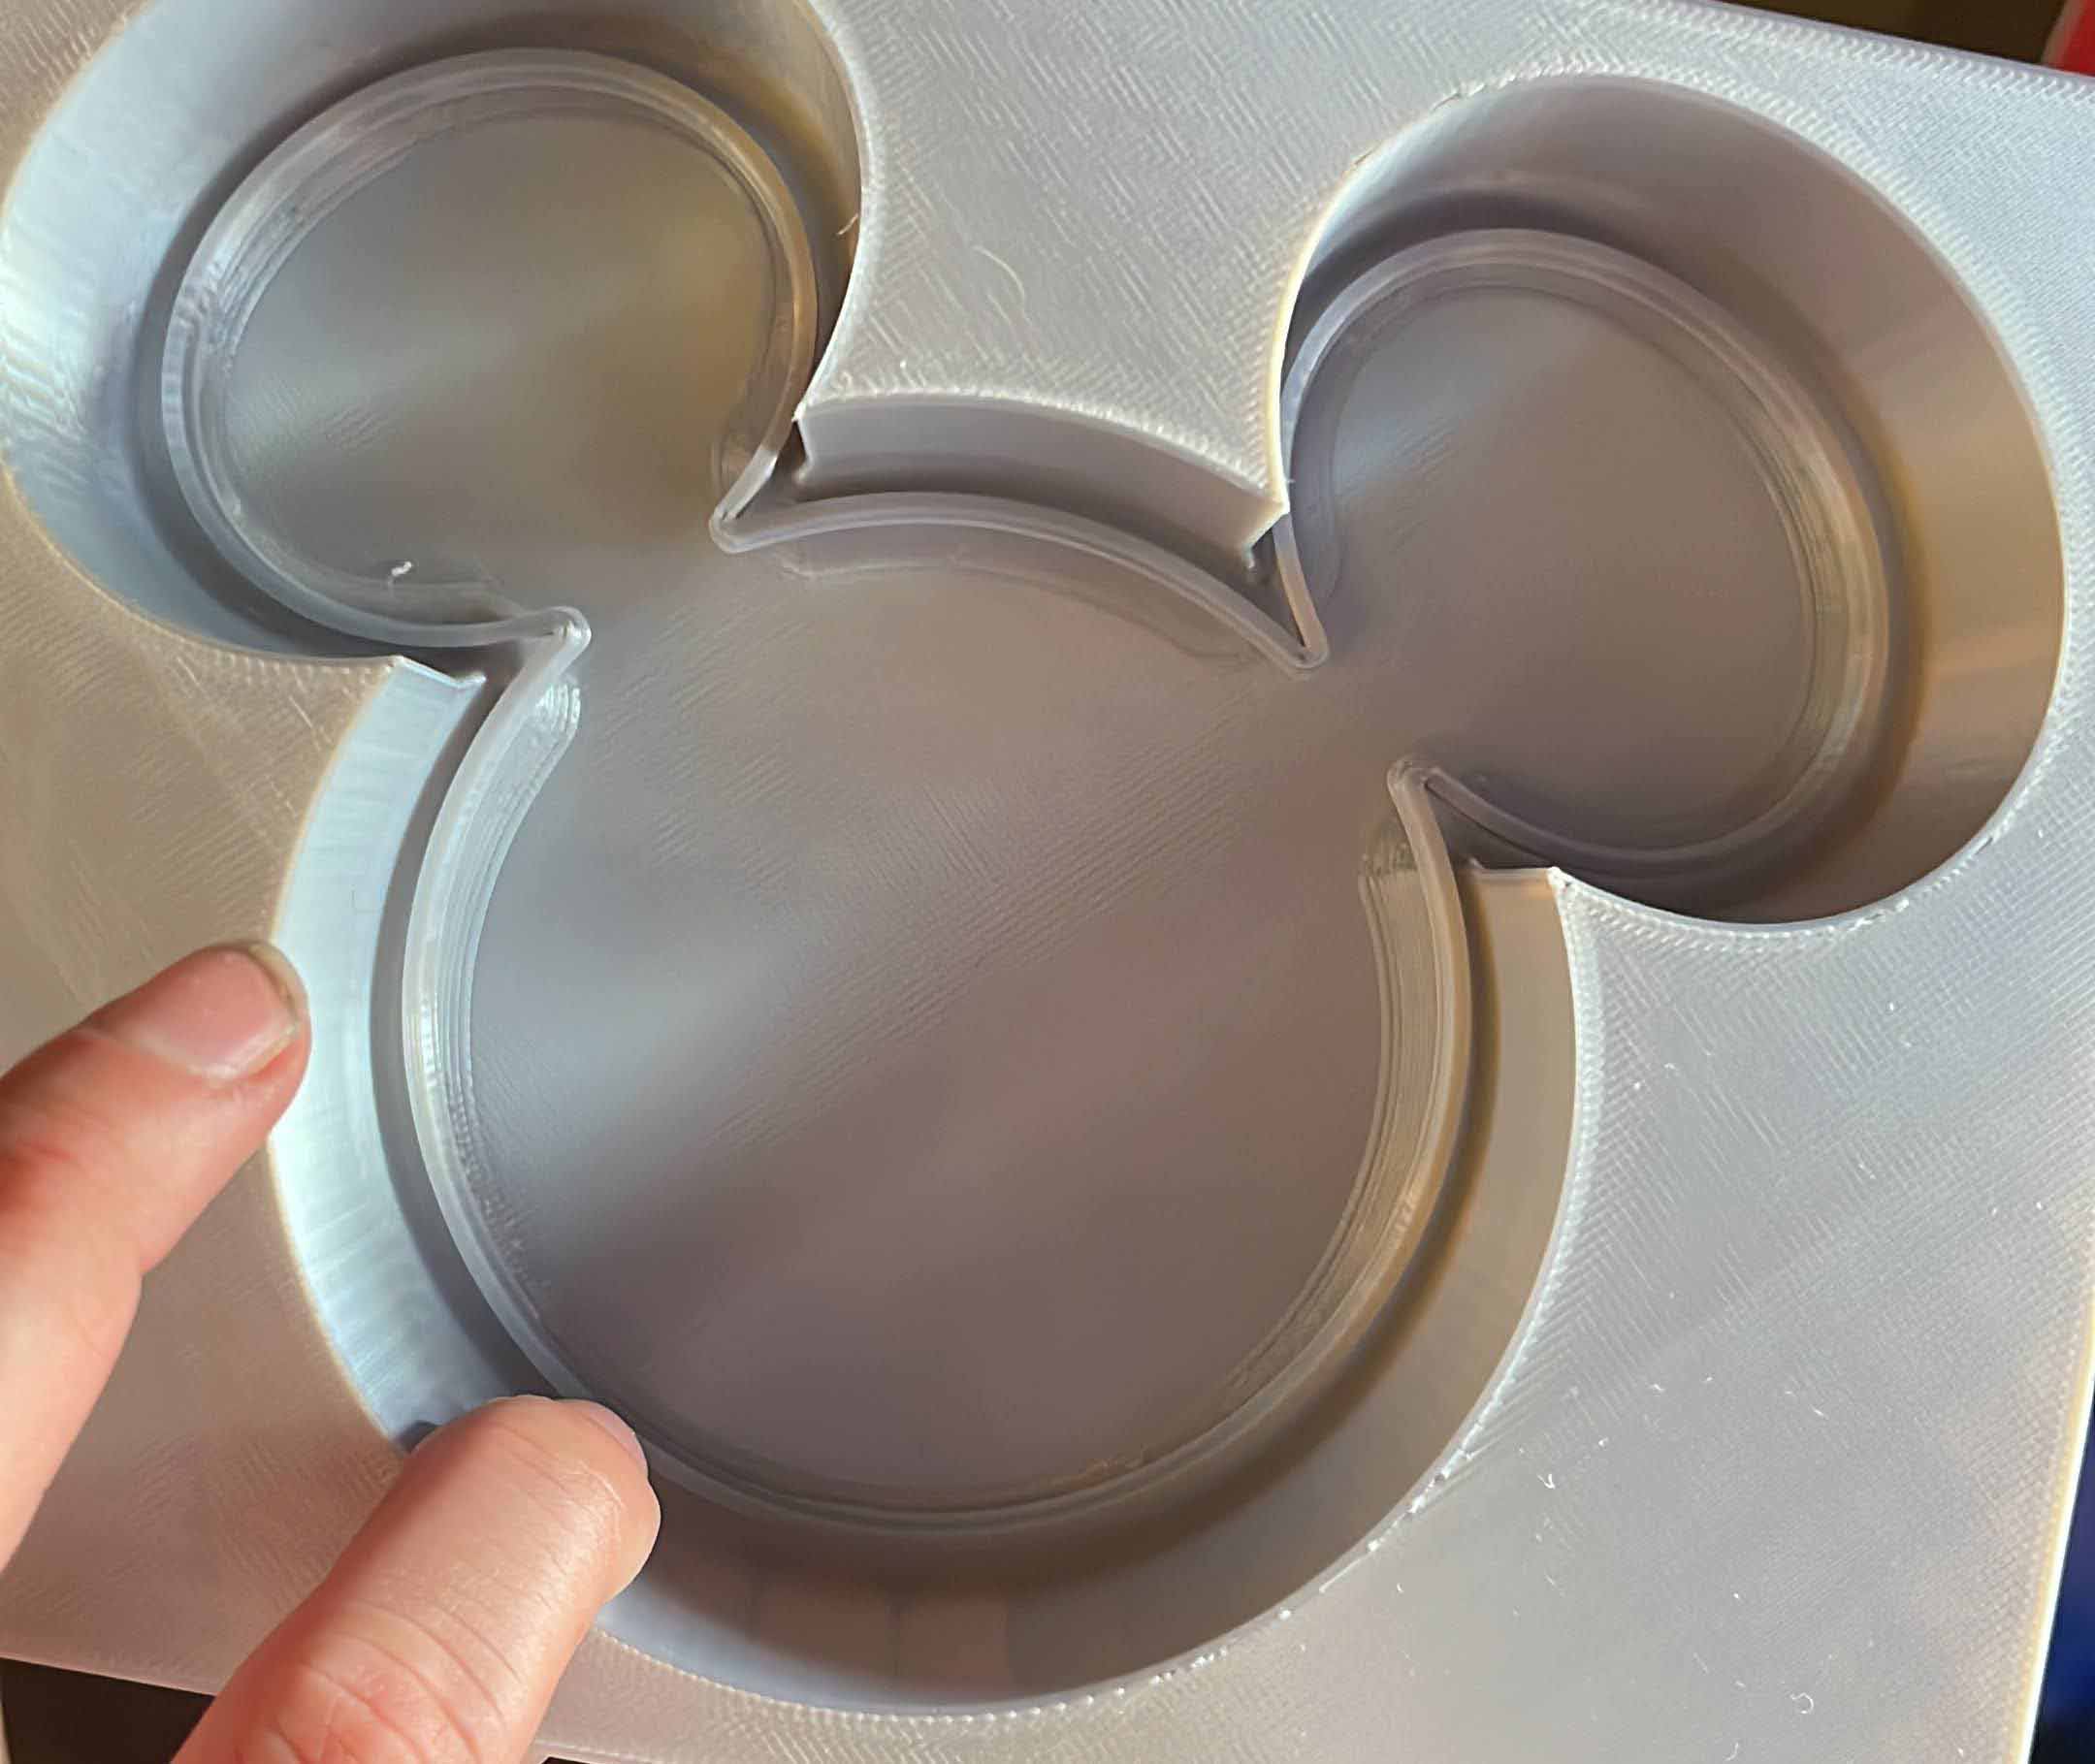
To make sure I would have a back up in case the milling didn't work out I decided to also print the mold out of PLA at home, this came out nicely, but showed me I had made a mistake resizing Mickey and the shapes actually didn't fit together at all. I fixed my model and printed the mold again, this time making sure I made a little size tester first.
I decided to leave the ShopBot job, since that also wouldn't fit together and use my PLA mold for casting. For the epoxy I used the same Tarbender we used for the group assignment, which is fairly straight forward to use. The boys had lined their molds with clingfilm and vaseline as a release agent so I decided to do the same. I rub vaseline over both parts of the mold, then line them with clingfilm and add another layer of vaseline on the clingfilm. The fabric then goes on top of the last vaseline layer.
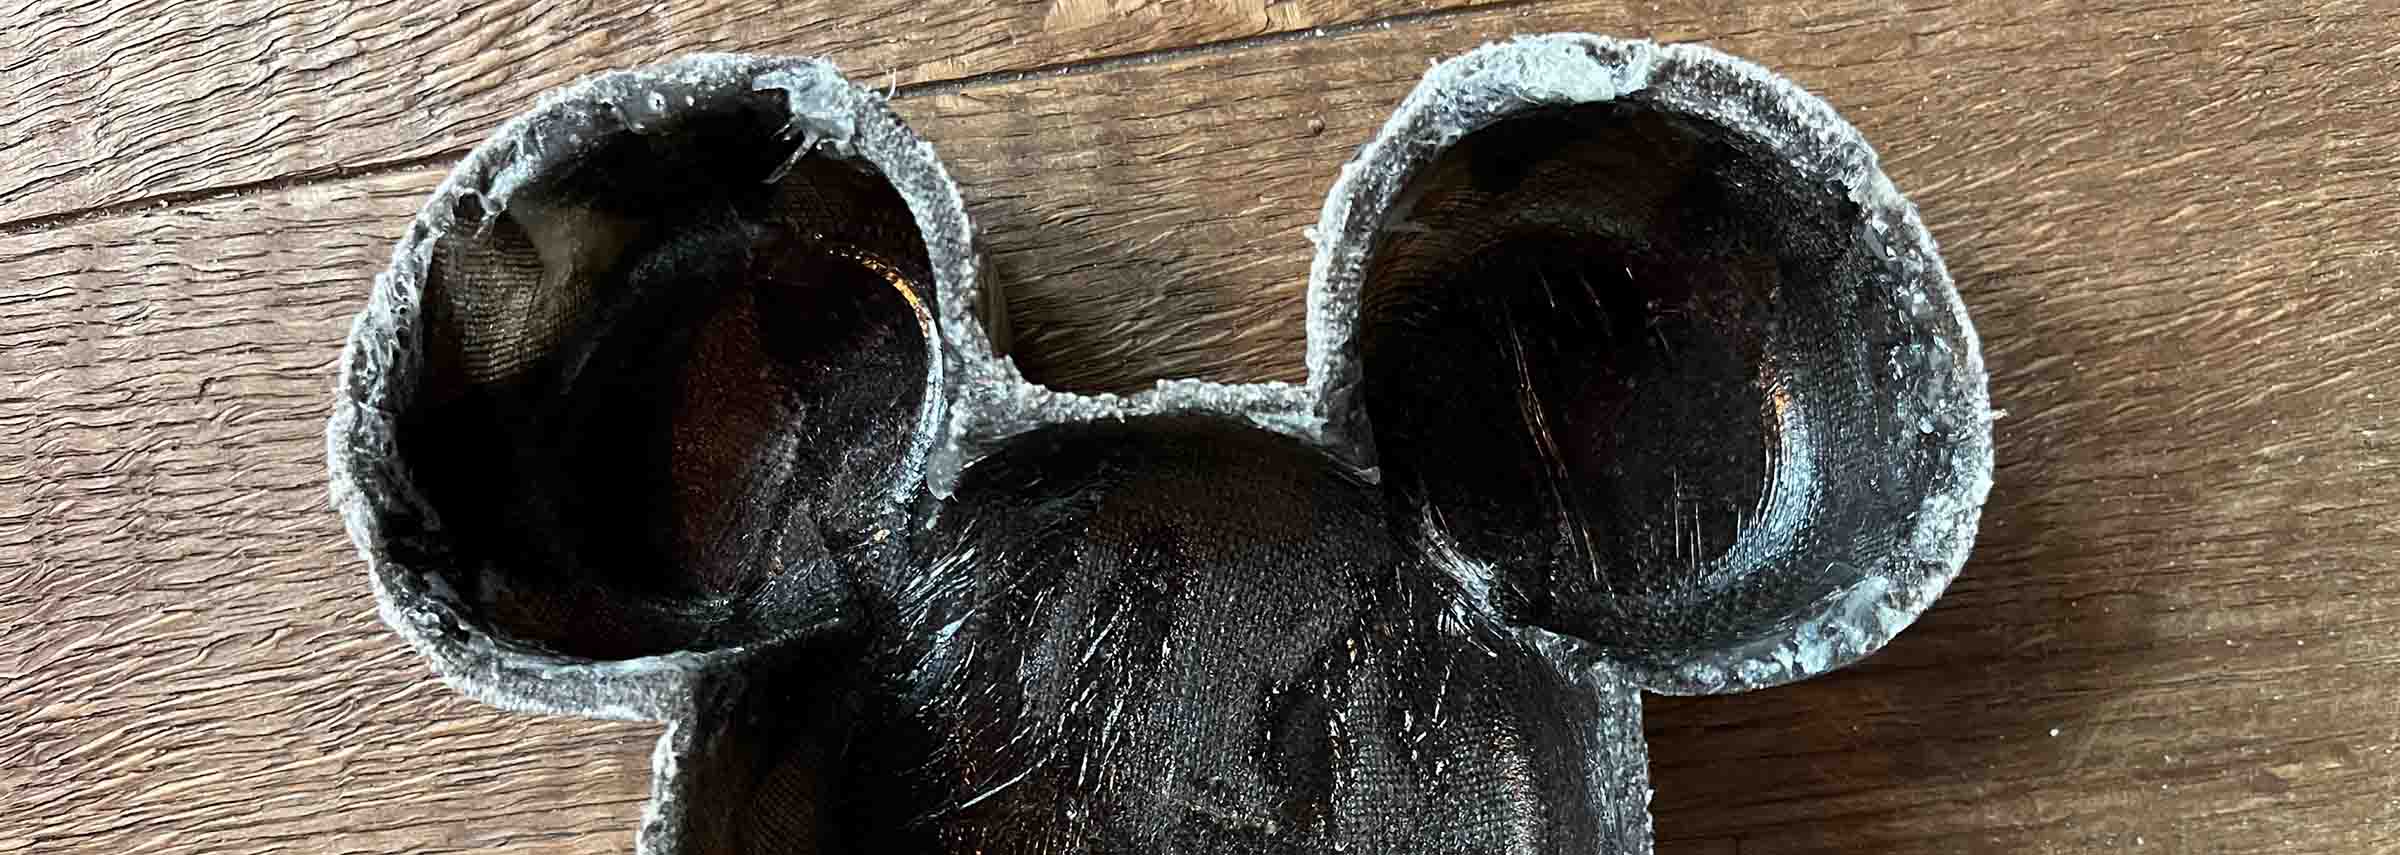
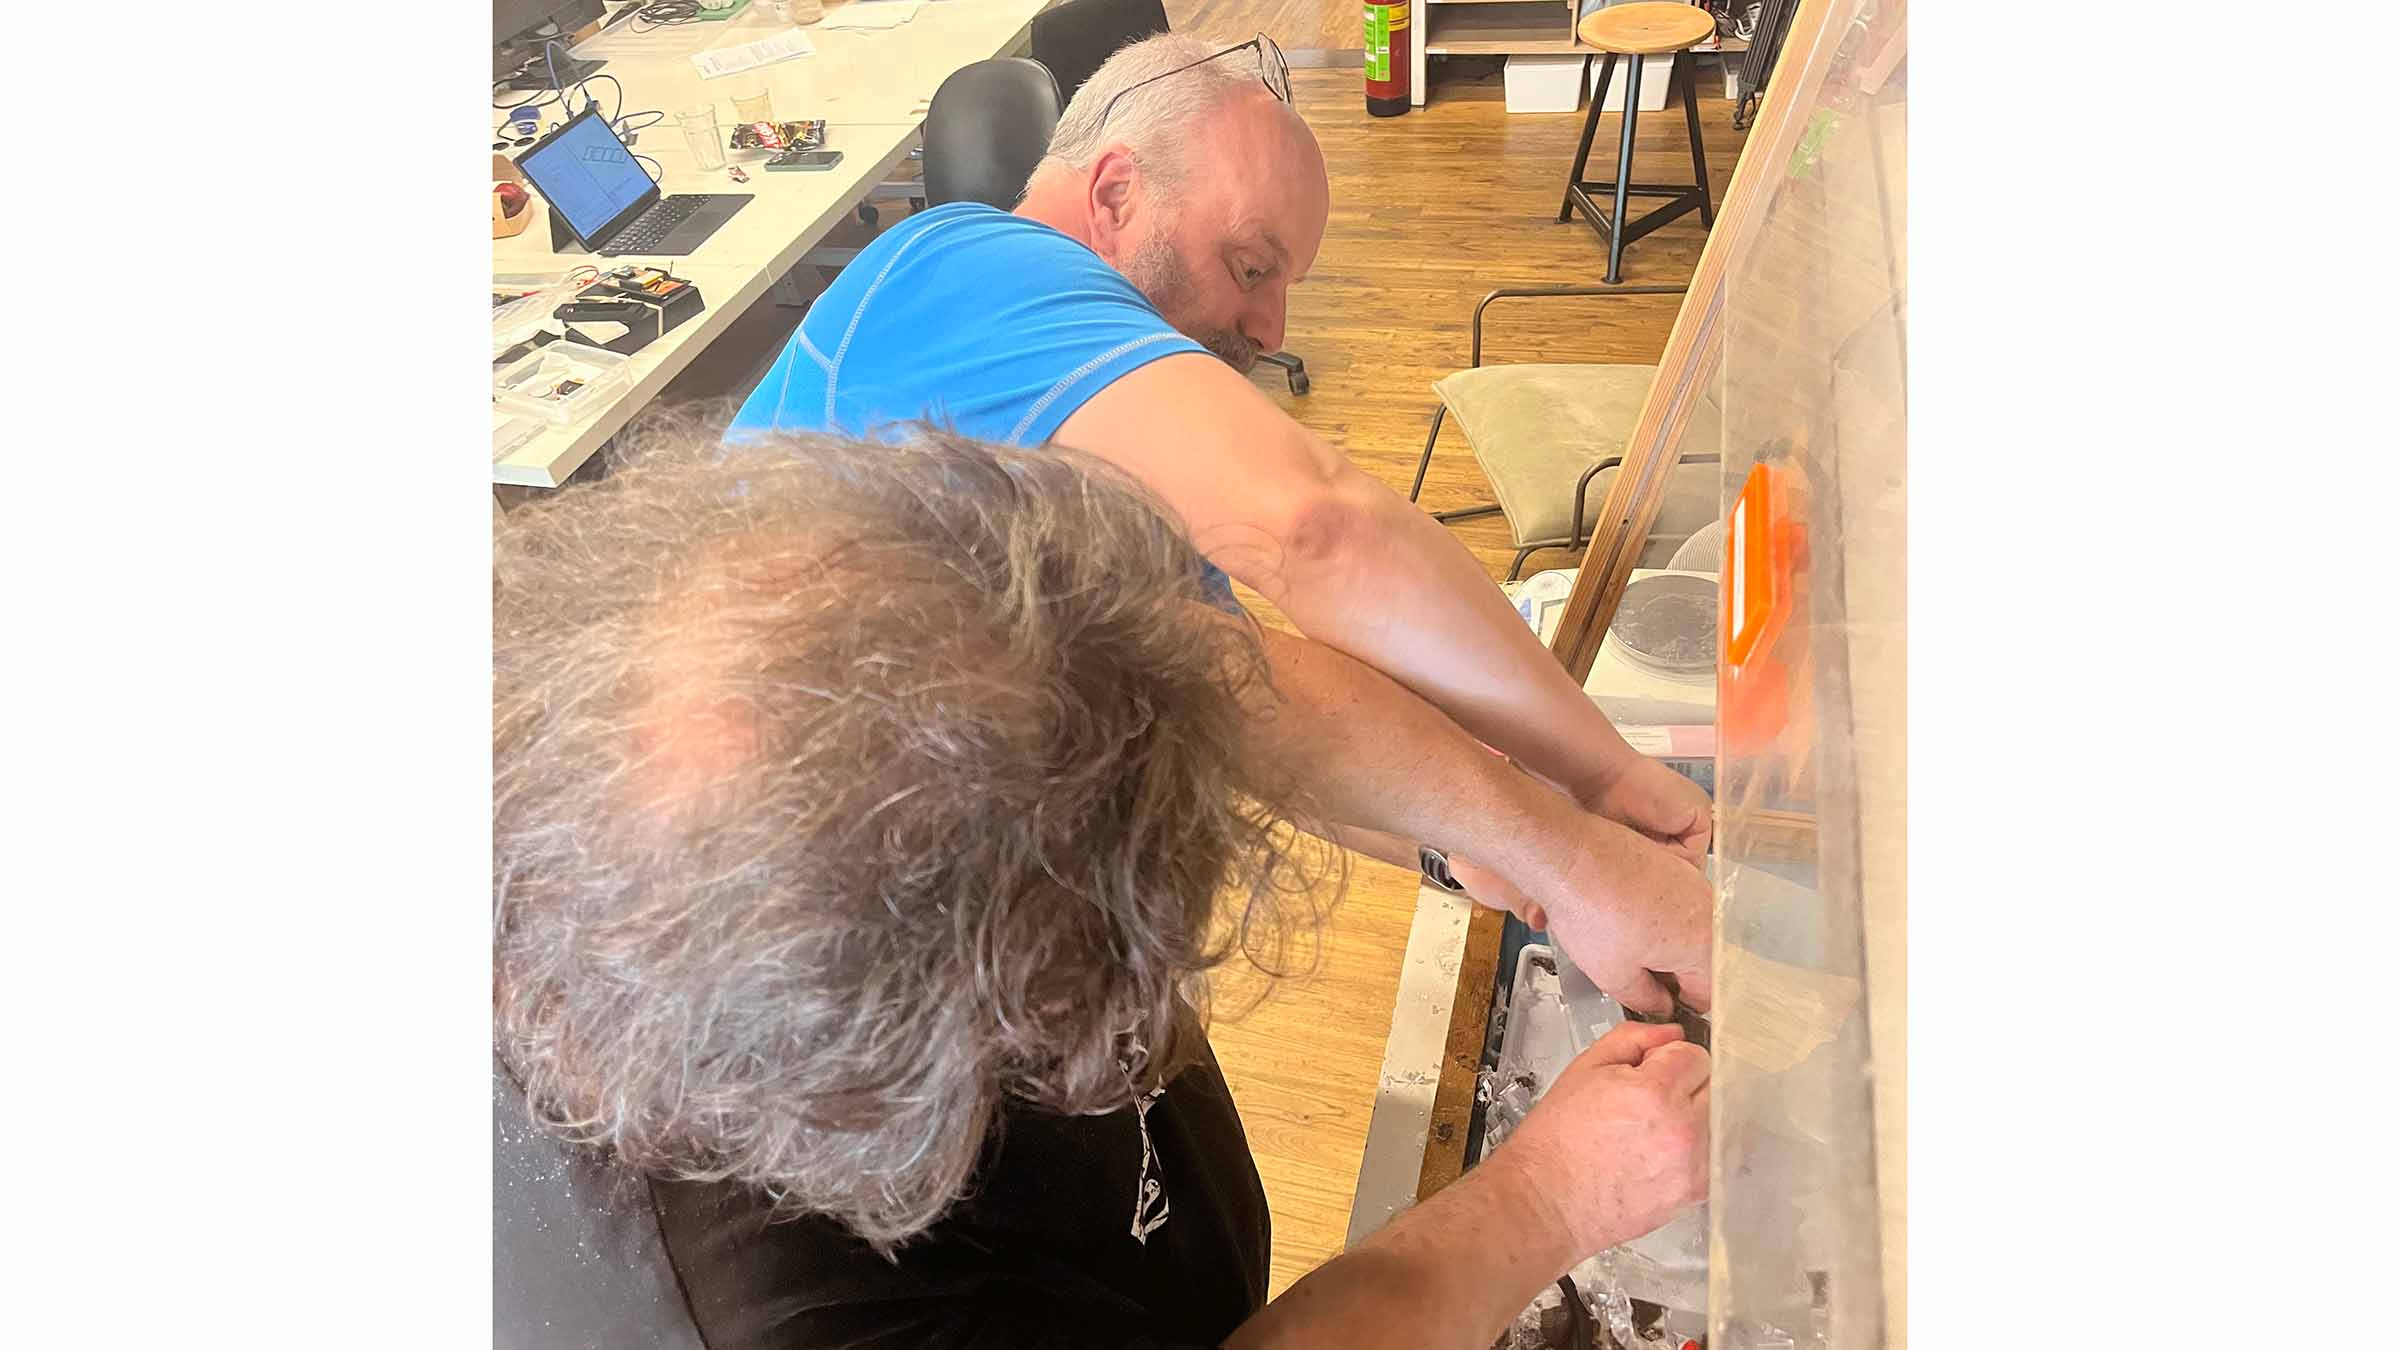
Somehow did this not work as well. The whole project was kind of a nightmare, the PLA mold wouldn't release and had to be destroyed with help from both Remco and Henk (thanks again guys!).
The clingfilm had fused with the fabric and the whole thing came out kinda ugly. The shape and epoxy however worked well and it's definitely Mickey. To clean him up I've sanded down the edges to make it less sharp and gave him a bath in dish soap, this got rid of the sticky vaseline residue. It's not the prettiest thing, but I'm thinking of bedazzling Mickey someday in the future, I sure learned a lot!
What would i do differently
I would not make my mold as straight, I would double check my designs fit together in Blender before exporting them from Freecad, I would not use PLA again as a mold for epoxy, I will ALWAYS check my machine is setup correctly before turning it on (sorry Henk and Waag).
Files & resources
Leftovers previous week
- week 11 individual assignment
- nueval feedback henk
- nueval feedback take