12 & 13 - Machine & Mechanical Design
Summary
Machine week is all about collaboration and integrating what we've learned so far by building a machine, together.
Assignment
- group assignment:
- design a machine that includes mechanism+actuation+automation+function+user interface
- build the mechanical parts and operate it manually
- document the group project and your individual contribution
- group assignment:
- actuate and automate your machine
- document the group project and your individual contribution
- prepare a demonstration of your machines for the next class
My part of our machine
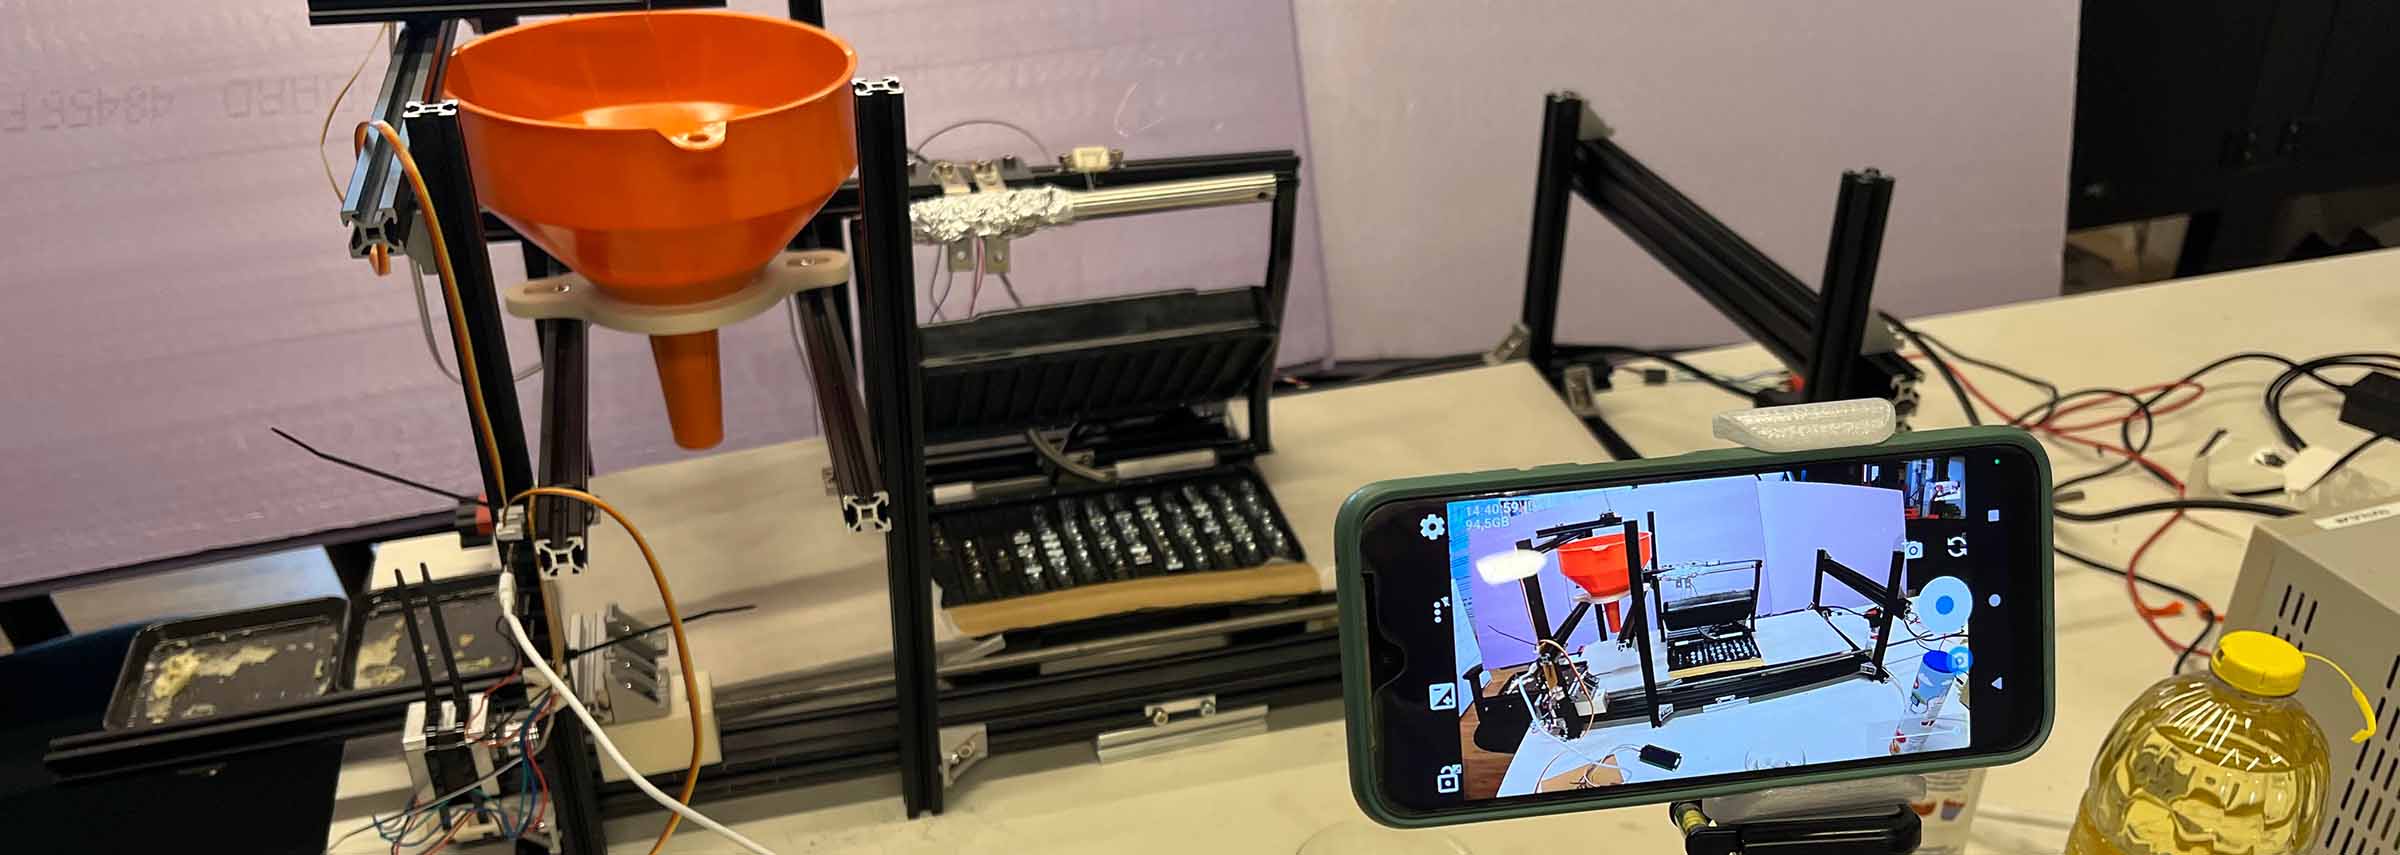
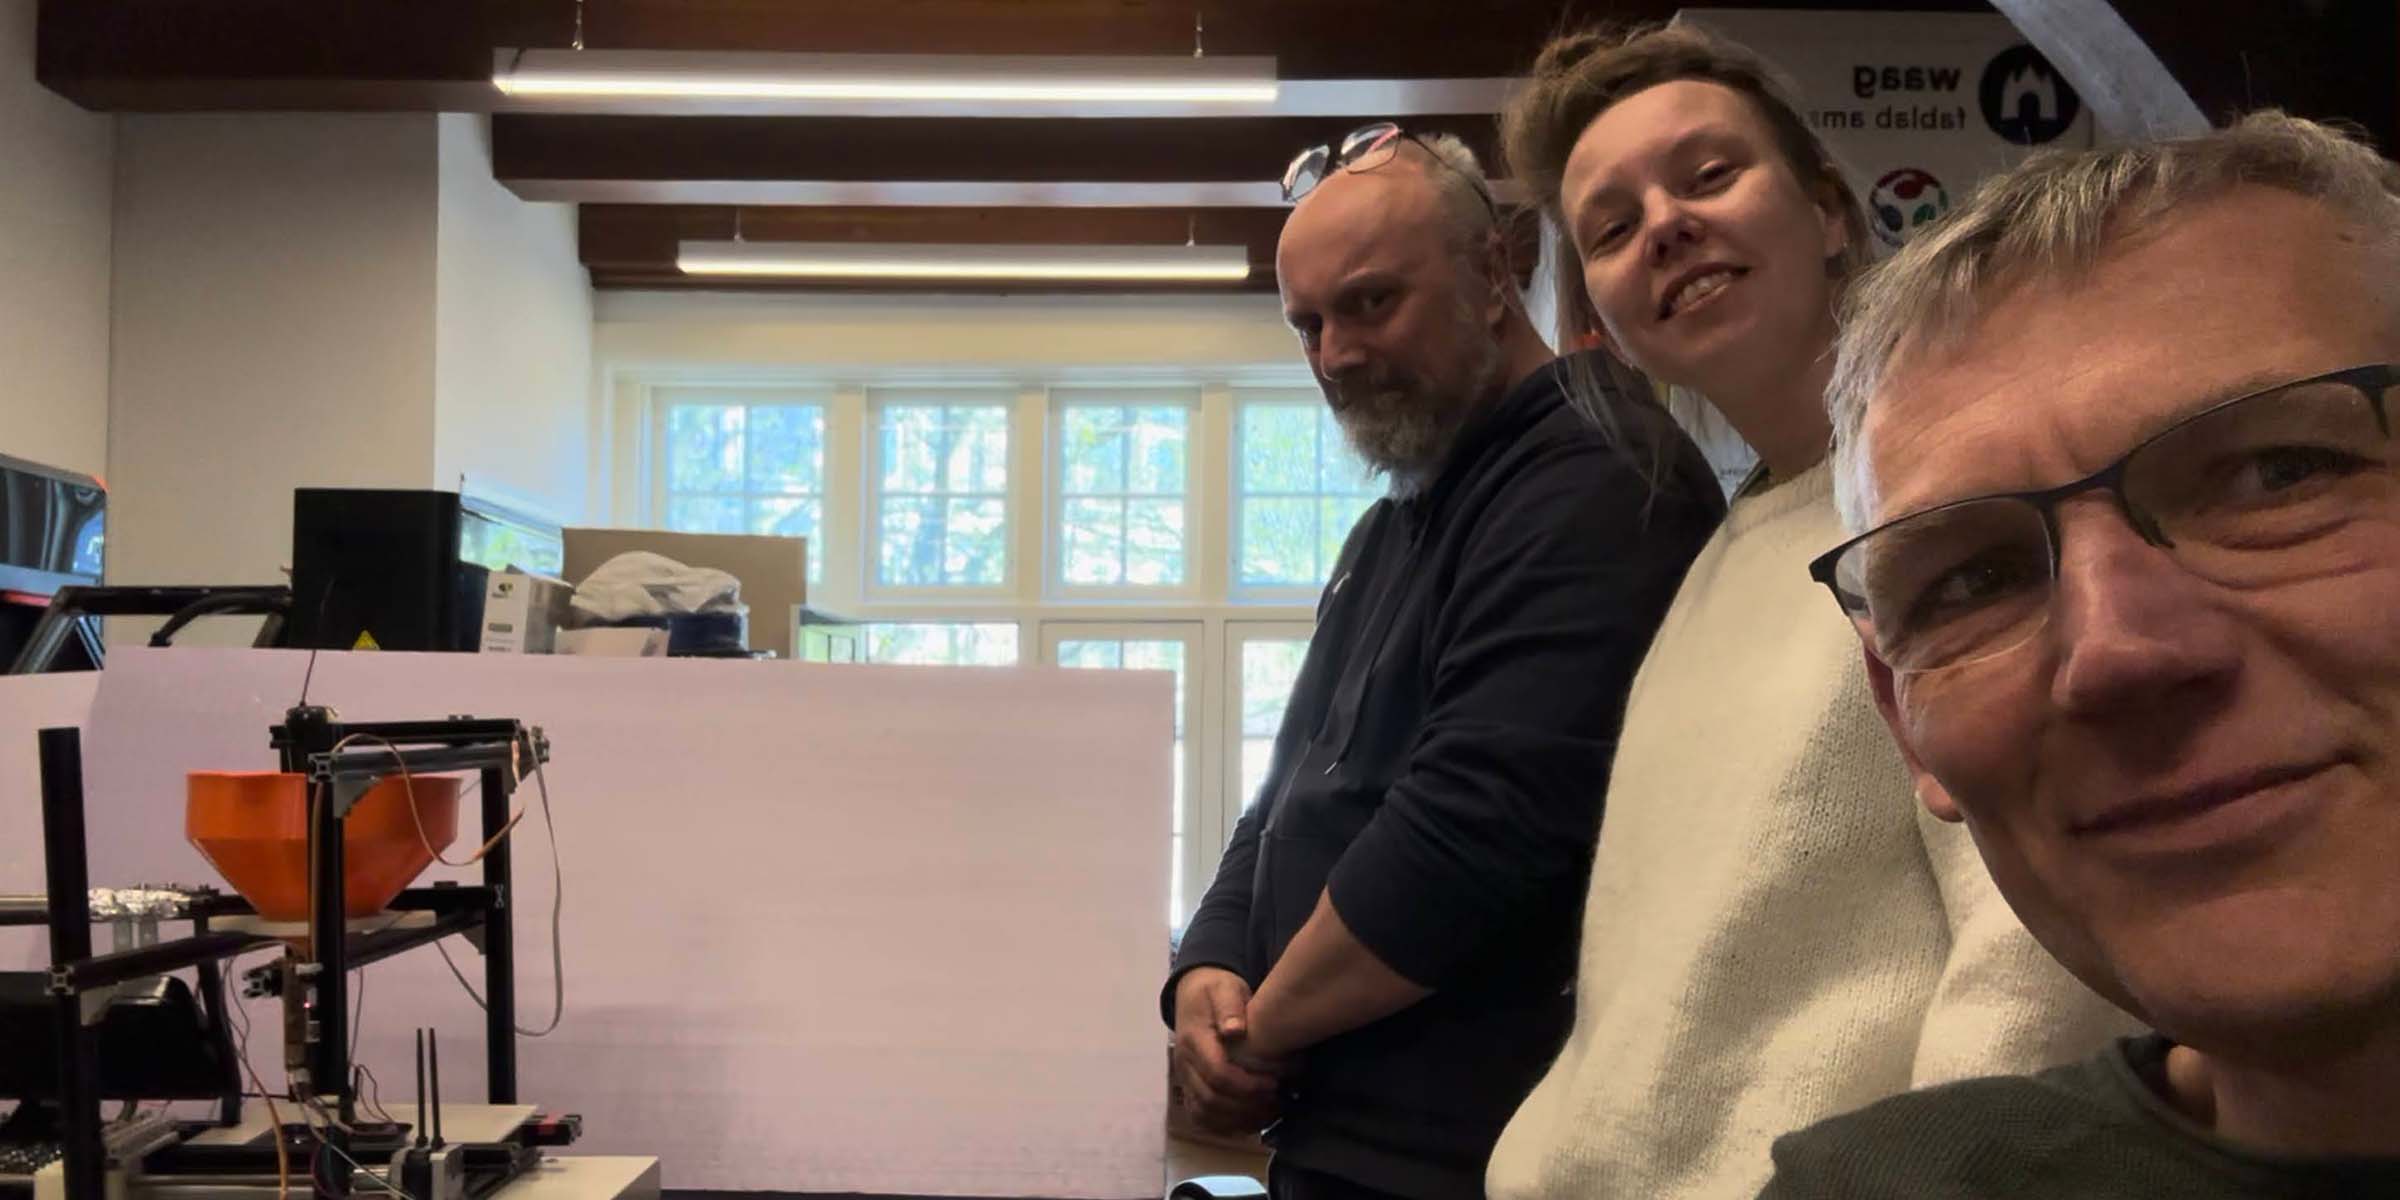
This week me and my classmates Remco and Christian built a pancake (poffertjes) machine for Henk. The idea sounded simple: dispense batter, move it, bake it, done. In reality it turned into a lot of trial and error, messy decisions, and somehow still ending up with something that sorta works.
After we pitched our machine to Henk we started by breaking the machine down into parts: batter, transport, heating, and (briefly) sugar dispensing. That helped to keep some overview, even though we didn’t get to everything. We decided to divide up the stations rather than divide by task. What was nice about this is that we all got to work on both part design, mechanics, electronics, etc. Basically we all got to build a smaller machine and then integrated them all together. I took on the batter part of the system, which had to dispense the right amount of batter for one pancake once an I2C command came in. Chris took the heating system, while Remco took care of the transport of the pancakes from one station to the next.

Building a batter system
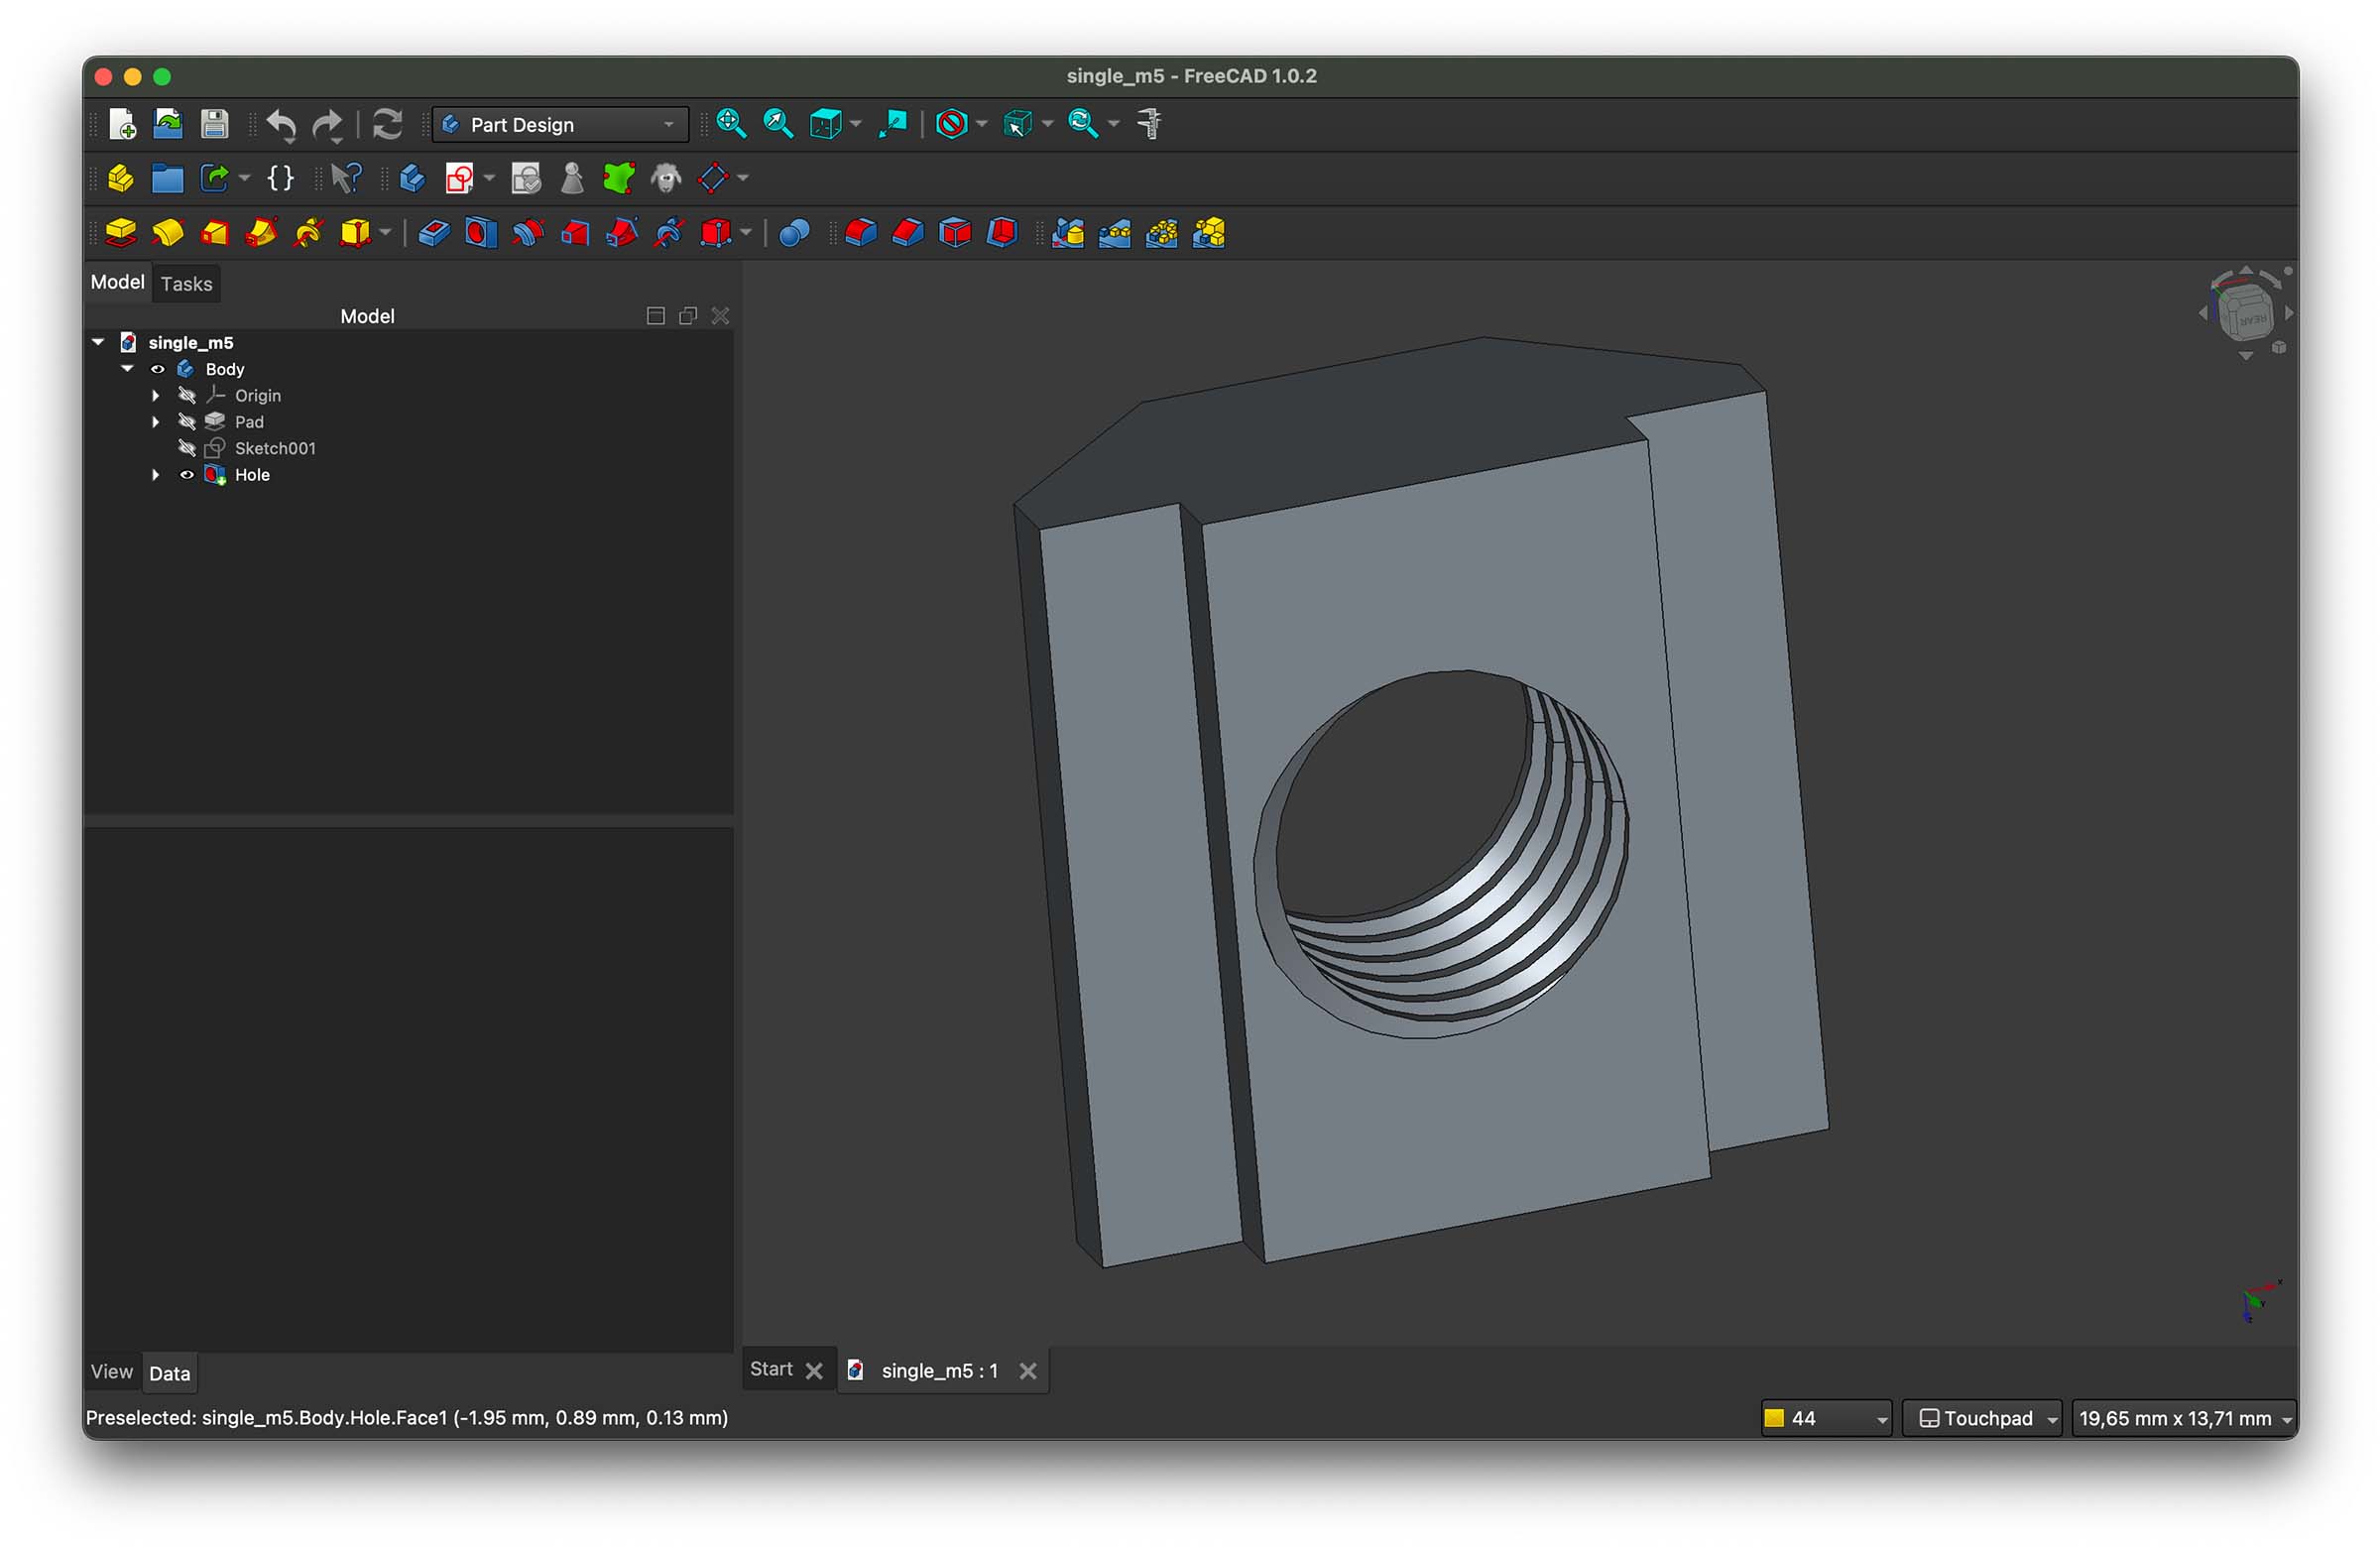
To get started with the batter dispense system I went looking for something off the shelf that could hold the batter. I ended up finding a large funnel at a hardware store, which became the hopper. We had built a base out of aluminum extrusion profiles leaving space for our individual stations. My first challenge was holding the funnel in place. There was a big miss match between the nuts we found around Waag and the size of the profiles we had. The process was a frustrating trial & error process trying to find which fit with which profiles, so I decided to print some universal ones. For this I found an existing design online and made my own Freecad model based of the sizing. Then I researched how to add treaded holes in Freecad for our M5 screw, which was simple but a fun new skill.
I also made some double ones that we could use to connect to profiles together lengthwise.
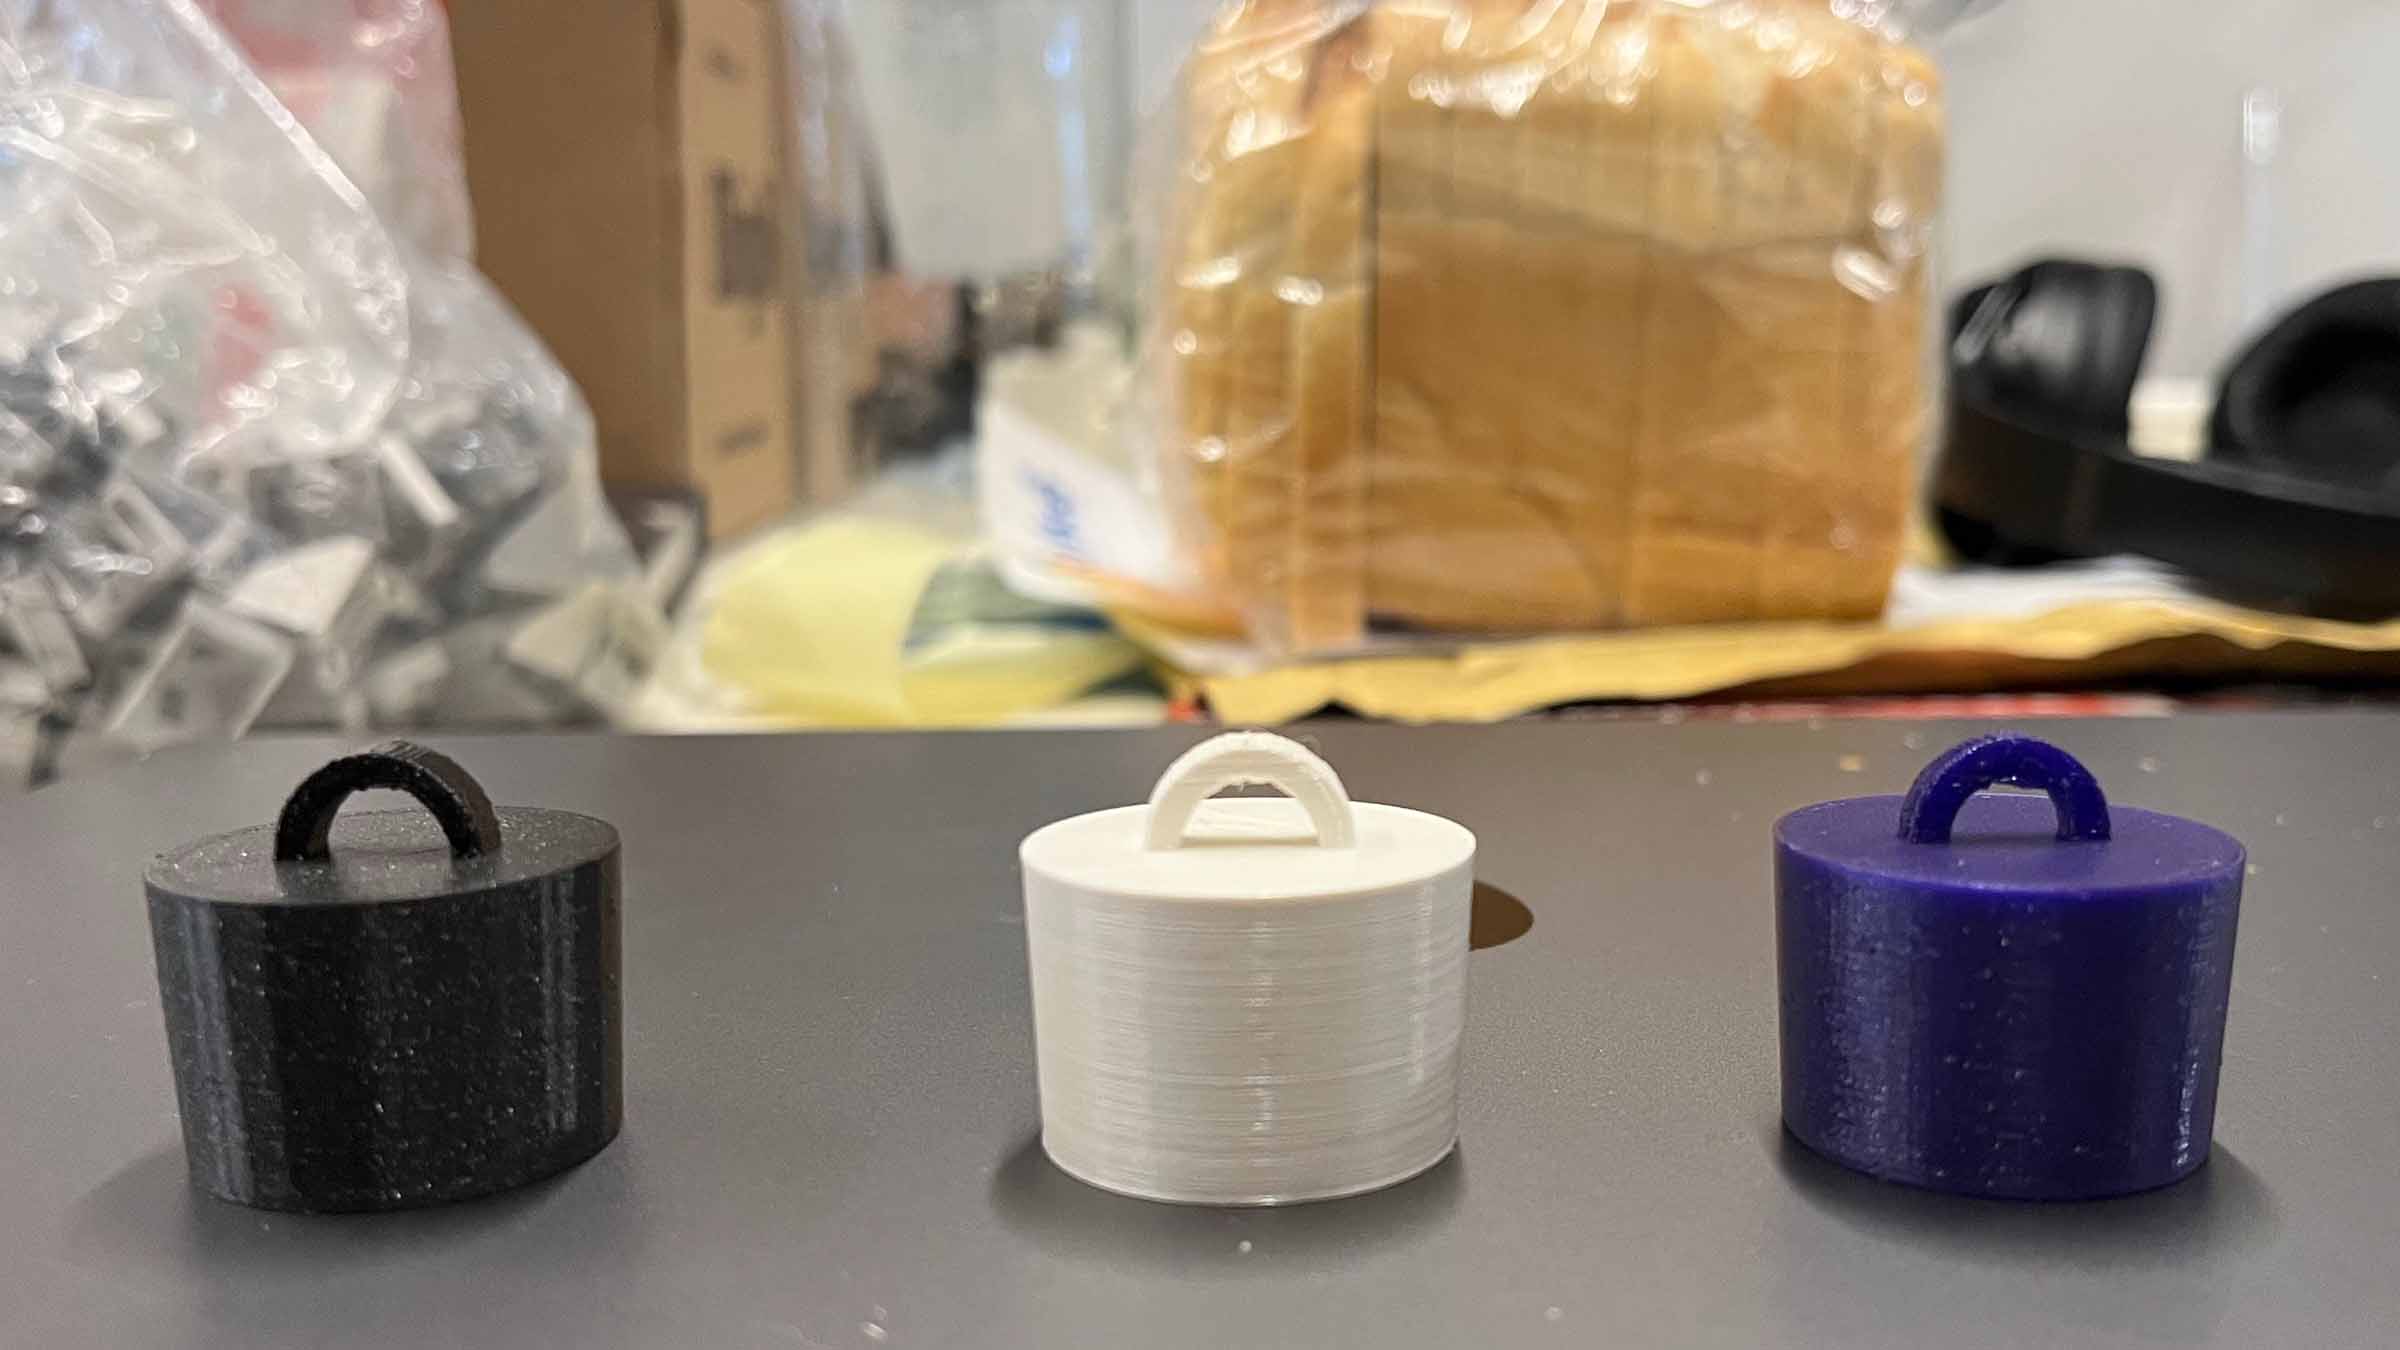
 Looking a bit battered after taking the machine apart, but none of them broke!
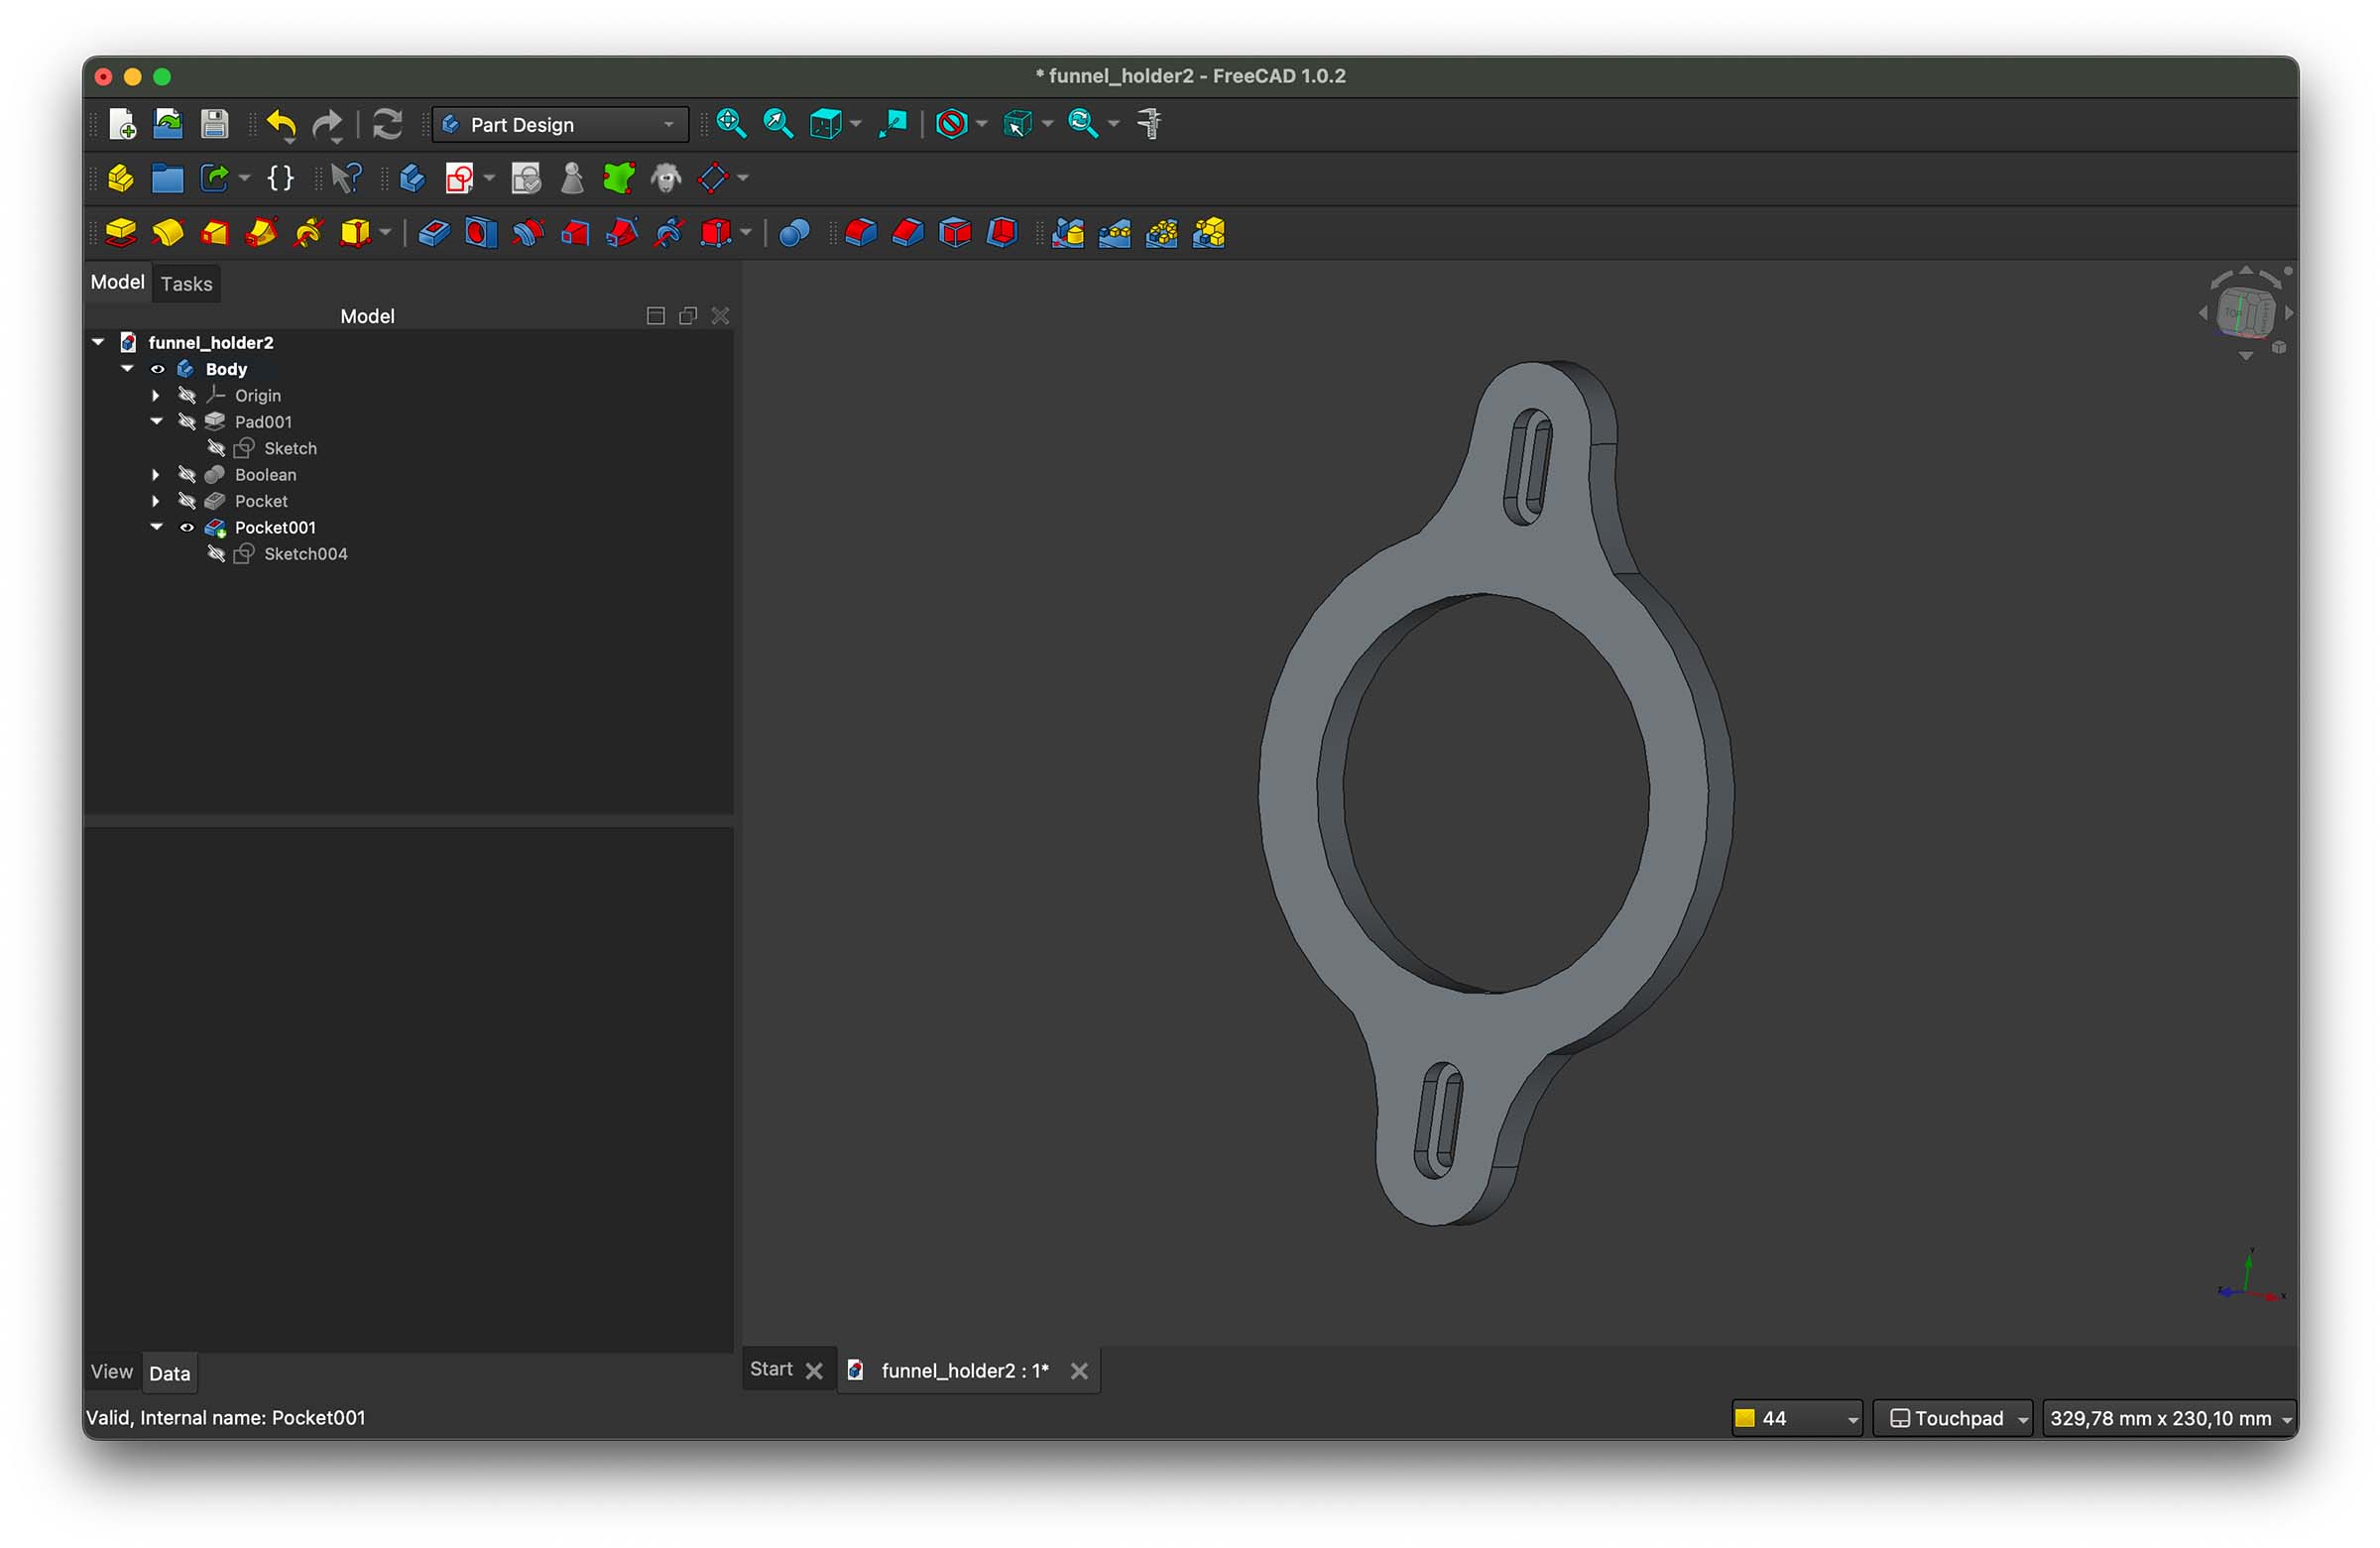
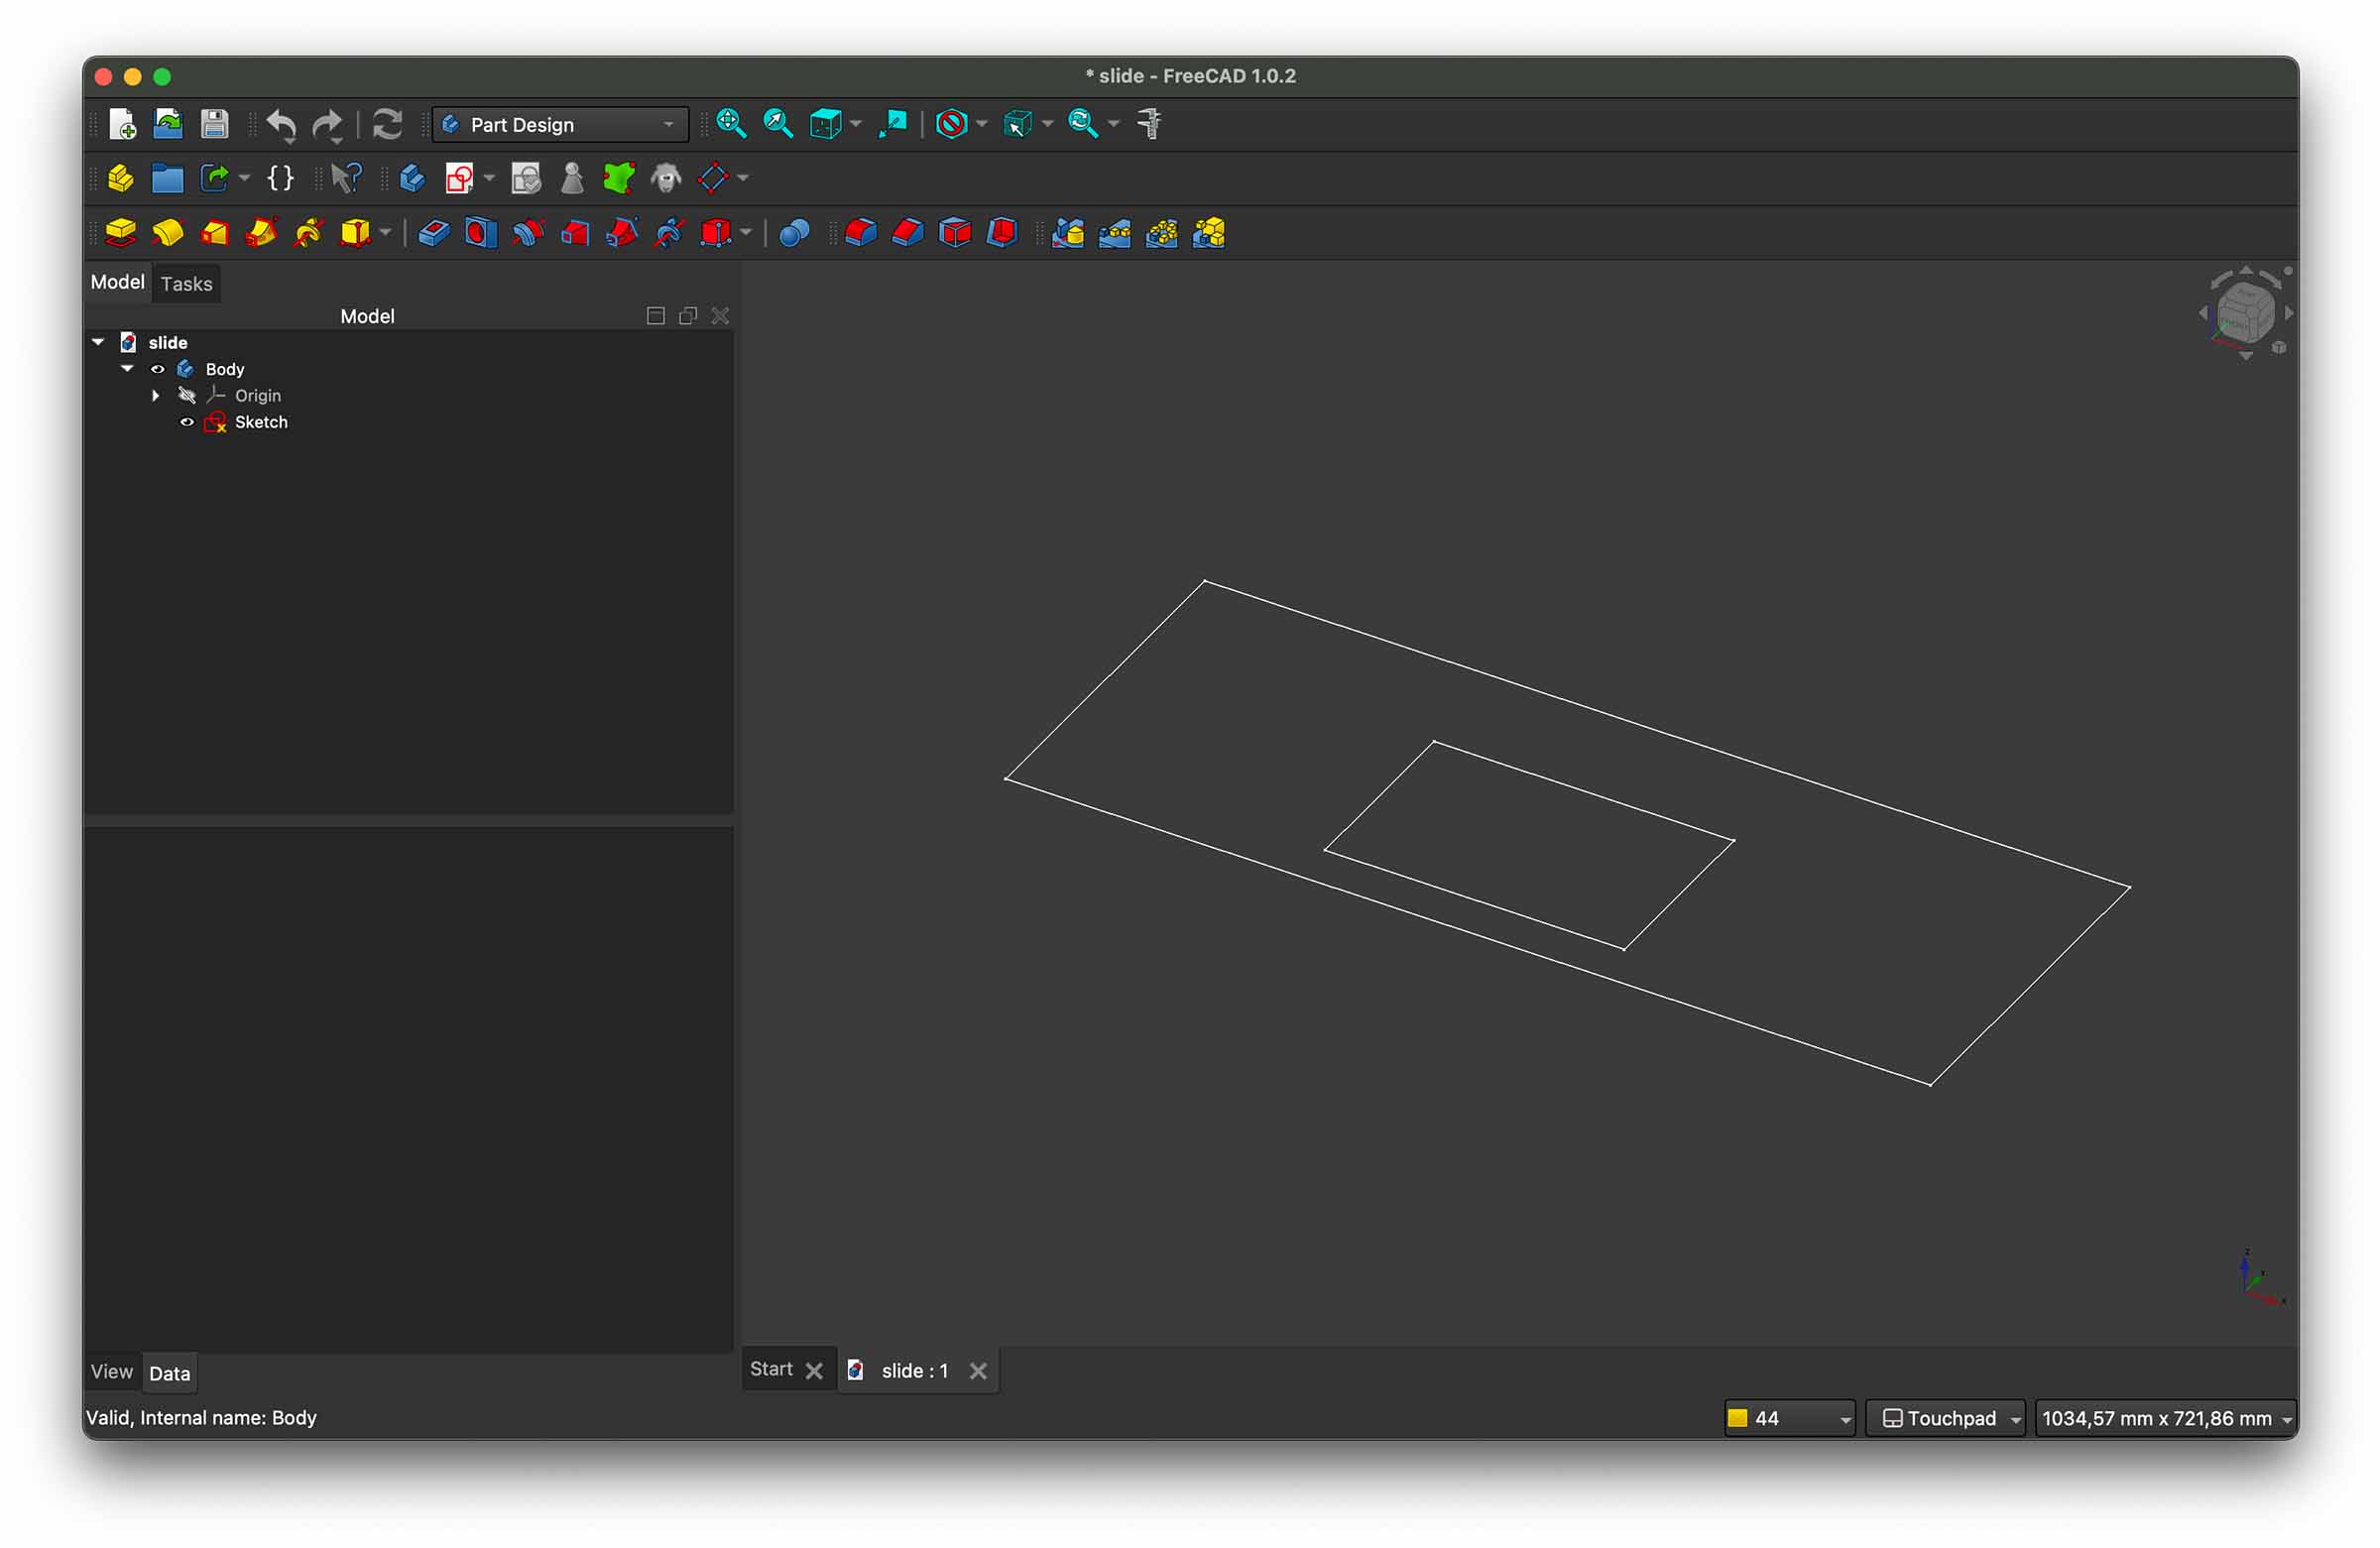
Funnel holder
For a first setup it worked fine to use the profiles to balance the funnel, but it was a bit overkill, so I later designed and 3D printed a holder. While doing this I learned the difference between counter bore and counter sink and how to do both in Freecad. I was very happy when my counter bore M5 screws fitted perfectly on first try.
Batter plug
Ok, now that we could hold the funnel, we still needed something to stop the batter just flowing through the funnel into our machine: a plug. I measured the easily accessible parts of the funnel and then used Freecad to calculate the angle and design a plug with the slope.
 Test plug line-up
The plug went through a few iterations, sinking the eye so the motion would be as upward as possible, and a stabilizing stick at the bottom so the plug wouldn't land up side down in the funnel. We also put a piece of bicycle tire around it for extra friction.
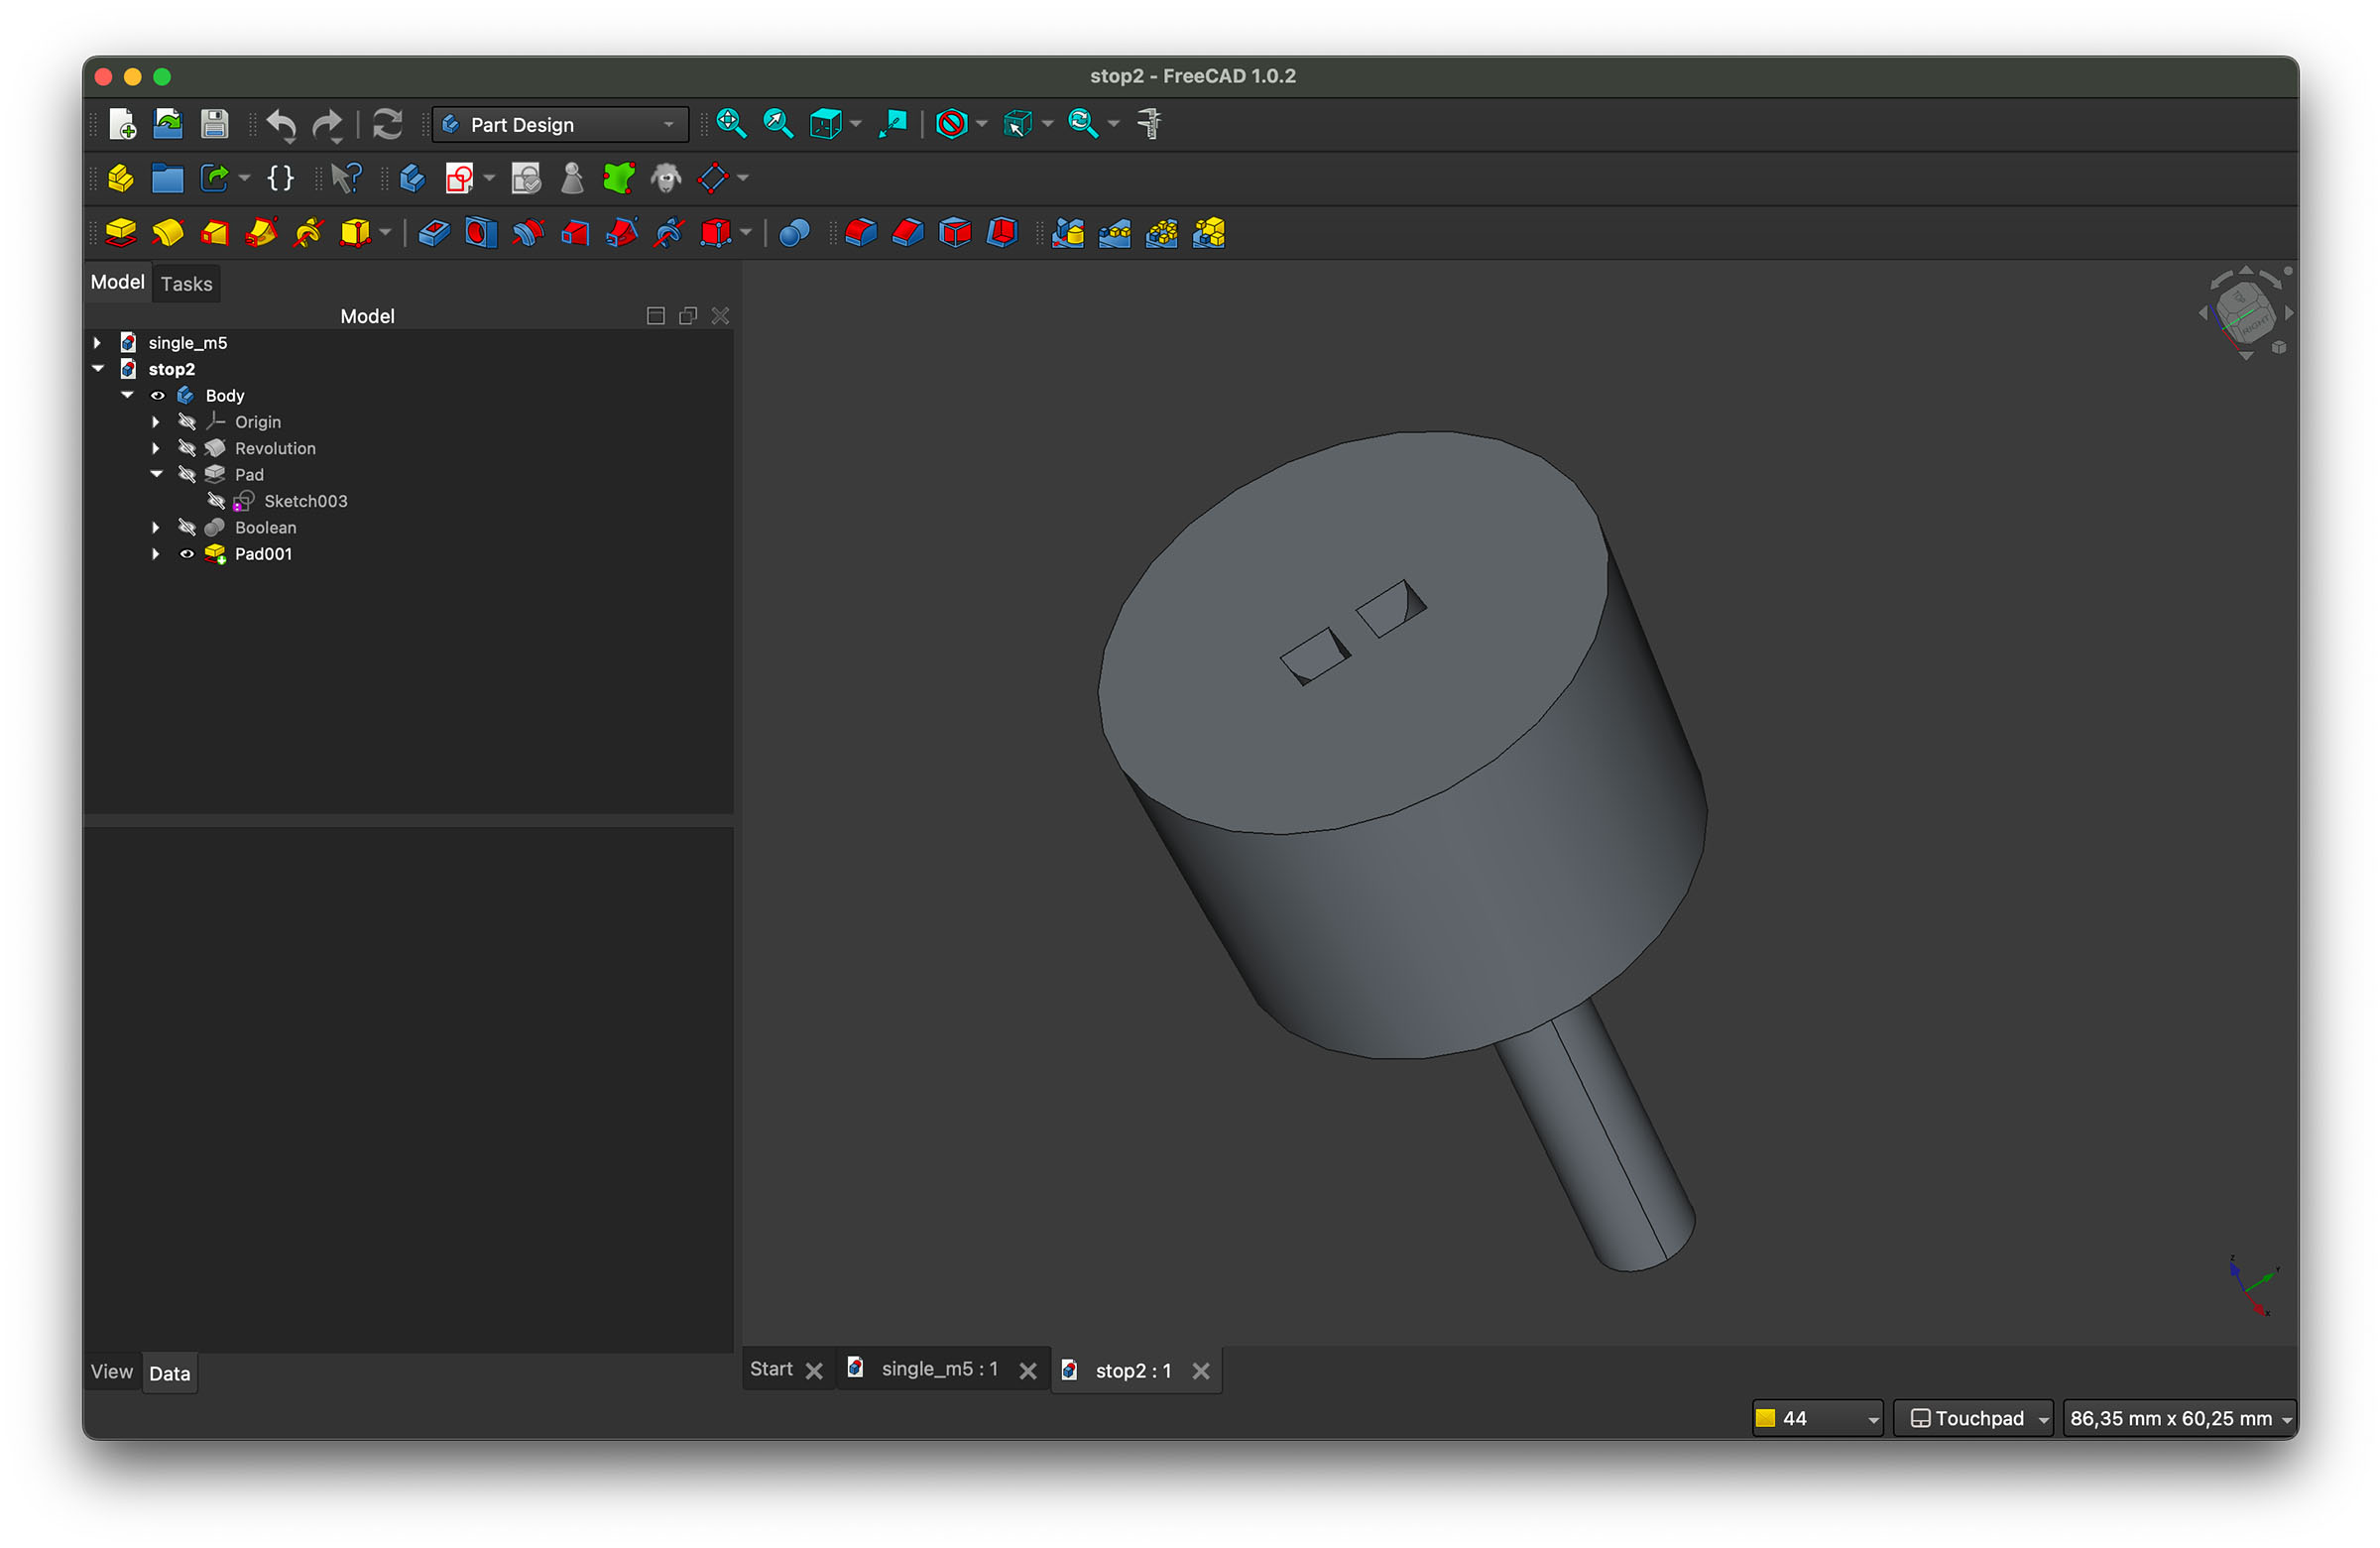 Final plug design
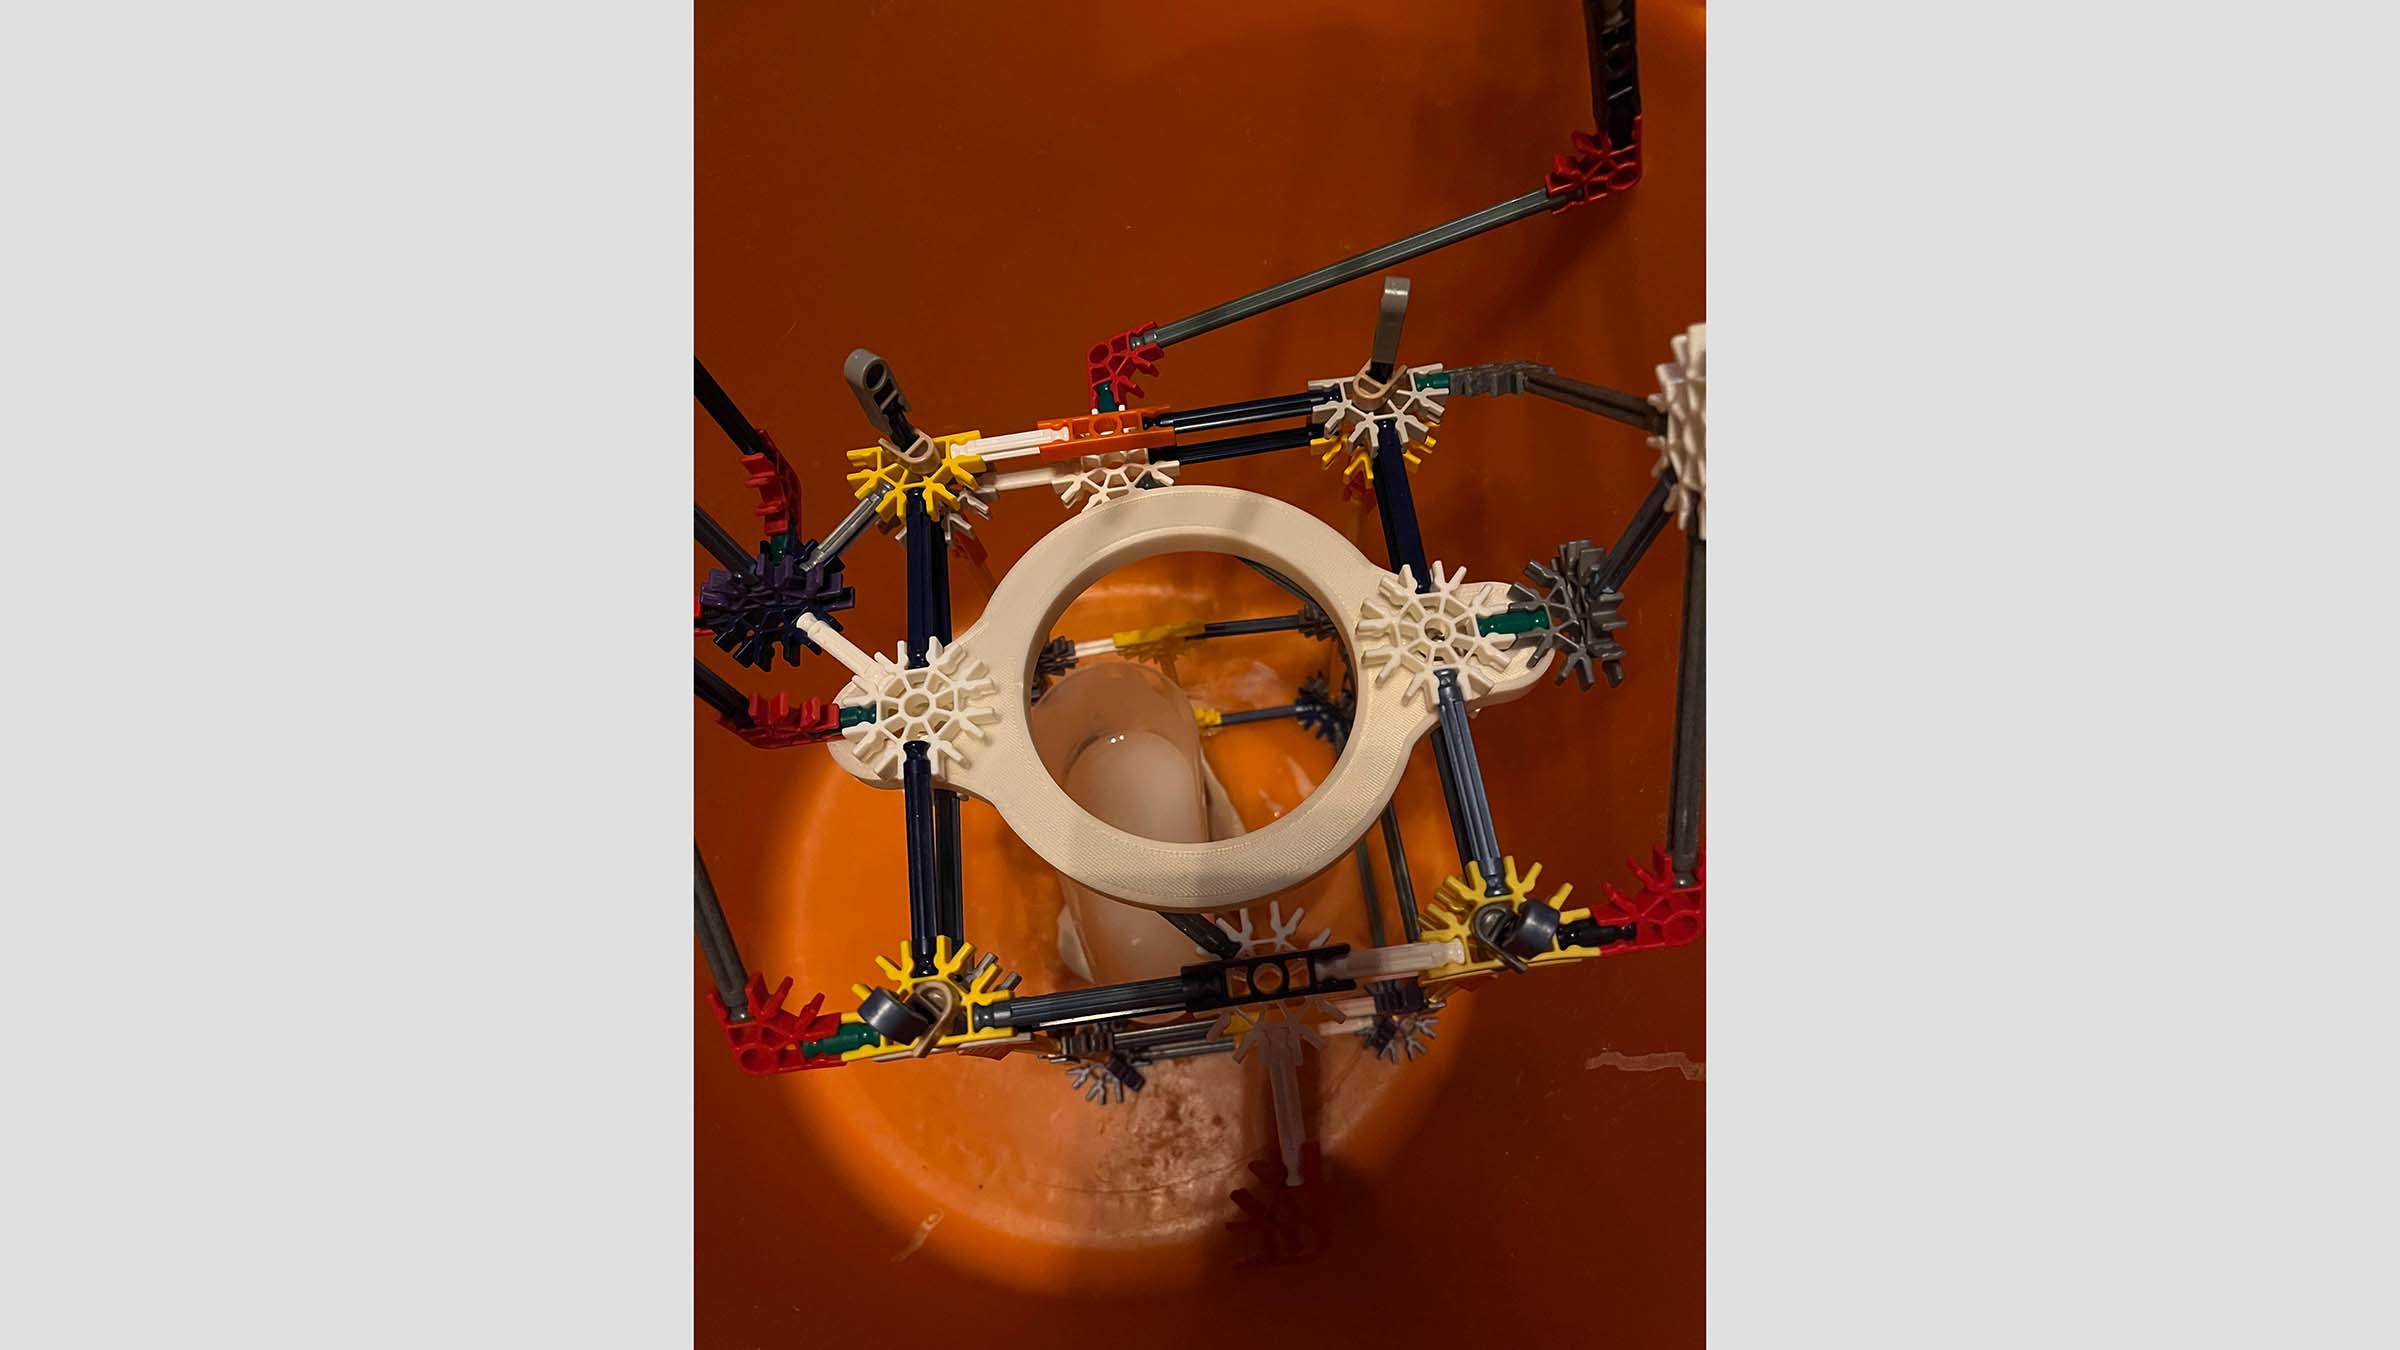
Testing station
Now that I had a stop it was time to see if I could use a servo to pull up the stop and reliably dispense batter without it leaking in between dispensing.
This took a couple of iterations, I first tested the plug with water and using my arms as the motor. It leaked, but since batter was a thicker consistency we weren't too worried. Chris was already full baking mode at home so he took my funnel and stop home and tested it with batter: not leaks. Lastly I tried to build a test setup at home with the servo to get control over the dispensing. It was pretty hard to get the structure stable, the force of the batter on the plug meant most of the time the arm holding the servo moved down, instead of the plug up. Eventually I got my old K'nex and managed to get a working setup with Arduino code.
#include <Servo.h>

Servo myServo;

void setup() {
  myServo.attach(26);
}

void loop() {
  myServo.write(0);    // go to 0°
  delay(5000);

  myServo.write(90);   // go to 90°
  delay(1500);
}
Dispense PCB
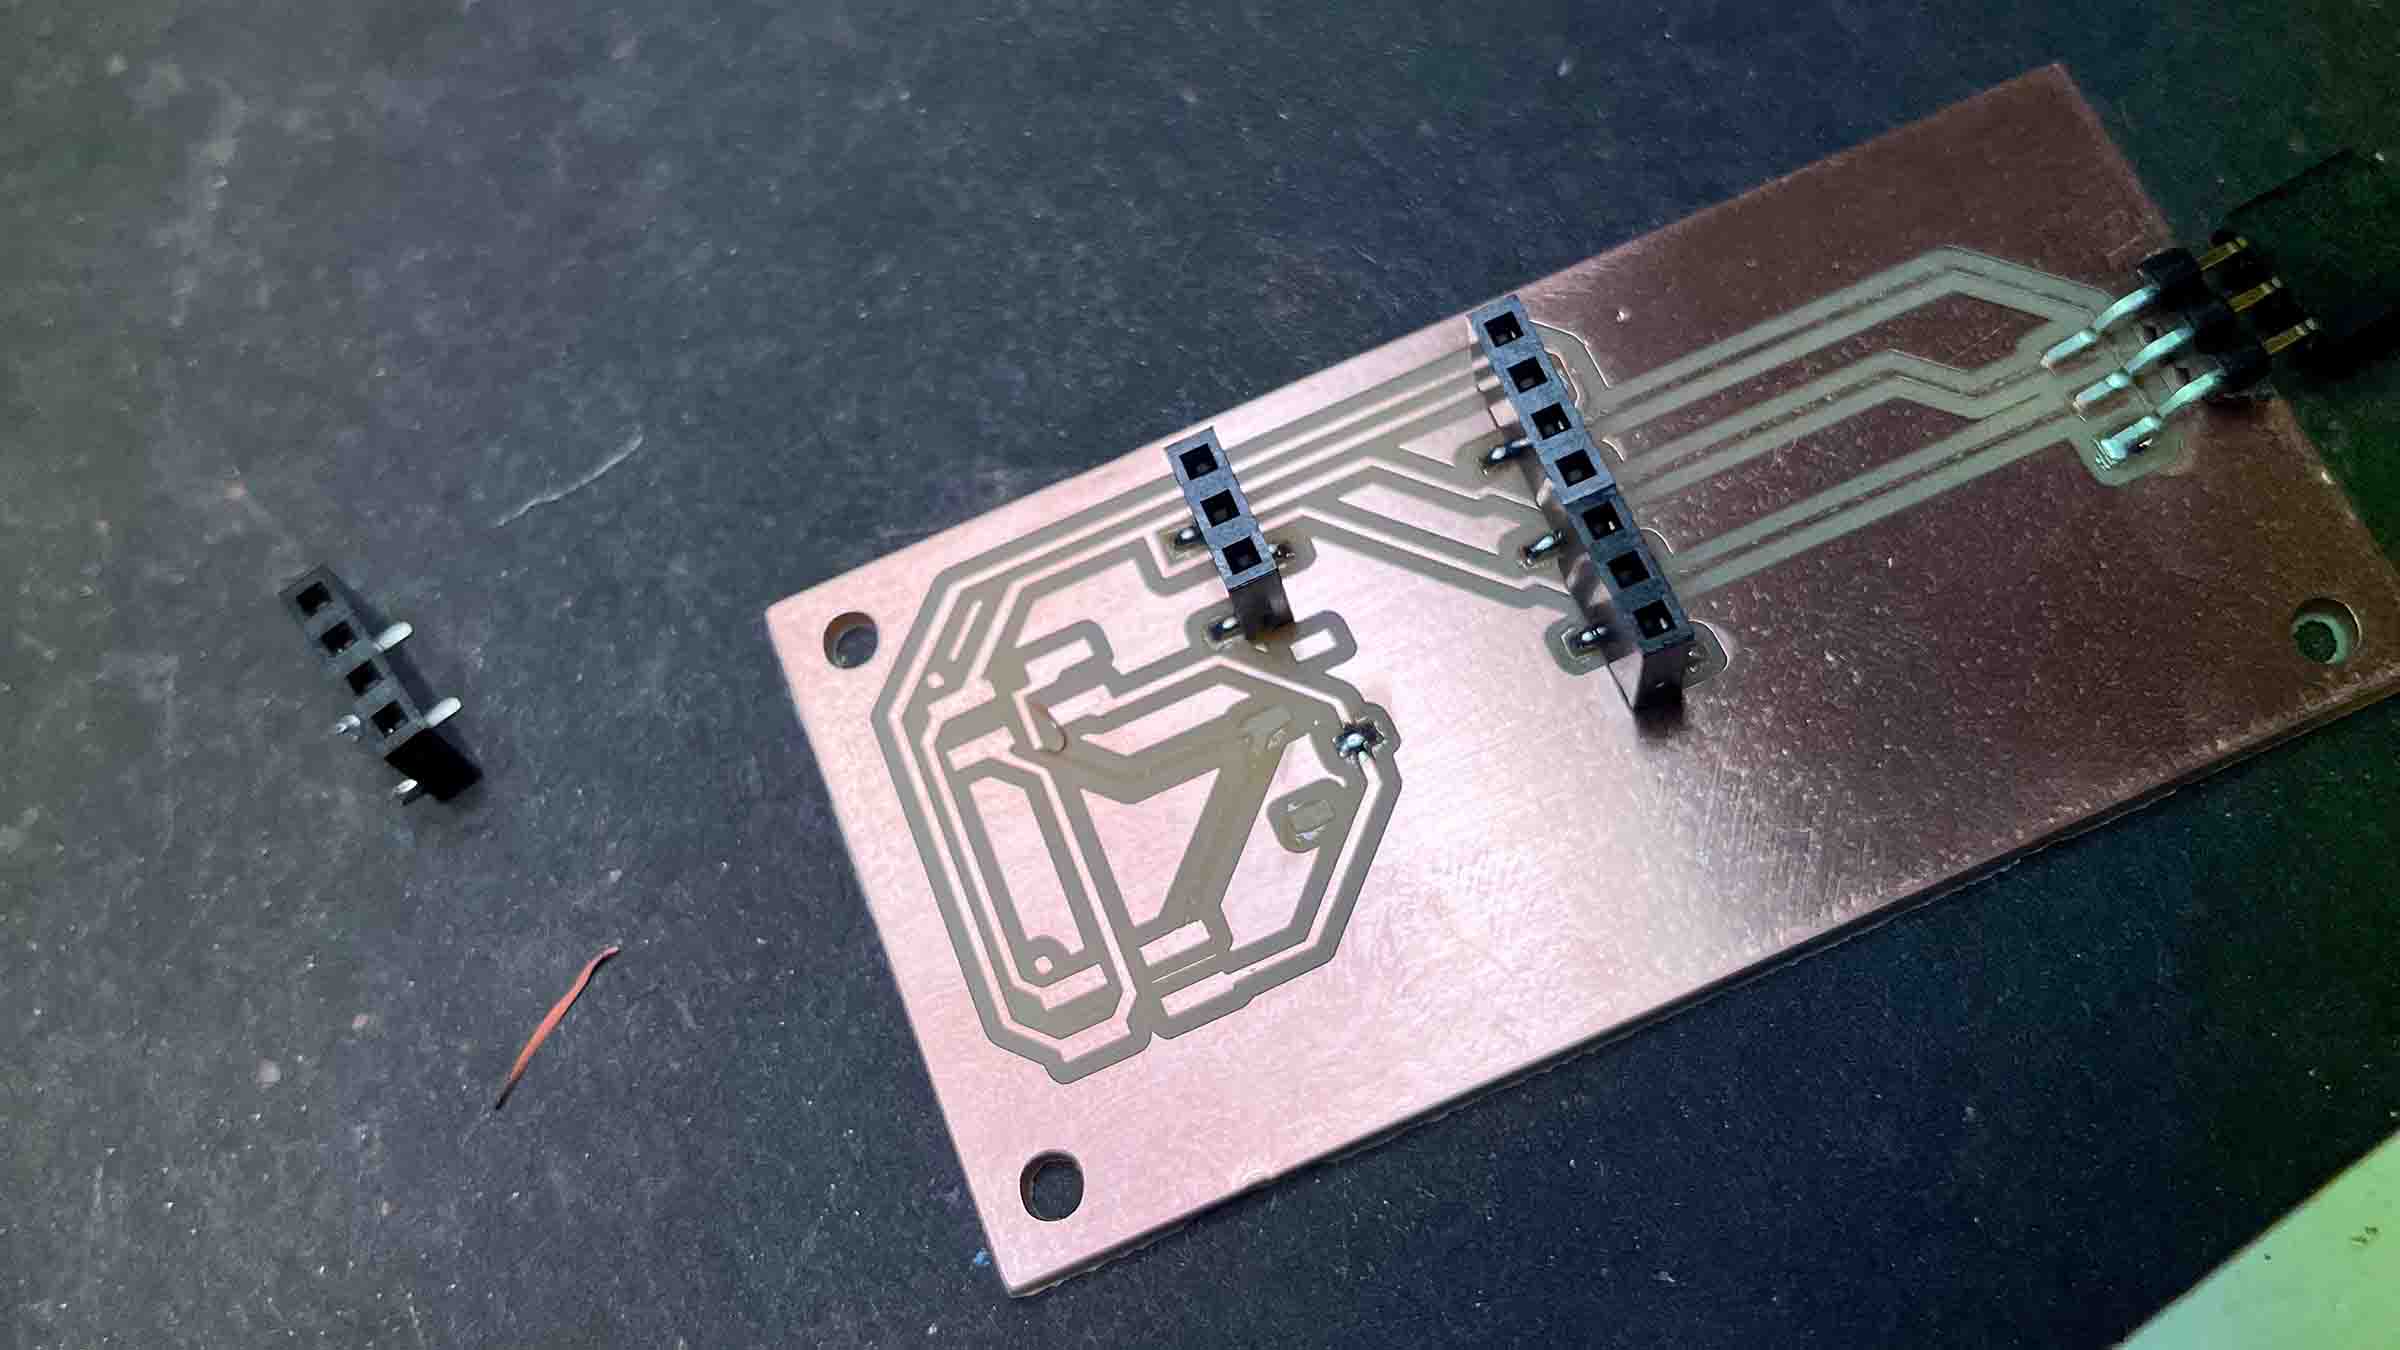
For testing the motion of the plug I used mostly an Arduino or my Xiao RP2040 with a servo plugged directly to it's pin headers. But for the actual machine we would need our own electronics since we wanted to create our own bus and have central unit sent commands through the I2C master/slave protocol. So I set out to design a PCB with the same footprint as Remco's transport PCB just in case we found time to make a PCB casing (spoiler we did not).
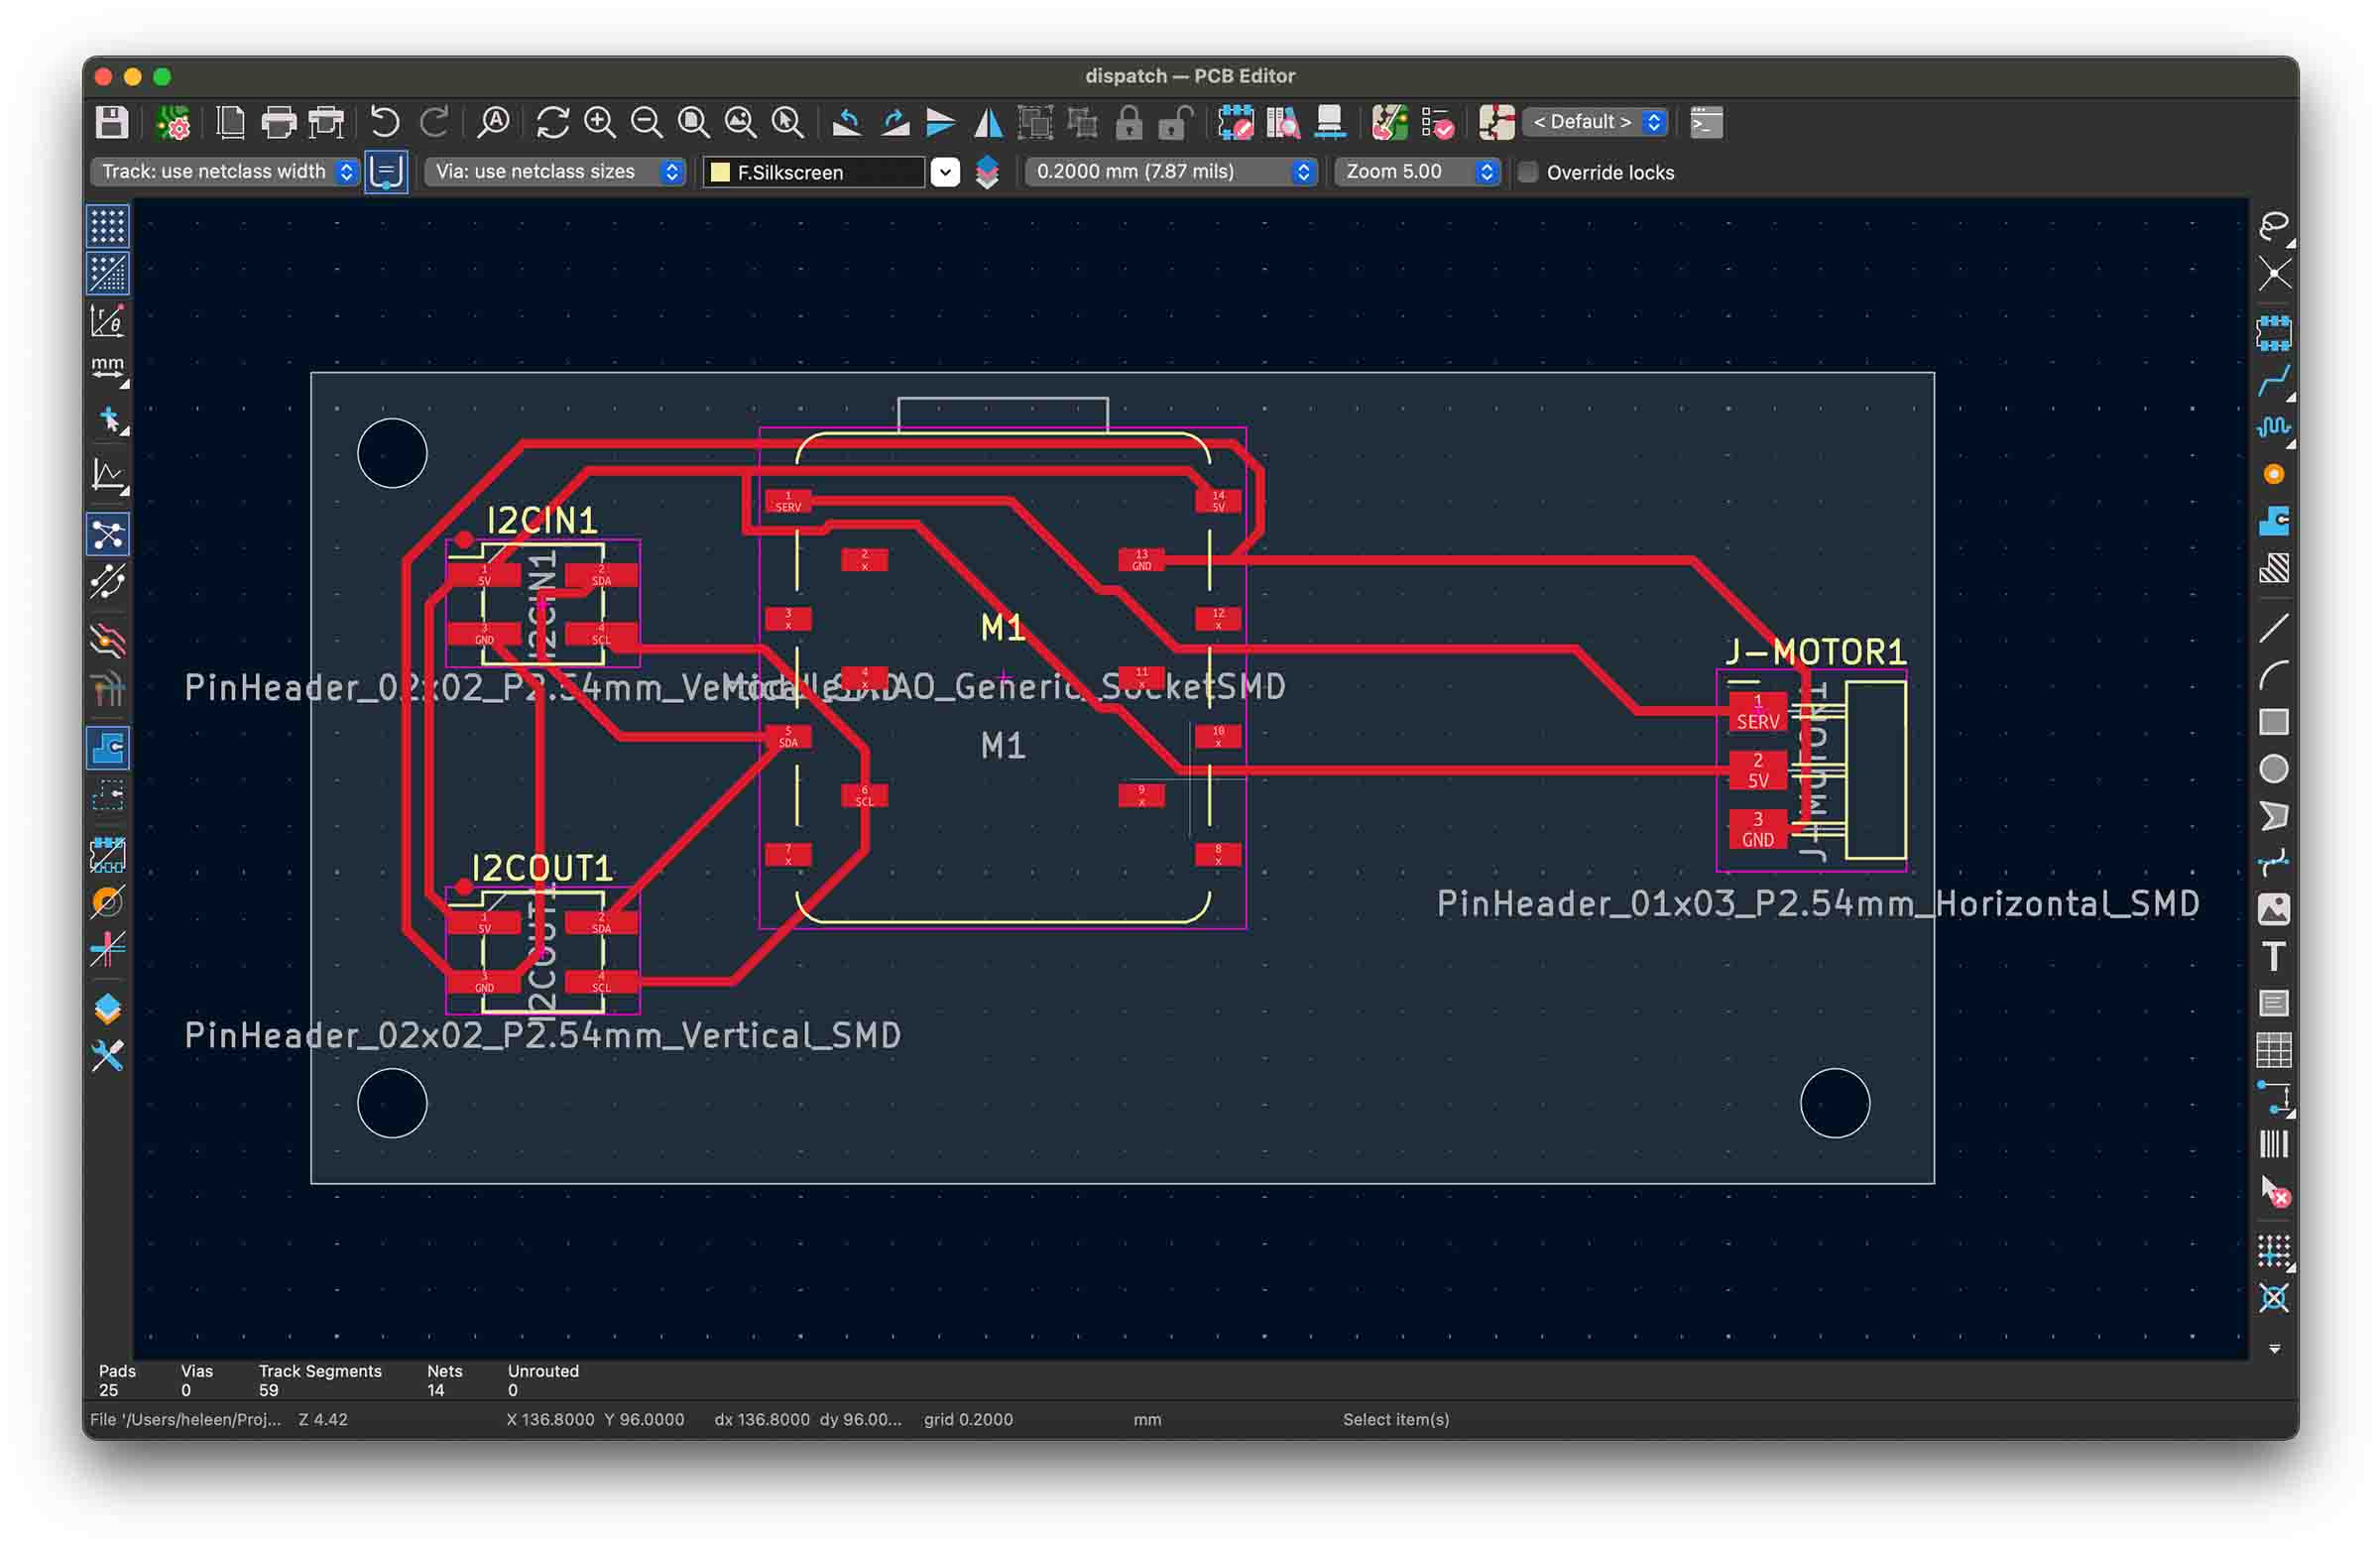
While the milling process went very smoothly, as soon as I started soldering I screwed up and pulled loose a bunch of traces. Getting frustrated while trying to fix this Remco offered to fix it for me <3 and it worked well.
Integration
The batter system had to work together with everything else. Each part of the machine had its own controller and a central unit orchestrated it all, they communicated over I²C, so my part had to respond to commands like “dispense now” at the right moment. Chris had already been setting up some structure for our code and we managed to get two RP2040's to talk over I2C using Arduino code. Remco and me prefer MicroPython where possible, so for a while me and Chris tried to get I2C master/slave logic working in MicroPython, but since this part of the protocol isn't implemented this wasn't that straight forward. Remco later managed to get it all working, read more about it in his documentation.
This meant we could also use MicroPython for the servo controls. For Arduino I had been using the servo library, but a quick google taught me I needed to manually set the PWM for the servo to work in MicroPython (or use a library which we later did). This turned out not to be very hard, but I did get confused for a while cause I grabbed a servo with the exact same id (MG90S) from our cabinet, but this turned out to be a continuous-rotation servo, not a normal positional MG90S, didn't know that was a thing. I supplied Remco with my servo MicroPython code and he hooked everything up.
import time

servo = PWM(Pin(26))
servo.freq(50)

# Adjust these if needed for your specific MG90S
MIN_DUTY = 1638   # ~0°
MAX_DUTY = 8192   # ~180°

def set_angle(angle):
    duty = int(MIN_DUTY + (angle / 180) * (MAX_DUTY - MIN_DUTY))
    servo.duty_u16(duty)

def sleep_servo():
    servo.duty_u16(0)  # stop signal → no buzzing

while True:
    # Go to 0°
    set_angle(0)
    time.sleep(0.5)   # time to reach position
    sleep_servo()
    time.sleep(5)

    # Go to 90°
    set_angle(90)
    time.sleep(0.5)
    sleep_servo()
    time.sleep(1.5)
Transport slide
We also needed a service for Remco's arm with the pan driven by a stepper motor to slide over. For this I designed a really super simple part and cut it out of cardboard.
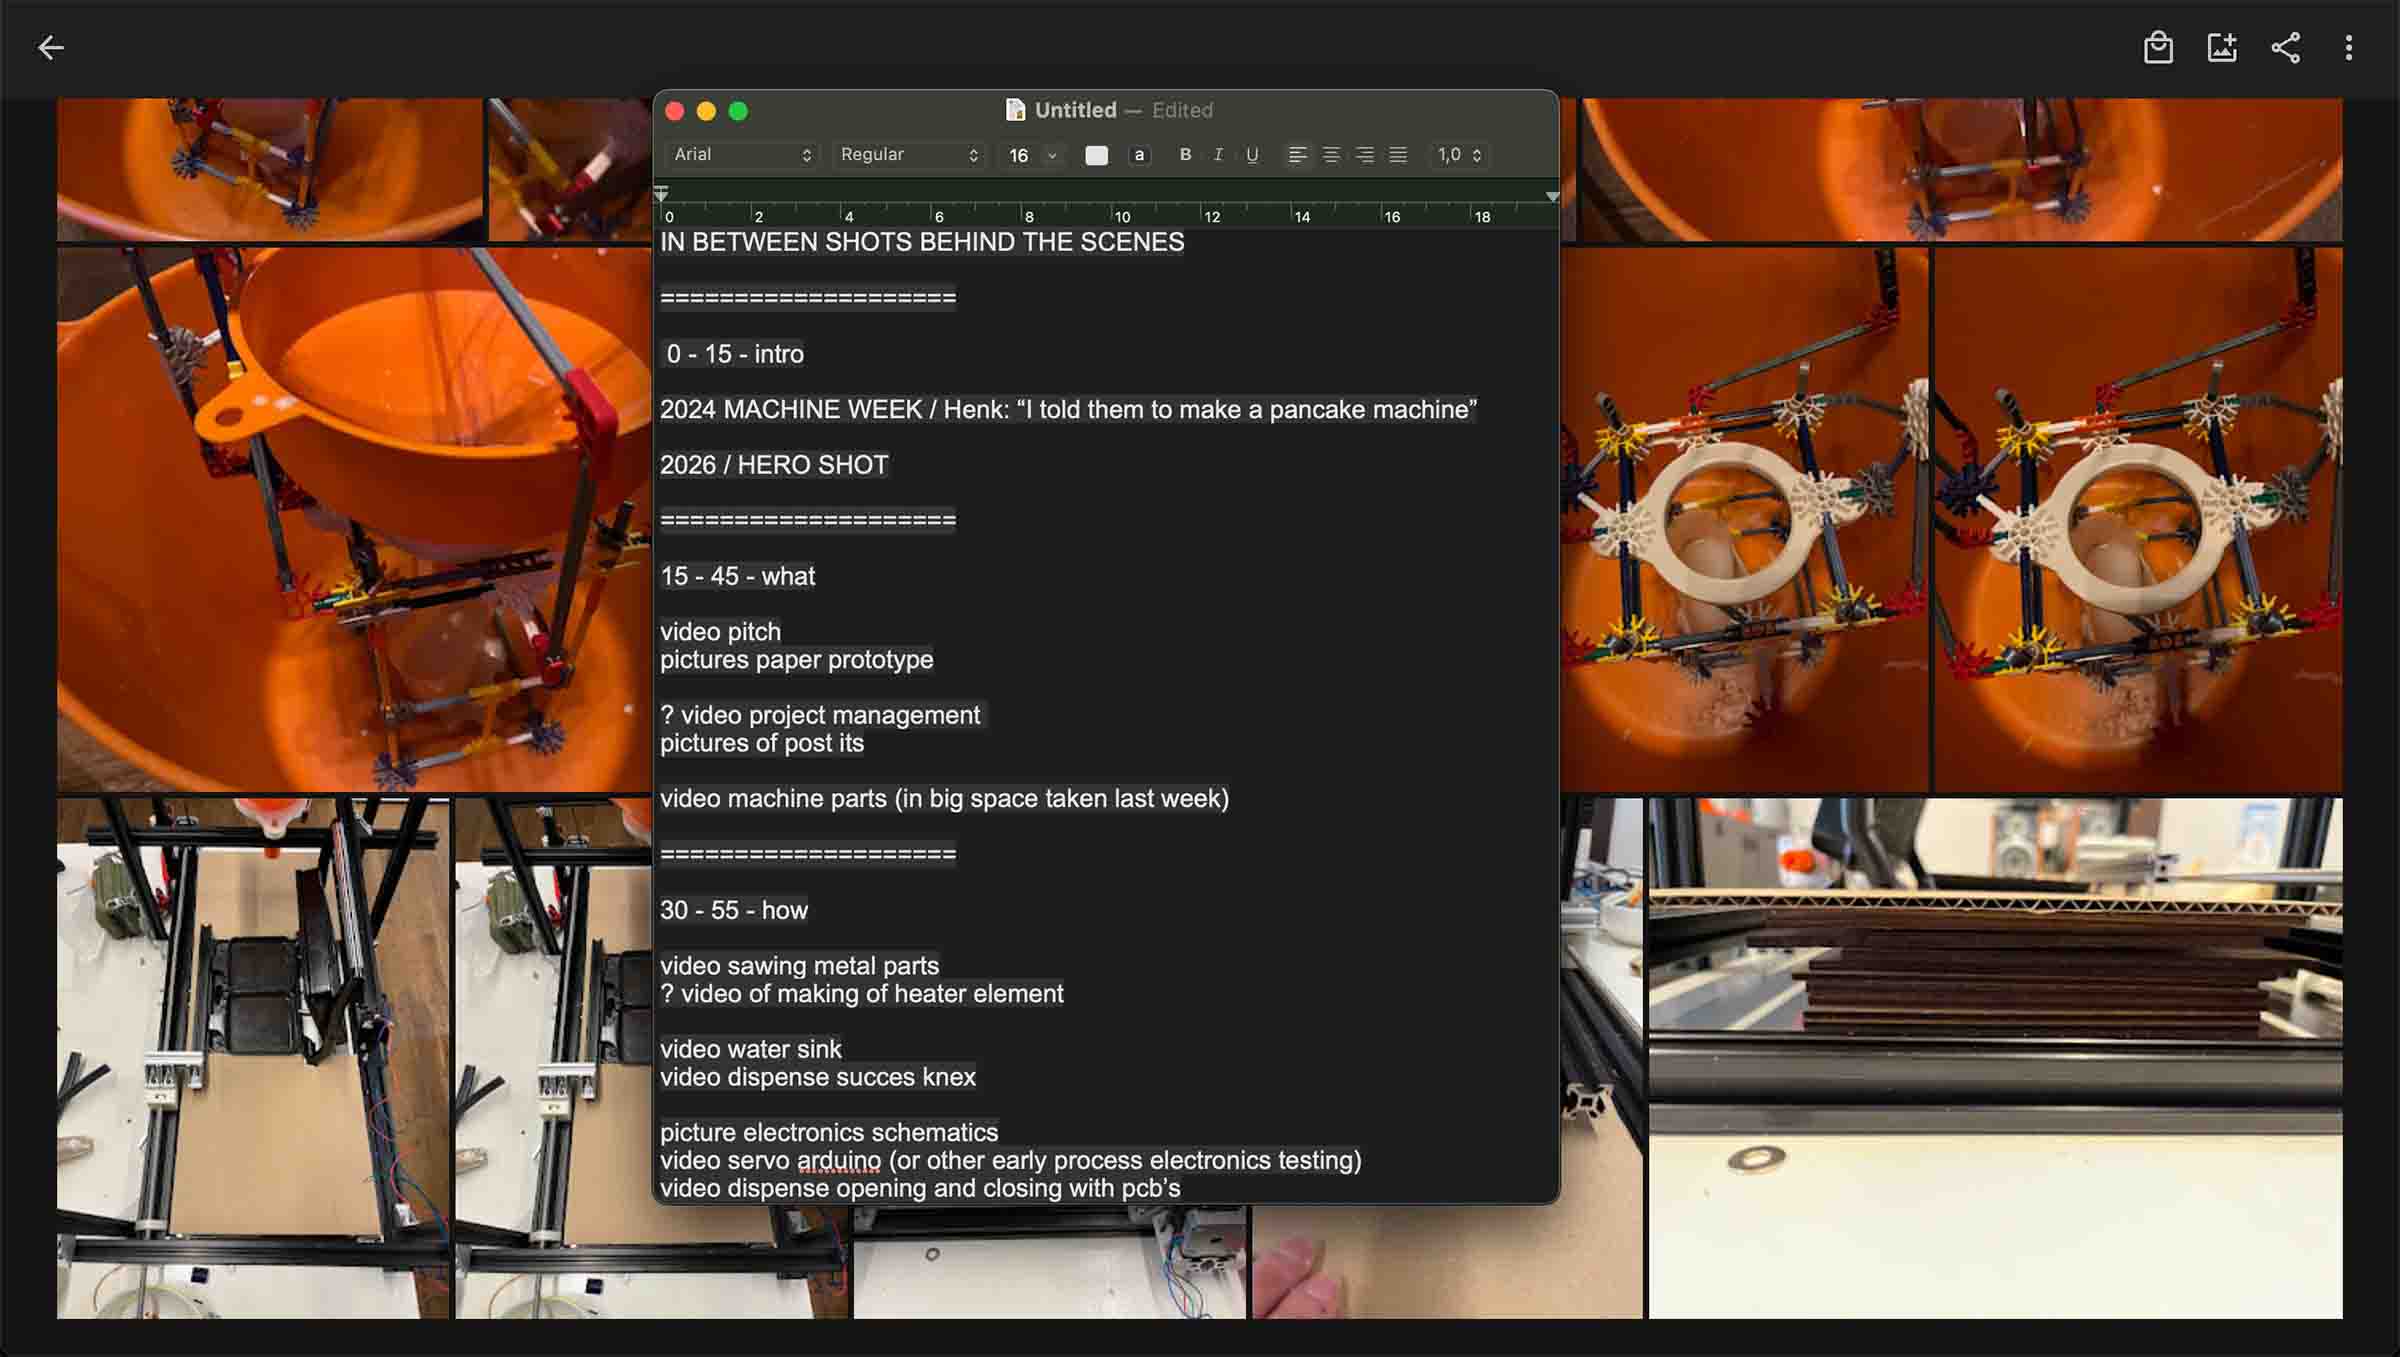
Video edit
And lastly I took it upon me to edit the video we needed for class. I came up with a very simple storyboard and edited it with input from Remco and Chris.
Reflection
My dispense station worked pretty well, one thing that was kinda impossible to control was the funnel dripping batter that was sticking to the bottom of the funnel after the plug had closed. But luckily the drip was so little it didn't really matter in the end. We didn't expect to make a completely mess free pancake machine after all.
By the end we had a machine that moves the pans, dispenses batter, and bakes it (very slowly). All our parts integrated well and all our electronics and code where self made. I mostly learned it's really complex to build a machine and it forced me to look at what we can realistically done in such a short timeframe. I had fun and learned a lot!
 He Pannenkoek!
Files & resources
Leftovers previous week
- week 10 documentation
- week 11 assignment
Further exploration
- it would've been nice to have a bit more time for the presentation of the machine, make a nice case and controls etc