14. Interface and Application Programming
So for this week I focused on making of the interface for my servo. I used the pcb I designed with my ESP32-C3. Here you can read about my PCB DESIGN and here you can read about its production PCB PRODUCTION. So for the application I used html.
Group Assignment
In the group work we looked at a way to connect embedded systems to interfaces. This helped me with understanding how to connect the interface to the hardware.
Individual assignment
So for this assignment I used html to make my interface. I thought it would be easy to make a controller with the browser so this week is kinda mixed with my Networking and Communications week where I made my board connect to the other board wirelessly through internet.
I used this code that I made with the help of chatgpt to make my already existing slider from week 11 to look better and work properly for 3 servos connected on one board. first is the Link for the week where the servo connects wirelessly with a minimal interface Then the chatgpt prompt. Link to the exchange
Here i will provide local pictures of prompts.
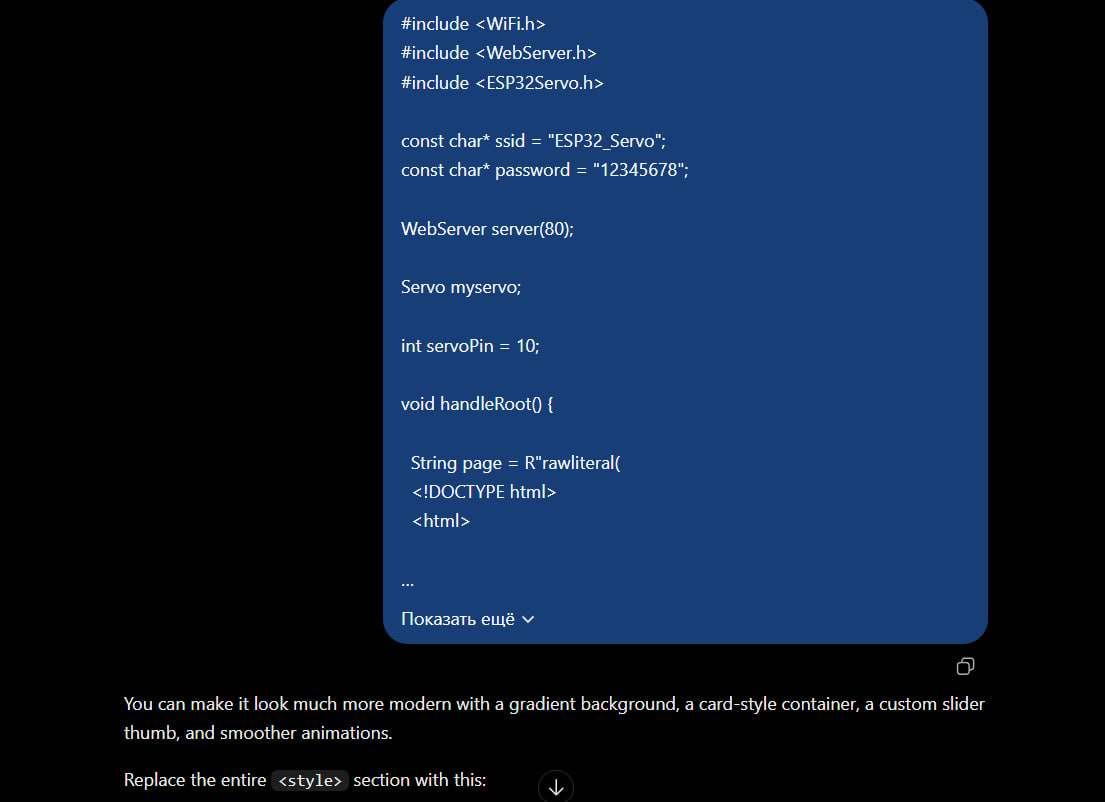 I gave it the code
Code
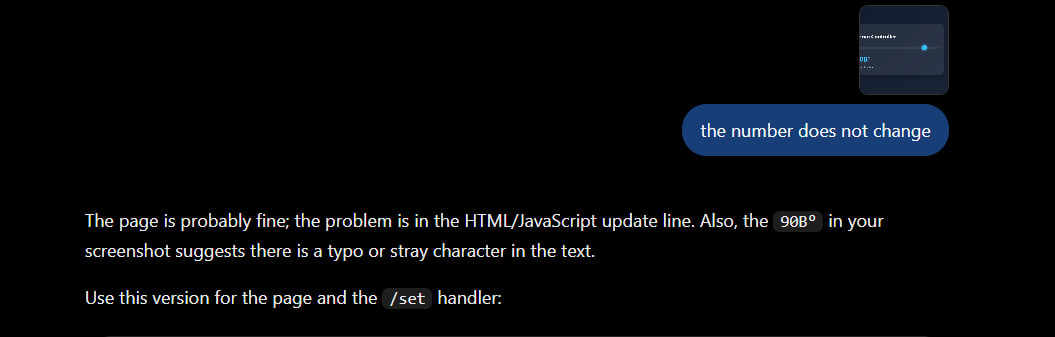
Then asked to fix the issue because the number in the ui was not changing the reason was
If the HTML element ID did not match angleValue, JavaScript could not locate the correct element to update. Additionally, an incorrectly placed or duplicated character in the HTML could cause the displayed value to appear incorrectly (for example, 90B°).
Then told chatgpt to combine the codes with the code i provided and make all of the servos have their own input instead of a singular one and for the stepper make two buttons for up and down
Made it so that the mirrored servos rotate together
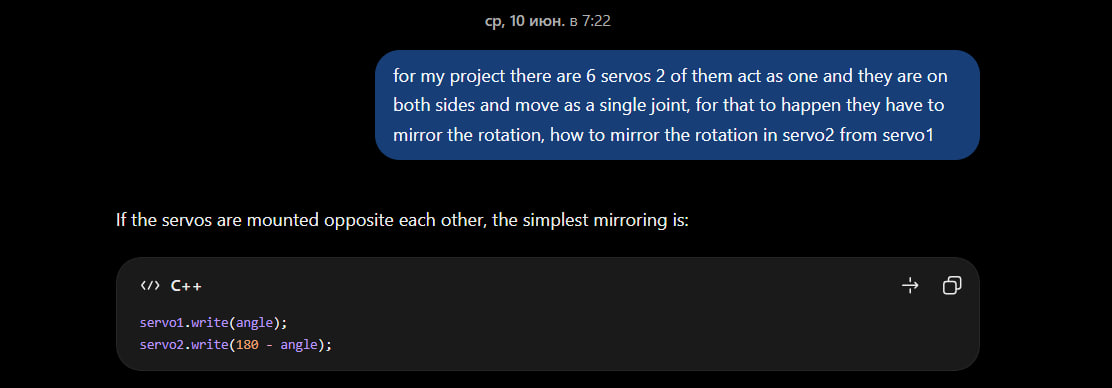
Then asked to bring it all together
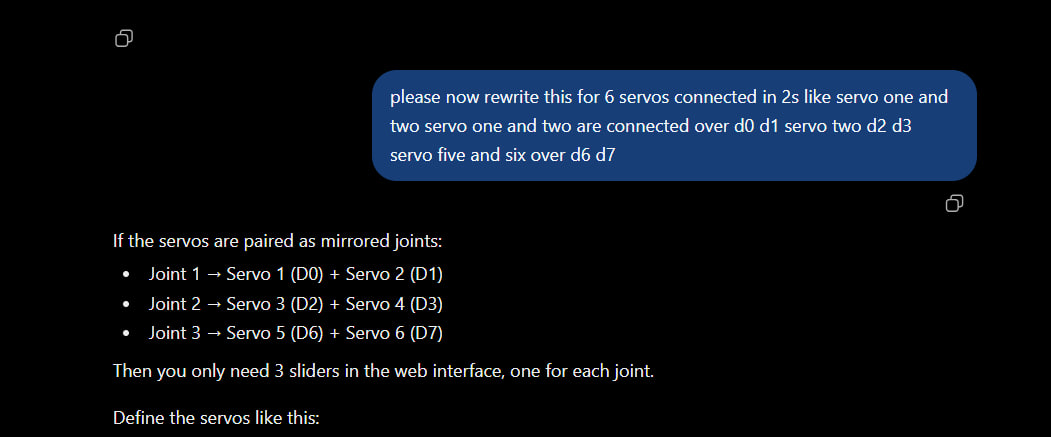
Ok so even after that there were still problems I had to fix because we all know chatgpt can do only so much so , some of the errors that the code had were
- Undeclared Board Pin Aliases (D0–D10) basically The ESP32C3 Dev Module setting in Arduino IDE for some reasong didnt recognize D0-D10 so replaced them with 2,3,4,5 the hardware pins.
from
const int servoPin1 = D0;
to
const int servoPin1 = 2;
- Missing pointer *
Pointers didnt have a * so added and started to work
from
const charssid = "ESP32_Servo";
const charpassword = "12345678";
to
const char* ssid = "ESP32_Servo";
const char* password = "12345678";
Then I flashed the esp32 and pugged in the right pins to test one servo with different info pins because i needed to see that code worked for all pins.
Code and Explanations
- When powered on, the ESP32-C3 creates its own local Wi-Fi hotspot and hosts the webpage at 192.168.4.1.
- When you open 192.168.4.1 in your browser, the ESP32-C3 sends the HTML to your screen.
- Moving a slider sends a short background message like
/joint1?value=120usingJavaScript fetch(). - Holding Up or Down sends
1/step?dir=upor/step?dir=down, and letting go sends/step?dir=stop.
The microcontroller basiacally run a local web server that listens for messages from the browser and turns the messages into electrical signals.
Here we connect make the esp 32 create its own standalone WIFI network. Then it maps specific URL paths to their corresponding C++ functions.
// Start standalone Wi-Fi hotspot
WiFi.mode(WIFI_AP);
WiFi.softAP(ssid, password);

// Map incoming URLs to handler functions
server.on("/", handleRoot);
server.on("/joint1", handleJoint1);
server.on("/joint2", handleJoint2);
server.on("/joint3", handleJoint3);
server.on("/step", handleStepper);

server.begin();
When the browser sends a request like /joint1?value=135, handleJoint1()
/joint1?value=135, handleJoint1() it checks for the value param , then passes it to setMirroredJoint()
```void handleJoint1() {
if (server.hasArg(“value”)) {
// Read the URL parameter and convert it to a safe 0-180 angle
joint1Pos = constrain(server.arg(“value”).toInt(), 0, 180);
// Drive both servos in opposite directions to mirror the joint
setMirroredJoint(servo1, servo2, joint1Pos);
} server.send(200, “text/plain”, “OK”); }
When a button is pressed or released in the UI the browser sends ```/step?dir=down``` or the up one the ```handleStepper()``` function reads the direction string , sets the direction pin and toggles the stepperRunning flag.
void handleStepper() { if (server.hasArg(“dir”)) { String dir = server.arg(“dir”);
if (dir == "up") {
  stepperRunning = true;
  digitalWrite(DIR_PIN, HIGH);
} else if (dir == "down") {
  stepperRunning = true;
  digitalWrite(DIR_PIN, LOW);
} else if (dir == "stop") {
  stepperRunning = false;
  digitalWrite(STEP_PIN, LOW);
  stepPinState = LOW;
}
} server.send(200, “text/plain”, “OK”); }
So lets get to the code
void setMirroredJoint(Servo &a, Servo &b, int angle) { angle = constrain(angle, 0, 180); a.write(angle); b.write(180 - angle); }
Is interesting because for my final project i envision 2 servos working in a mirrord way 1 on each side working as a combined joint.
function setJoint(num, val) { document.getElementById(“joint” + num + “Val”).textContent = val; fetch(“/joint” + num + “?value=” + val).catch(err => console.log(err)); }
As soon as you drag the slider, it immediately updates the angle number shown on the screen and instantly sends new value (like /joint1?value=120) to the esp.

<button >Up</button>

The up button using pointer evens makes the button able to be pressed with a computer mouse or the tap/hold button with your finger on a phone. Adding onpointerleave acts as a built‑in safety: if your finger accidentally slips off the button while holding the button down the motor automatically stops of getting stuck running forever.
function setJoint(num, val) { document.getElementById(“joint” + num + “Val”).textContent = val; fetch(“/joint” + num + “?value=” + val).catch(err => console.log(err)); } ``` This interface should work for my future project once i do it.
This is the final code that i used in my final project. This is what the inteface will look like.
Hero shots
One
Two