5. 3D Scanning and Printing
This week i learned how to 3D print and how to 3D scan which will help me in making parts for my final project. I now know how to use the printers and how to use the slicers better.
Group assignment
For the group asignment,we tested and characterized the design rules and performance limits of the lab’s 3D printers (FDM and resin). Reflected individually on key printer characteristics, tolerances, limitations, and implications for design. I learned how and why fails happen, what overhangs are alright and which start to fail or droop. I have learned what some printers are better at then others, also what materials you can print on some and cant on others. I now have some preferences for my printers.
Individual assignment
3D design
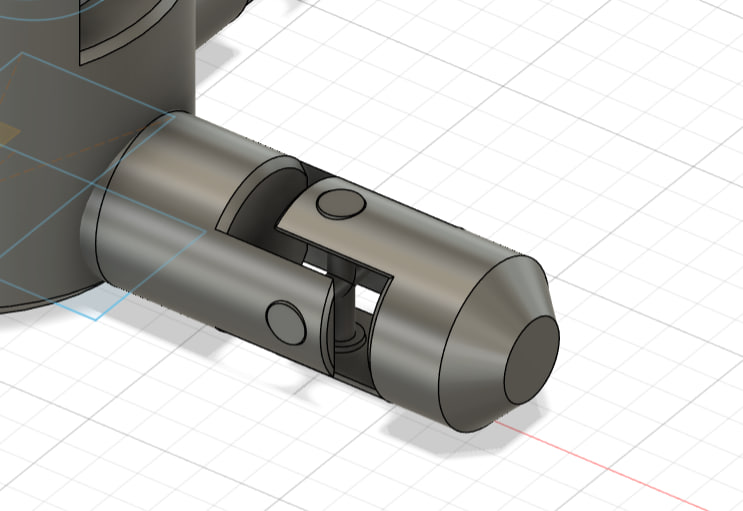
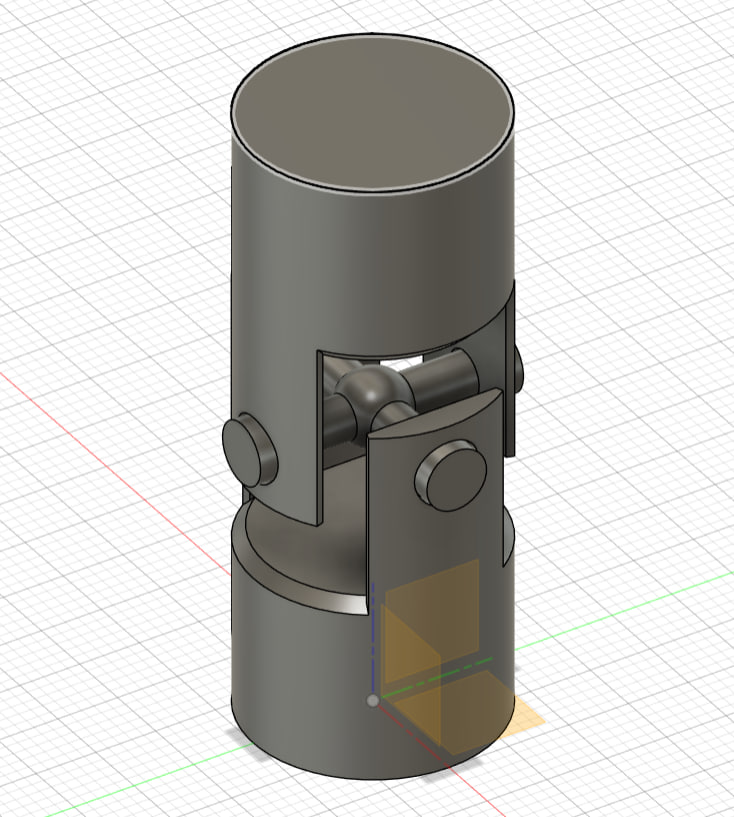
So this week i focused on making a omnidirectional joint because I thought it might help with making fingure joints later on in the final project. Omnidirectional joint
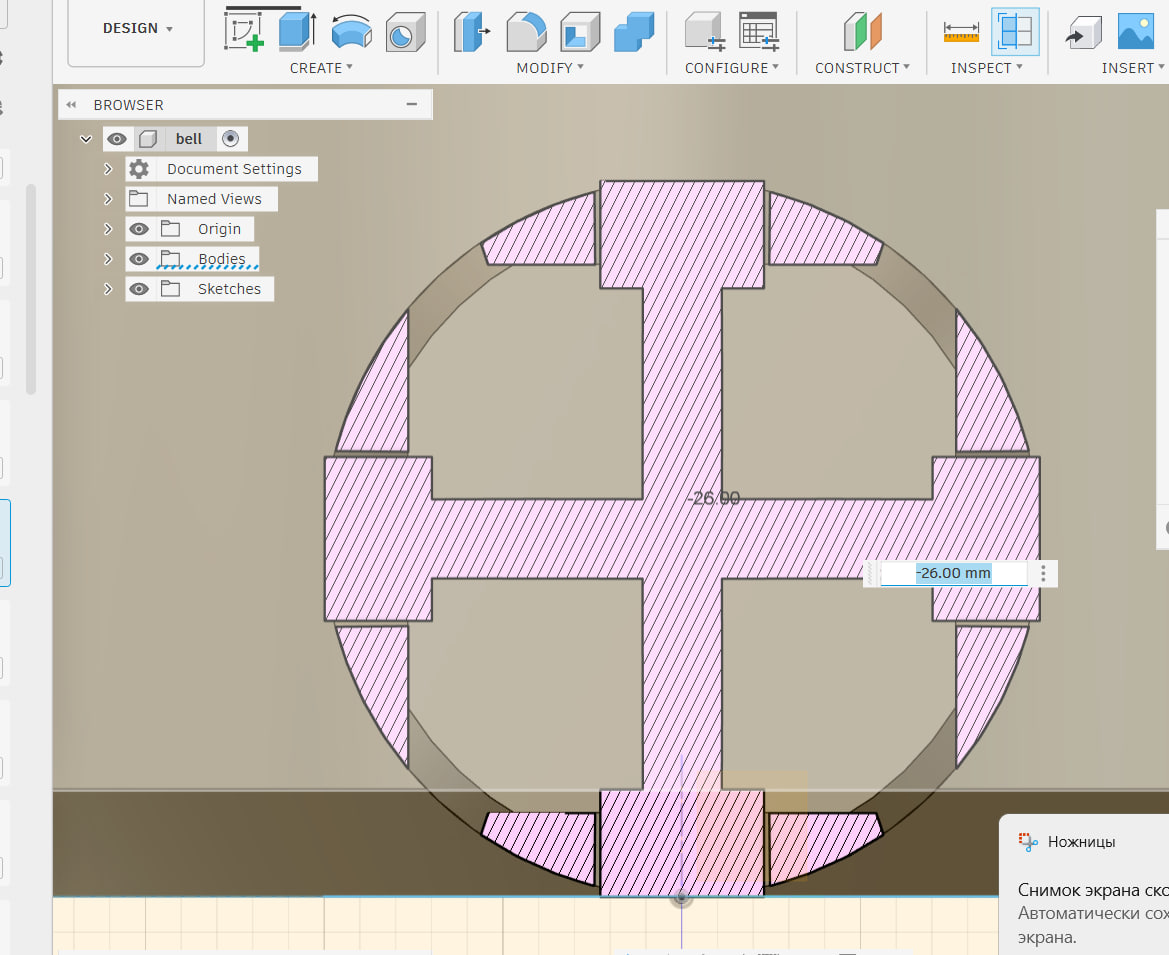
Section analisys of the joint
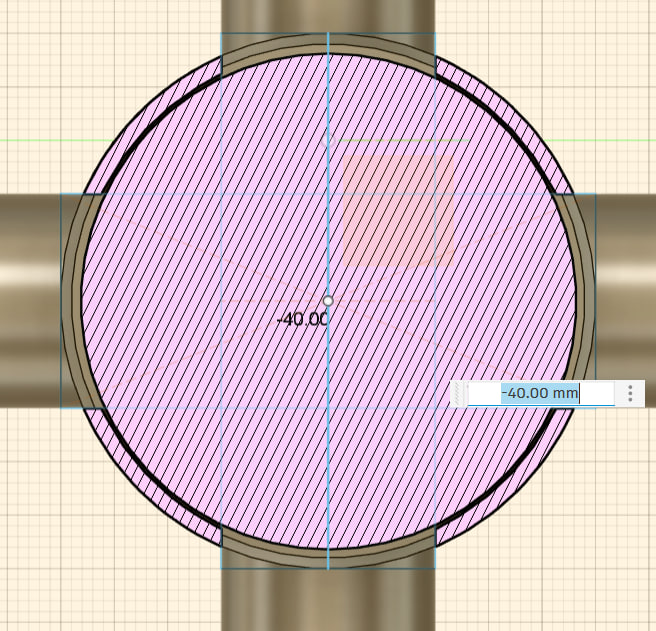
Section analisys of the ball
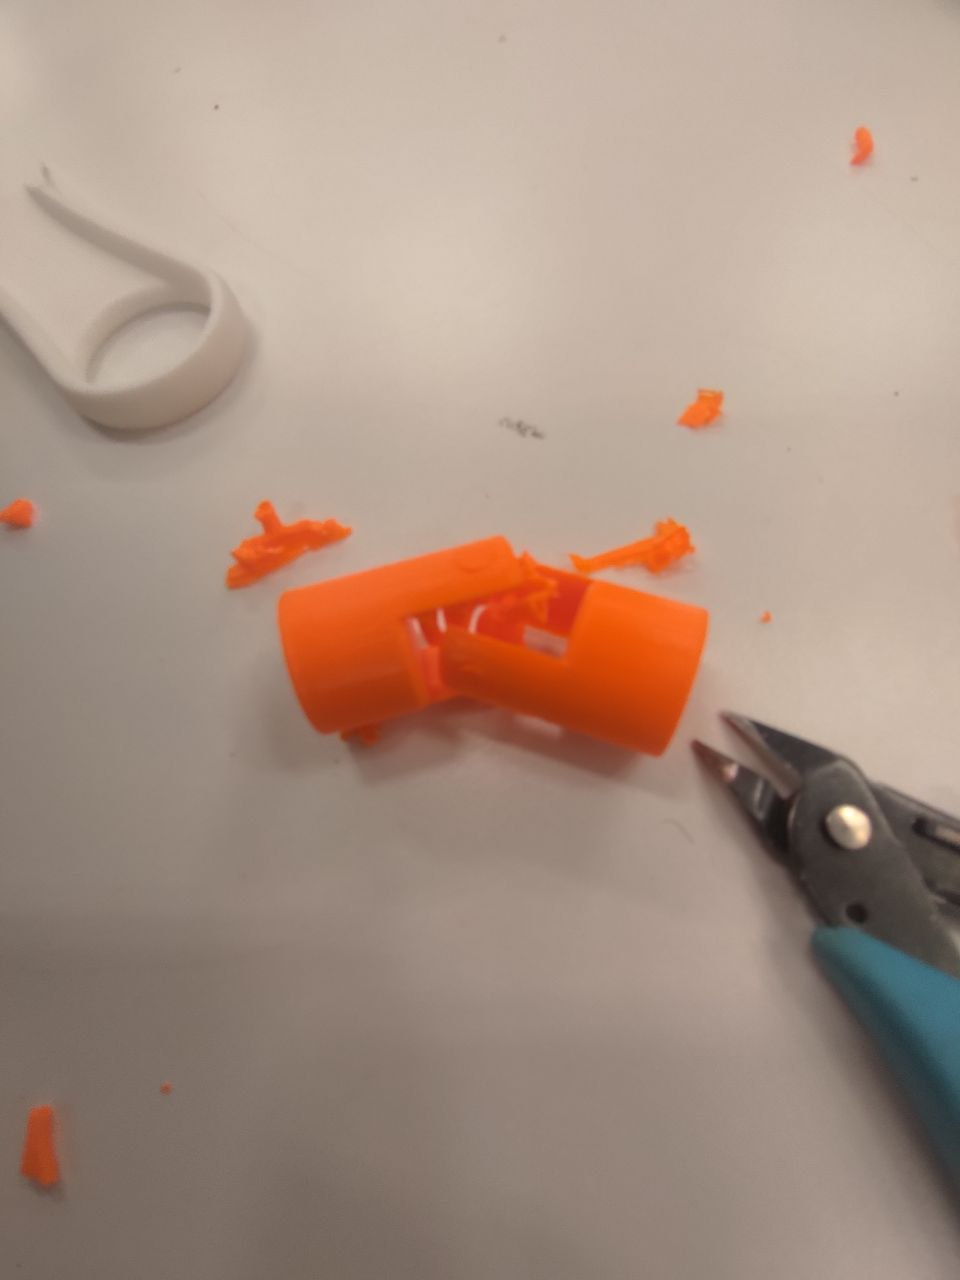
First print had a few misstakes the print stuck to the wall and im not sure how to fix that yet
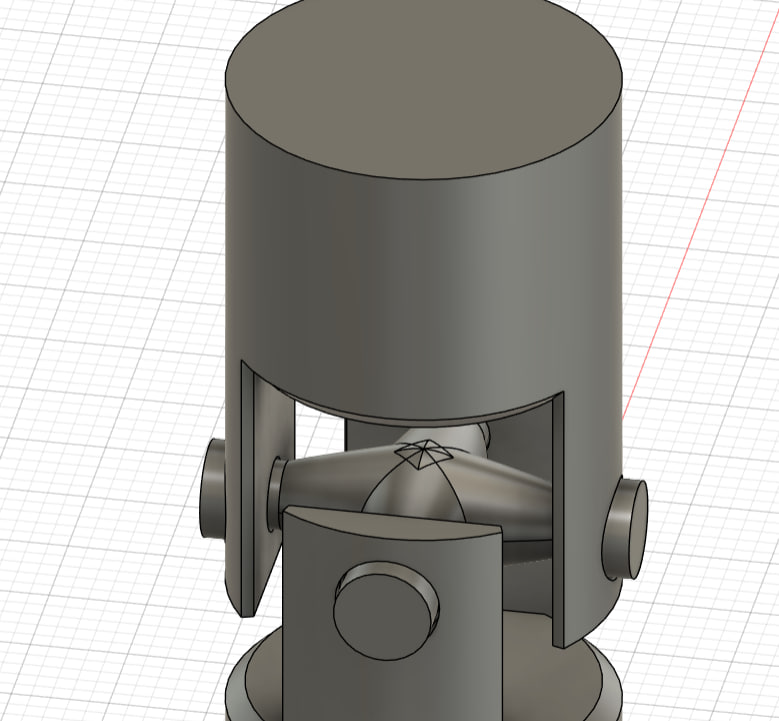
Ok it took a bit long but i made it. So i made a universal joint instead there were a few problems
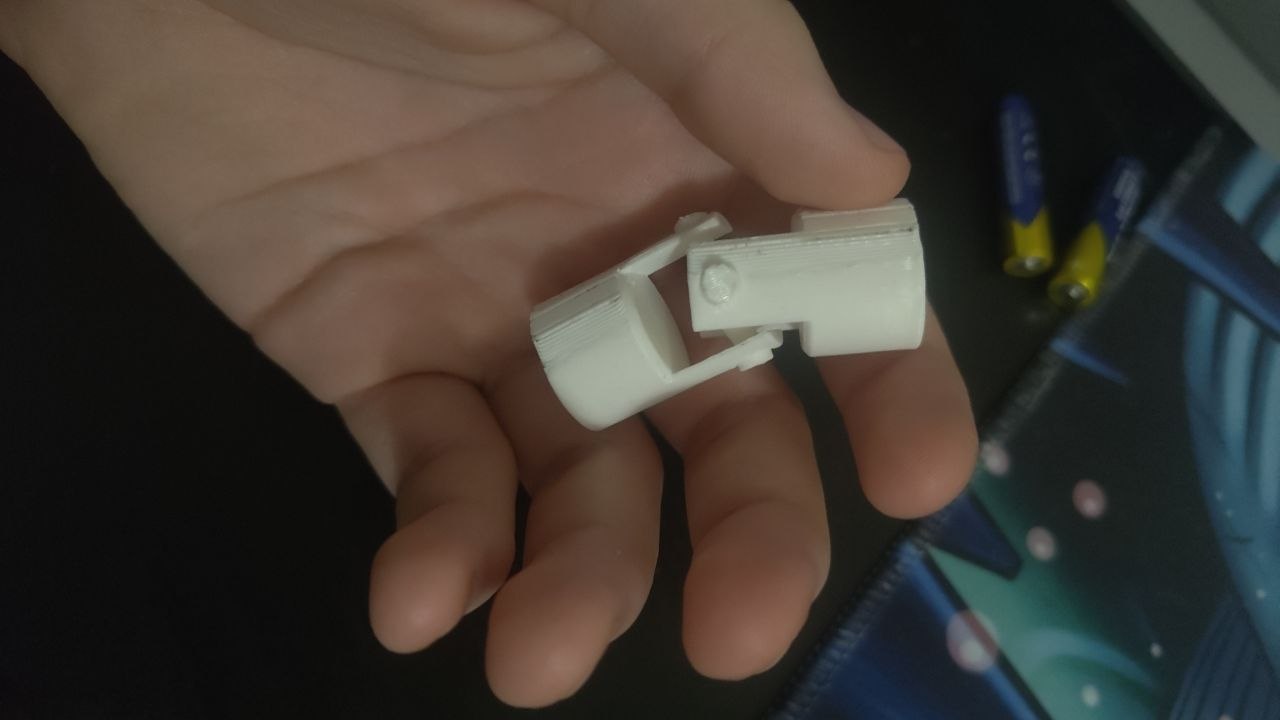
So the main problem was that the joint was breaking at the middle and the hole points. So what I did is i put a circle in the middle.
But then it just broke when the circle ended so i added a chamfer.
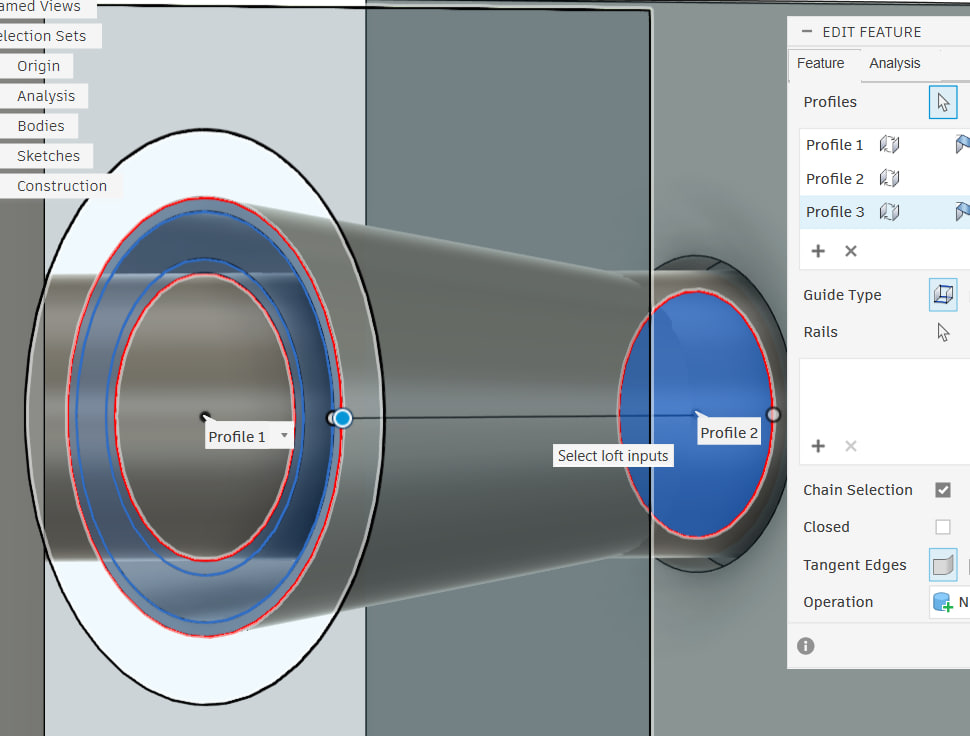
So for the chamfer I made one sketch circle bigger than the pipe leading to the center then fixed the size of that so that it wouldnt break and wouldnt be too large.
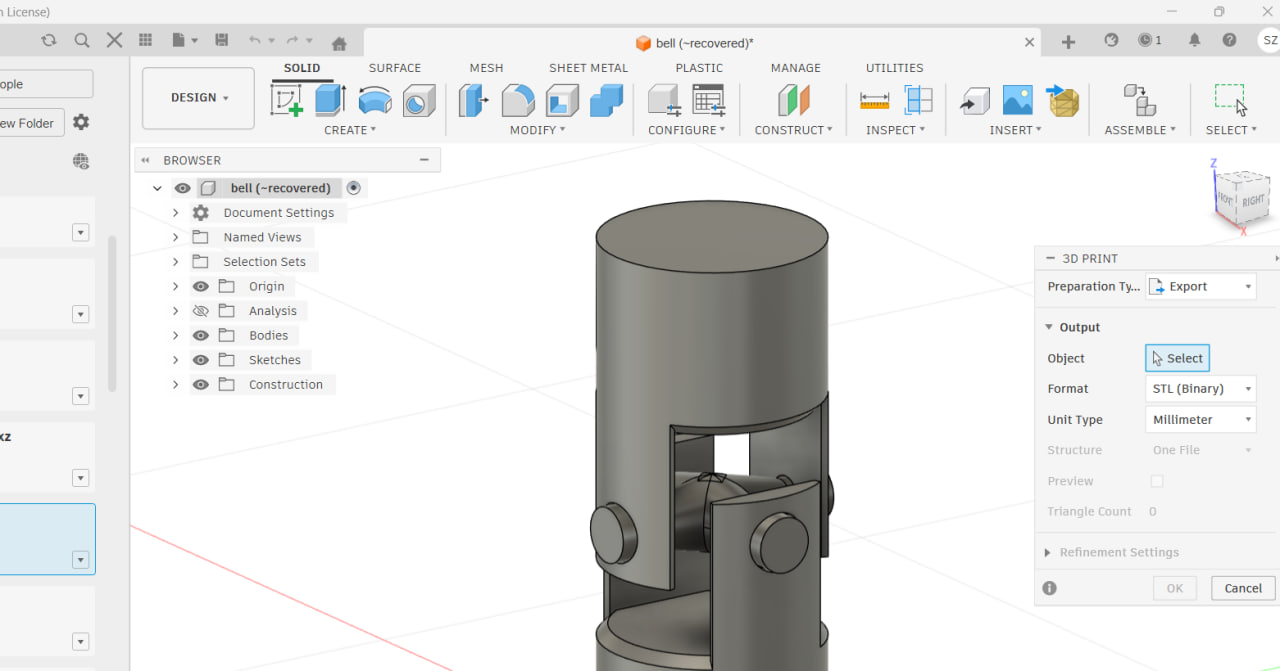
To print, we use the 3D print option, and it goes directly to Pruisa.
it still broke but it was much more durable, so what i concluded was the problem was the angle at which it was placed on the board. So during the 3d printing it was placed on one of the legs and what happened was that the sides were placed at a 90 degree angle so it drooped down.
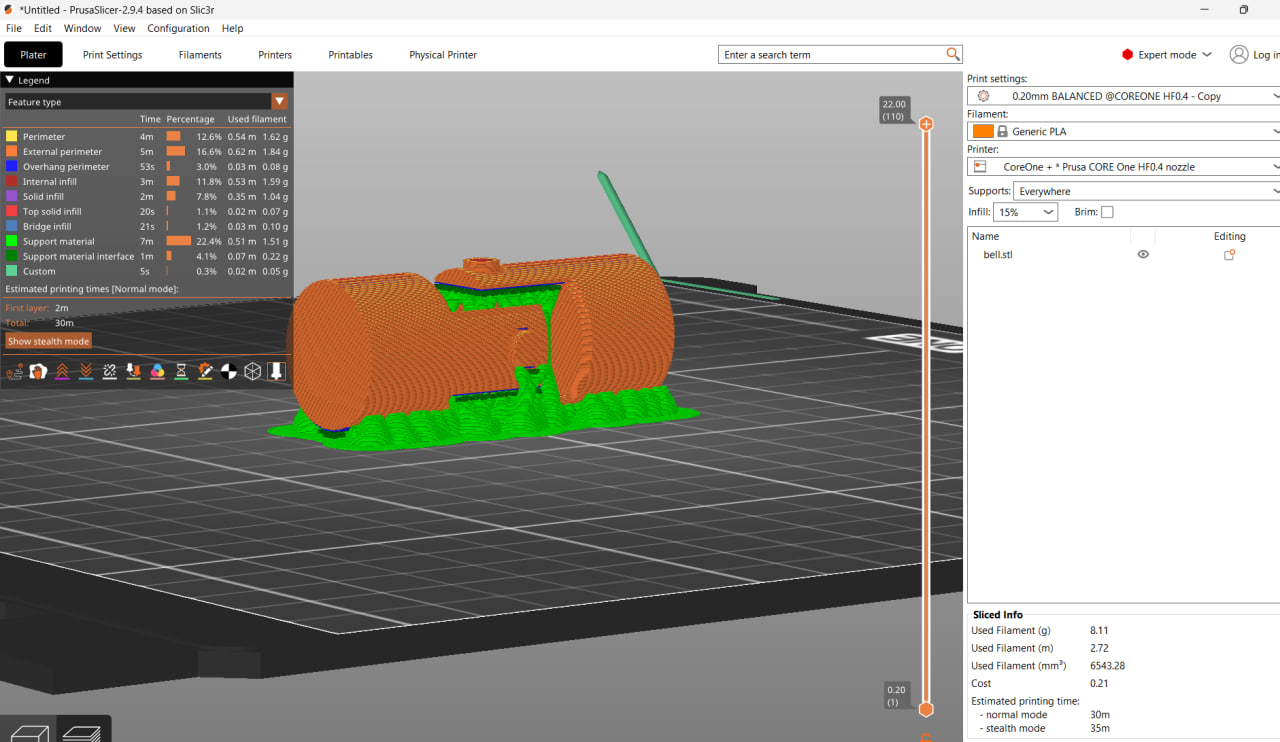
So now the steepest ig gets is 45 degrees.
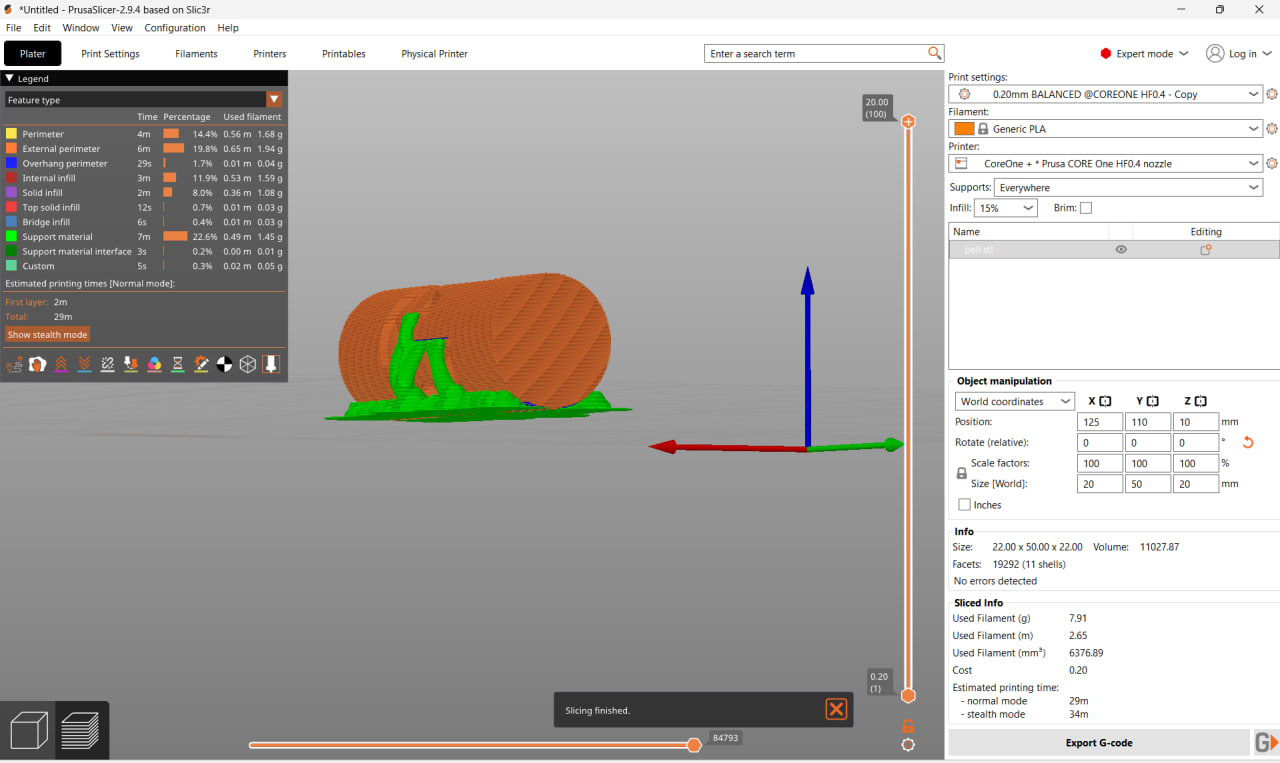
and even tho it still droops down at some points It doesnt droop down at the points where it matters. It has better angles.
So what did I change?
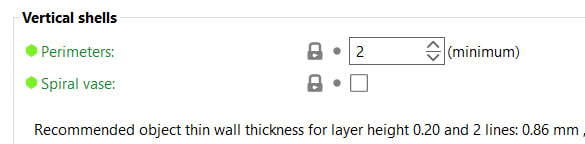
I made the print have more perimeters because it was breaking in the thin points.
Also I experemented with the clearence I ended up with 0.3 mm because that worked best for me. 0.2 mm still maked stuff stick while 0.4 mm felt a bit too big and the parts felt more fidgety.
Increased the infill. Made the support organic and started from the base plate only because it was hard to remove. Also auto generated them. Reprinted like 5-6 times fixing small mistakes every time so im really happy that in the end it worked
This cannot be made subtractively because it is 2 parts that are connected to one piece. And because there are parts that move, it had to be made together from the start. That is the reason it cannot be done subtractively. The inside is impossible to reach without removing the outside for my part, and it needs there to be air in order to work, yet you can not disconnect it.
3D Scanning
For the scanning, I used an app “xone” that i got on google play. And when i installed it on my phone i took 20 pictures.


https://xone.ai/viewer-v5?modelId=69c9a661f7549c2485594a0e