Wildcard Week
This week’s goal was to use a fabrication process that is not part of the standard weekly assignments and apply it to a small, useful everyday object.
Introduction
In Germany, shopping carts are usually not freely available.
To use one, you normally have to insert a 1 € coin, or another suitable coin, into the locking mechanism.
This releases the chain and allows you to take the cart. After returning and locking the cart again, you get your coin back.
With everyday life becoming more digital, fewer people regularly carry cash with them. Because of that, it happens more often that you arrive at a supermarket but do not have the right coin available.
Many people solve this by carrying a shopping cart token. These tokens are usually small replicas of a 1 € coin and are often used as promotional gifts with a company logo or name on them. Another option is a reusable gadget that unlocks the shopping cart and can be pulled out again directly after opening the lock.
This week, I wanted to make exactly this kind of reusable shopping cart gadget myself.
Design with Inkscape
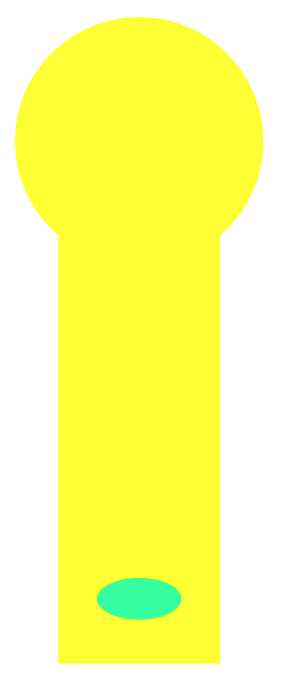
First I created a cirlce with the same diameter as a 1€ coin (23.1 mm).
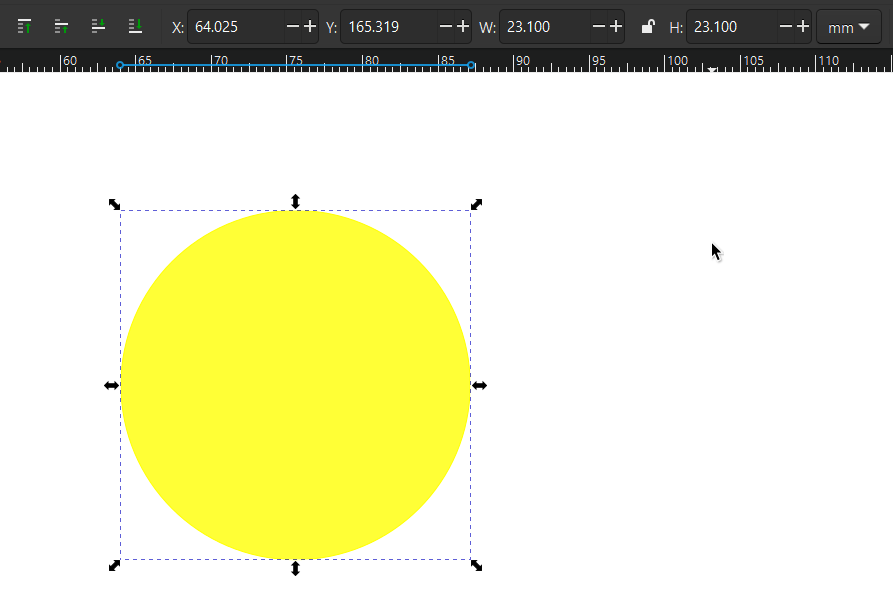
I added a short handle (15 mm x 40 mm).
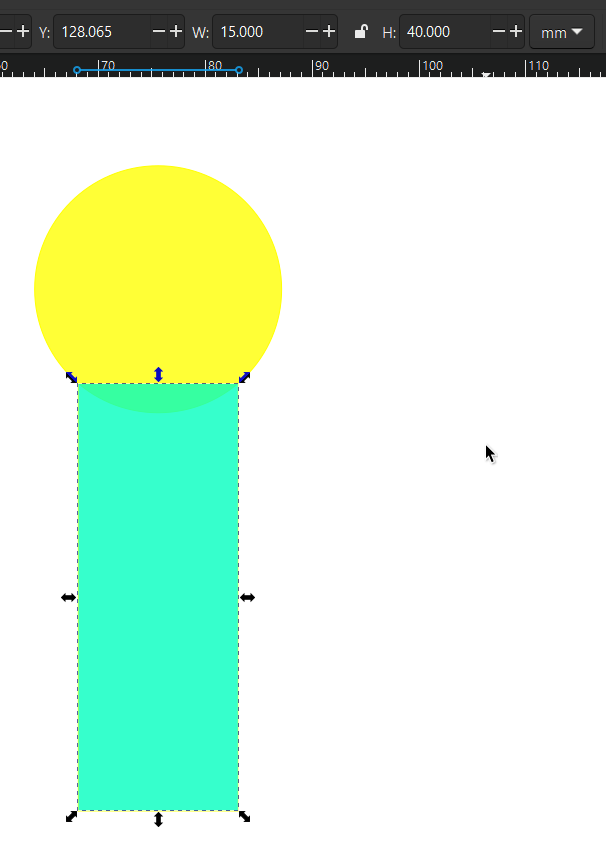
With the boolean operation Union I merged the two objects.
After defining the basic shape, I added a small hole on the bottom side of the design.
This makes it possible to attach the shopping cart opener to a keychain, so it can be carried around easily and is always available when needed.
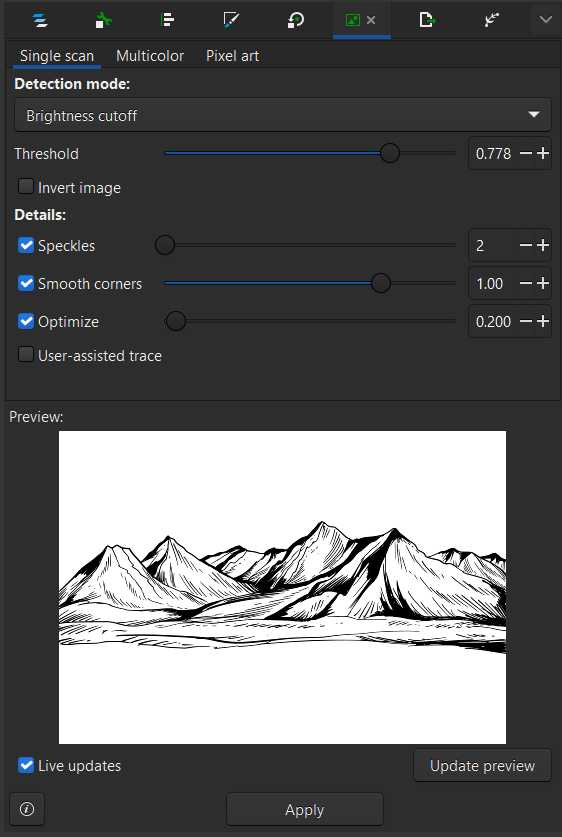
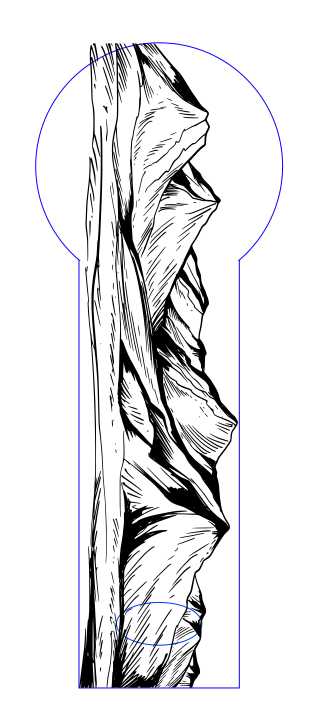
After that, I downloaded a hand-drawn mountain landscape from the internet and imported it into Inkscape.
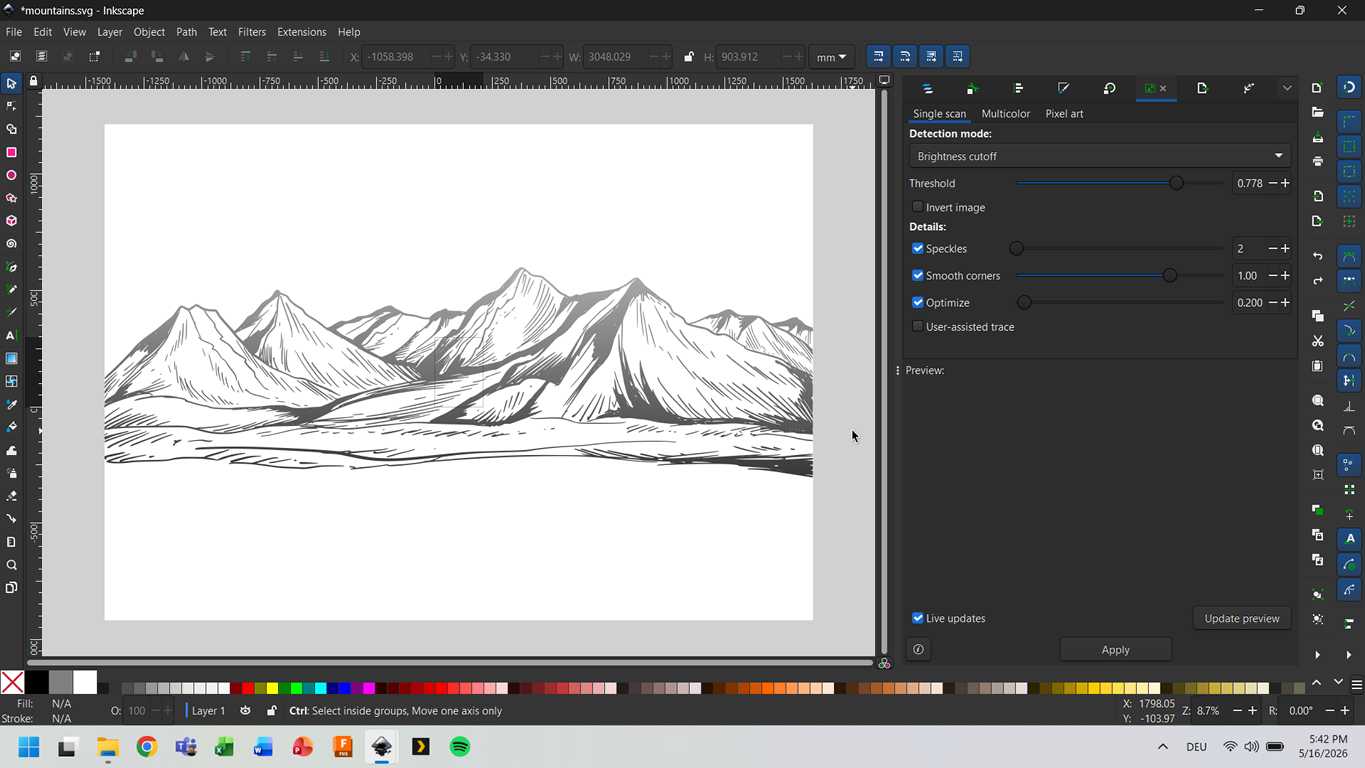
Using the bitmap tracing tool, I converted the JPG image into an SVG file.
For this graphic, the single scan mode with a brightness cutoff of 0.778 gave the best result.
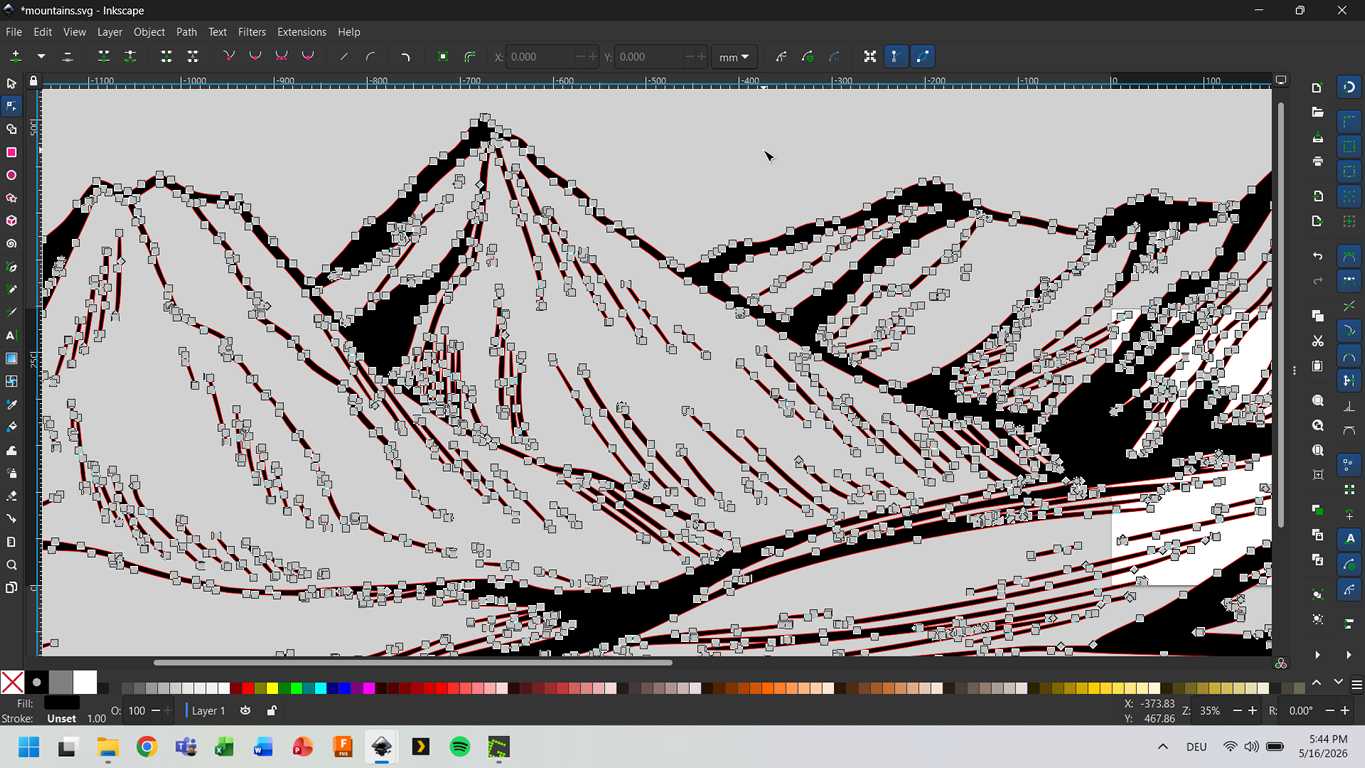
After tracing the image, the individual vector points became visible and editable.
This made it possible to clean up and adjust the graphic directly inside Inkscape.
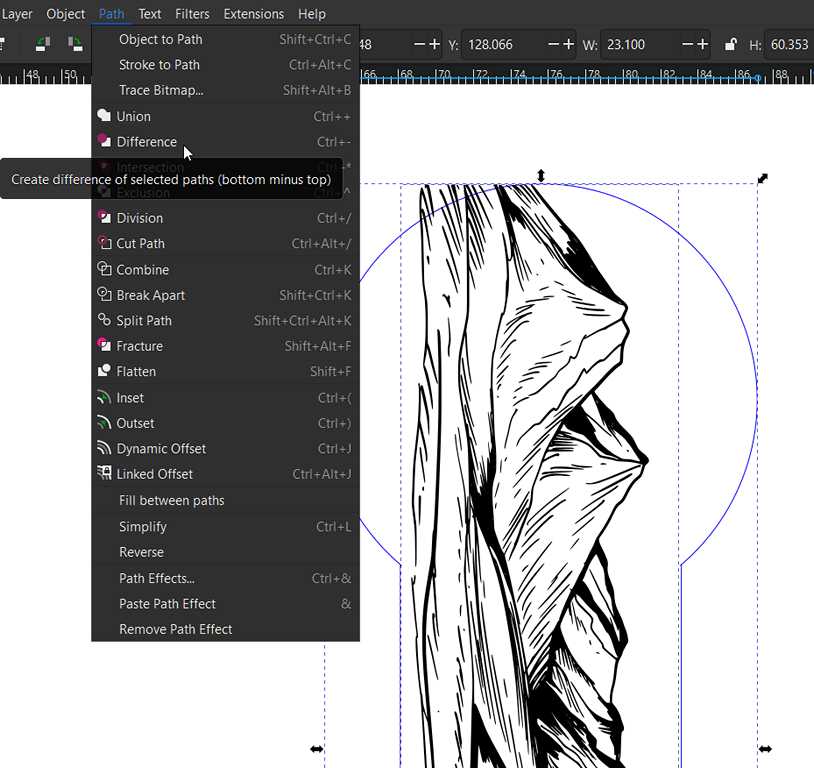
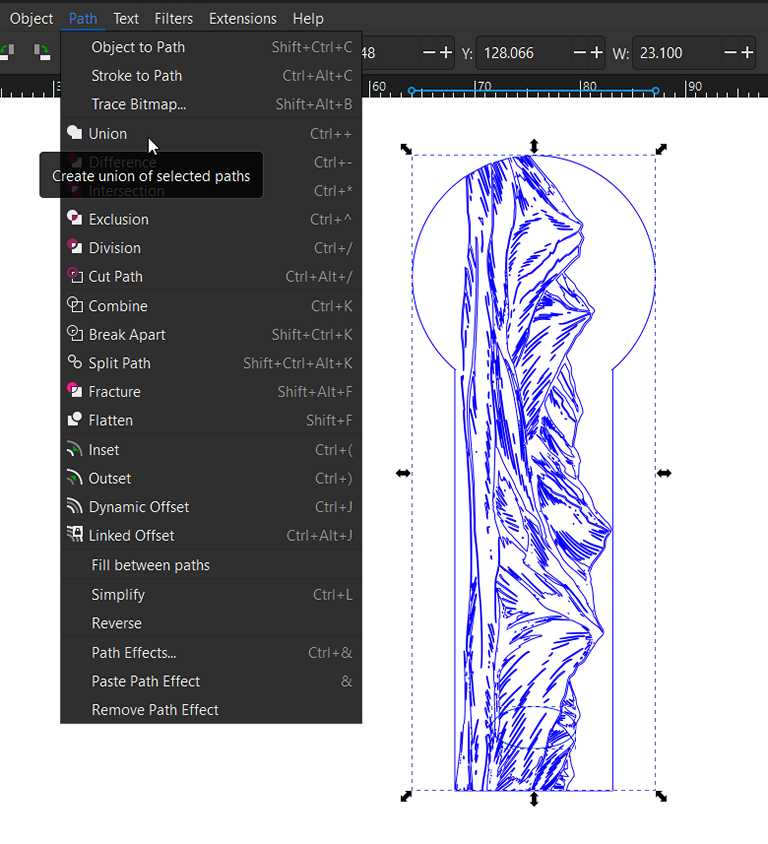
I rotated and resized the mountain graphic but since it was still too large on one corner and would also have been engraved inside the keychain hole, I used two additional boolean operations.
With these operations, I trimmed the design so that it fit exactly inside the outer shape.
Difference for the upper part.
Union for the hole.
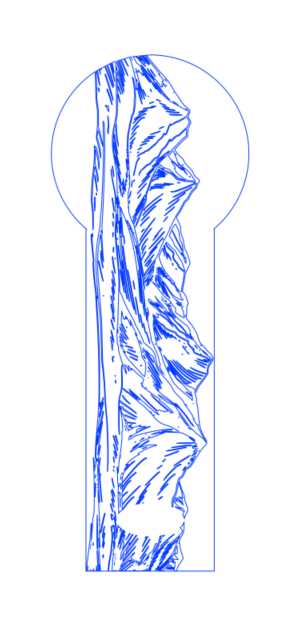
This is the result.
Producing the shopping cart opener
Cutting the Outer Shape with XTool Metalfab
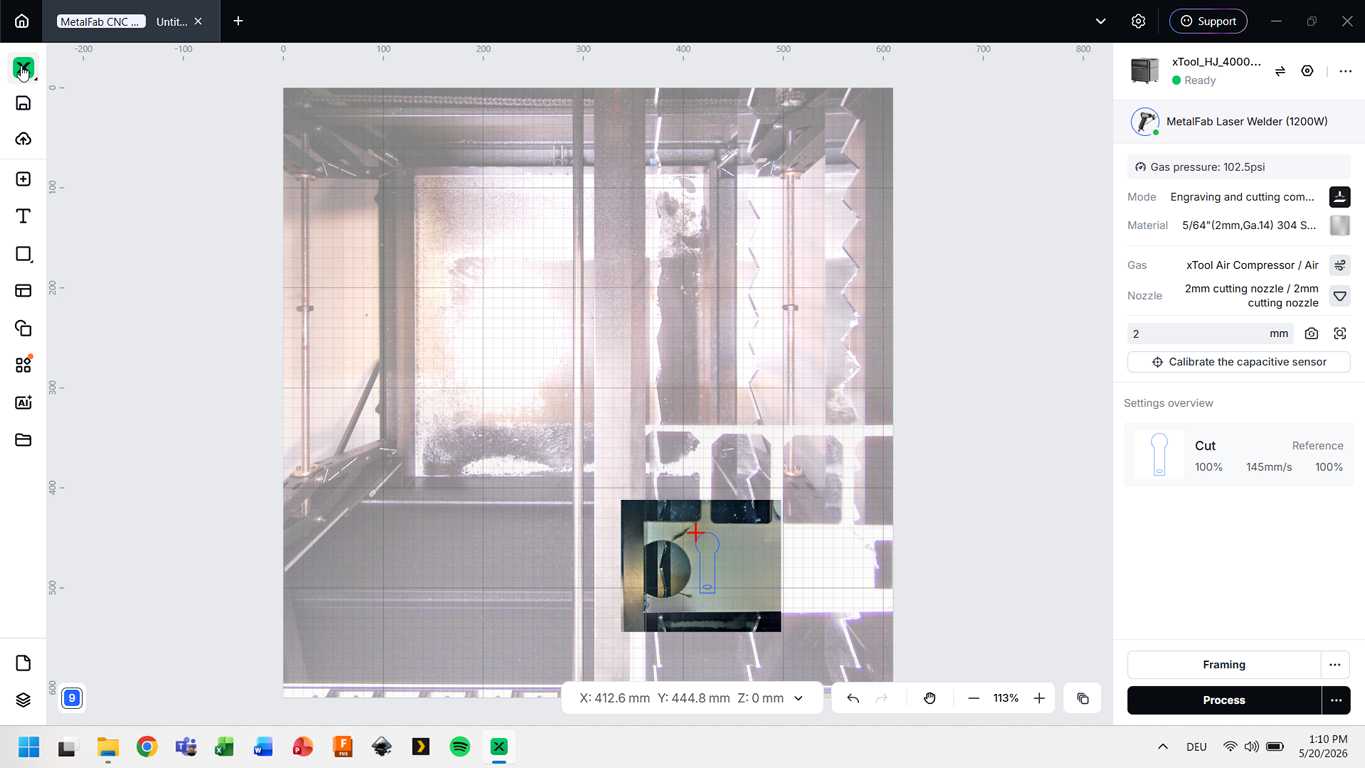
To cut the outer shape, I temporarily removed the mountain landscape from the design and imported the SVG file into xTool Studio.
The laser settings, such as power and speed, are automatically loaded from the saved material database once the correct material is selected.
The framing function was useful because it allowed me to position the design accurately on the material, to produce as little waste as possible, before starting the job.
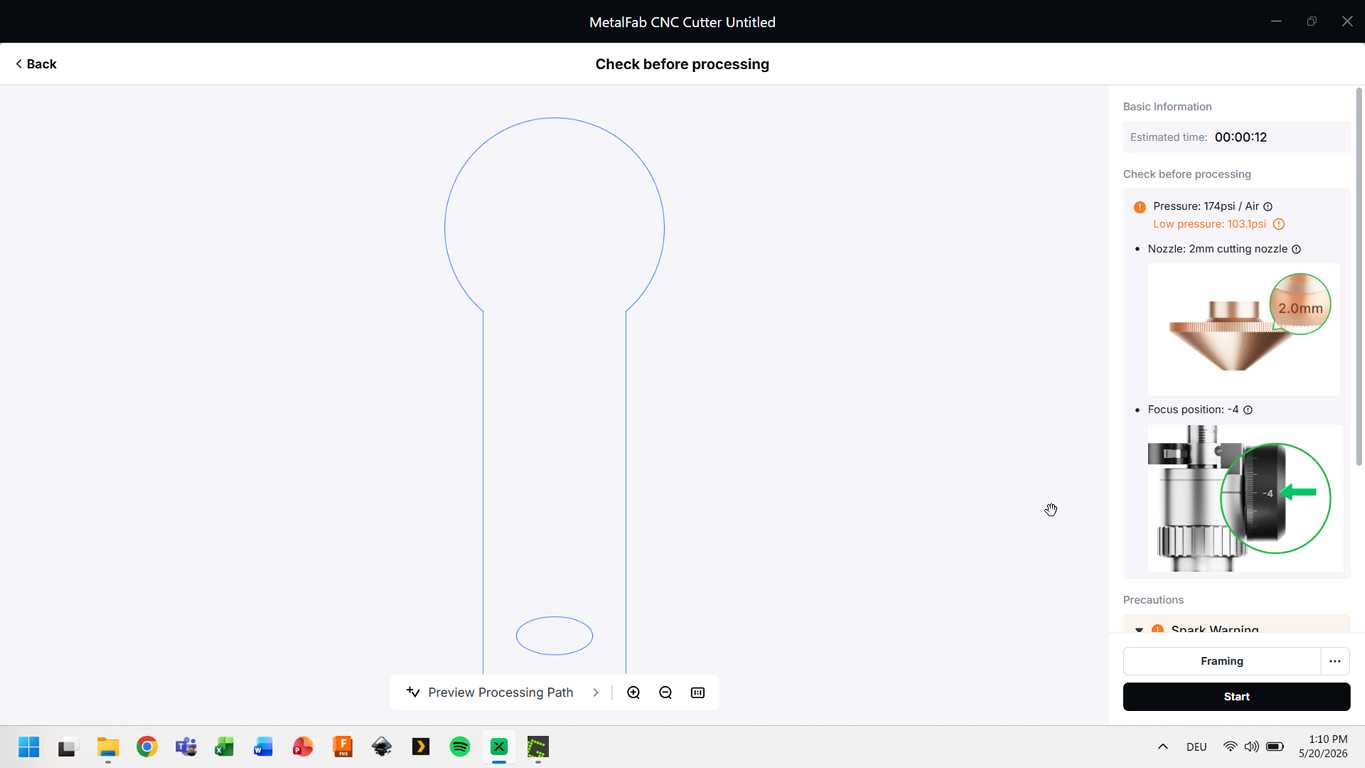
In the next window, the software showed the required focus position.
This focus had to be adjusted manually using the handwheel on the laser cutter.
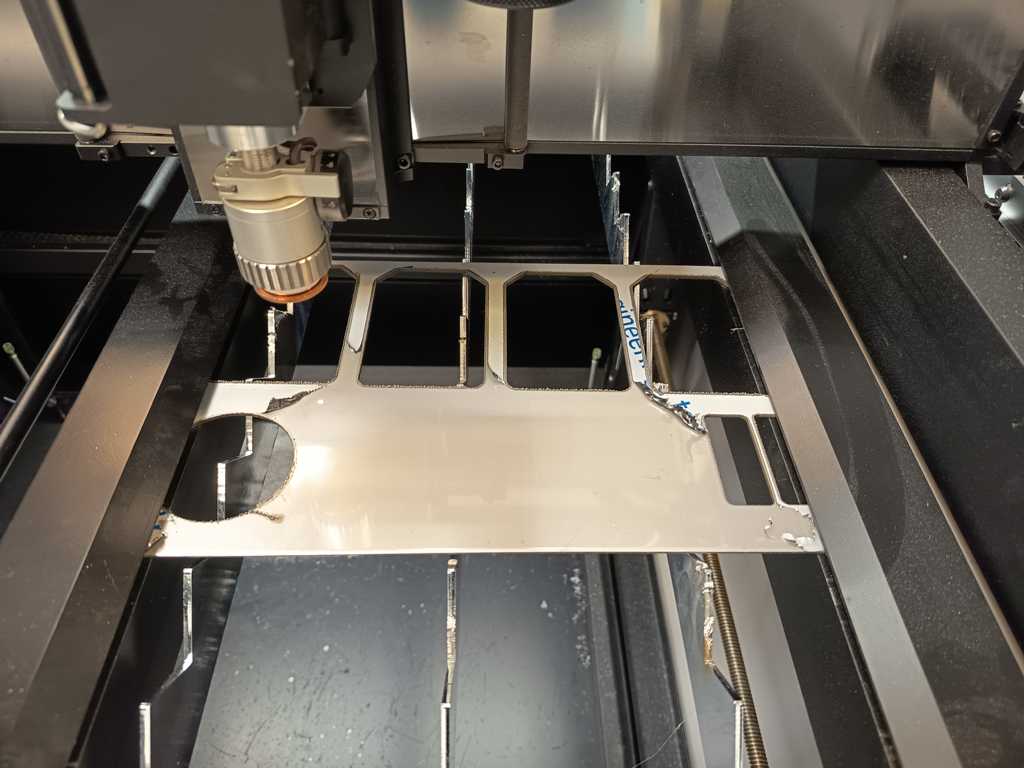
This is how the setup looked from the inside.
Engraving the Mountain Design with XTool F1 Ultra
After cutting out the basic shape, I took the workpiece to the xTool F1 Ultra and selected this laser cutter in the xTool Studio software.
Then I imported the final version of the mountain graphic and aligned it precisely on the already cut workpiece.
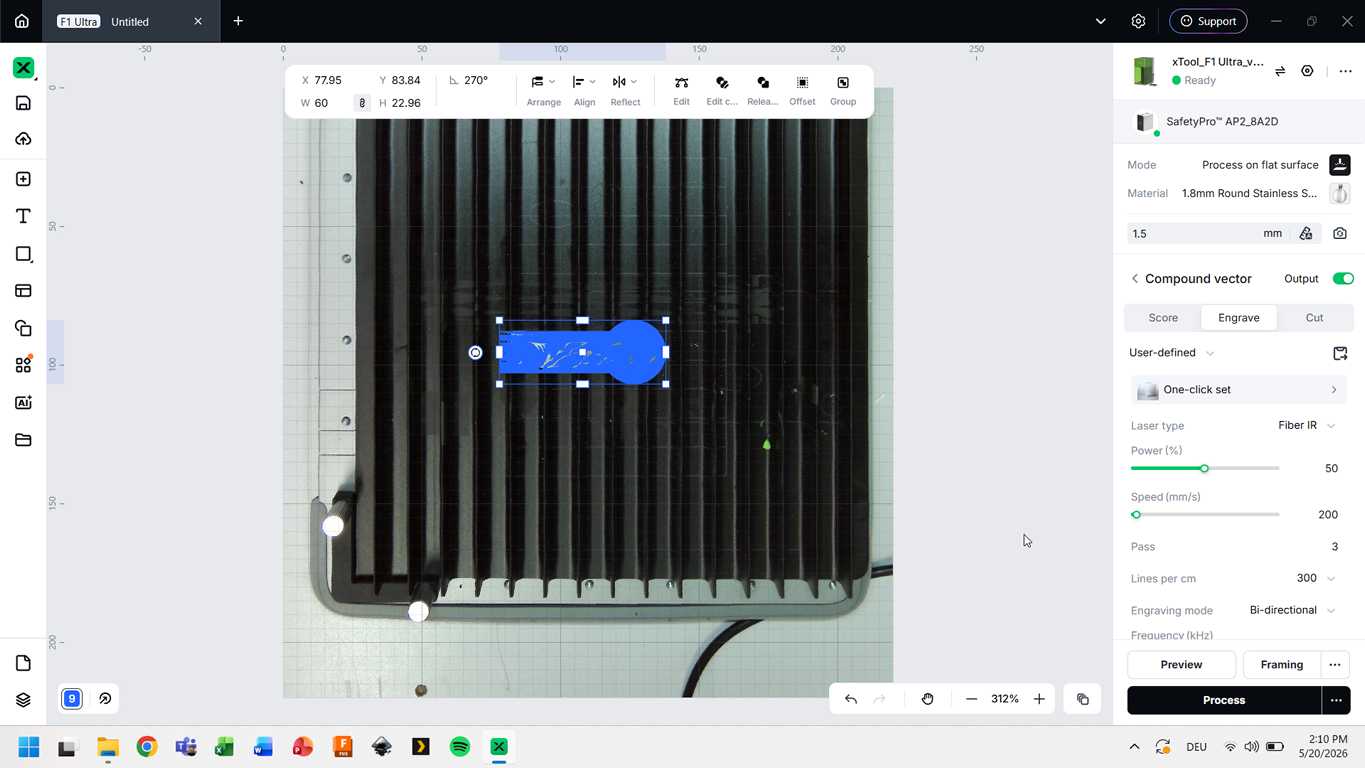
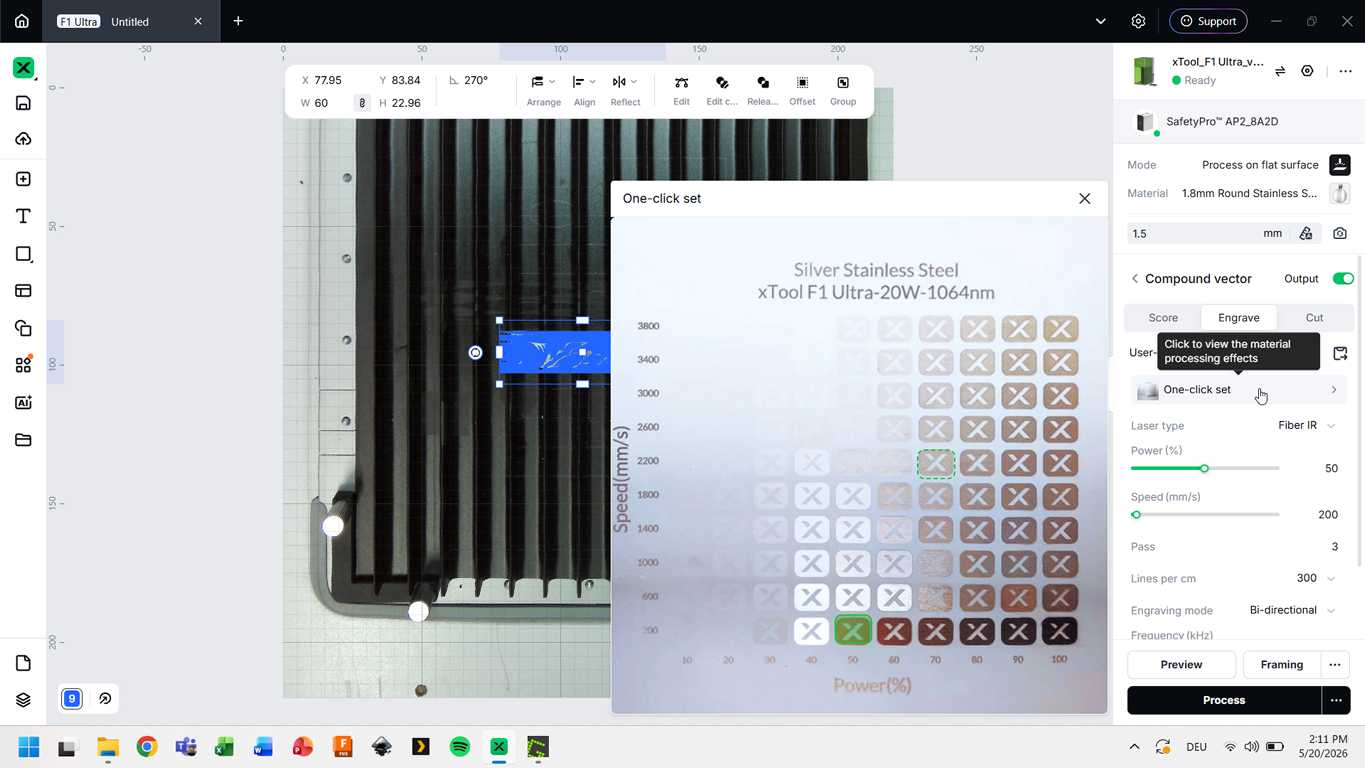
After selecting stainless steel as the material, a One-Click Set window appeared.
This preset table shows different color effects that can be achieved by changing the laser power and speed settings.
For my design, I chose a bronze-colored engraving effect with Power 50 % and Speed 200 mm/s
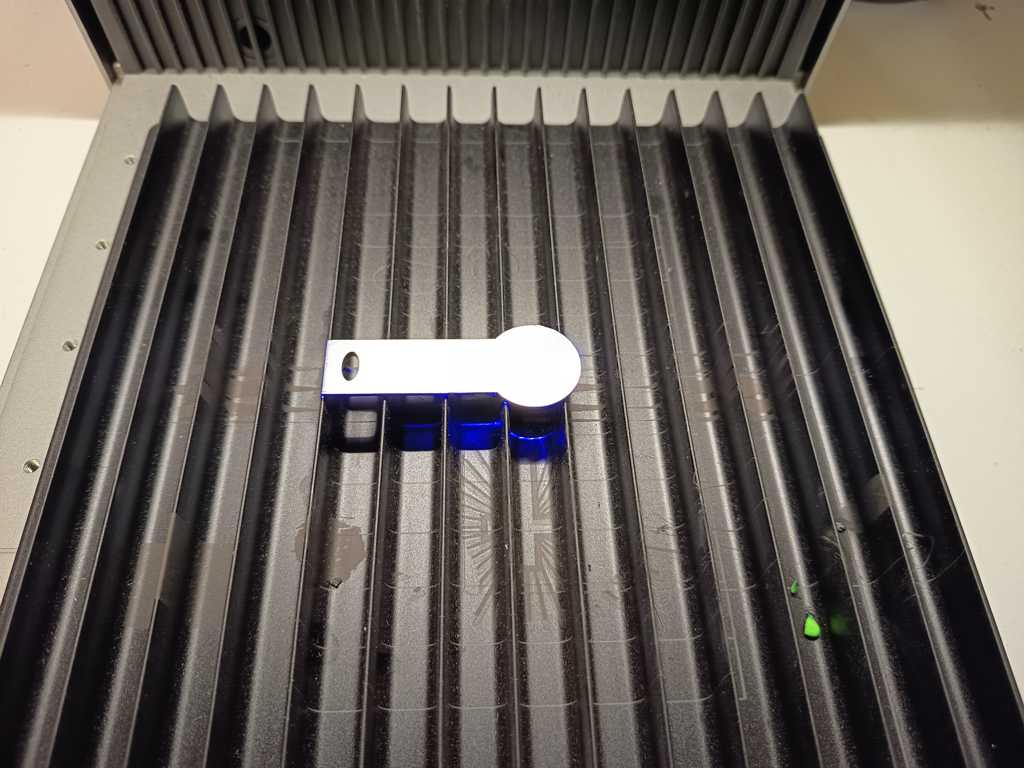
At this step, the framing function became very important again.
Although it is not very visible in the picture, the blue framing lines helped me position the workpiece very accurately before starting the engraving process.
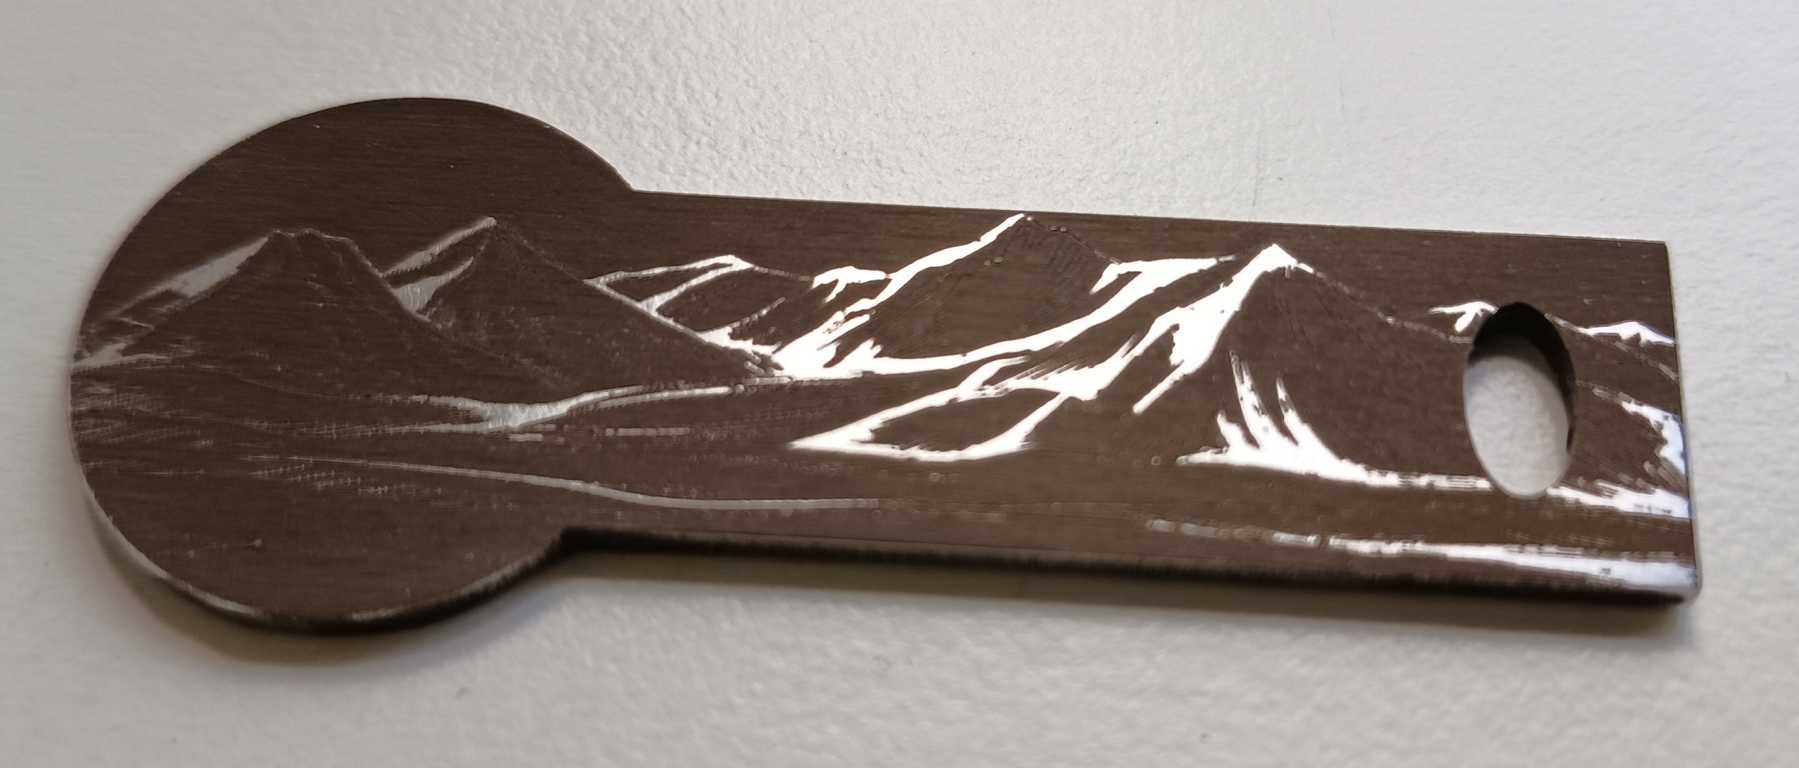
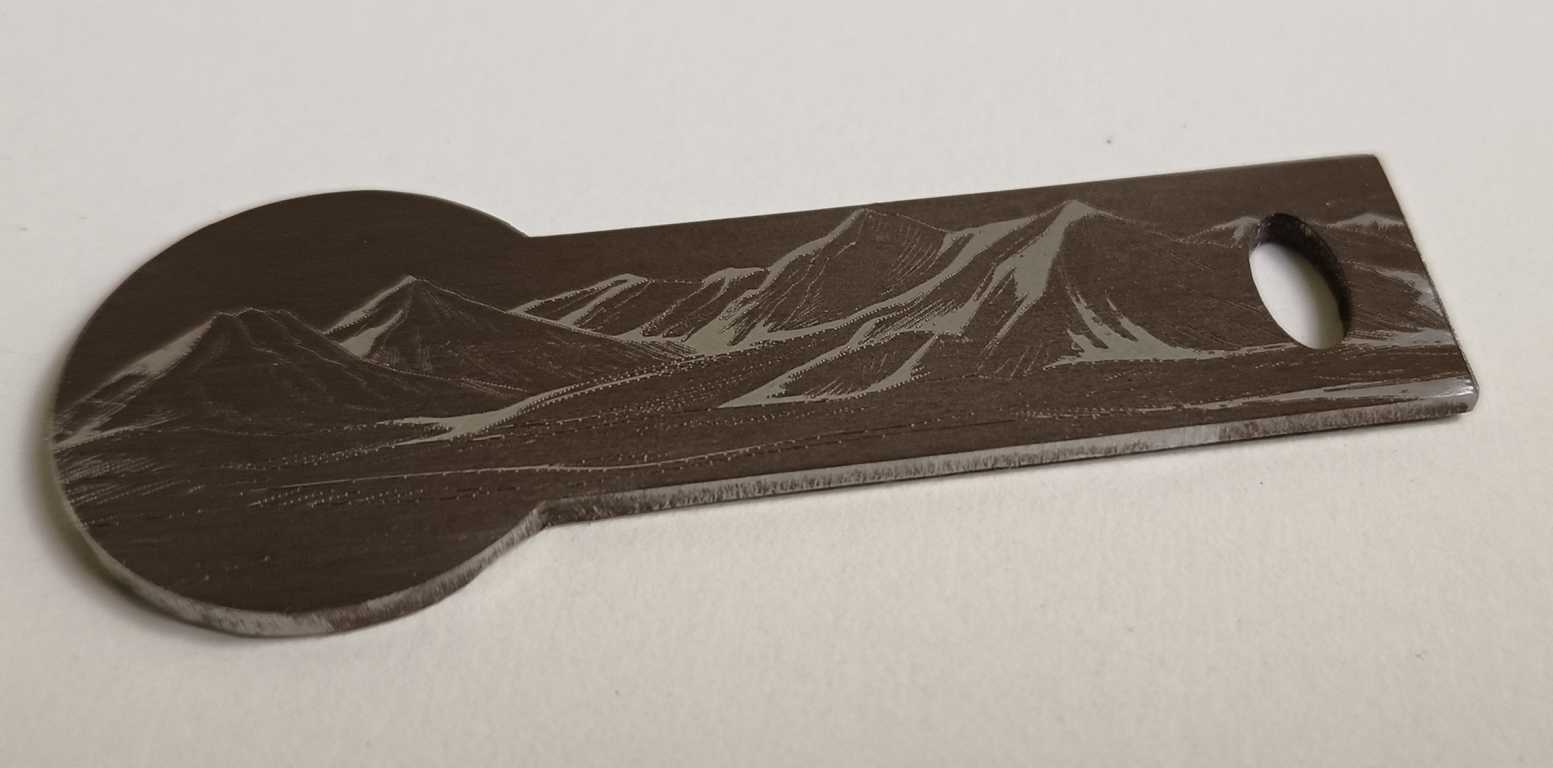
Result
This is the result.