Molding And Casting
This week’s goal was to review and compare molding and casting materials and processes as a group, and individually design, fabricate, and use a mold with a smooth surface finish to produce cast parts.
Introduction
Molding and casting are two closely connected manufacturing processes.
Molding describes the creation of a negative shape, usually called a mold.
Casting is the process of filling this mold with a liquid, paste-like, or molten material, which then hardens and takes the shape of the cavity.
This principle is very old, but it is still highly relevant in modern manufacturing because it allows complex shapes to be reproduced accurately and repeatedly.
There is no single date at which molding and casting were “invented”. The basic idea developed very early in human history, first with clay, wax, stone, sand, and later with metals. One of the oldest and most important casting methods is the lost-wax process, where a wax model is surrounded by a mold material, the wax is melted out, and molten metal is poured into the remaining cavity. This method dates back at least to the 3rd millennium BCE and was used for detailed metal objects and sculptures. In ancient Egypt, lost-wax casting was already used around 2500 BCE.
Over time, casting became important in many different fields: art, architecture, toolmaking, construction, mechanical engineering, and later mass production. In traditional casting, materials such as bronze, iron, plaster, wax, concrete, and ceramics were shaped by pouring them into molds. The process was especially useful because it allowed shapes to be produced that would be very difficult or inefficient to carve, machine, or build directly.
A major development in modern casting and molding was the rise of polymer processing. In 1872, the Hyatt brothers patented an early injection molding machine, which injected heated material into a mold cavity. This became the basis for modern injection molding, one of the most important manufacturing processes for plastic parts today.
Injection molding works differently from simple casting. Instead of pouring a material into an open mold by gravity, molten plastic is pressed into a closed metal mold under pressure. This makes the process very fast, repeatable, and suitable for mass production. Typical products include buttons, housings, connectors, packaging parts, technical components, and many everyday plastic objects. The main advantage is that thousands or millions of identical parts can be produced with high precision. The disadvantage is that the mold itself is expensive and complex, so injection molding only becomes economical for larger production volumes.
For smaller projects, prototypes, artistic work, and laboratory-scale fabrication, manual casting is often more suitable. In this process, the mold can be made from materials such as silicone, plaster, wax, foam, or 3D-printed plastic. The casting material is then poured or pressed into the mold and left to cure, dry, or solidify.
Common casting materials include:
Epoxy resin is a two-component thermoset material. It usually consists of a resin and a hardener, which react chemically and form a solid plastic.
Epoxy is useful for transparent castings, colored objects, embedding parts, sealing surfaces, and creating detailed shapes.
Modern epoxy systems were developed in the 1930s and 1940s and later became important for adhesives, coatings, composites, electronics, and structural applications.
Gypsum plaster is a mineral-based casting material that is mixed with water and hardens through a chemical setting reaction.
It has been used for centuries in construction, sculpture, decoration, and medical casts. Ancient Egyptians and Romans already used plaster materials for walls, decoration, and shaping objects.
Concrete is mainly used for construction and architectural casting. It is made from cement, aggregates, and water.
A key step in the development of modern concrete was the patenting of Portland cement by Joseph Aspdin in 1824.
Today, concrete casting is used for buildings, slabs, columns, façade elements, furniture, and experimental design objects.
Other casting materials include wax, which is often used for models or lost-wax casting, silicone, which can be used both as a flexible mold material and sometimes as a casting material, polyurethane resin, which cures faster than many epoxies and is often used for prototypes, ceramics, which can be slip-cast from liquid clay mixtures, and metals, which are cast in sand molds, ceramic shells, or permanent molds.
In digital fabrication, molding and casting connect traditional craftsmanship with modern tools. A mold can be designed in CAD, machined on a CNC mill, 3D printed, laser-cut, or built manually. This makes the process especially useful in FabAcademy, because it combines design, material behavior, toolpath planning, surface quality, curing chemistry, and practical workshop skills. Instead of only producing one object directly, molding and casting make it possible to create a controlled negative shape and then reproduce the final part in a different material.
Designing a mold
Since my childhood, I have had contact with African art, especially sculptures and masks, as well as Asian art.
Because of this personal connection, I started looking into these topics for my molding and casting project.
In the end, I decided to work with two masks inspired by African art.
Normally, creating such masks from scratch would be a very time-consuming process. Since the main focus of this assignment is not the artistic modeling process itself, but rather the following production steps of molding and casting, I decided to use an existing 3D model as a starting point. I searched on Sketchfab for a suitable model and found one relatively quickly. Afrikan Masks- by FletchTech
After selecting the model, I used it to create a negative mold for 3D printing. For this step, I asked my colleague William for help, because he has a lot of experience with Houdini. Houdini is especially useful for this kind of workflow because it allows efficient processing of similar models and makes it easier to export them in different sizes. At the same time, I wanted to use this opportunity to get in contact with Houdini myself. I had already watched William use the software several times before and was always impressed by what can be done with it, and especially how efficiently complex workflows can be built. Therefore, this project was not only about preparing a mold for casting, but also about learning a new digital workflow and understanding how procedural tools can support the fabrication process.
Houdini
![]() is a node-based 3D software.
is a node-based 3D software.
In this workflow, geometry is processed through connected nodes, so individual steps such as scaling, cleaning, transforming, or deleting parts remain visible and adjustable. For this project, I mainly wanted to test whether creating the mold in this way would also work well for my workflow.
Since William already had experience with Houdini, it was also a good opportunity for me to briefly explore a different approach to mesh processing and mold preparation.
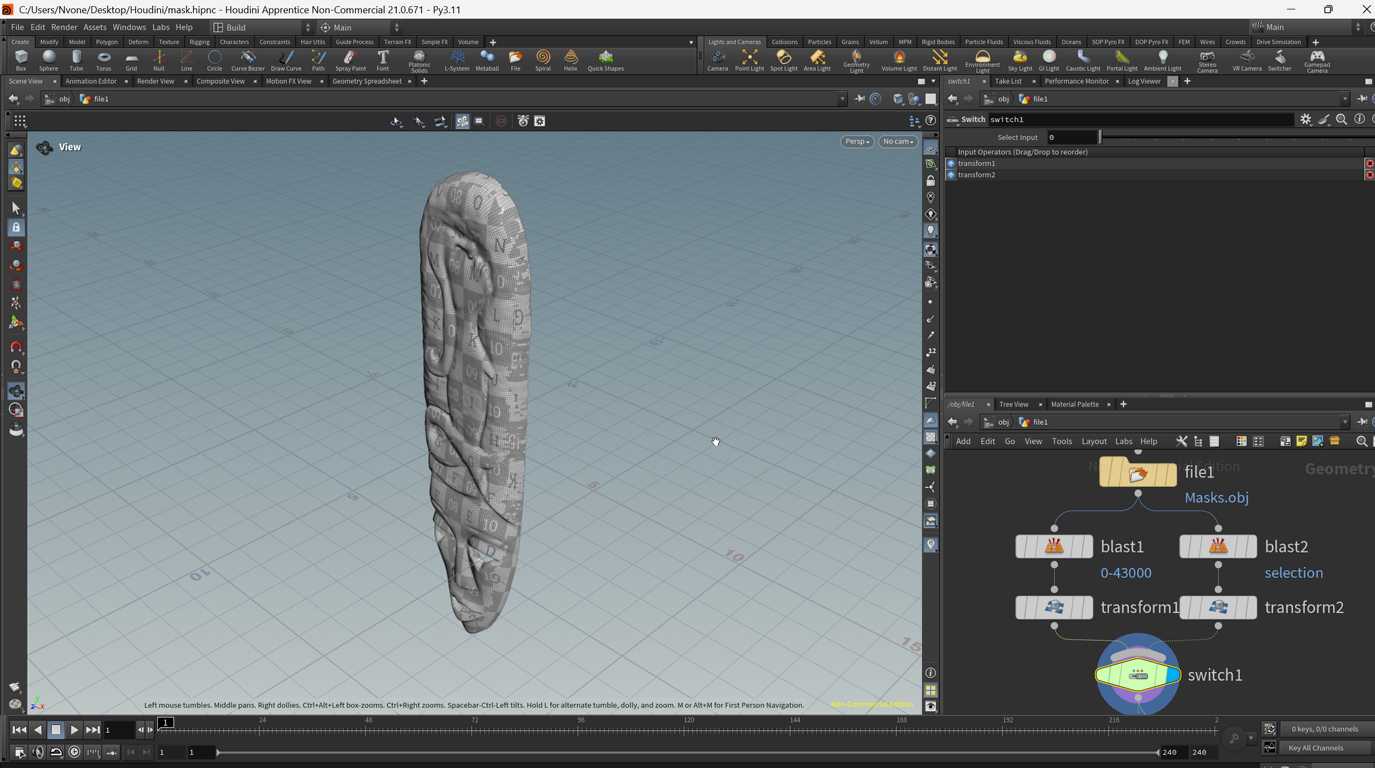
First, I imported the file into Houdini.
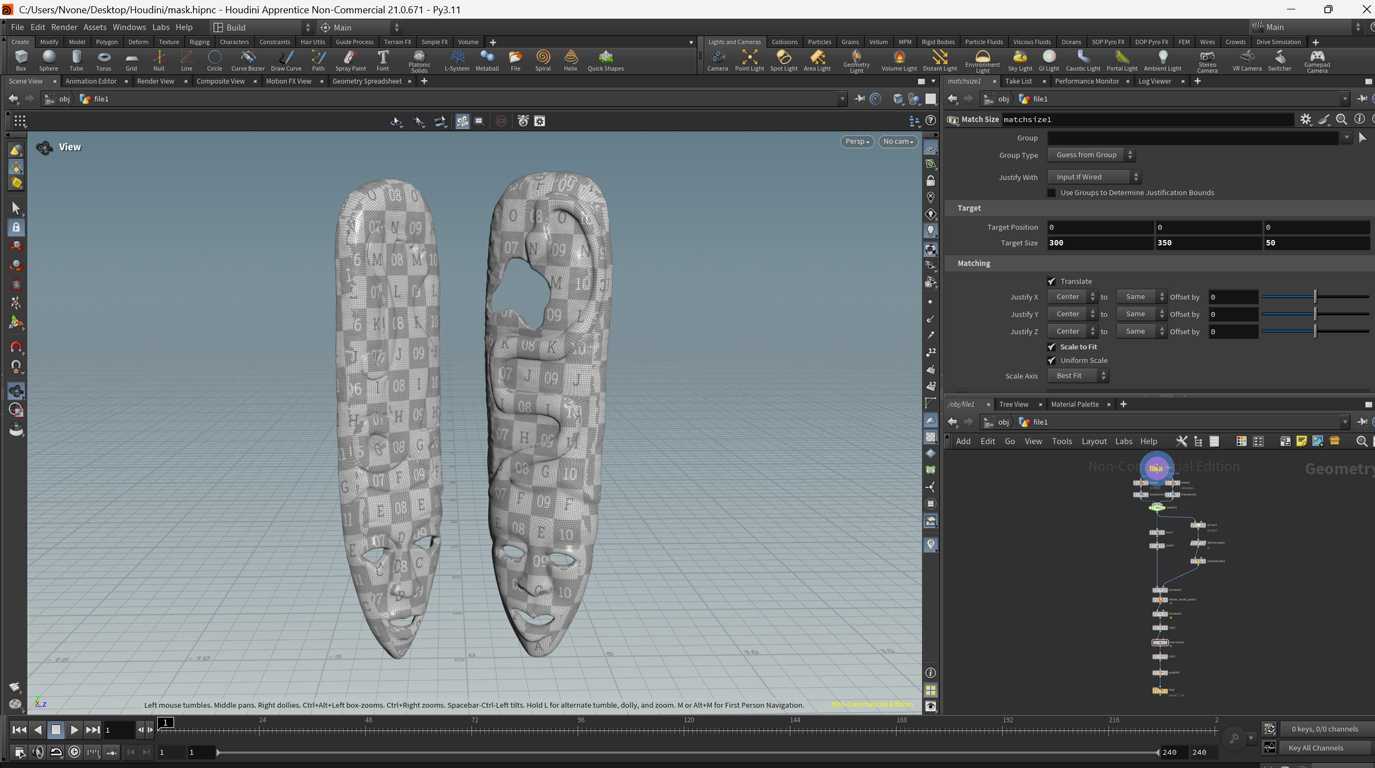
After isolating both objects and making some small adjustments, I added a Switch node.
This allows me to switch between the two models while still applying all following nodes to both versions.
This made the workflow more flexible, because I did not have to repeat the same steps for each model separately.
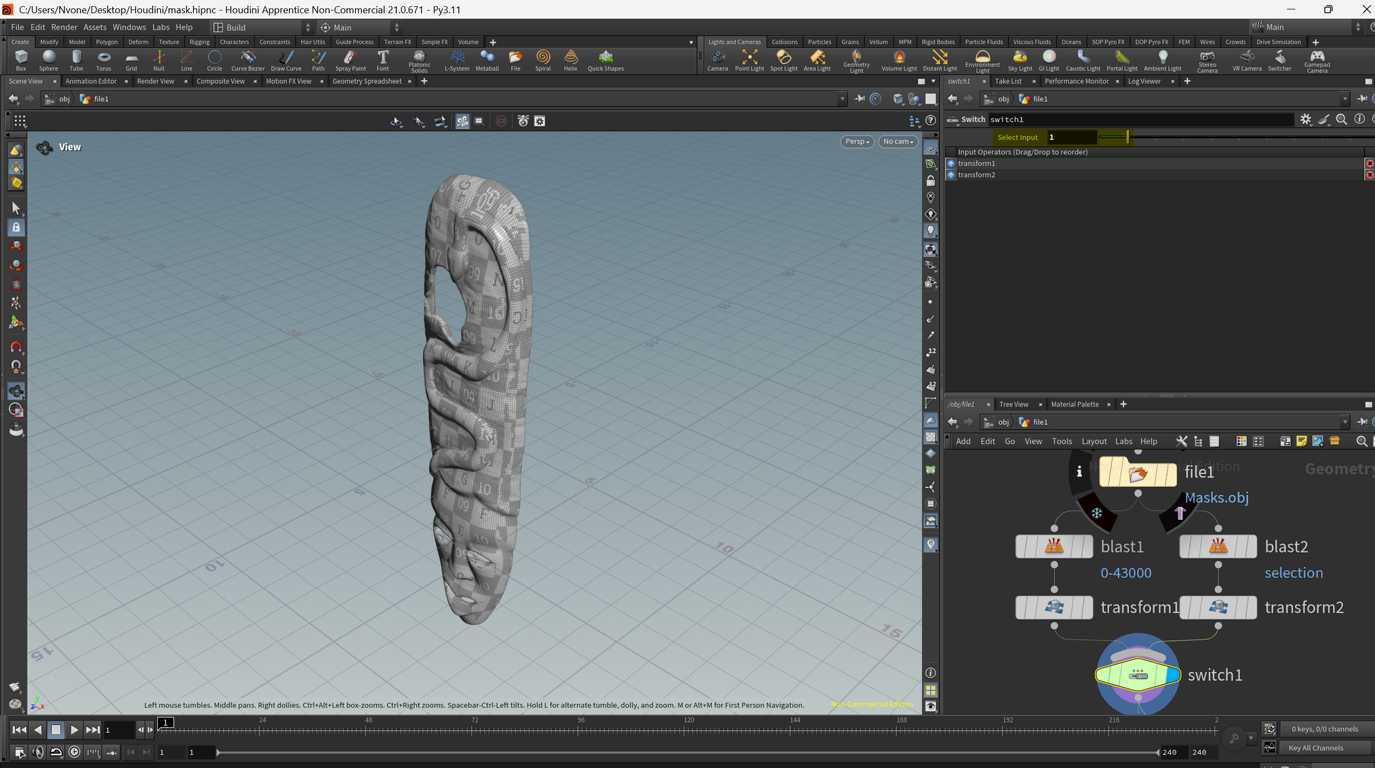
Next, I extruded the models at the back surface.
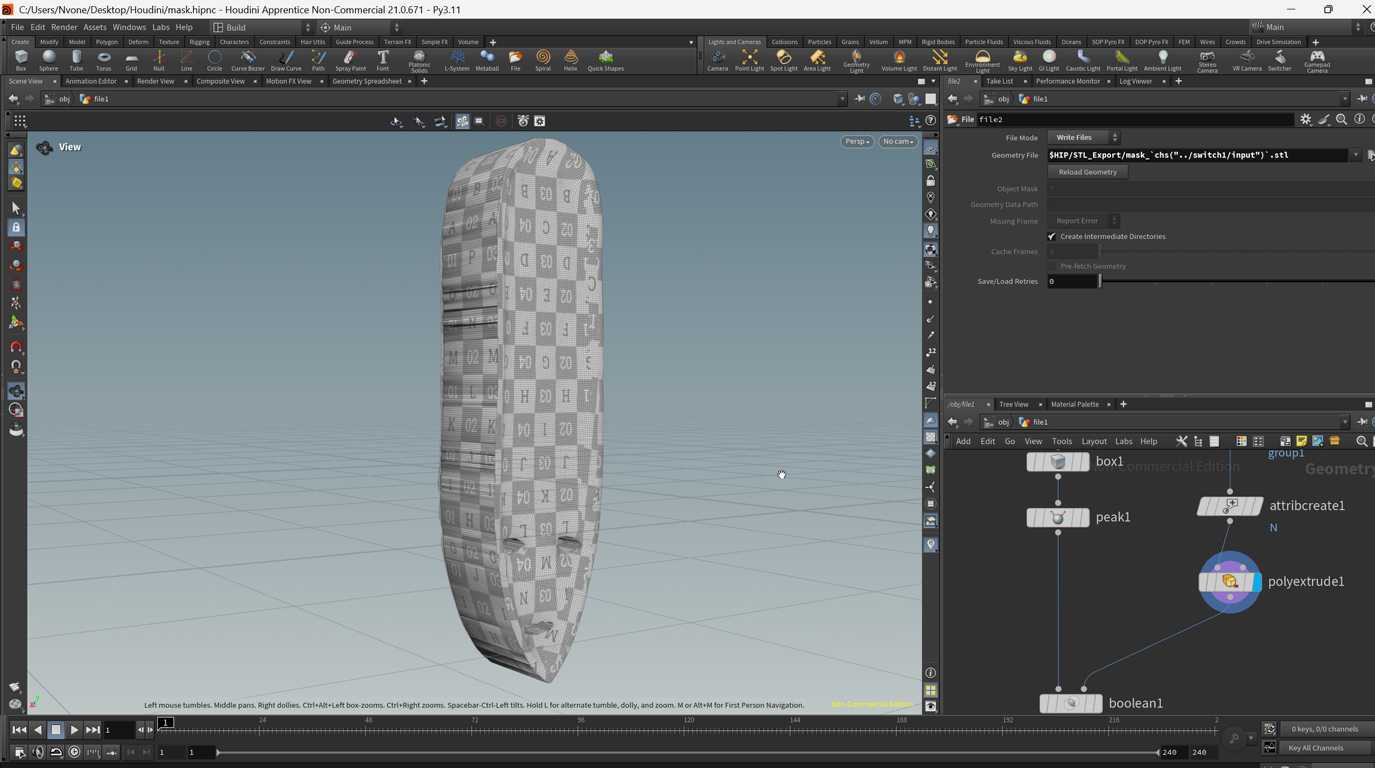
In parallel, I added a box that I later used for a boolean operation.
By subtracting the model from this box, I created the negative shape needed for the casting process.
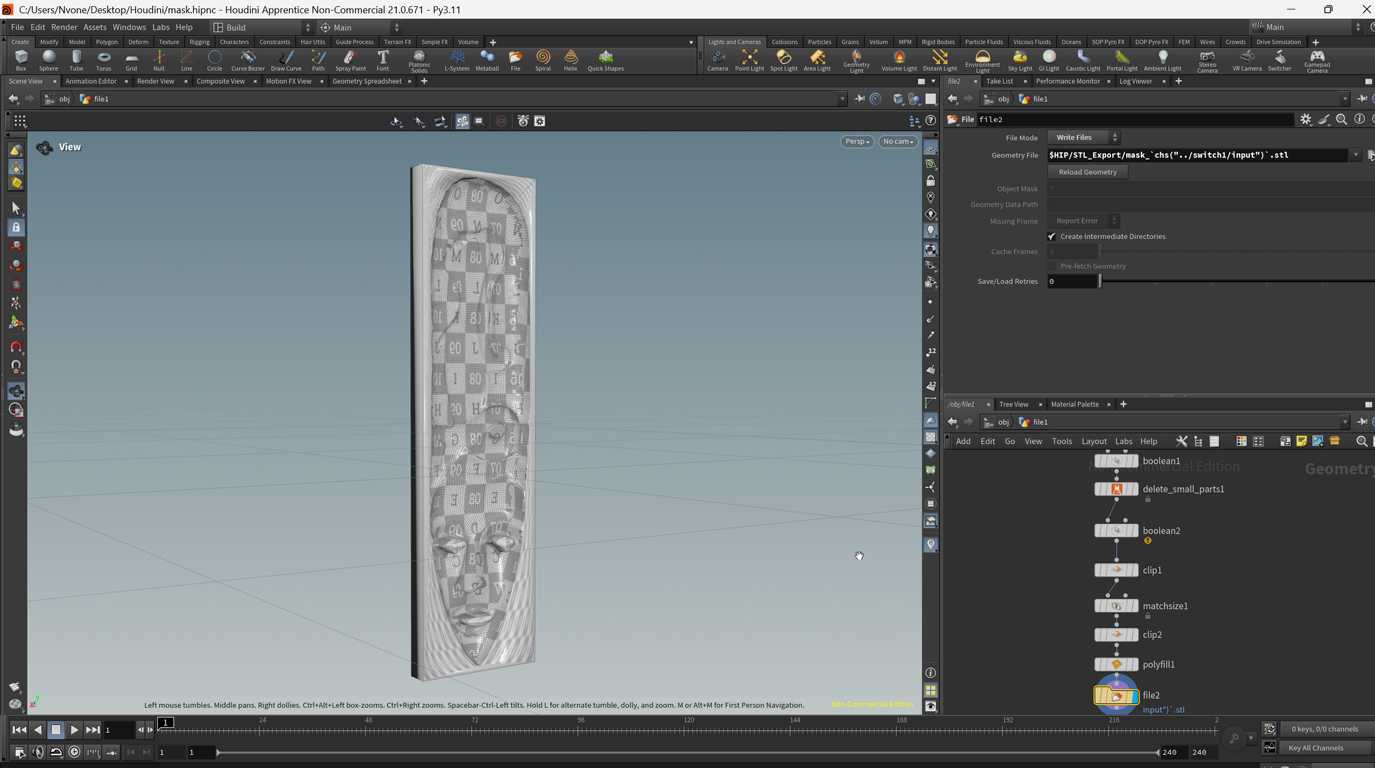
This workflow allowed me to generate a mold geometry from the original 3D model in a controlled and reusable way.
Producing the molds
PLA
I imported the file into Bambu Studio and used these settings for the print.
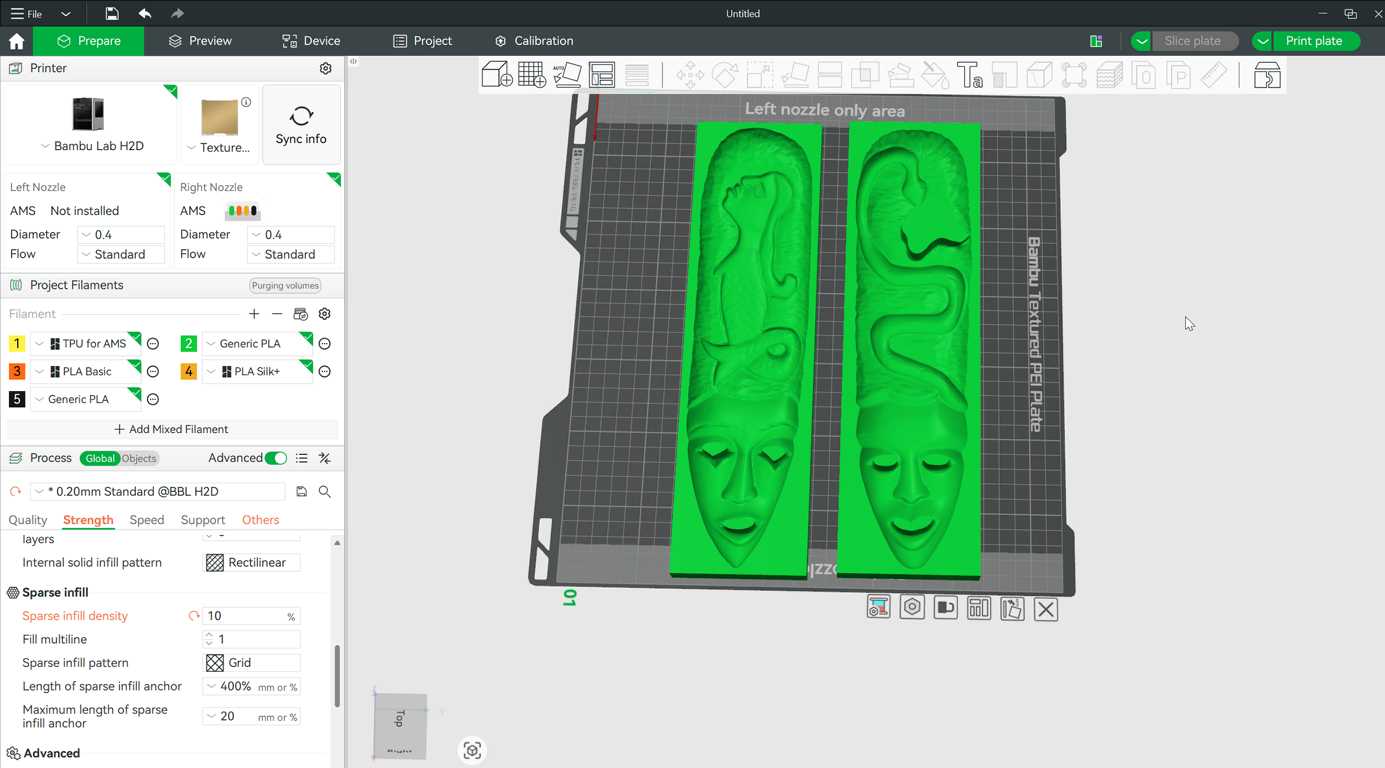
The print took 7 h 21 min.
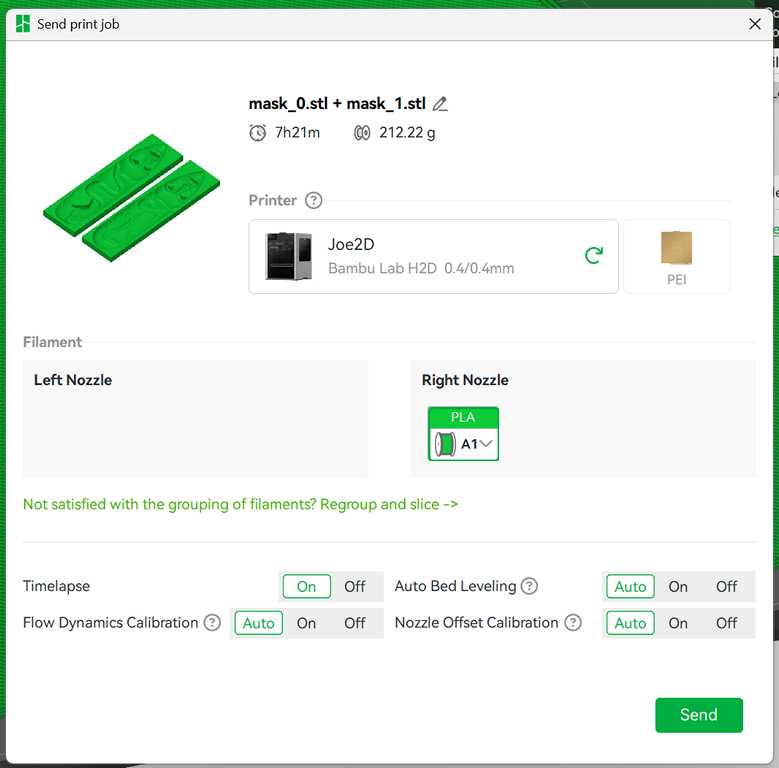
Since my colleagues from DZR digital.zirkulär.ruhr recently built a PLA filament recycling line in our lab, I used this opportunity to print the molds with our own recycled PLA material.
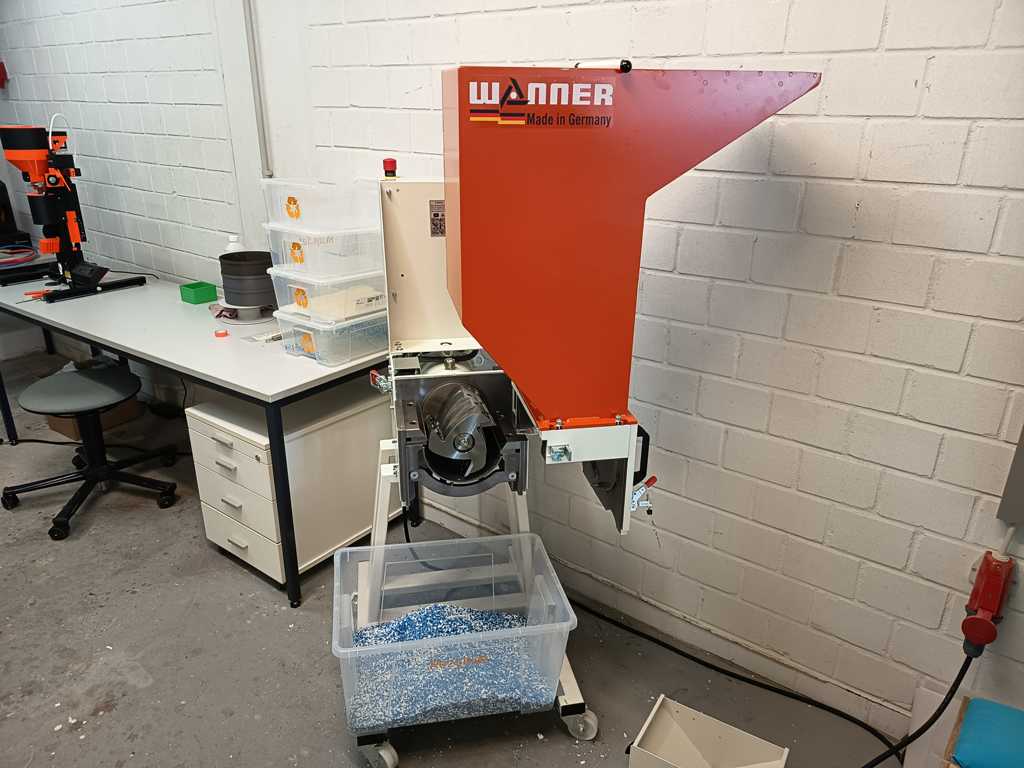
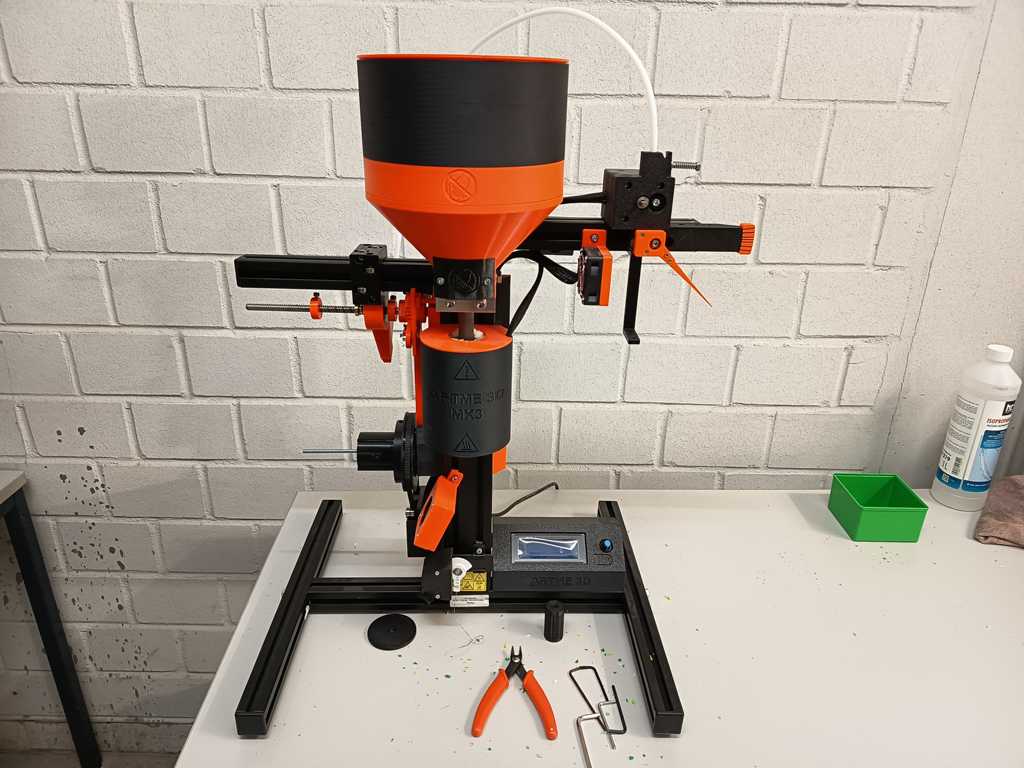
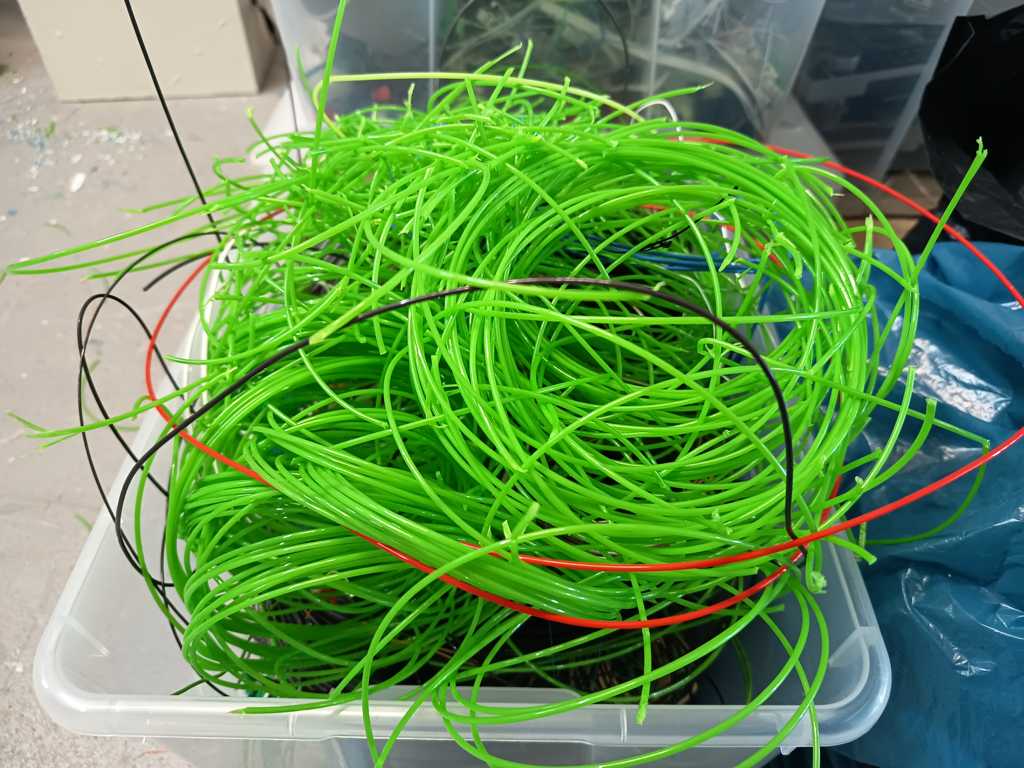
This made the process more sustainable and also allowed me and the colleagues to test how well the recycled material works for this kind of application.
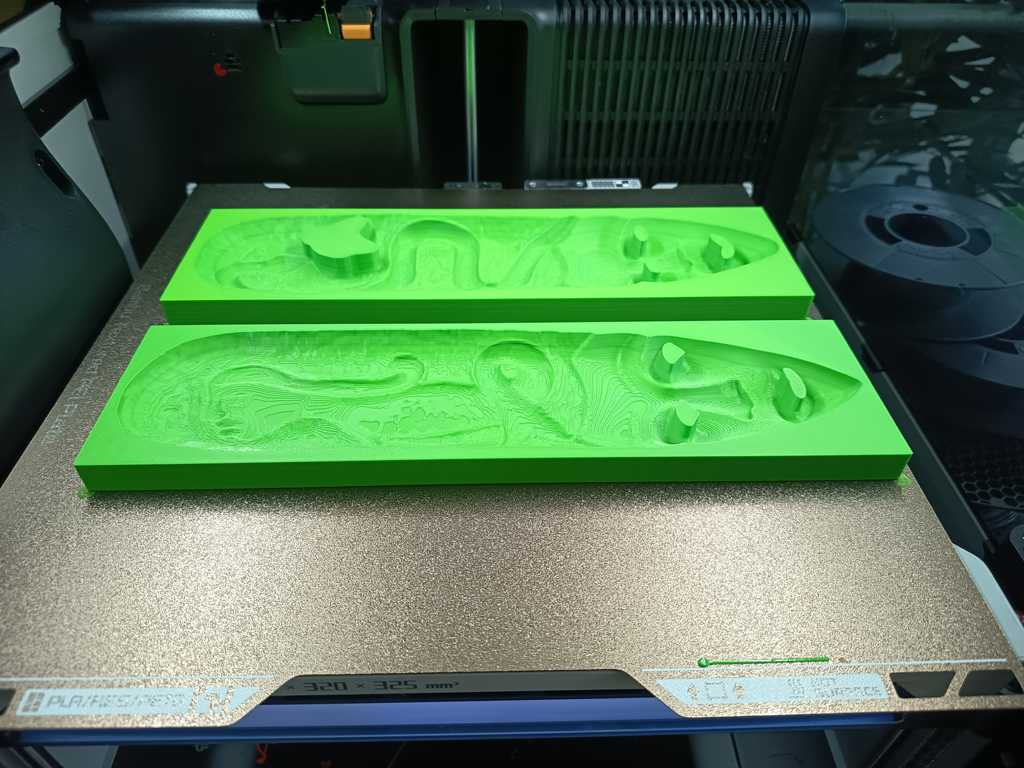
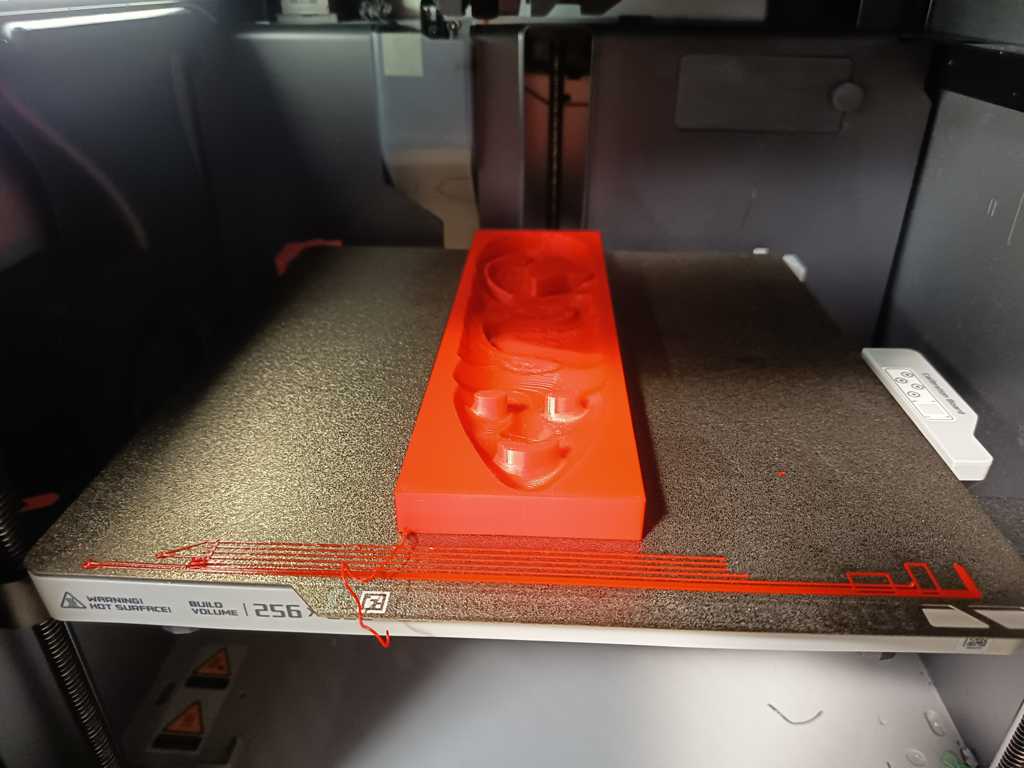
Later I also printed a smaller version with standart PLA for comparison.
I also added 4-5 layers spray filler.

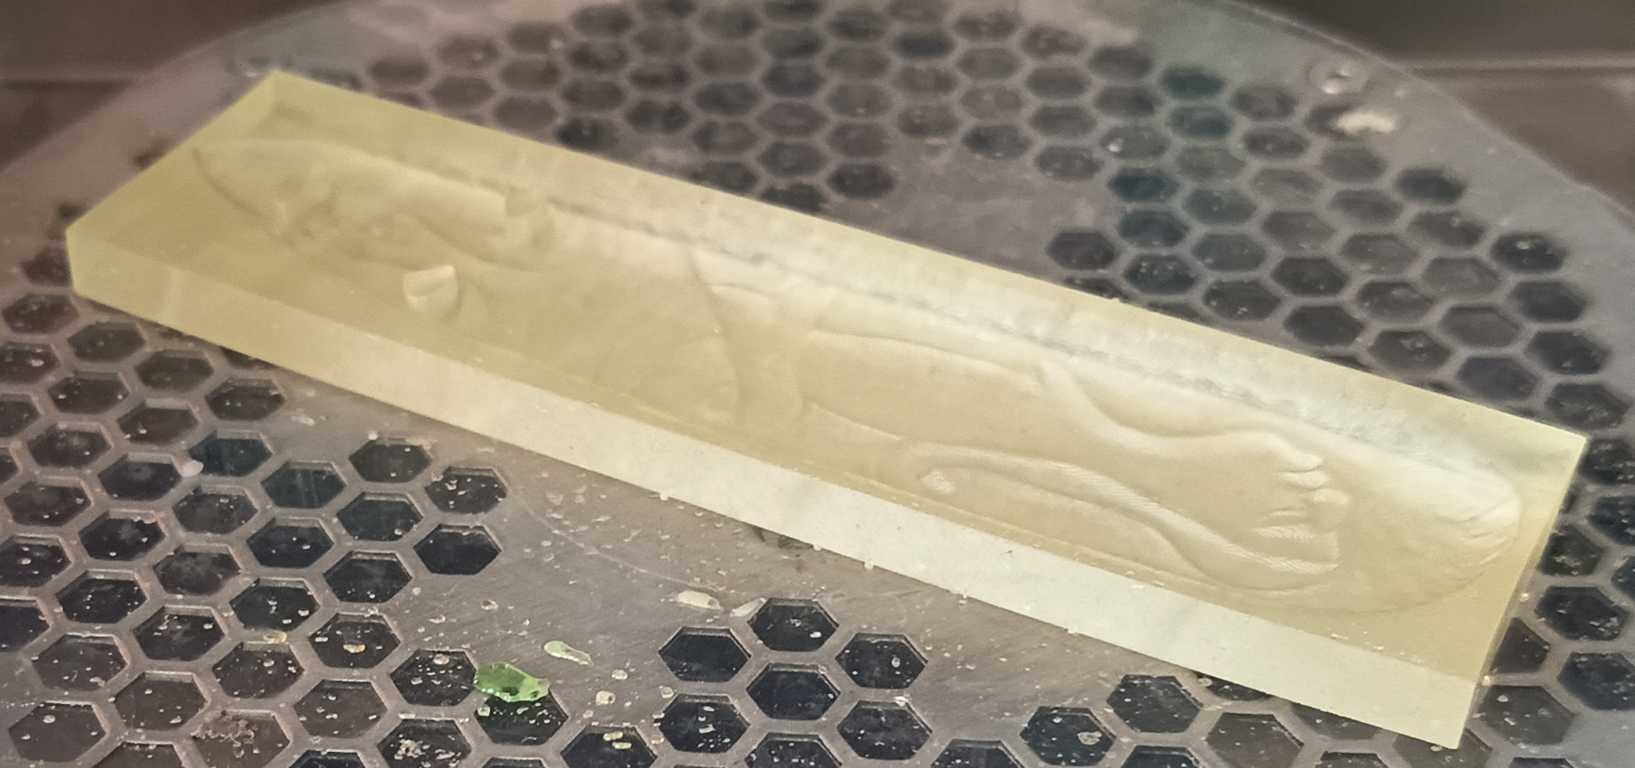
SLA
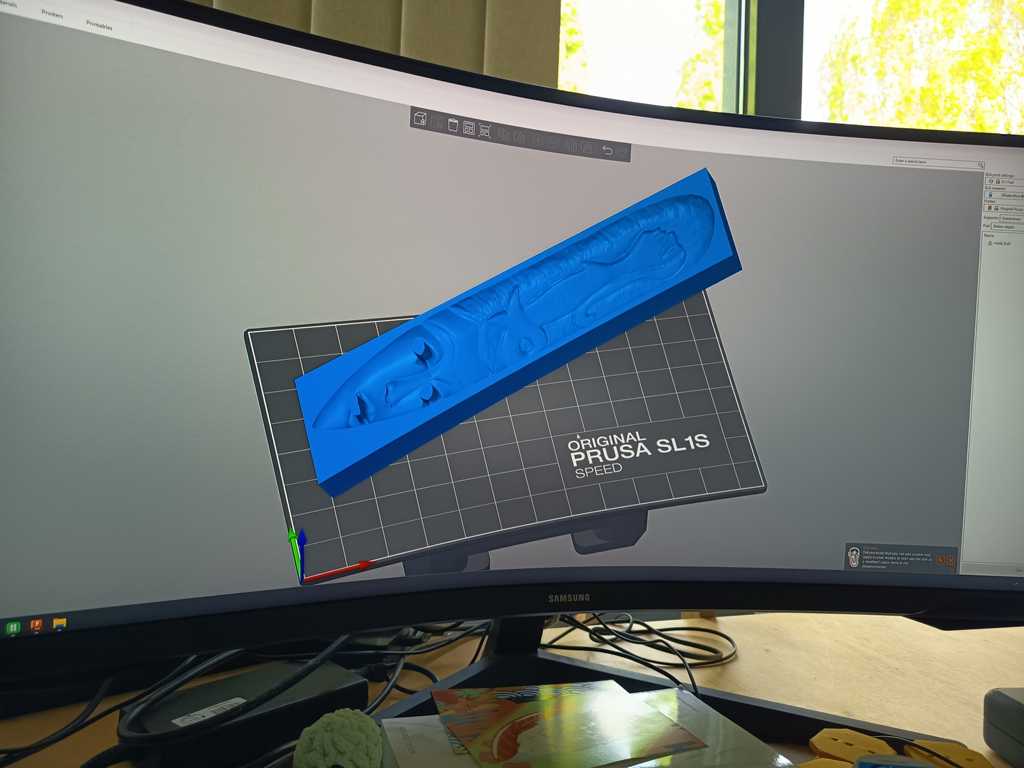
Since the structure of the manufacturing process should not be visible, and a smooth surface finish is required for this assignment, I also made a second print using flexible SLA resin.
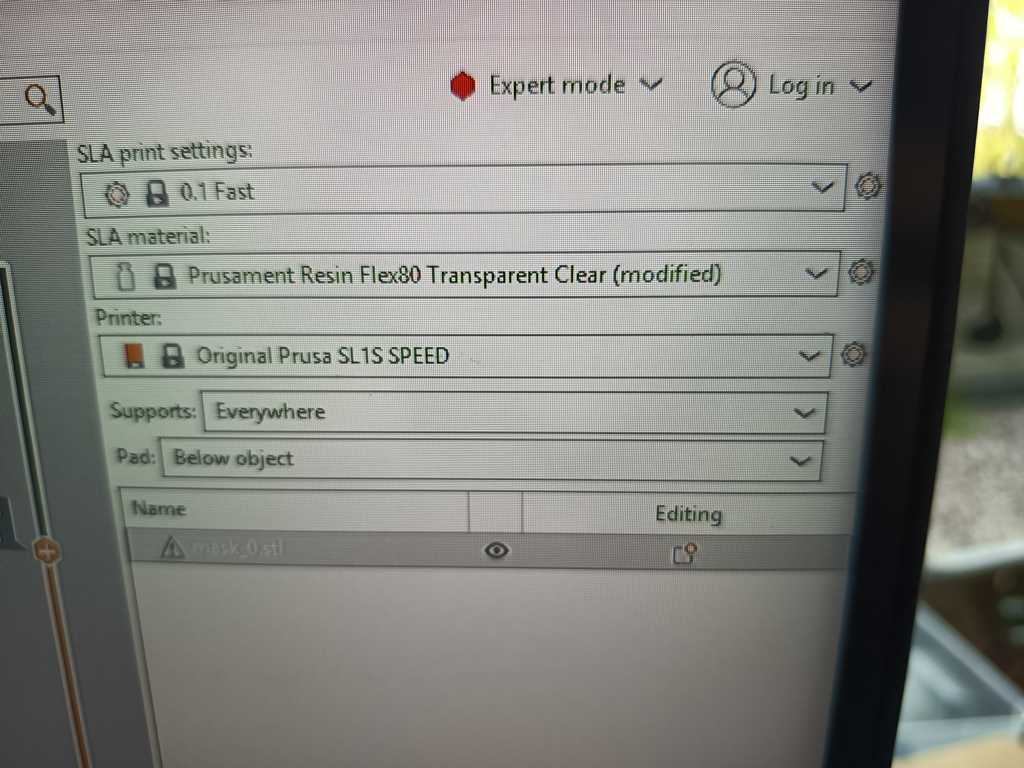
For this, I used the Prusa SL1S Speed resin printer, which has a build volume of 127 × 80 × 150 mm. My colleague Julian, who is our 3D printing expert, supported me again during this process.
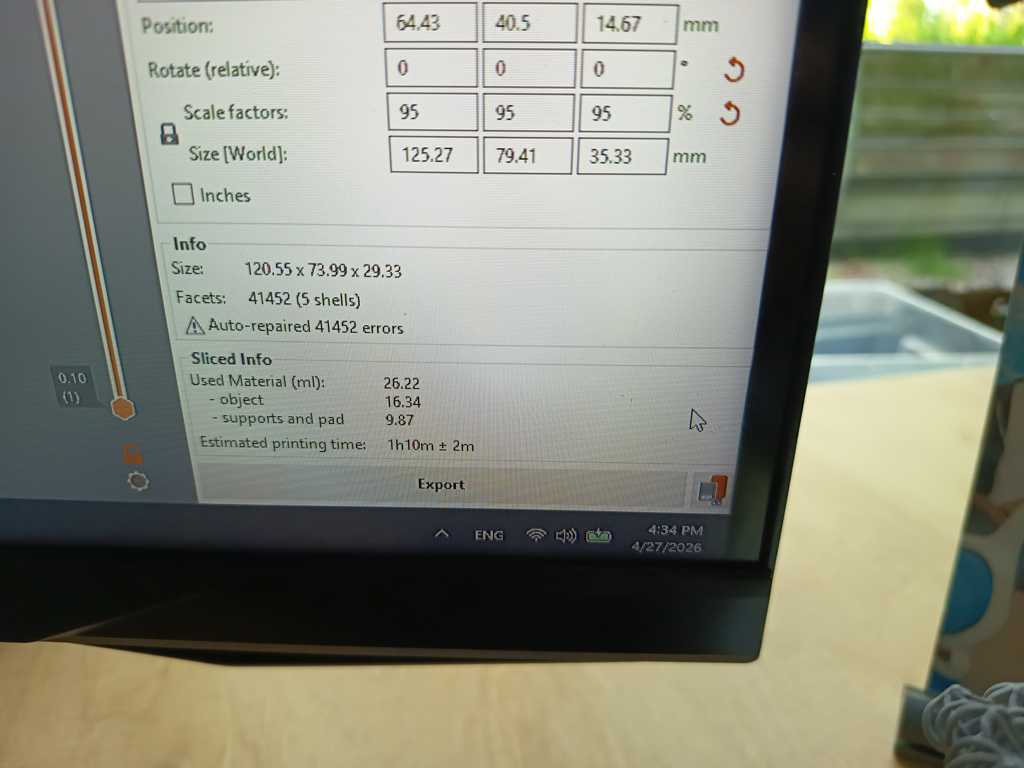
I adjusted the size of my file and sent it to him for preparation.
We used the following print settings: 20 s initial exposure time, while the remaining settings stayed at their default values.
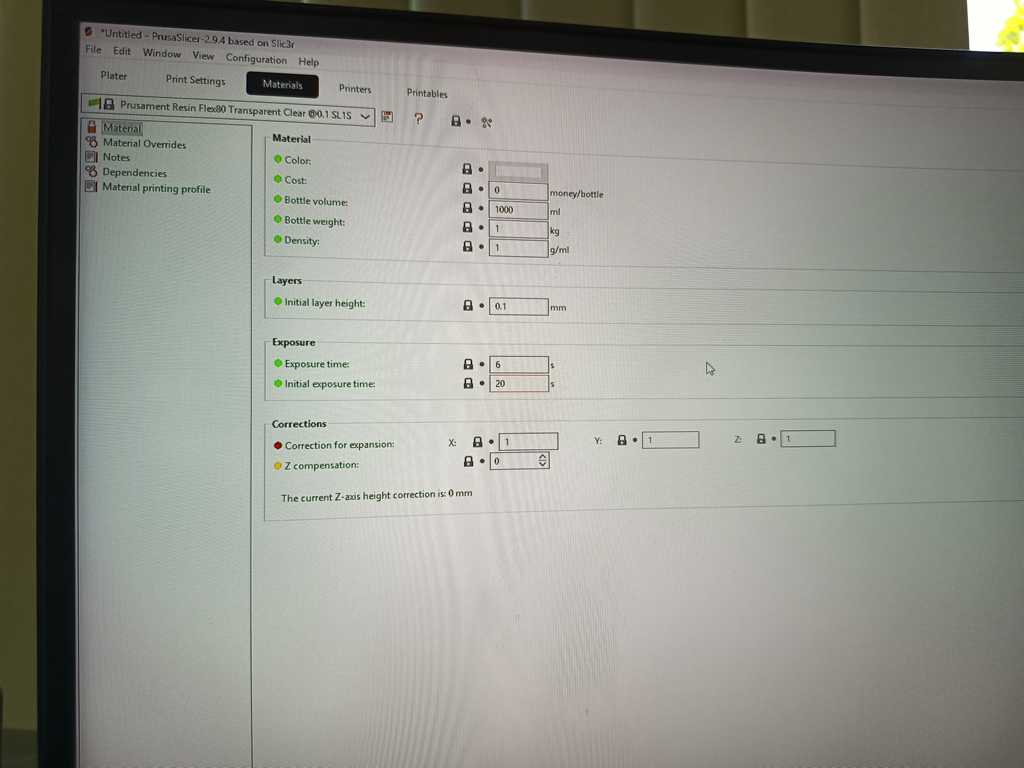
The material used was Prusa Resin Flex80 Transparent Clear.
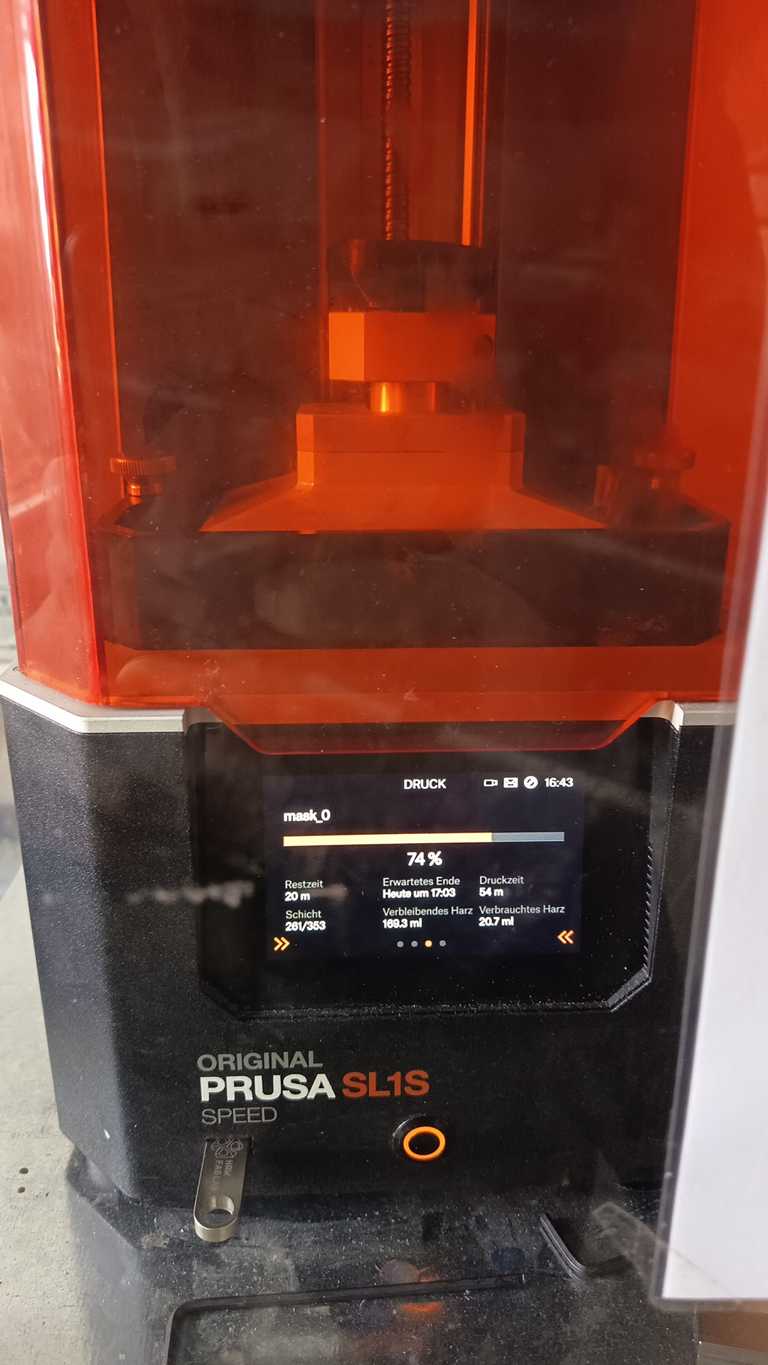
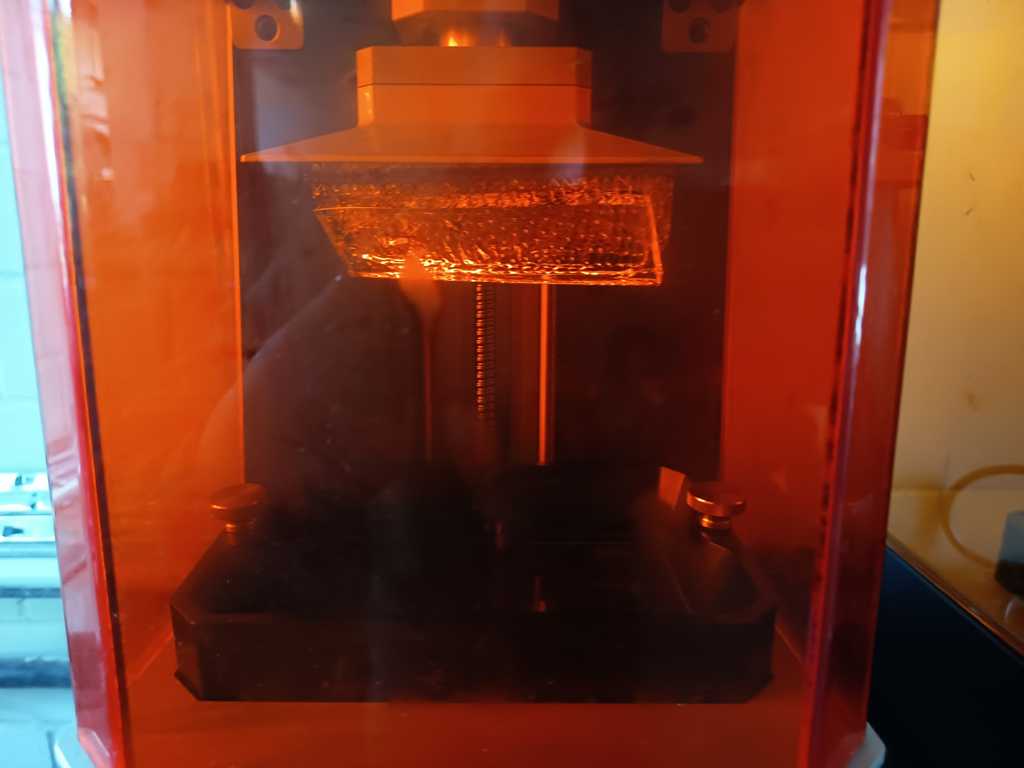
After preparing the file, we filled the resin tank with the material and started the print. Unfortunately, there is not much to see during the printing process because the model is built layer by layer inside the resin vat.
This is the final result after printing.
After printing, I had to clean and cure the resin part. Both steps can be done with the Prusa CW1S.
First, the part was washed to remove uncured resin from the surface. After that, it was cured with UV light to complete the hardening process and improve the final material properties.
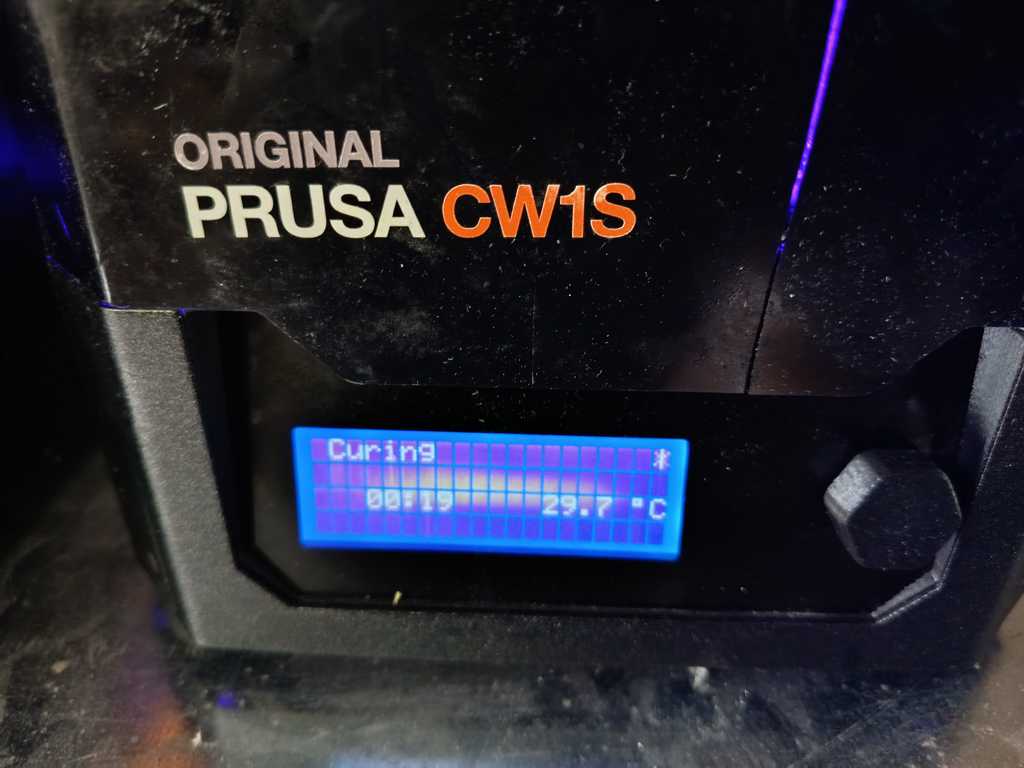
The print looked like this after the cleaning and curing process.
Casting the masks
Modulan 105
I used MODULAN 105 modelling plaster.
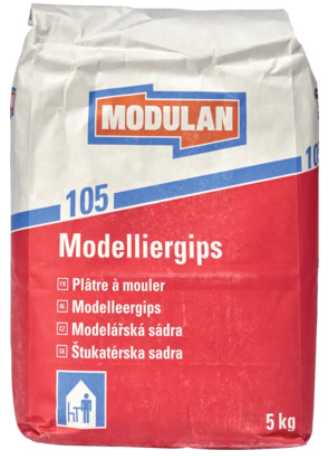
It is a white powder-based modelling plaster mainly used for casting, shaping, modelling figures, and producing decorative plaster elements.
The material is based on calcium sulphate hemihydrate and is suitable for indoor use.
According to the product information, it can be cast, shaped, hardened, painted over, and used as a filler material.
It has a working time of approximately 15 minutes and a drying time of about 8 hours.
I chose this material because it fits very well to my application. My goal was to test the mold shape, surface quality, and demolding process with a material that is cheap, easy to process, and safe to handle compared to resin systems. The manufacturer describes the material as suitable for casting, forming, and modelling, with high fineness, high whiteness, easy processing, and fast setting. This makes it a good choice for early casting tests and for checking whether the mold geometry works as intended.
The plaster can be mixed in different consistencies depending on the amount of powder and water. For a castable mixture, the product description gives a ratio of about 600 ml water per 1 kg powder. Later, I noticed that a mixing ratio with slightly more water was better suited for my application.
This made the plaster more fluid and easier to pour into the mold, especially because the mold contained fine details and small surface structures. Although the mixture became less thick, it helped the material flow better into the cavity and reduced the risk of trapped air or incomplete filling.
For smaller amounts, powder can be added into the water until small dry islands appear on the surface. After about 2 minutes of soaking time, the mixture can be stirred by hand or with a mixer until it becomes smooth and free of lumps. More powder increases the filling strength and makes the mixture thicker.
For safe handling, I treated the plaster like a fine powder material. I avoided unnecessary dust formation and worked carefully while mixing. The technical datasheet also recommends using only rust-free tools and states that the material should be processed and dried at a minimum object and ambient temperature of +8 °C.
Overall, MODULAN 105 was a suitable material for my first casting step because it allowed me to test the mold in a simple, low-cost, and controllable way.
Ecoflex Gel
As a backup plan, I also considered using Ecoflex GEL 2 from Smooth-On. Ecoflex GEL 2 is a very soft, platinum-cure silicone rubber gel. It is designed for applications such as medical simulation devices, silicone makeup appliances, cushioning, gaskets, encapsulation, theatrical prosthetics, and other applications where an extremely soft silicone material is required. The cured material has a very low Shore hardness of 000-34 (this is below the Shore 00 hardness scale), which makes it much softer than typical casting silicones.
The material is mixed in a simple 1A:1B ratio by weight or volume, which makes the preparation relatively straightforward. It has a pot life of about 20 minutes and cures in approximately 50 minutes at room temperature. For best results, the manufacturer recommends pouring the mixture into one spot at the lowest point of the mold and letting the material flow by itself to reduce trapped air.
For my project, Ecoflex GEL 2 would have been useful if the plaster casting had not worked, because it could create a very flexible and detailed cast. However, it was only my emergency option, since my main goal was to test a simple, low-cost casting process with plaster first.
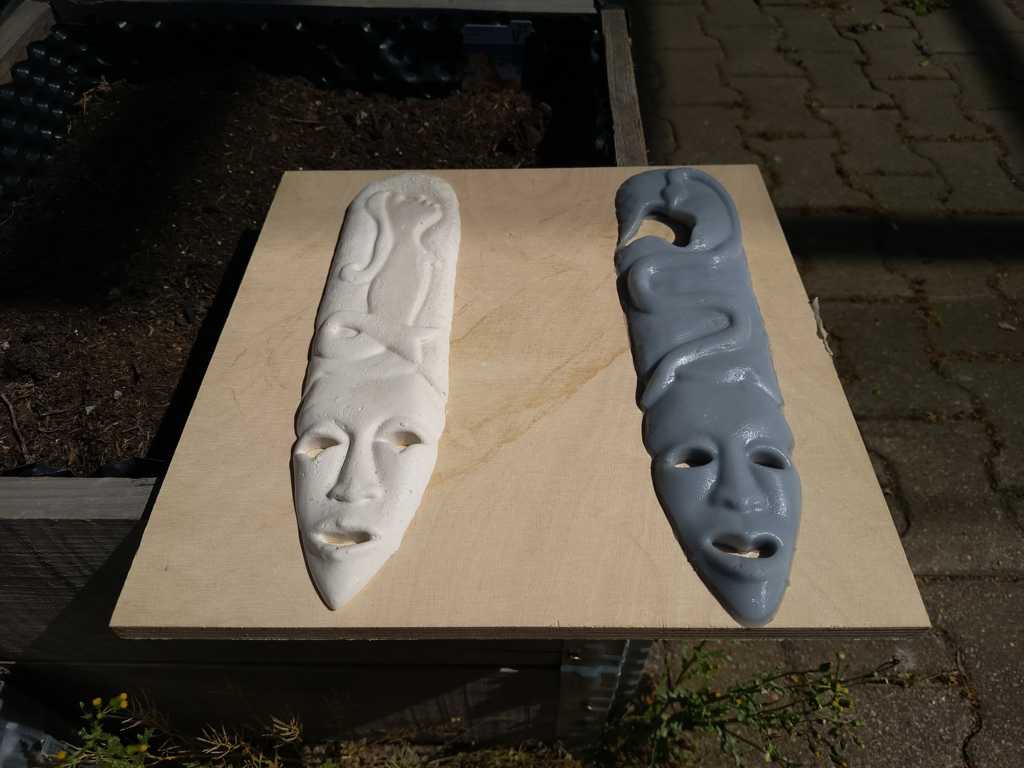
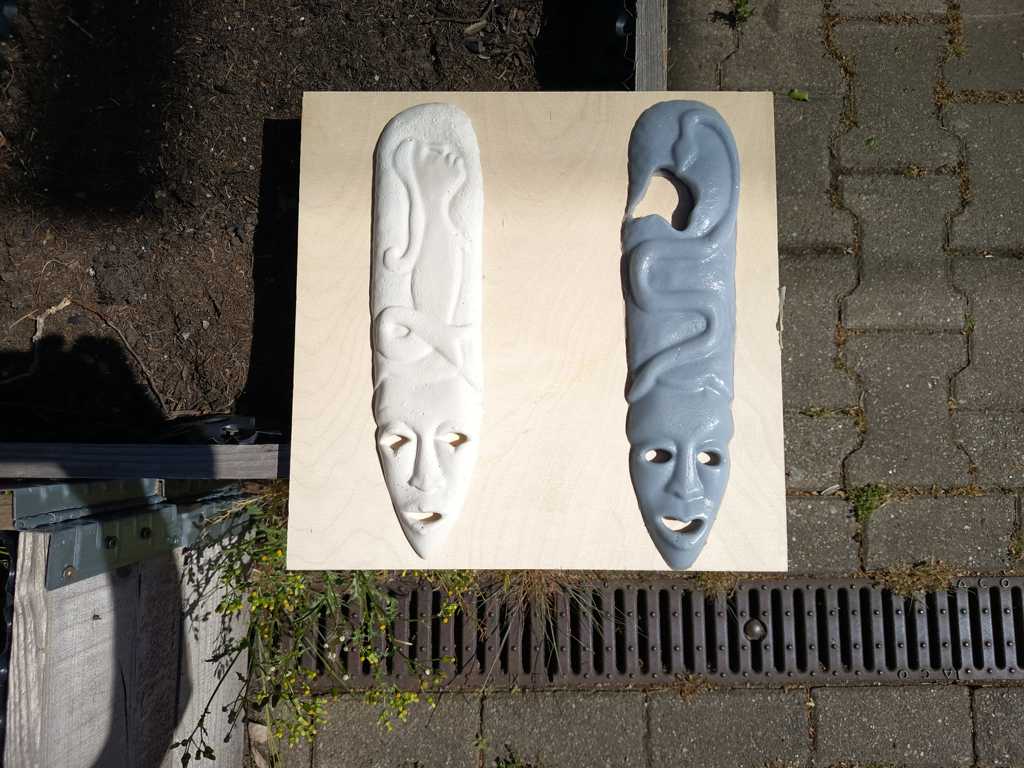
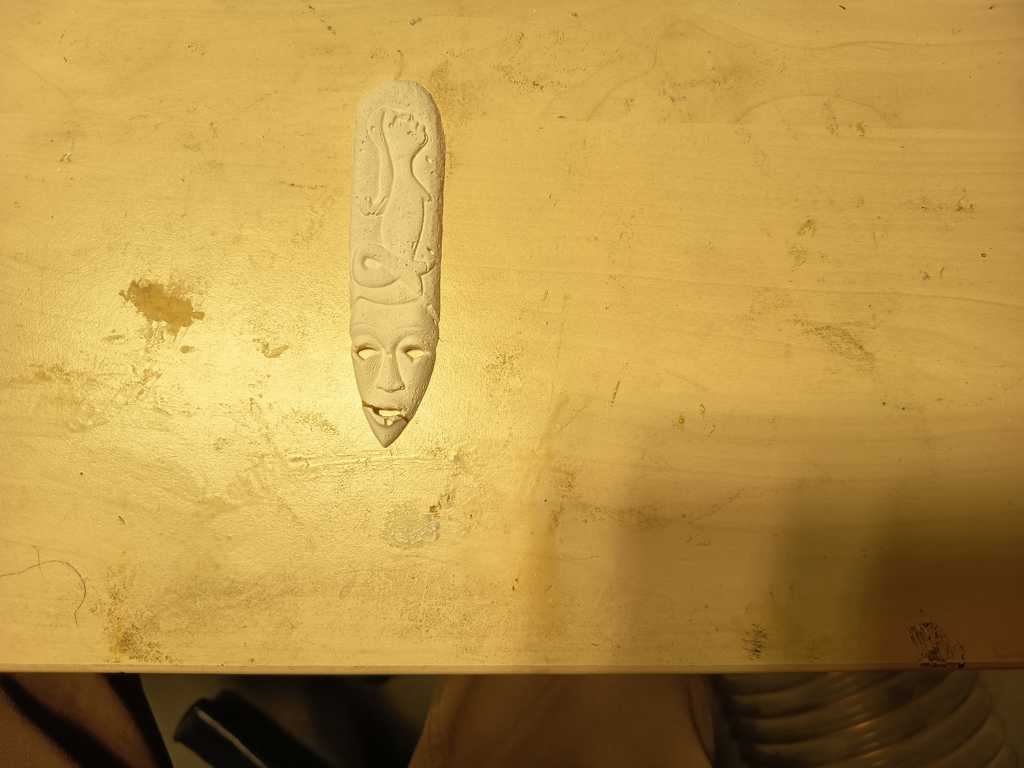
Results
SLA with Modulan 105:
PLA with Modulan 105 and Ecoflex: