Principles and practices
This weeks goal was to build a website, wich describes me and my final project.
My Setup
Greenshot - Screenshots and editing
HandBrake - Video editing
Handbrake
This are my settings.
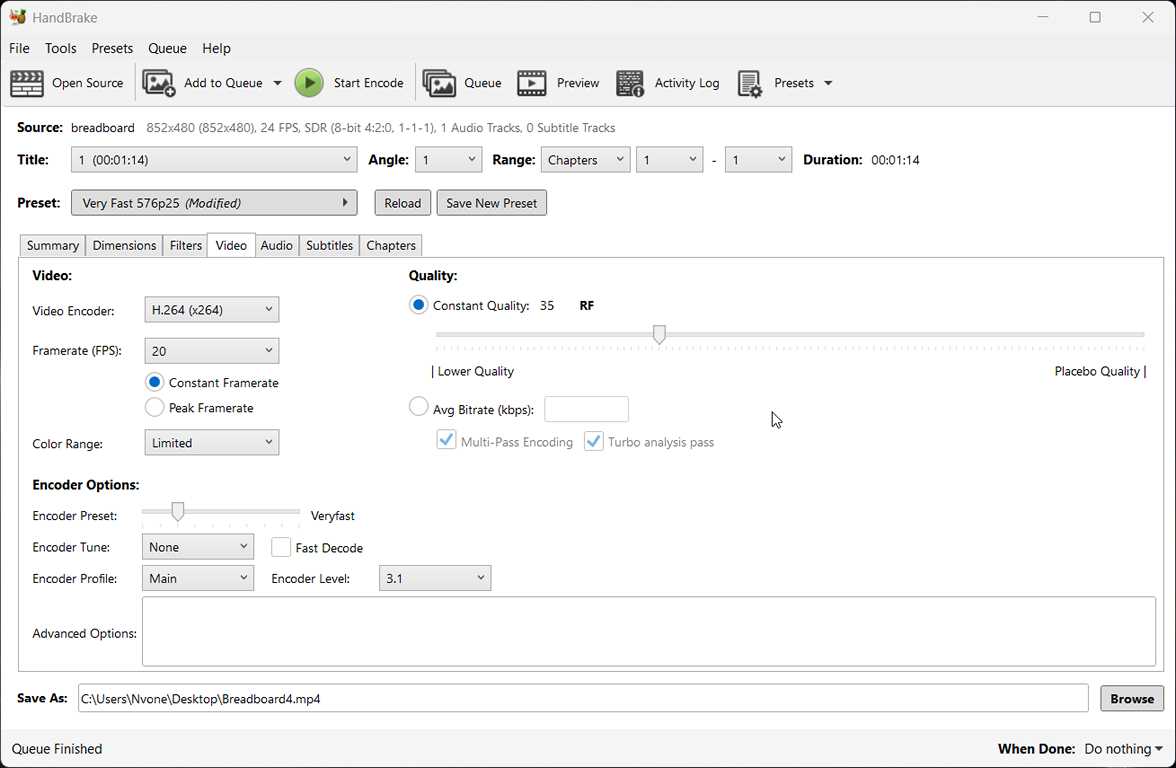
In addition audio mono.
These settings do a very good job of reducing the file size. If the image quality becomes slightly too low, the Constant Quality value can be increased up to around 25.

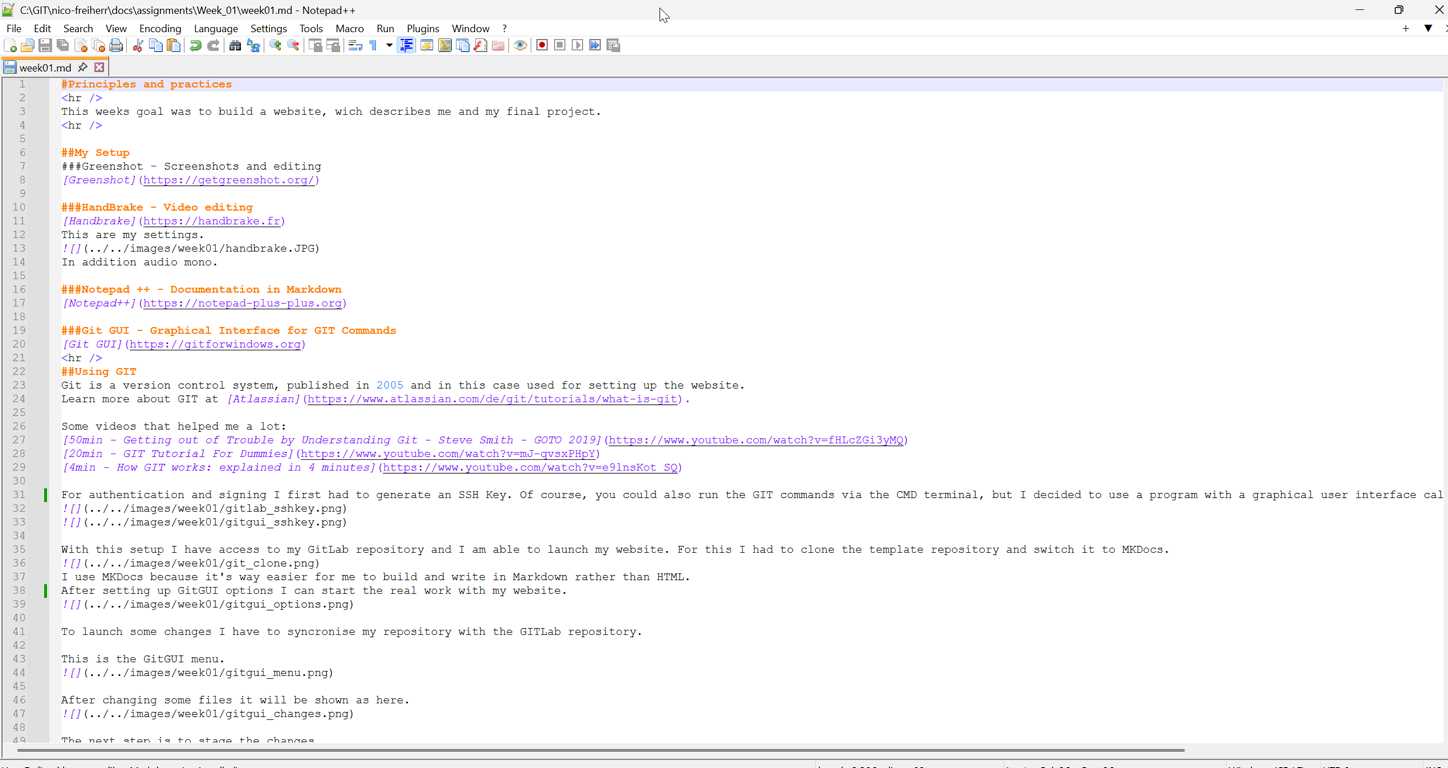
Notepad ++ - Documentation in Markdown
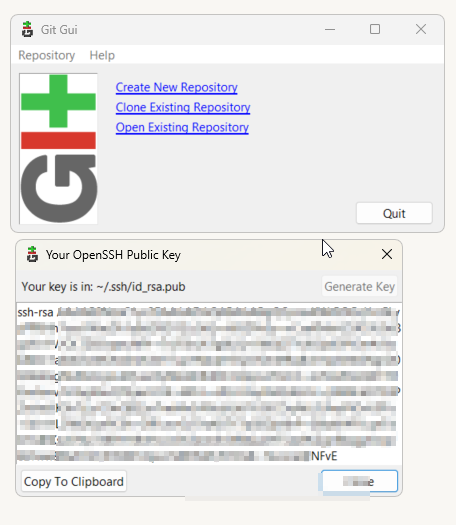
Git GUI - Graphical Interface for GIT Commands
Using GIT
Git is a version control system, published in 2005 and in this case used for setting up the website.
Learn more about GIT at Atlassian.
Some videos that helped me a lot:
50min - Getting out of Trouble by Understanding Git - Steve Smith - GOTO 2019
This video provides a deeper understanding of how Git works internally and why many Git issues arise in the first place. Topics covered include refs, branches, tags, resets, garbage collection, pack files, and various merge and rebase concepts.
The focus is not just on using Git, but on truly understanding and resolving common errors and complex situations.
20min - GIT Tutorial For Dummies - Nick White
This video helped me understand the basic Git workflow in a simple and accessible way. It explains the core ideas behind repositories, commits, branches, and pushing changes to GitHub, which made the overall structure of version control much clearer to me.
For beginners, it is a useful introduction because it focuses on the practical steps needed to start using Git with more confidence.
4min - How GIT works: explained in 4 minutes - ByteByteGo
This short video gave me a quick conceptual overview of how Git works. It helped me understand Git not just as a set of commands, but as a system for tracking changes and managing different versions of a project.
Even though it is very compact, it was useful for building an intuitive understanding of the logic behind Git before going into more detailed tutorials.
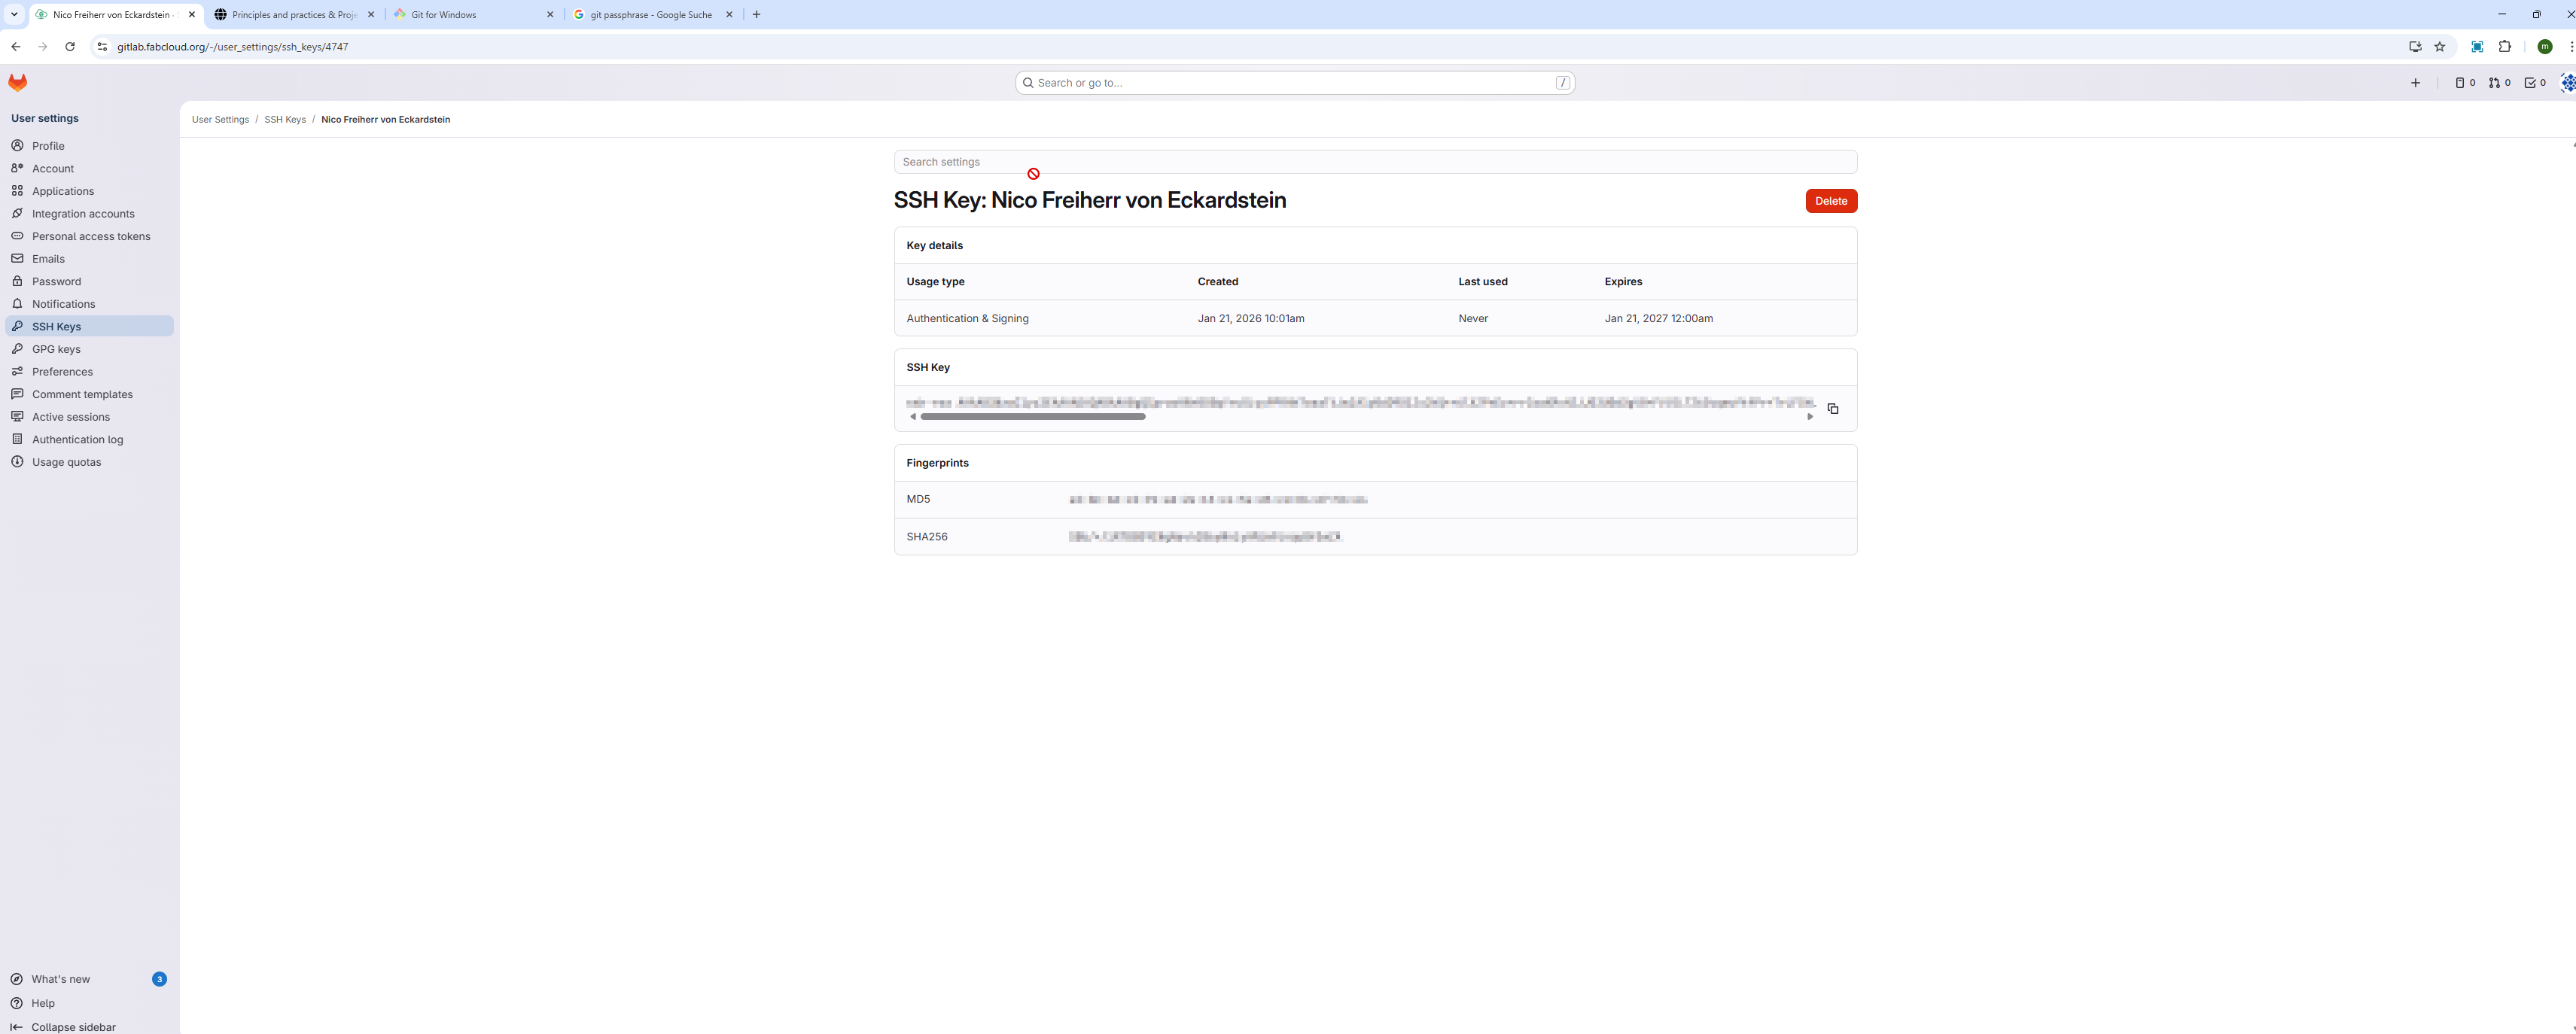
For authentication and signing I first had to generate an SSH Key. Of course, you could also run the GIT commands via the CMD terminal, but I decided to use a program with a graphical user interface called GitGUI. I had to link the SSH Key.
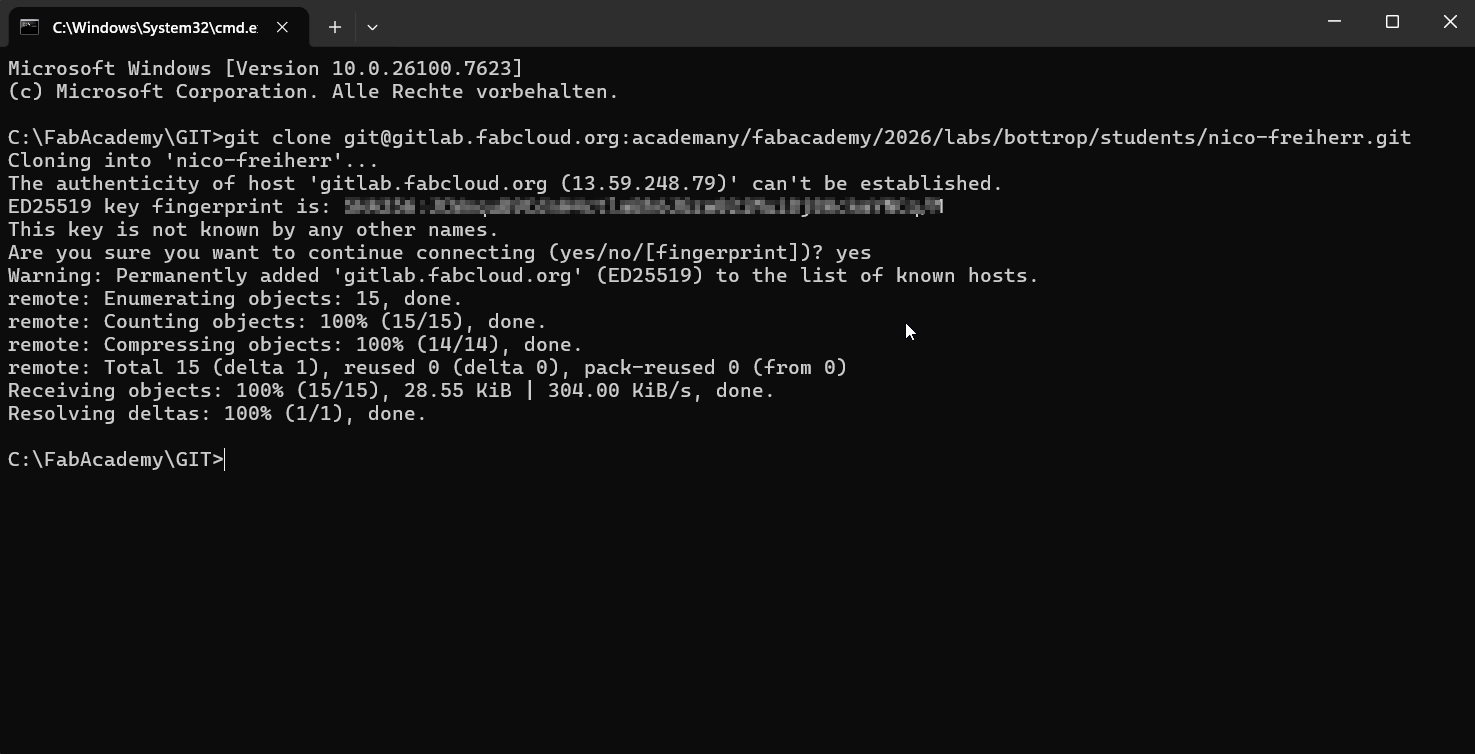
With this setup I have access to my GitLab repository and I am able to launch my website. For this I had to clone the template repository and switch it to MKDocs.
I used MkDocs with the Material theme as the basis for my documentation website.
While this template already offers a very strong structure and many useful built-in features, I think that professional and more individual results still require additional customization.
For this reason, I modified both the mkdocs.yml file and my custom.css to better adapt the page to my own needs.
On the visual side, I changed the background color and adjusted the proportions between the left navigation, the main content area, and the right submenu to improve readability on larger screens.
I also created a custom menu and a button that allows the left sidebar to be hidden when needed. In addition, I edited the site description in the YAML file so that the page has a clearer custom text in the Google search preview.
These changes helped me move from a standard template to a more refined and personal documentation layout.
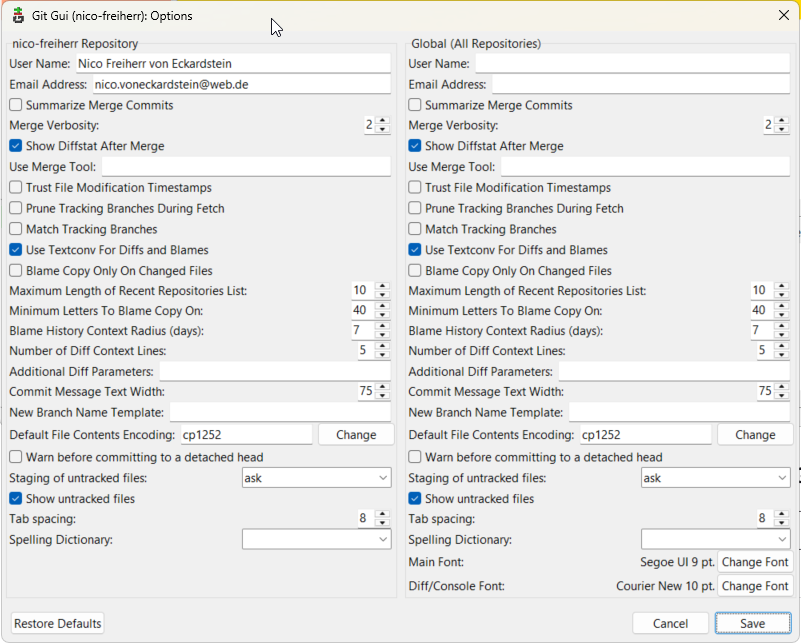
After setting up GitGUI options I can start the real work with my website.
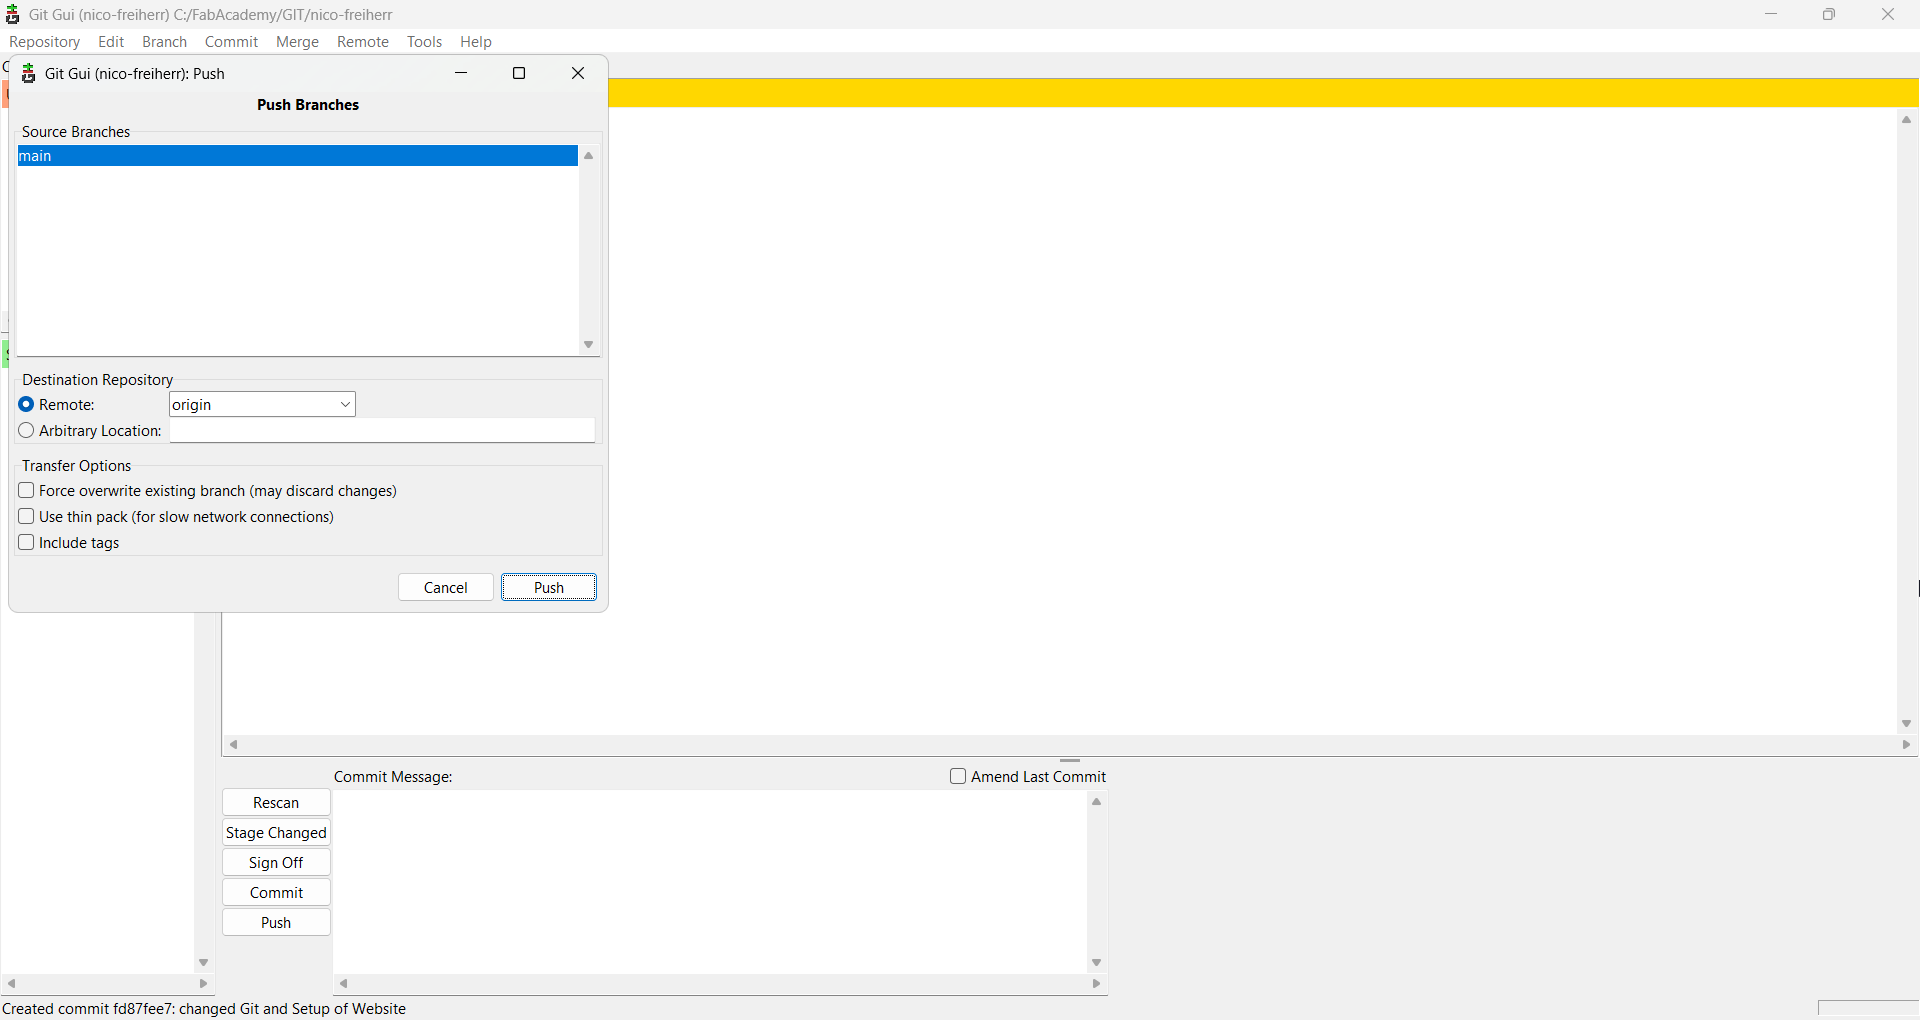
To launch some changes I have to syncronise my repository with the GITLab repository.
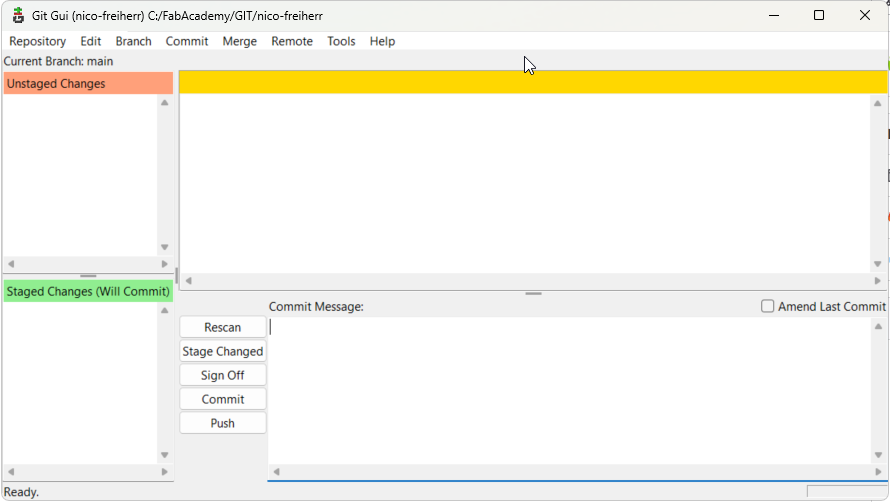
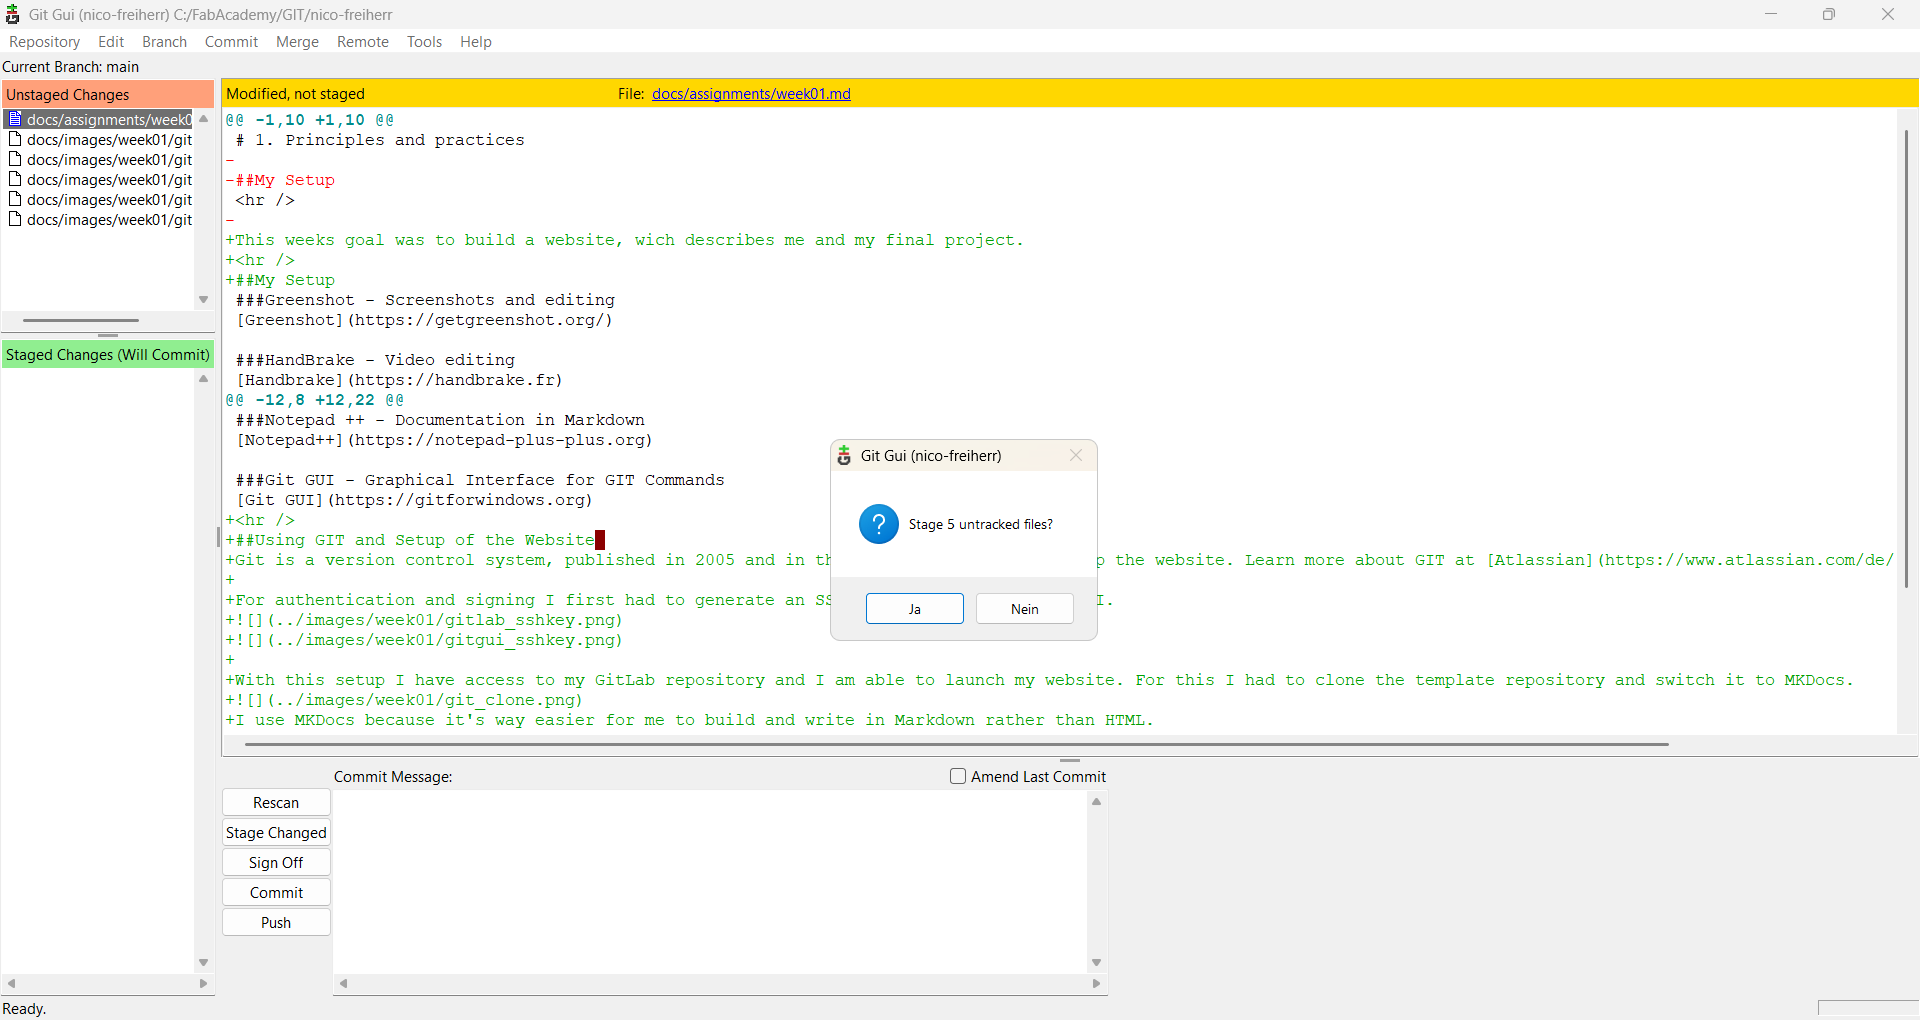
This is the GitGUI menu.
After changing some files it will be shown as here.
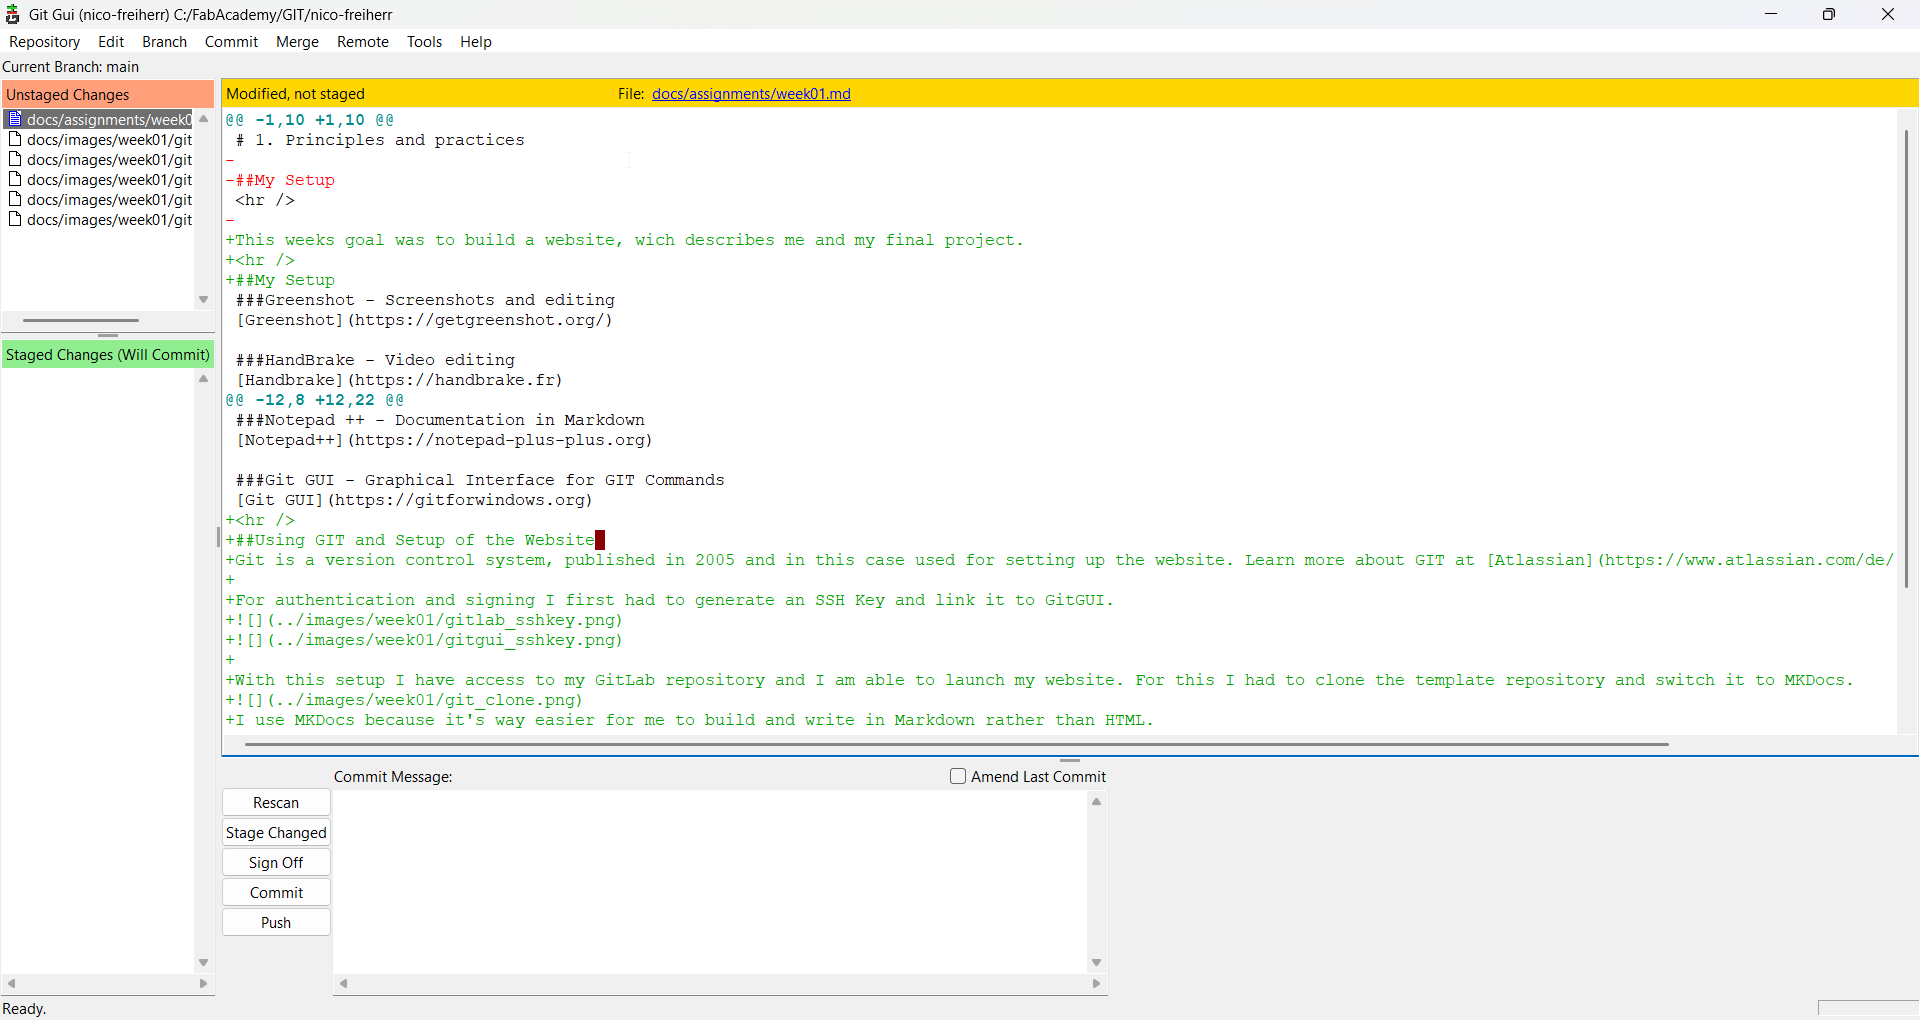
The next step is to stage the changes.
The commit message describes my changes.
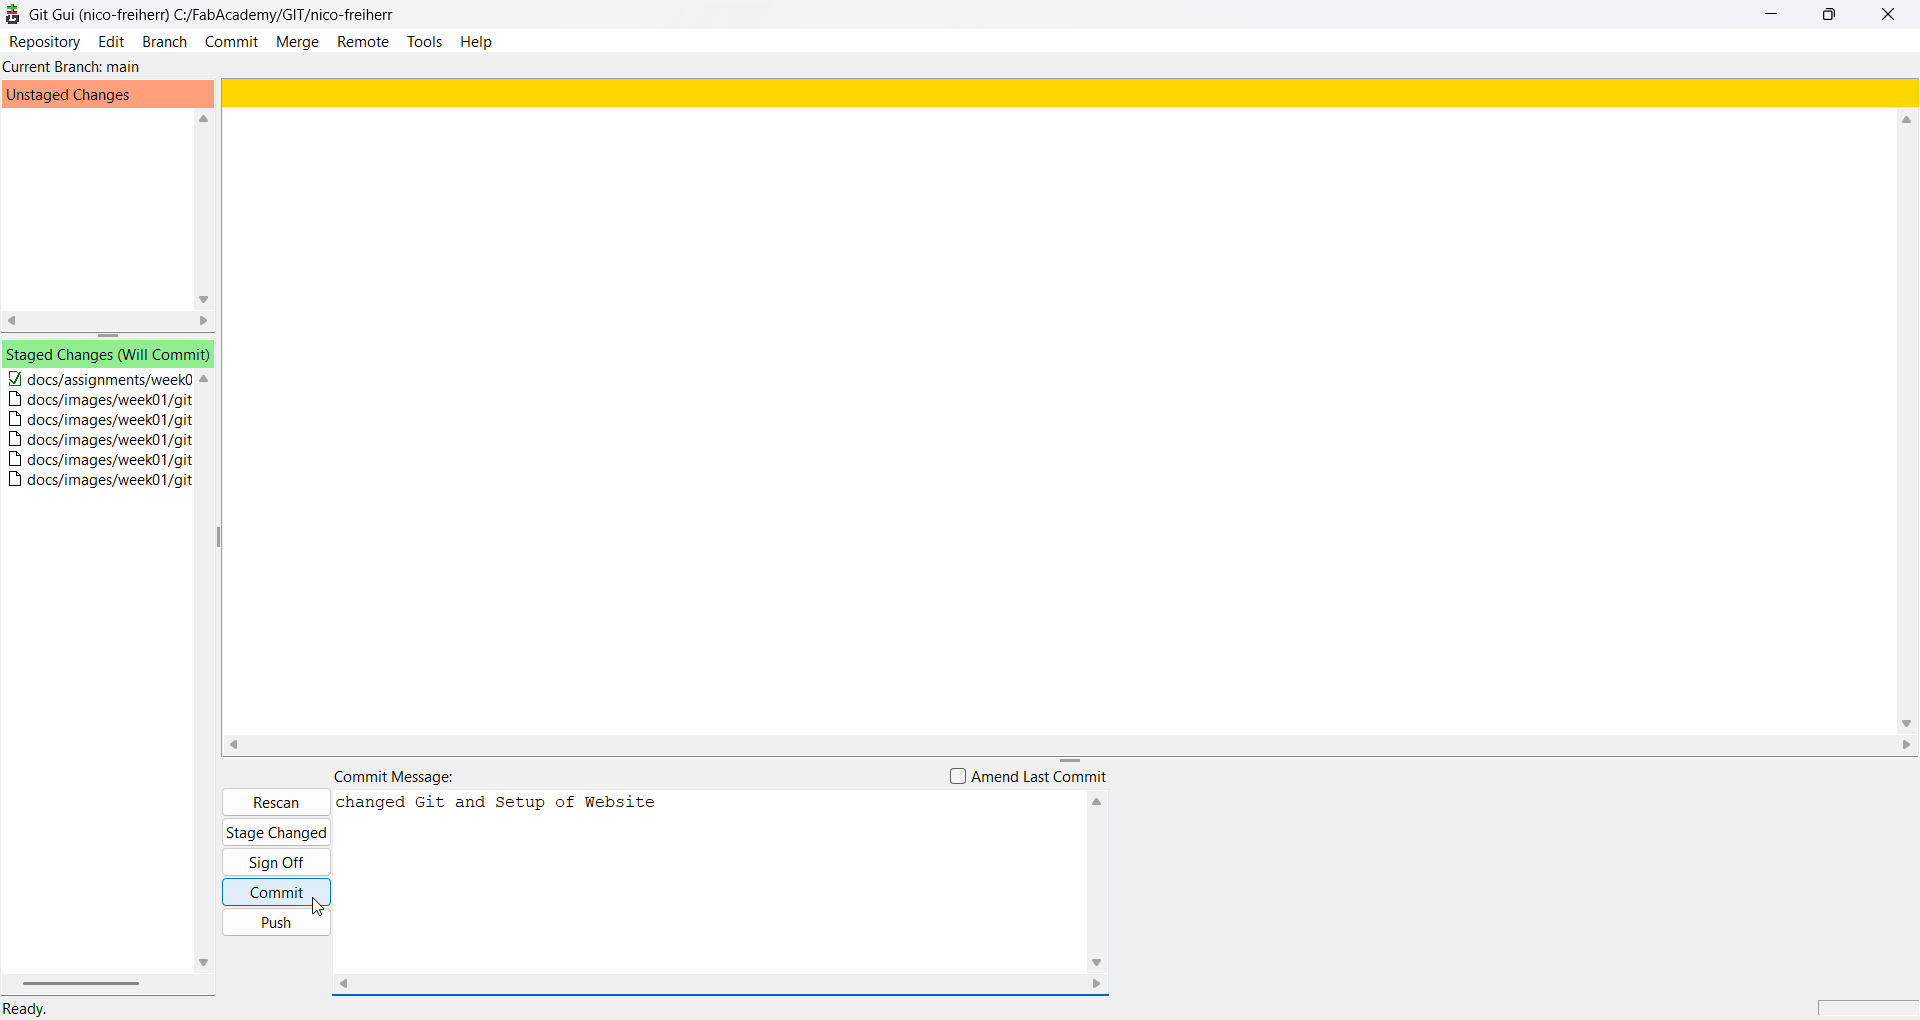
To upload the repository I have to push it.
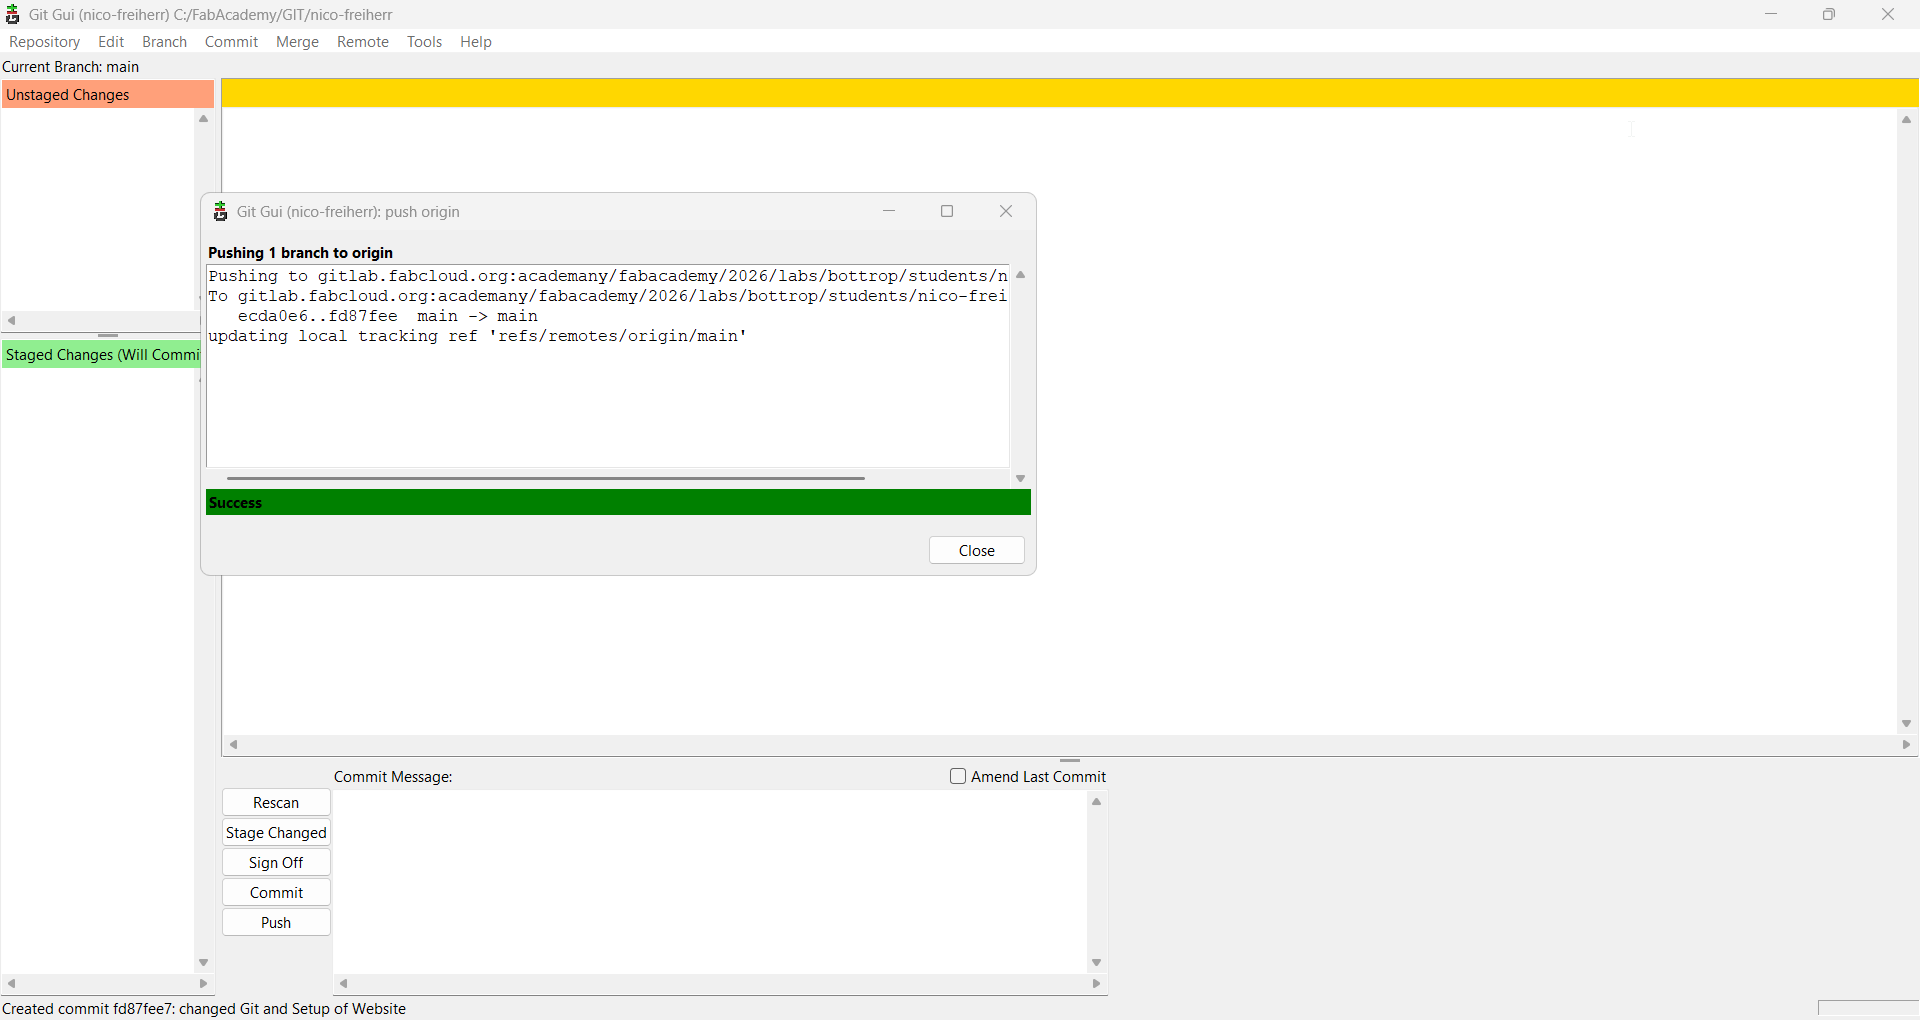
Once the upload is finished the success notification shows up.
Setup of the website
To write and build the website I had to get used to markdown text formatting.
Markdown Guide
The menu bar and table of contents use the headings syntax. It can be defined with #,##,### or #### and the following text.
#This is an H1 heading
Pictures are implemented with an alternative text (shown when the picture can’t load) and the storage location.

Bold or italic text is implemented as follows.
**bold** or *italic*
This is the syntax for clickable links.
[Text](URL)
And a seperator line can be added like this.
<hr />
A big thank you to my instructor Lars Mattern, without whose help this week would have been hell for me!