Week 07
Computer controlled machining
Group assignment
- do your lab's safety training
- test runout, alignment, fixturing, speeds, feeds, materials,
- and toolpaths for your machine
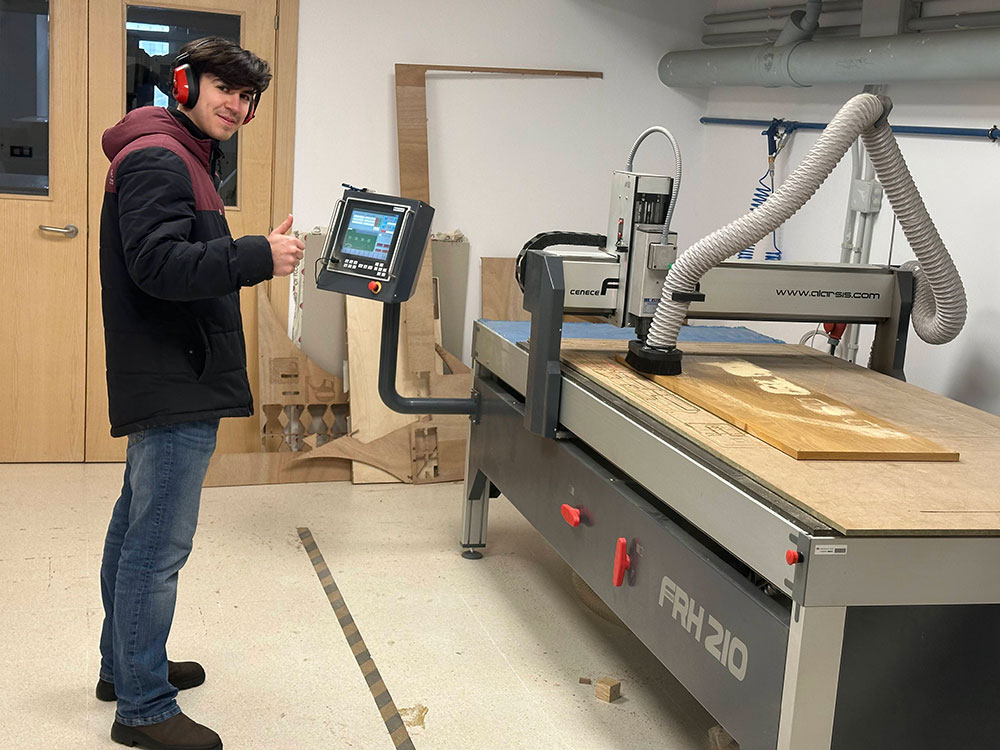
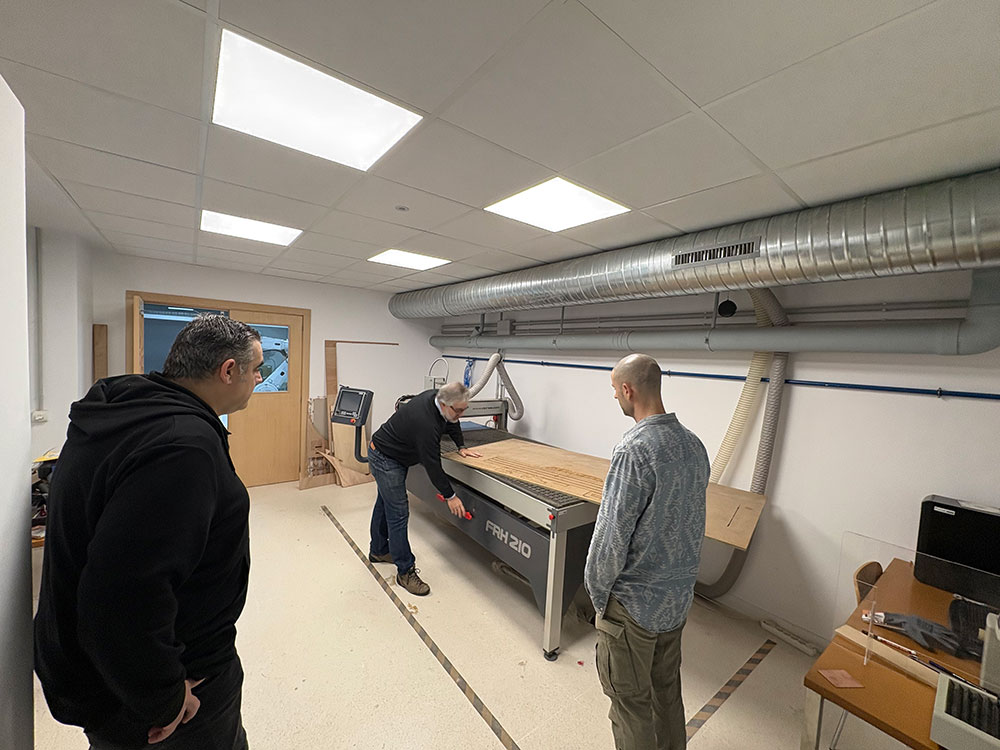
On thursday, Pepe who has a vast expereince with the CNC machine explained to the group the operation of the CNC and all the steps to follow both for safety and for setting up the machine..
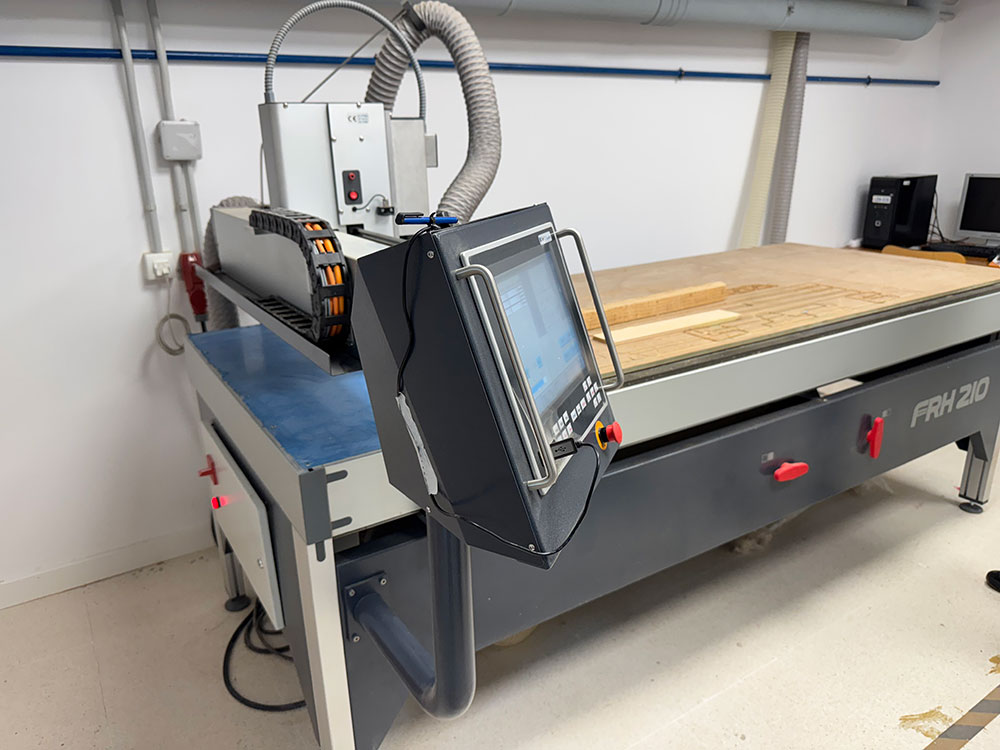
The CNC that has the Fab Lab ETSAC is the CNC FRH210 model. It has a work area of 2100x1000mm and the maximum material thickness of about 120mm depending on the material.
TECHNICAL DESCRIPTION
Steel frame.
Sectorizada table 3CV vacuum pump.
RTA drivers electronics and robotics cabling class 6.
CNC control system Tex Touch Computer.
linear guides with recirculating self-lubricated, sealed ball without gaps.
Transmission in all axes by spindles with nuts recirculating ball prefilled and PaP motors of 30Kg / cm. Servos option.
Travel speed 20 meters / min.
Resolution 0,005mm.
Swarf suction system.
brushless head 1,5 or 3 CV CV, 6000 ~ 24000rpm air-cooled or water.
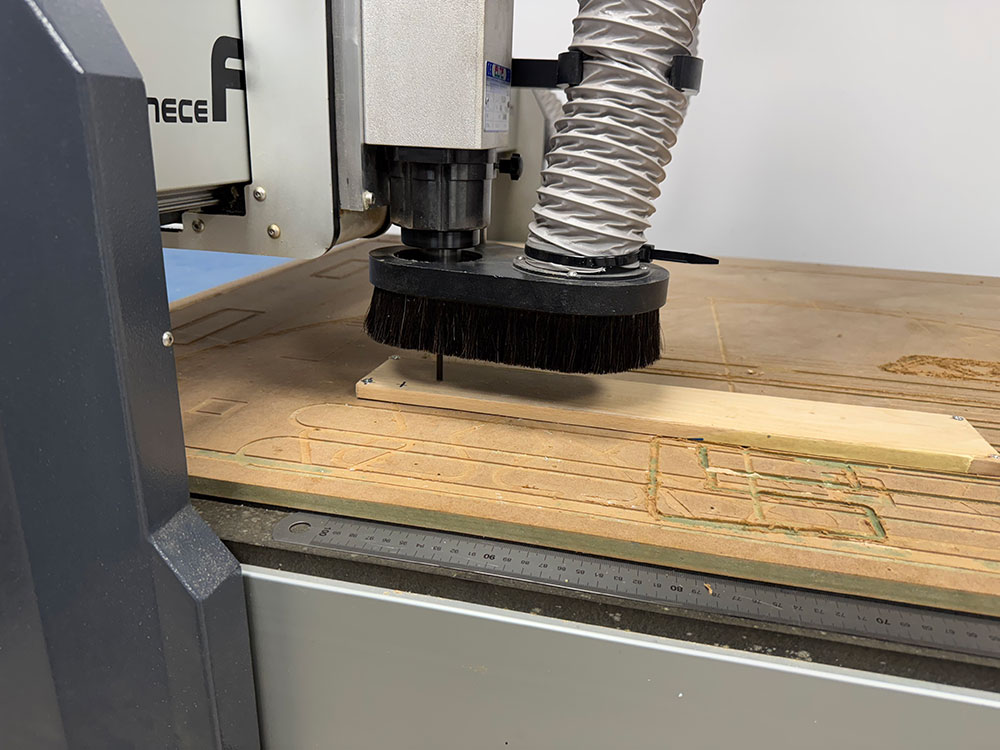
Probe for reset axis Z.
Laser pointer for verification reset axes X, Y.
automatic tool change option.
useful working dimensions 2000x 1000 mm.
Useful height 120mm Z bridge.
Machine dimensions 2750 x 1350 mm.

Safety Training
Working with the CNC is a machine that is safe when used well, but it can be highly dangerous if we are not careful.
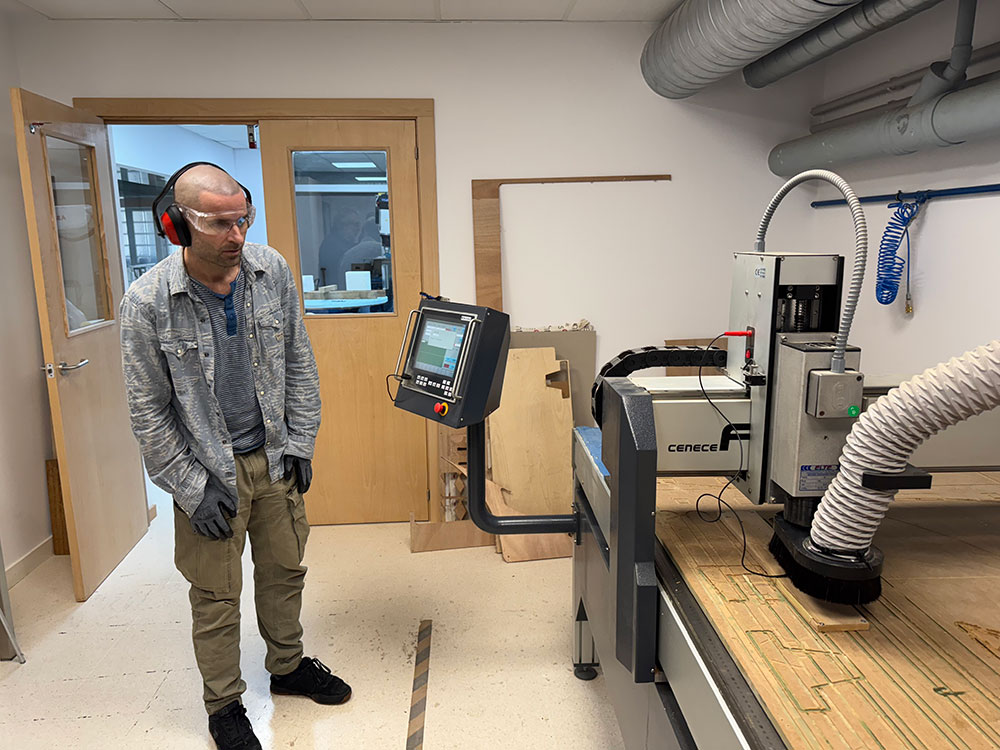
In addition to safety when working, we need to use a series of protections, such as glasses and hearing protection.

Precautions:
· Eliminate dangling elements: Necklaces, loose hair, beards, laces…
· Safety distance.
· Stop command and safety button.
While gloves are not needed to manipulate the machine, they are necessary when moving materials and cleaning the machine, to avoid cuts or getting a splinter.
Before handling the machine we must make sure that the power supply is turned on correctly and the vacuum table is turned off.


When working with the milling machine, we must be very careful, as it is a dangerous machine, and improper use can cause serious injuries and damage to the equipment.
The milling machine should be used with caution and only by properly trained personnel.
· Wear hearing protection.
· Wear protective glasses.
· Keep all machine parts and accessories clean, organized, and functional.
· Only one person should be in the work area while the machine is operating.
· Do not leave objects on the table except for the material to be milled.
· Do not handle the milling material once the machine is running.
· Stop the milling machine if it is necessary to adjust or manipulate the material.
· Clean the milling machine only when it is turned off and the main switch is off.
· If any problem is detected, IMMEDIATELY STOP THE MACHINE using one of the emergency stop buttons.
If the material to suffer is small compared to the machine put the chord to close the air of suction

CNC Machine
STEP 1. TURN ON THE MACHINE
Turn on the machine using the switch located on the left side.
Ensure that the entire workspace is clean and free of objects before starting the job.
STEP 2. TURN ON THE SUCTION SYSTEM
Activate the suction system using the switch located in the next room. It must remain activated throughout the entire job.

STEP 3. POSITION AT 'HOME'
The machine will automatically turn on with this screen.
Position the head at the machine's coordinate origin by pressing the 'X-Y-Z' button.
STEP 4. HEAT UP THE MACHINE
Set the speed bar to 25% and press the button that activates the spindle. Keep the spindle running at this speed for a few minutes and gradually increase it by sliding the bar.

Caution: For safety, it is recommended to move the machine head away and place it closer to the wall.
STEP 5. PREPARE THE MATERIAL
Place a sacrificial board on the milling machine table.
Place the material sheet on top of the sacrificial board, paying special attention to ensure it is parallel to the side of the machine.
Use the necessary screws or brackets to secure the material firmly to the board so it does not move during cutting. Before screwing, make sure the screws do not penetrate the sacrificial board, as this could damage the milling machine table.

Tip: You can use the laser to verify that the material is properly aligned and parallel to the machine table.
STEP 6. INSTALL THE END MILL
Select the first end mill (revisar nombre) you want to use, which should match the one you selected in VCarve.
Move the machine head away and install the end mill as shown in the image, using the indicated collet for the selected end mill's diameter.
Reposition the head by screwing it in gently. Tighten it using the wrenches found on the table.

Caution: In this step, it is MANDATORY to lock the machine to avoid accidents. You can lock it by pressing the LOCK BUTTON located at the bottom right corner of the screen.
STEP 7. DEFINE X0 AND Y0 ORIGIN POSITION
Turn on the laser pointer using the switch shown in the image.
Using the 'JOG' screen, move the head in X and Y until the laser pointer is at the desired coordinate origin position.

Press 'SET ZERO' to set that position as the relative coordinate origin.

NOTE: The origin must match the X0 and Y0 origin you marked in VCarve.

STEP 8. DEFINE Z0 ORIGIN POSITION
Move the head in X and Y to the desired position for defining Z0.
Connect the probe and place it under the end mill as shown in the first image.
Using the 'JOG' screen, carefully lower the end mill toward the probe by moving it in Z.
Activate the probe function by pressing 'Z0'. Once the end mill touches the probe, your Z0 is defined.


NOTE: The origin must match the Z0 origin you marked in VCarve (top or bottom surface of the material).
STEP 9. INSERT USB DRIVE AND LOAD FILE
- Insert the USB drive with the job file into the adapter connected to the machine.
- Press 'START'.
- Select 'Execute DNC' and press 'Enter'.
- Select the desired file and press 'Enter'.
- Press 'START'.
WARNING: The options are not intuitive at all.
· : The machine will probe and start the job.
· : The JOG screen will appear, allowing you to position the machine as desired, usually for setting the probe. Once positioned, press to return to this screen and proceed to probe.
· : The machine will skip probing, maintaining the current Z coordinate and starting the job. This is the usual choice at the beginning of a job if X0, Y0, and Z0 have already been defined.
STEP 10. START THE CUT
With the selected file, this screen will appear.
If the previous steps for setting the end mill and defining the X, Y, and Z origins were done correctly, press 'ESC' and the job will begin.
Caution: While the machine is running, no one should be inside the safety zone. In case of any anomaly, use the LOCK BUTTON. You will find one on the machine screen and another to the right of the table.
STEP 10.1. WHAT IF WE WANT TO PAUSE THE JOB?
To pause the job, press 'STOP'.
When you wish to resume, press 'RESUME'.
STEP 11. TOOL CHANGE
Once the first machining process is complete, if you wish to perform another one, you must change the tool.
Remove the end mill as shown in the image, taking care not to drop it, as the tip could be damaged.
Install the required end mill according to your VCarve selection, following the instructions in STEP 5.
Caution: The end mill may be hot if the previous machining process was long, so handle it carefully.
STEP 12. DEFINE NEW Z0 ORIGIN
end mills have different lengths, so the Z position changes with a tool change.
Define your new Z origin following the instructions in STEP 7.
Press 'ESC' to start the job.
STEP 13. CLEAN UP AND TIDY UP
Leave everything as you would like to find it. Collect leftover materials, store screws, brackets, and other used tools in their proper place, and vacuum the area.

Vcarve
In adittion, Pepe thought the group how to use the Vcarve program
First we selected the material to mill.
 Then we draw and aling the drawing


To change again the piece here is the button:

To aling the drawing with the piece or another drawing.
The drawing will aling compared to the last object selected.

Remebmber always to use layers with different colors according to the labs rules

There is an option to write

Select the tool


Change the number of passes


Preview the work.


Creating ramps is very important so the tool does not break.


Use the Postprocessor of the machine. CeNeCe_TEX_MTC.iso


