Desktop 5-Axis CNC
Our first option was a desktop 5-axis CNC machine. My role was to design the different pieces and parts.
I got so drawn in designing and assembling the CAD model, that I forgot to take screenshots apart from the video above that I whatsapped my instructor late night.
But...The part files (lots of them) are all in the folder Week10; machine Design: on my Google Drive.
Unfortunately, our team couldn't make the machine in a reasonable time, as it turned out complicated. So, we switched to a wire cutter.
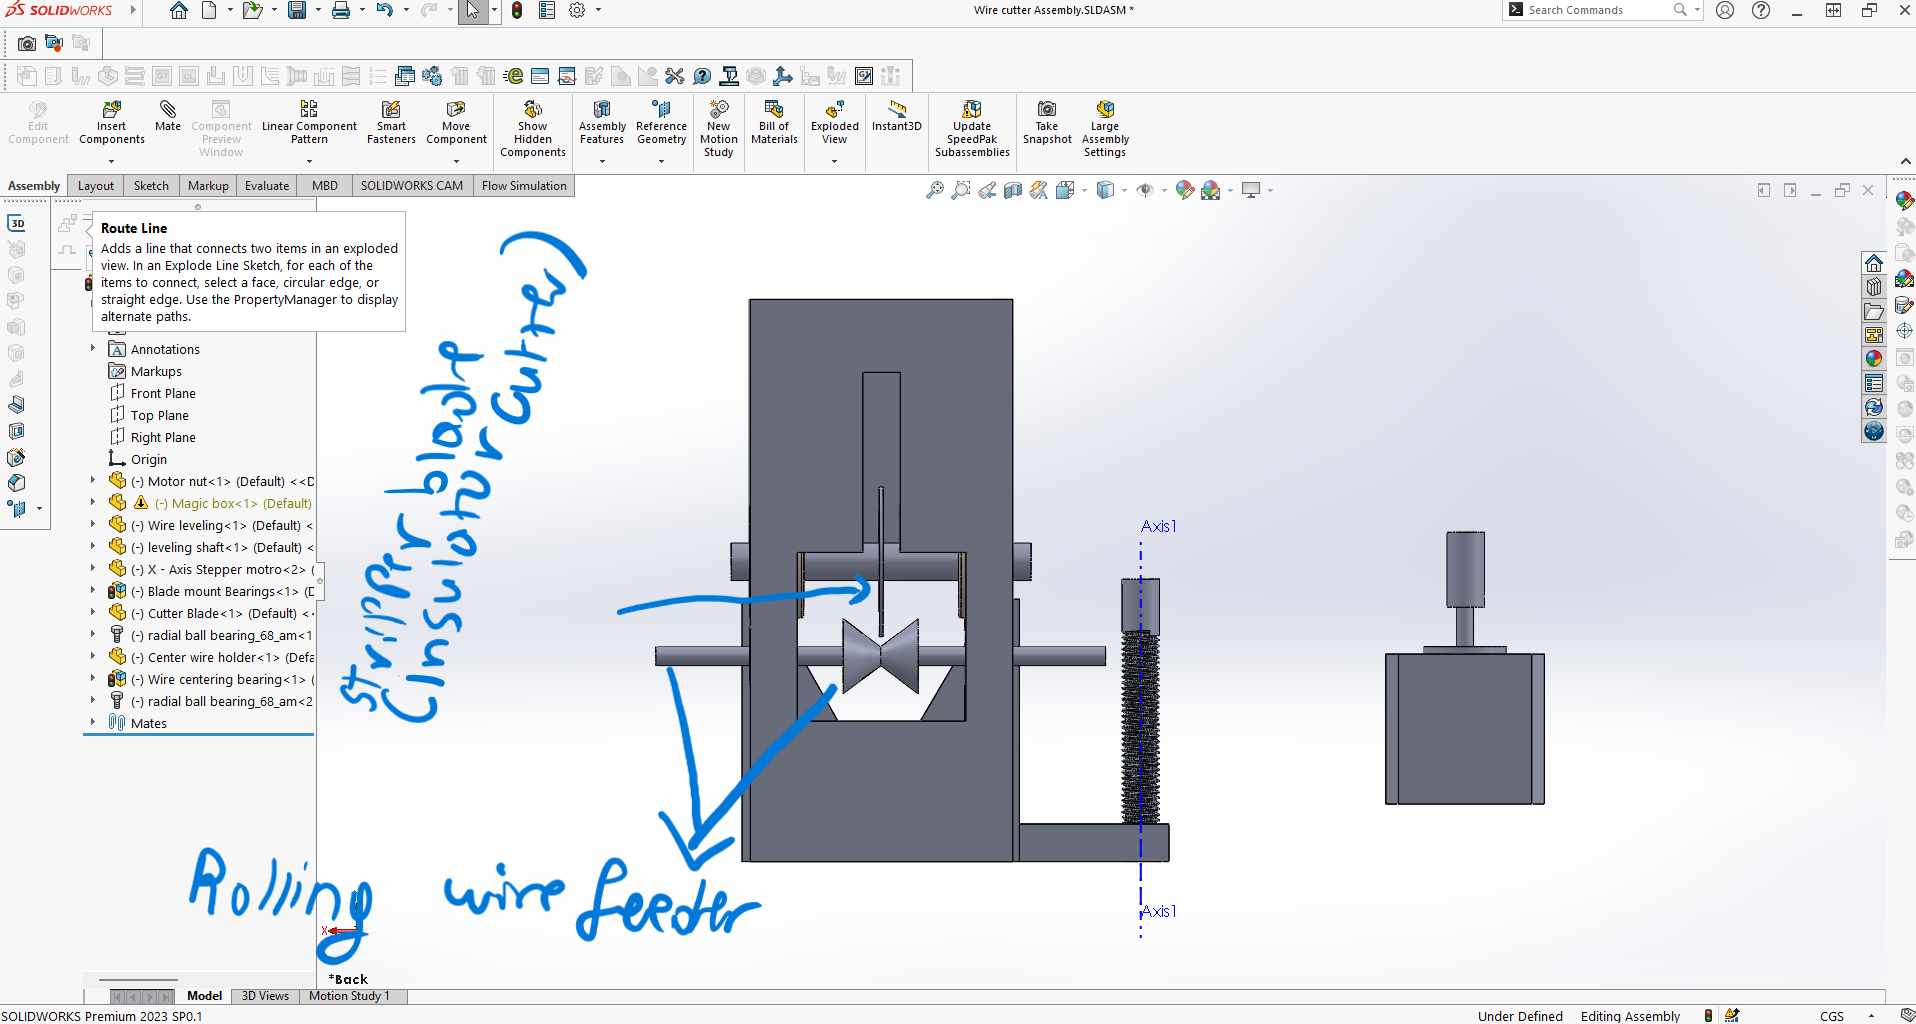
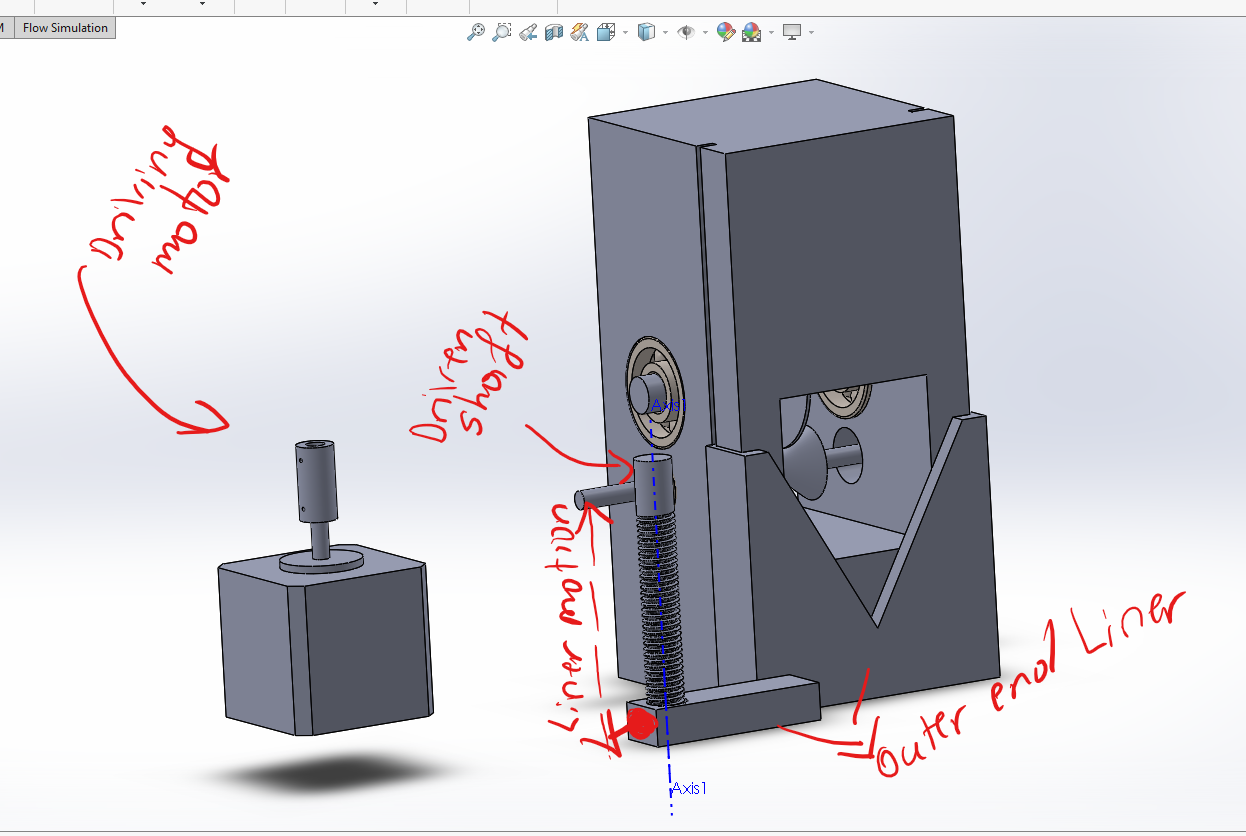
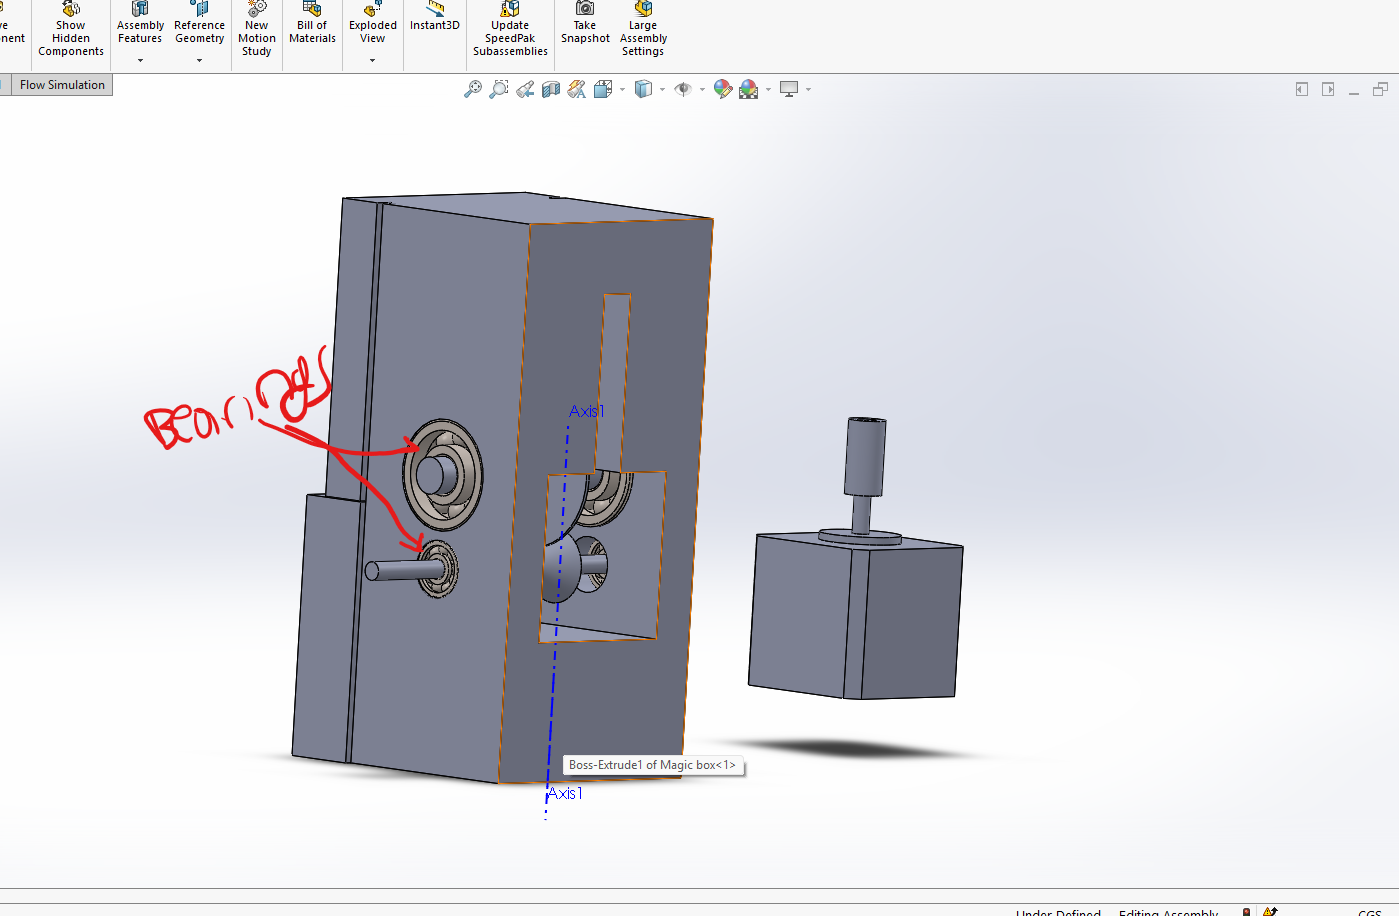
Wire cutter/Stripper Machine
Like the previous machine my part was designing (I love it).
Find the Wire Cutter--Stripper SolidWorks files in this folder.
When I was almost done with the design, we found out that a miscomunication happened. Our instructor meant "Hot-Wire cutter" when he suggested a machine to build, which we actually need at our fablab. So we had to do a completely different machine, which I also had to design. Making it 3 different CAD assemblies in a week on my end!
Hot-Wire cutter
group assignment Link
We wanted simplicity designing and making the machine we finally decided on. It was a 2D hot wire cutter. We adapted the Urumbu linear axis from Quentin Bolsee’s Fab Academy on both the Y-axis and the X-axis of our design. Quentin Bolsee’s Fab Academy original design.
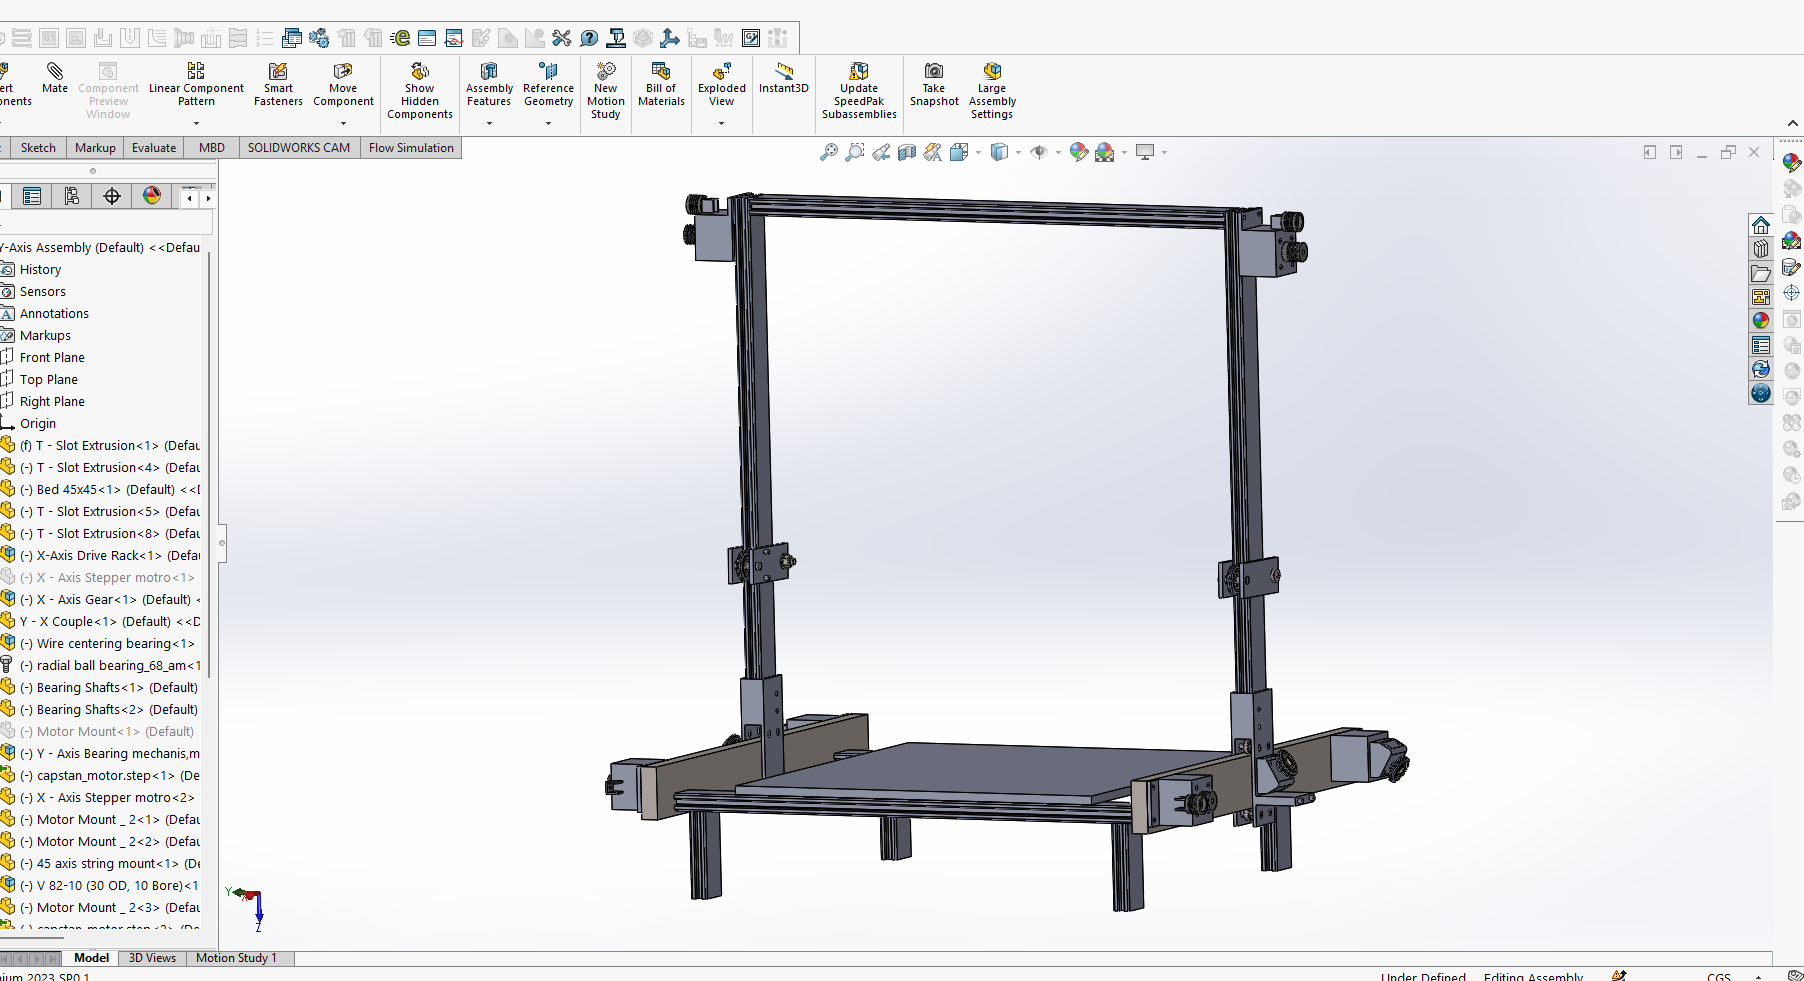
Both axis have two driving stepper motors to ensure accuracy. Y-axis motor mounted on either sides of the top of the machine. The X-axis with a motors on either side to drive the Y-axis mechanism along the x-axis as the machine implements teh G-codes.
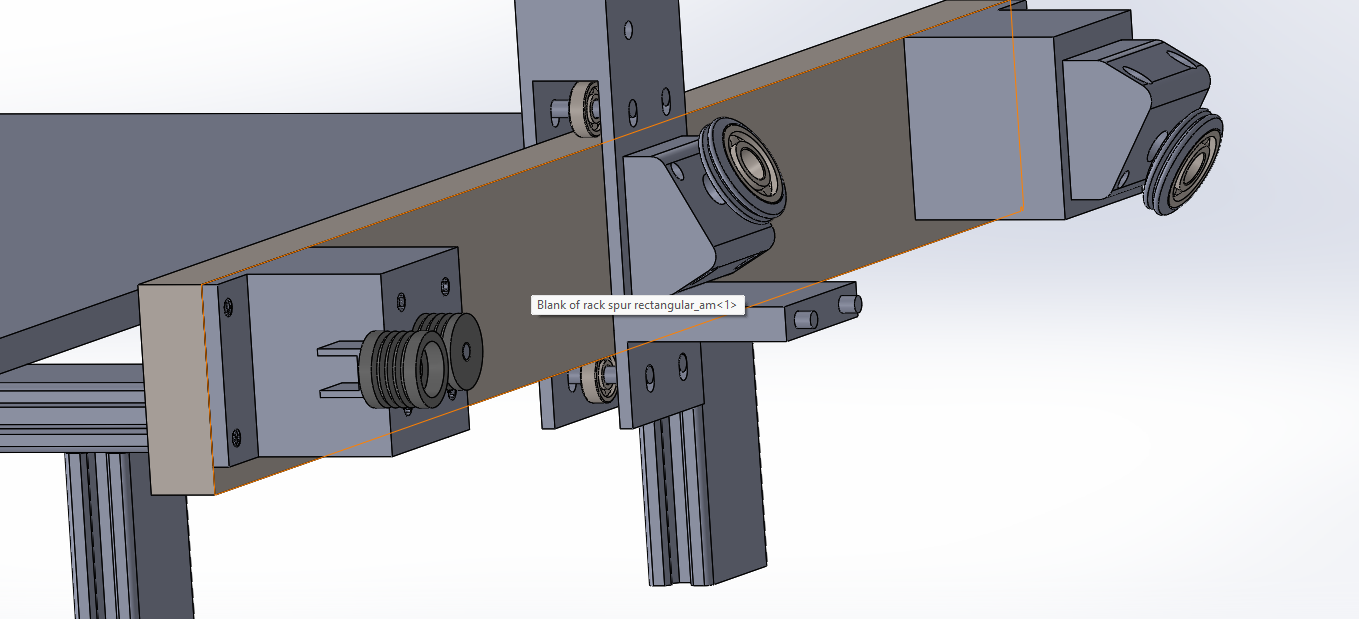
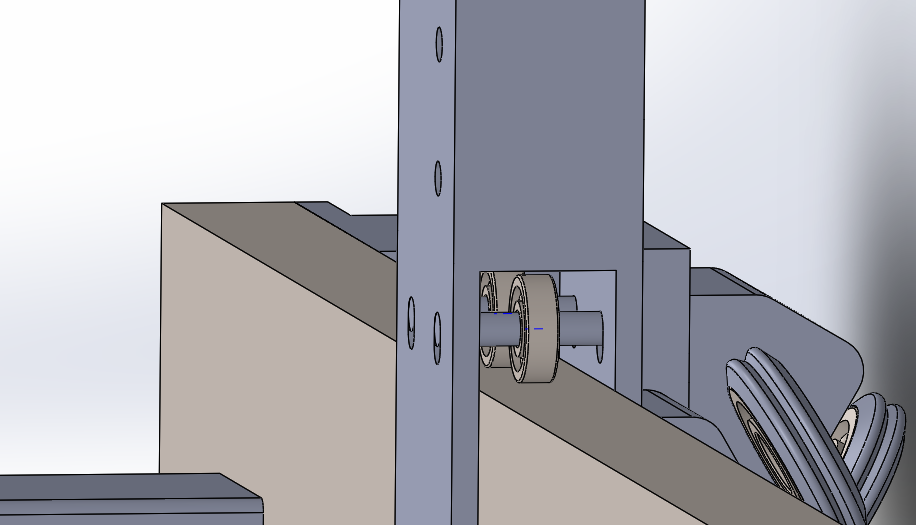
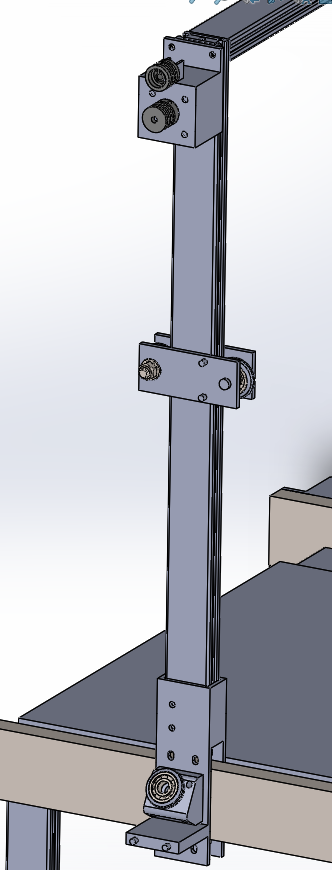
Design files:
hot wire cutter compressed 1 and hot wire cutter compressed 2. Unzip these files in the same folder to maintain assembly relations in SolidWorks.
Machine assembling
After Christian machined the designs I went on to assemble the machine. Mid-way, we realised that the way the side profiles came out complicated moving the Y-axis along the x-axis.We then brainstormed with Christian and decided to switch to a moving/conveyor bed and then fix the Y-axis on the side walls. It was relatively a lot easier to build and stabilize.
That's What we built.
Contact
Happy to receive your inquiries.
Location:
Kigali, Rwanda
Email:
philemonmail77@gmail.com.com
Call:
+250 780 716 155
