
Week 3: Vynlcutter, Lasercutter designs and parametric construction kits, and more
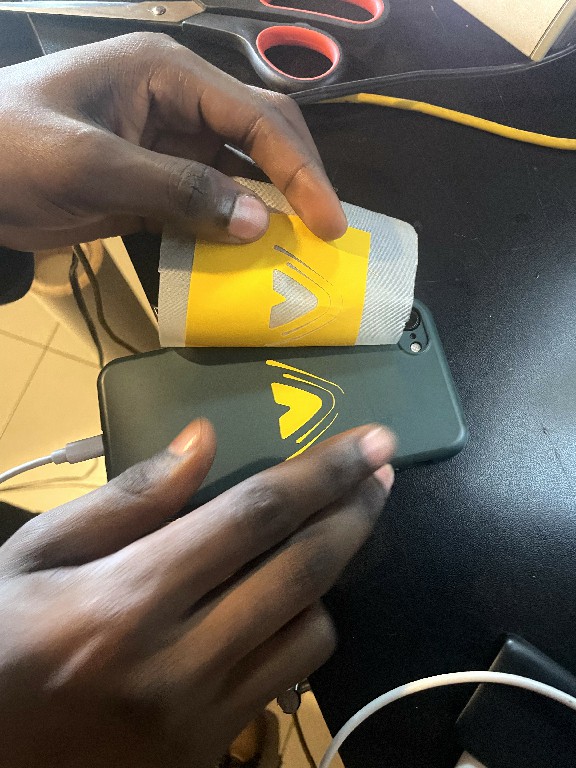
Vynl work
I spent half an hour with Lambert, my instructor, on Friday learning to setup cutstudio and help him as he did some jobs with the machine and sticker papers.
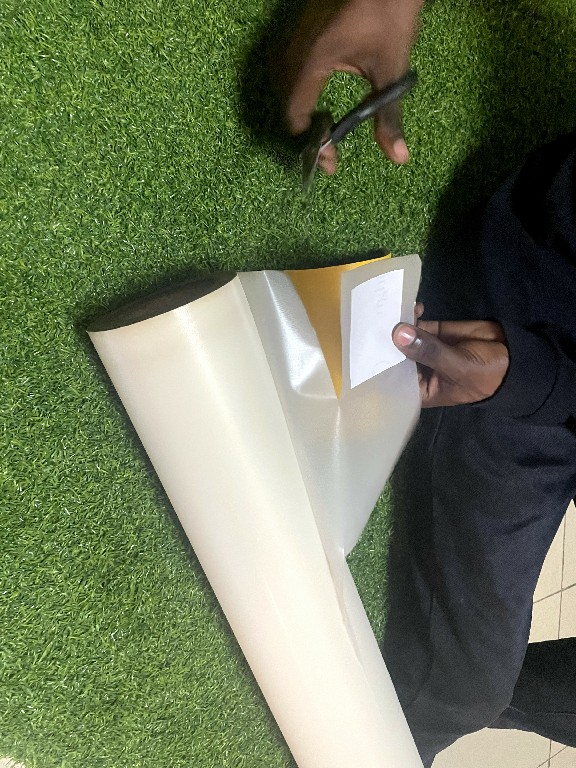
I then took it on to practice. I installed the CutStudio software, loaded the first PNG I wanted to print. It was after attempting the first print that I realize I have to instal the printer's drivers separately. So I went ahead and installed it directly from our Vynlcutter via USB: a Roland GX-24
-
.png)
.png)
Click install on the step below
.png)
.png)
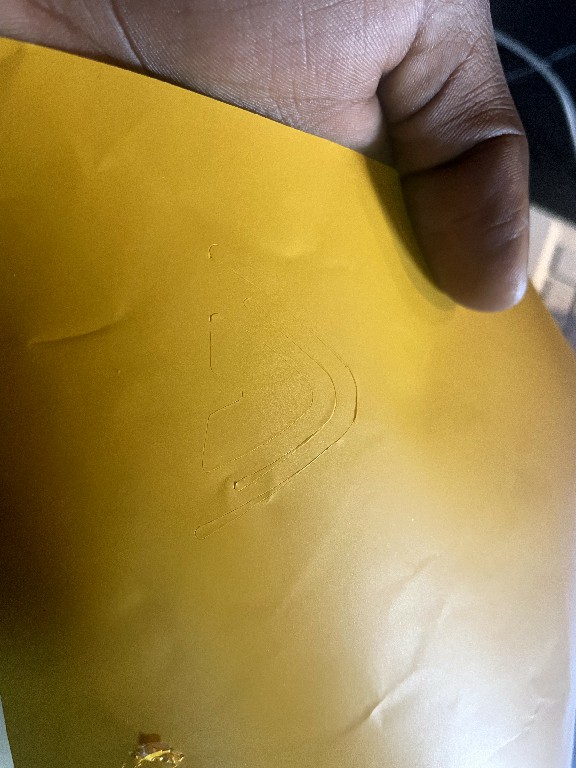
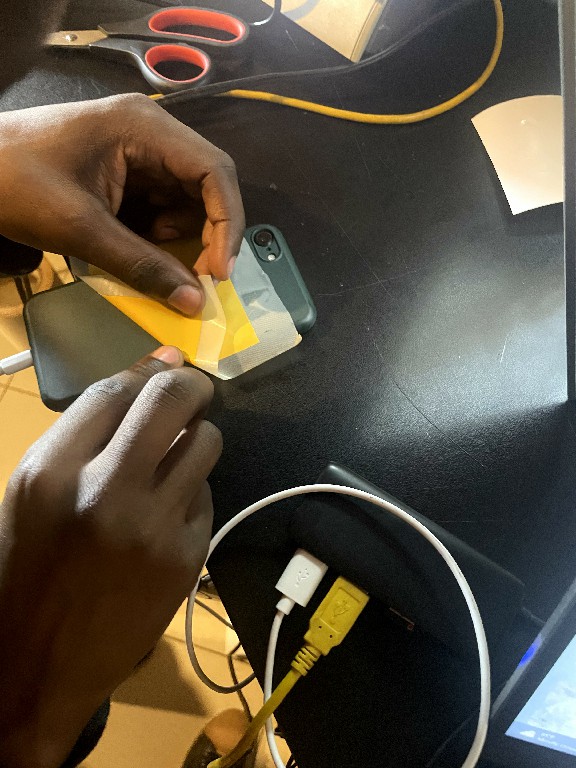
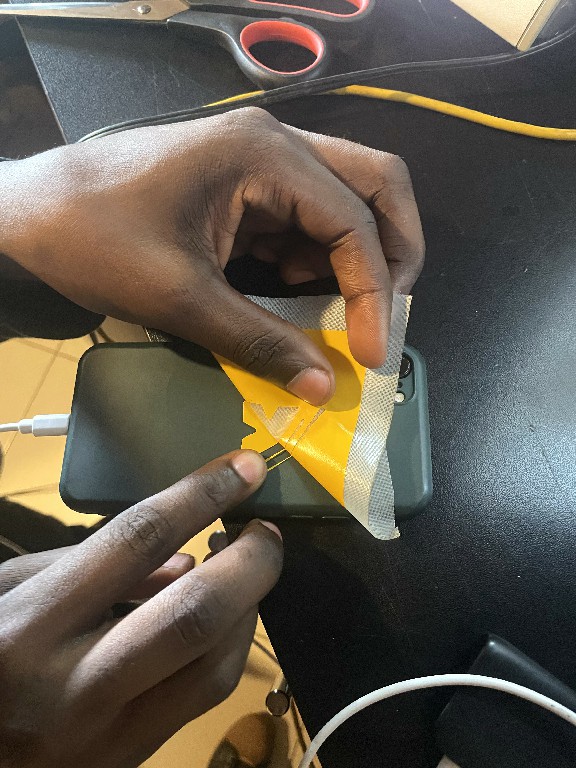
After that I was good to go. I used a webfavicon PNG (raster file)
-
.png)
.png)
.png)
.png)
.png)
Next I got printer origin (similar in orientation to my images positioning in the software) and hit Okay to print
.png)


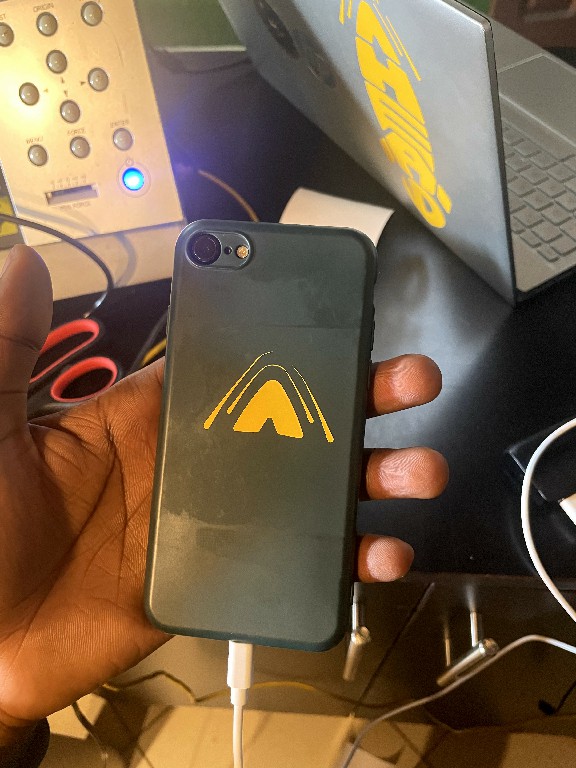
I tried printing a slightly larger file to see how it turns out. I found out the machine does a better job with fairly spaced dimensions than it does with small characters like thin lines and small fonts.
 CutStudio files
file 1
file 2
CutStudio files
file 1
file 2
Press Kit
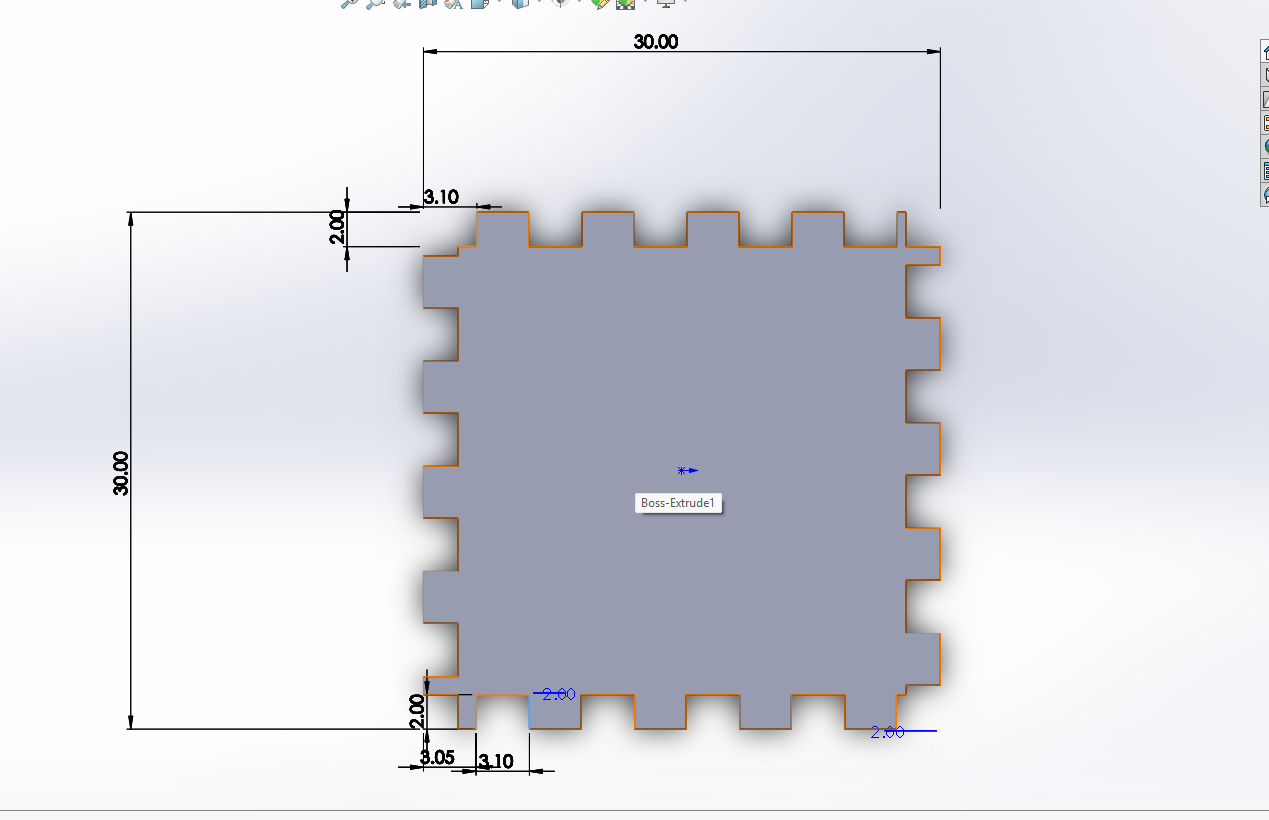
For the parametric designs, I designed dented square (30mmX30mm) pieces with SolidWorks.The dents were 2.75mm intended to accomodated a 3mm tooth, cutting 3mm deep into the dent. I found the kerfs to be around 0.25mm (2.75mm dent is enough space to fit a 3mm tooth without breaking either of either of them, and obviously eliminate the looseness). I cut all my pieces from a 3mm MDF wood with the EPILOG LASER MINI lasercutter.
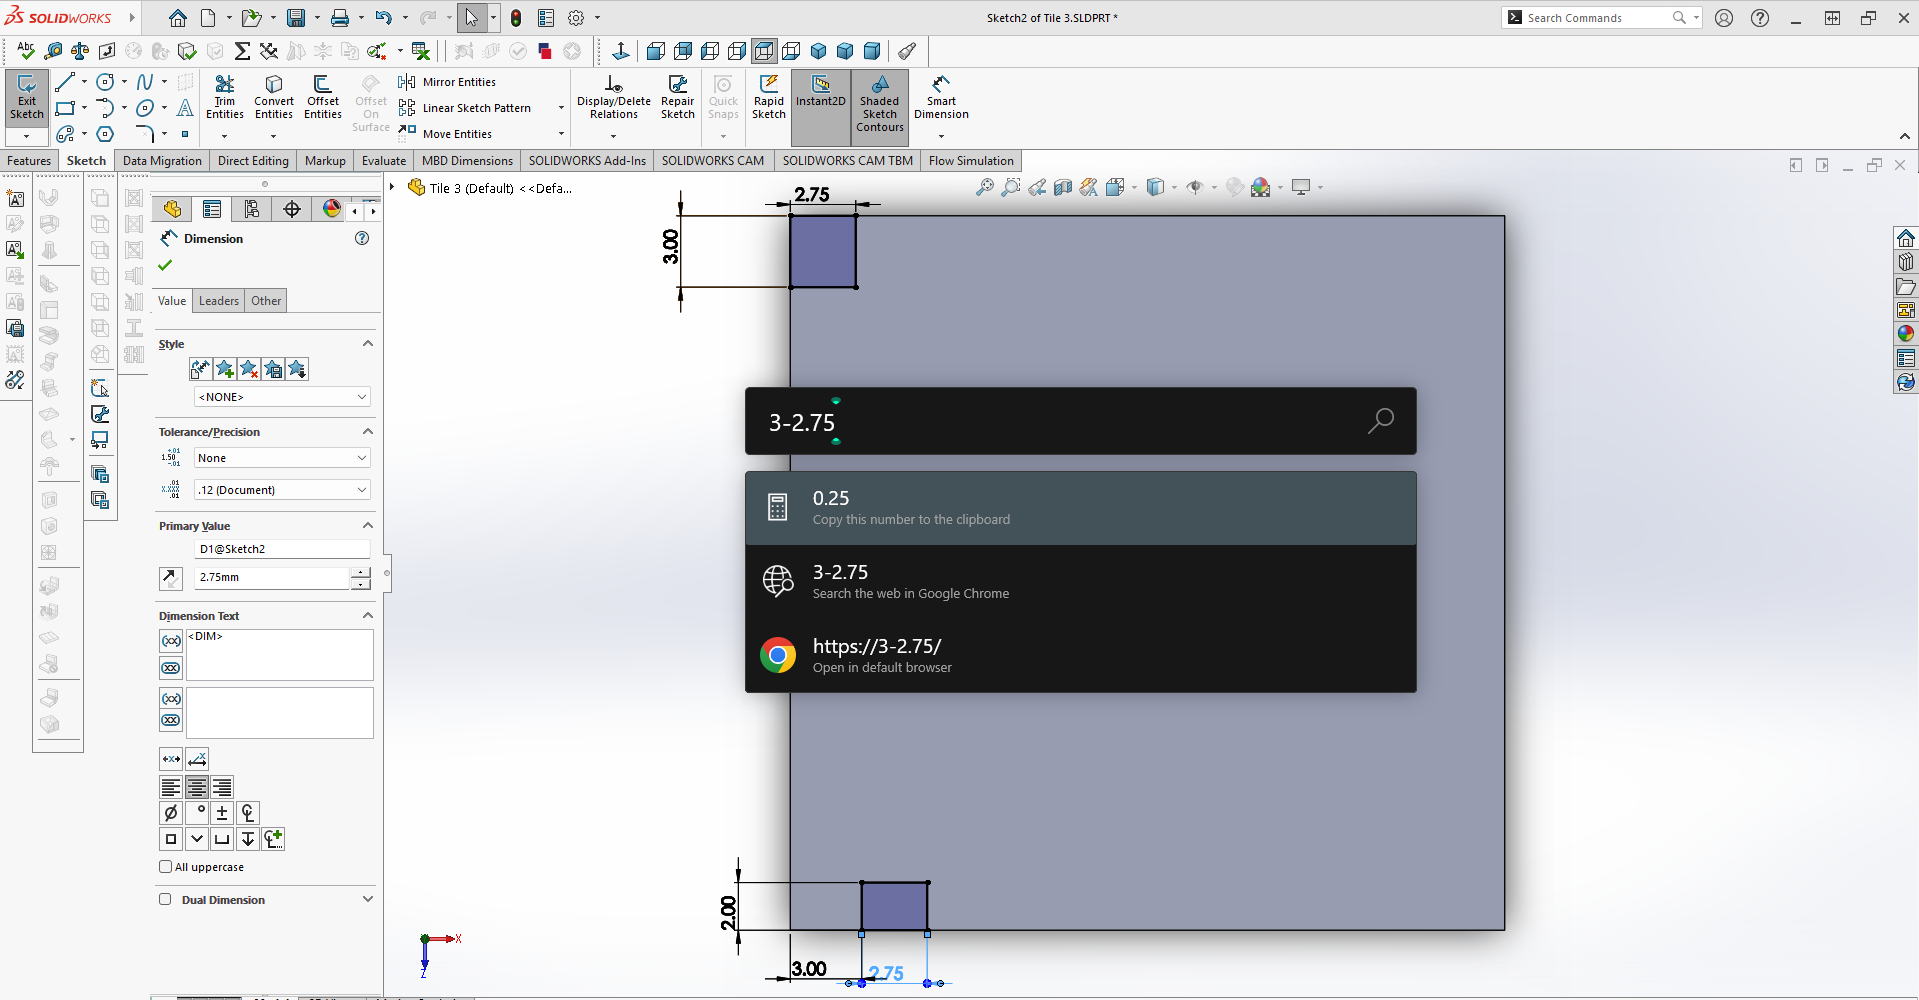
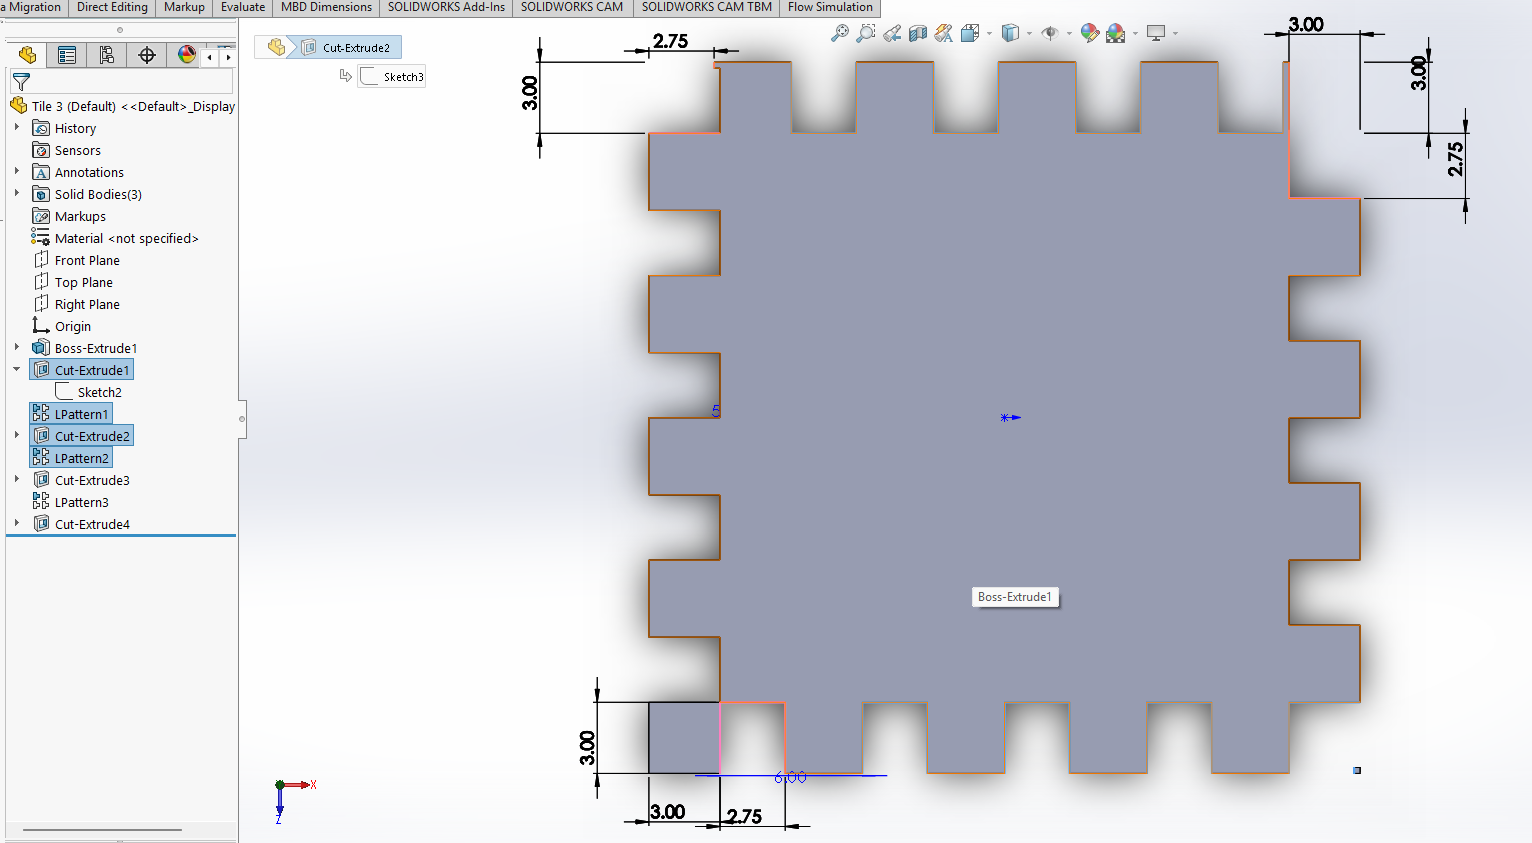
Before I reached to the dimension conclusion after Experimenting with different dimensions in the range between 3.1mm--2.9mm to 3.0--2.7 tooth-to-Dent relations checking which fits well.
.png)
SolidWorks Press kit files (See Tile 3, it's the final version) Design folder ZIP File
Contact
Happy to receive your inquiries.
Location:
Kigali, Rwanda
Email:
philemonmail77@gmail.com.com
Call:
+250 780 716 155