
Group_Assignment: Output output_devices
SERVO MOTORS
I selected Servo motors as output devices beacause I will use them latter in my final project to control the rocket's fins with input from the flight computer.
I am using the the XIAO ESP 32 C3 this time to send siganls to the servos. I want to be able to just put them in motion. I am also using MG60 Servo motors model.
MG996R

Find the MG996R Datasheet Here
After reading and watching other projects and also brainstorming with my instryuctor, I found that I will have to use a separate board for the motors. One of the reasons is that the motors will need a bit more power that could come from the XIAO ESP 32 so it needed it'sown battery. The other reason is that we want to be able to control when the servos are activated or have power, so we need to have a sort of a switch. My instructor advosed to use a mosfet for switching purposes, and it would also allow us to switch it on and off from XIAO commands that we will feed it.I experimented with the with the MG996R motor directly with the XIAO. Both motors I had caused glitches in the XIAO, after which we found, with my instructor Lambert that, they have short circuit issues.
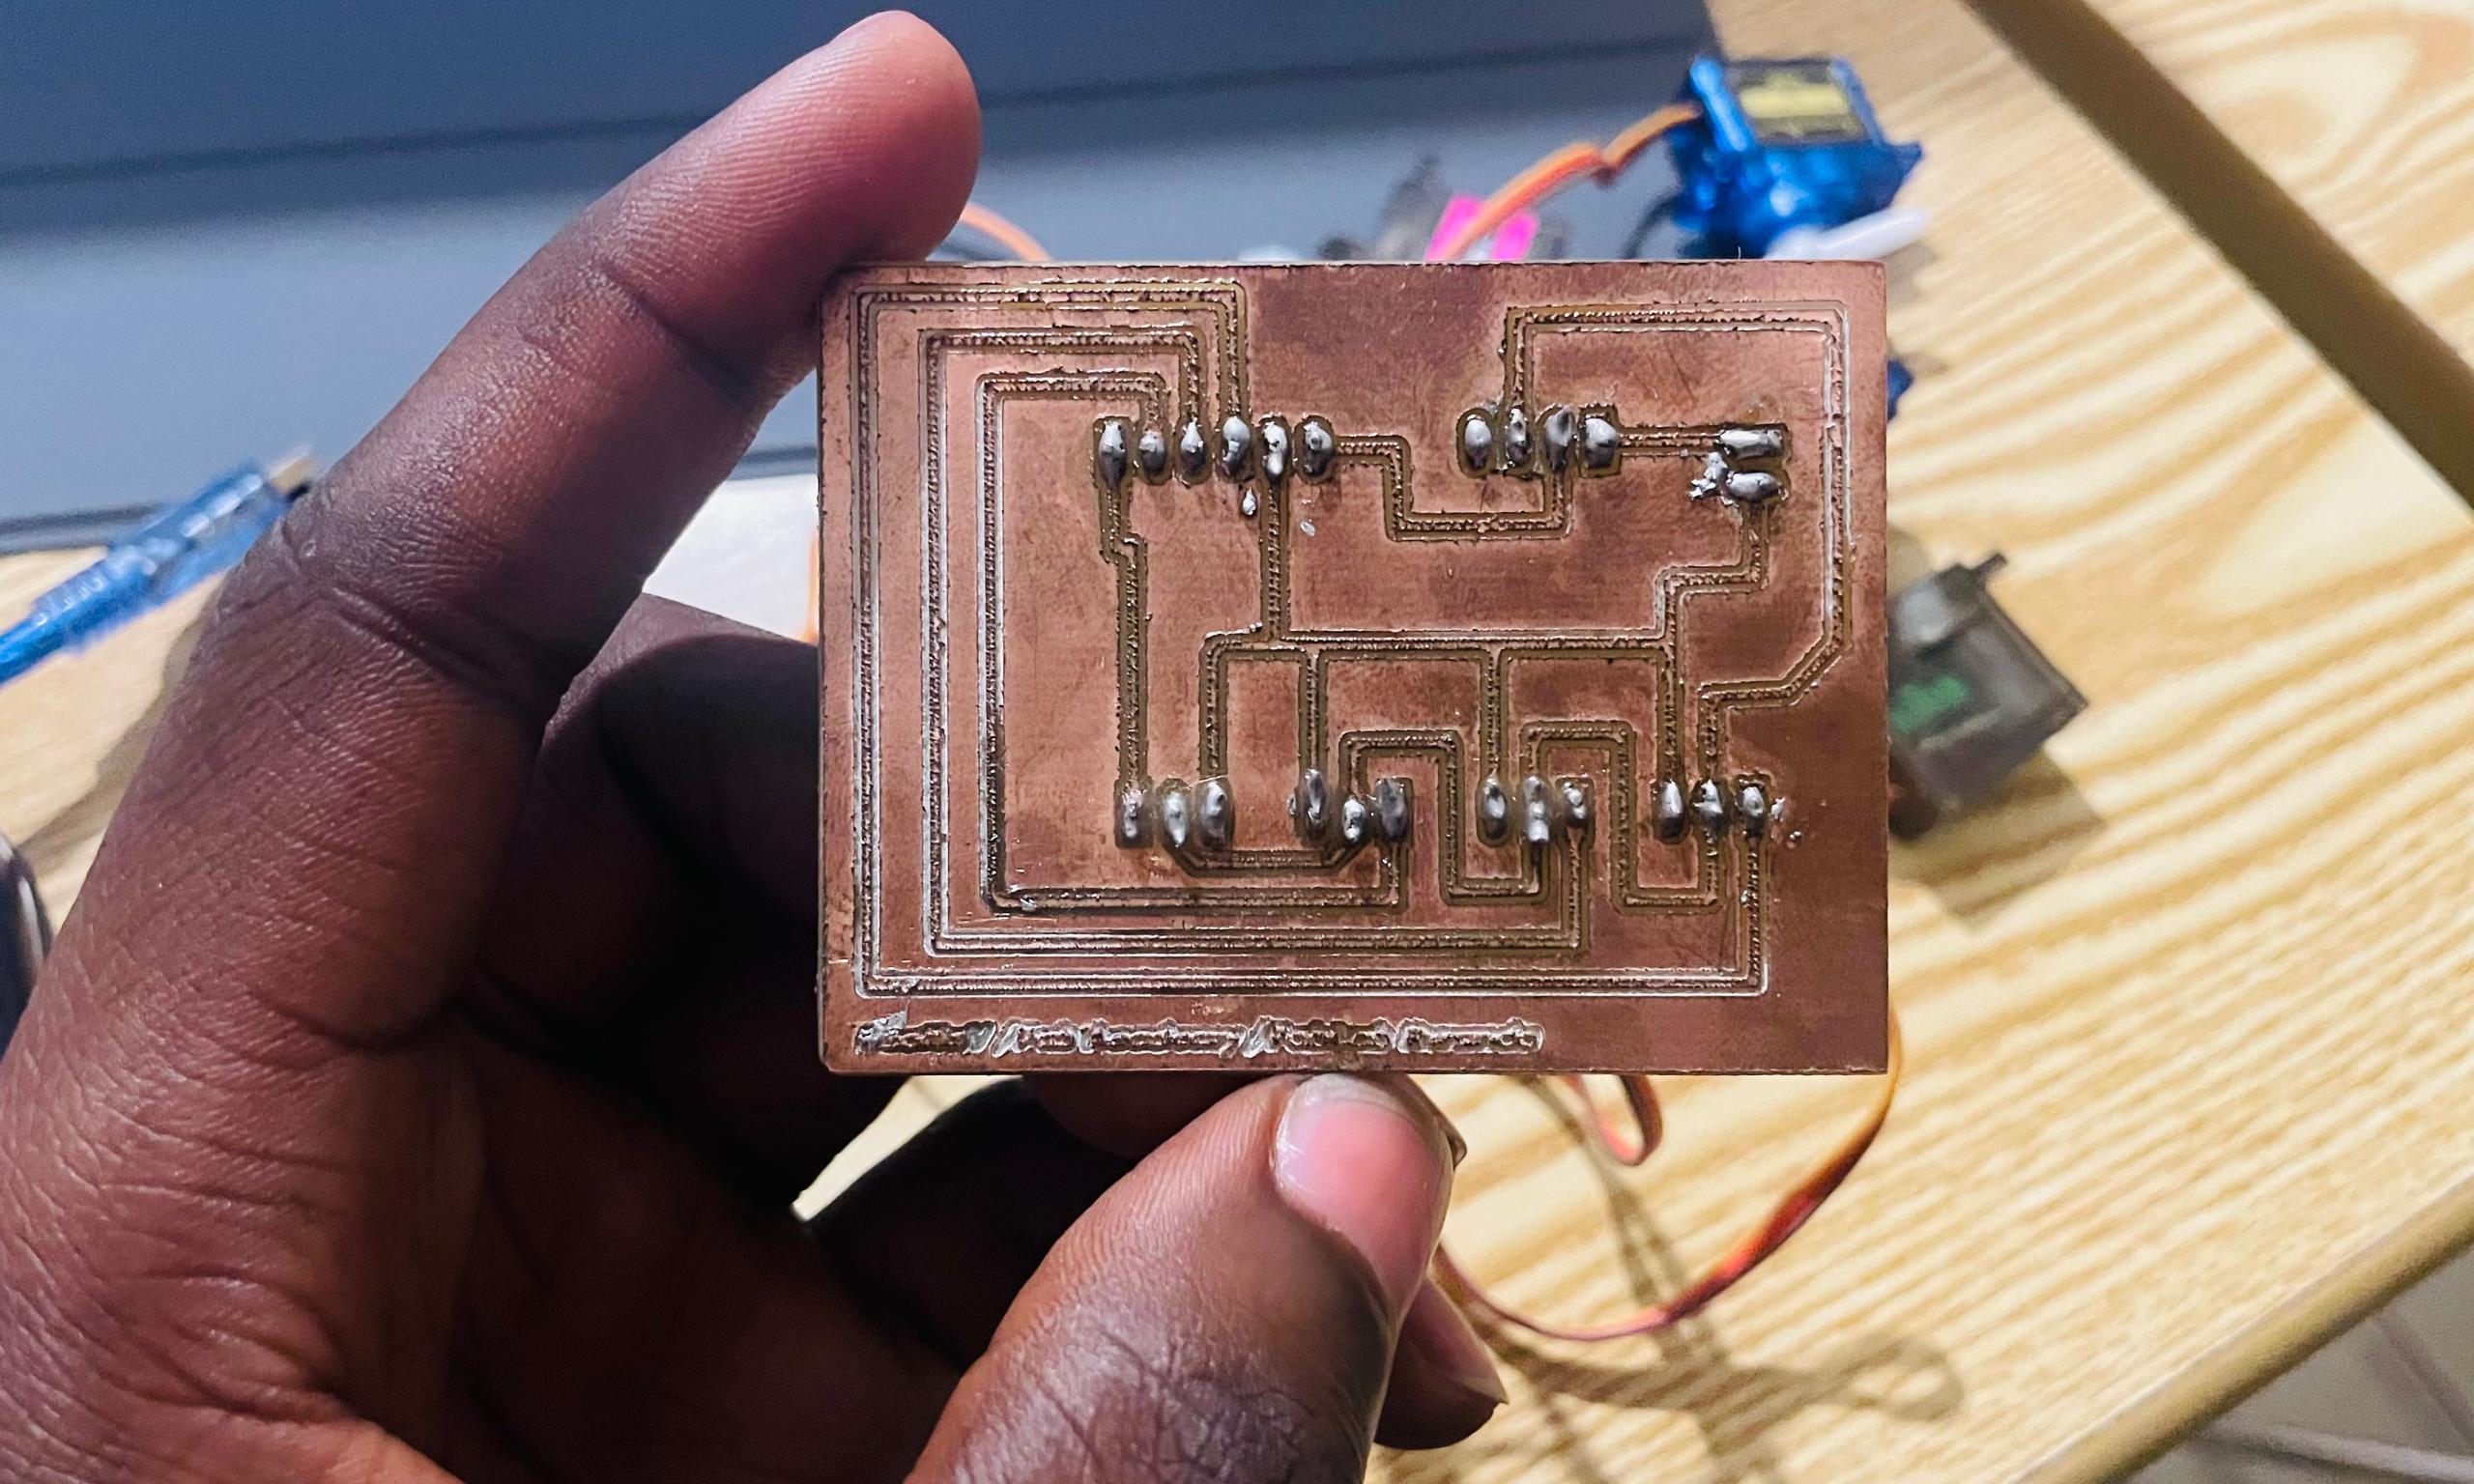
I was going to use the same board I built in electronics design week, but after upgrading the design and printing it I found that we had no mofsets readily available at our FabLab, and my XIAO ESP32 C3 was bugging a lot, after not having an easy time with the short circuited motors. So I switched to the Arduino Nano.


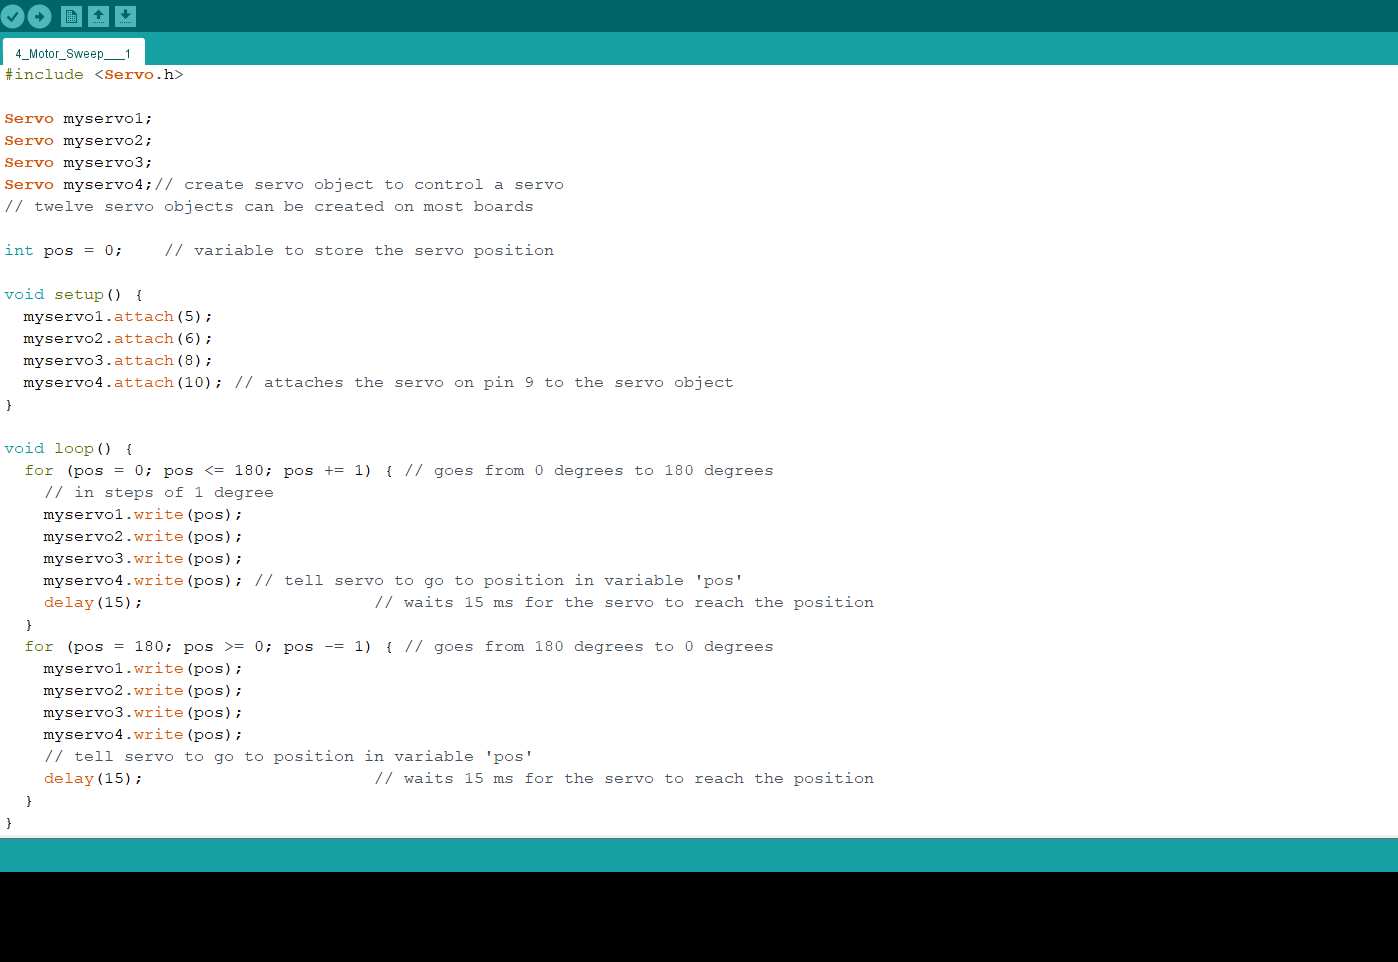
I improvised and hooked everything on the arduino directly and run a servo sweep example with one motor.
I made a group of 5 parallel pinheader for the VCC (5V) and another group of 5 GND (ground) pins. 4 for the 4 VCC (4 motors) and the remaining 1 sending all of them to the Arduino, and the same for the GND. This is basically what the PCB did.
Then I connected pin headers to the Arduino to latter connect with the motors. 4 pinheaders on the D5, D6, D8, and D10 for the 4 PMW. and then another for the GND and another for the VCC connectons (5V).
Next I connected the 4 VCCs (4 motors) to the 5 pinner, and connected the 5th pin to the arduino's 5V. Then the 4 GNDs (4 motors) to their 5 pinner group, and connected the last of the 5 pins to one of the GND's on the Arduino. As well as each PMW from each motor to one the digital pins mentioned above (D5, D6, D8, D10).
Then I ran the edited code to support 4 motors instead of the initial 1 motor, and it worked! I was happy with my outputs
After a while I figure I could bypass or repurpose the intended mosfet connections. I used a jumper wire to connect the Servo VCC from Mosfet's S pin to the arduino's 5V.
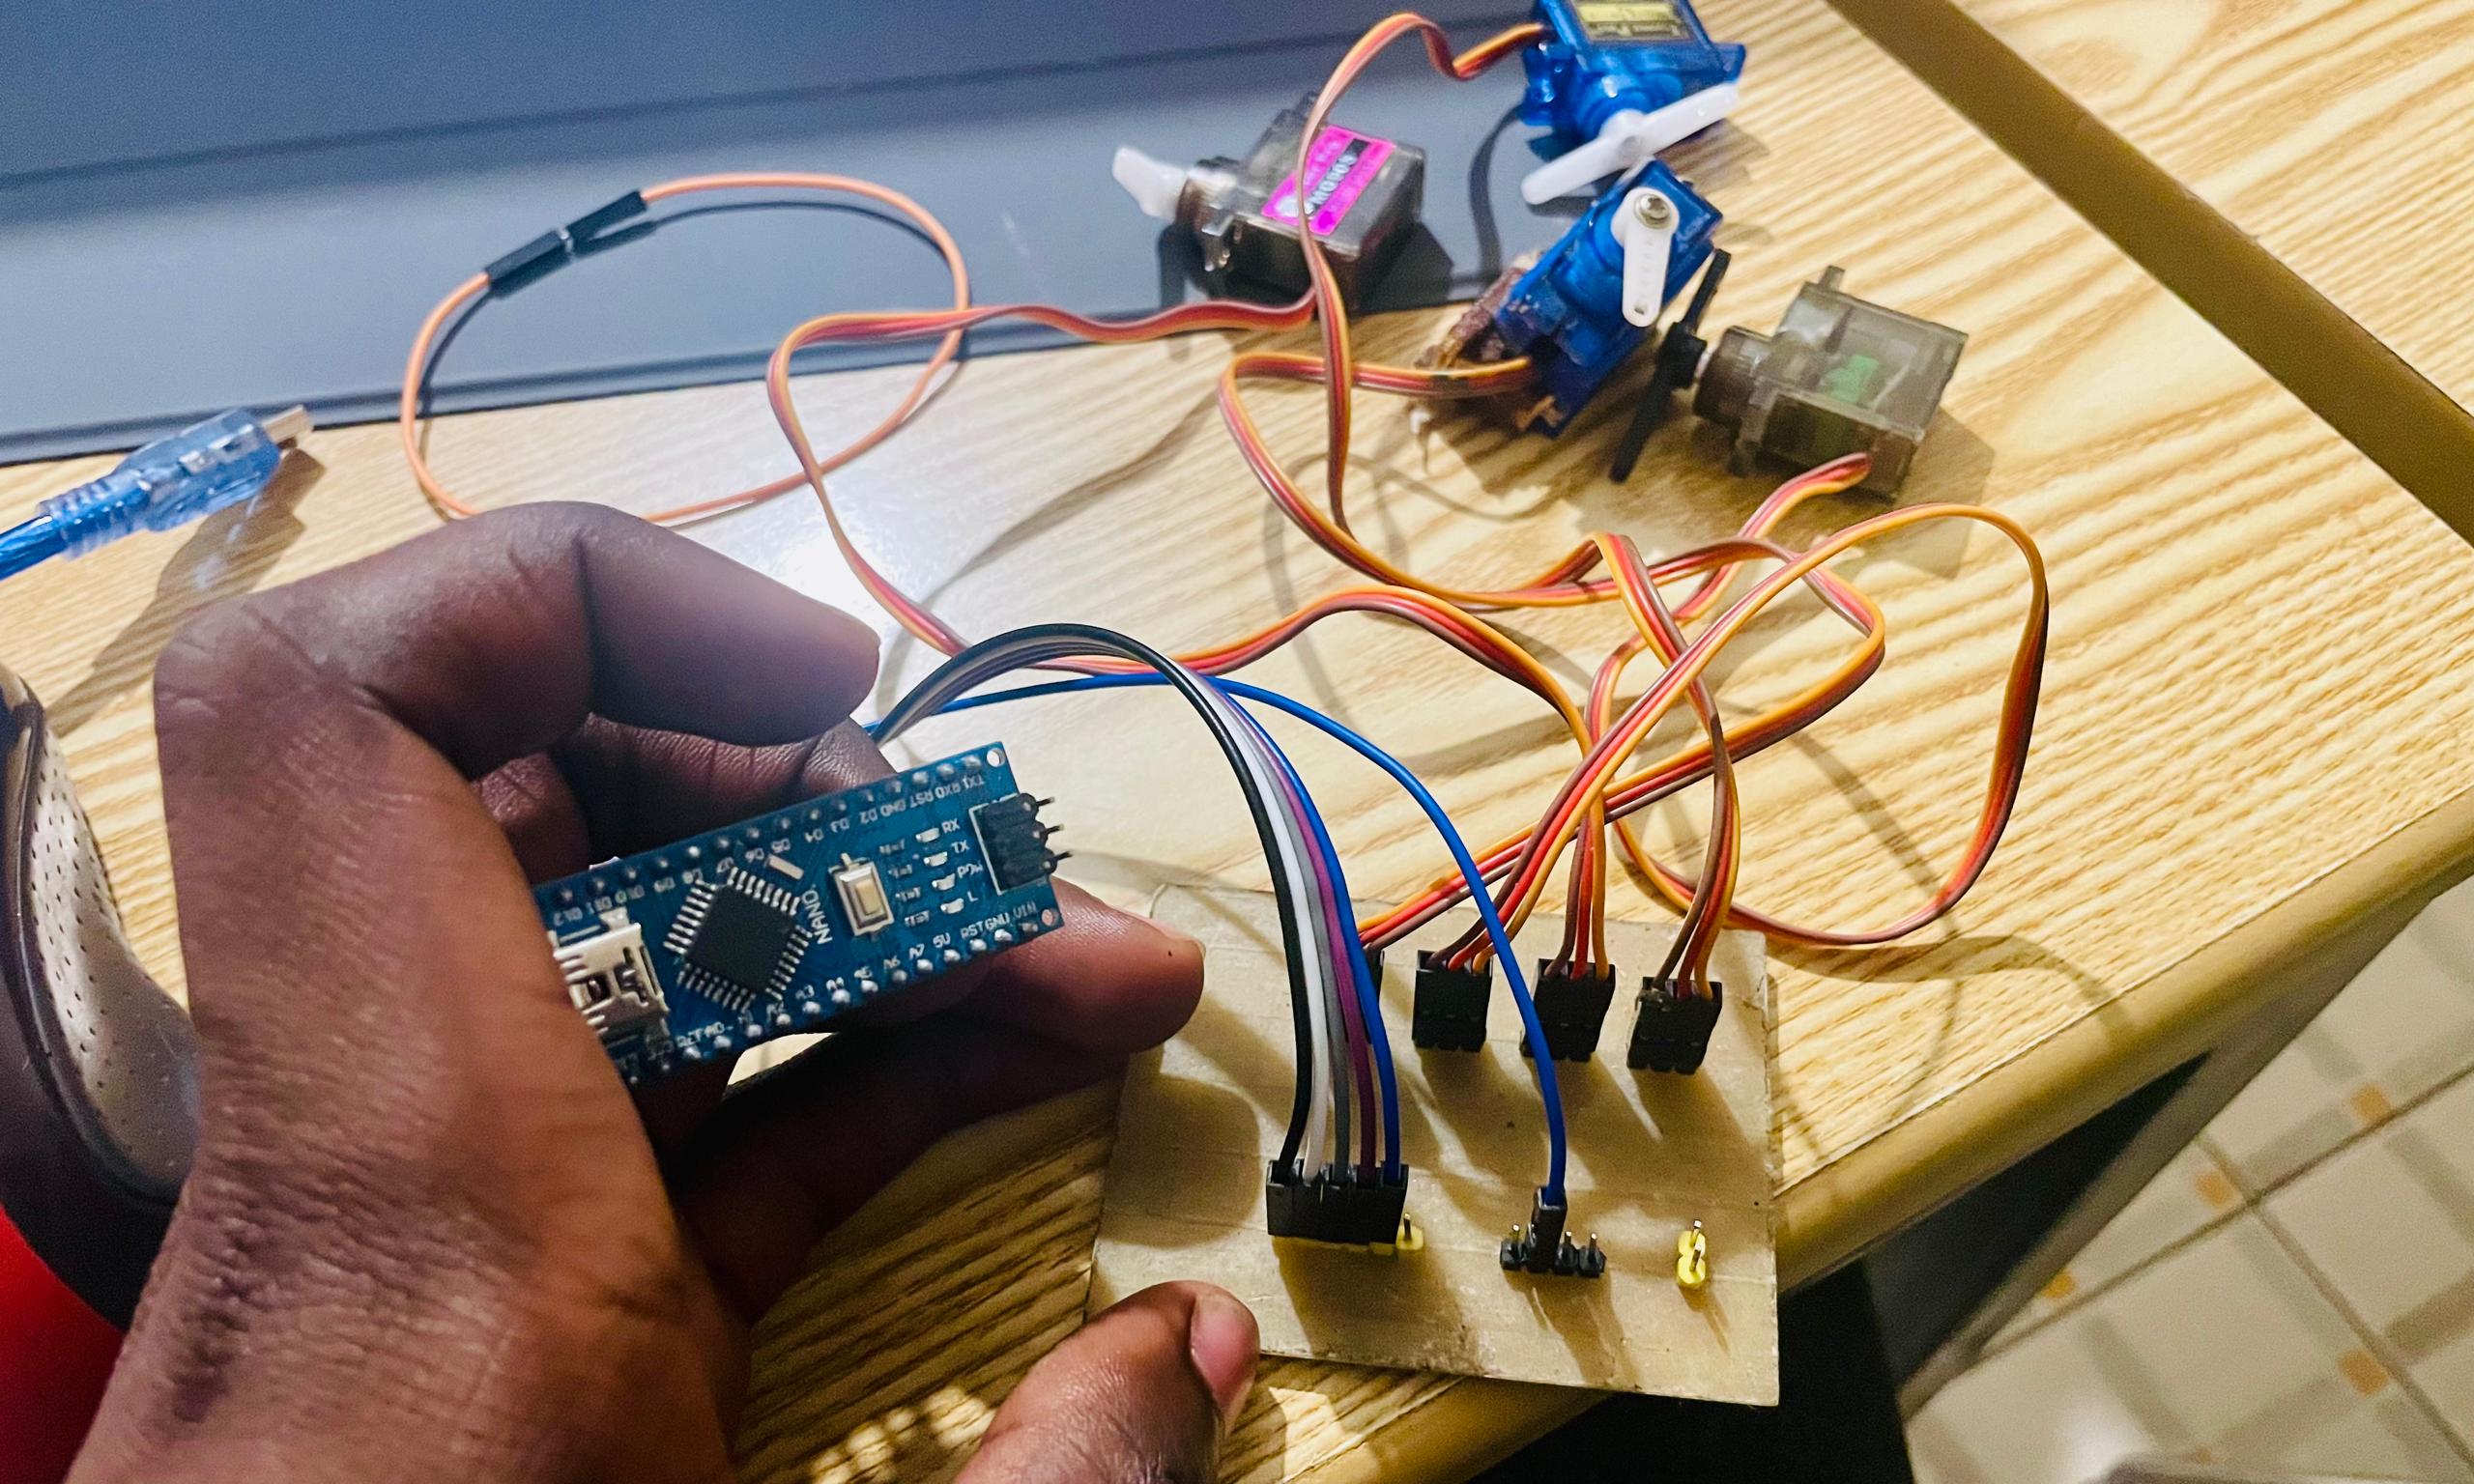
The 2nd blue wire on the right side. Then I could run the servos from the board.
Latter on I realised I miss understood the addignment. I have to design a new microcontrolled board for this.
Some documentations and references I followed through the process, mainly include the ESP32 WROOM 32 data sheet, and connection scetches to different devices. A Minimal ESP32-based Circuit
So, I designed a new multipurpose board, but on this page I only cover the part that necessary for this assignment.
This board has three servo allocations, and the one we just ran was the parachute deployment servo for my rocket (Final Project).
See the datasheet below:


The code I ran was an extract and modification from my final project's flight computer servo control
#include <ESP32Servo.h>

          #define SERVO_PIN_X 12
          Servo servoX;

          void setup(){
            servoX.attach(SERVO_PIN_X);
            Serial.begin(115200);
          }

          void loop(){
            for (int pos = 0; pos <= 180; pos += 1) { // goes from 0 degrees to 180 degrees
              // in steps of 1 degree
              servoX.write(pos);    // tell servo to go to position in variable 'pos'
              Serial.println(pos);
              delay(15);            // waits 15ms for the servo to reach the position
            }
            for (int pos = 180; pos >= 0; pos -= 1) { // goes from 180 degrees to 0 degrees
              servoX.write(pos);    // tell servo to go to position in variable 'pos'
              Serial.println(pos);
              delay(15);            // waits 15ms for the servo to reach the position
            }
          }
Contact
Happy to receive your inquiries.
Location:
Kigali, Rwanda
Email:
philemonmail77@gmail.com.com
Call:
+250 780 716 155